 If you’ve ever tried your hand at making tissue paper flowers, you’ve probably 1. cursed a few dozen times 2. given up before finishing 3. had to practice a bunch before nailing it. Seriously, major crafting props to anyone who has mastered this art. Since I’m still a sucker for all things floral, I’ve been on the quest to find an easier way to make them. I came across this kit recently and it flipped my perspective upside down! Here’s how:
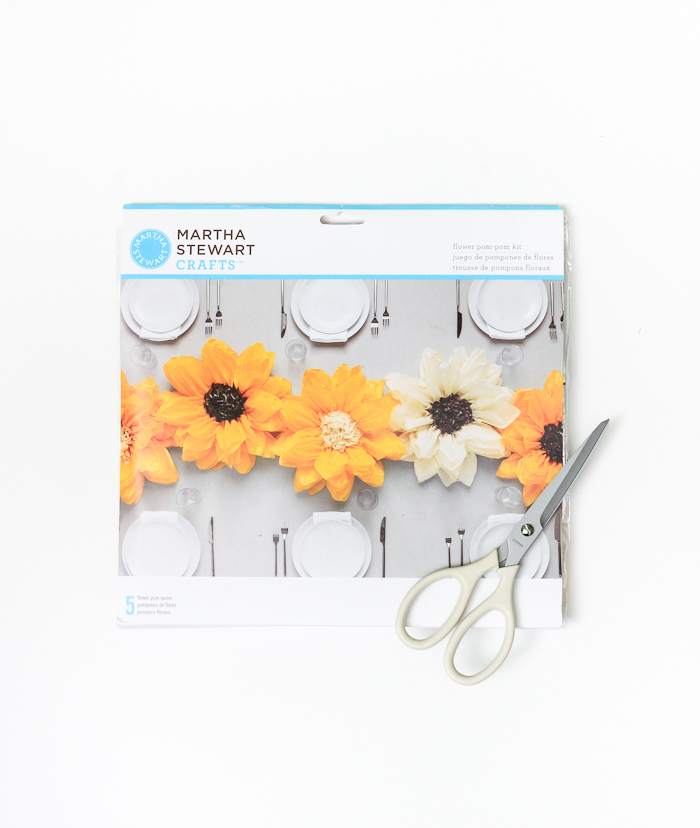
Time: 15 minutes per flower
Materials: Martha Stewart pom-pom flower kit, scissors (optional)
Cost: $17
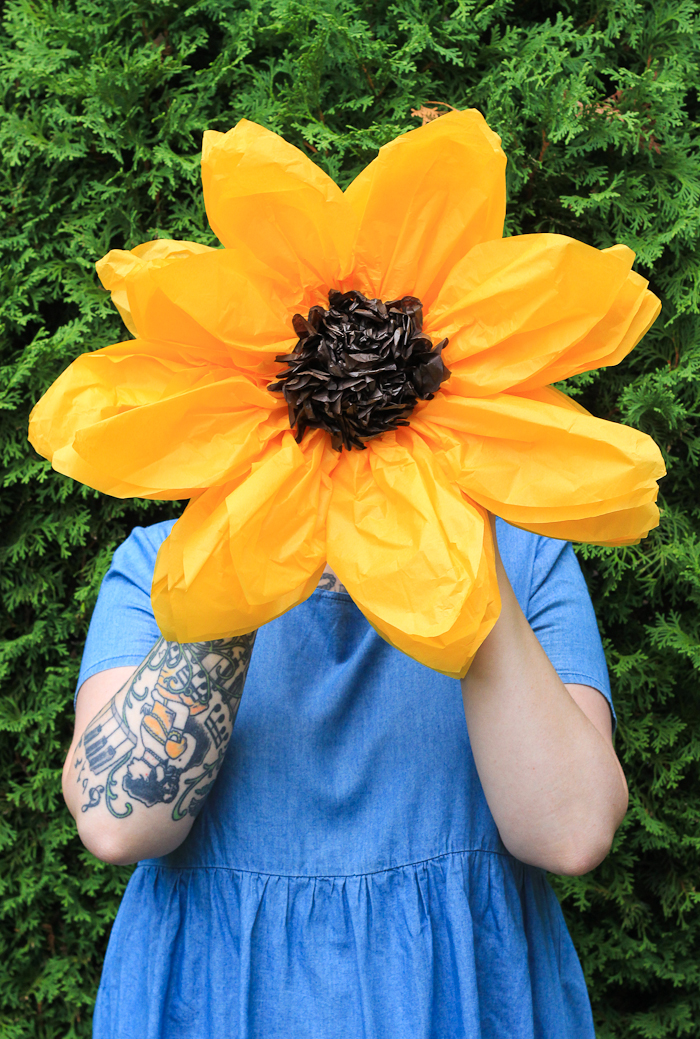
 The kit comes in different colors if you aren’t into sunflowers, but I think they’re perfect for fall decor! You can make five total.
 Unwrap your kit and unfold (not entirely, just until it’s laid out like the photo above). Layer the large petal sheets and the smaller center pieces, they should be the same length and line up in the center, and fold according style. There are perforated lines to help along the way.
When all folded up, tie in place with the green wire. Moving one layer at a time and working clockwise around the flower, fluff the tissue paper up and into place. I trimmed my center a tiny bit with my scissors, but it’s also fine if you leave it as is.
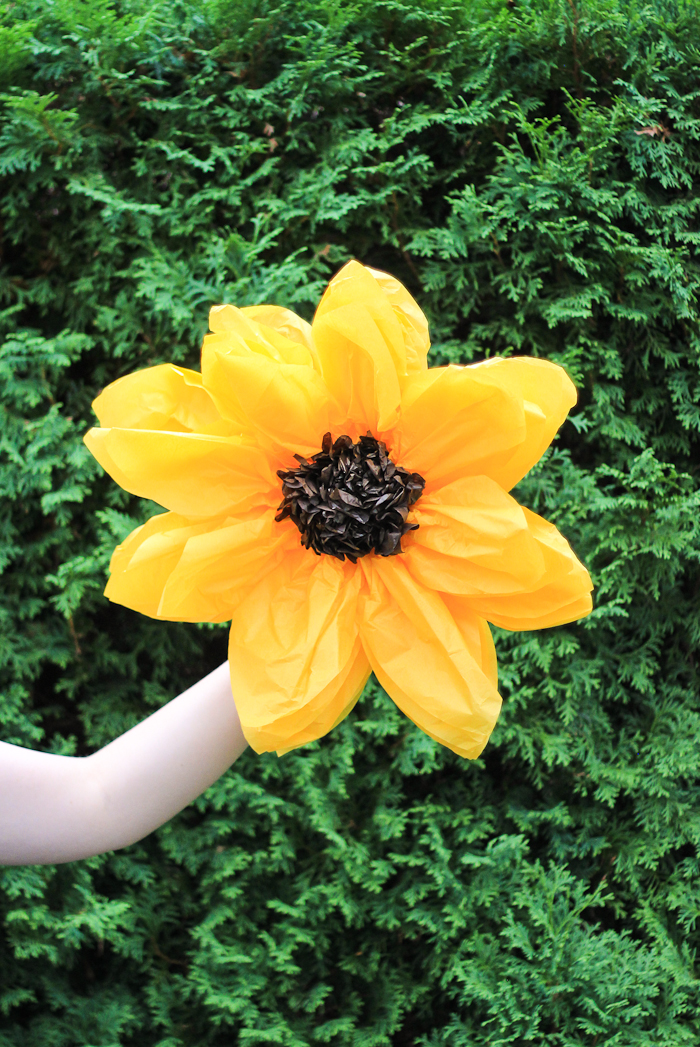
 Bada bing, bada boom! Easy as that. The nice thing is that because they are so large you can knock out your fall party decor pretty quickly. I think these would look great as a photo back drop, or even just a centerpiece.
What do you think? Have you ever made tissue paper flowers before? Any great tutorials you’ve come across?