About
Shop My Home
Book
DIY
How to Cover a Lampshade with Fabric
DIY Baby Monthly Milestone Numbers
DIY Colorful Baby’s Breath Garland
How to Spray Paint a Disco Ball
DIY Hammered Flower Art
Home Decor
House Goals: Colorful Painted Stairs
Brownstone Interior Design Inspiration
Disco Ball Fireplace
A Look at Our New Apartment
Colorful Brooklyn Apartment Tour
Holiday
25 DIY Christmas Decorations
How to Make a Halloween Sweater
Merry Christmas + Happy New Year!
Christmas Home Tour 2021
DIY Bottle Brush Tree Ornament
Printables
Halloween Movie Checklist Printable
DIY Craft Room Labels
Christmas Movie Checklist Printable
Free Printable: Thanksgiving Napkin Rings
Free Printable Art
Wedding
Table Number Download
10 Ways to Save Money on Your Wedding
8 DIY Colorful Wedding Decor Ideas
#thecraftedwife: My Confetti Veil
Our Colorful Wedding Altar
Inspiration
Colorful Gifts Under $50
8 Dye Projects to Add Color To Your Home
Color Crush: Cobalt Blue
Reflecting On 10 Years of Blogging
12 Beautiful Ikea Hack Projects
All Categories
Search
Search
DIY Resin Holiday Gift Tags
DIY String of Lights Gift Wrap
10 Free Printable Gift Wrap Downloads
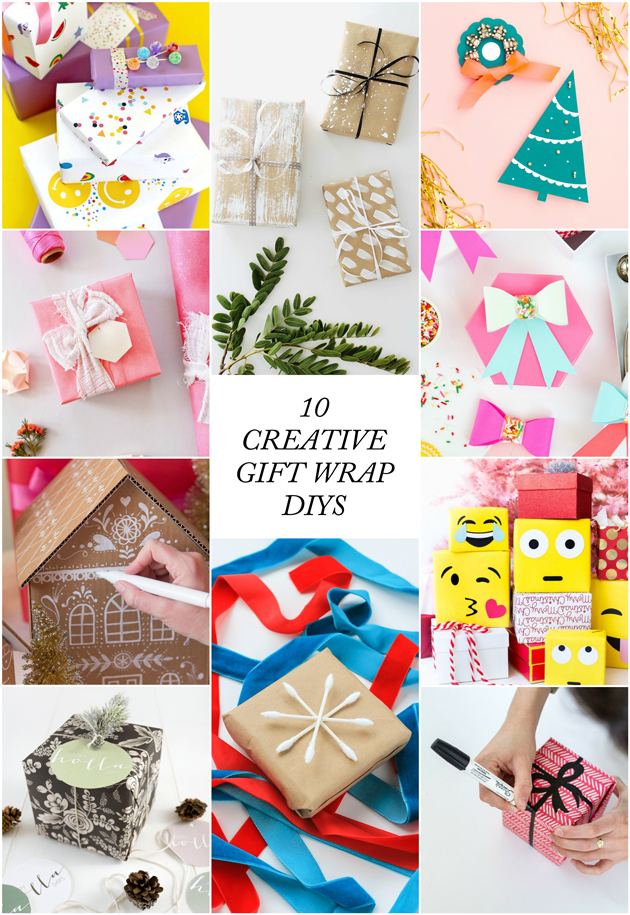
10 Creative Ways to Wrap Presents
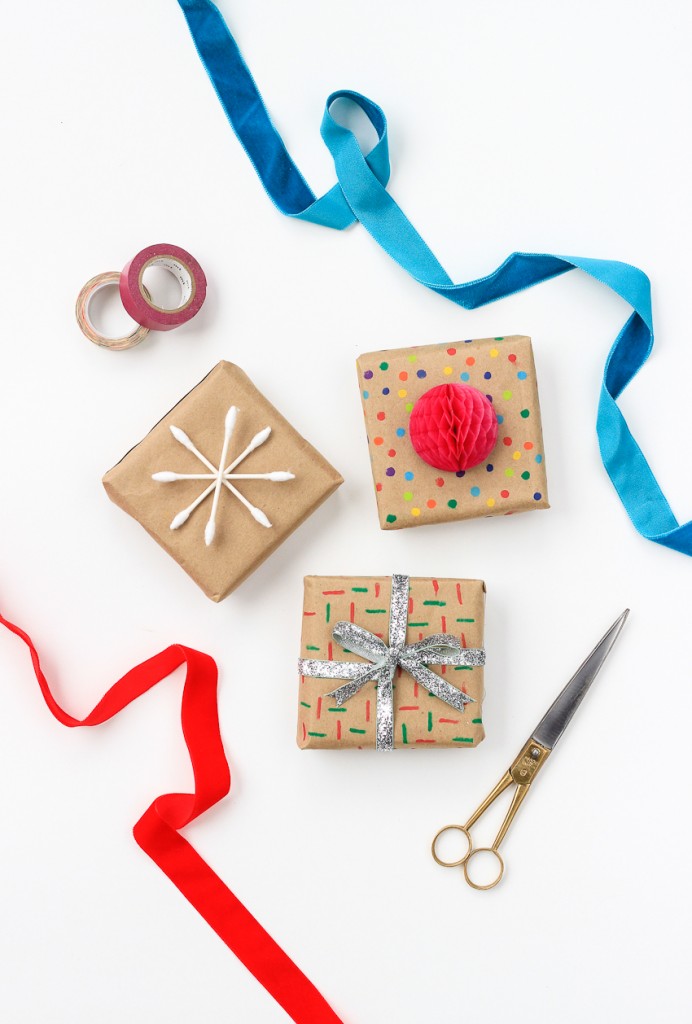
3 Last Minute Gift Wrap DIYS
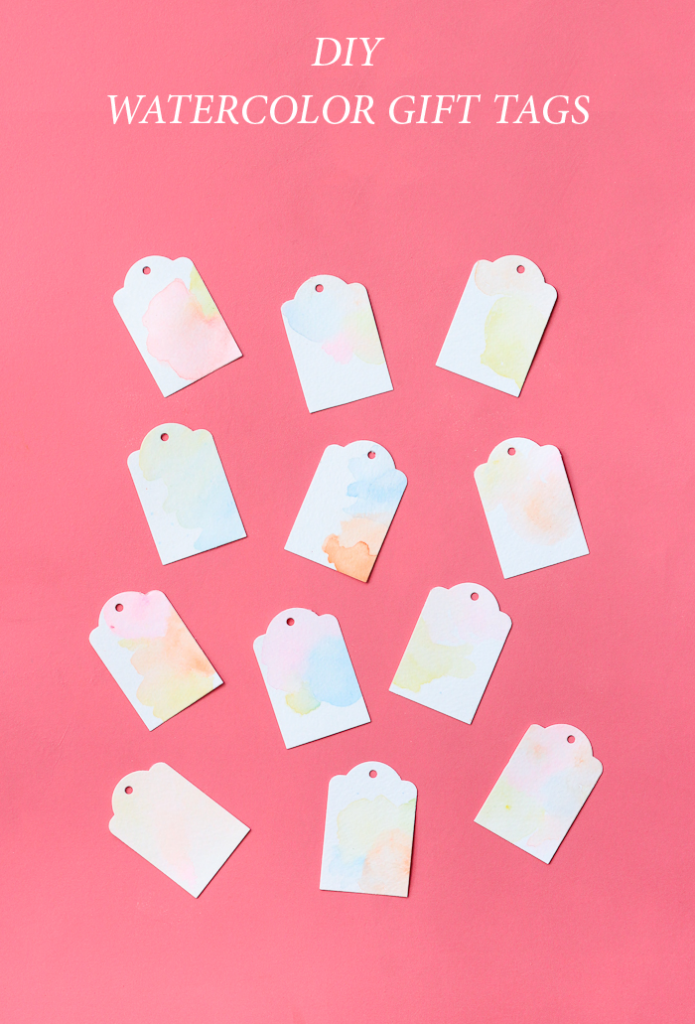
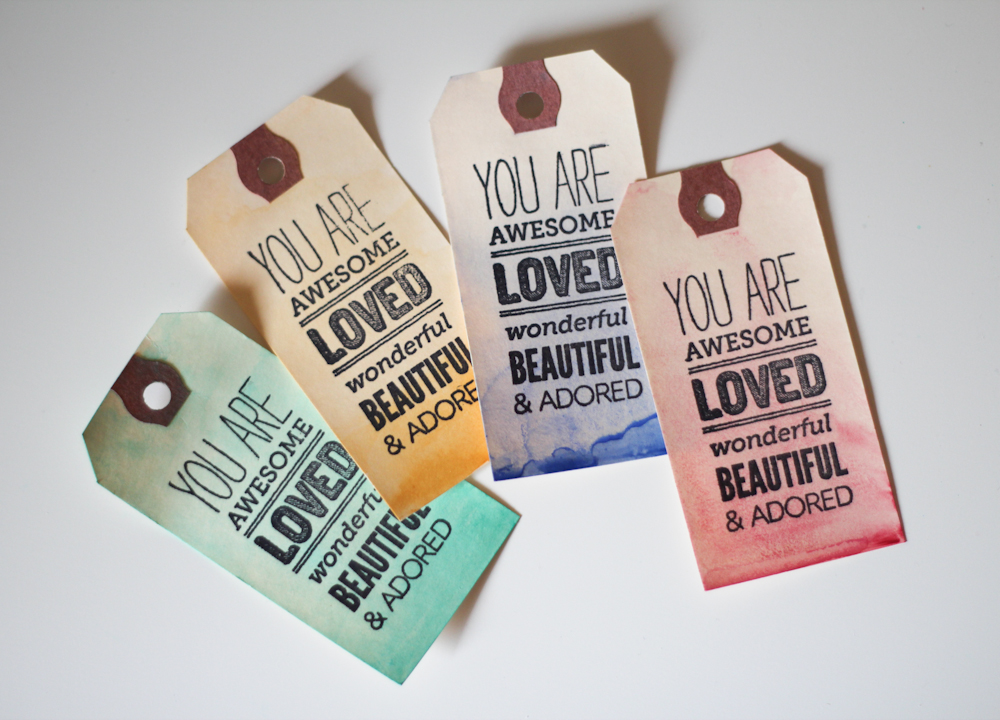
DIY Pastel Watercolor Gift Tags
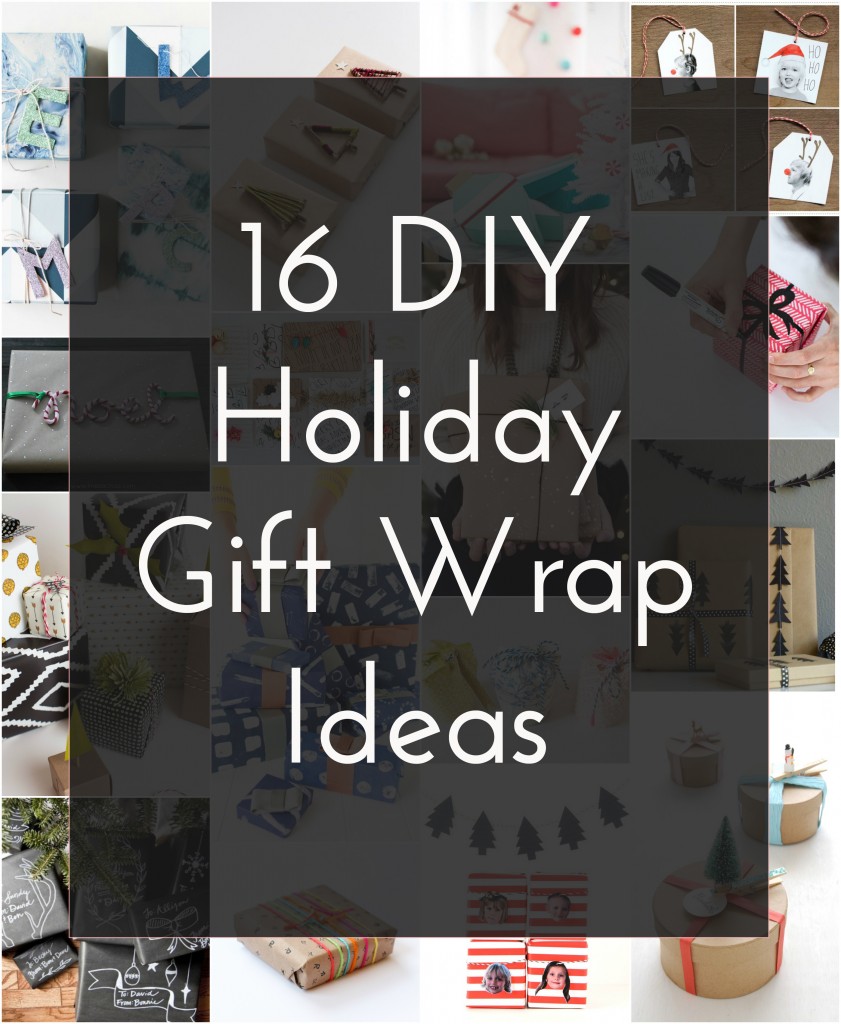
16 DIY Holiday Gift Wrap Ideas
Last Minute DIY Gift Wrap
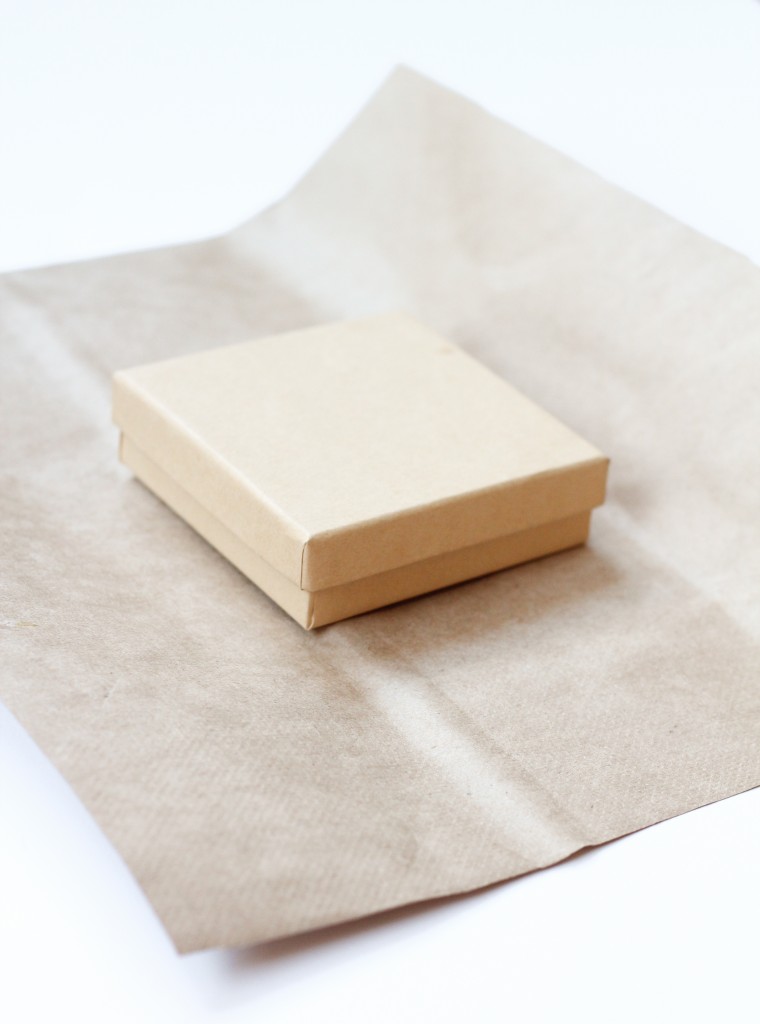
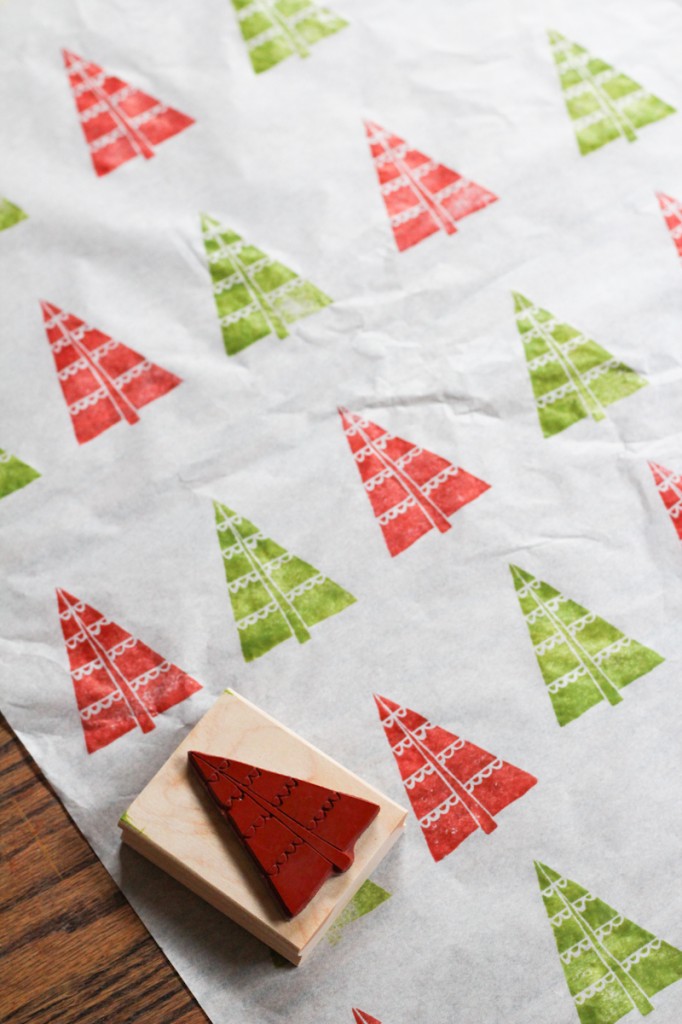
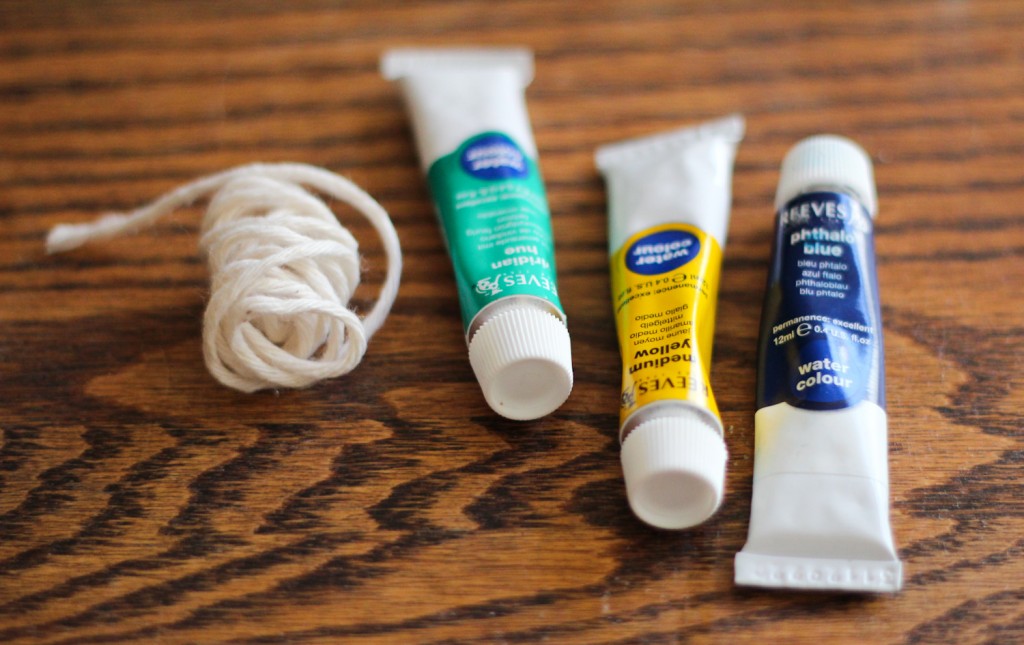
Inspiration of the Week: Gift Tags
Recycled Tissue Paper
Dyed Baker’s String
Water Color Gift Tags
All categories ➝
DIY
How to Cover a Lampshade with Fabric
DIY Baby Monthly Milestone Numbers
DIY Colorful Baby’s Breath Garland
How to Spray Paint a Disco Ball
DIY Hammered Flower Art
Home Decor
House Goals: Colorful Painted Stairs
Brownstone Interior Design Inspiration
Disco Ball Fireplace
A Look at Our New Apartment
Colorful Brooklyn Apartment Tour
Holiday
25 DIY Christmas Decorations
How to Make a Halloween Sweater
Merry Christmas + Happy New Year!
Christmas Home Tour 2021
DIY Bottle Brush Tree Ornament
Printables
Halloween Movie Checklist Printable
DIY Craft Room Labels
Christmas Movie Checklist Printable
Free Printable: Thanksgiving Napkin Rings
Free Printable Art
Wedding
Table Number Download
10 Ways to Save Money on Your Wedding
8 DIY Colorful Wedding Decor Ideas
#thecraftedwife: My Confetti Veil
Our Colorful Wedding Altar
Inspiration
Colorful Gifts Under $50
8 Dye Projects to Add Color To Your Home
Color Crush: Cobalt Blue
Reflecting On 10 Years of Blogging
12 Beautiful Ikea Hack Projects
All Categories