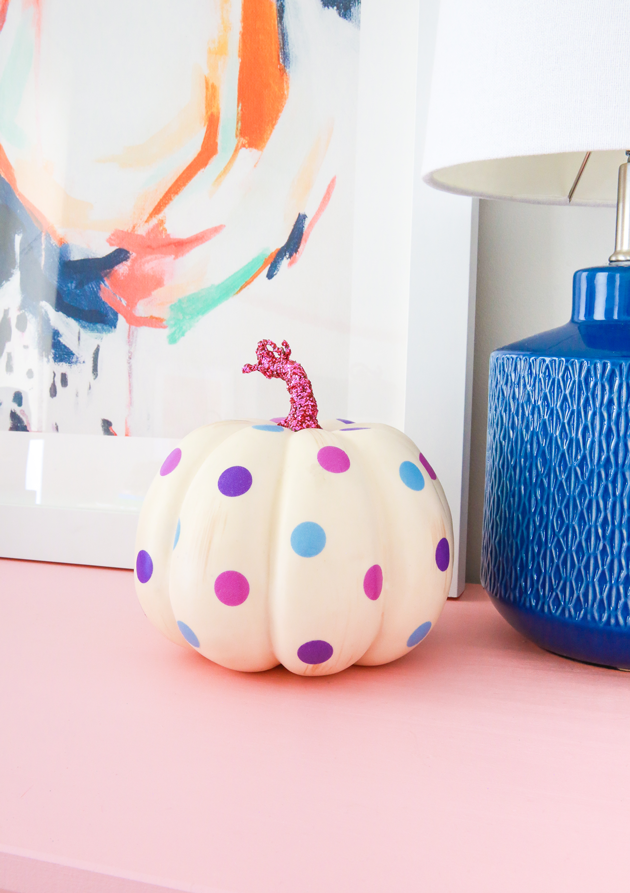
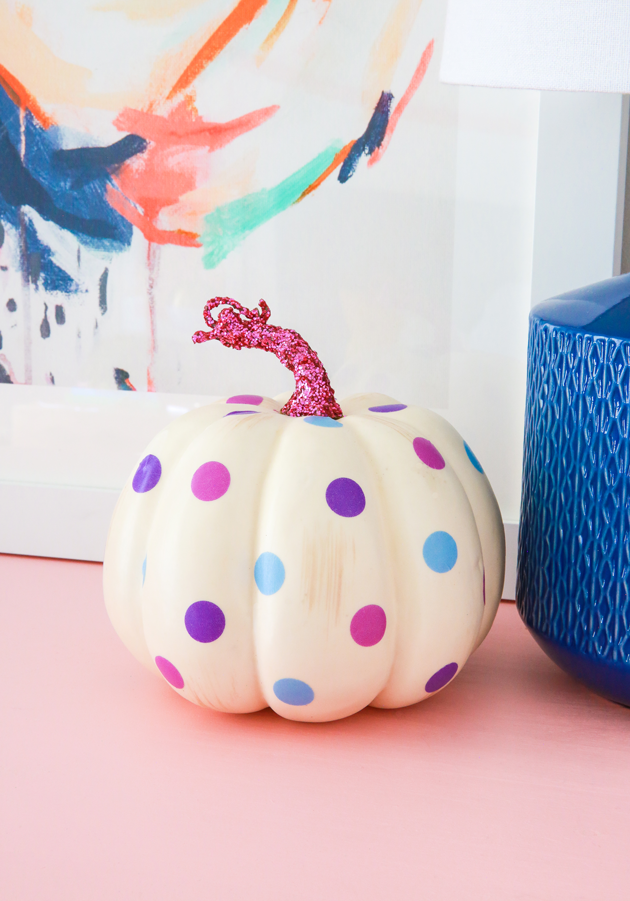
 Two pumpkin DIYS in one year?! I know, things are getting wild around here. This is definitely the most I’ve ever shared pumpkin projects in one year, but this year more than ever, I’ll take all the fun holiday decor I can get. Similar to the push pin pumpkin I shared recently, this one can be done in just a few simple steps. Here’s how to make a DIY polka dot pumpkin in 10 minutes or less:
 What You’ll Need
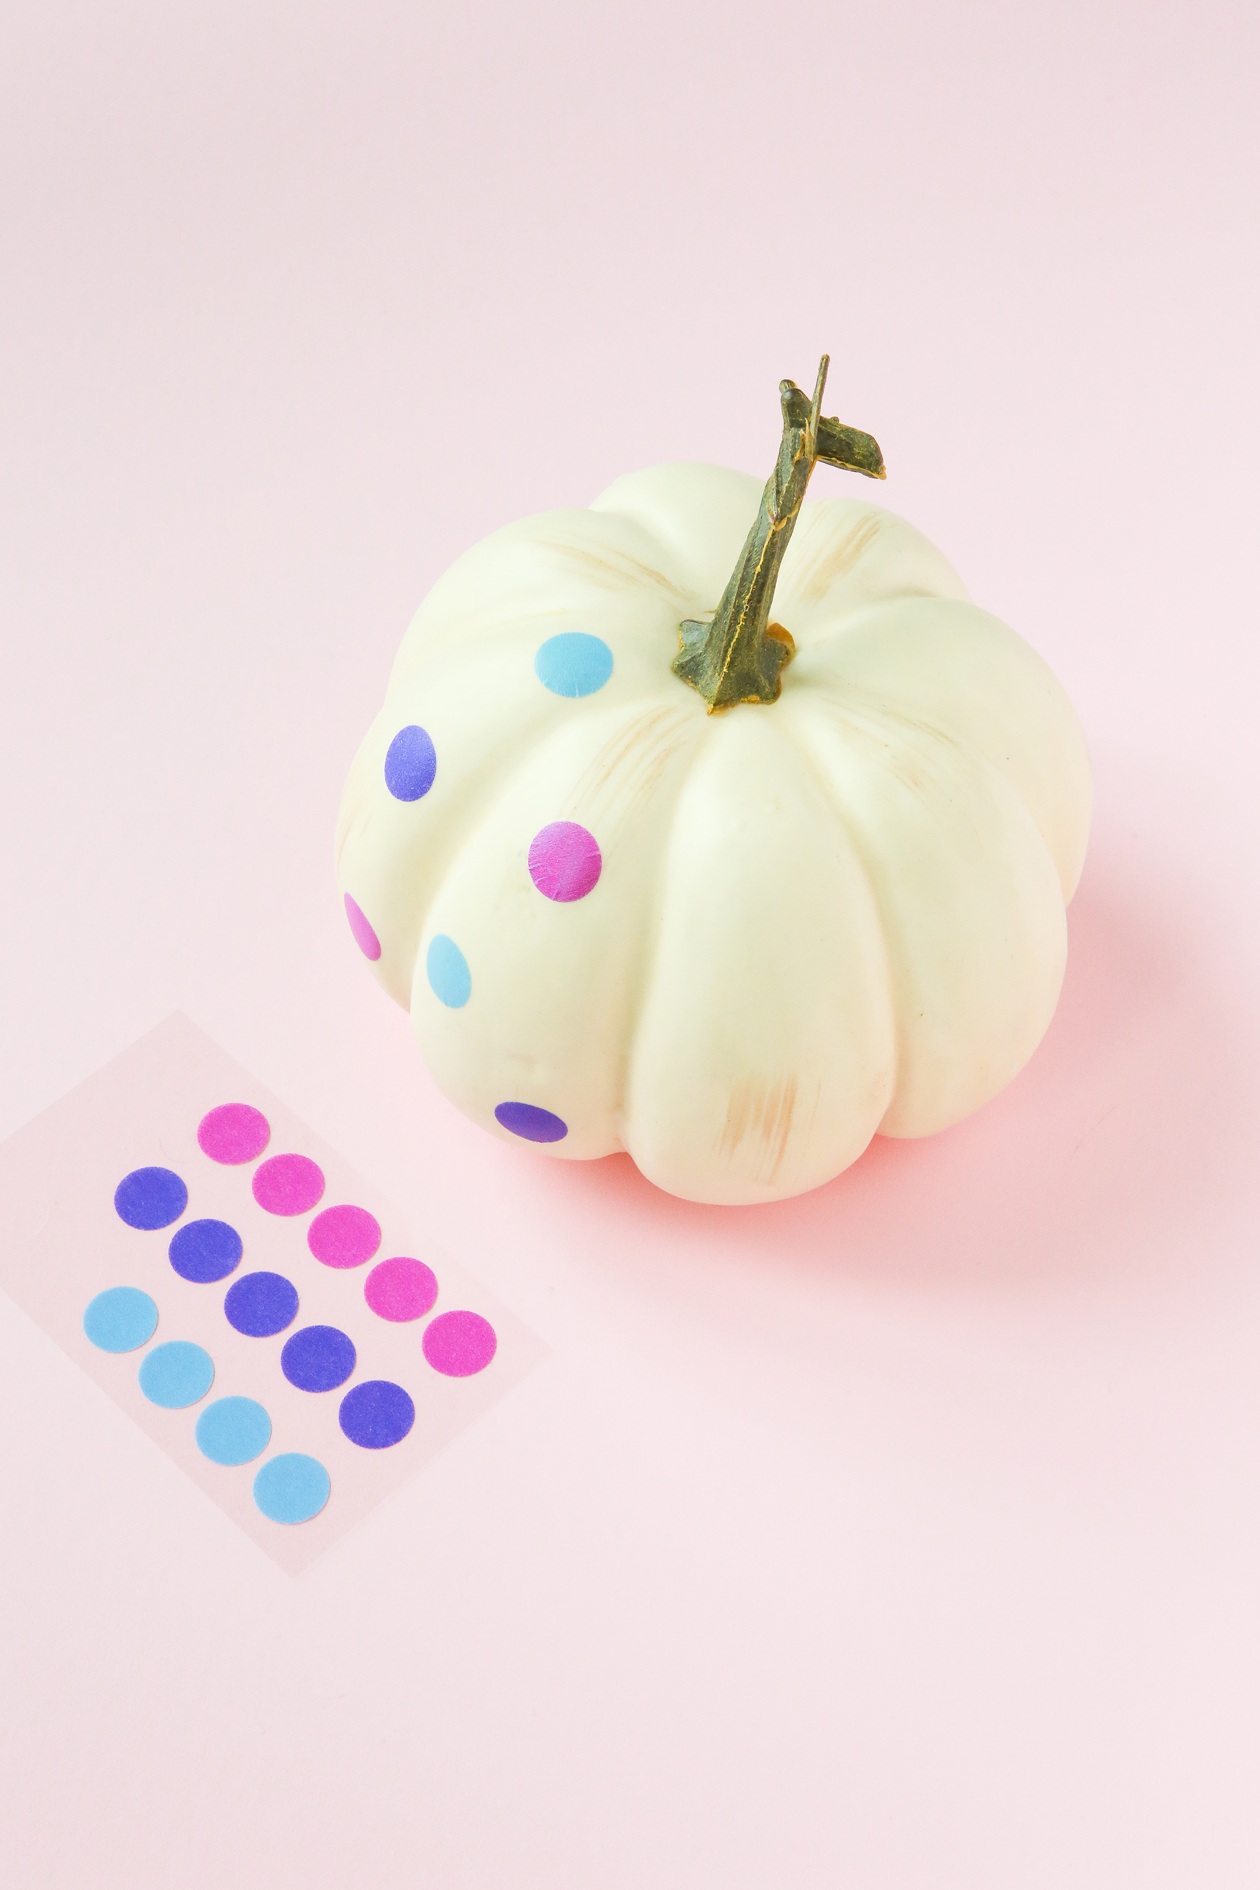
– Washi dot circles (available in my shop in another color too)
– Faux pumpkin
– Glitter + Mod Podge (optional)
The washi dots are in my shop, but you could also find circle stickers at the dollar store and office supply stores. The benefit of using the washi stickers is that you can peel them from your pumpkin with no residue. This is a great option if you want to reuse your pumpkin next year. Also be sure to check out this DIY Confetti Pumpkin which looks similar, but uses a different technique if you can’t find the stickers.
 How to Make a Polka Dot Pumpkin
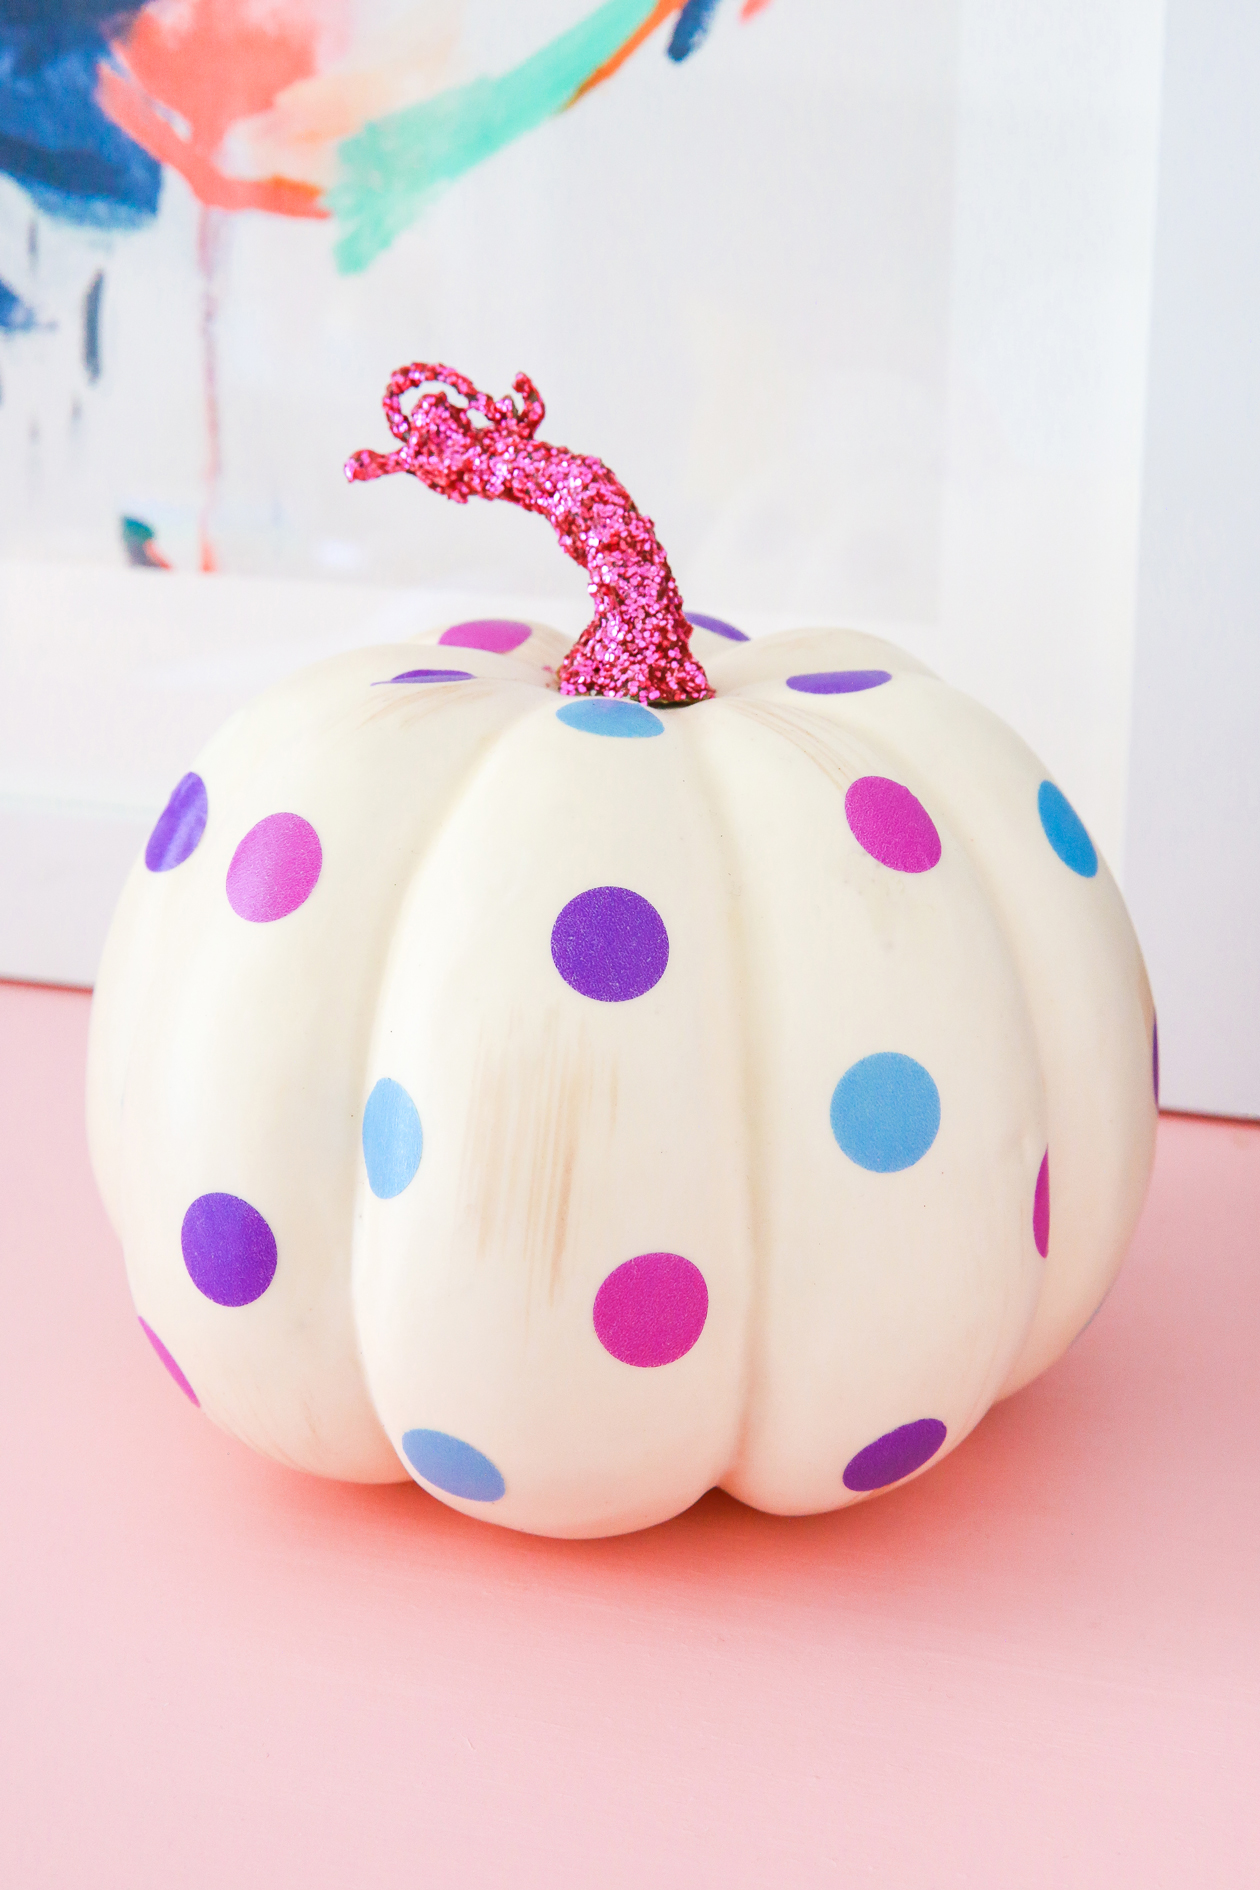
The tutorial for this is pretty straight forward: add your washi stickers to your pumpkin until the surface is covered and you’re done! You can add as many dots as you want. I like some white space on my pumpkin (so you can still tell it’s a pumpkin), so I took that into consideration when placing the stickers.
 For an extra pop of color, cover your stem! You can use paint, gold foil, or glitter like I did. To make a glitter stem: pour a small amount of Mod Podge in a paper cup or other container. Add your glitter and mix well. The more glitter you use, the easier it will be to cover the stem. Apply to your pumpkin and let dry.
And that’s the project! Let me know if you have any questions and happy crafting!

