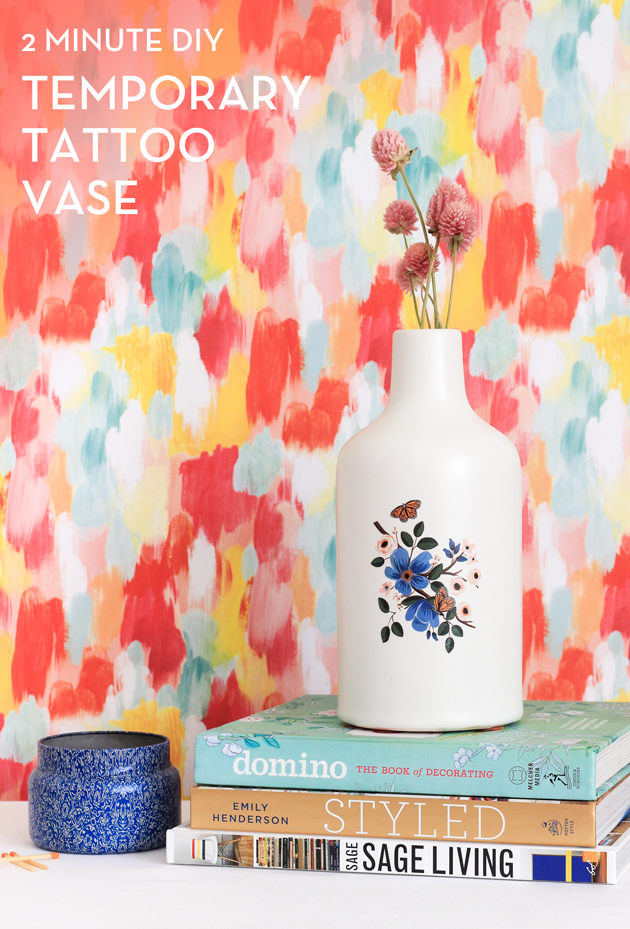
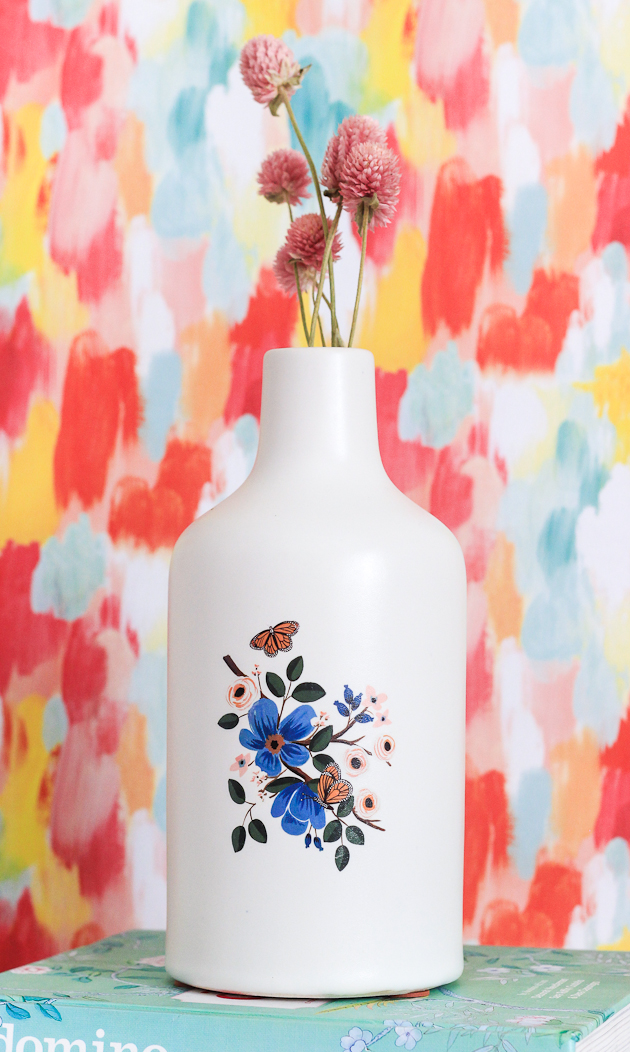
 If you’re looking to customize your vases, but don’t trust yourself with paint, then you’ll want to try this simple DIY solution: temporary tattoos! In a matter of seconds you have a beautiful design on your vase without any effort or mess. Here’s how:
Time: 2 minutes
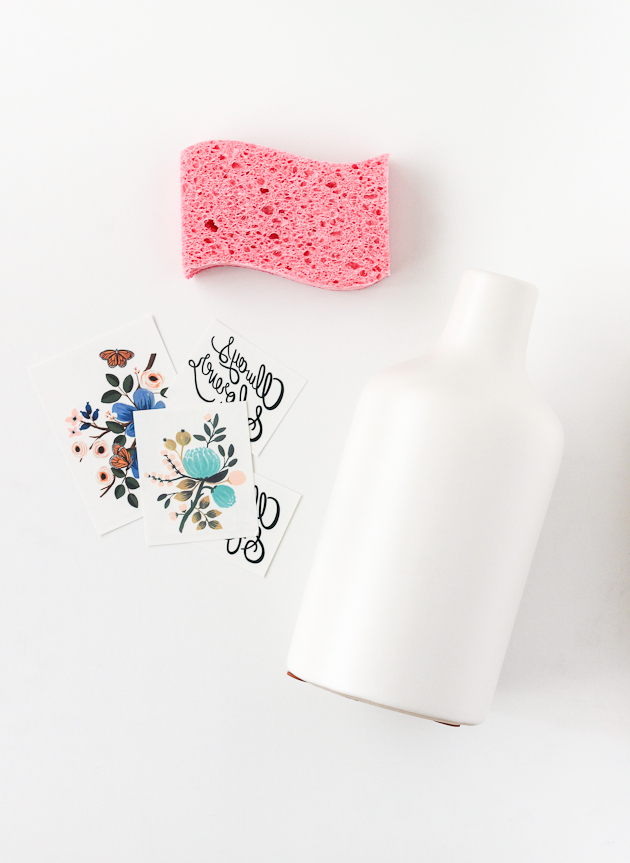
Materials: ceramic vase, temporary tattoos, sponge

Temporary tattoos have come a long way since we were kids. Artist like Rifle Paper Co are creating beautiful ones (which I used for this project), or you can even make your own! I found the ceramic vase through West Elm (it’s the Bottle one) and just love the weight and shape of it.
 You’ll apply the tattoo the vase just as you would if you were applying it to your skin. Peel off the plastic layer and place tattoo on the vase, design side down. Hold damp sponge on the back for 30-45 seconds, applying even and steady pressure. Remove paper backing and let air dry.
 If you want your design to last, I recommend sealing with a layer or two of Martha Stewart’s Decoupage. Either way, be sure to hand wash!
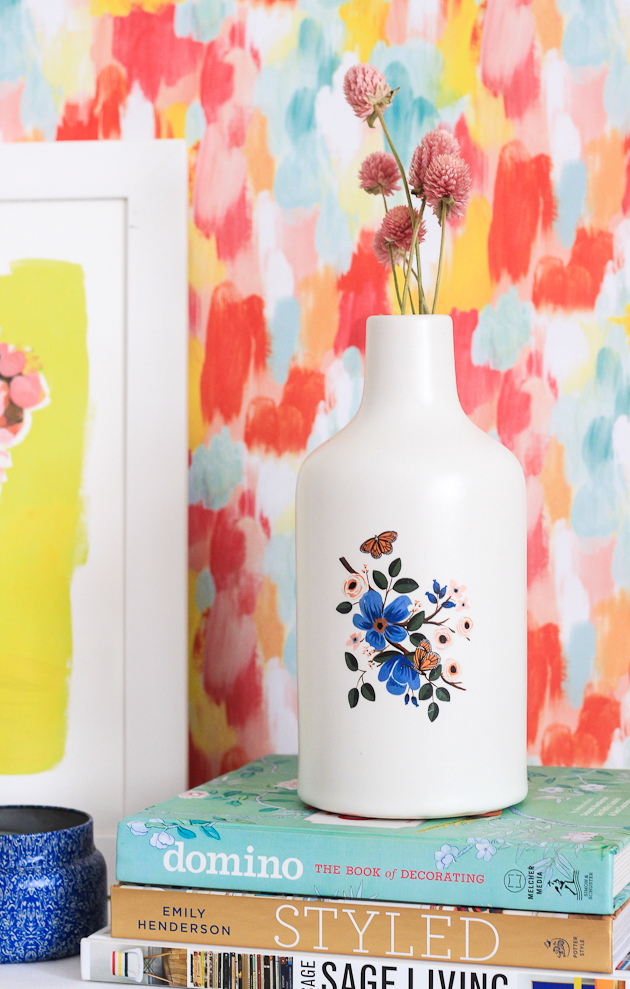
 Super easy, don’t you think?! I love the idea of customizing these for a party, but then removing the tattoo later (you can with acetone) for everyday use. I think it would also be fun to get a bunch of tattoos and create your own pattern on the vase. There are so many ways to play around with this DIY!
Product for this post was provided by West Elm. All options are 100% my own.

