 When I first started blogging, I had never held a DSLR camera. It’s amazing how much of this job is just jumping in and figuring it out as you go. One thing that I’ve learned recently is how to photograph interior spaces, even when the lighting sucks. If you’re new to photography of this nature, here are five absolute must follow tips for shooting:
1. Use natural light. This is just lifestyle photography 101. Even if your space is low lighting use natural light. If your shoot day is flexible, I recommend that you keep track of the lighting in your space for a day. Note the times its the brightest and take some test shots to compare the results.
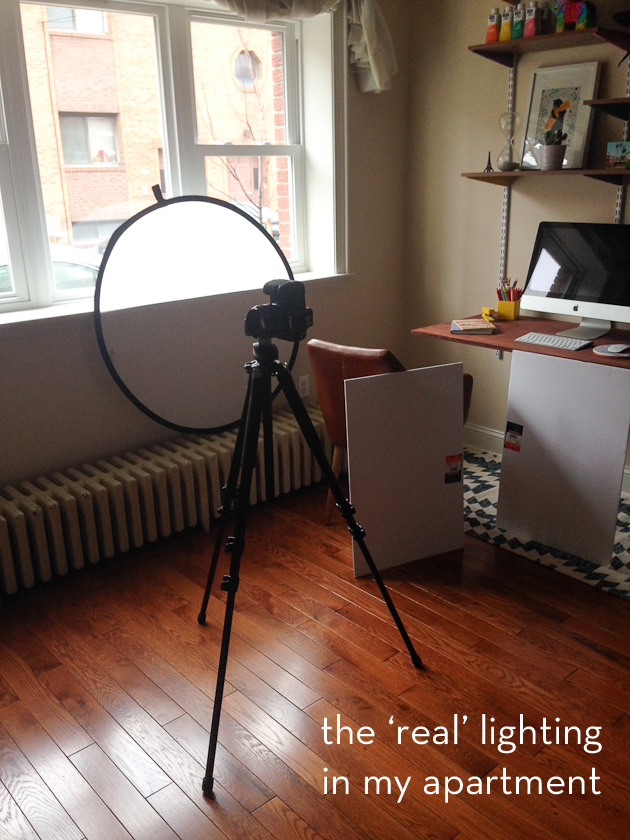 2. Use a tripod + wireless remote. So you know all those photos you’ve pinned and drooled over? The ones that made you hate your own apartment and made you want to move because they’re so bright and perfect? Turns out that more often than not a tripod is to thank (maybe blame?) for that magic. Trust me here, a tripod will change everything because it allows your camera to have a slower shutter speed which lets more light in (making spaces appear brighter than they are). The photoshoot will take a lot longer since you have to set up and frame every single shot, verses being able to move freely holding the camera, but you’ll be able to get a brightness to your photos that you wouldn’t otherwise.
A wireless remote means that you wont bump or shake the camera while the picture is being taken, causing it to blur. It will also allow you to move around the room to do other things like…
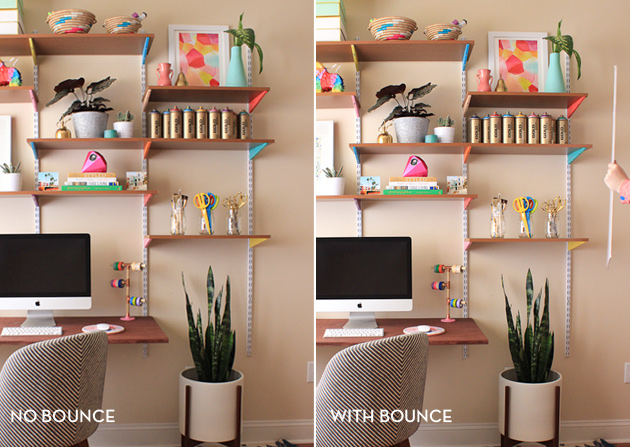 3. Bounce light. To soften shadows use a bounce or piece of poster board (like I did above) to bounce light back onto the area you’re photographing. You can see the subtle, yet important effect, in the above unedited photos above. Essentially you want to angle your bounce to catch the light from the window and reflect it back onto the surface you’re photographing.
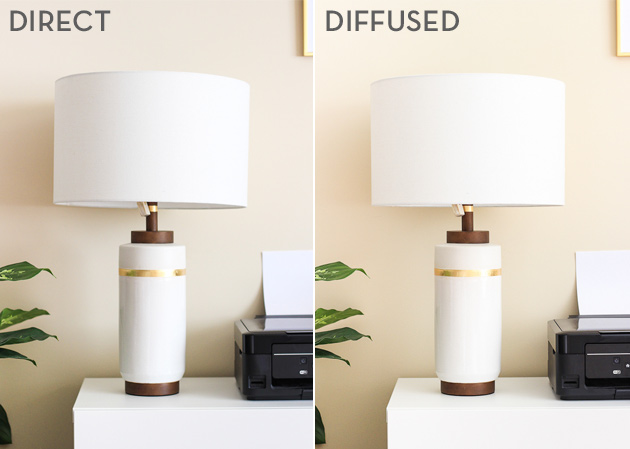 4. Diffuse Light. While natural light is a must, you also don’t want direct/harsh light. Above, the photo on the left was taken close to a window with no curtain. The photo on the right, however, was taken with a translucent screen over the window. The lighting is much more even and by bouncing light on the other side, the shadows are less harsh, and in some areas, not even visible.
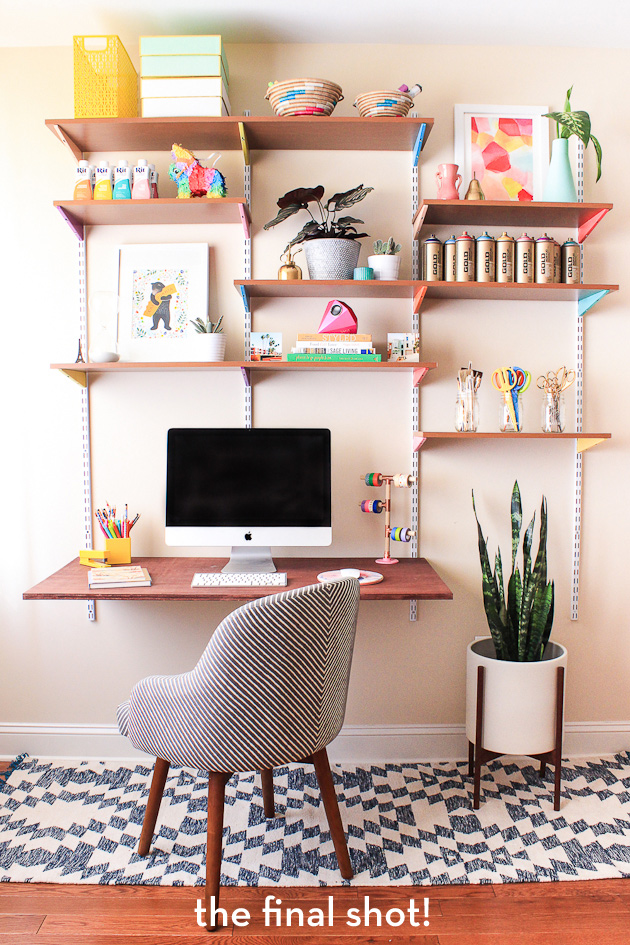 5. Keep it simple. I think some of my favorite interior shots are the simple, straight forward ones. No fancy angles are needed because the space speaks for itself. Take a variety of full room and detail shots to give the viewer the sense they’ve actually been in your space and know what everything looks like.
So those are the tips! If you have any additional ones, I’d love to hear them! Also, here’s the full makeover pictured in the photos above. And if you’d like to learn even more photography tips, you can use code CCPHOTO for 10% off my e-course!