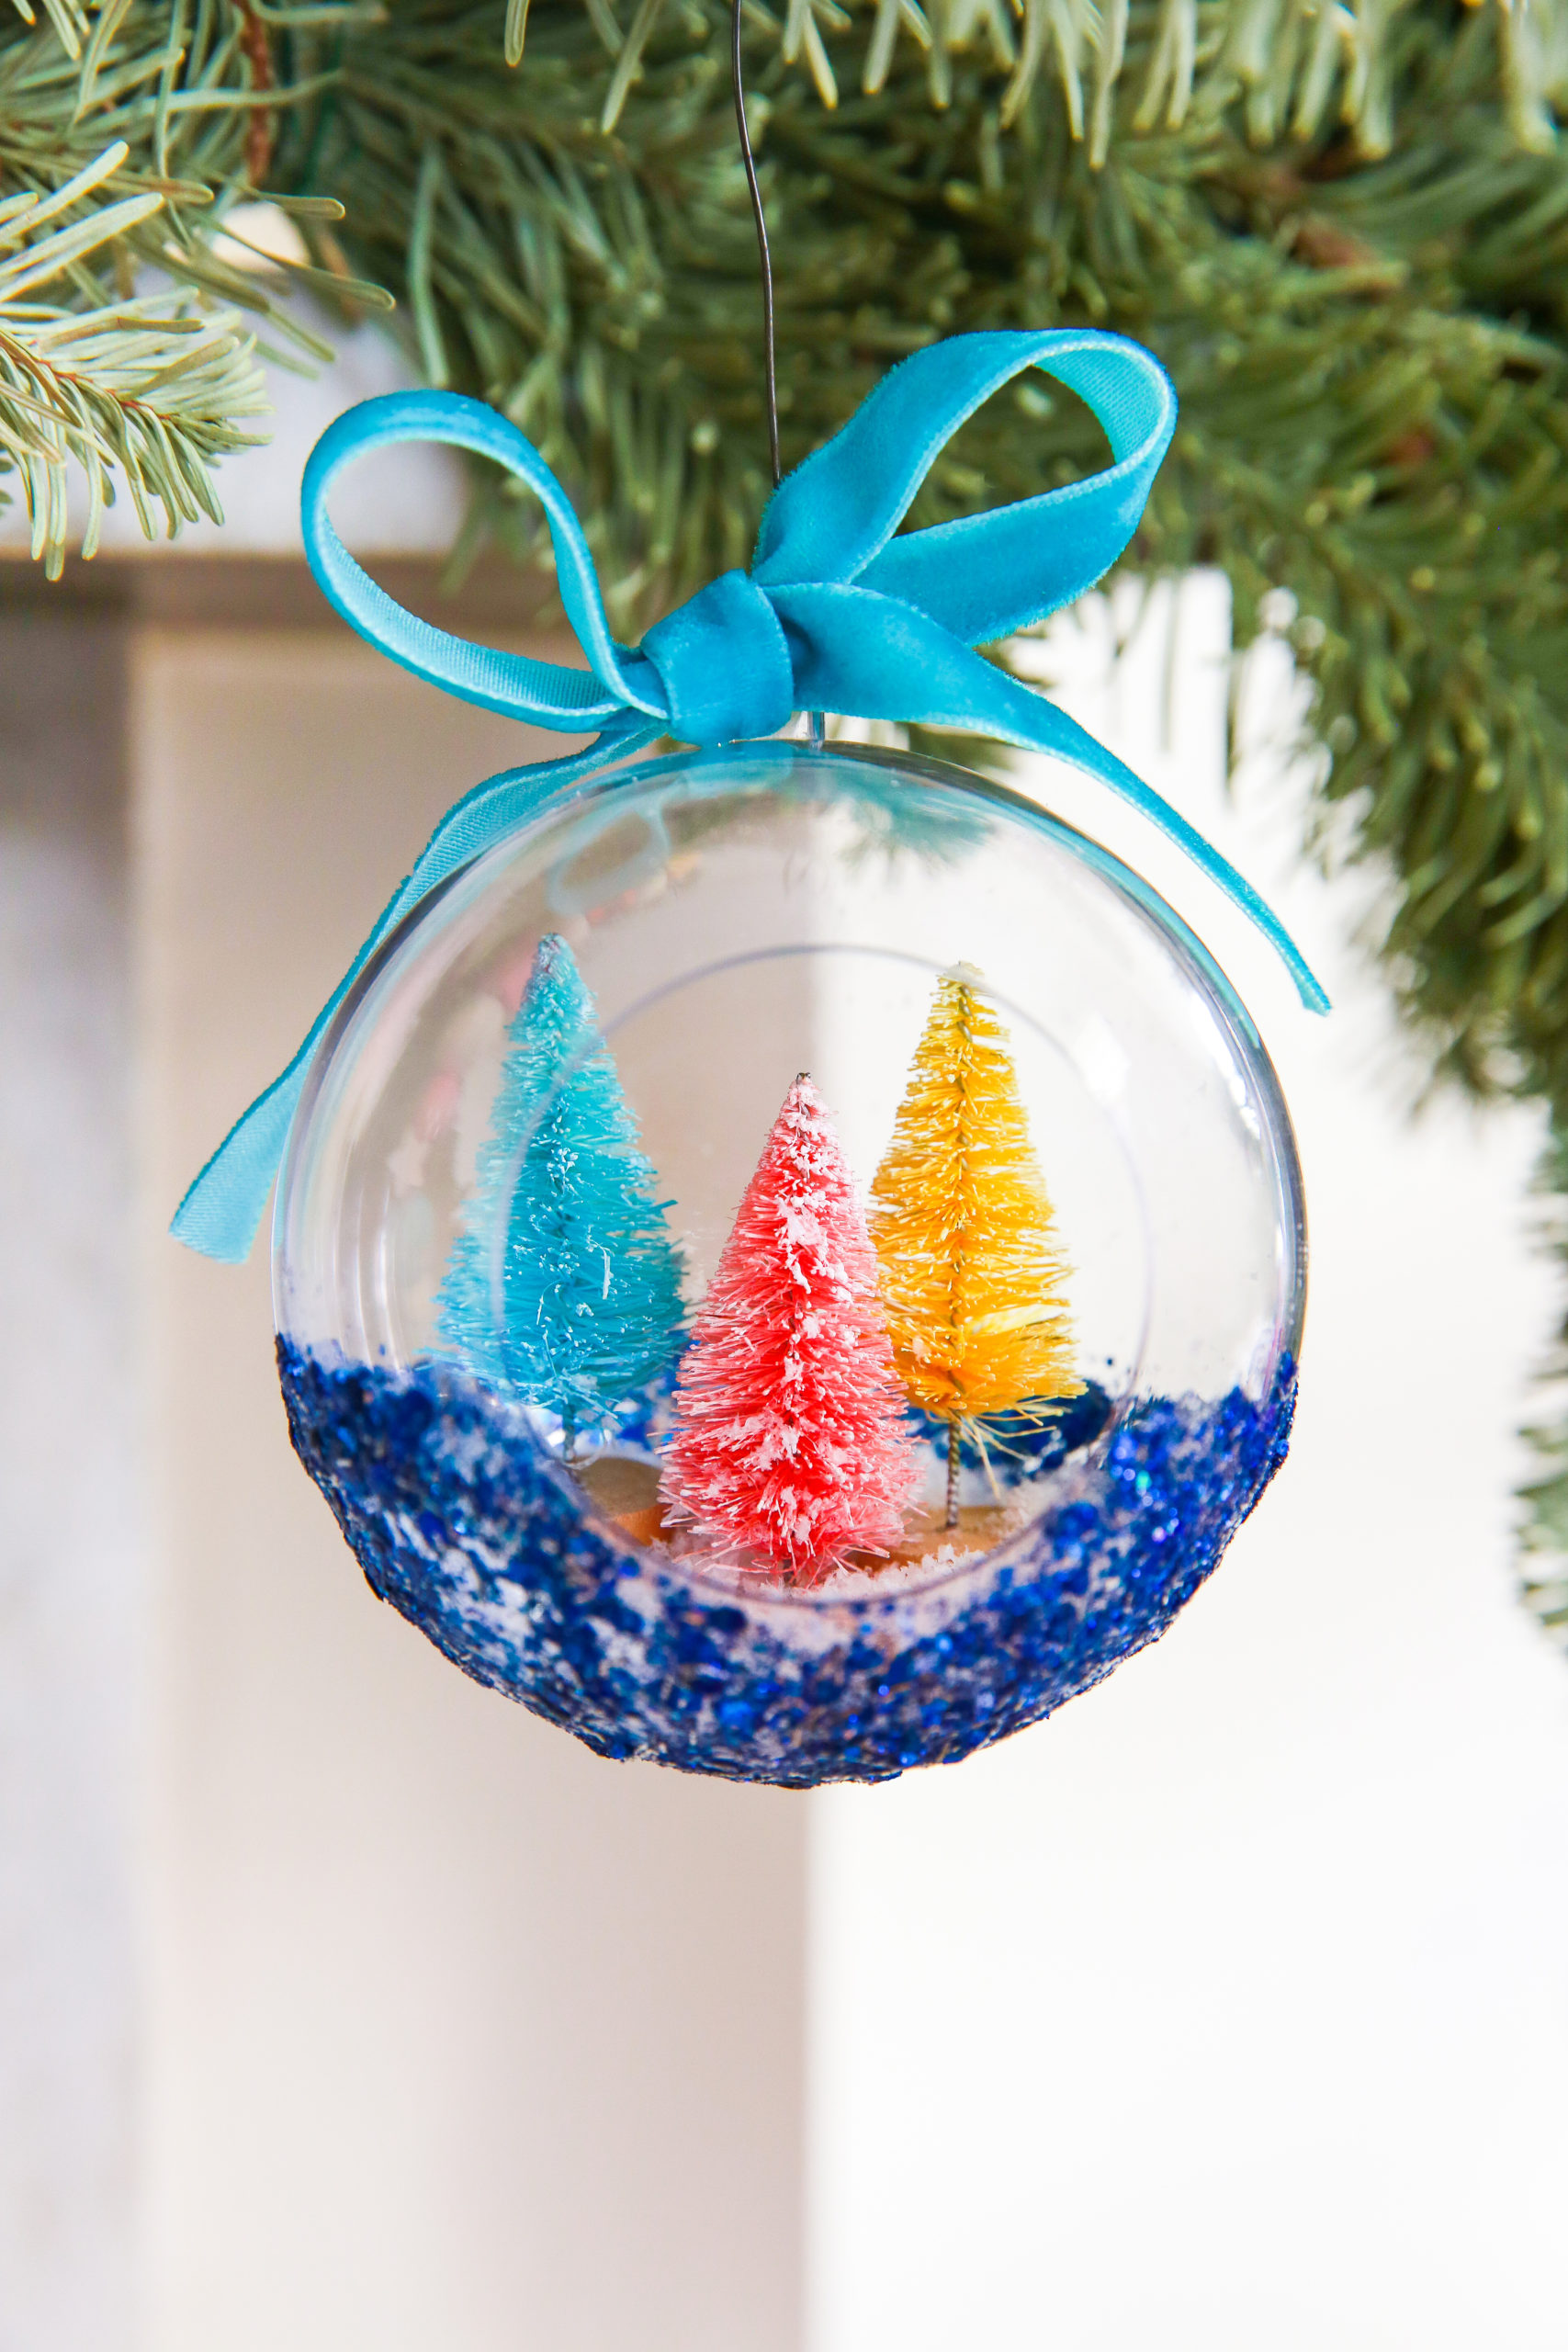
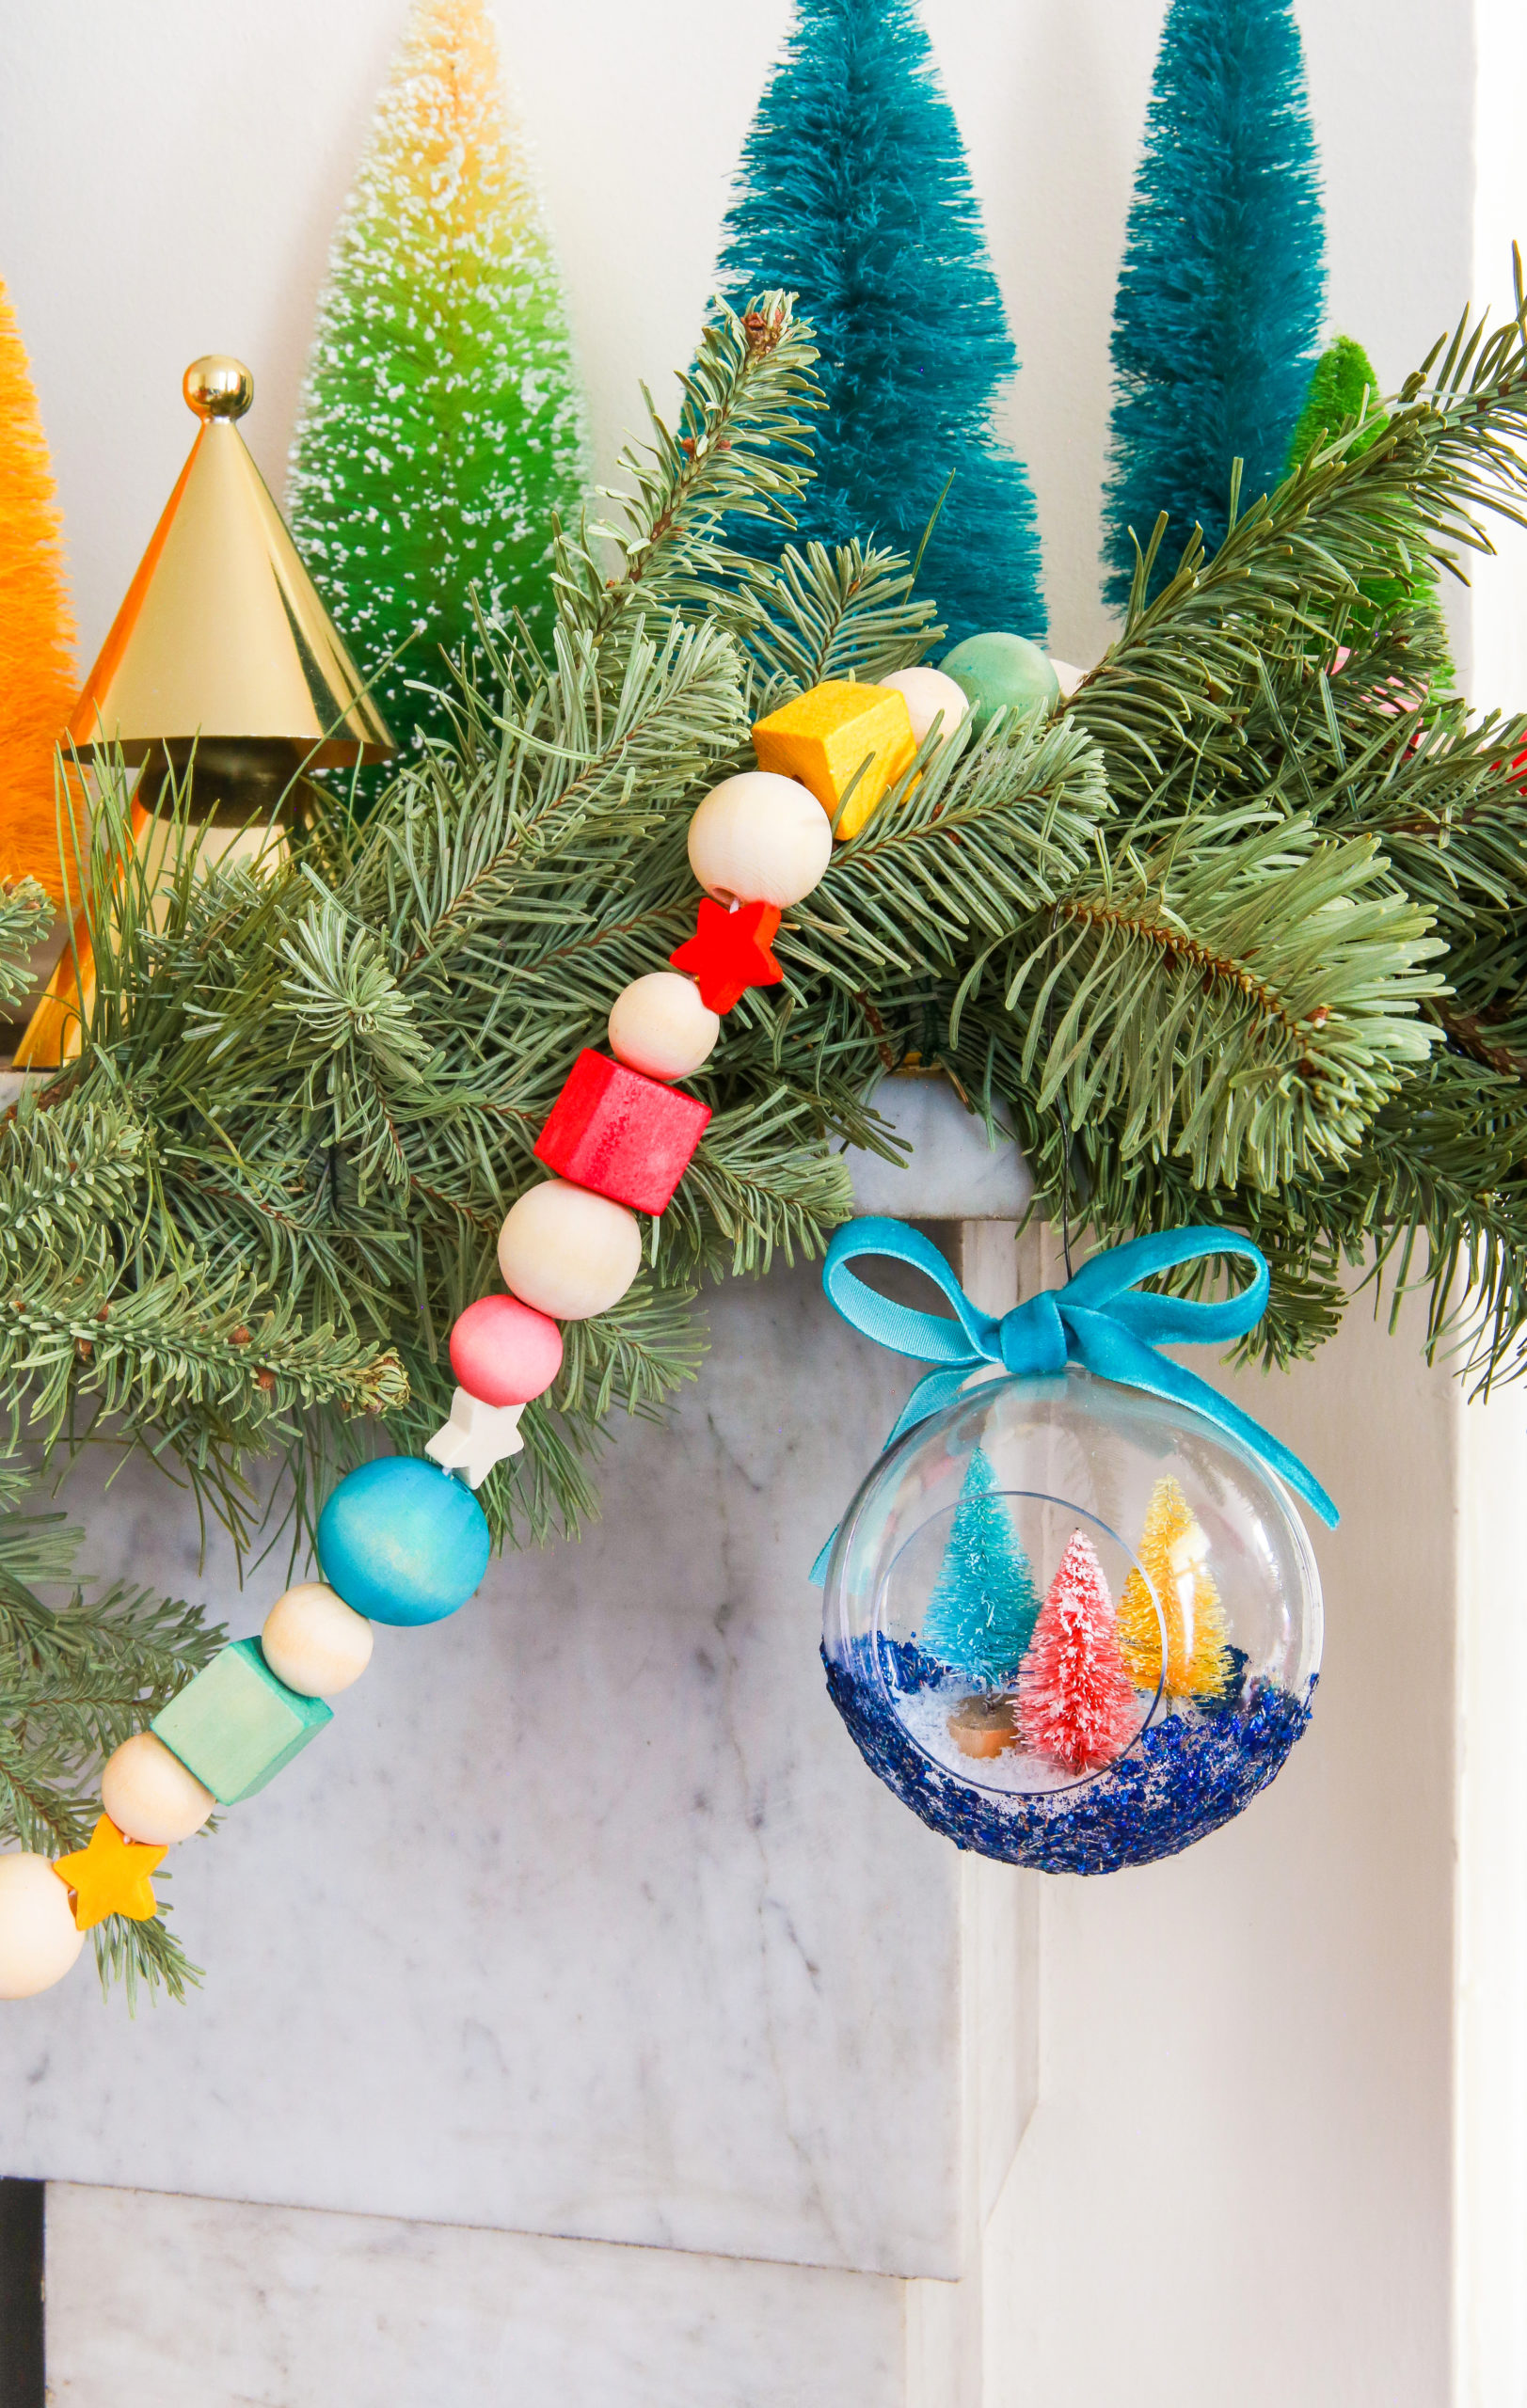
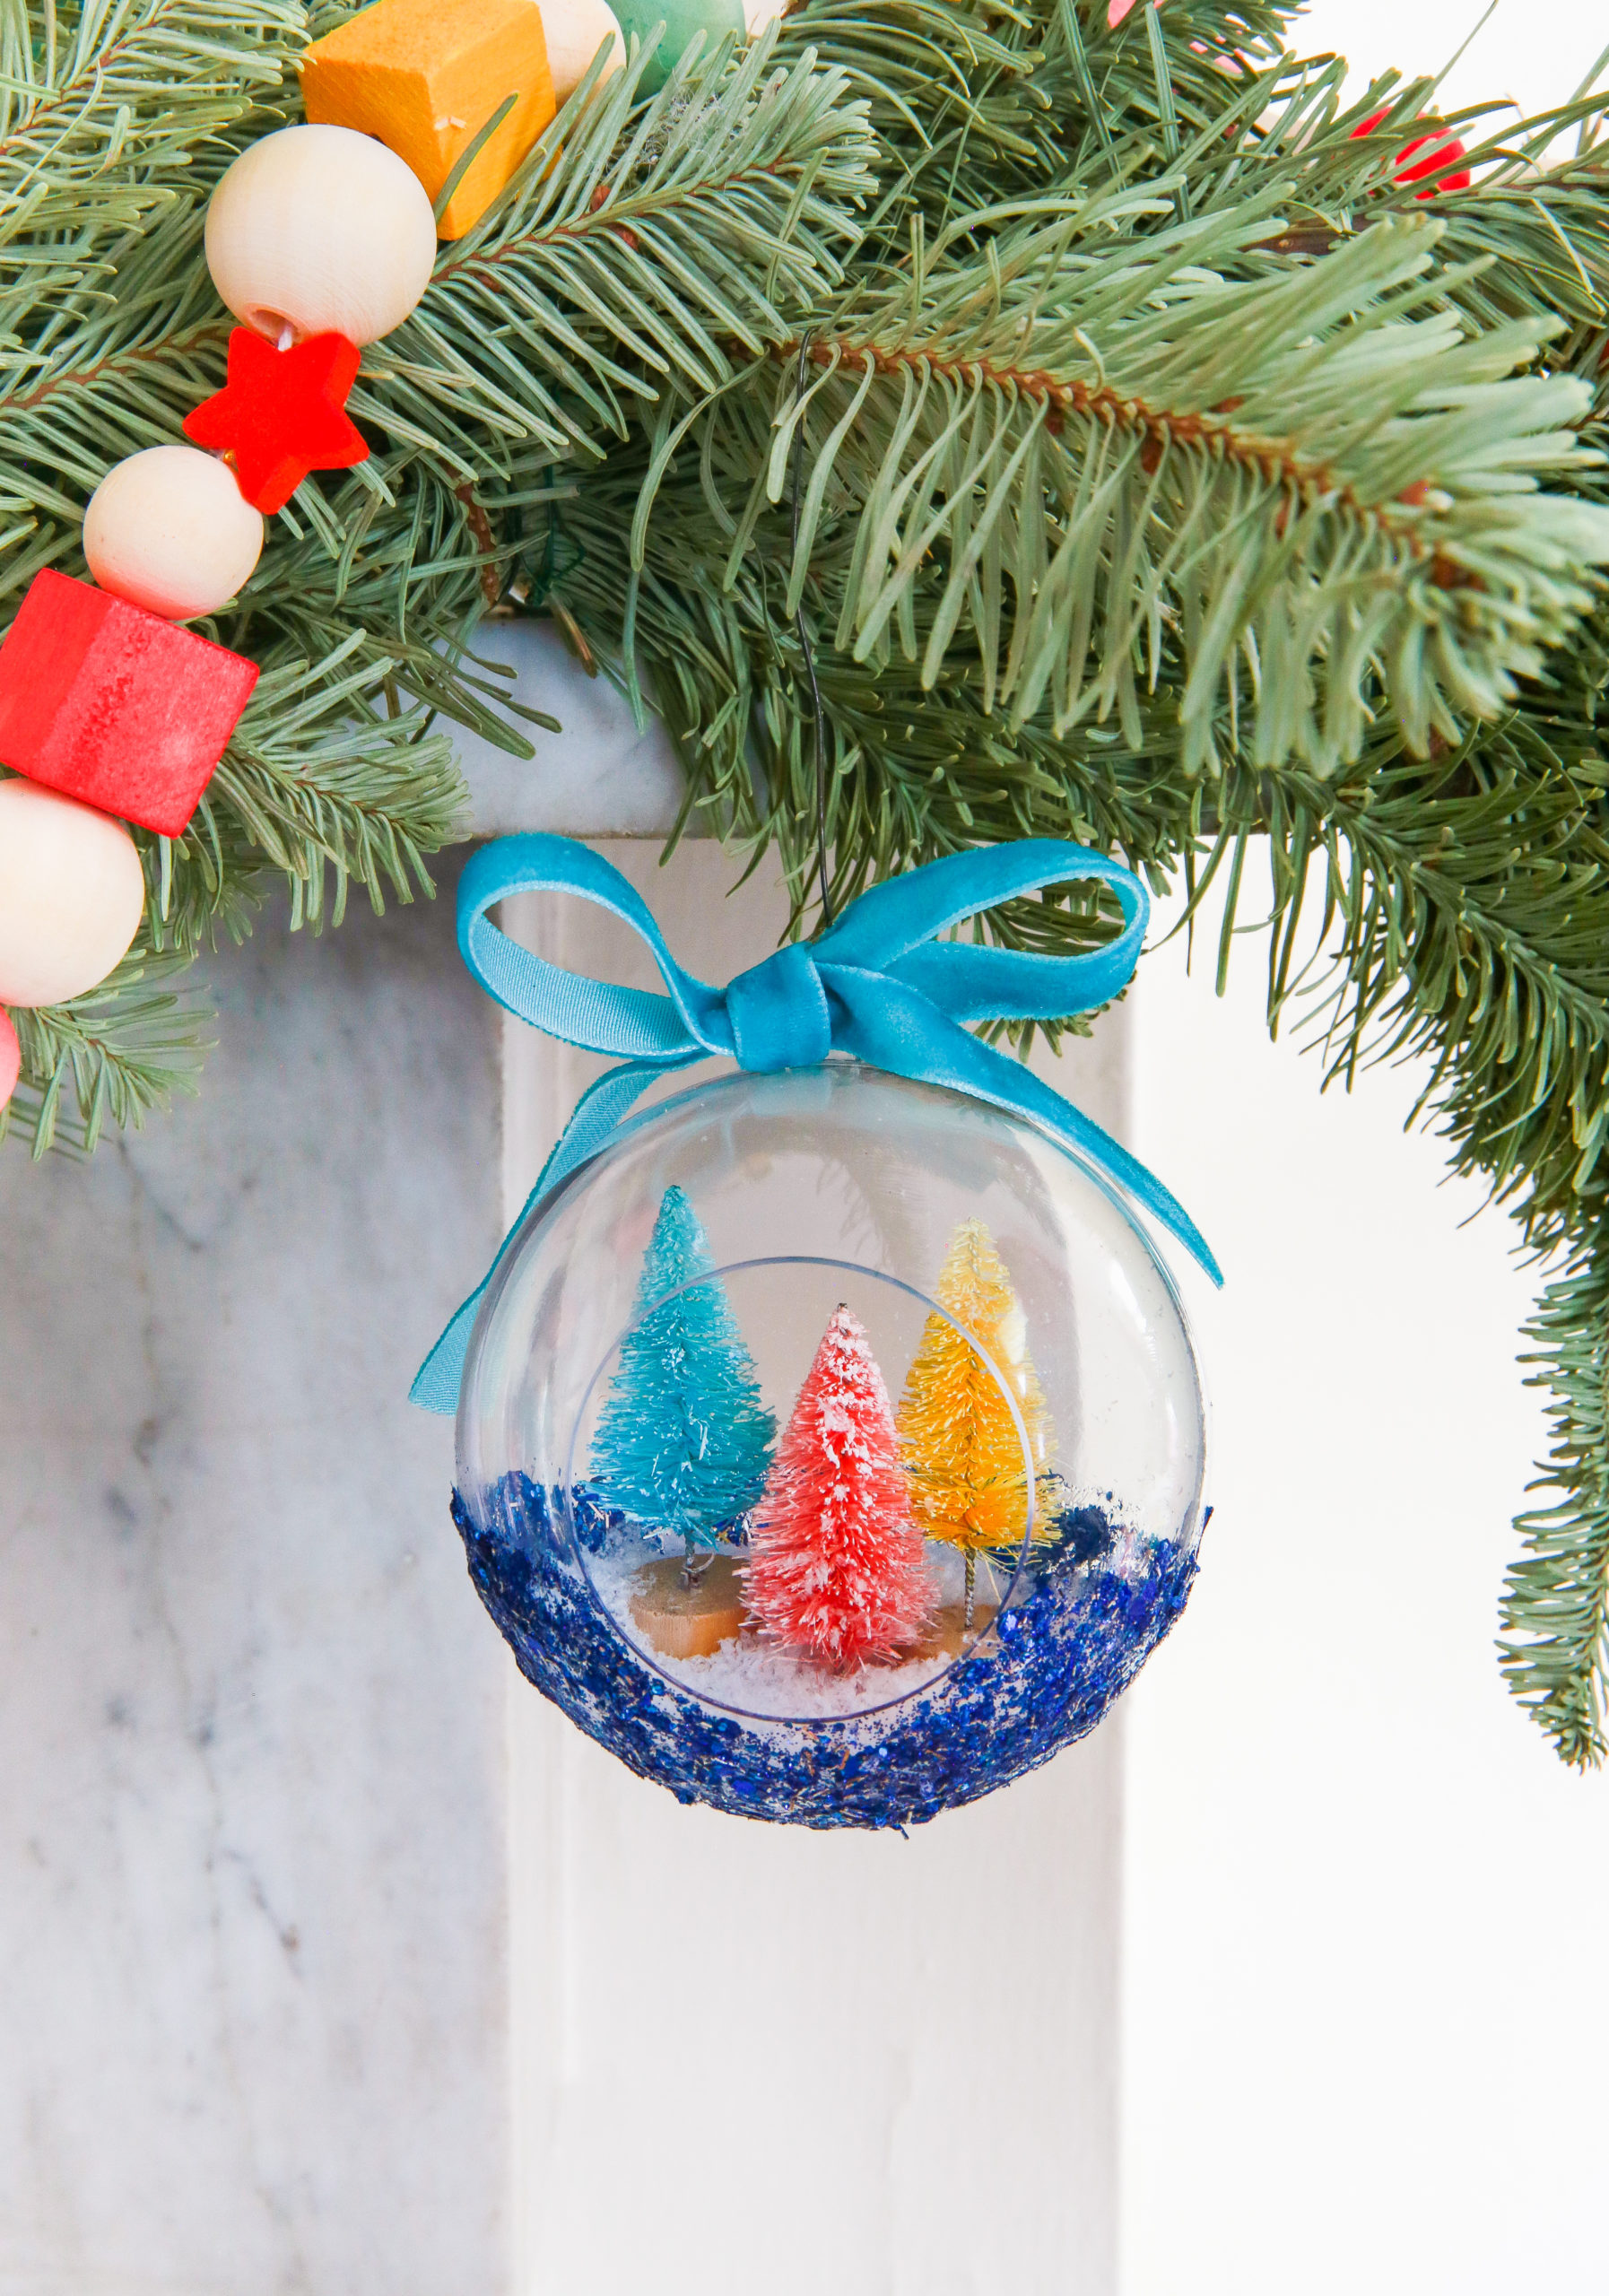
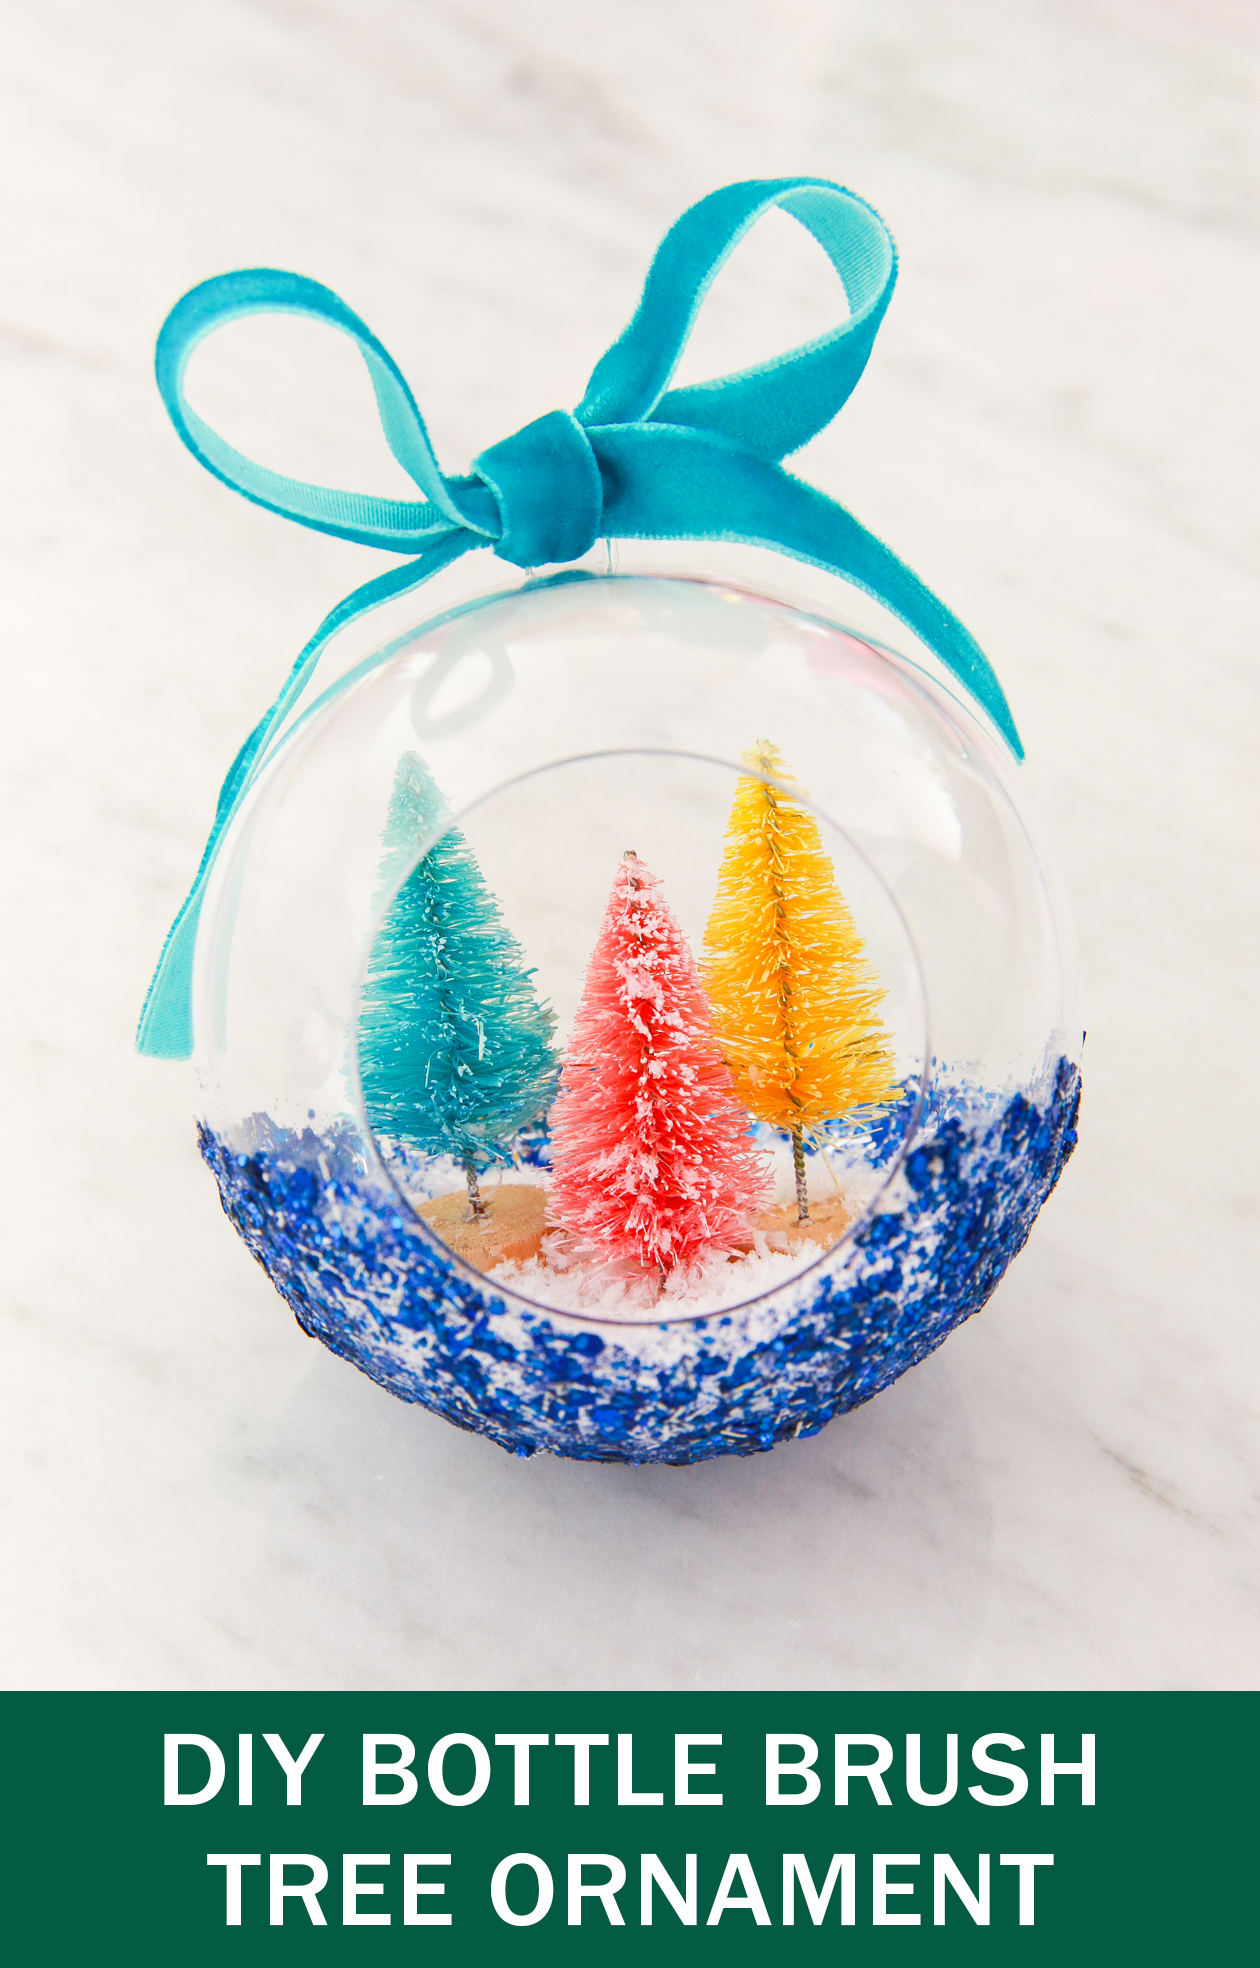
 Yesterday I shared all about how to dye bottle brush trees, and today I’m going to share a fun project you can make with them! After vintage ornaments, my favorite piece of holiday decor is the bottle brush tree. So it’s only right that I use them in as many places as possible! You can hang this ornament on your tree, give as a gift topper, or even use it as a place card setting for a dinner party. Now that I listed all the reasons you should absolutely try this project, let’s get into the tutorial!
Here’s how to make a bottle brush tree ornament:
You can watch this tutorial on YouTube or continue with the photo DIY!
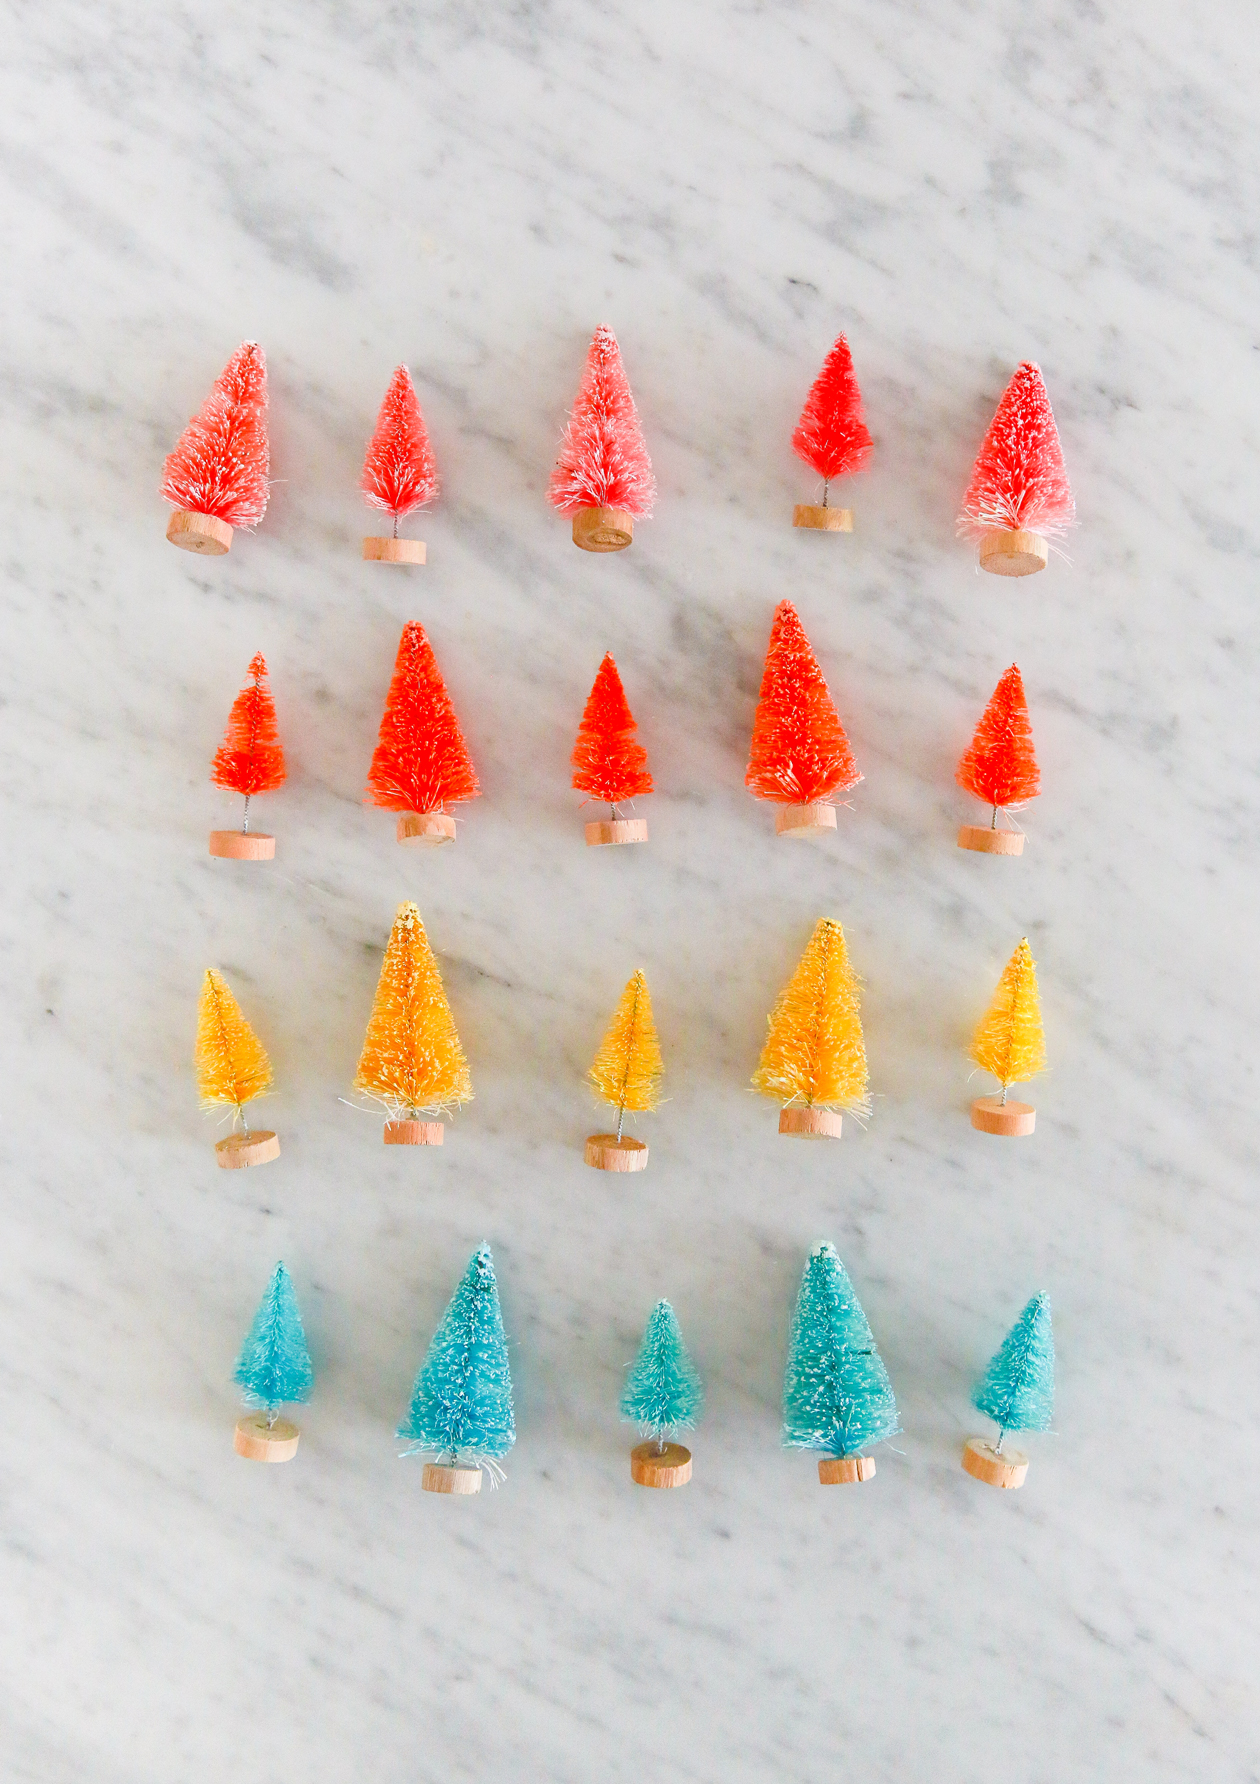 What You’ll Need
– Terrarium ornament
– Mini bottle brush trees
– Hot Glue Gun
– Fake Snow
– Mod Podge
– Glitter + Brush
If you want your ornament to fit your decor style perfectly, then I suggest dyeing your trees! It really only takes a few minutes to add color (here’s the video how-to). I dyed my trees the same colors as our wedding colors! Just be sure to do this step the day before you want to make your ornament.
I used a different ornament, but would have preferred to use this one because it’s seamless.
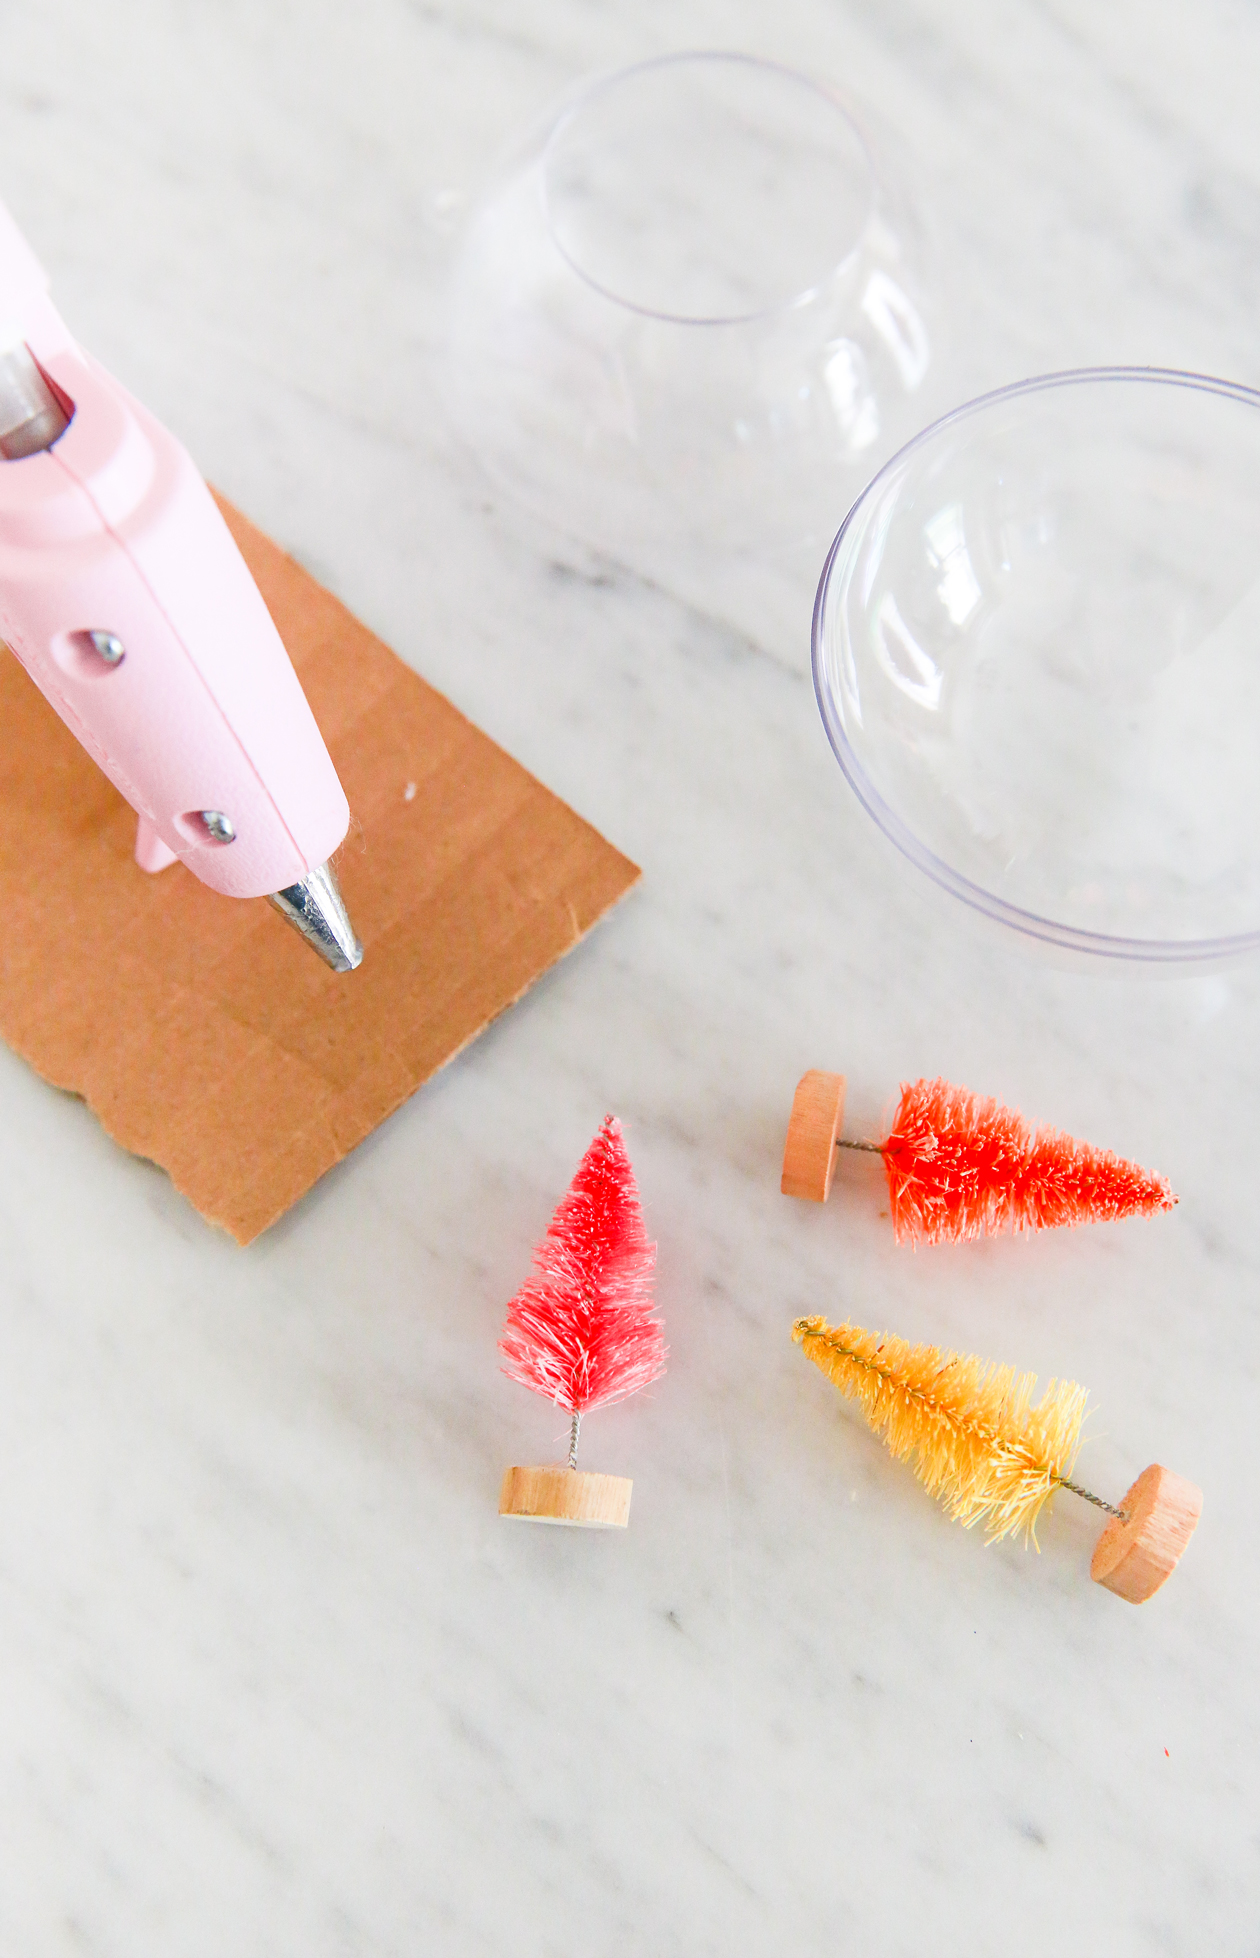 How to Make the Ornament
1. Set your trees in place in the ornament with a dab of hot glue. Let cool.
2. Apply a layer of glue and sprinkle on a bit of fake snow. It helps to have a brush to push the snow into the glue. Let dry.
3. There’s a chance the hot glue will be showing through the bottom of the ornament, so it helps to add a bit of glitter on the outside of the bulb to cover it up! Mix mod podge with glitter and apply in a thick coat. Let dry over night.
4. Add ribbon to the top and you’re done!
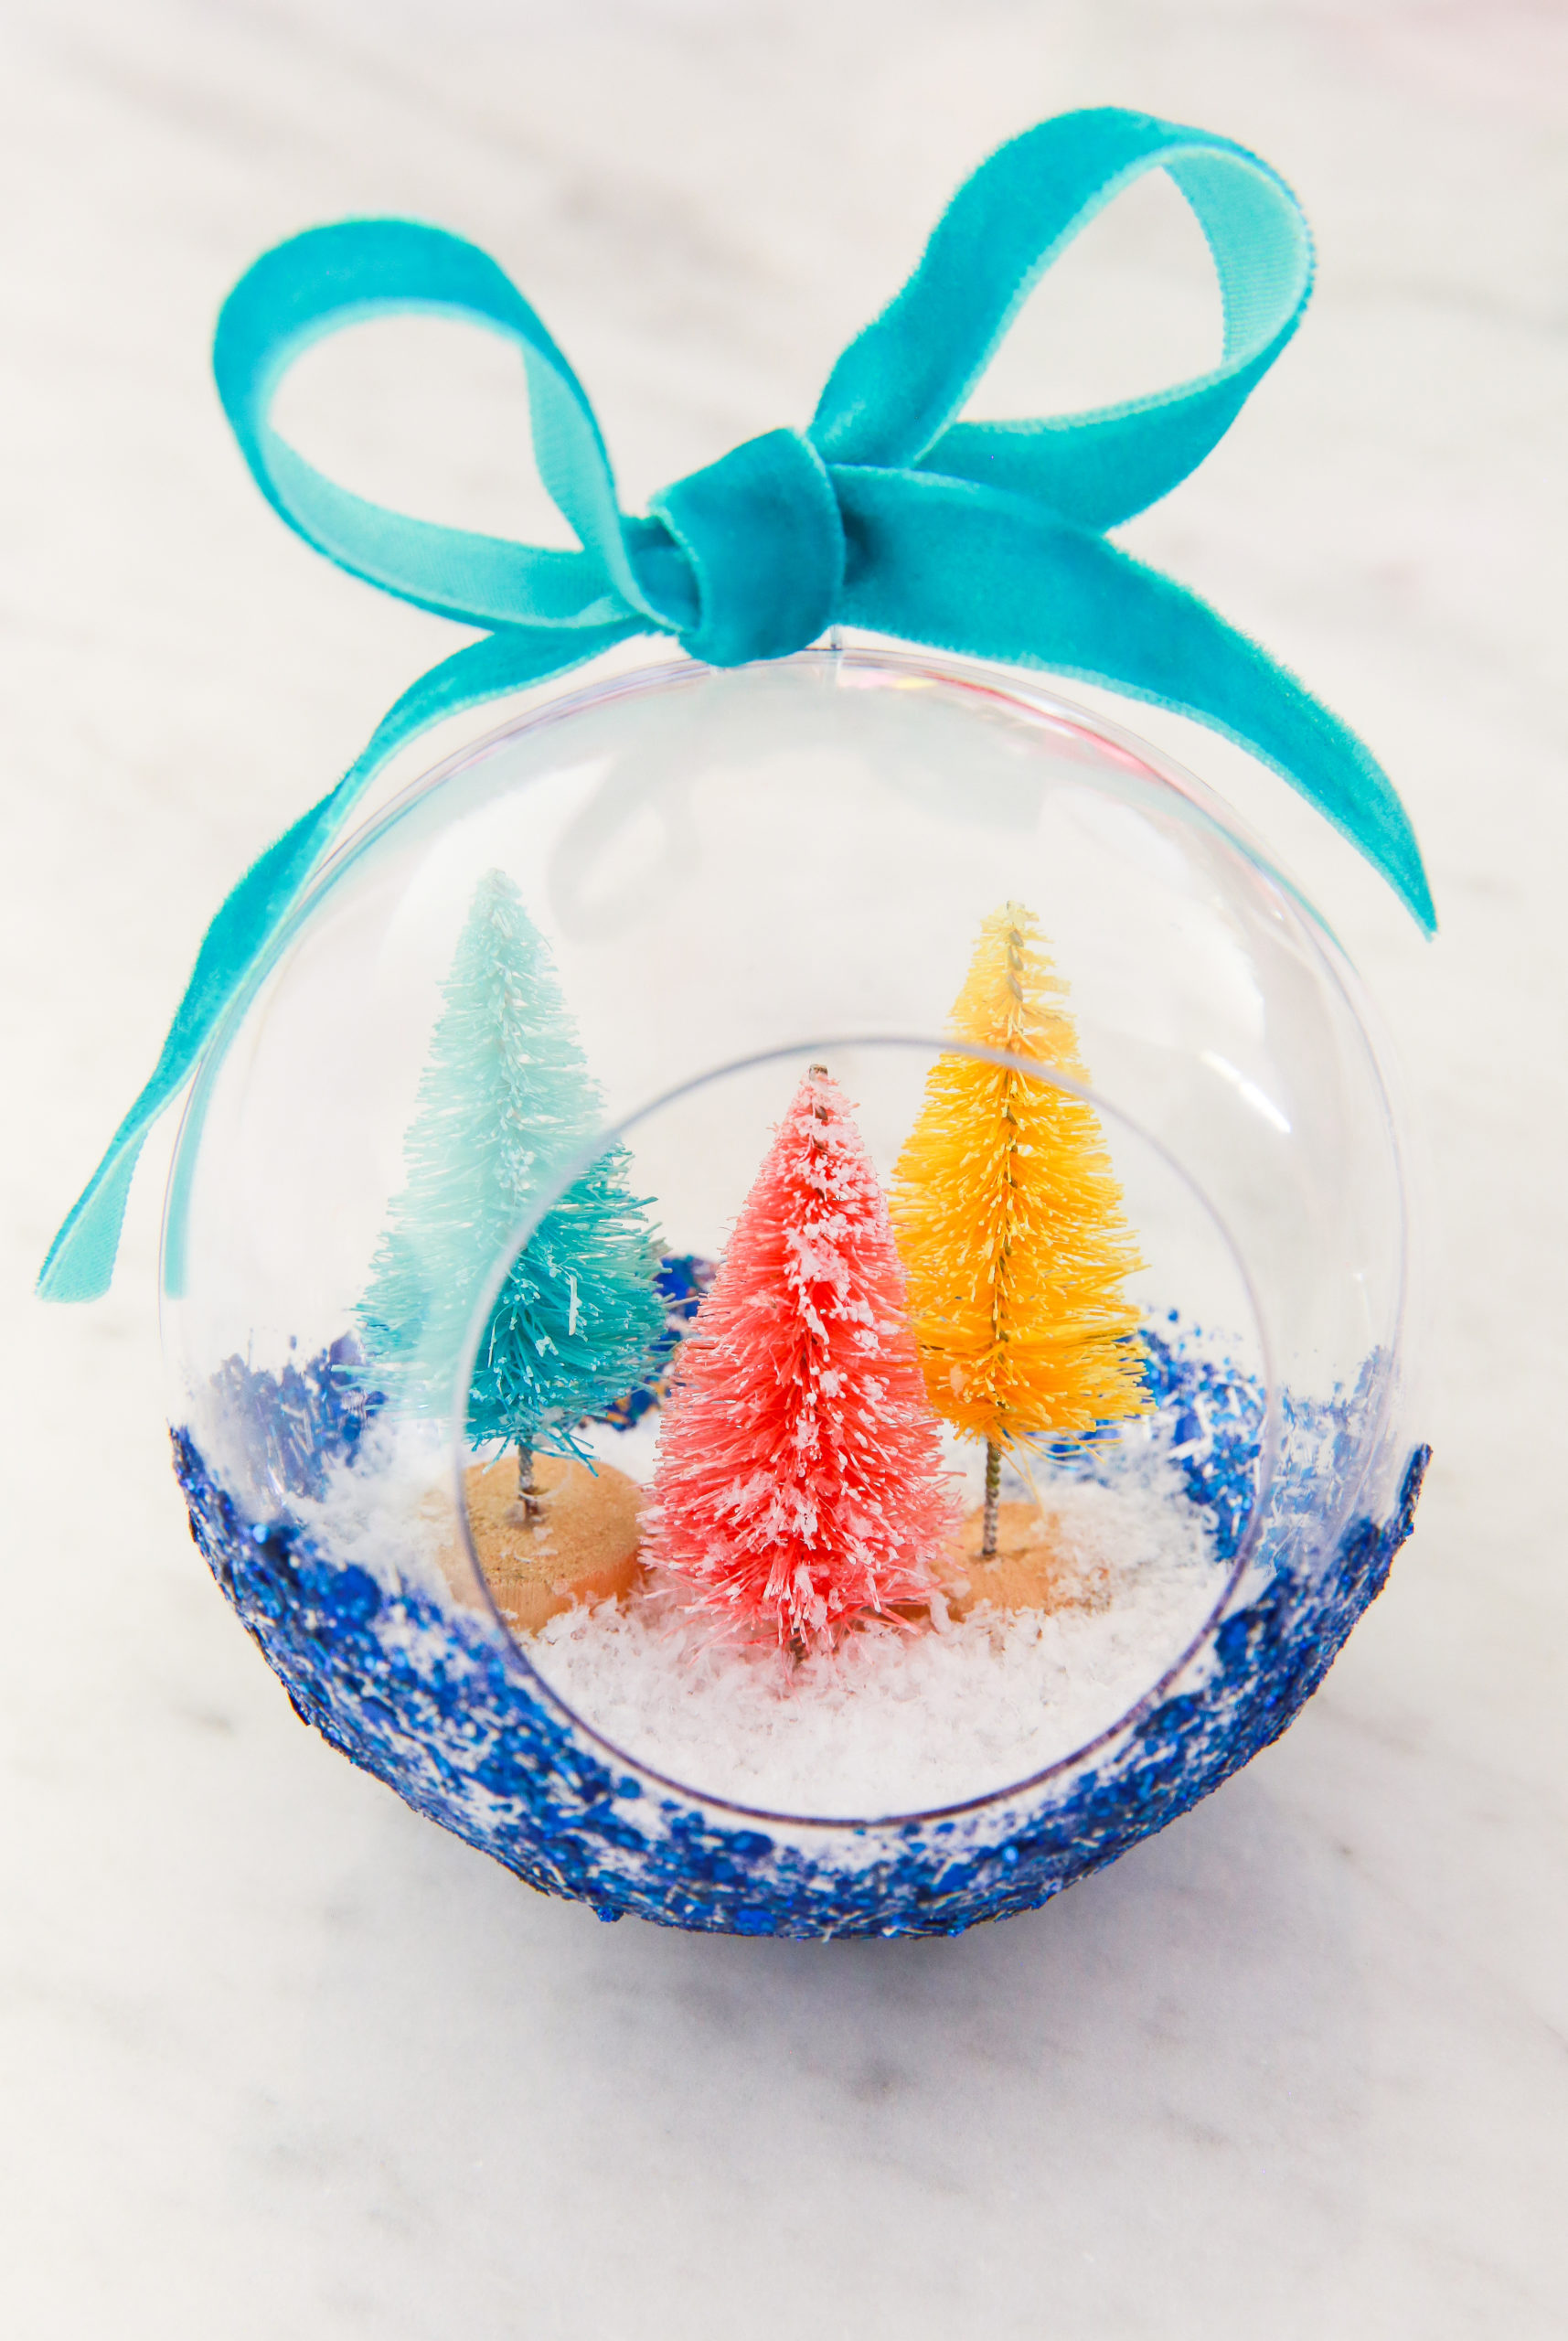 So that’s the project! You could use a white glitter on the outside if you wanted the ornament to be a bit more subtle. But I say it’s the holidays– who needs subtle?!
Let me know if you have questions! I hope you give this project a try!

