This is a sponsored conversation written by me on behalf of Cricut. The opinions and text are all mine.
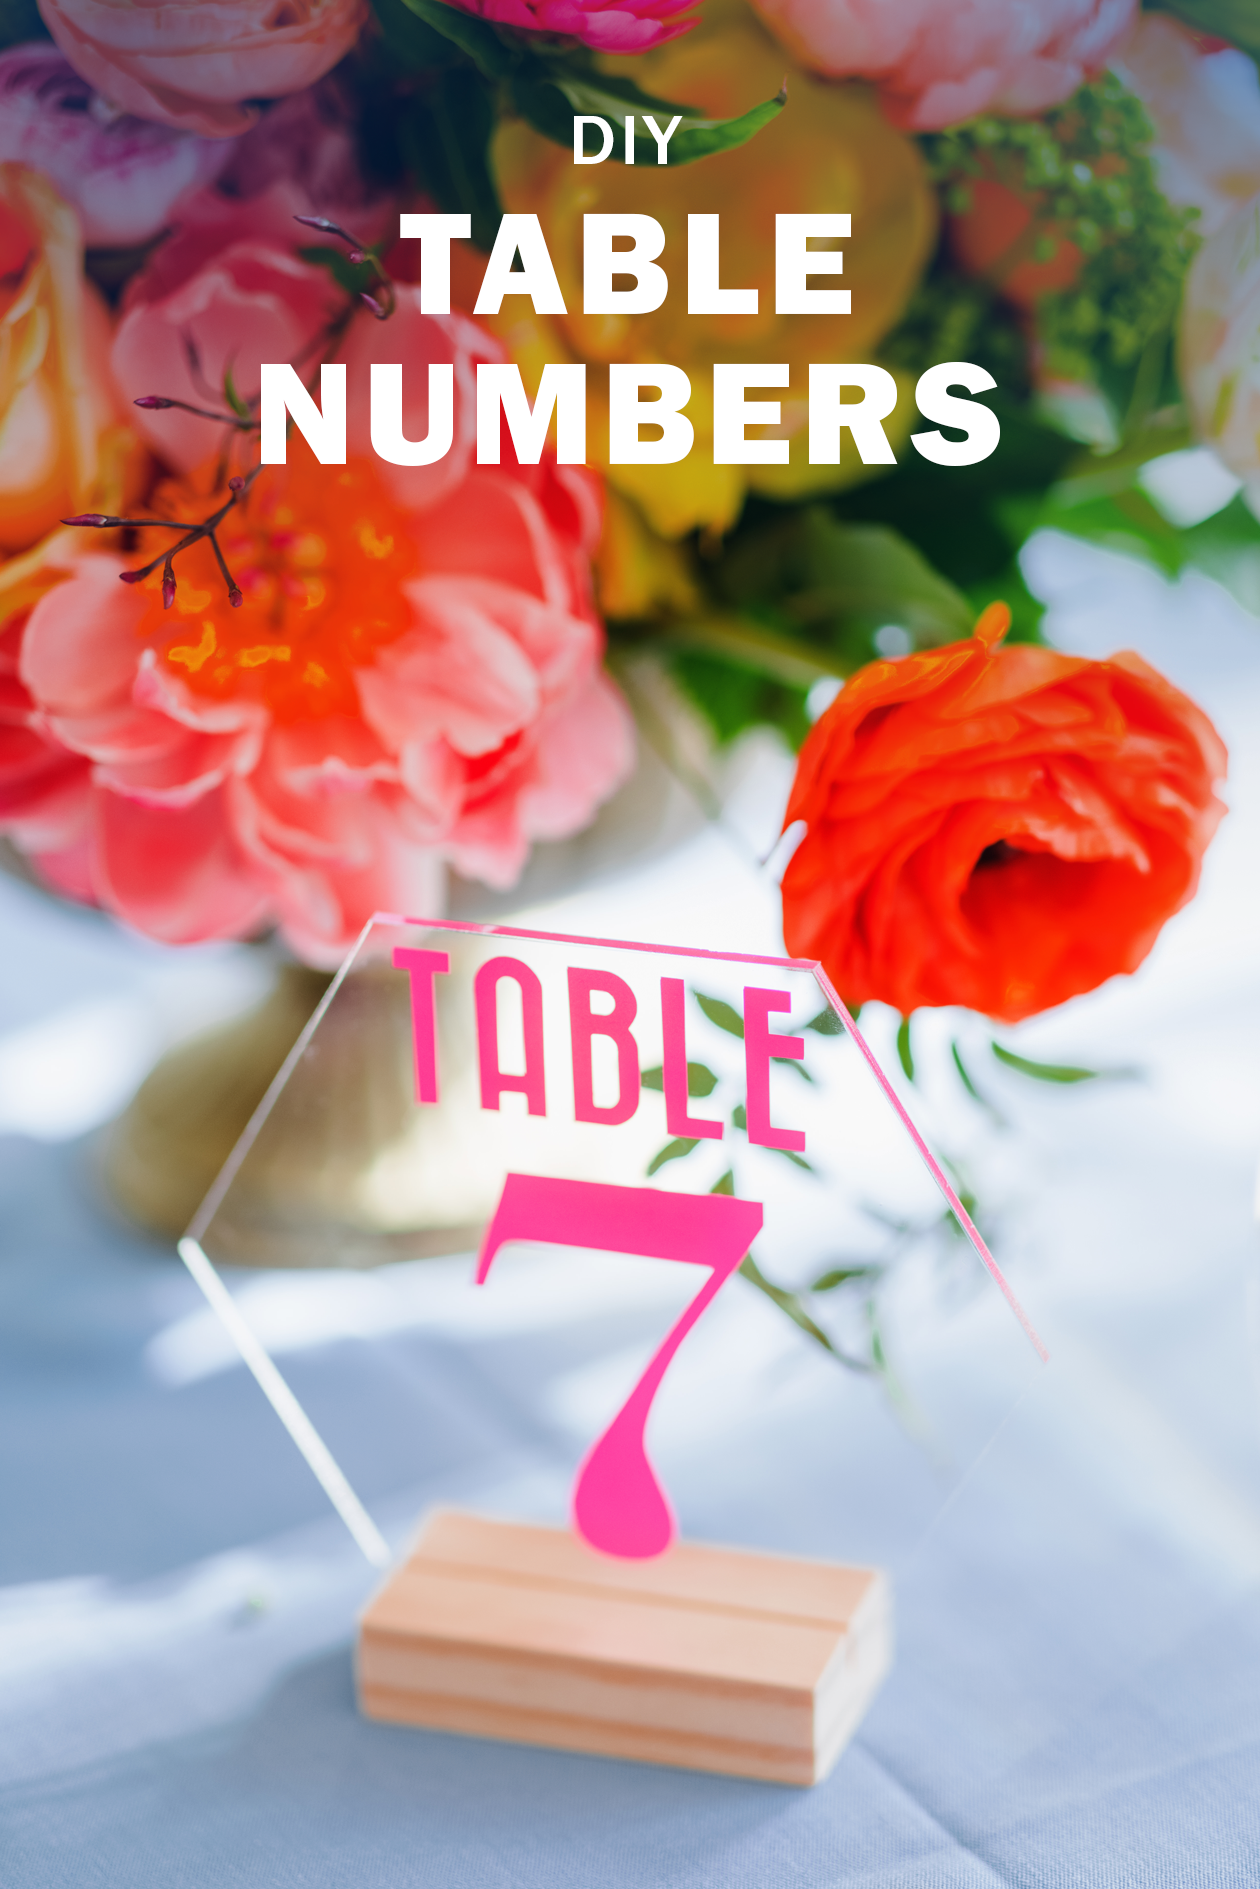 We picked our wedding colors last week which means it’s finally full steam ahead with the DIYS! And I’m sure you guessed it, we’re using just about one of each color. Naturally.
For my first wedding project, I wanted to start with something I knew we’d need, regardless if any other wedding day details changed. Plus, what better way to kick things off than with a decor piece?! Here’s a sneak peek at the colors we picked for the wedding + how I made these DIY table numbers:
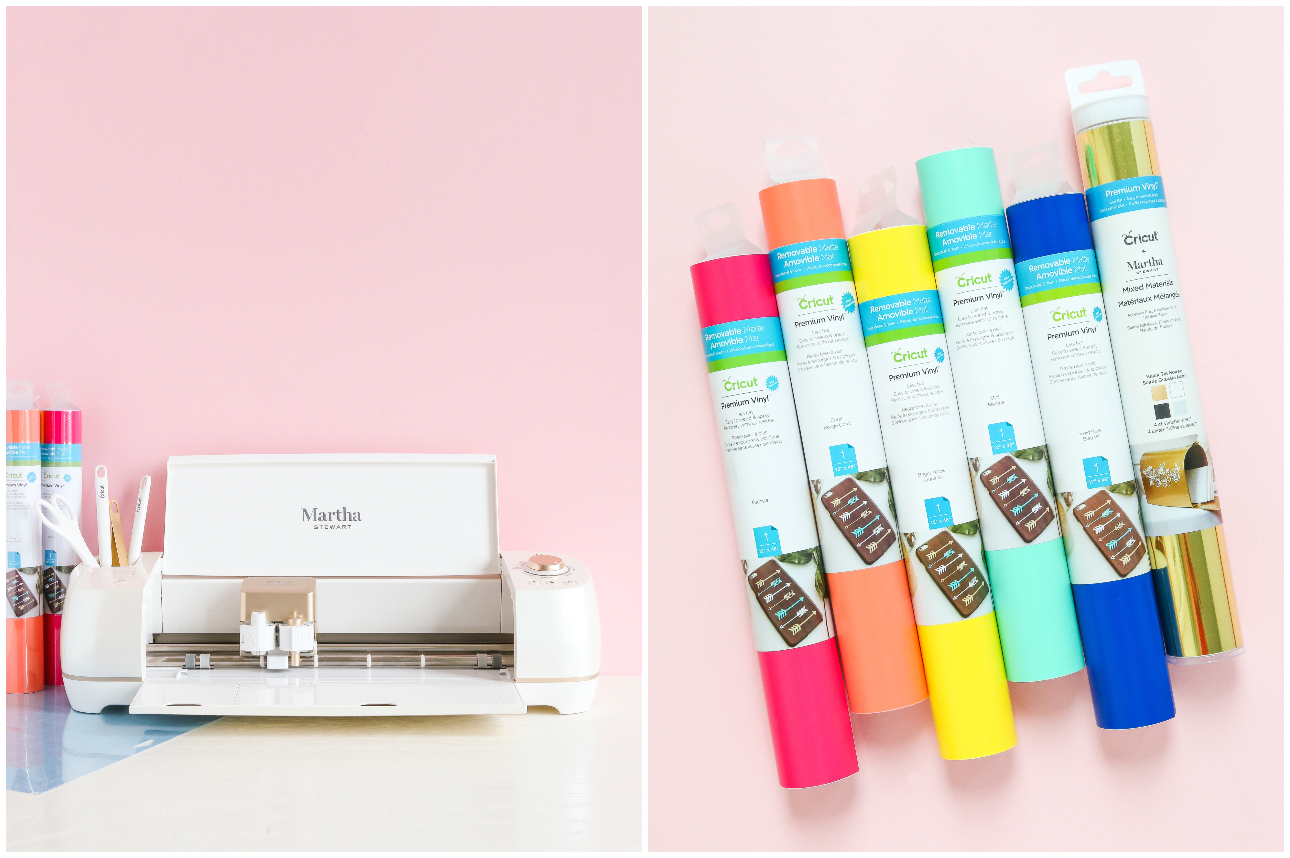 What You’ll Need
This post contains affiliate links
– Cricut Explore Air 2 Martha Stewart Edition
– Vinyl in variety of colors
– Transfer paper
– Acrylic pieces and stands
– Tape
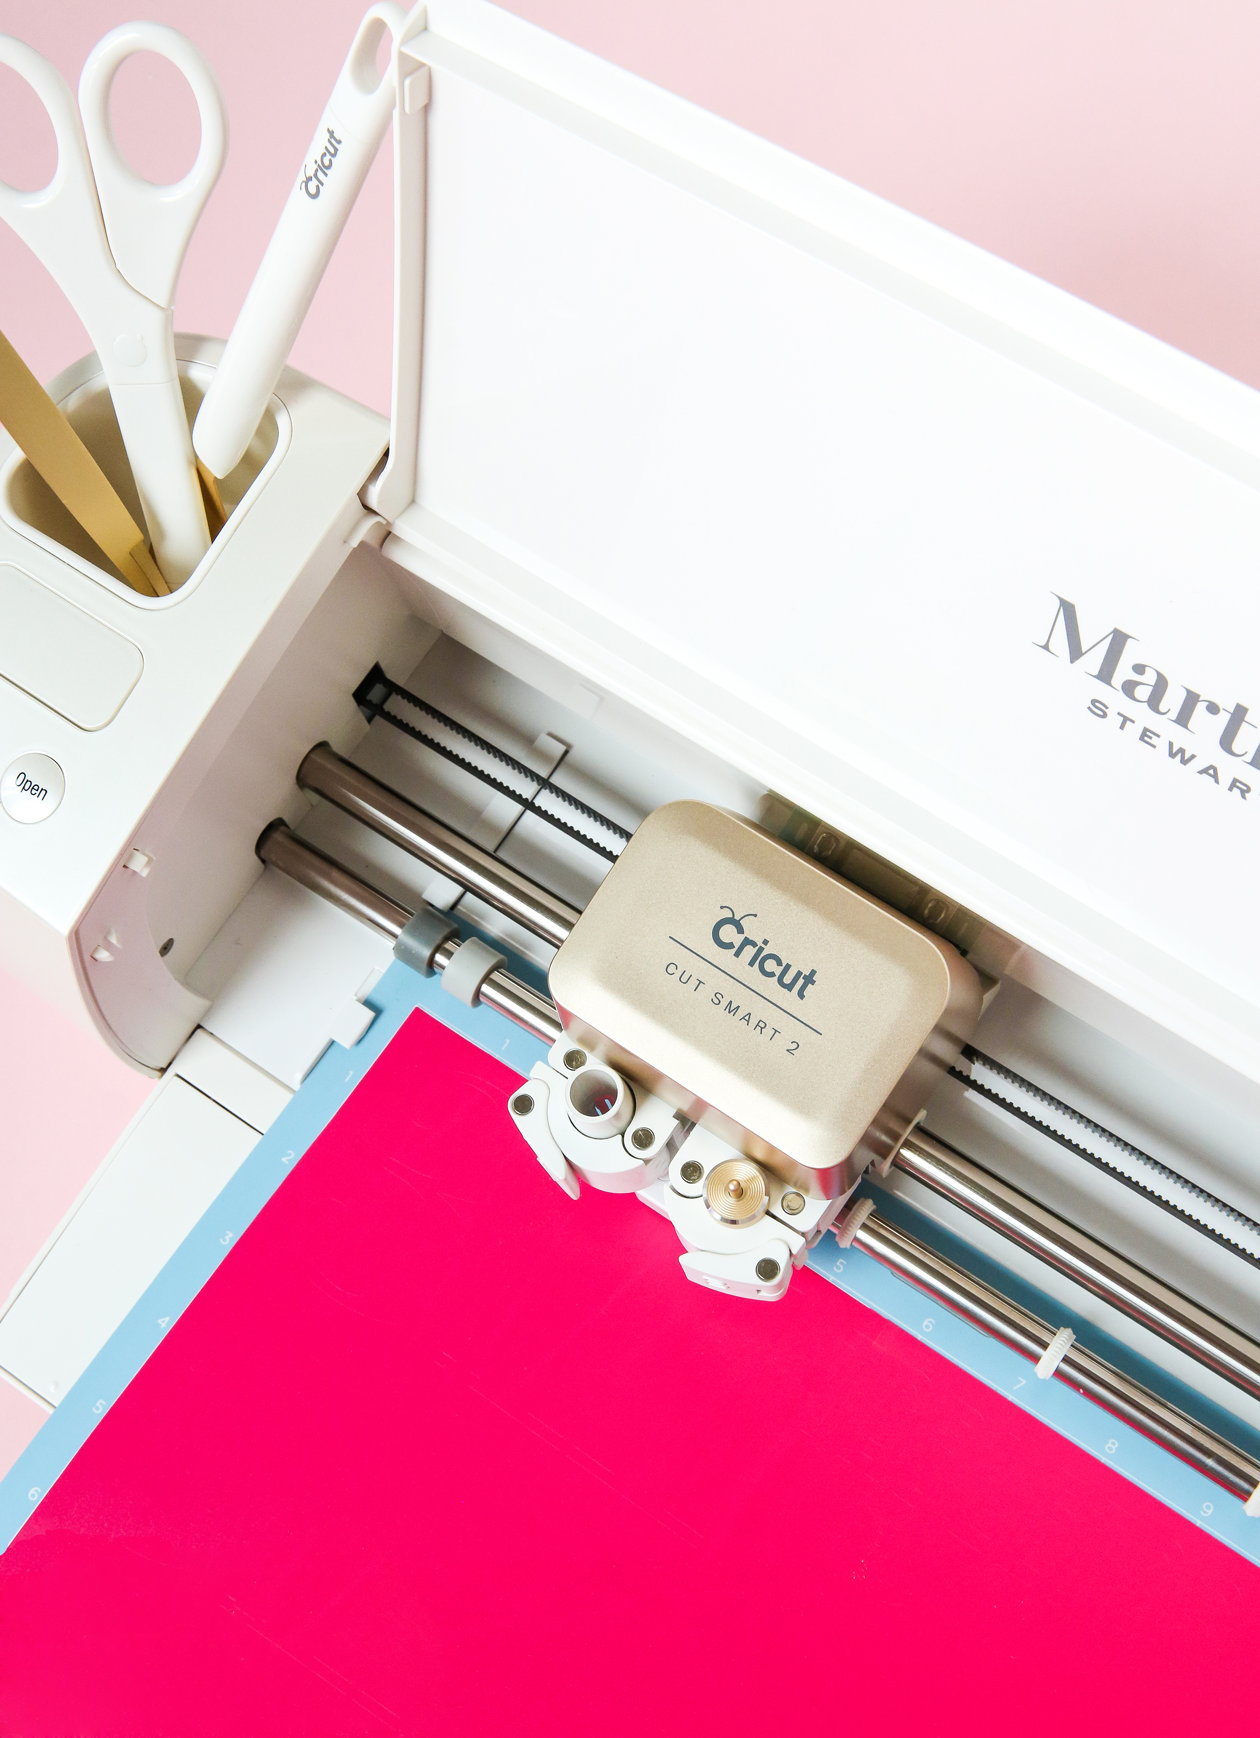
There are a few things you’ll need to make vinyl table number. I recently picked up the Cricut Explore Air 2 Martha Stewart Edition to help with all the wedding projects and LOVE it.
If you’re considering getting a cutting machine for your big day, I can’t recommend it enough. I was able to match the font we’re using for our wedding invites to our wedding decor, which is such a a great way to tie everything together.
 How To Design Your Table Numbers
Start by designing your file in Cricut Design Space. I used the font that we’re using for our wedding invites (Bazar) and the numbers can be found in the Martha Stewart wedding cartridge. Make sure the numbers and text are center aligned before cutting. This will make transferring the vinyl to your acrylic table number so much easier.
Cut your text out with the Cricut. It helps to coordinate all your numbers and assign them a color before beginning, that way you can cut all the numbers for the color at one time.
 How To Make Colorful Wedding Table Numbers
1. Cut your numbers apart.
2. Remove any unwanted vinyl with the weeder.
3. Apply a piece of transfer paper to your design, go over it with a scraper and remove. Your design will be backwards at this time (and on the transfer paper).
4. Tape design to a flat surface and line up your acrylic before pressing it down on the design. Try your best not to apply your acrylic until you’ve got it lined up because the design will stick fairly easily.
5. Flip over and smooth out the surface with the scraper before removing the transfer paper.
6. Place acrylic in the stand and you’re all set! Repeat process with remaining colors and numbers.
And that’s how you can make table numbers using Cricut! If you should happen to get any smudges on your numbers, wipe with a microfiber cloth.
Even if you aren’t going as bold for your wedding/party, I still encourage you to play around with color! Our plan right now is to have all the table cloths be the same color, but each table will have different colors on them (like the table numbers), for that unexpected twist!
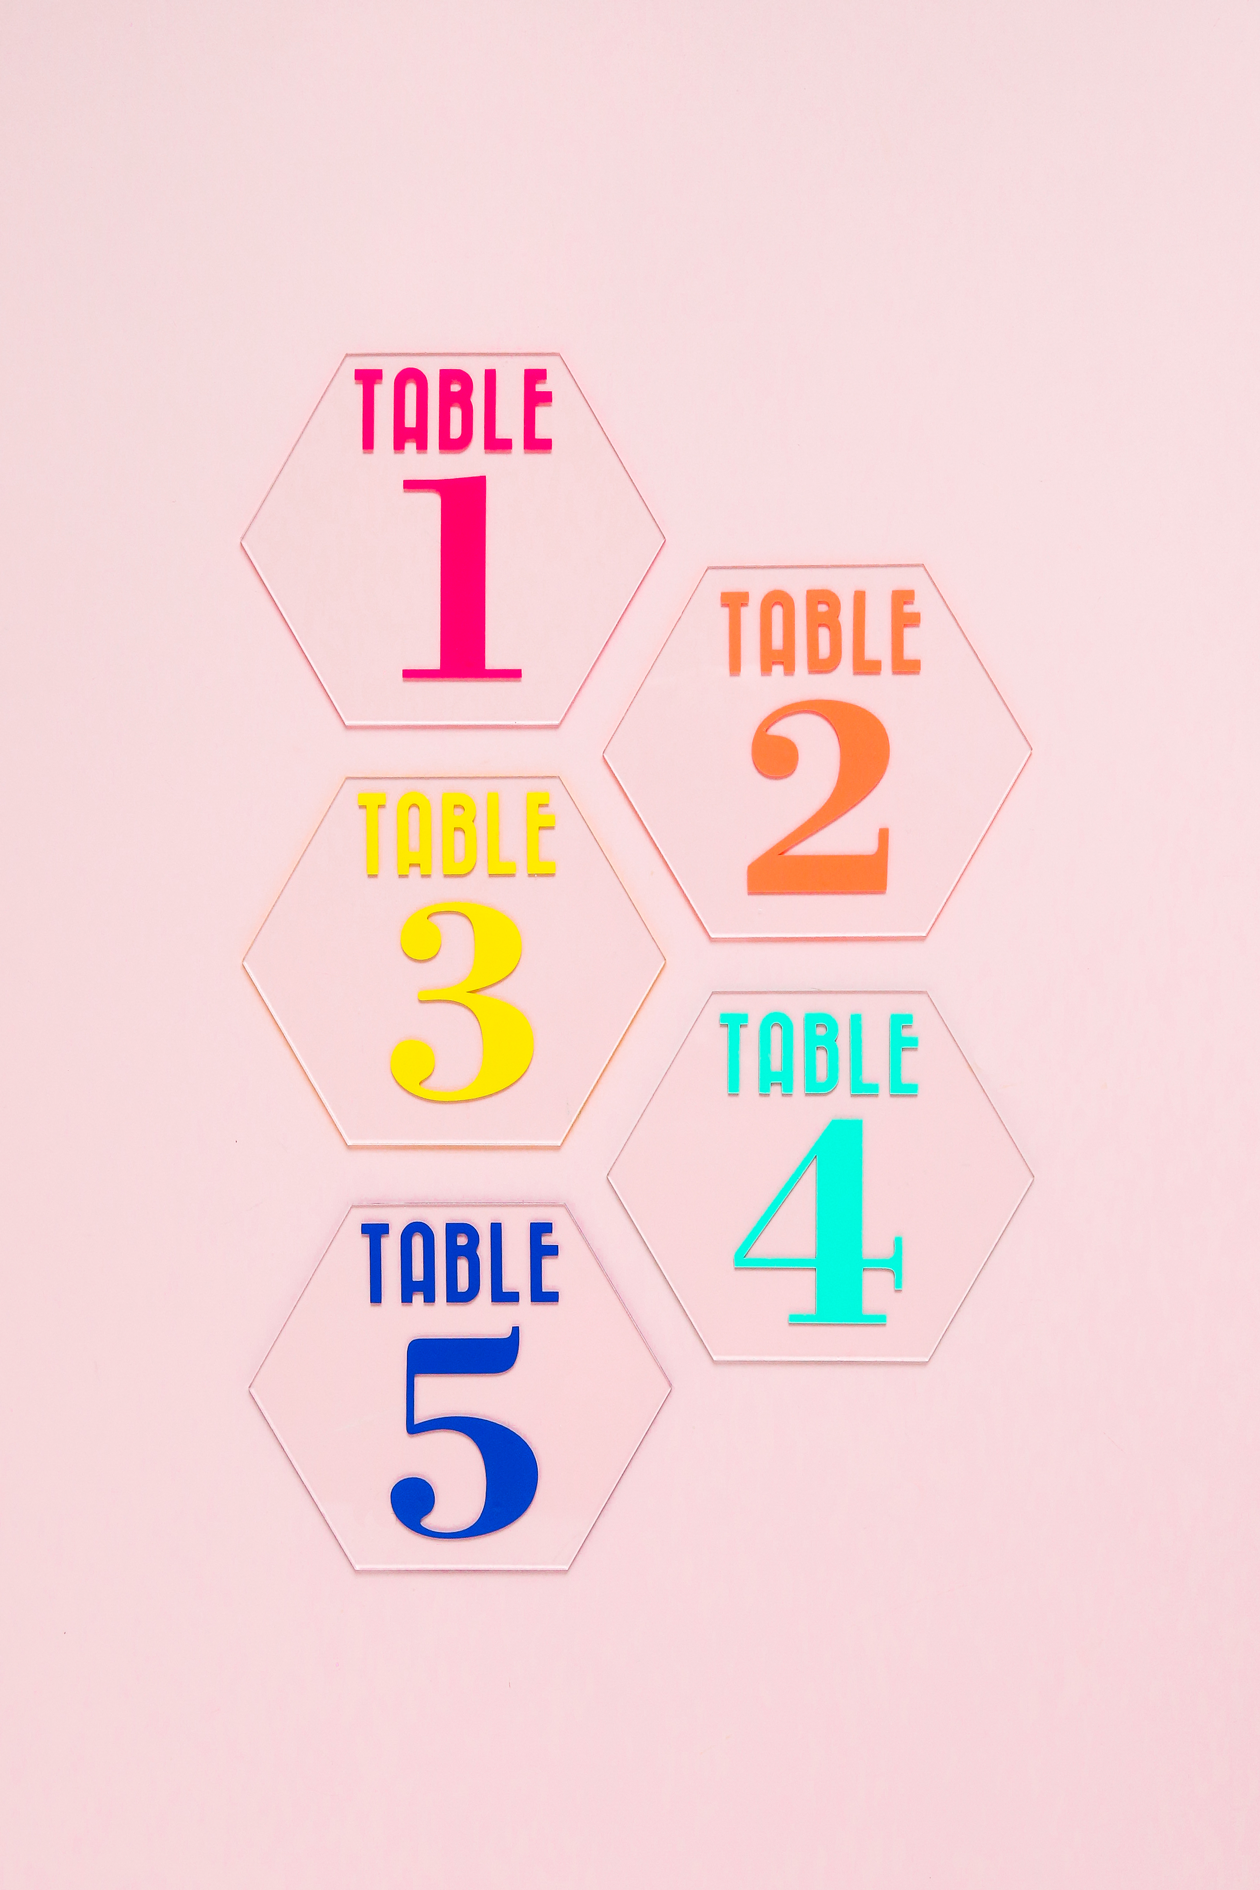 It’s so exciting that I’m finally getting to craft for our wedding. It feels like I’ve been training for this day with all of these years of making projects under my belt. I can’t wait to show you how everything comes together!
**Post update! As you might have read, we had to postpone our wedding due to COVID-19. But the good news is that we finally had the wedding ! After sitting in storage for almost two years, I wanted to share these DIY colorful table numbers in action! You can see more of our colorful wedding here.
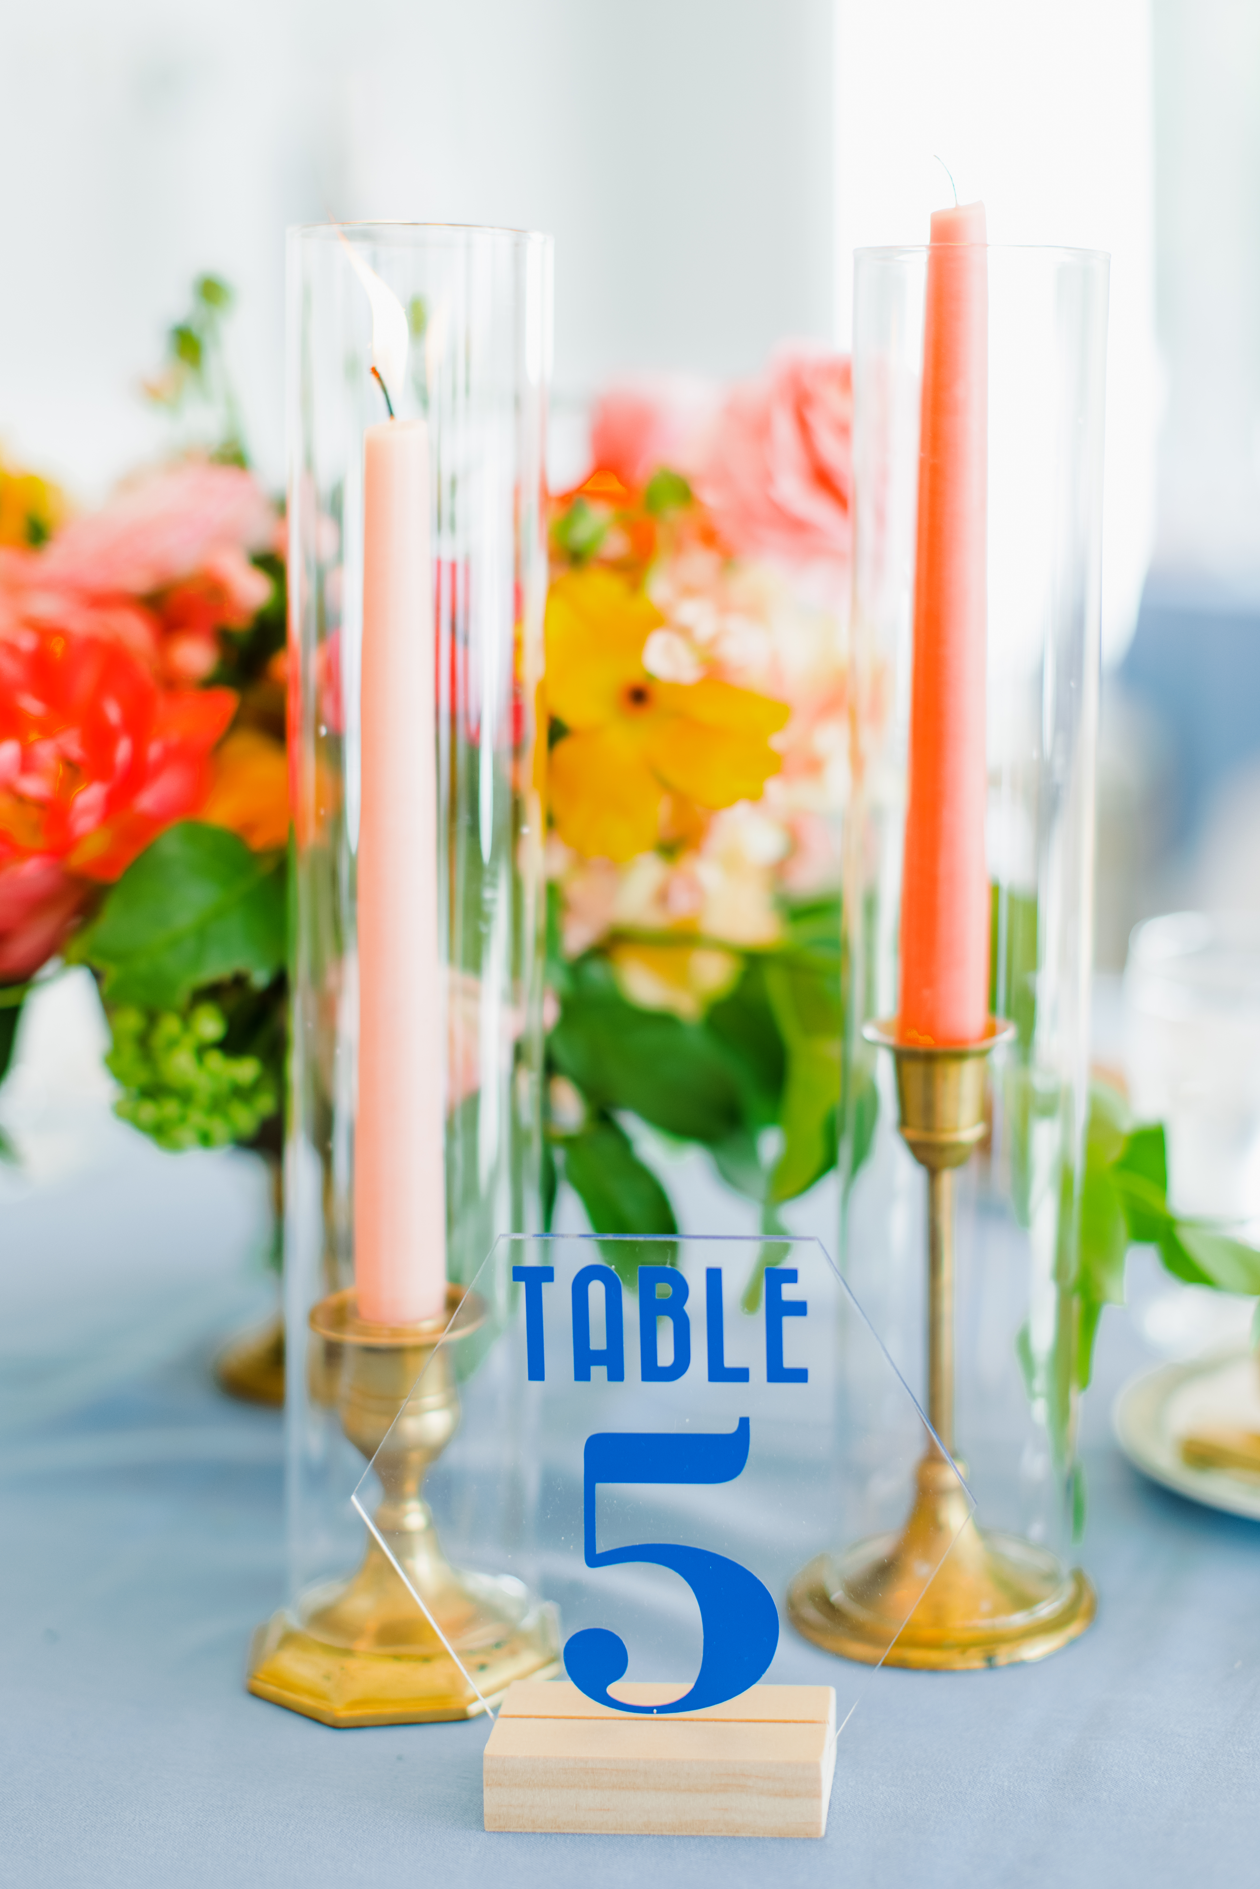
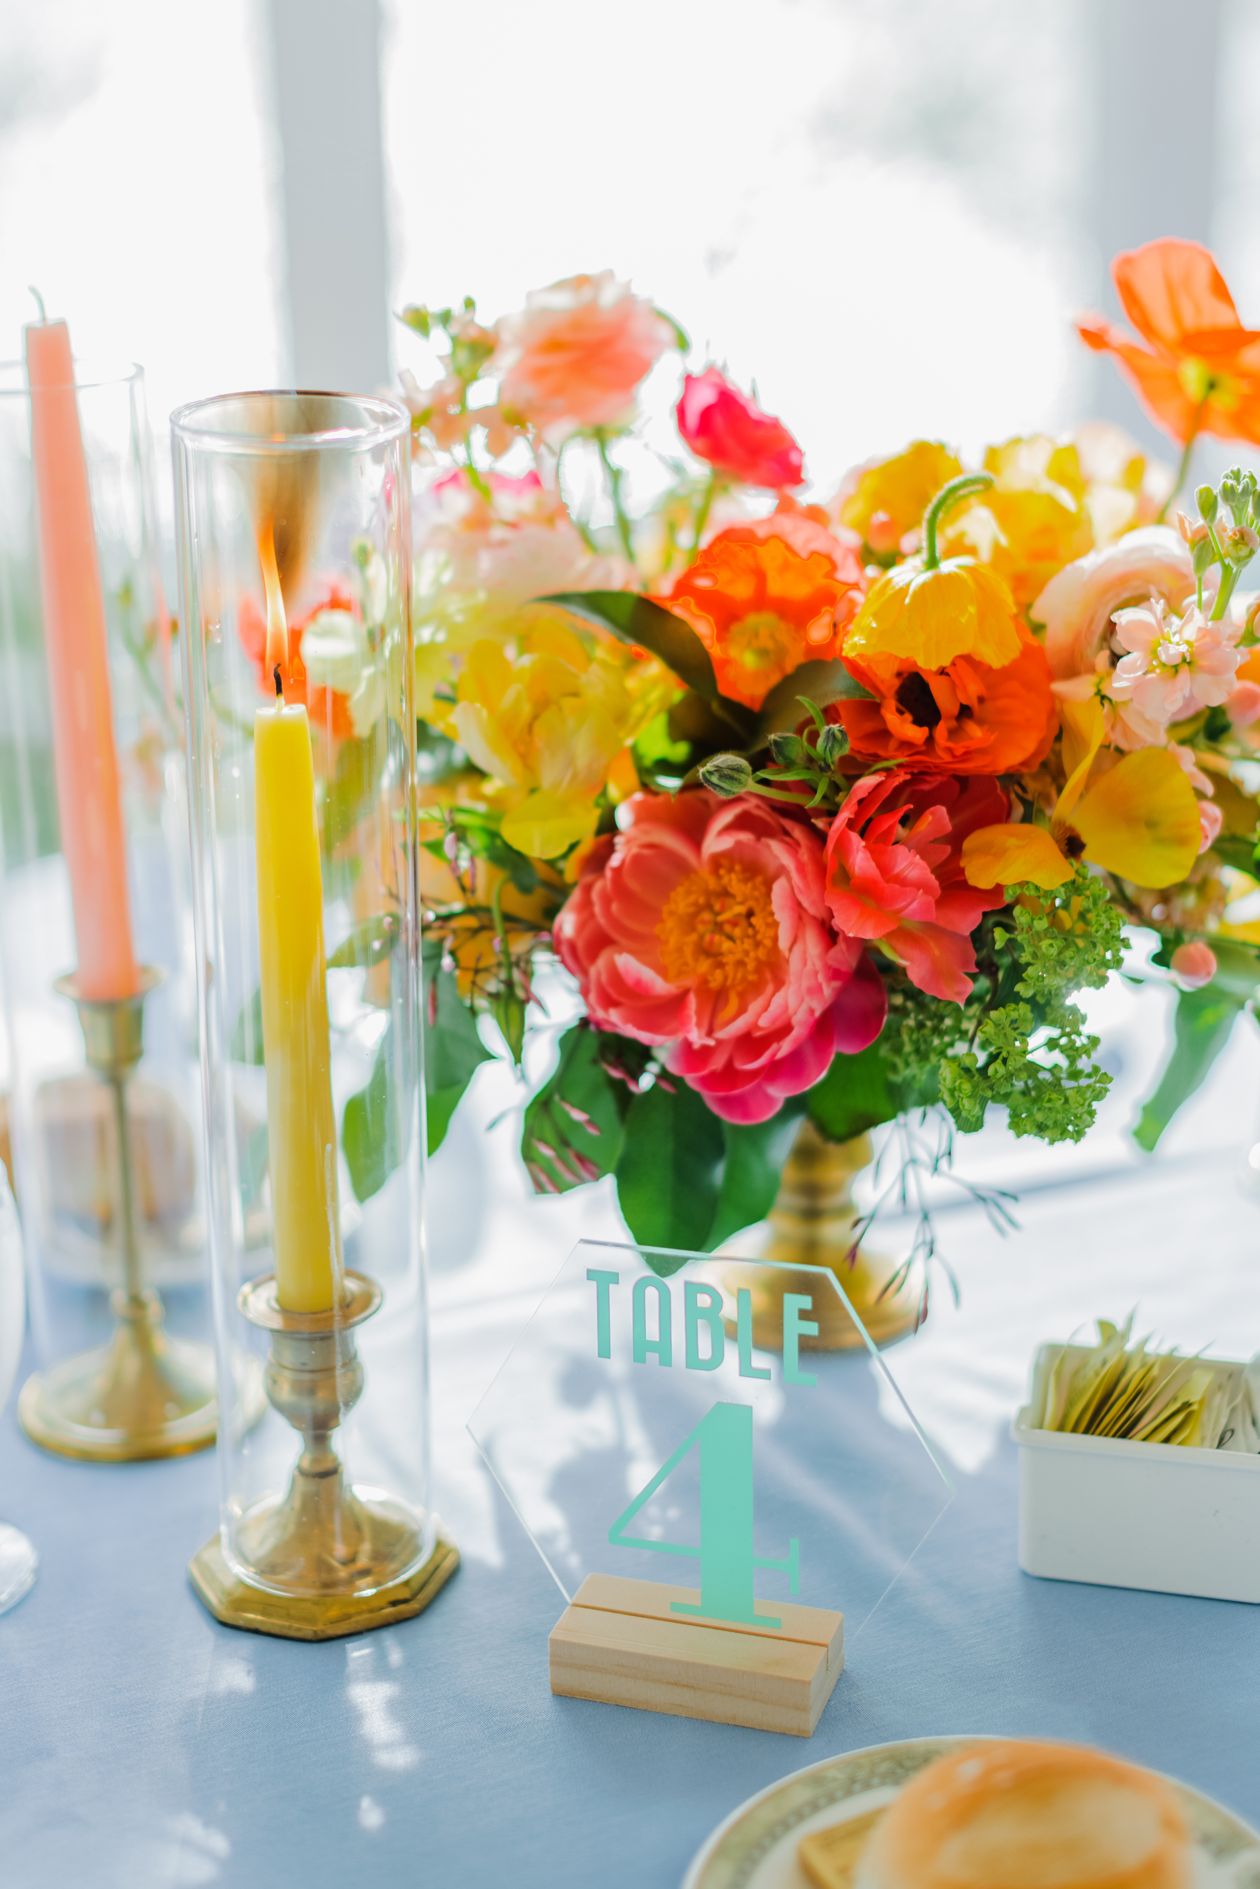
Here are our DIY wedding table numbers on the day of our wedding:
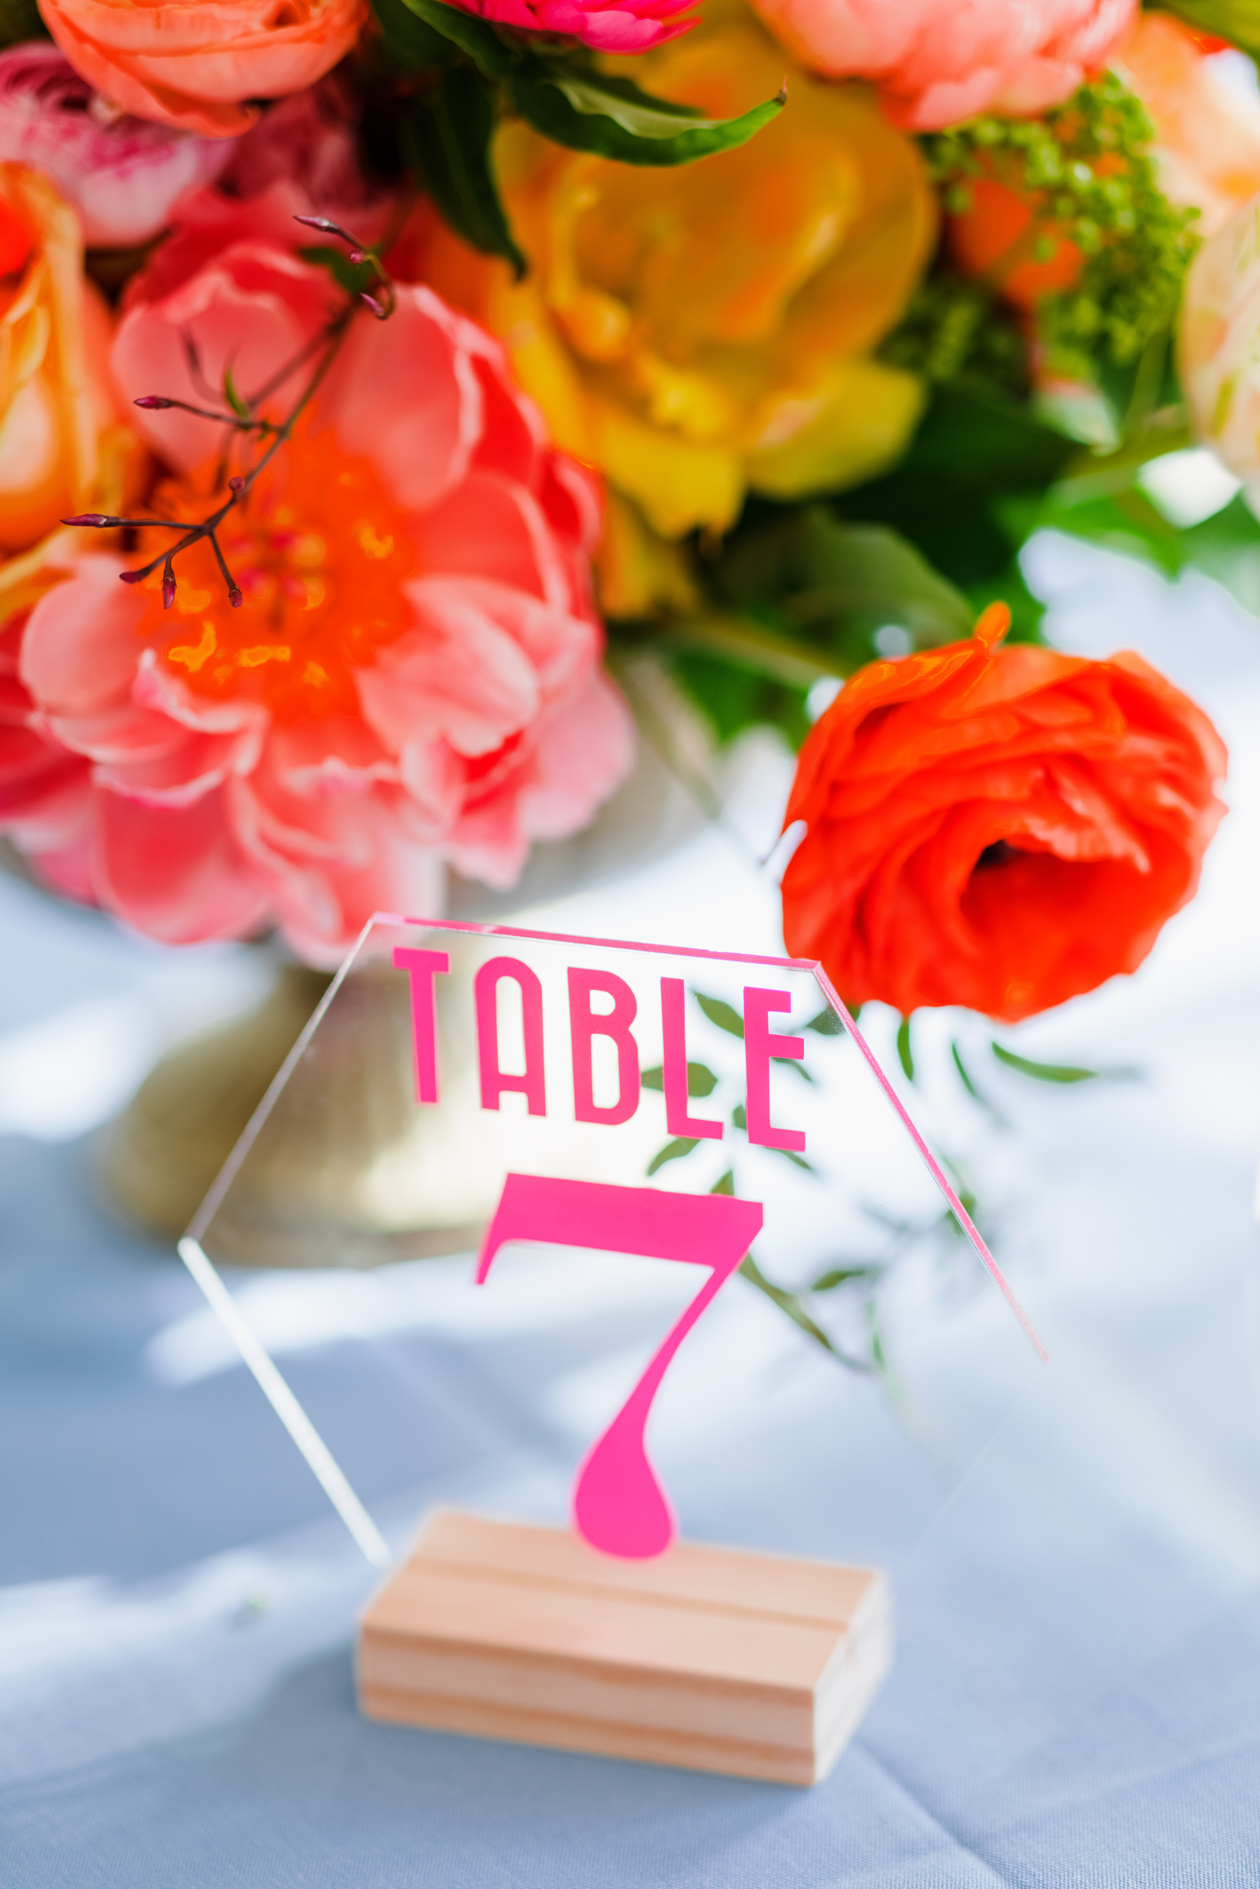 Final Table Number Photos by our wedding photographers: Redfield Photography

