
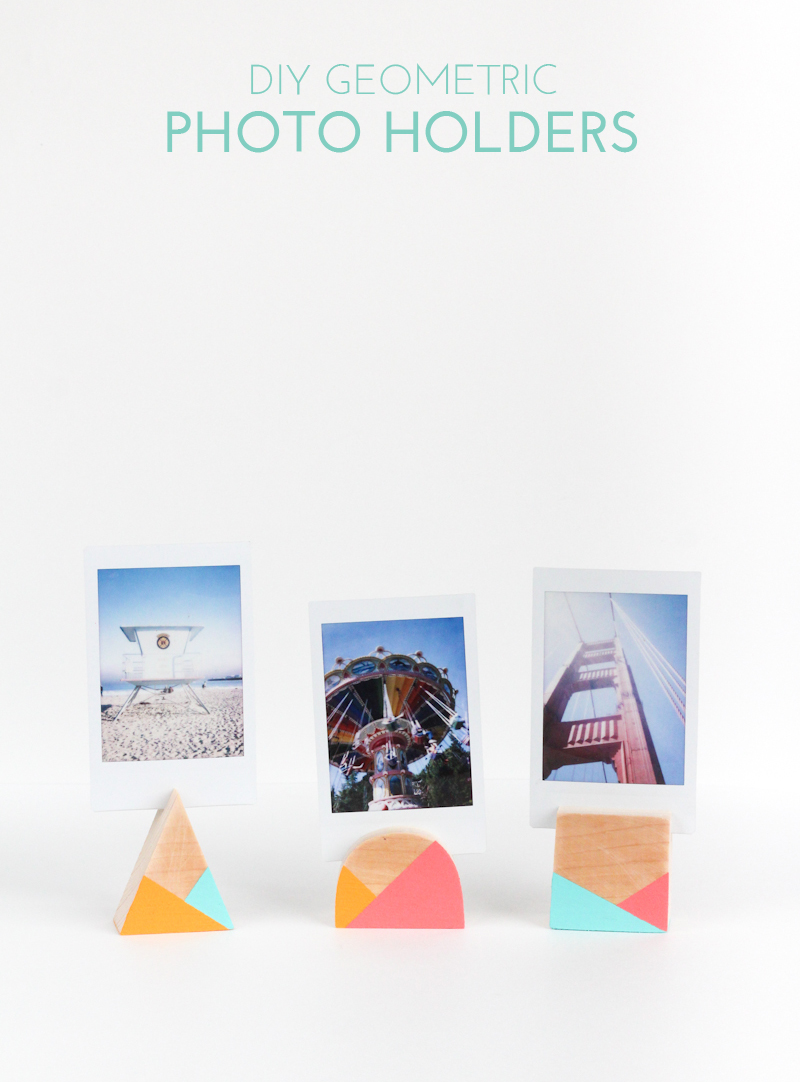
 Happy Monday all! Sorry for the lack of projects around here recently; if you follow me on Instagram you may have picked up on the fact that I’ve been moving over the past two weeks. I’m happy to report that I’m finally starting to get settled and boy do I have a pretty great project to share with you today!
As much as I loved living in San Francisco, there’s something exciting about now having the space to use power tools. I tend to stick to simple projects and this one is really no exception. You might be thinking that because there’s a saw involved that it’s difficult, but I can assure you that’s not the case. Here’s how to make geometric photo holders:
 Time: 45 Minutes
What You’ll Need:
– Wood (I used a piece of pine that measured about .75″ in thickness)
– Saw or jigsaw
– Sandpaper
– Paint
– Pencil + ruler
You can do this project a number of ways depending on what tools you have available. I was lucky enough to have access to a scroll saw, but a handheld saw should give you the same results (with maybe just a little more sanding). Regardless of how you proceed, be careful!
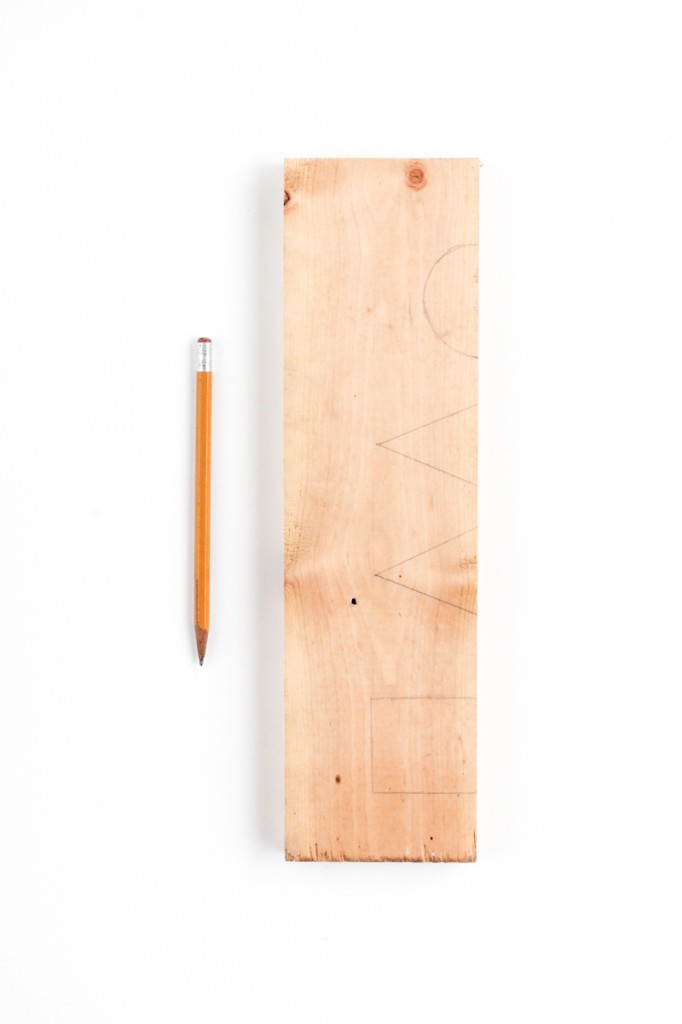 How To:
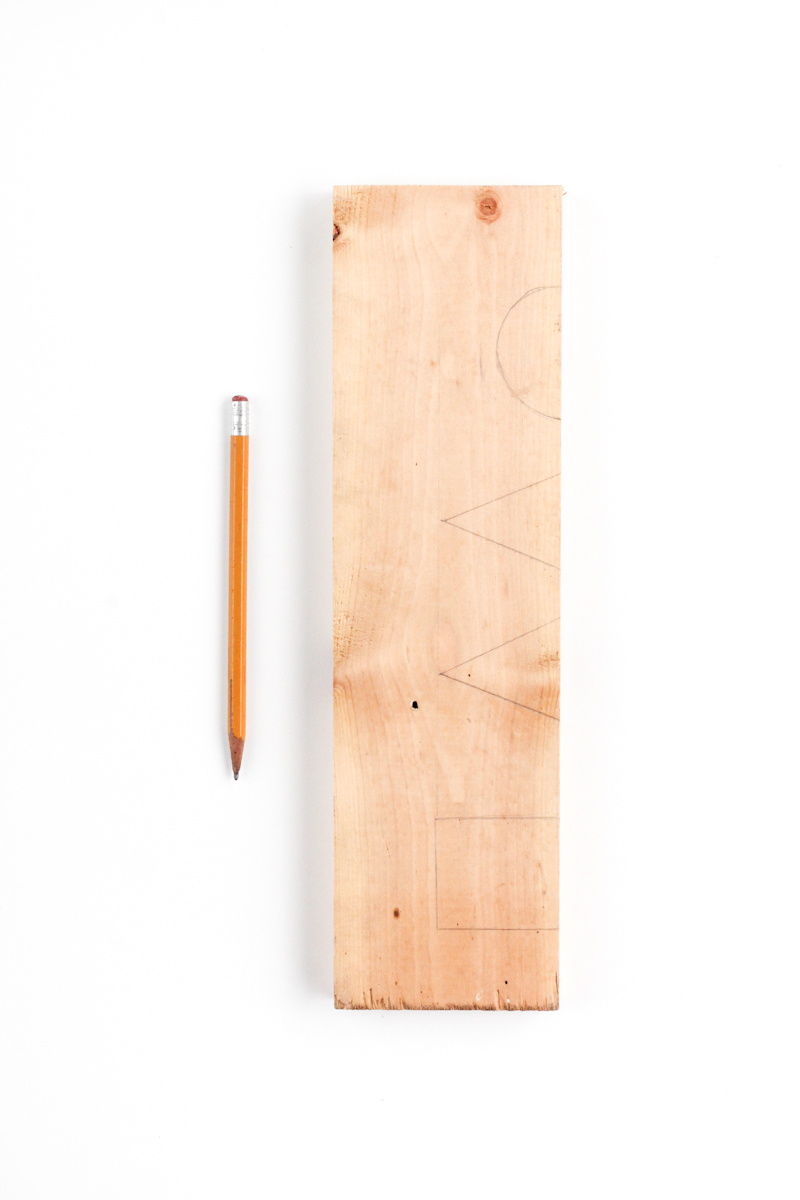
First, draw the desired shaped onto your wood. I stuck with really basic geometric shapes since it was my first time using a jigsaw but feel free to get creative, especially if you have more experience! You’ll use these outlines as a guide when you’re cutting, so try to be as accurate as possible.
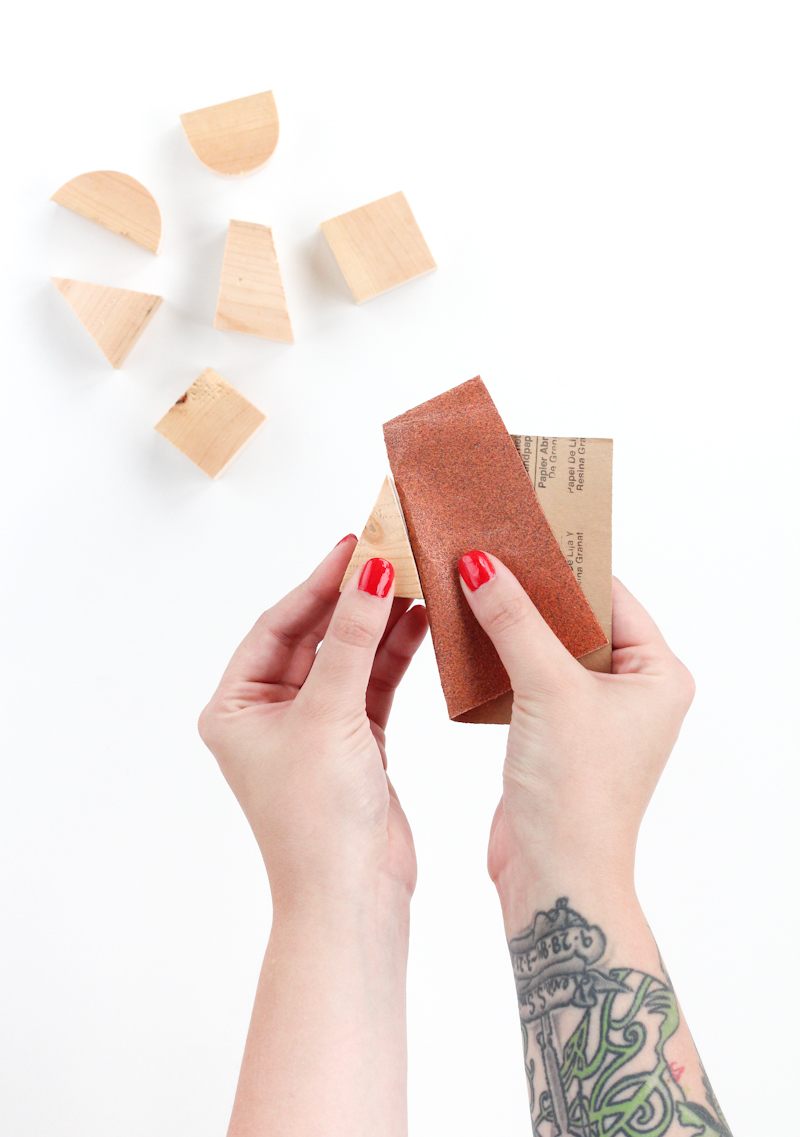 Once you’ve cut out your shape, make a small slit that runs horizontally across the top (where the photo will go), sand your wood to smooth out any unwanted bumps.
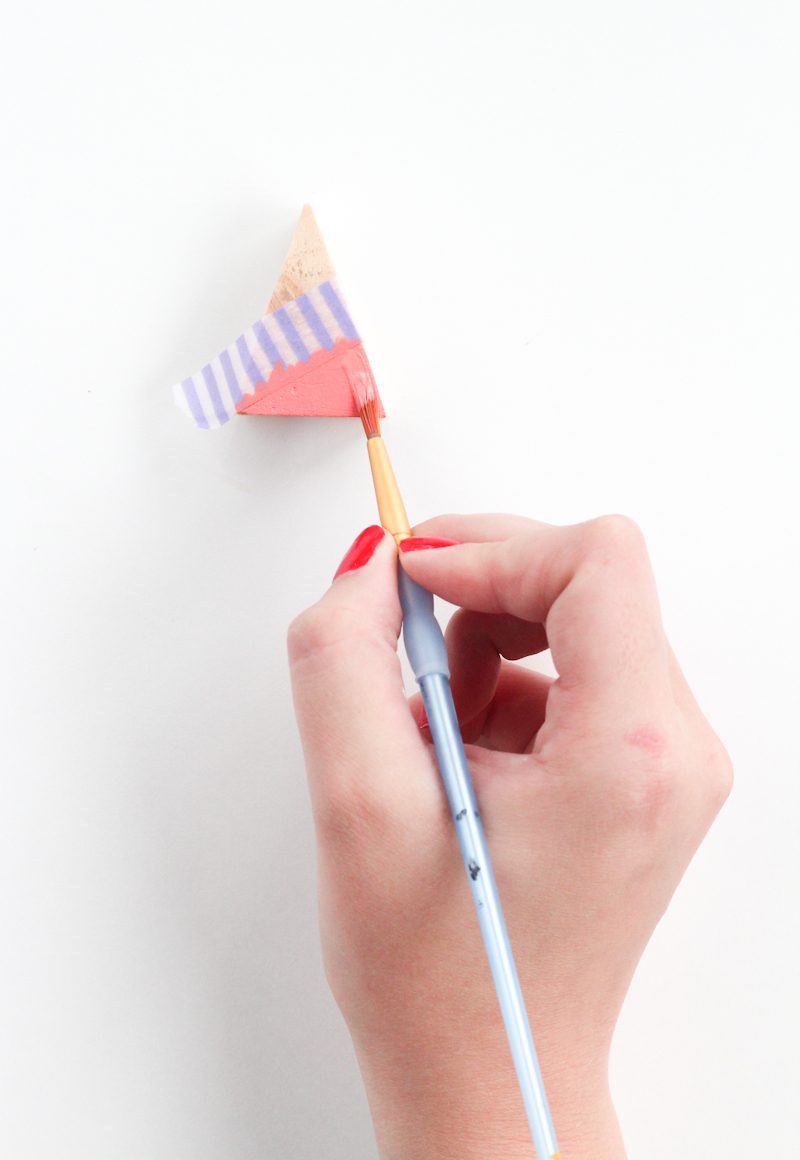 Paint or stain to finish. Add your photos and enjoy!
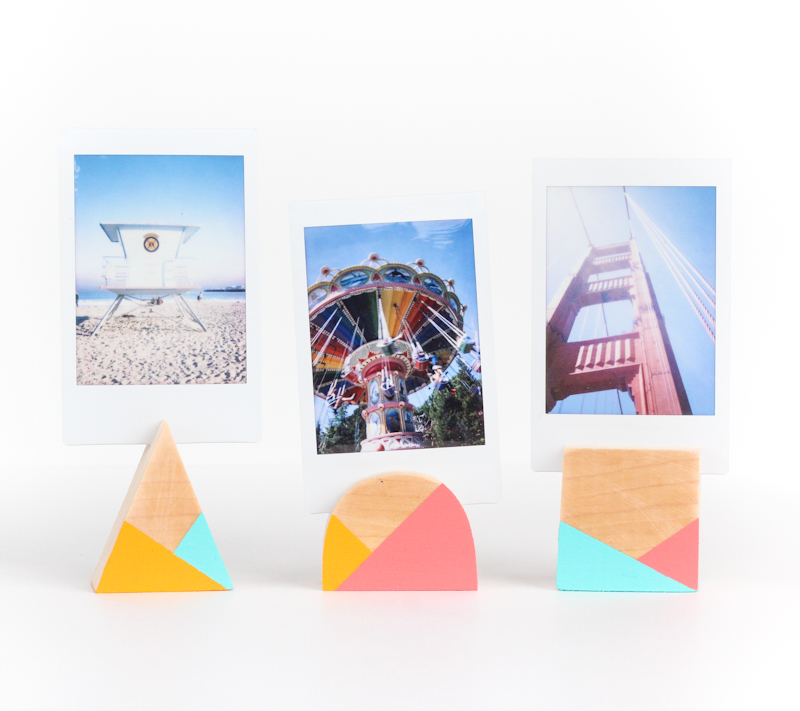 And if by chance wood is not your medium of choice (though I know you can totally do it!), try making these plaster photo blocks instead. Here’s also a simplified version of these DIY photo blocks that are great for any beginner!
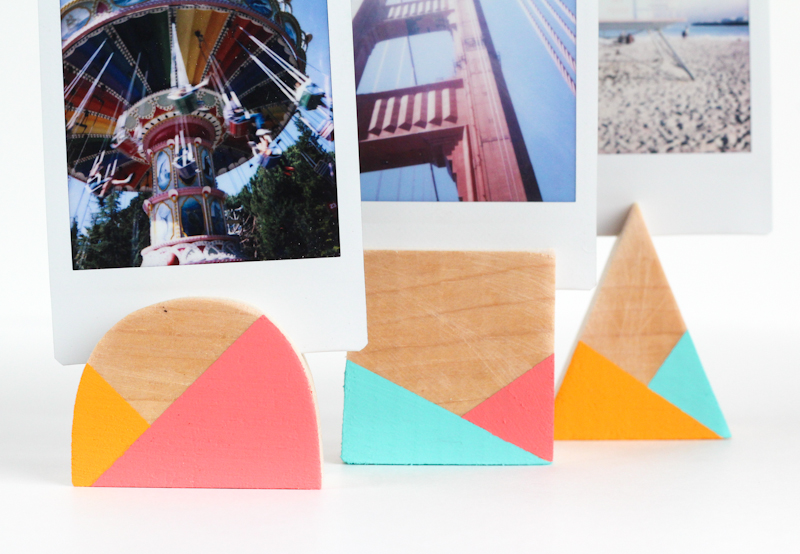

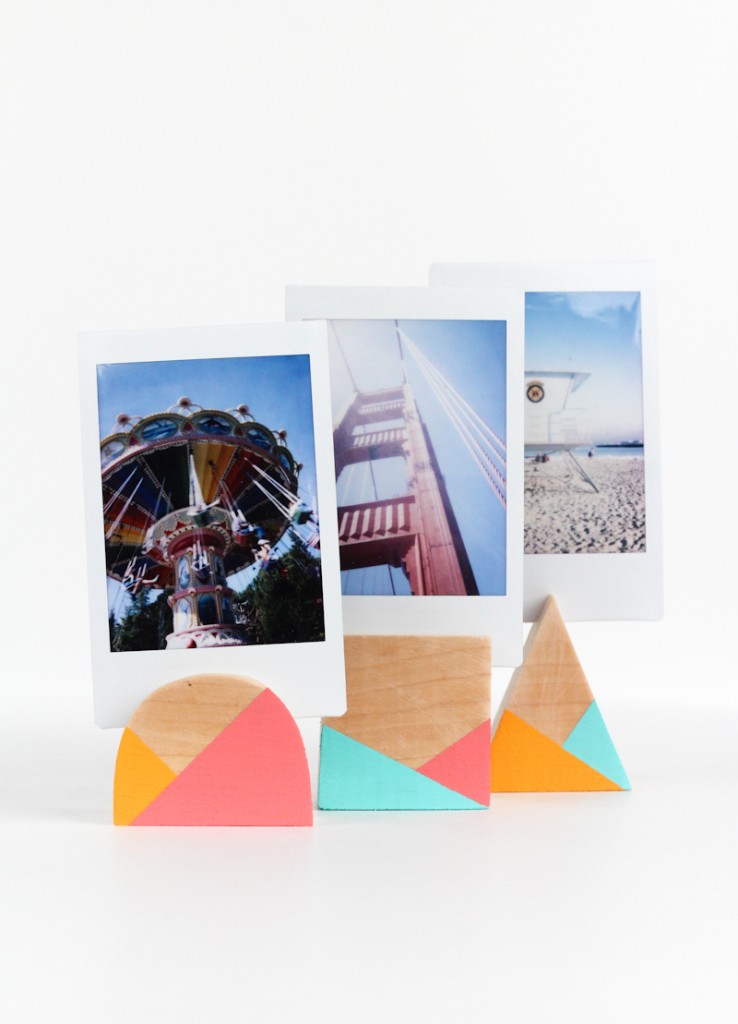
*Also available for purchase here*