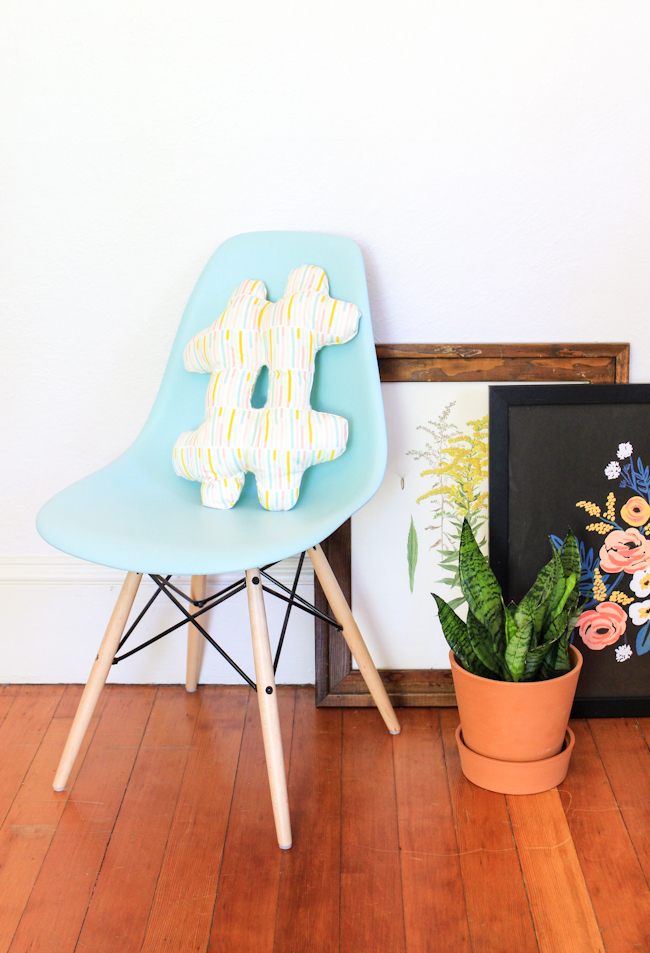
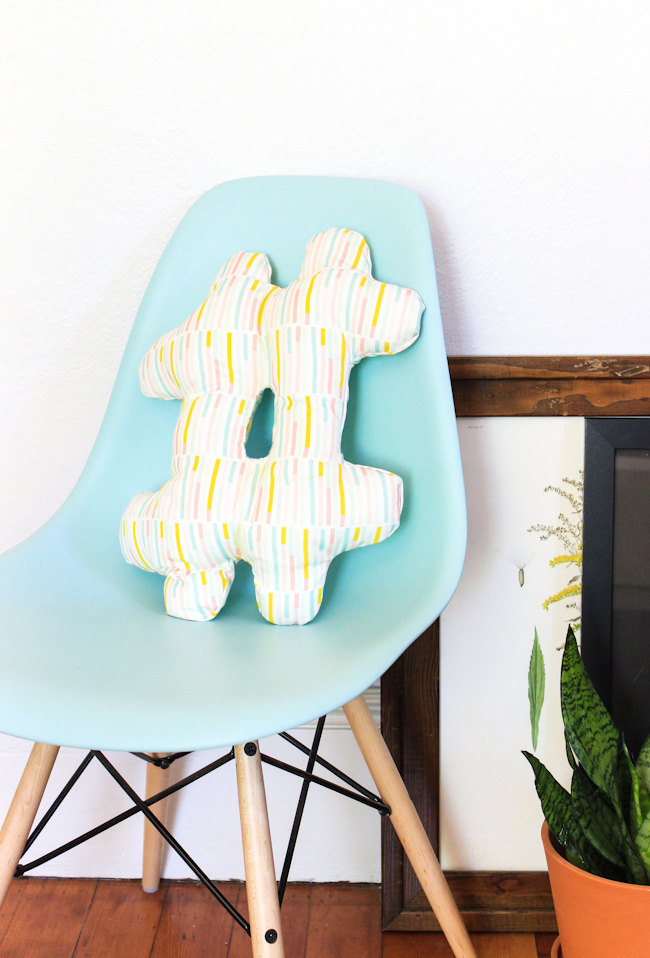
 Yes that’s right friends, a DIY Hashtag Pillow! As if I didn’t love social media enough, right? This project is great for those who are new to sewing because it will help you practice your curves. Or at least that’s what I kept telling myself when I was prototyping this. Here’s how you can easily make one yourself:
Time: 45 minutes
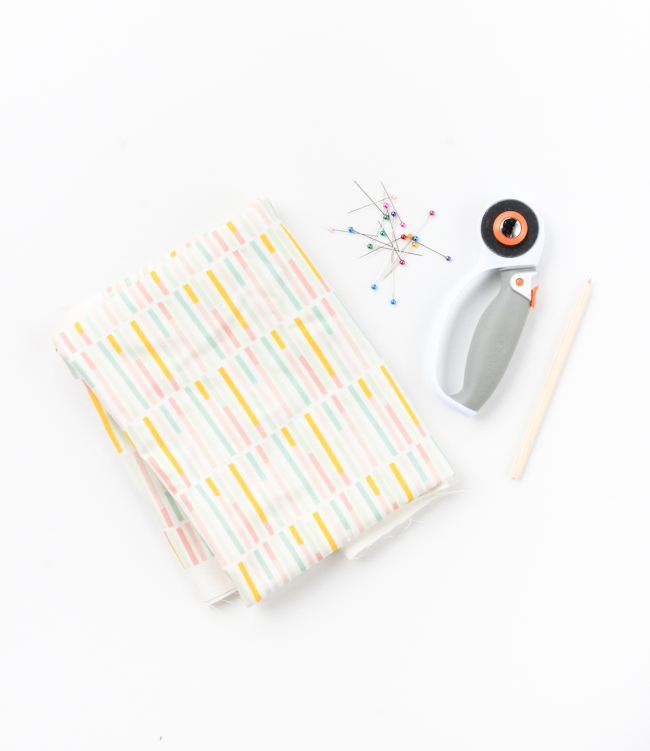
Materials: fabric, sewing machine, fabric pencil, fabric scissors, pins, poly-fil, needle and matching thread
 I got the fabric for this project from Minted. Their collection, designed by independent artist, is amazinggg! Be sure to check it out if you haven’t already. You can use a rotary cutter for this project, but if you’re new to using it, or don’t have one, scissors are just fine.
 First cut two equal squares that are 19″x19″. If you want to make your pillow larger, adjust accordingly. I don’t necessarily suggest going any smaller than that. On the backside of your fabric on one of the squares, draw the hashtag shape. If you can’t draw at all, you can do what I did and trace a deflated hashtag balloon.
Pin fabric squares together in the corners and cut out. This method works great if you don’t want to have to trace and cut twice. Once you have your two hashtags, pin together so the pattern is facing each other.
When sewing, try your best to stay on the 3/8 seem allowance. You’ll want to use a straight stitch and back stick at the beginning and the end. Only sew around the edges of the hashtag, leaving the middle open. If you sew the middle, you won’t be able to turn your pillow right side out.
After turning right side out, stuff with polyfil. Once full and smooth, pin the center pieces together and stitch closed by hand. Trim the excess thread and fabric with scissors and you’re done!
 So what do you think?! Easy peasy for a sewing project, yeah? I can’t wait to experiment with other shapes!
 This post is sponsored by Minted. All opinions expressed are my own.Thanks for supporting the brands that help keep The Crafted Life making!
