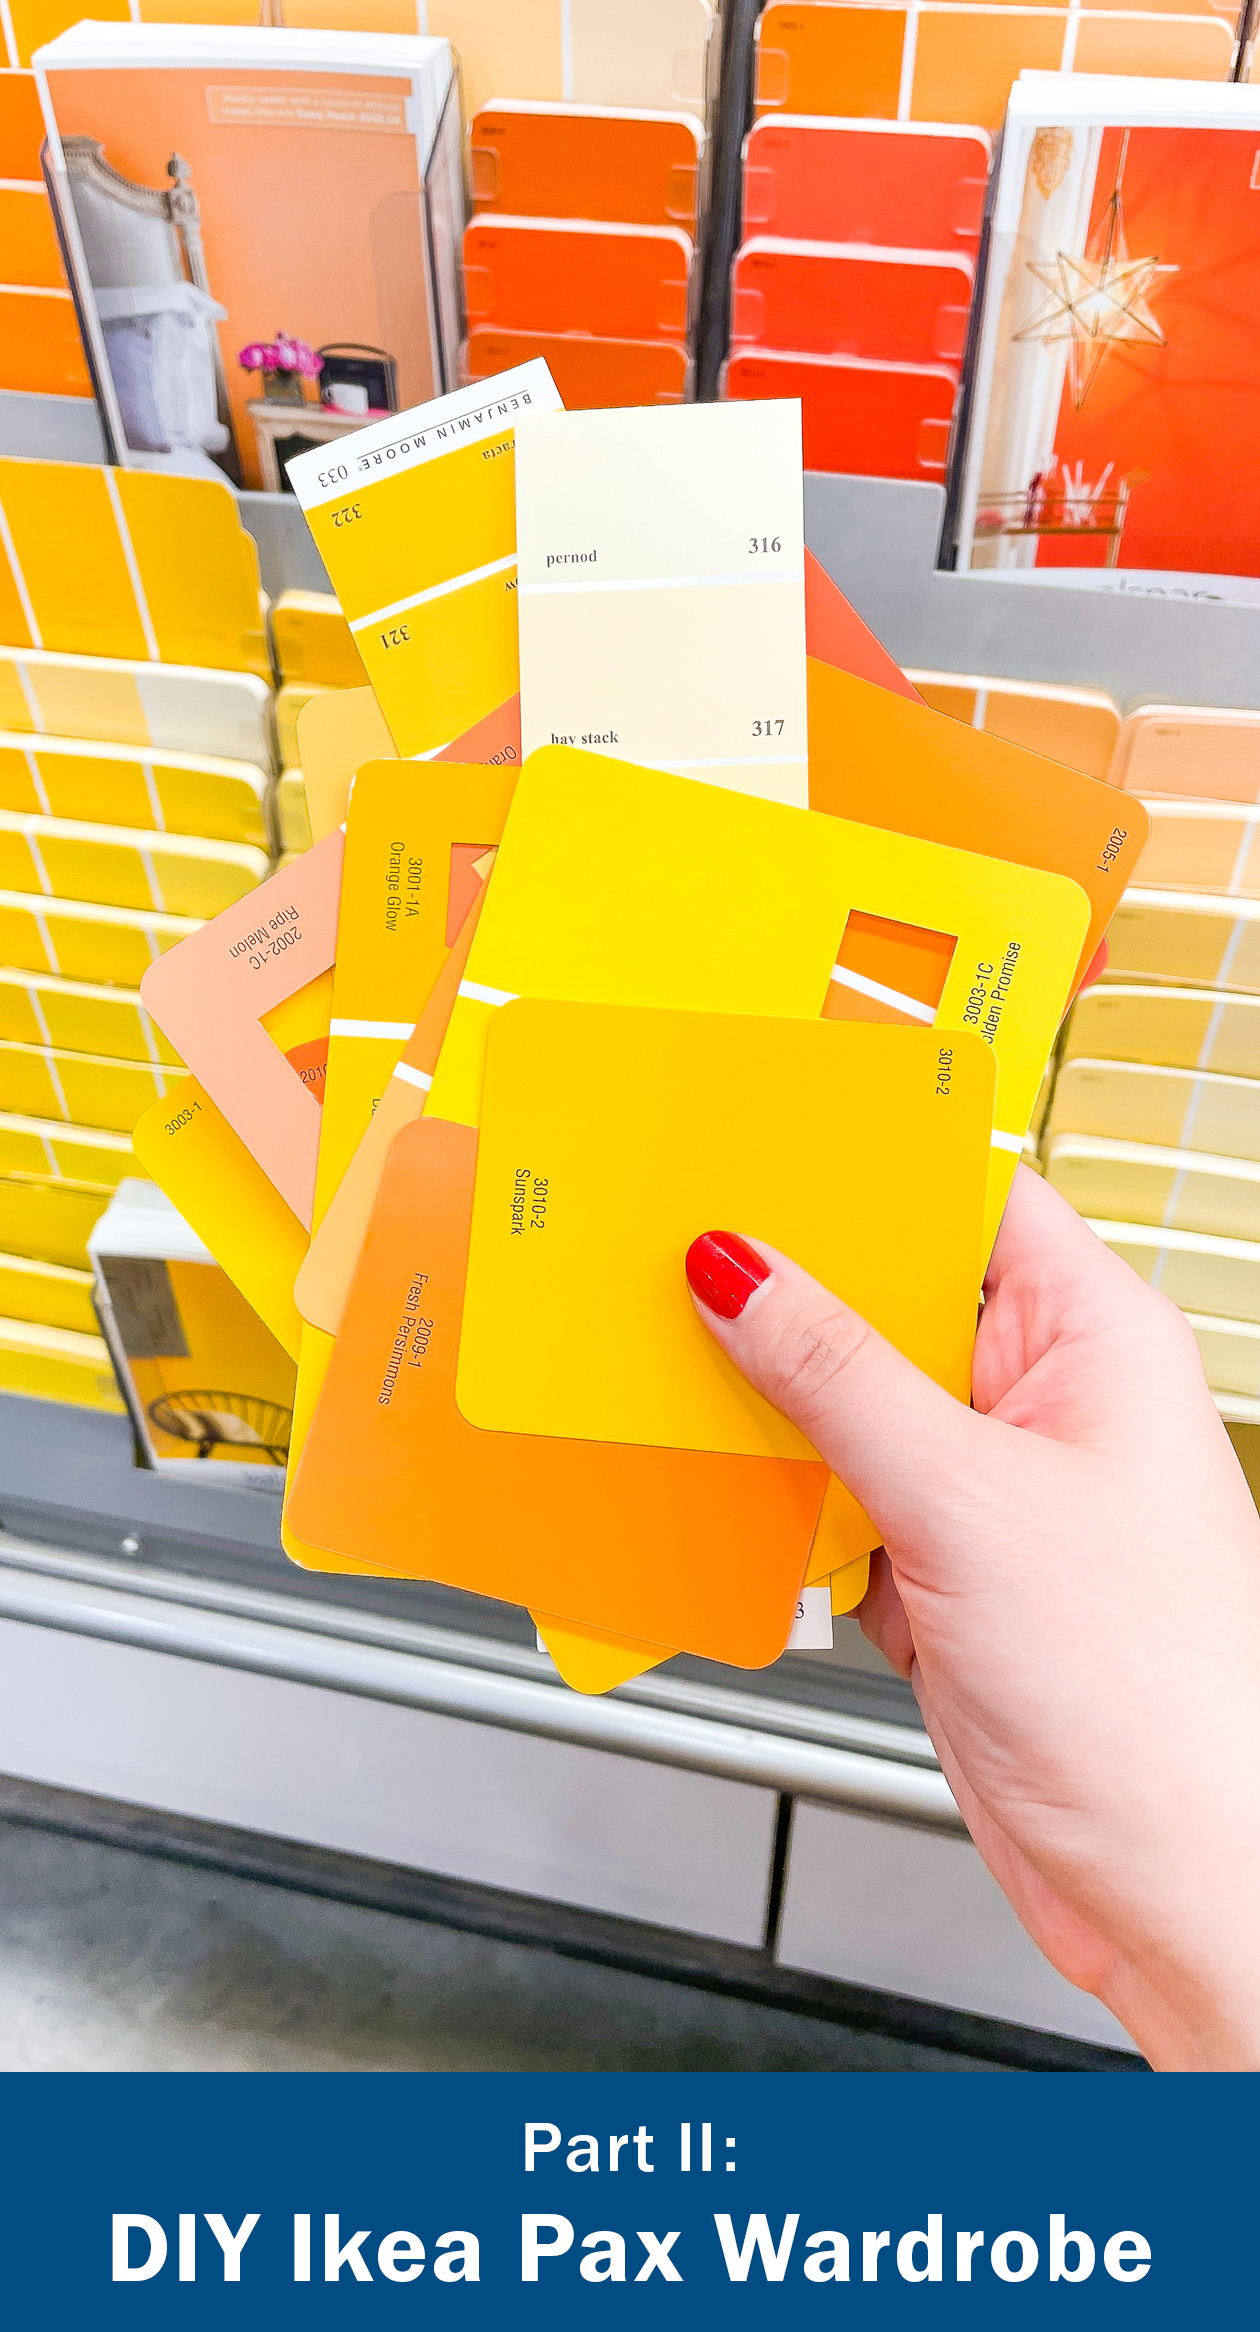
 In Part I of my DIY Ikea Pax Wardrobe, I went over our storage issue and why we chose the Pax. Today’s post is all about how I got to choosing the right color for this piece. And how, of course, I did not get it right on the first try. I always think that larger projects involve more trial and error and that’s absolutely okay. At least that’s what I told myself on every new trip to the hardware store. Here’s part II of our Pax wardrobe makeover!
 Choosing the Paint Color
Why yes, the first color I chose for this project was yellow. How could you tell?
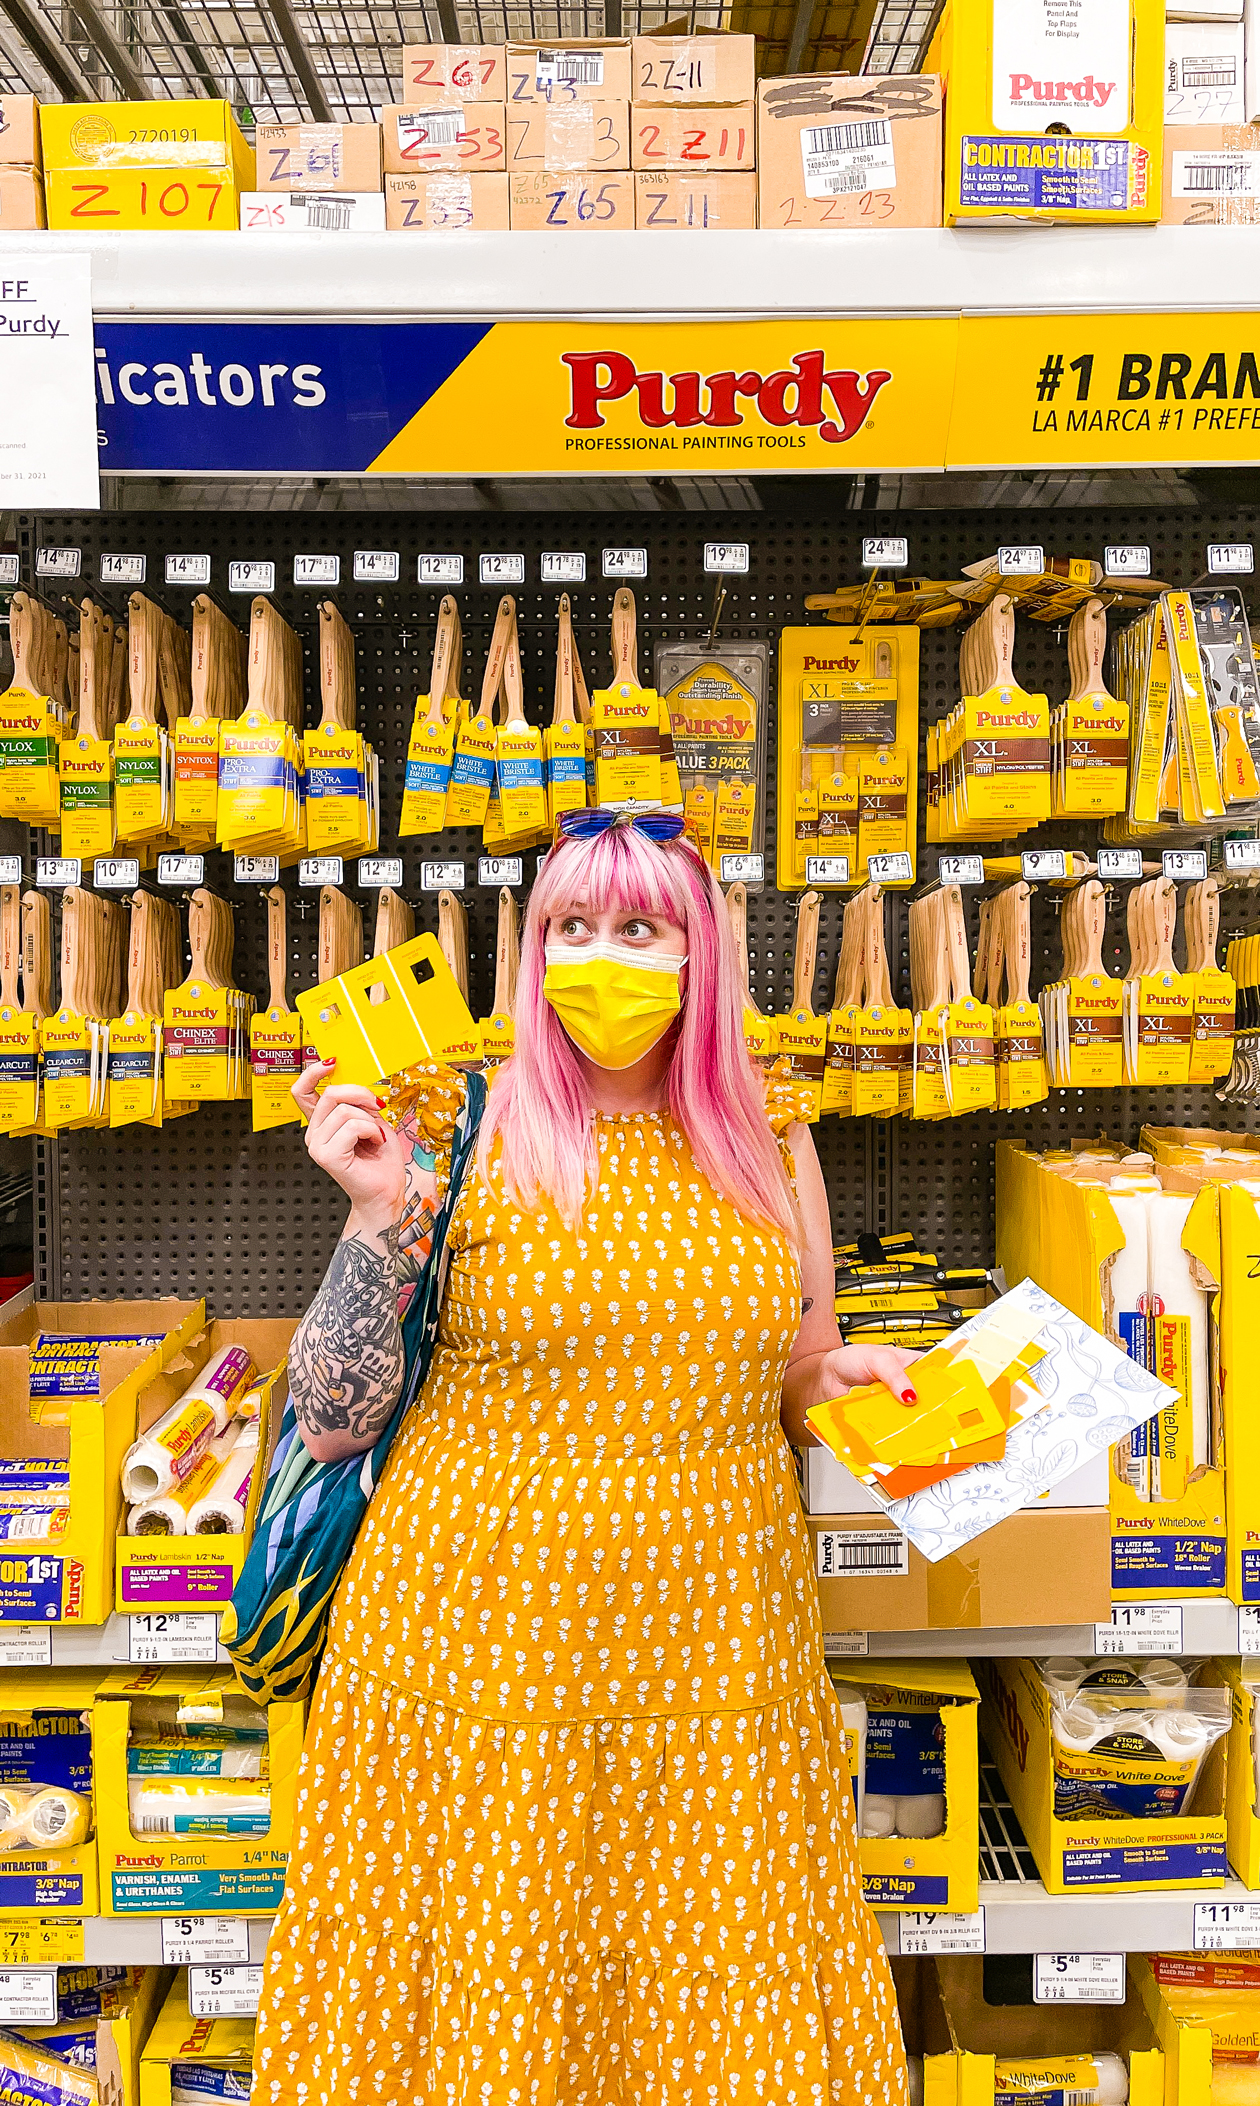
I went to the hardware store thinking that yellow would be the right color for the PAX. And when my dress, mask, and the supplies all matched?! Well I thought that was for sure a sign, so I broke all my rules for testing paint and bought it anyways.
But after getting everything home and sitting with the color and laying the swatch on our floor, I realized it wasn’t going to work. And of course it wouldn’t. It’s very rarely that I’ve made an impulsive design decision and it’s worked out. The color was absolutely beautiful and bright and fun, but it wasn’t right for our space. And considering the Pax is SO big, it would have be really noticeable that it wasn’t right.
That’s such an important thing to know about working with color– not every color will work in your space. No matter how much you like the color and no matter how much someone tells you colors work together. Lighting and flooring plays a huge role in the feeling of the room, so don’t be afraid to shift your plans if it just isn’t working.
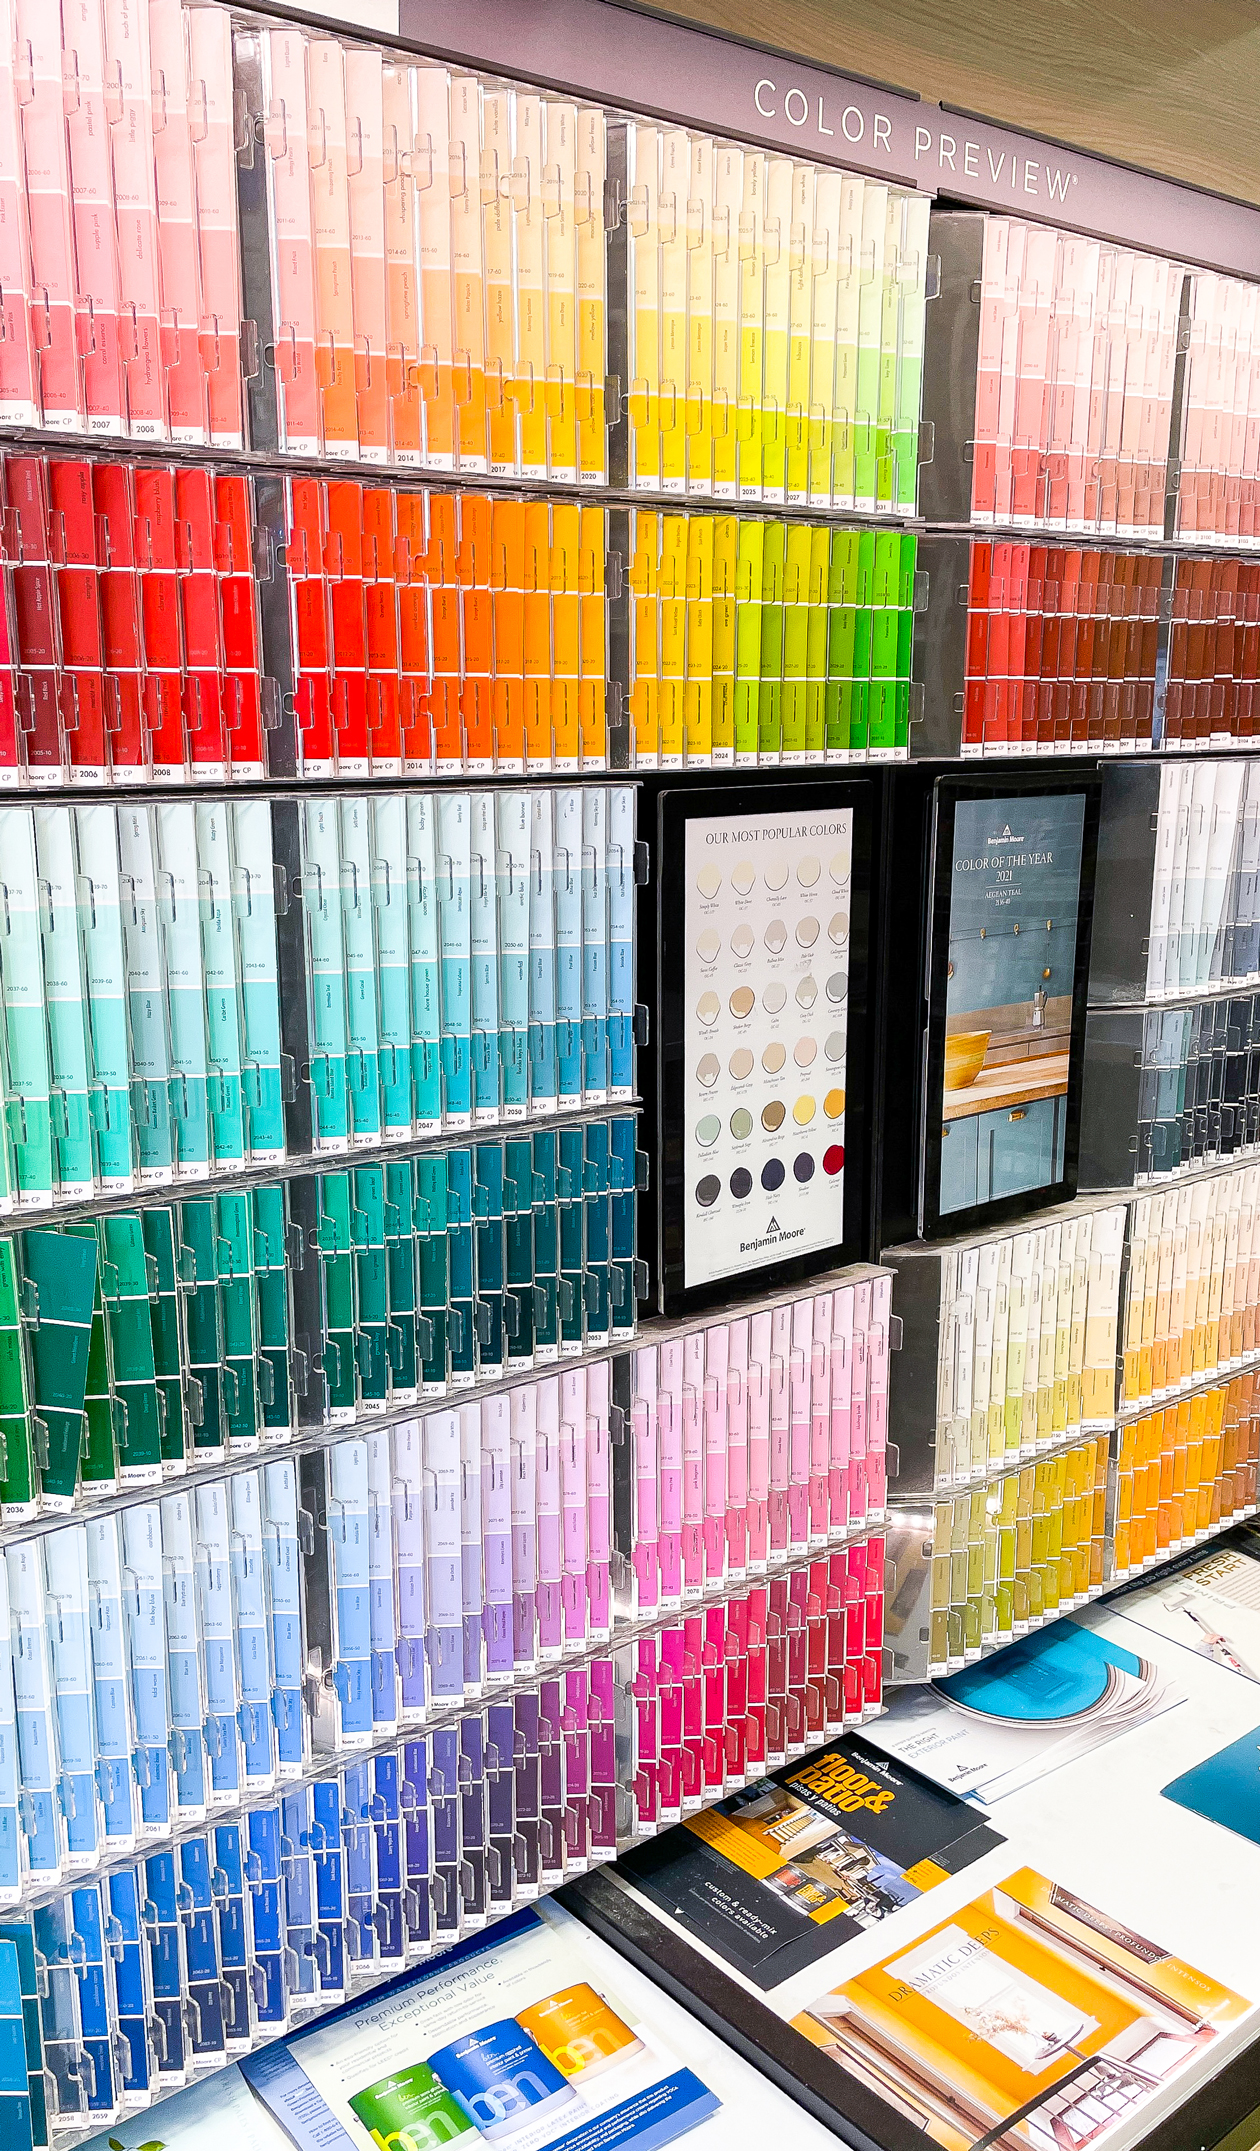 So back to the hardware store we went!
I want to also make a note here that our walls are not white. They’re more of a warm white/beige so it really changes how color looks against it. Taking more of our space into consideration, I wanted to go in a cooler direction to compliment our warm floors and walls. Because I already painted our hutch makeover a rich green and my Ikea Desk Hack a bold blue, those two colors were out of the running.
Because of the size of the wardrobe, I opted for a softer color to help it blend into the space a bit better.
 Why You Should Test Paint Colors
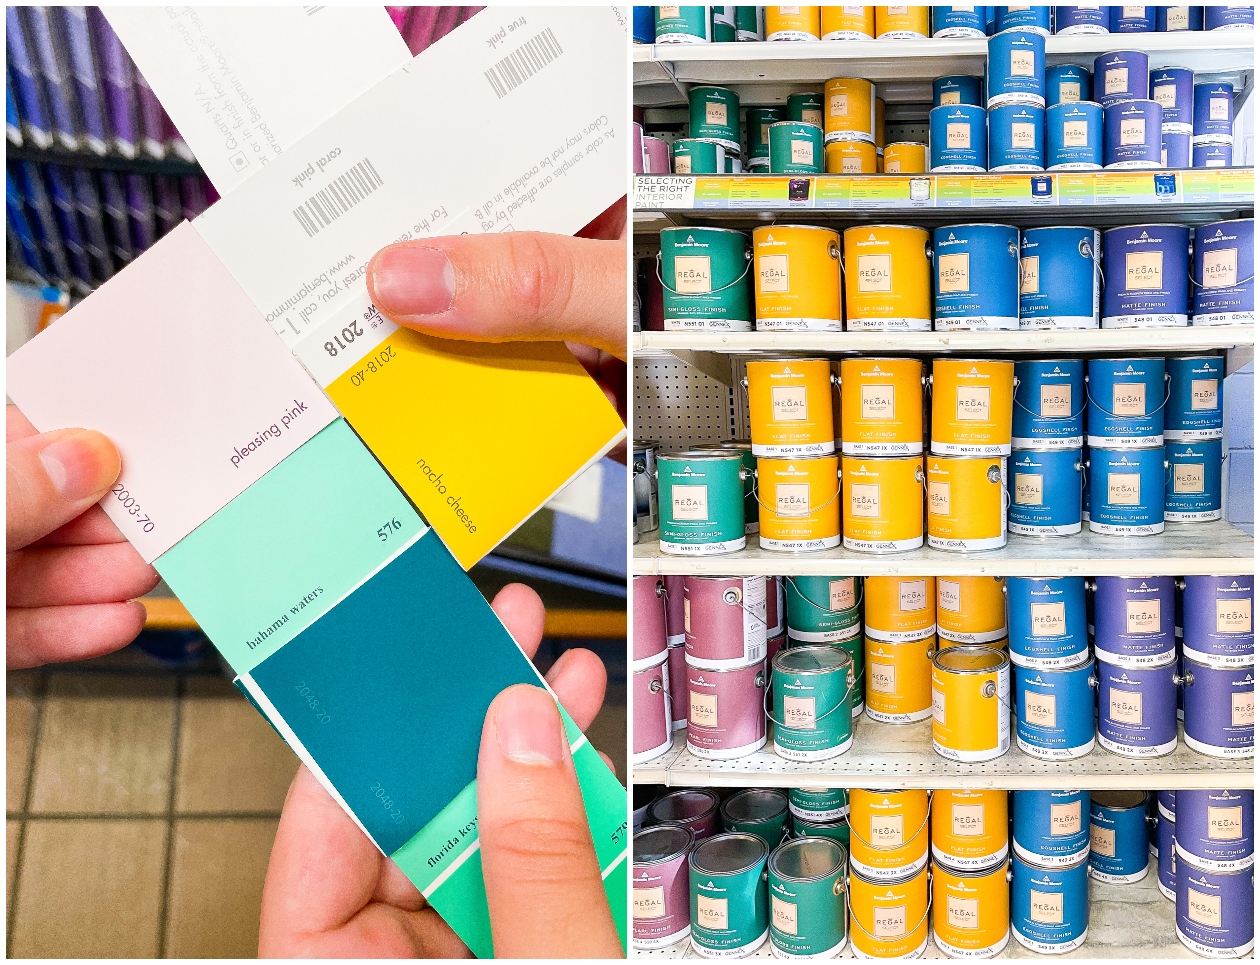
If I could give you any advice when it comes to selecting a paint color, it would be to always get a sample first. ALWAYS. I know it takes more time, a bit more money, and an extra trip to the hardware store, but it will save you from repainting a project every time. It’s worth it.
Because I was stuck deciding between two colors, I grabbed a color sample of each. These were only an extra $5 a piece and so worth it because I ended up choosing the color I didn’t expect.
When I got home, I painted a piece of oil + acrylic paper with the paint samples so I could see how it reads in the space before applying to the Pax. The larger the paper the better for this. It will help you really get a feel for how the color will read once painted.
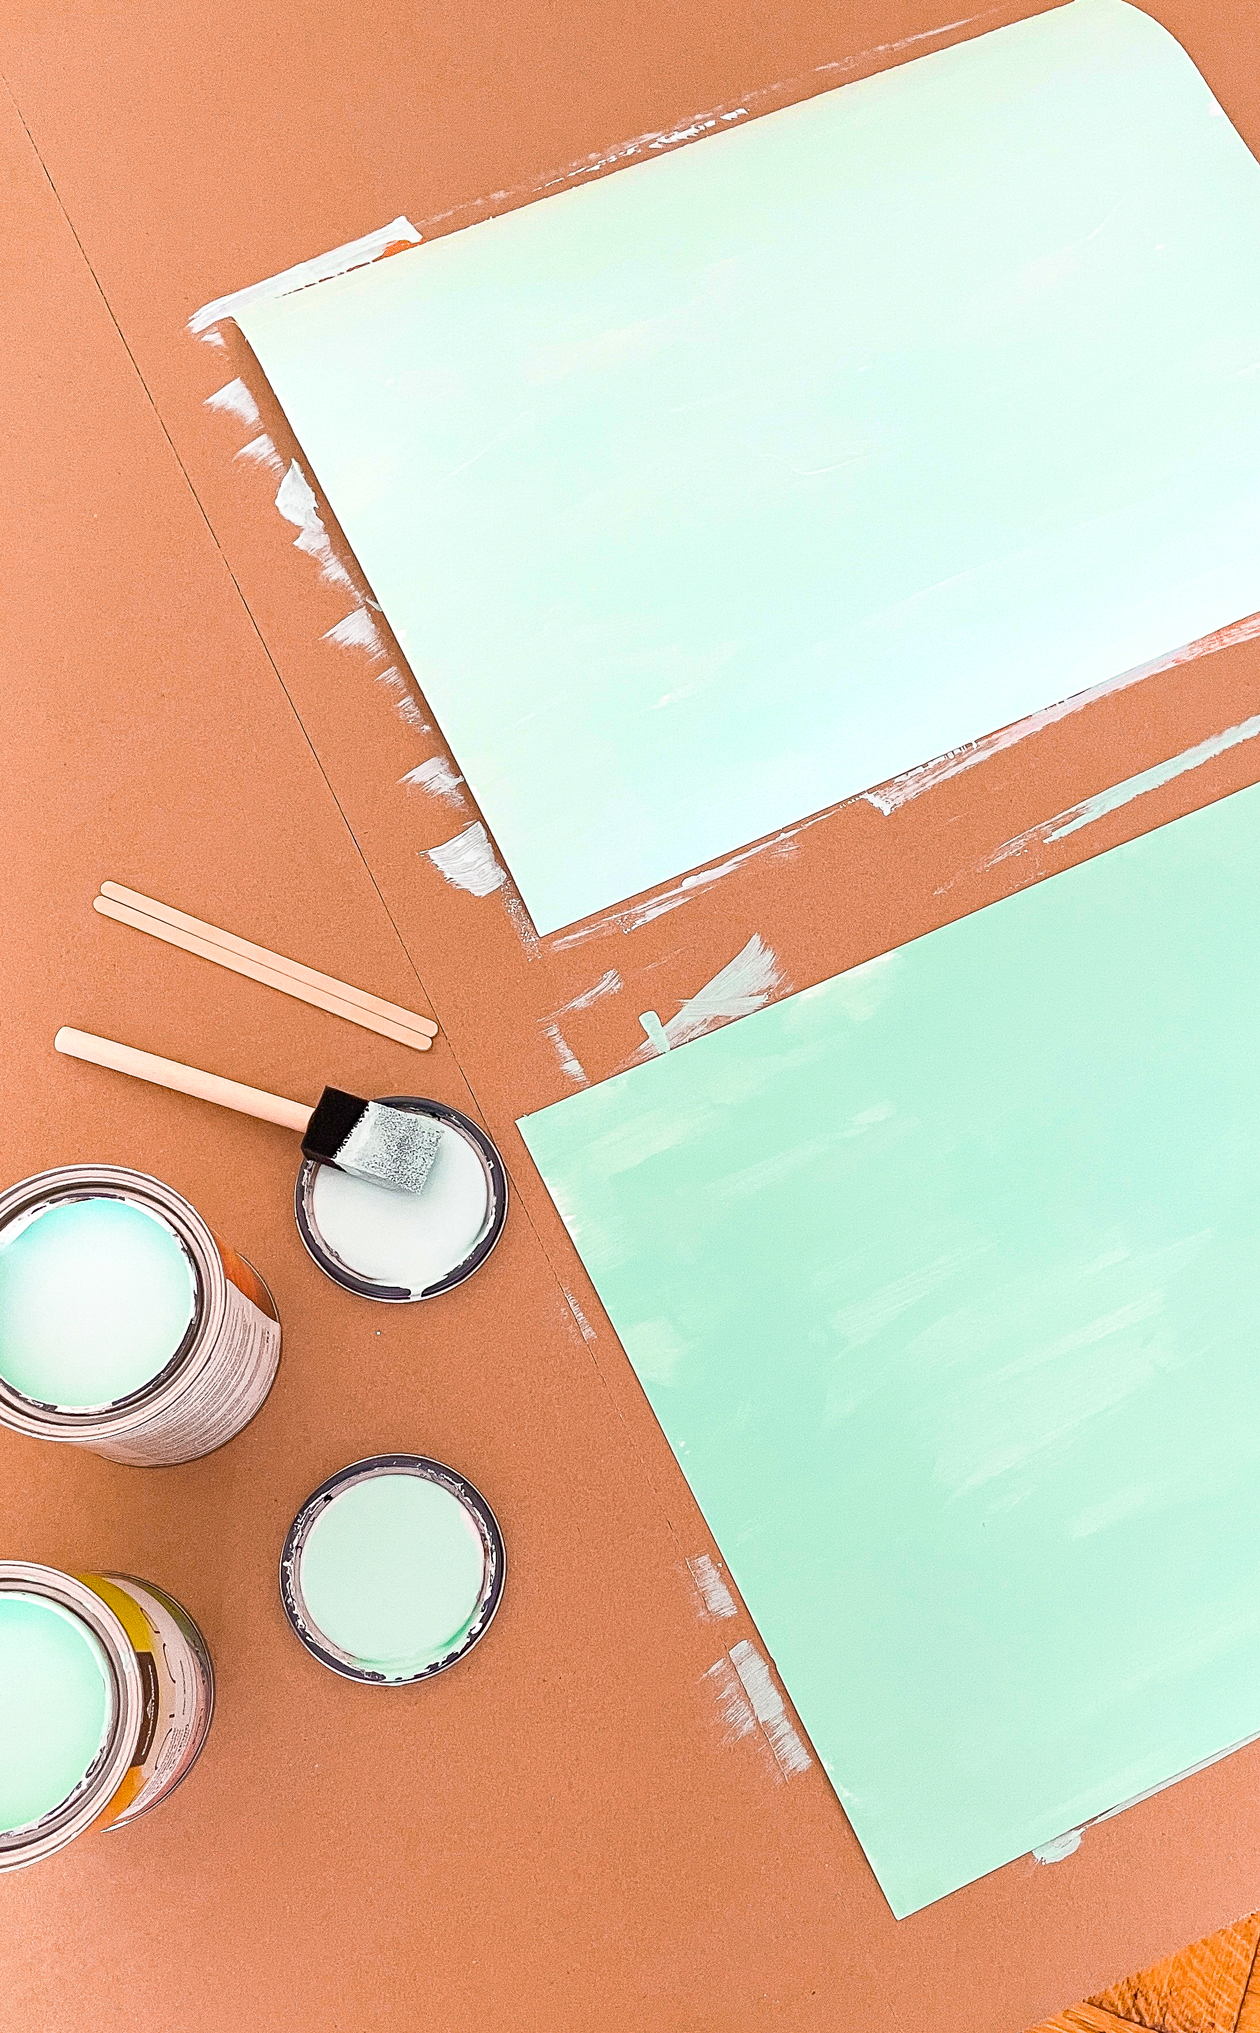 I hung the two painted pieces of paper on the wall and watched how they look throughout the day, in all types of lighting. Because it’s not just a matter of what color you could live with, but what color makes your space feel GOOD. That’s the point of painting pieces and DIY. To make them more personal and to fill our spaces with joy.
After I hung the paint samples on the wall, we were able to get a good feel for what color we liked in the space. After a few days of living with it, it was back to the hardware store to get the final color.
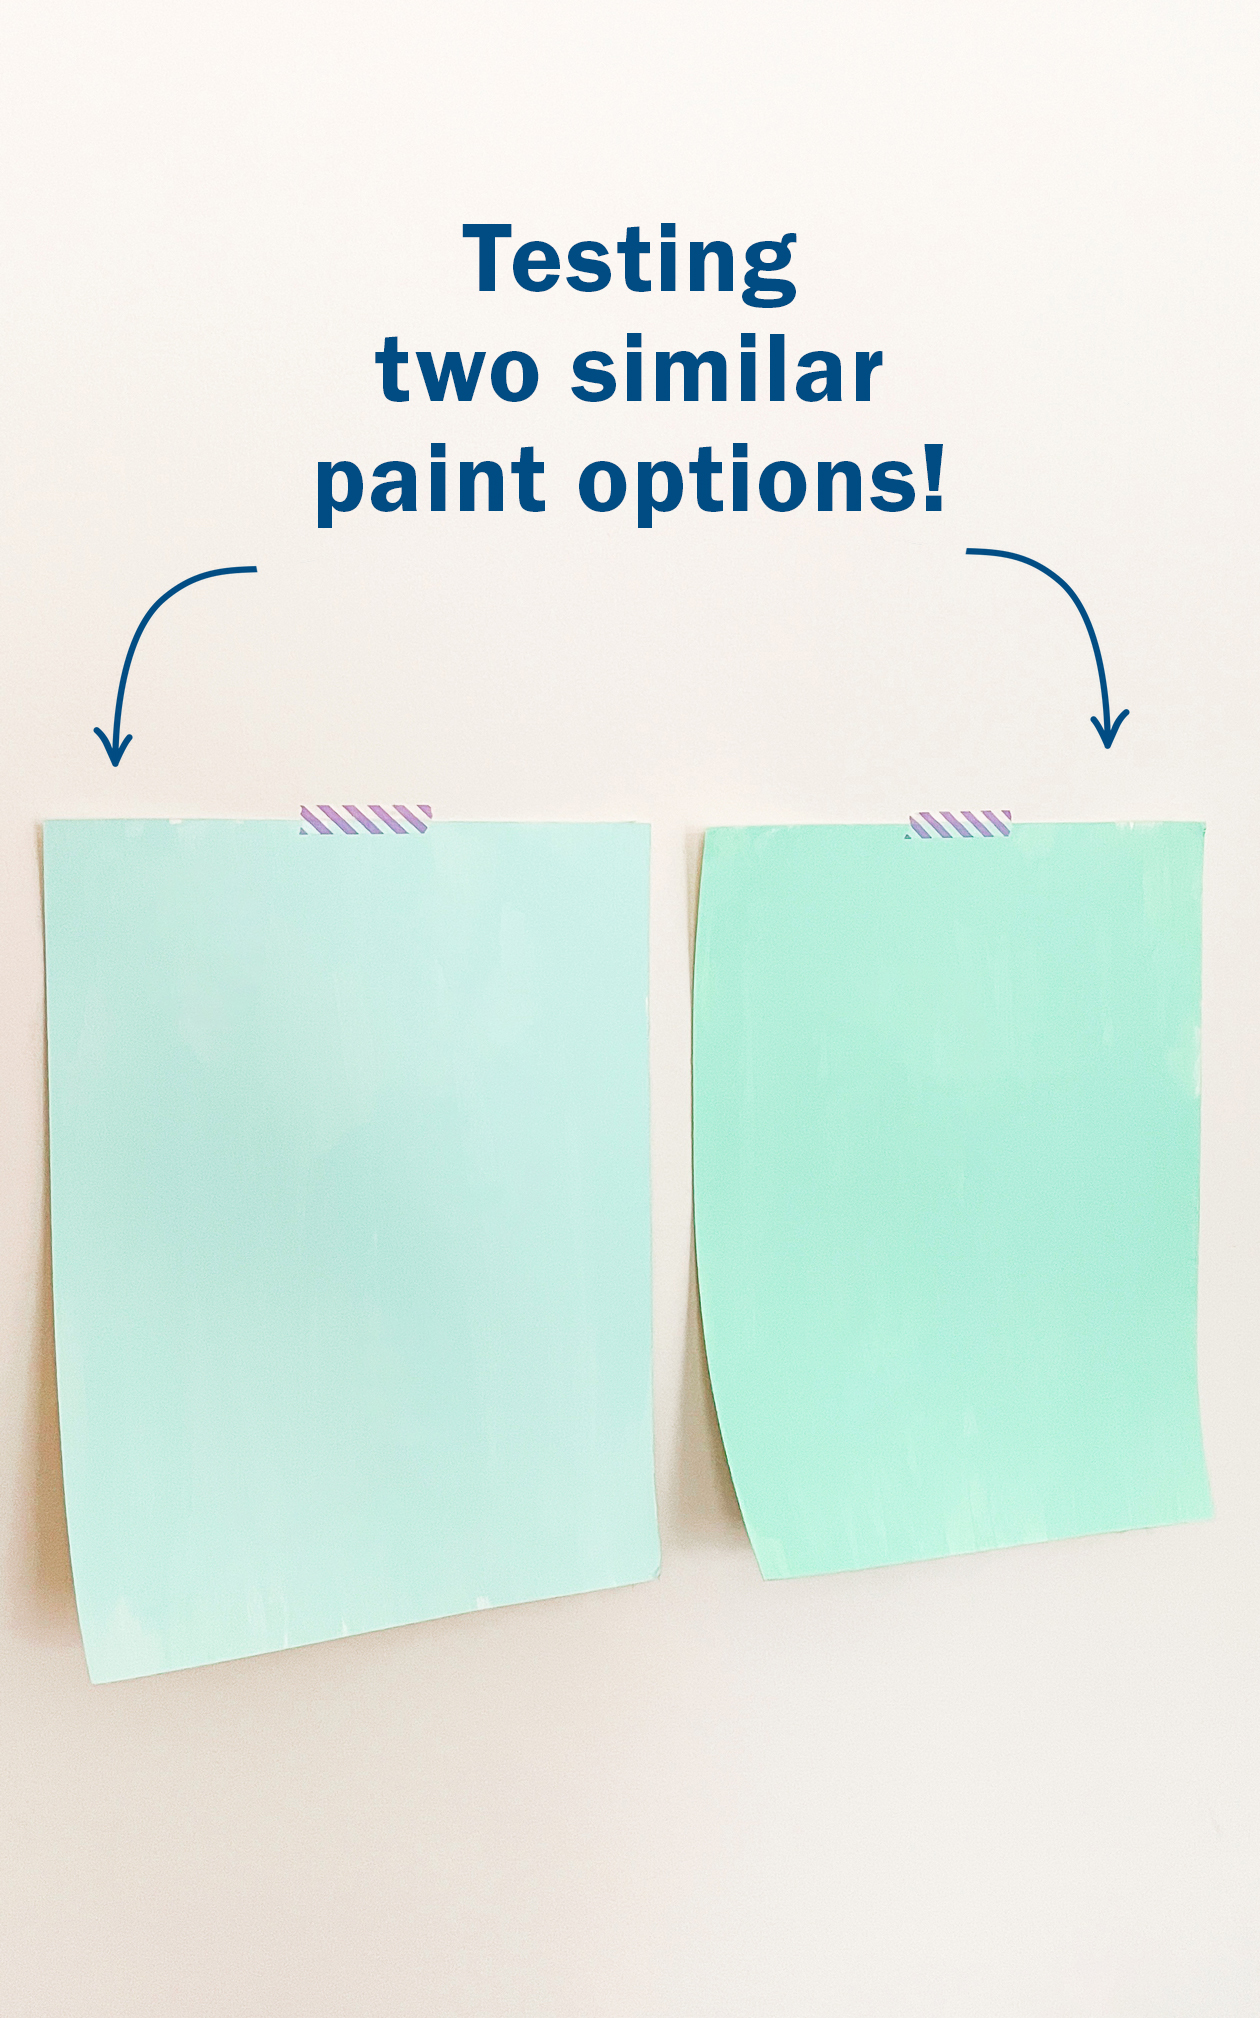 Any guesses which color I chose? The one on the left or the one on the right?! For some context, we’re keeping our other bedroom furniture the same (see our old bedroom tour here).
Come back next week to find out if you were right and to see more of the DIY process!
xo
Rachel
