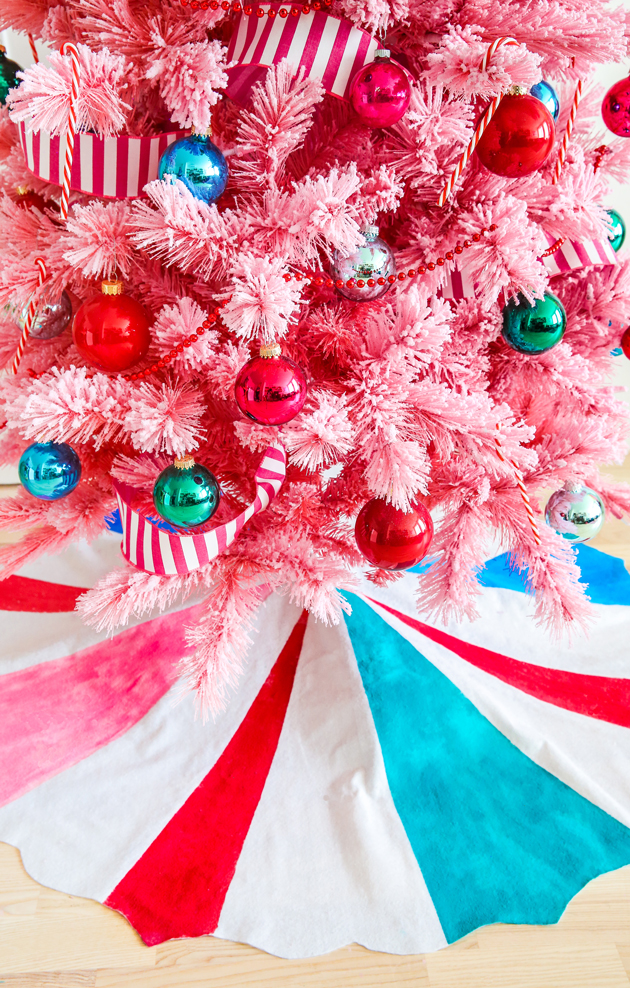
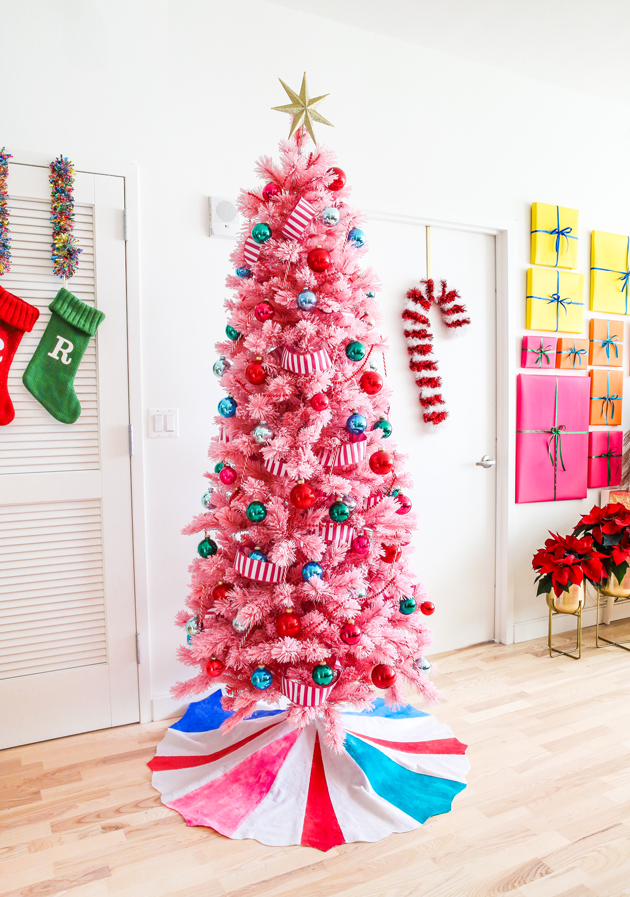
 Here it is! The first look at our pink peppermint Christmas tree! I couldn’t find a tree skirt that fully matched the colors we wanted to use to decorate, so I decided to make my own with a little bit of tape and paint. It adds the perfect handmade touch to our tree and I can’t recommend this project enough! Here’s how to make your own painted tree skirt:
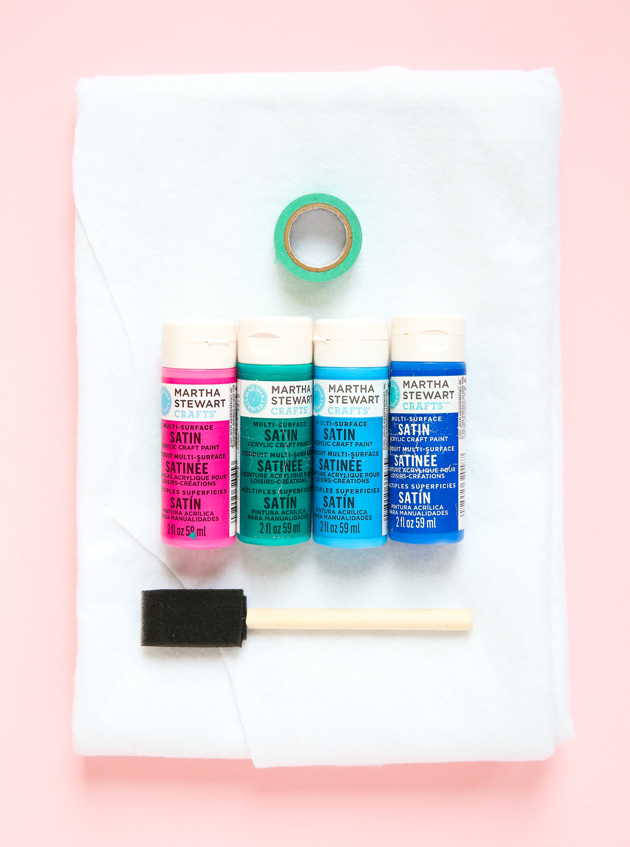
– White tree skirt
– Acrylic Paint
– Washi Tape
– Brush + cup of water
Be sure to use washi tape for this project because it’s gentle enough to not damage your fabric or felt, but will still give you a clean, crisp line. Our tree was gifted to us by Treetopia and I highly recommend looking there if you want a colorful tree!
 Map out your color scheme before beginning (keep the rest of your tree in mind). The theme of our tree this year was peppermint wonderland, so I wanted the skirt to mimic the colors of the tree while reinforcing the peppermint design. Tape off each section of the skirt you want to paint. If you dilute your paint with water, it will be easier to paint. Just be sure to have something between your skirt and your surface as it will bleed through.
Side note– a roller might work better than a brush for this (all I had on hand was a sponge brush).
Let paint dry overnight, iron out any wrinkles, and then place around the base of your tree!
 This project is such a fun one because you can really customize it to the theme of your tree. This was my first year of really committing to a themed tree (I typically just place mismatched ornaments on a live tree), and I have to say I’m really coming around to them! There was something exciting about mapping the design all out and then seeing it come to life.
You may also notice a few more DIYS in the frame too– DIY Candy Cane Wreath + Gift Wrapped Gallery Wall. I can’t wait to show you how we decorated the rest of our house for Christmas (coming later this week).


