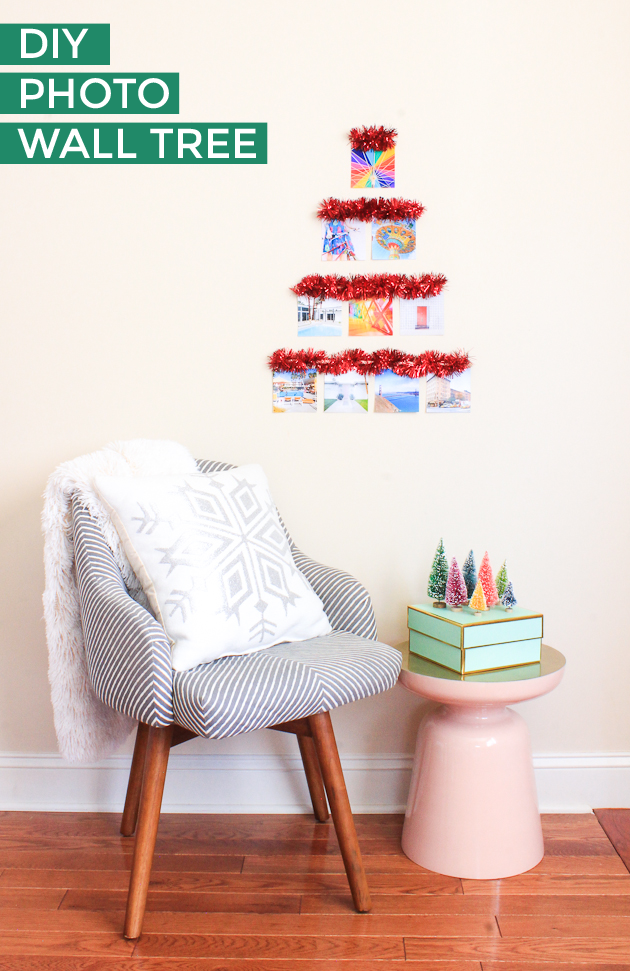
 Happy Monday! I hope you all had a lovely Thanksgiving break and are ready to go full force into Christmas season!
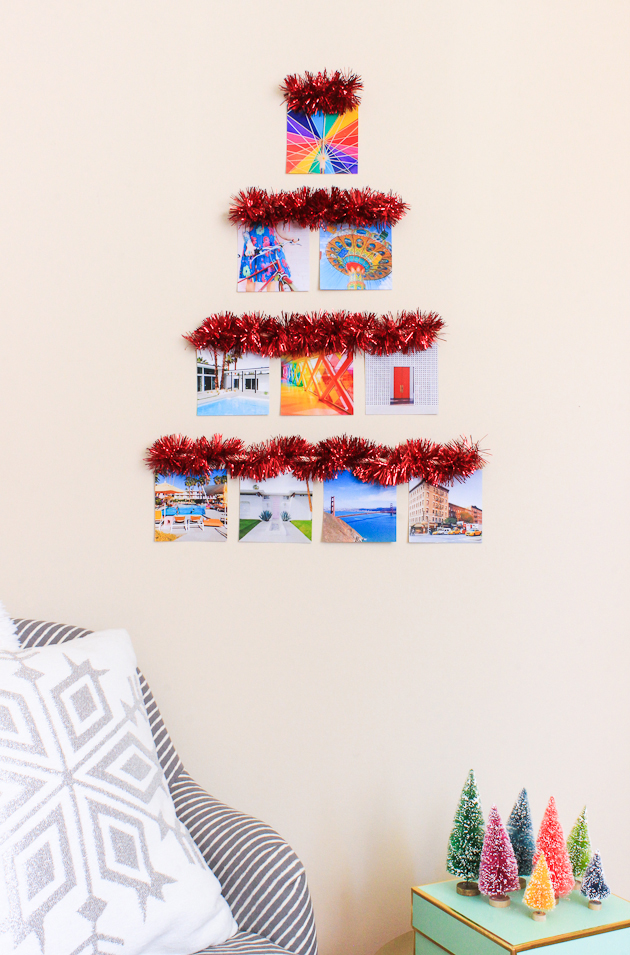
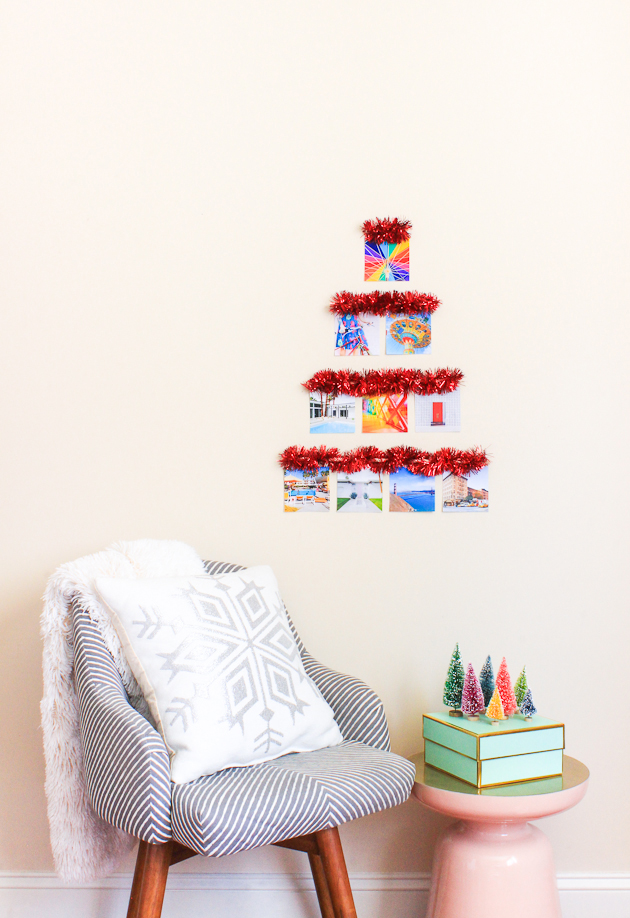
Two weeks ago I shared how to make these DIY photo ornaments, but I realize that some of you don’t have space in your home for a tree. If you still want to display your memories from the year, and are limited with floor space, then this DIY photo wall tree is the perfect solution! Plus it’s super easy to make. Here’s how:
Time: 30 minutes
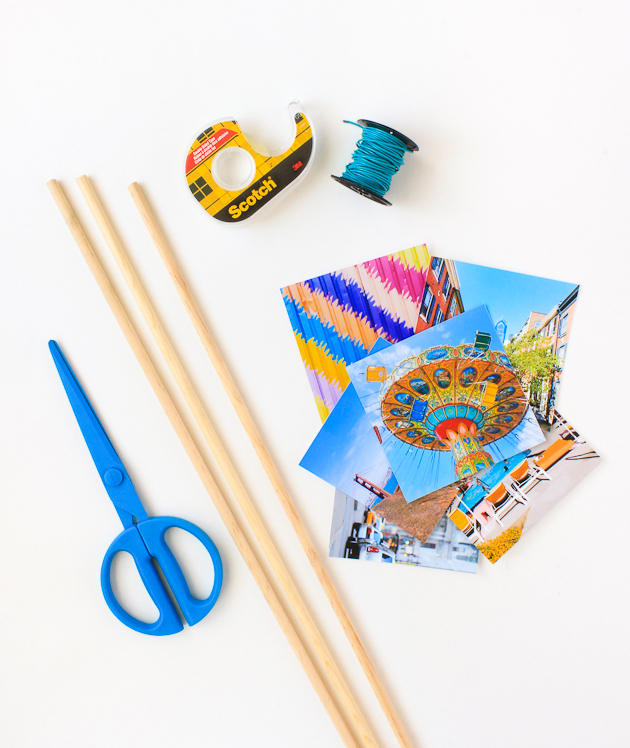
Materials: photos, wooden dowels, scissors, double sided tape, string, sandpaper
I printed my photos from Mpix. Not only is the printing quality top notch (seriously guys, look at that color), but shipping is super fast so you’ll be able to make your tree in no time.
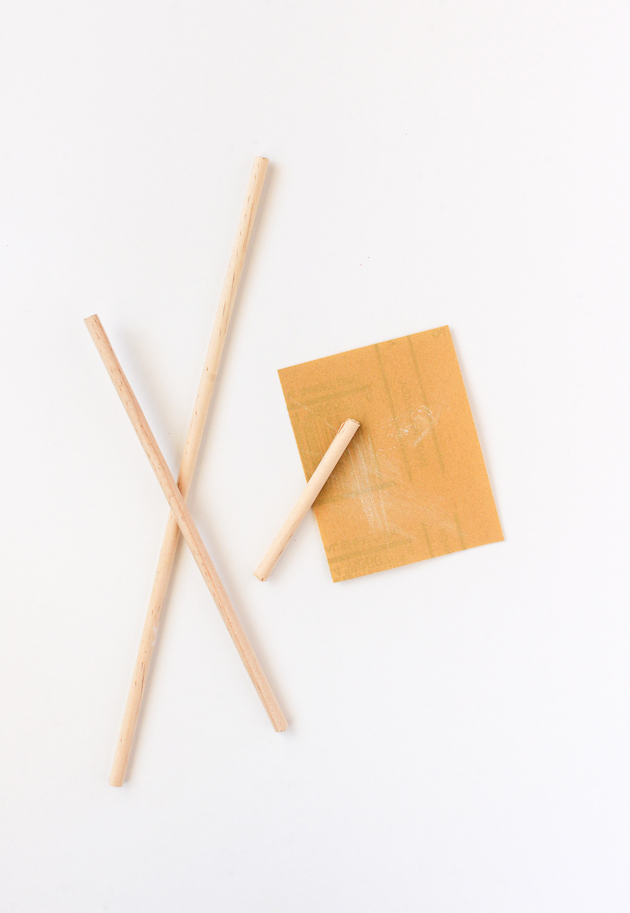 Cut your dowels to varying sizes (you’ll need a saw). If you want to recreate the same size tree as mine, the measurements are: 4″, 9.5″, 14″ and 18.5″. Sand the ends to smooth.
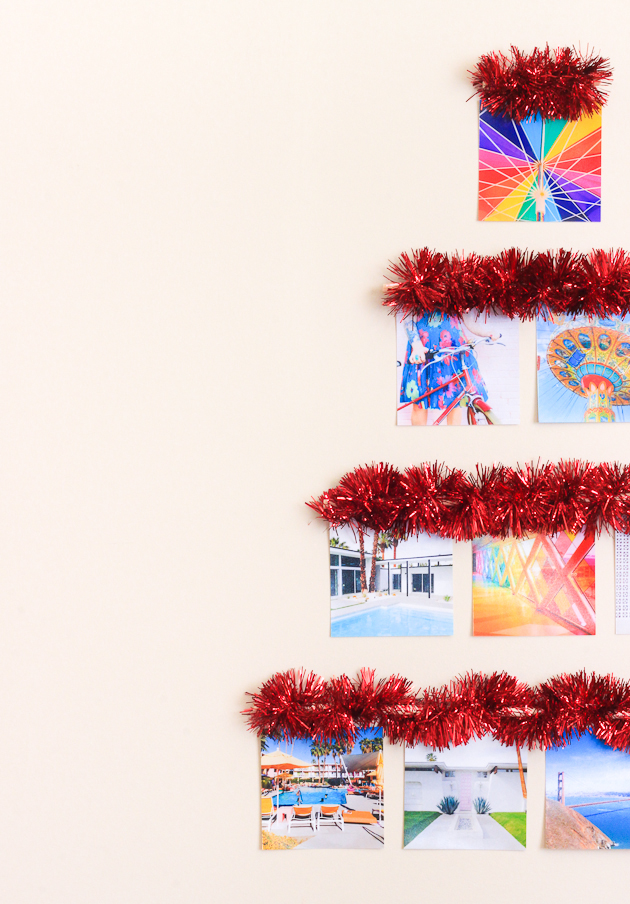
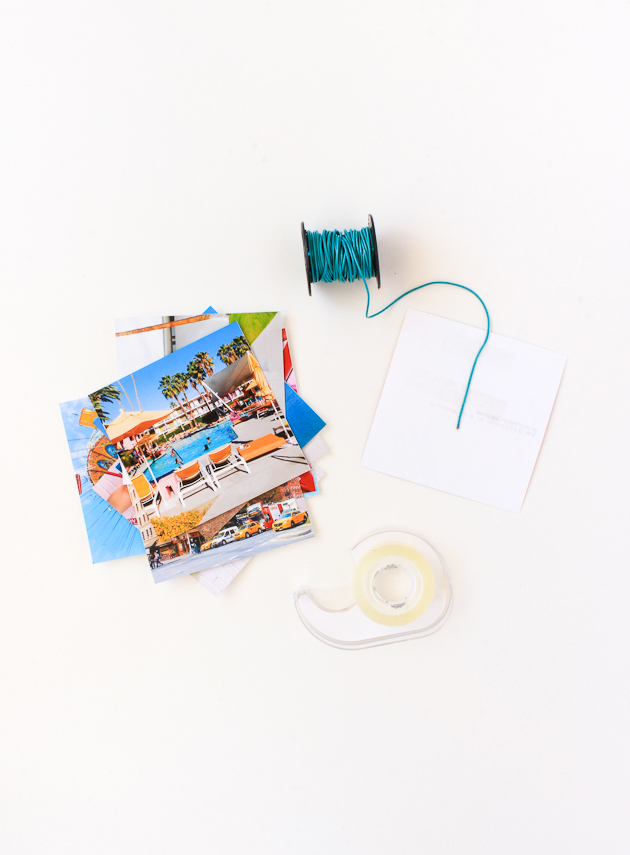 Apply double stick tape to the back of your photos. You can then string onto your dowel or tape directly to the wall. Painting or wrapping your dowel in tinsel will give your wall tree the extra pop.
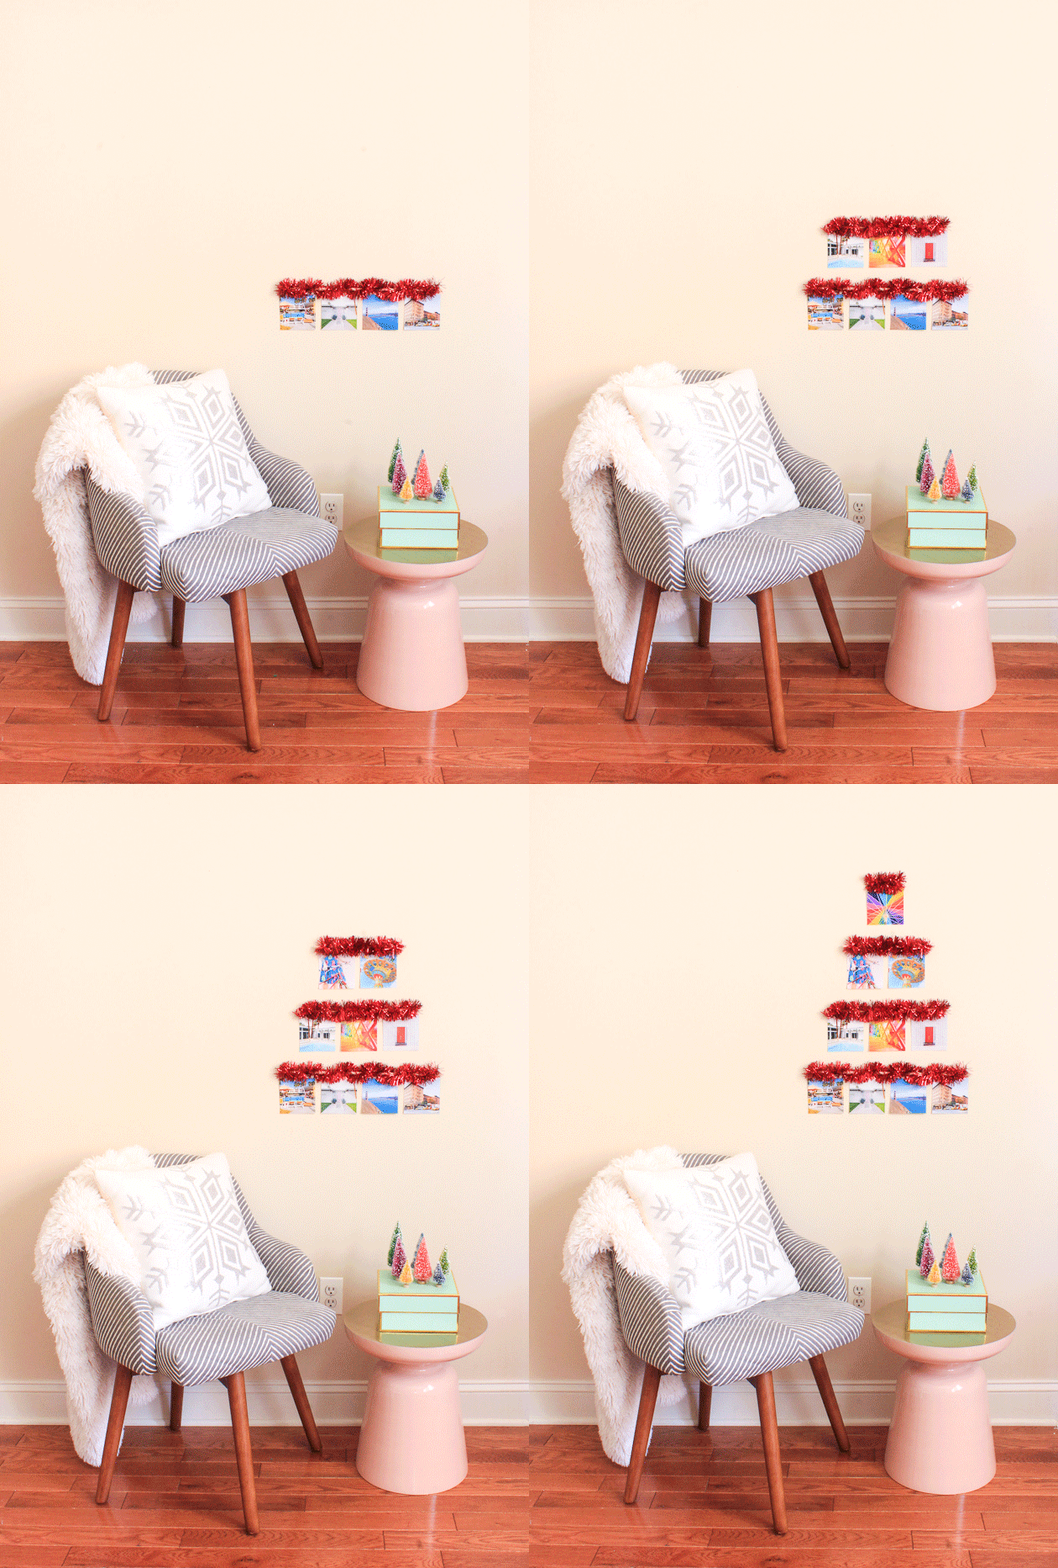 Hang on the wall (you can use tape, nails, or removable strips) and you’re done! So super easy to do and there’s no mess. Because who wants to spend time cleaning when there’s holiday fun to be had?
This post was sponsored by Mpix. All opinions are 100% my own. Thanks for supporting the brands that keep The Crafted Life making!

