Time: ~30 minutes per mat
Materials: placemats (found mine at Ikea), tape, paint, brush
 You may have spotted these placemats in their natural state last week when I shared these diy bleach dyed napkins. It only took me about 2 seconds after photographing that tutorial to decide that they could use a colorful makeover. What can I say, nothing is safe from being color dipped in my home. This one takes no time at all and is super easy to do. Here’s how:
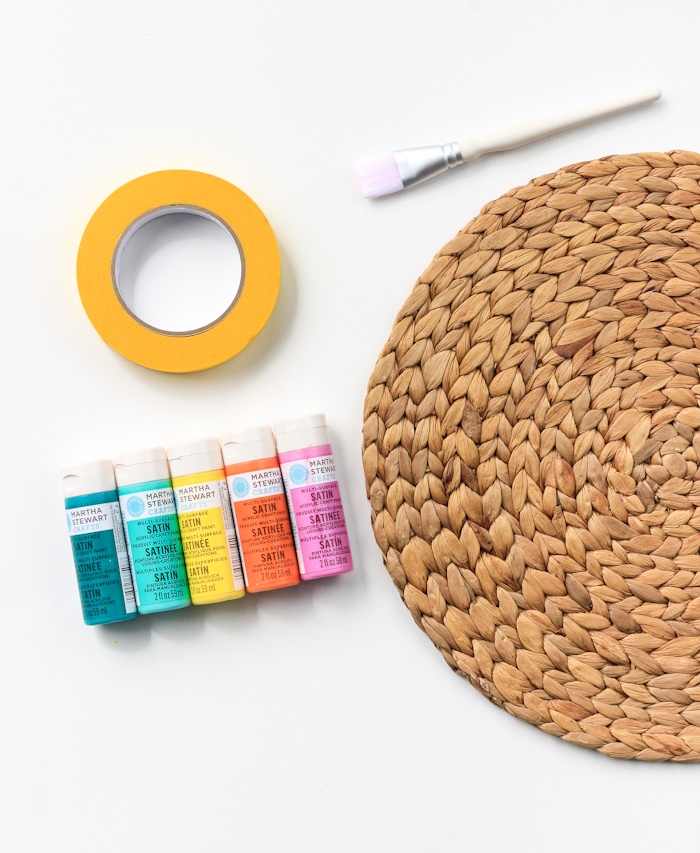 I used a multi-purpose craft paint, which I found was absorbed nicely by the placemats I used. If you’re placemats are made of another materials, I recommend looking into sealing them to keep the paint in tact (but it all depends).
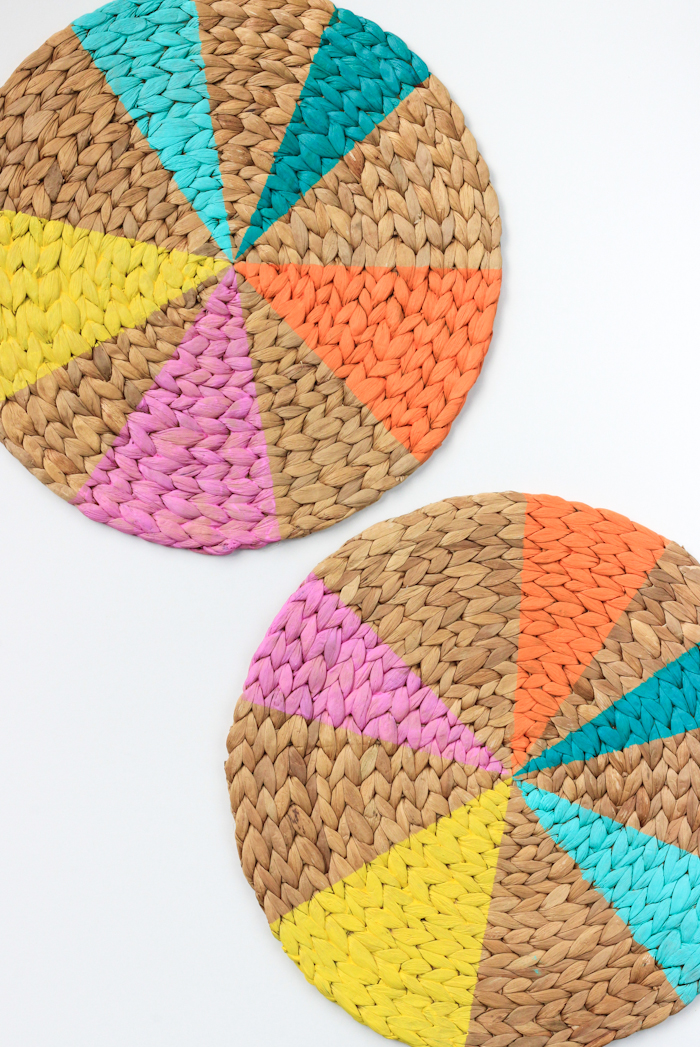
 Work one section and color at a time. Tape off your triangle and smooth over tape with your finger. I ended up painting sections of different sizes, but you can be more specific this is process. Apply your paint. Depending on how dark your mat is, you may need to apply another coat.
Peel tape and let dry before taping off the next section. It helps to do the same color all at once, on all of your placemats. That way, by the time you finish the last one, the paint on the first one will be dry. Repeat this process for the remaining colors and you’re done.
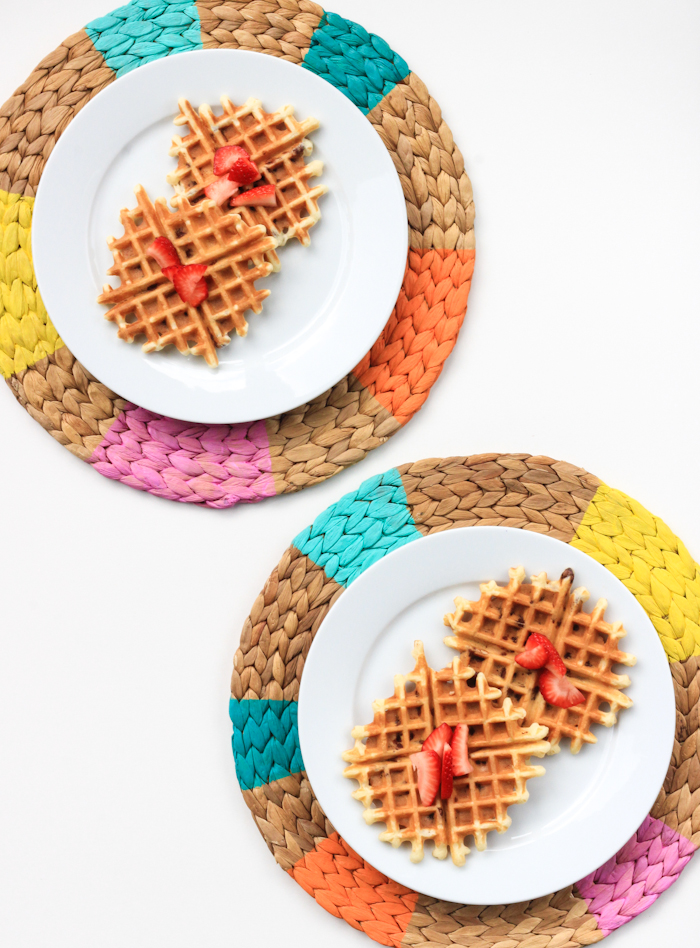
 So that’s it! Such an easy way to bring some color into your summer entertaining, don’t you think?
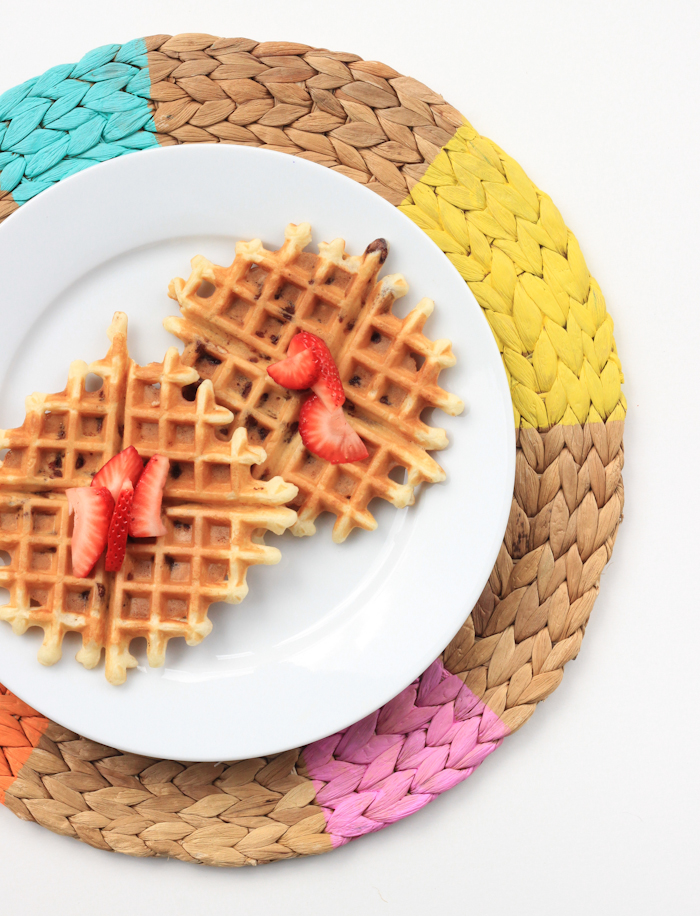
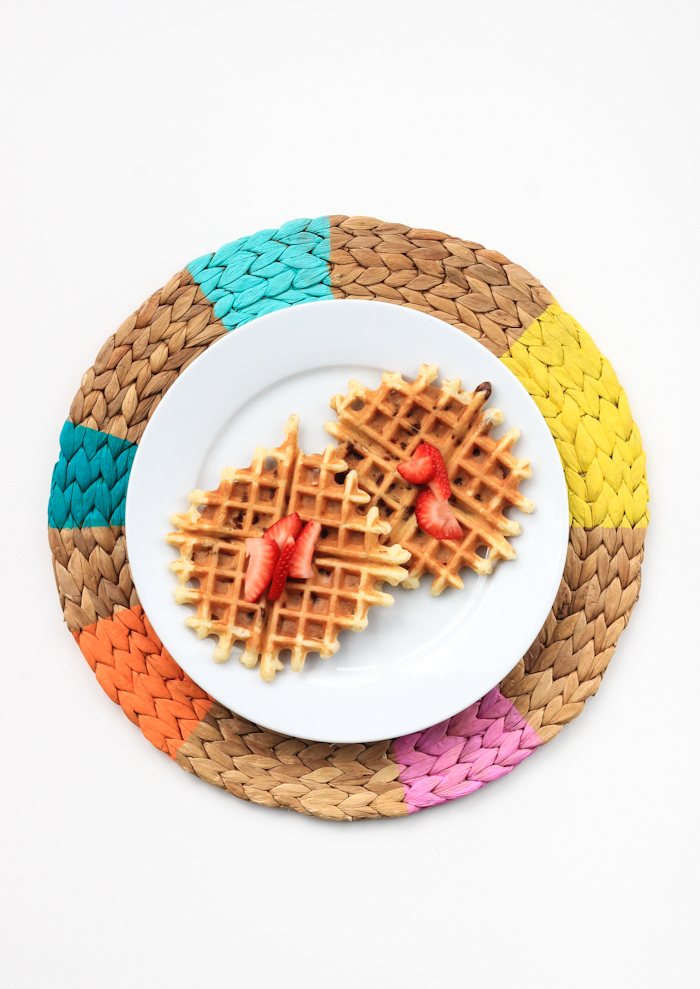 Funny story about this photo shoot actually. I photograph all my tutorials outside. I went back in the house for a second to grab something and then saw a crow flying off with one of the waffles. No joke, he ate my prop waffle.