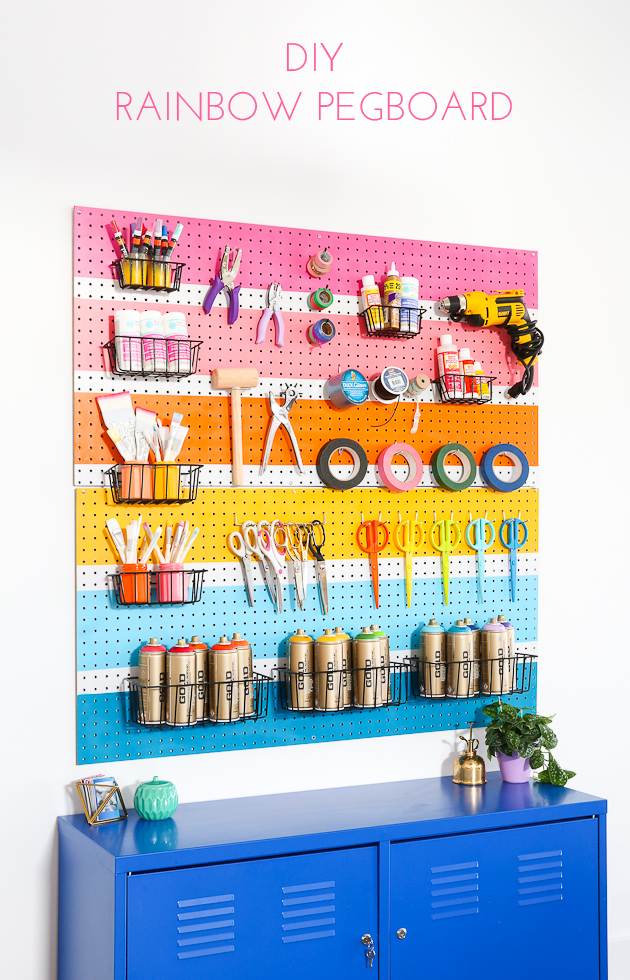
 Well, I finally decided to get my act together and organize my craft supplies. Boxes of clutter just weren’t cutting it anymore. There’s just something about visually seeing everything as a whole that makes it easier to keep everything in it’s place. I know exactly where everything goes and now the space is much more colorful with this project! Because what day isn’t made better by a rainbow?! Here’s how I made the DIY Rainbow Pegboard of my dreams:
This is another fun project I did for the West Elm blog AND it’s a tinnyyy sneak peek inside my studio. I’ll have the full reveal for you next week (OMG FINALLY), but for now, here’s how to give your supplies a colorful and organized home!
Time: 45 minutes
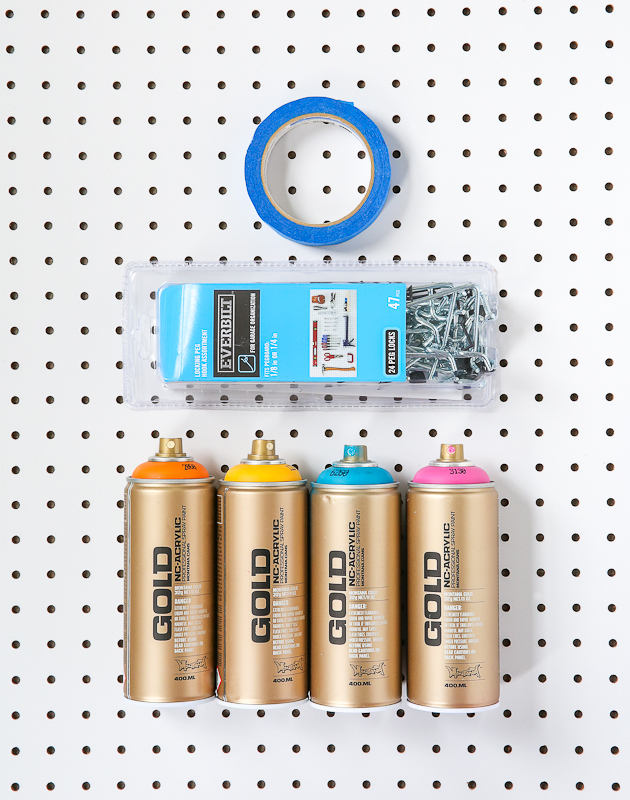
What You’ll Need:
Pegboard
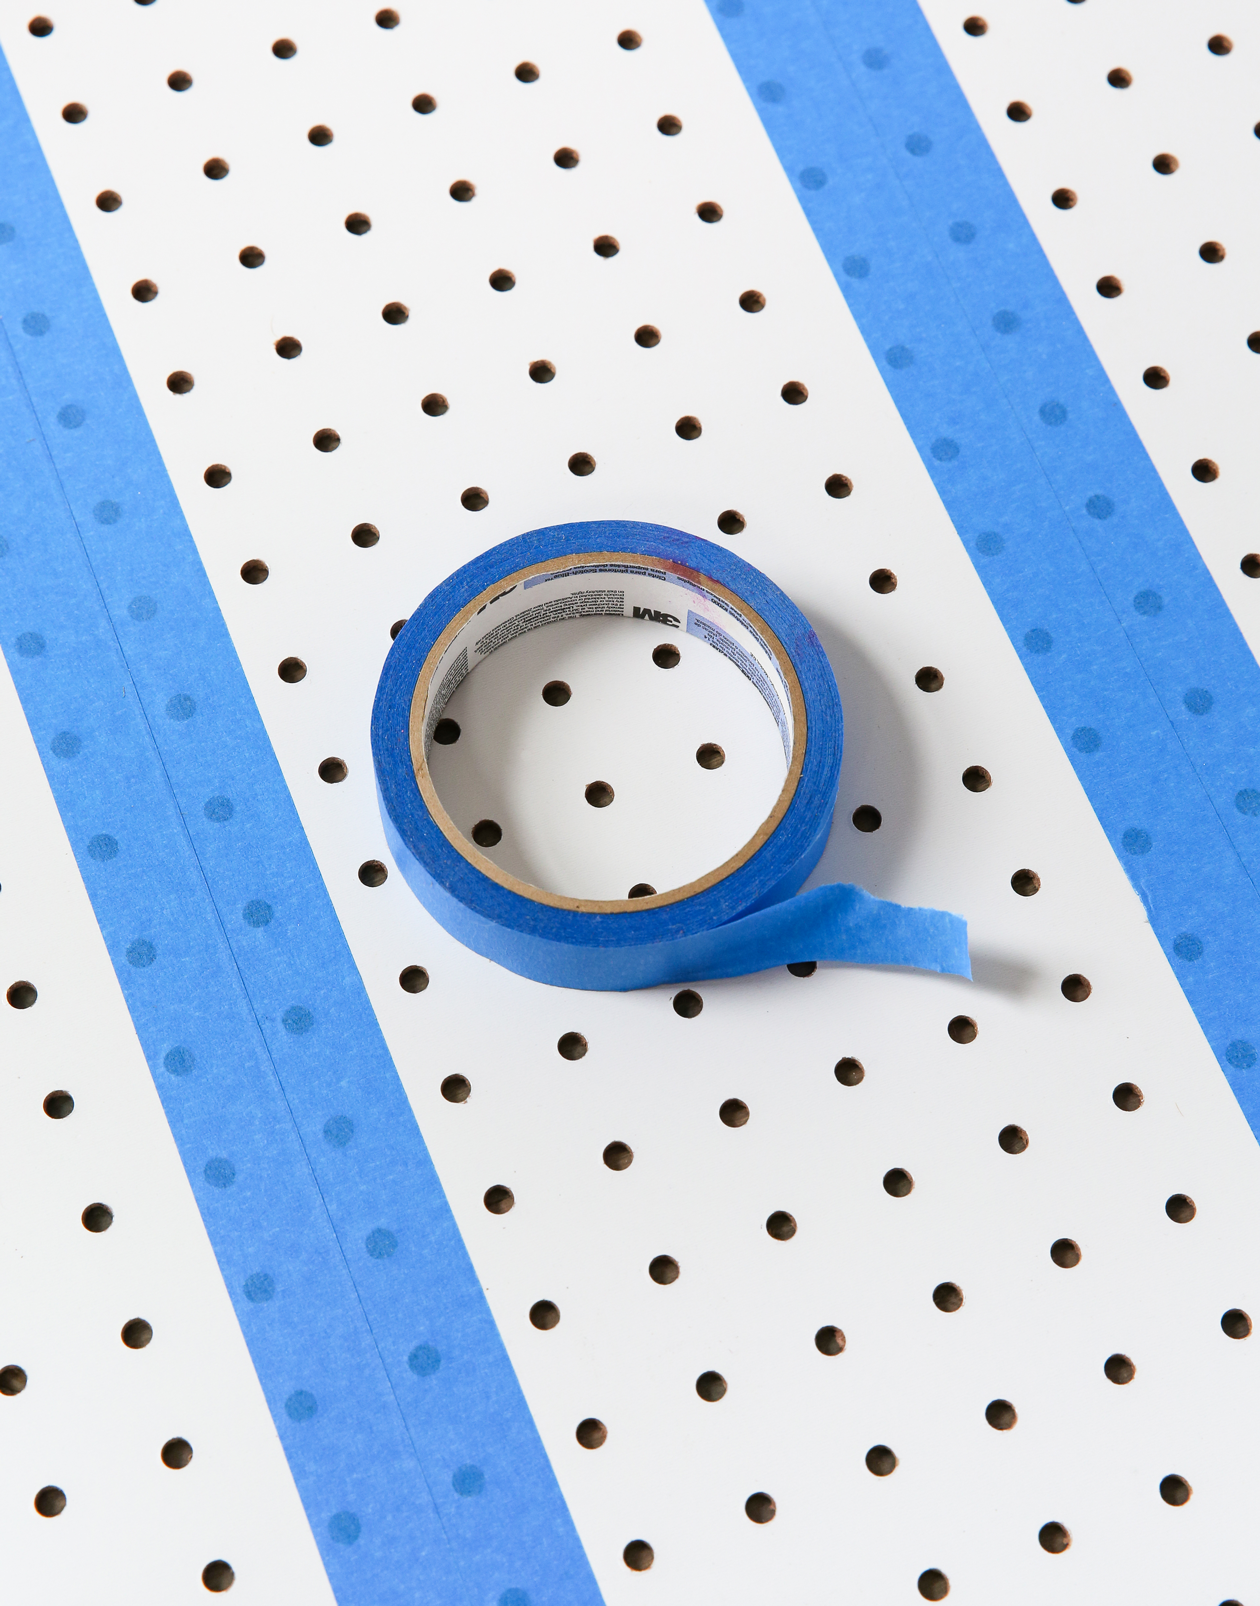
Painter’s Tape
Spray Paint
Spacers/Screws (for mounting)
Drill/Screwdriver
Pegs
 How To
Divide your pegboard into equal parts and tape off the sections you plan to paint. I ended up using two 24×48 boards and just stacked up on top of one another.
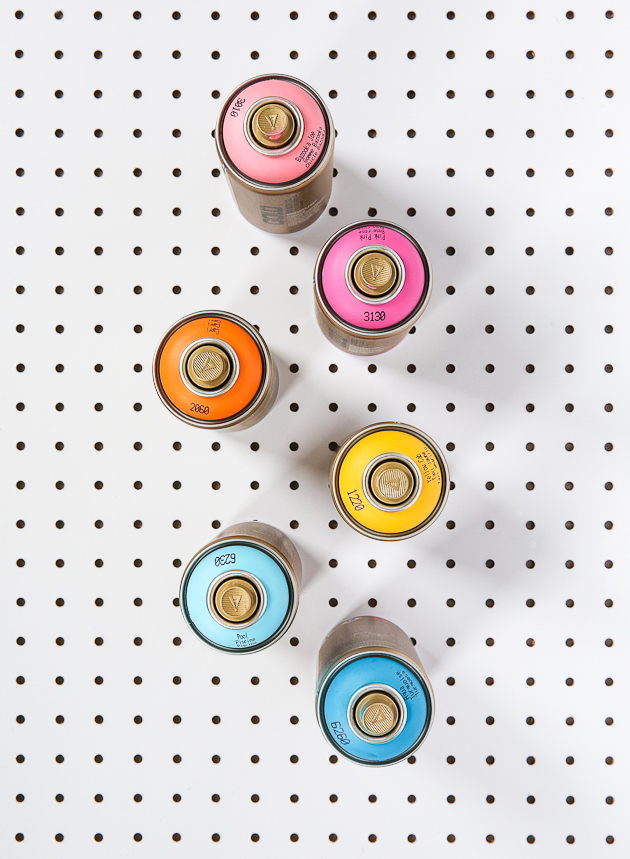 In a well ventilated area (outside is always best!), spray paint your sections. You may want to cover the unpainted areas to avoid color overlap. Peel your tape when you finish painting and let dry before bringing back into the house. To make the color last as long as possible, apply a spray sealant and then let dry 24 hours before hanging up.
When mounting on the wall, making sure to use spacers! This will create enough distance between your board and the wall that you can use pegs for hanging your supplies.
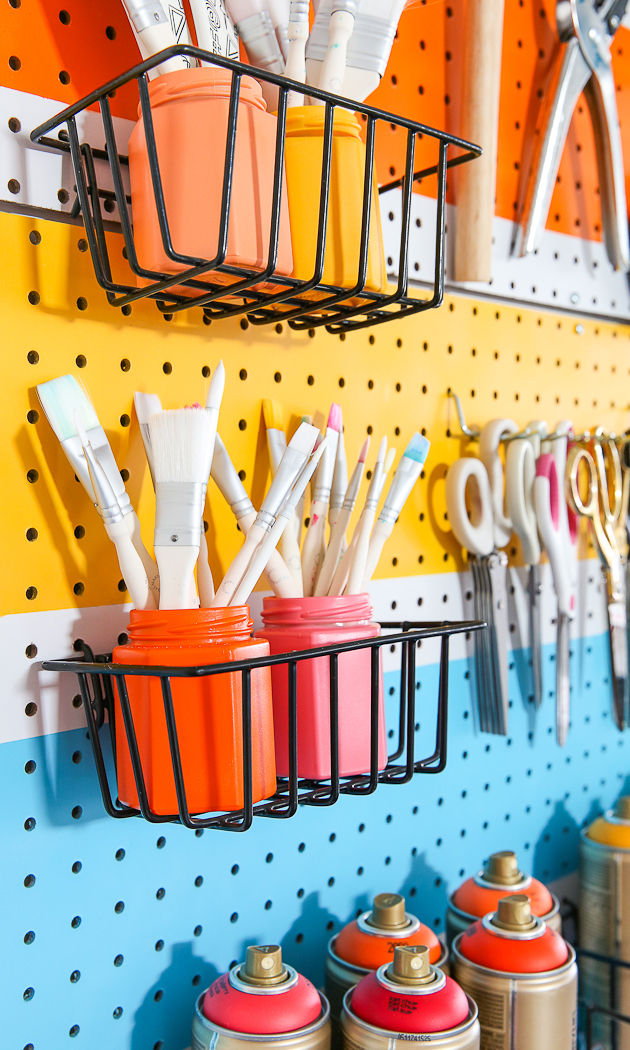
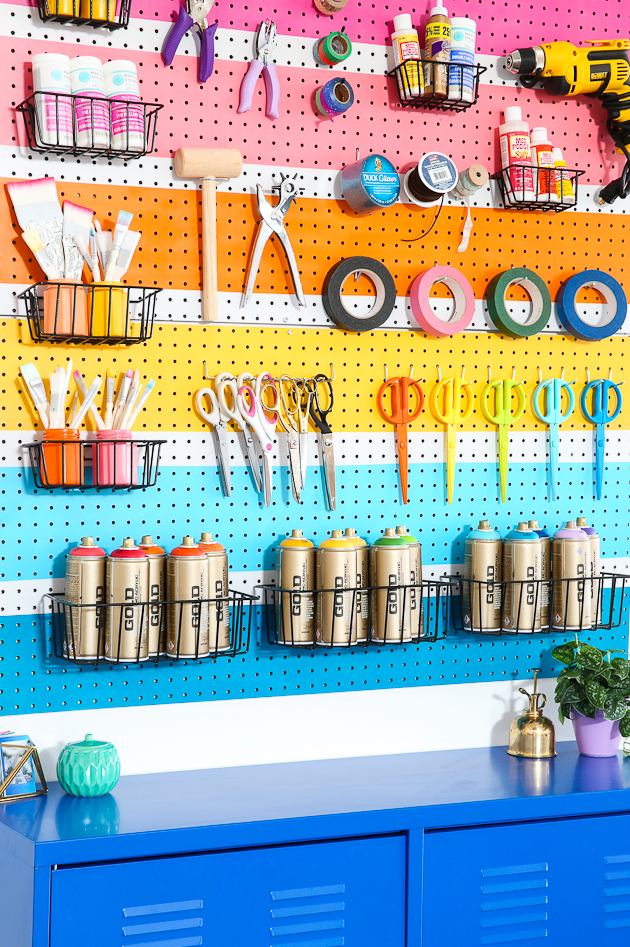
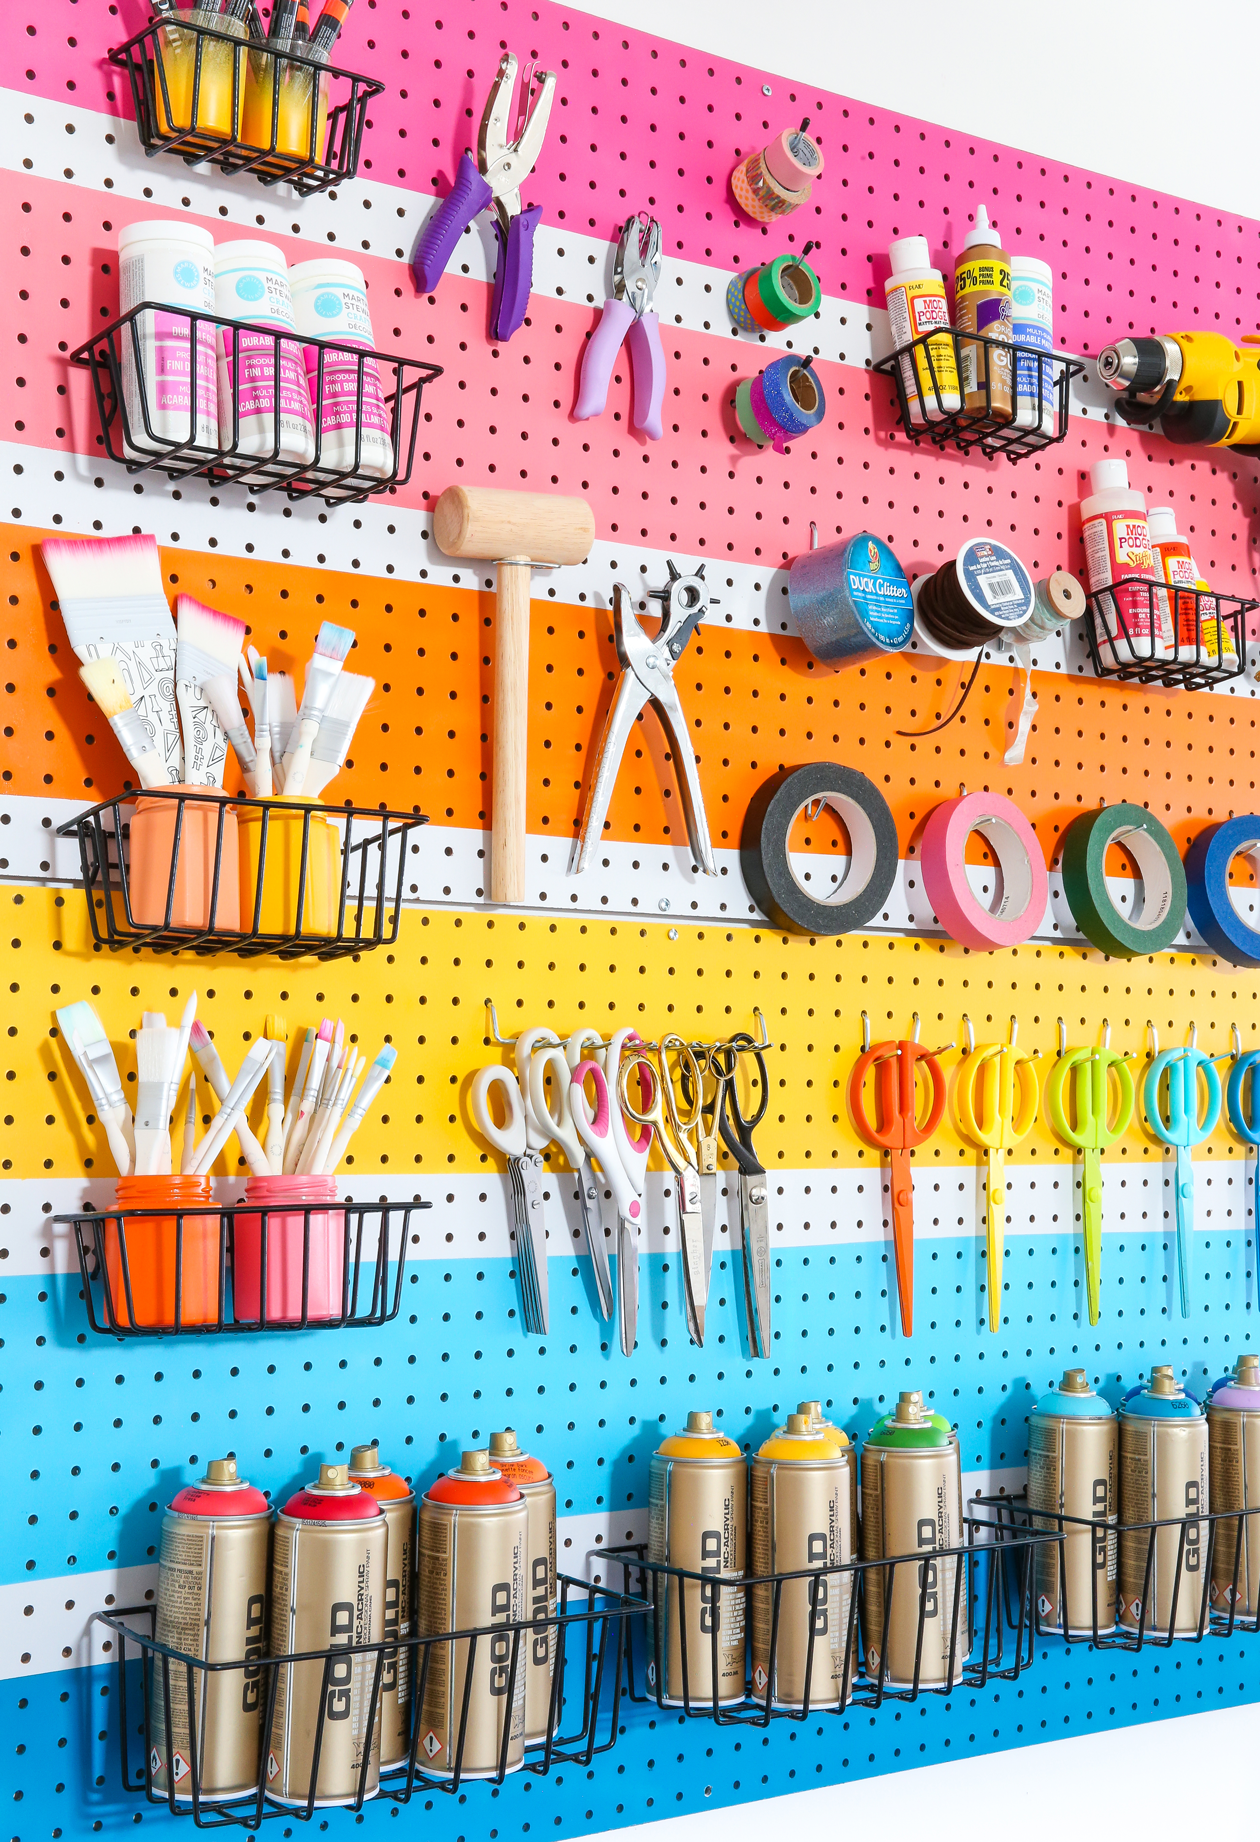 All that’s left to do is add your supplies and you’re done with your DIY Rainbow Pegboard! For an extra fun color boost, try arranging your supplies in ROYGBIV order!
*Tip– painted jars work great for storing smaller, loose items like paint brushes and markers. They add that extra bit of color and make it possible to store items that won’t fit on a hook.