This is a sponsored conversation written by me on behalf of Cricut. The opinions and text are all mine.
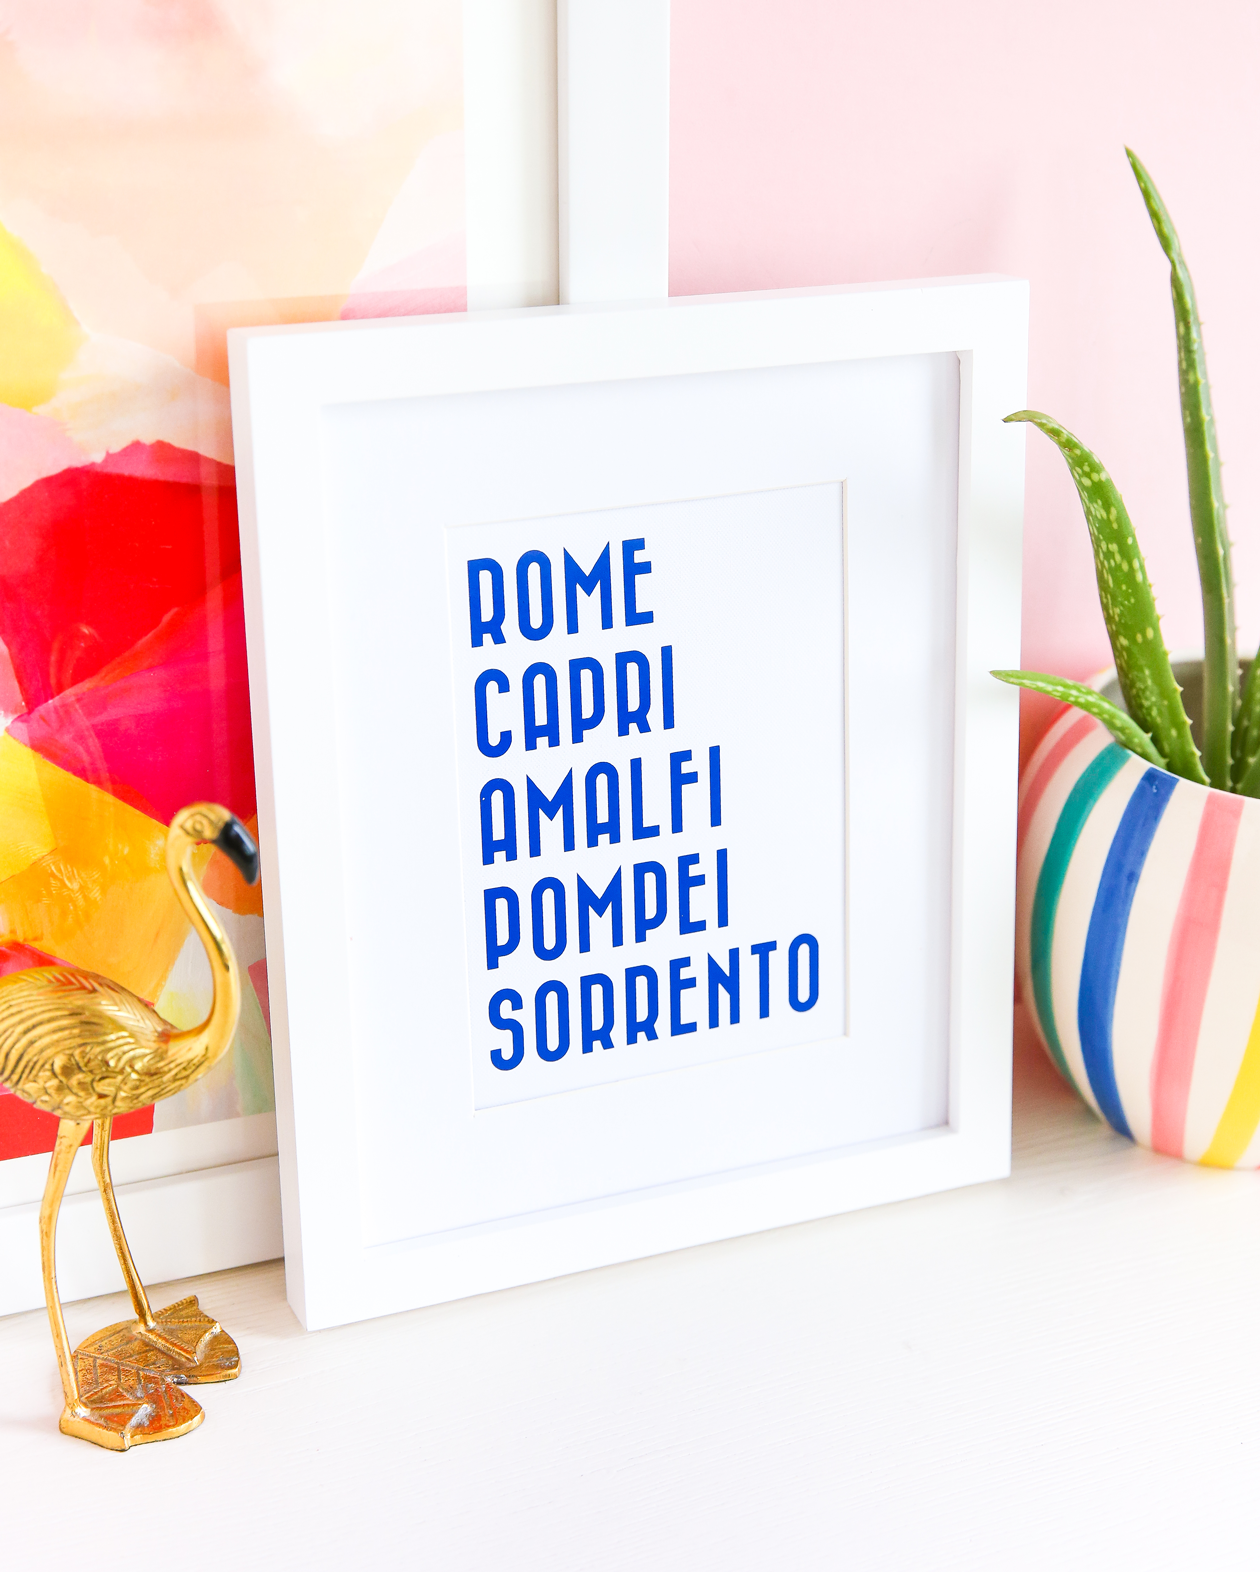
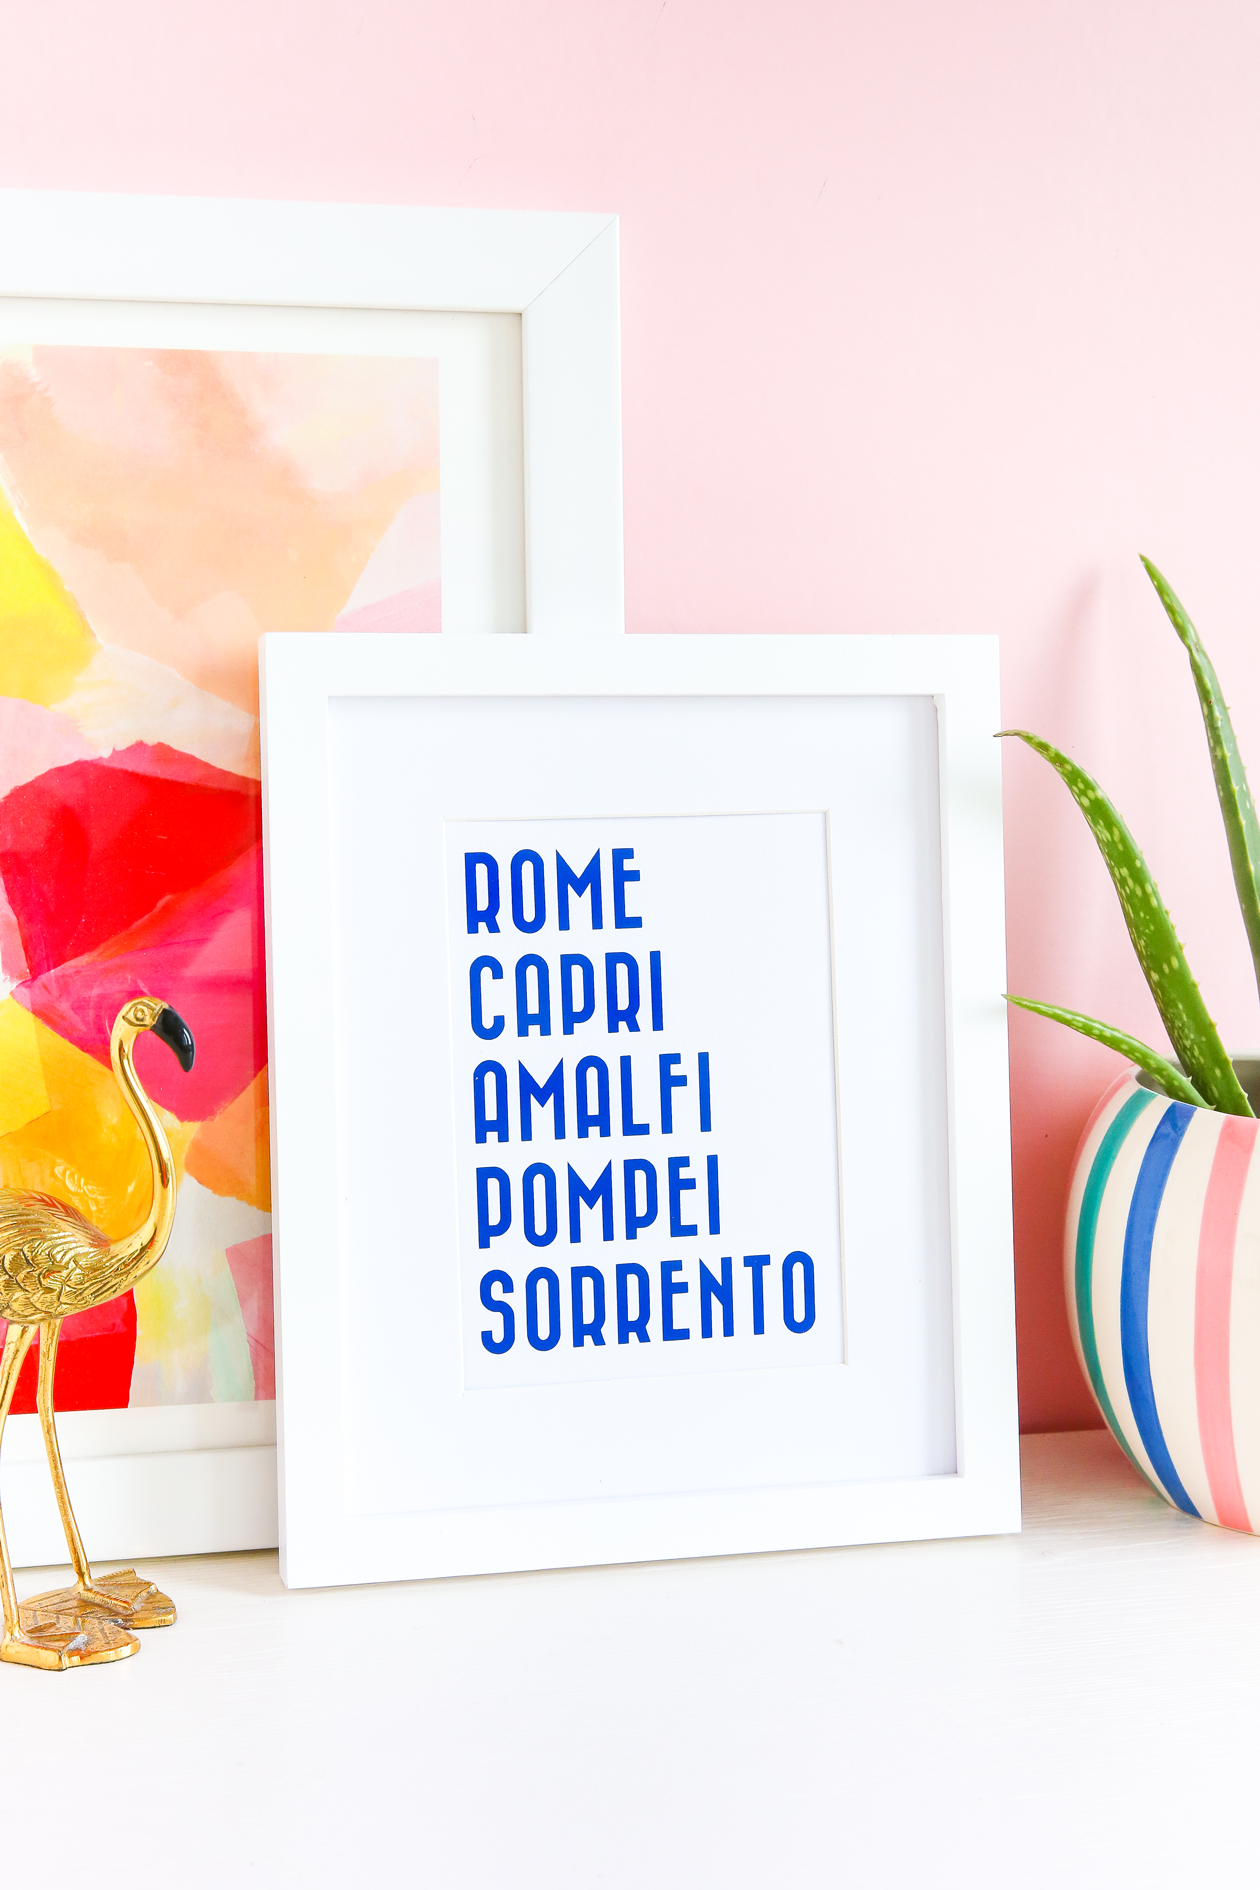
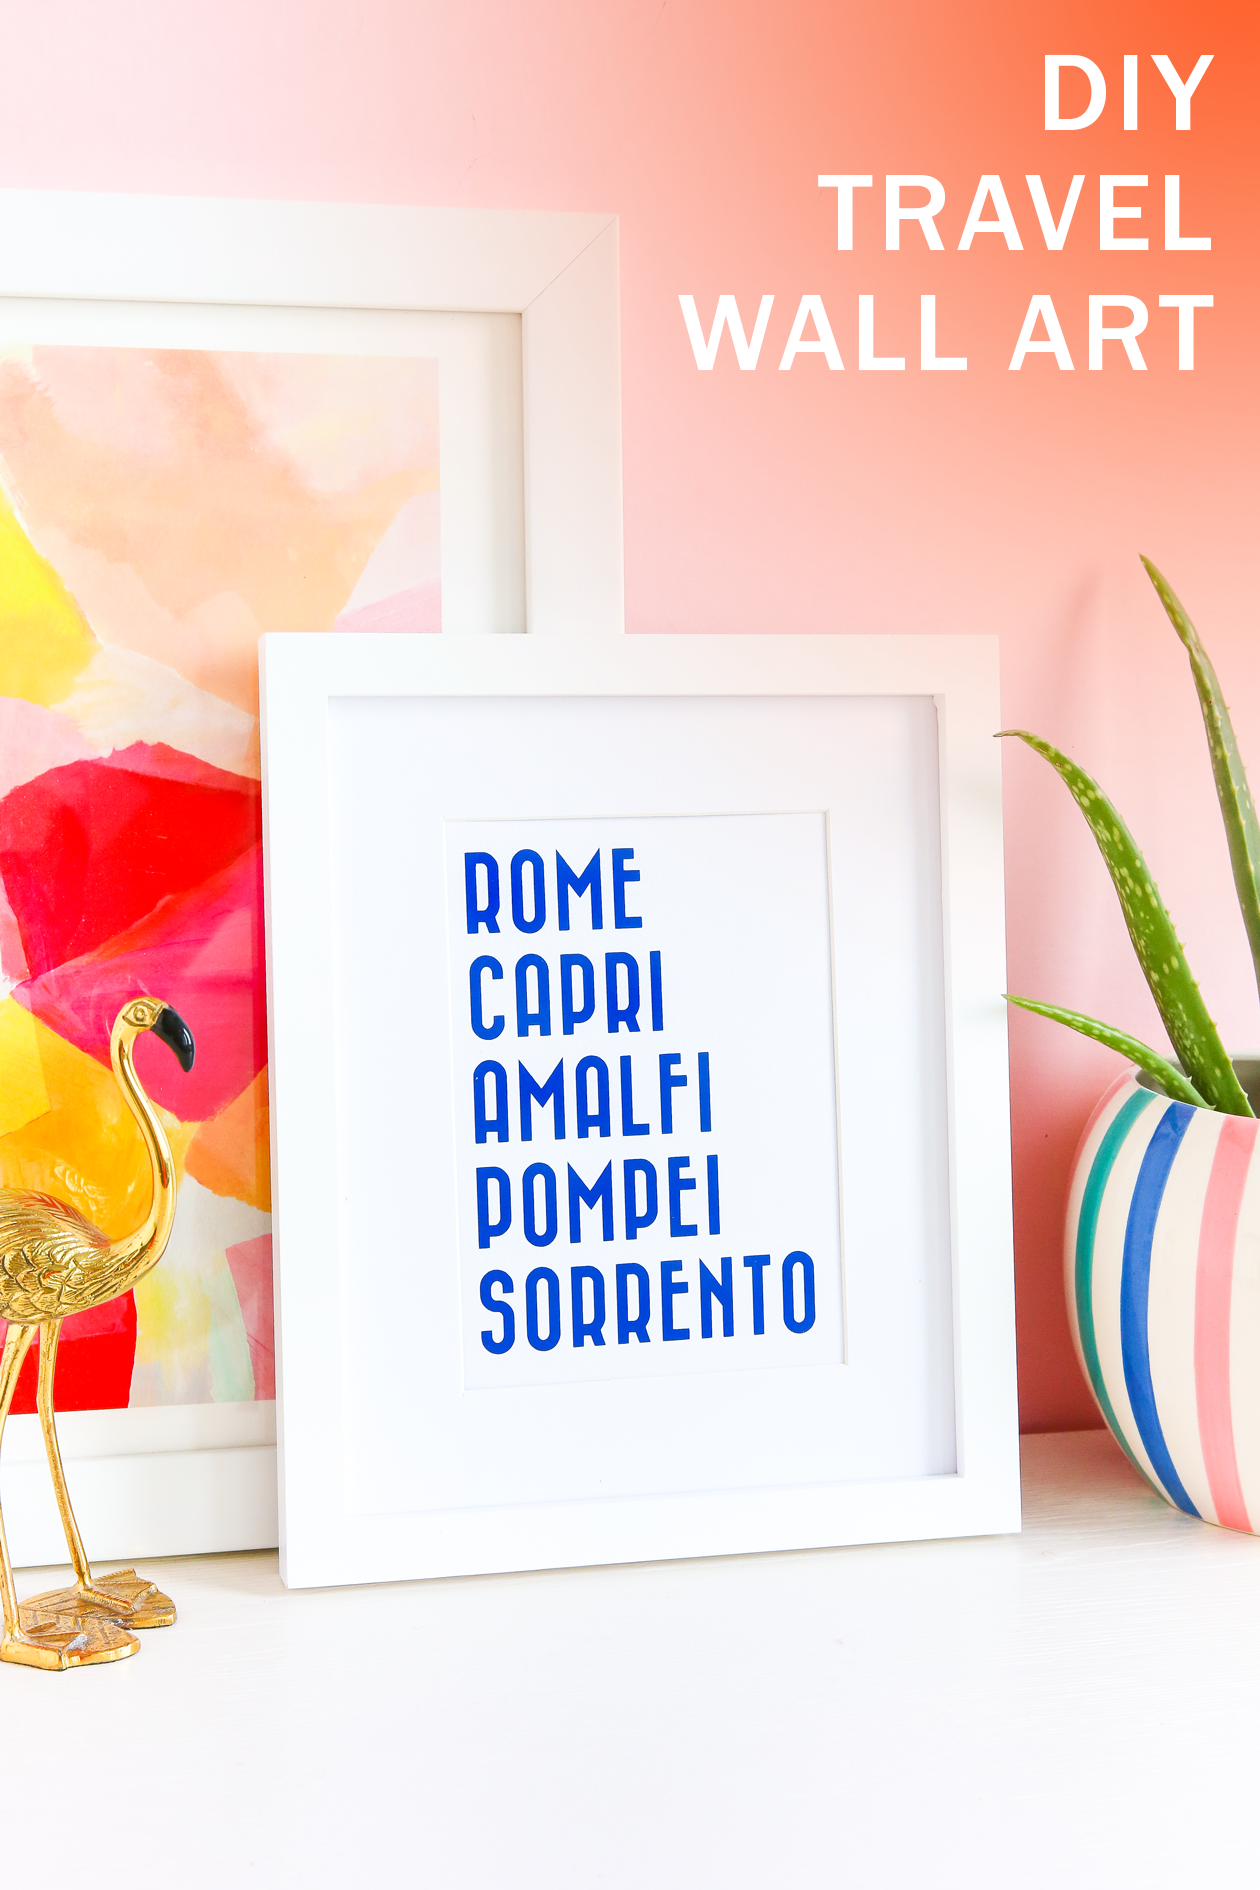 I absolutely love to travel. So much so I have a travel tattoo. So I thought why not turn the itinerary of a favorite trip into DIY travel wall art?!
I’ve really enjoyed wedding planning so far, but truthfully I am most excited about our honeymoon! There’s going to be so much pasta, wine, and exploring that I wish we could just leave right now. Hint: we’ll be visiting the cities listed in the piece above! Because we’re now 8 months out from the wedding, and 10 from the trip, I wanted to make something for our home to keep us excited as we get closer and to remind us of it for years to come.
Here’s how I made this DIY travel wall art:
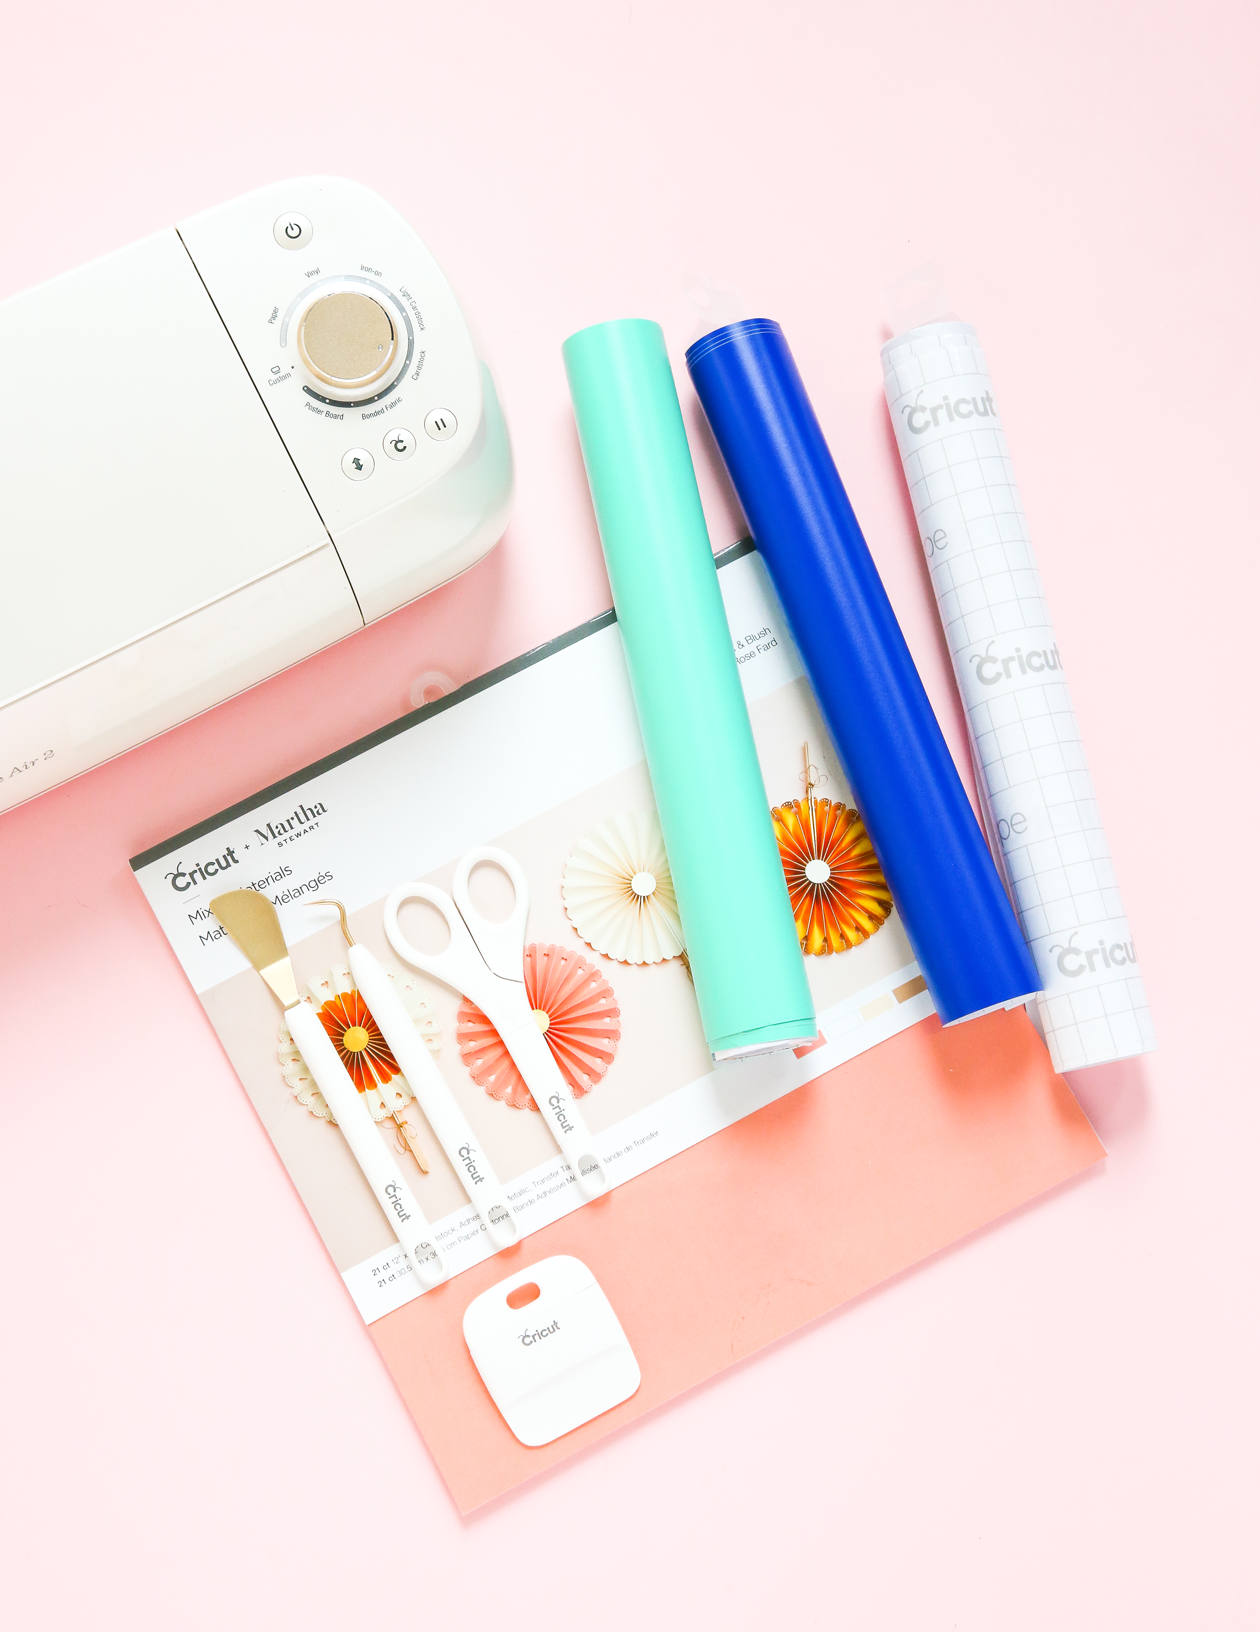 What You’ll Need
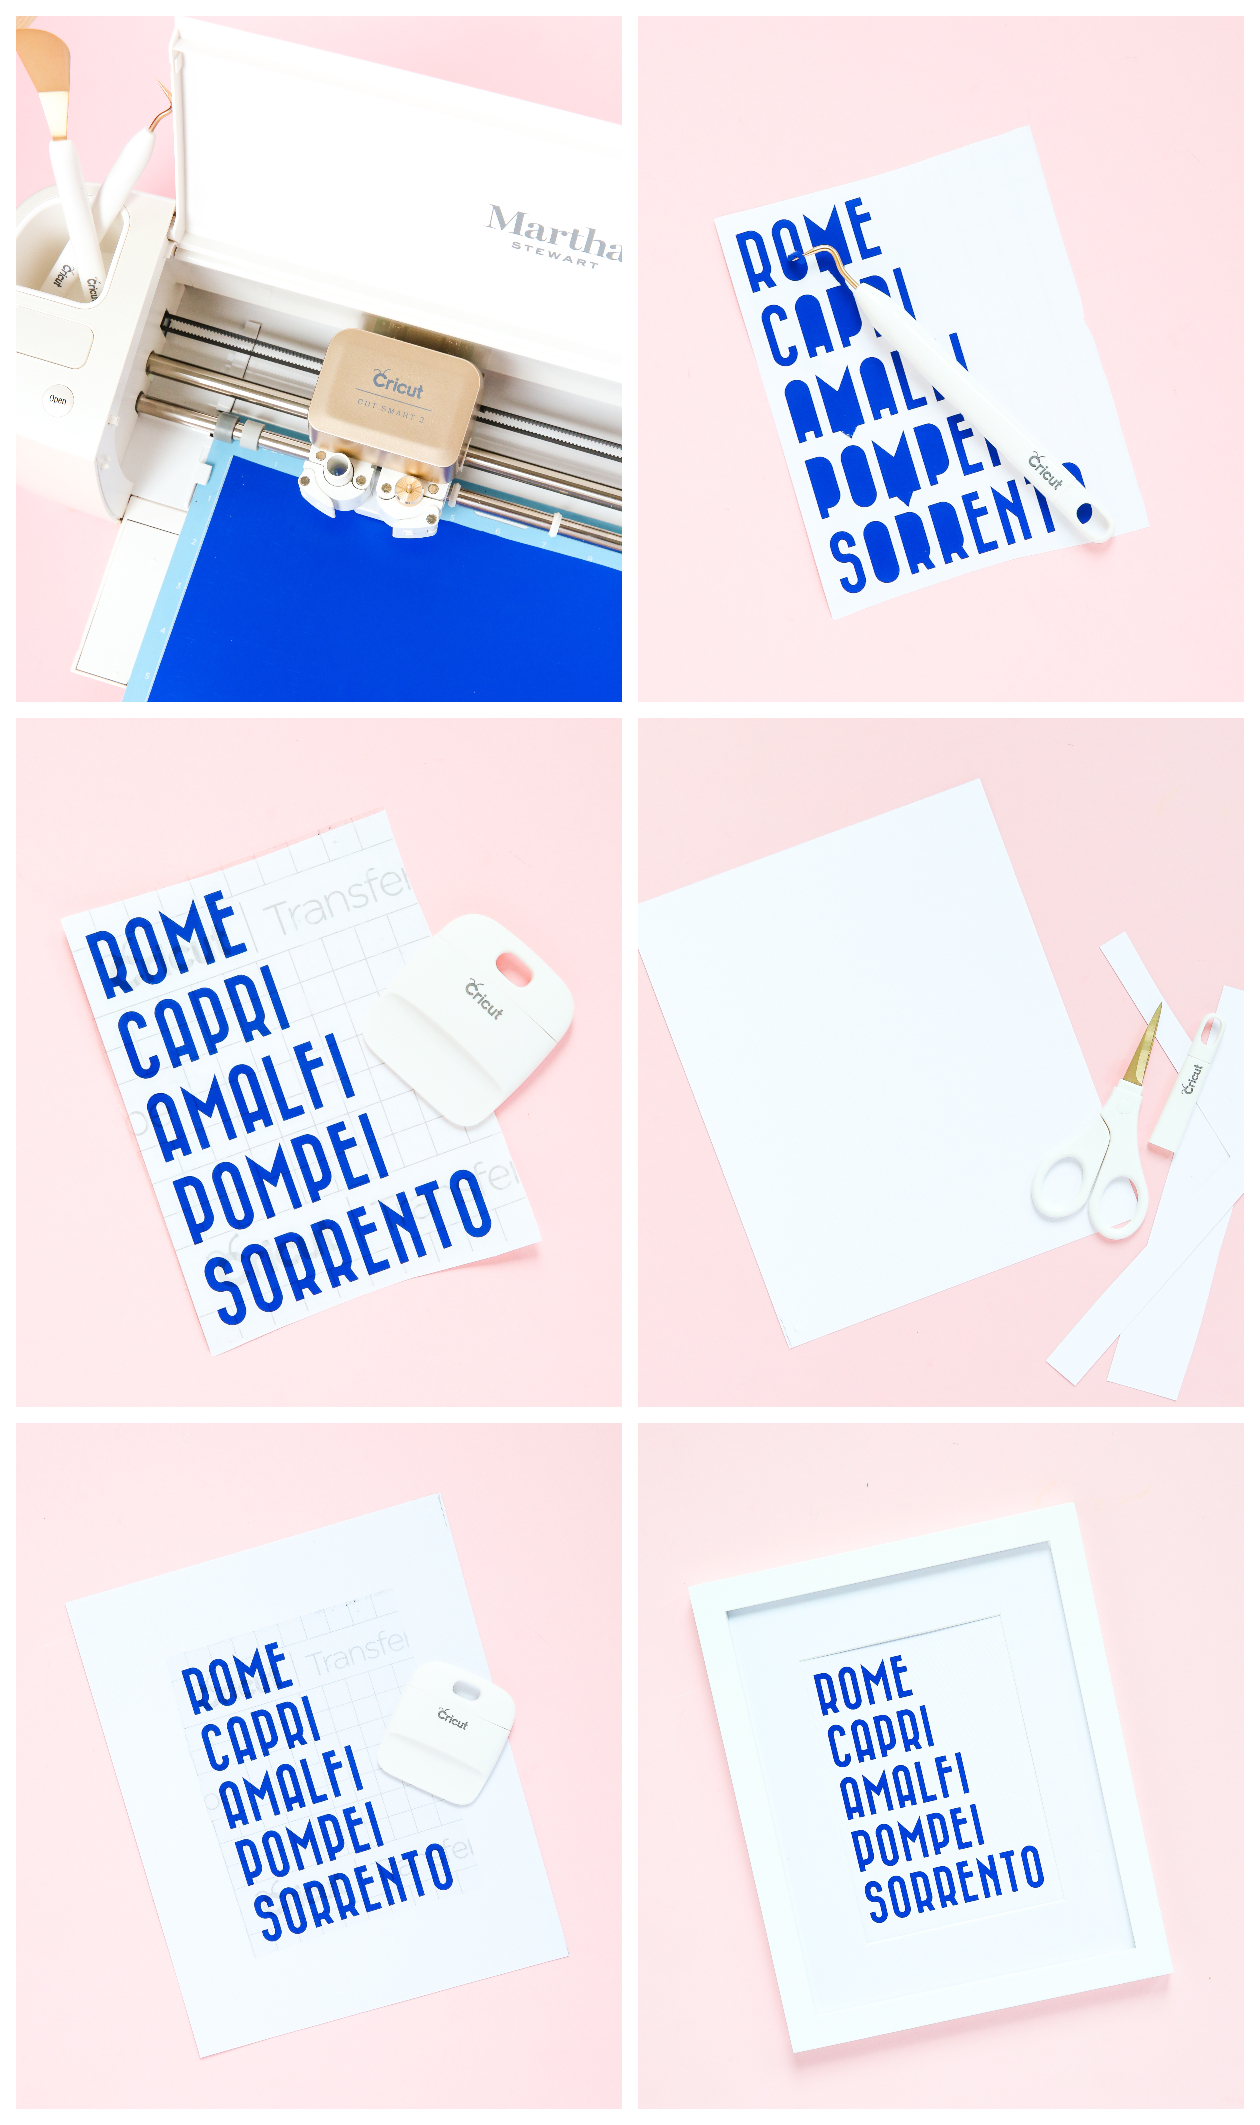 In Design Space, type out all the places you visited while on your trip. If you only went to one city, try listing the names of foods, or activities that you did while there. Once you have your list, place them from shortest to longest word then left align. I used the same font, Bazar, I used in other wedding DIYS (like these table numbers) just to tie everything all together.
Cut using your Cricut Explore Air 2 Martha Stewart Edition then remove any excess vinyl with your weeding tool. Cover with a sheet of transfer paper and set aside. Cut a sheet of cardstock to the size of your frame then place your design in the center. It helps to lay the mat over the paper so you can see exactly where to align the text.
Go over your design with the scraper to set in place, remove plastic backing from the transfer paper, and you’re done!
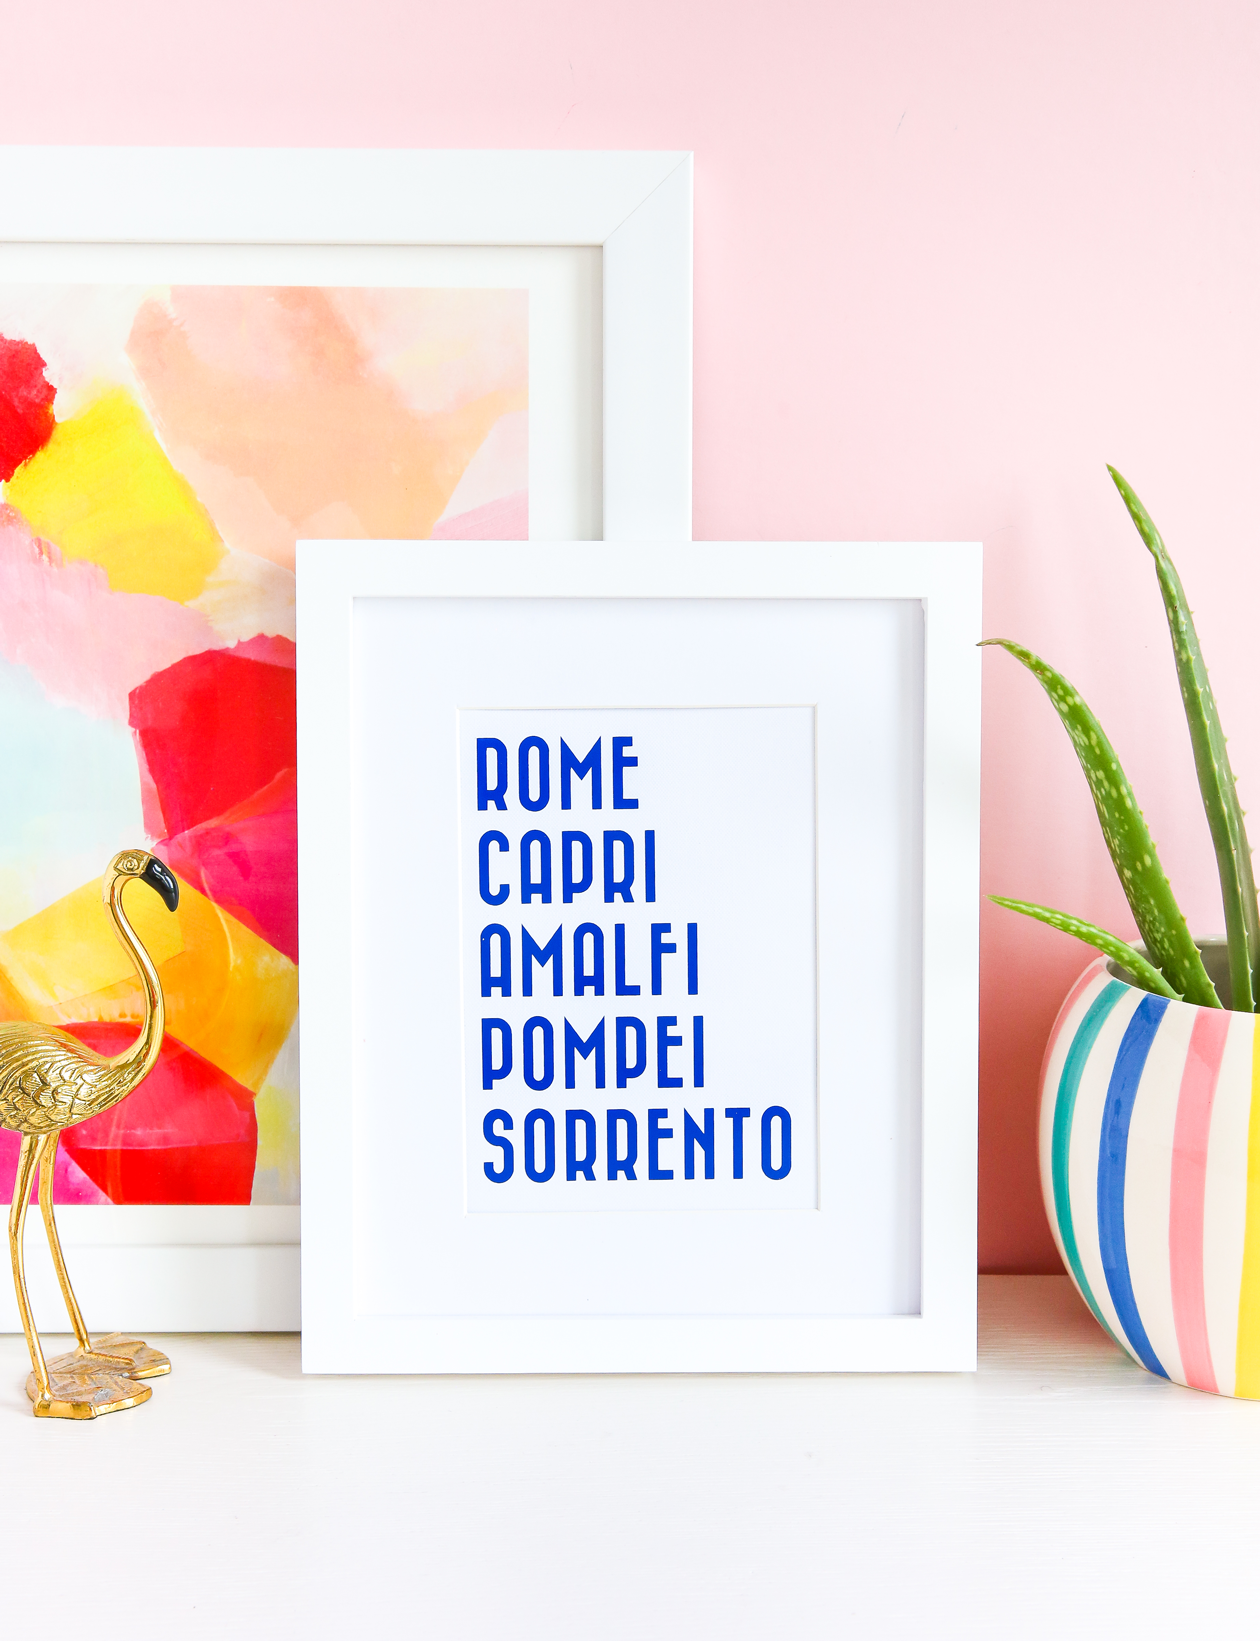 Place final piece in a frame and display! We haven’t gone on our honeymoon yet, but I plan on taking photos + collecting some keepsakes to display around the art as well. If you have any suggestions for where to go– let us know! Our current plan is Italy and the cities listed in the art (plus a few more), so we’ll take any and all recommendations you may have.

