This post is sponsored by Brother. All opinions expressed are my own. Thank you for supporting the brands that keep The Crafted Life Making!
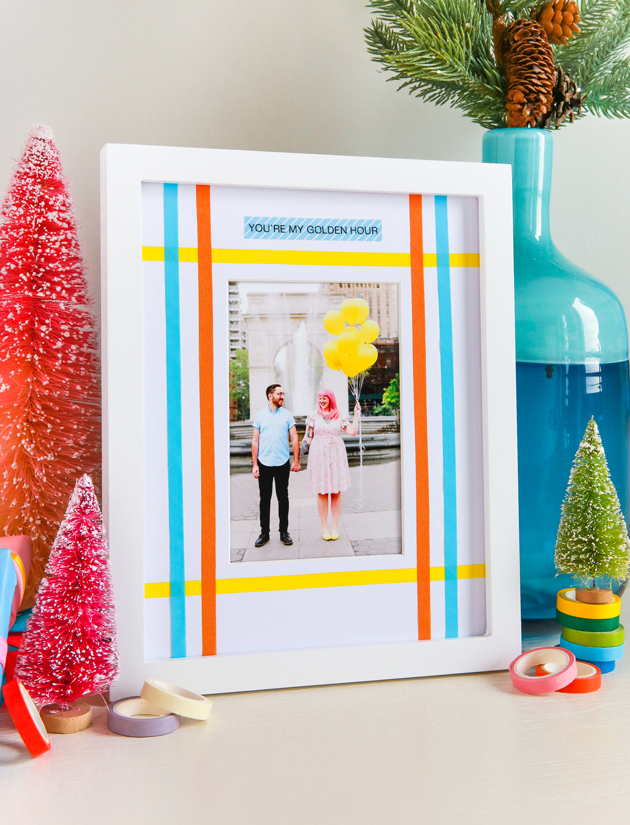
 Even if we can’t all be together for the holidays this year, you can still gift a fun memory in a personal and colorful way with these DIY Washi Tape Frames! Not only are these sentimental and sweet, but they’re also simple to make. Now that’s a holiday win! Here’s how:
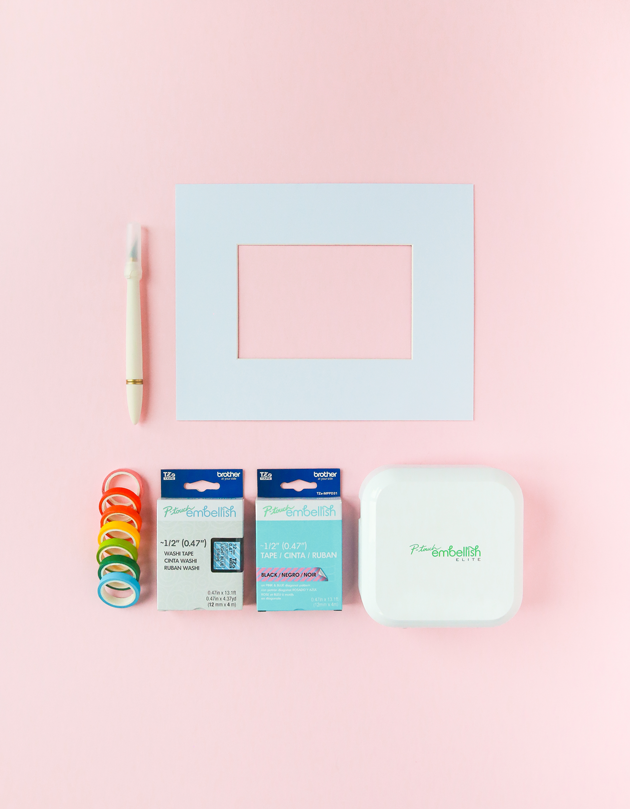
– Brother P-touch Embellish ELITE Printer Connectable Decorative Ribbon & Tape Printer
– Brother Washi Tape (1/2″)– I used the P-touch Embellish washi tape in blue and white stripe
– Frame with a mat
– Additional washi tape
– Scissors or X-Acto Knife
– Ruler
I used a photo from our engagement photoshoot, but you could also use this DIY to make some holiday decor around the house. Pair some free printable cards from Brother’s Creative Center (here, here, and here) with some of your favorite Christmas song lyrics and you have instant holiday wall art! You could also use the cards are part of your gift wrap.
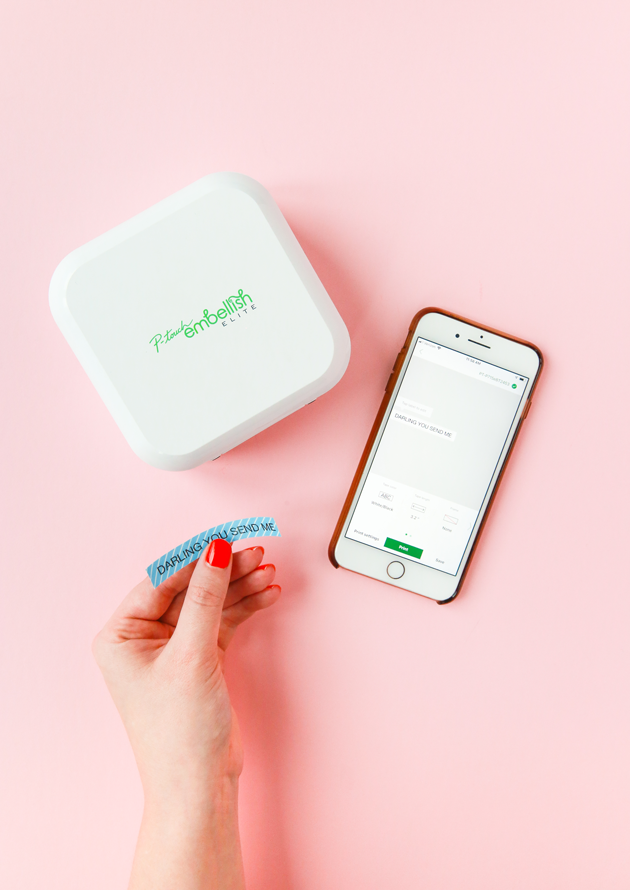 Start by measuring the section of your mat you want to decorate so you know how long you can print your text. When thinking of what to write, think of inside jokes, favorite song lyrics, or quotes you both know and love.
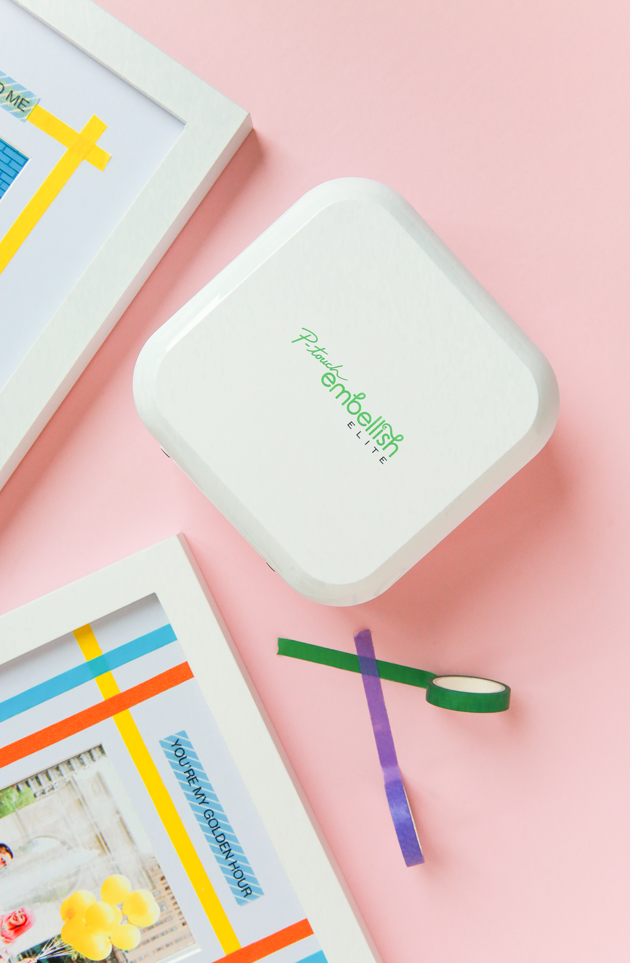
Once you have your sayings, design your text in the P-touch Design&Print app then print. No need to cut since the machine will do that for you!
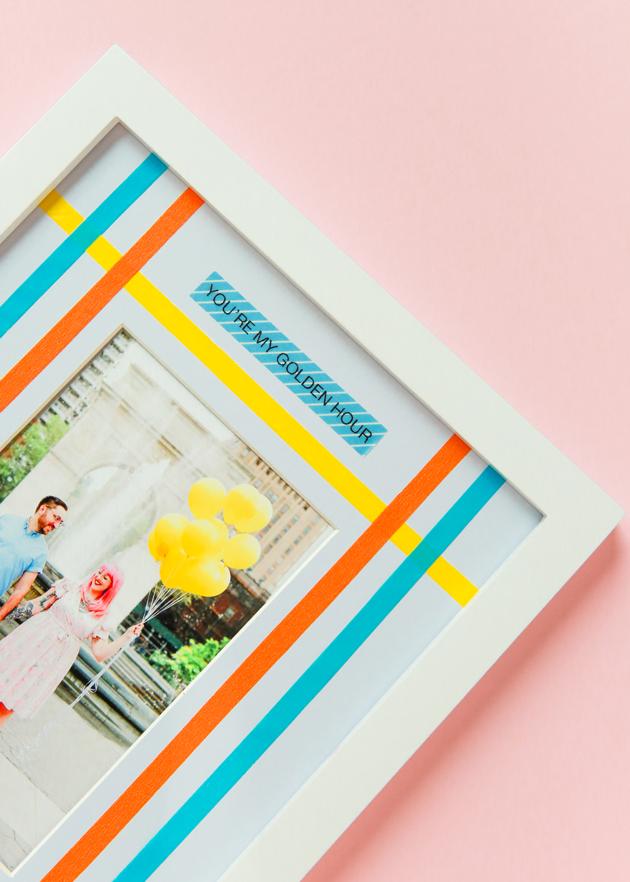
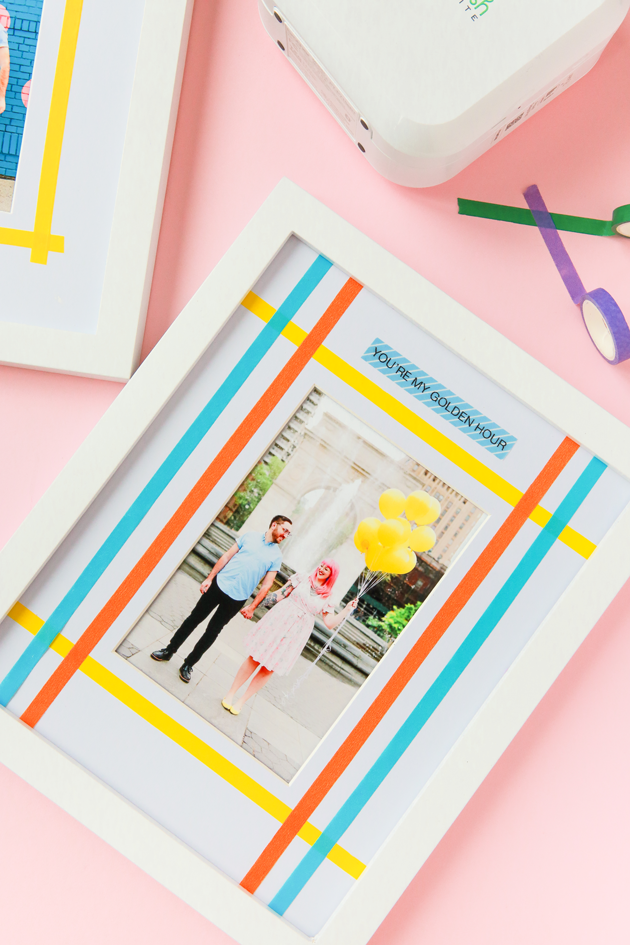
 Add washi tape to your mat. You can keep it simple with one color, or really go all out and play with making patterns. Trim up the edges and then it’s time to place your printed text washi. Using a ruler will help you keep everything centered and even.
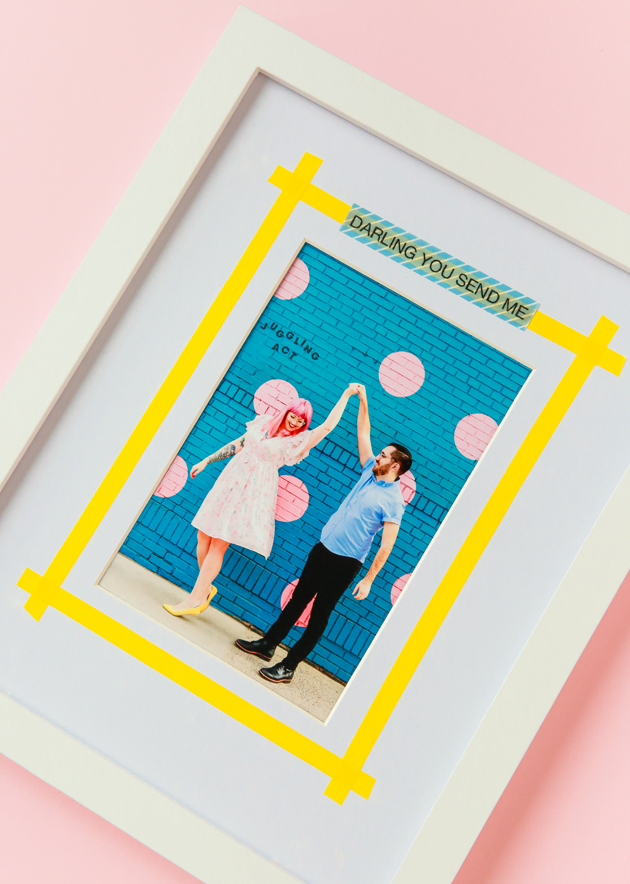 All that’s left to do is add your photo and place inside your frame! It really is such a simple project but it takes a photo to the next level.
And here’s a video of the tutorial:
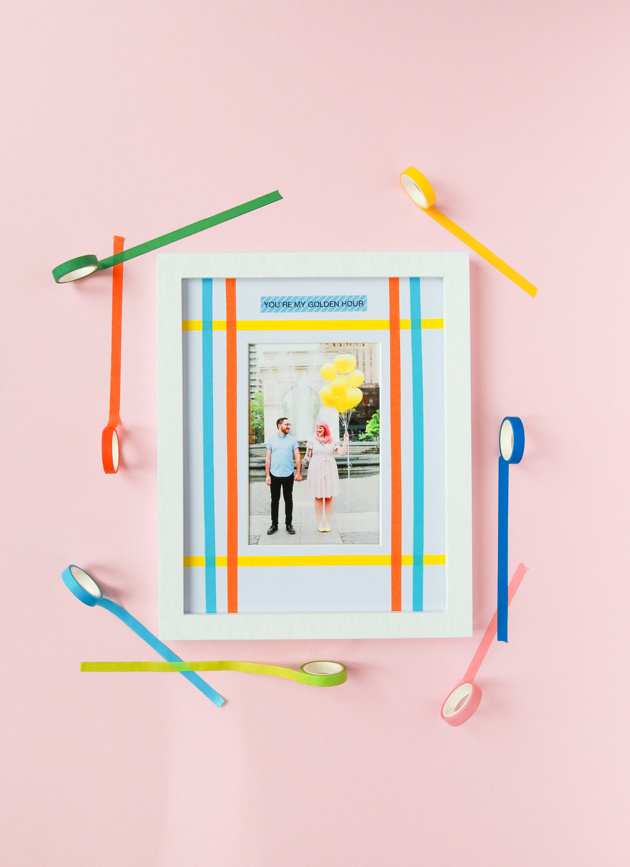 And when you go to gift wrap, don’t forget to add custom DIY holiday gift tags! It’s just one more way to take your present to the next level!

