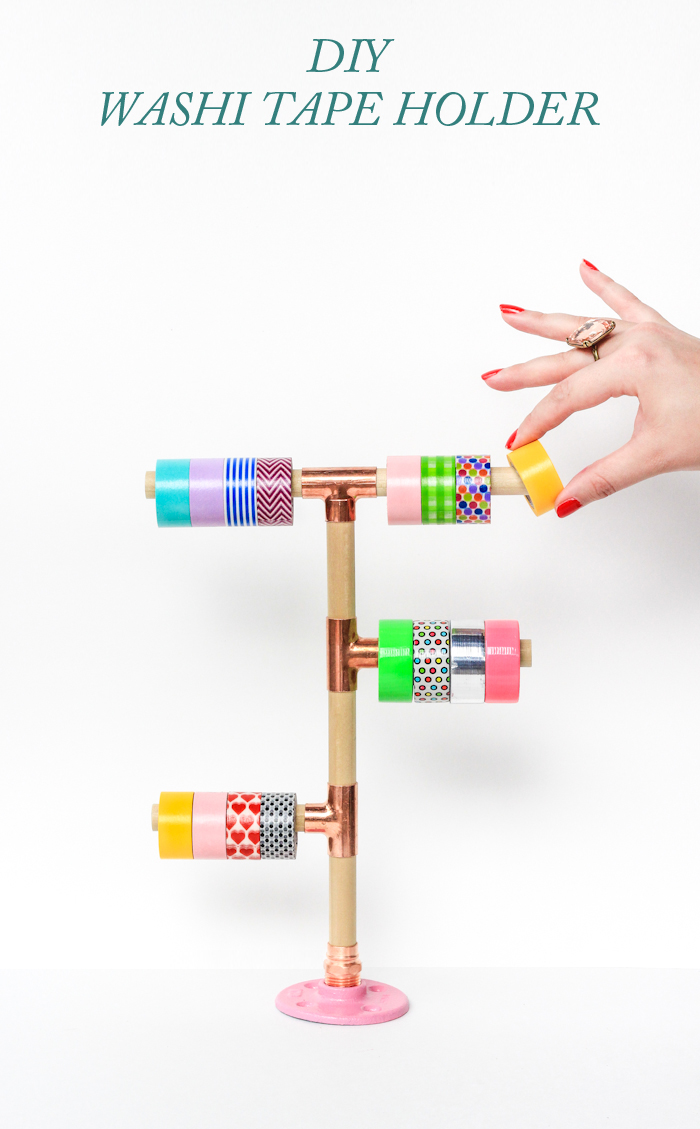
 If there’s one thing I think we all love as crafters, it’s washi tape. And by love of course I mean obsess over to the point where we can’t get enough. The only draw back is that sometimes they can get a bit disorganized if you don’t have a way to display/store them. This diy washi tape holder is beyond easy to make and can be customized to fit just about any collection. Here’s how to make your own:
Time: 20 minutes
Materials: dowel rods, copper fittings, spray paint, saw, pipe fitting
Cost: $15
If you’re looking for new washi tape, be sure to check out my shop!
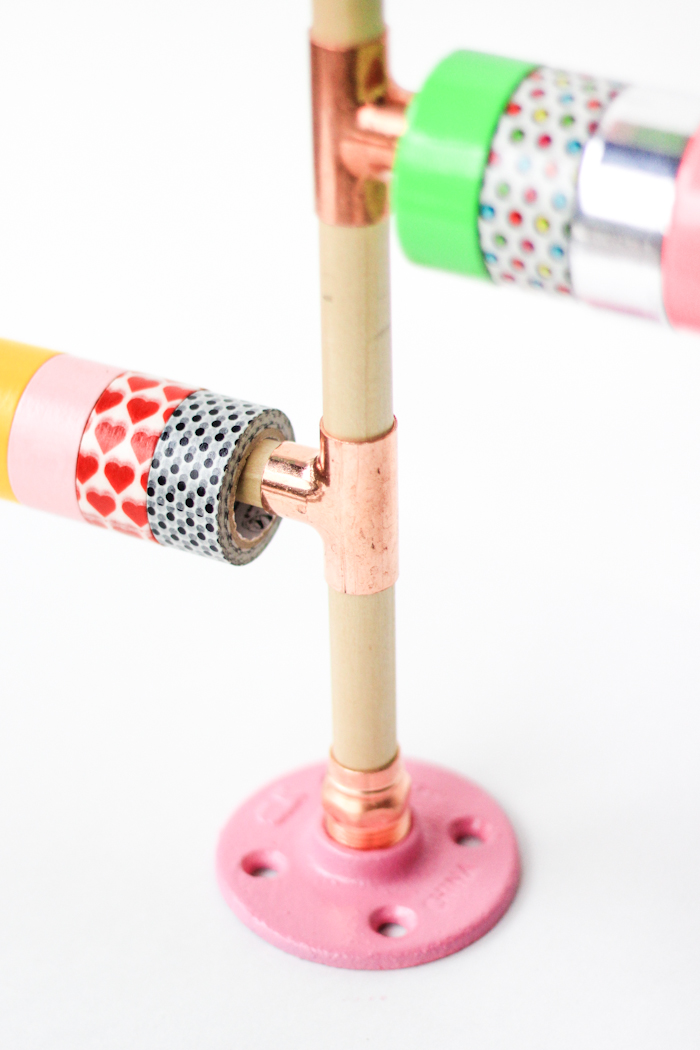
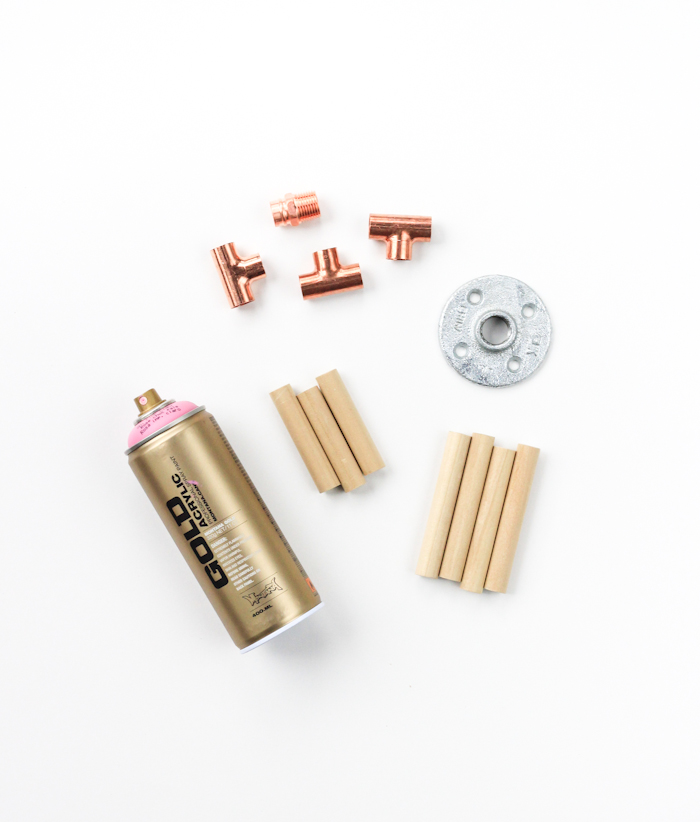 You’ll be able to find all the materials you need at your local hardware store. I would recommend that you test to see if the dowel and fittings are the right side (fit in to one another) before leaving the store. I used 2″ copper fittings and a 5/8″ dowel.
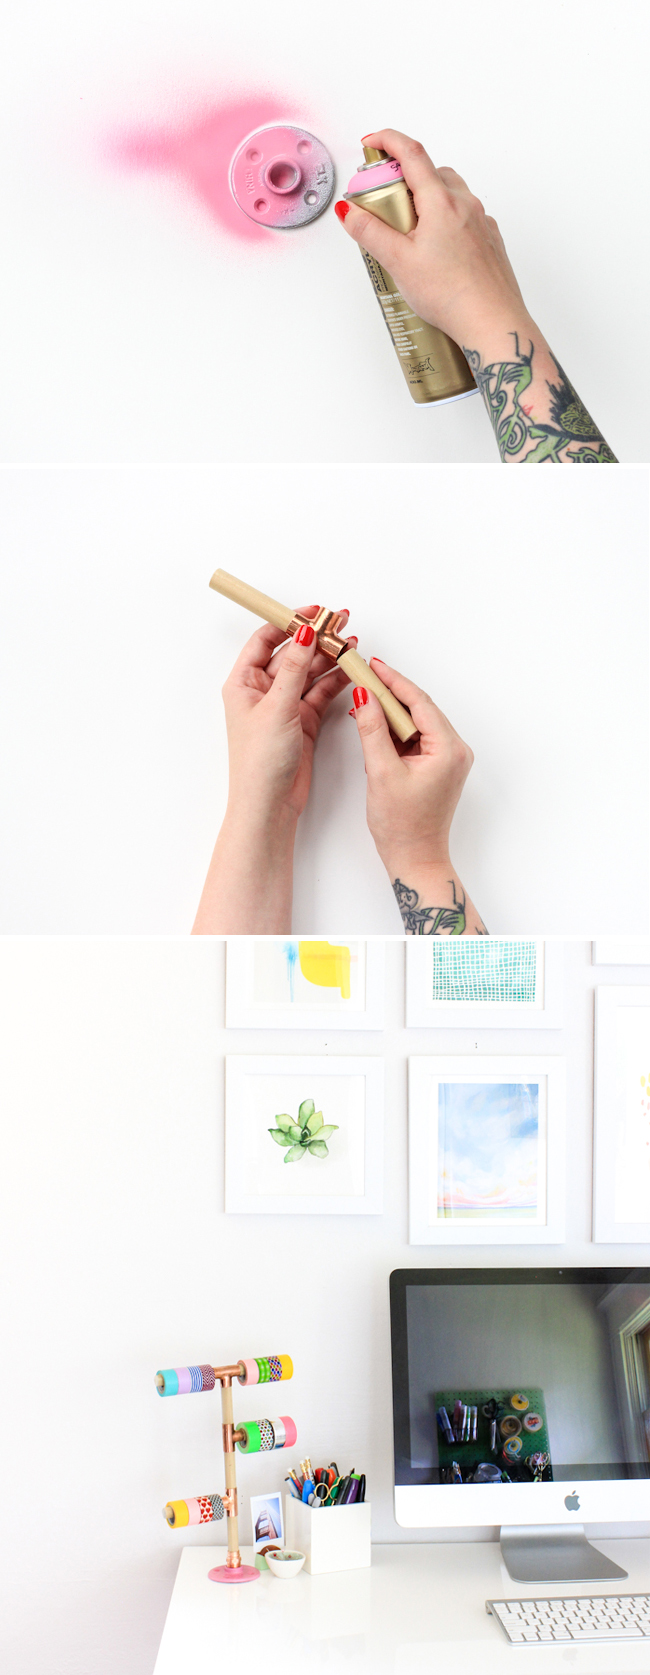 Start by painting your base so that it can dry while you complete the other steps. Cut your dowel rod into piece. You’ll need four 4″ pieces and three 3″ pieces. Sand ends if necessary.
Once you have your pieces, you really just need to put it together! I used the 3″ pieces for the height and the 4″ pieces for the length. You can easily adjust this to fit your needs. Screw final copper fitting into the base to attach.
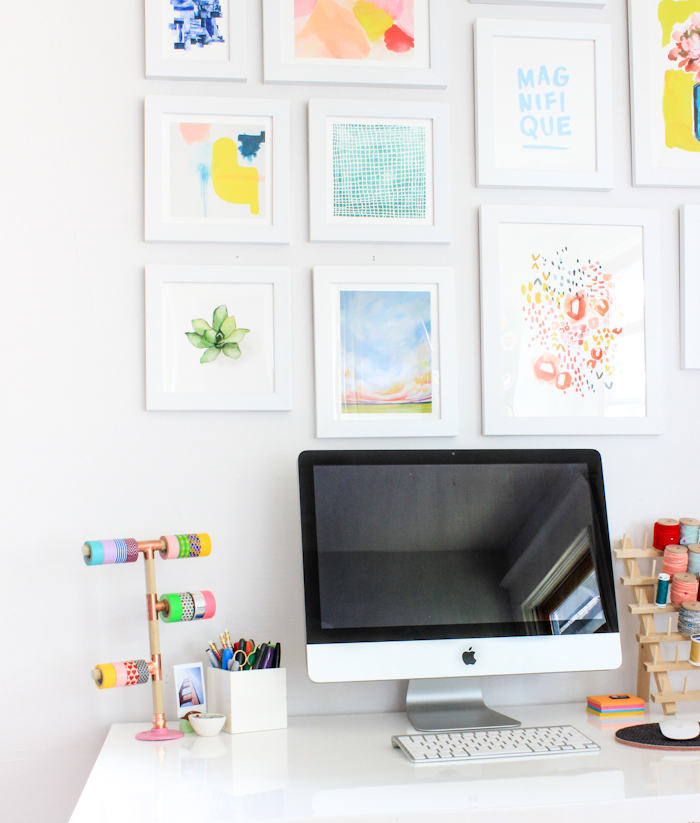
All that’s left to do is add your washi! And because I’m sure you’re just itching to know where I got mine, they’re all from Duck®. Not only is their washi super cute, but it also holds great. Don’t even get me started on their prism rolls either. Seriously, I can’t get enough!
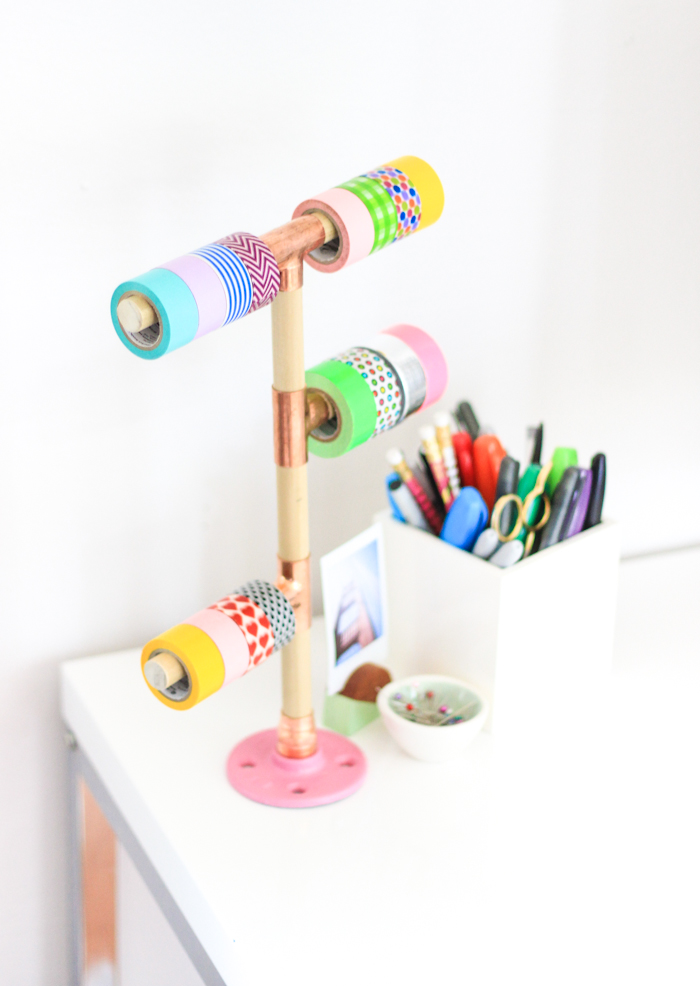 All my tape used to just sit in a jar on my desk, so this is such an improvement! I’ll probably make it larger as time goes by, but for right now it does a great job of keeping my desk clean while displaying a bit of my collection.
So what do you think?! Easy enough, right?
![]()