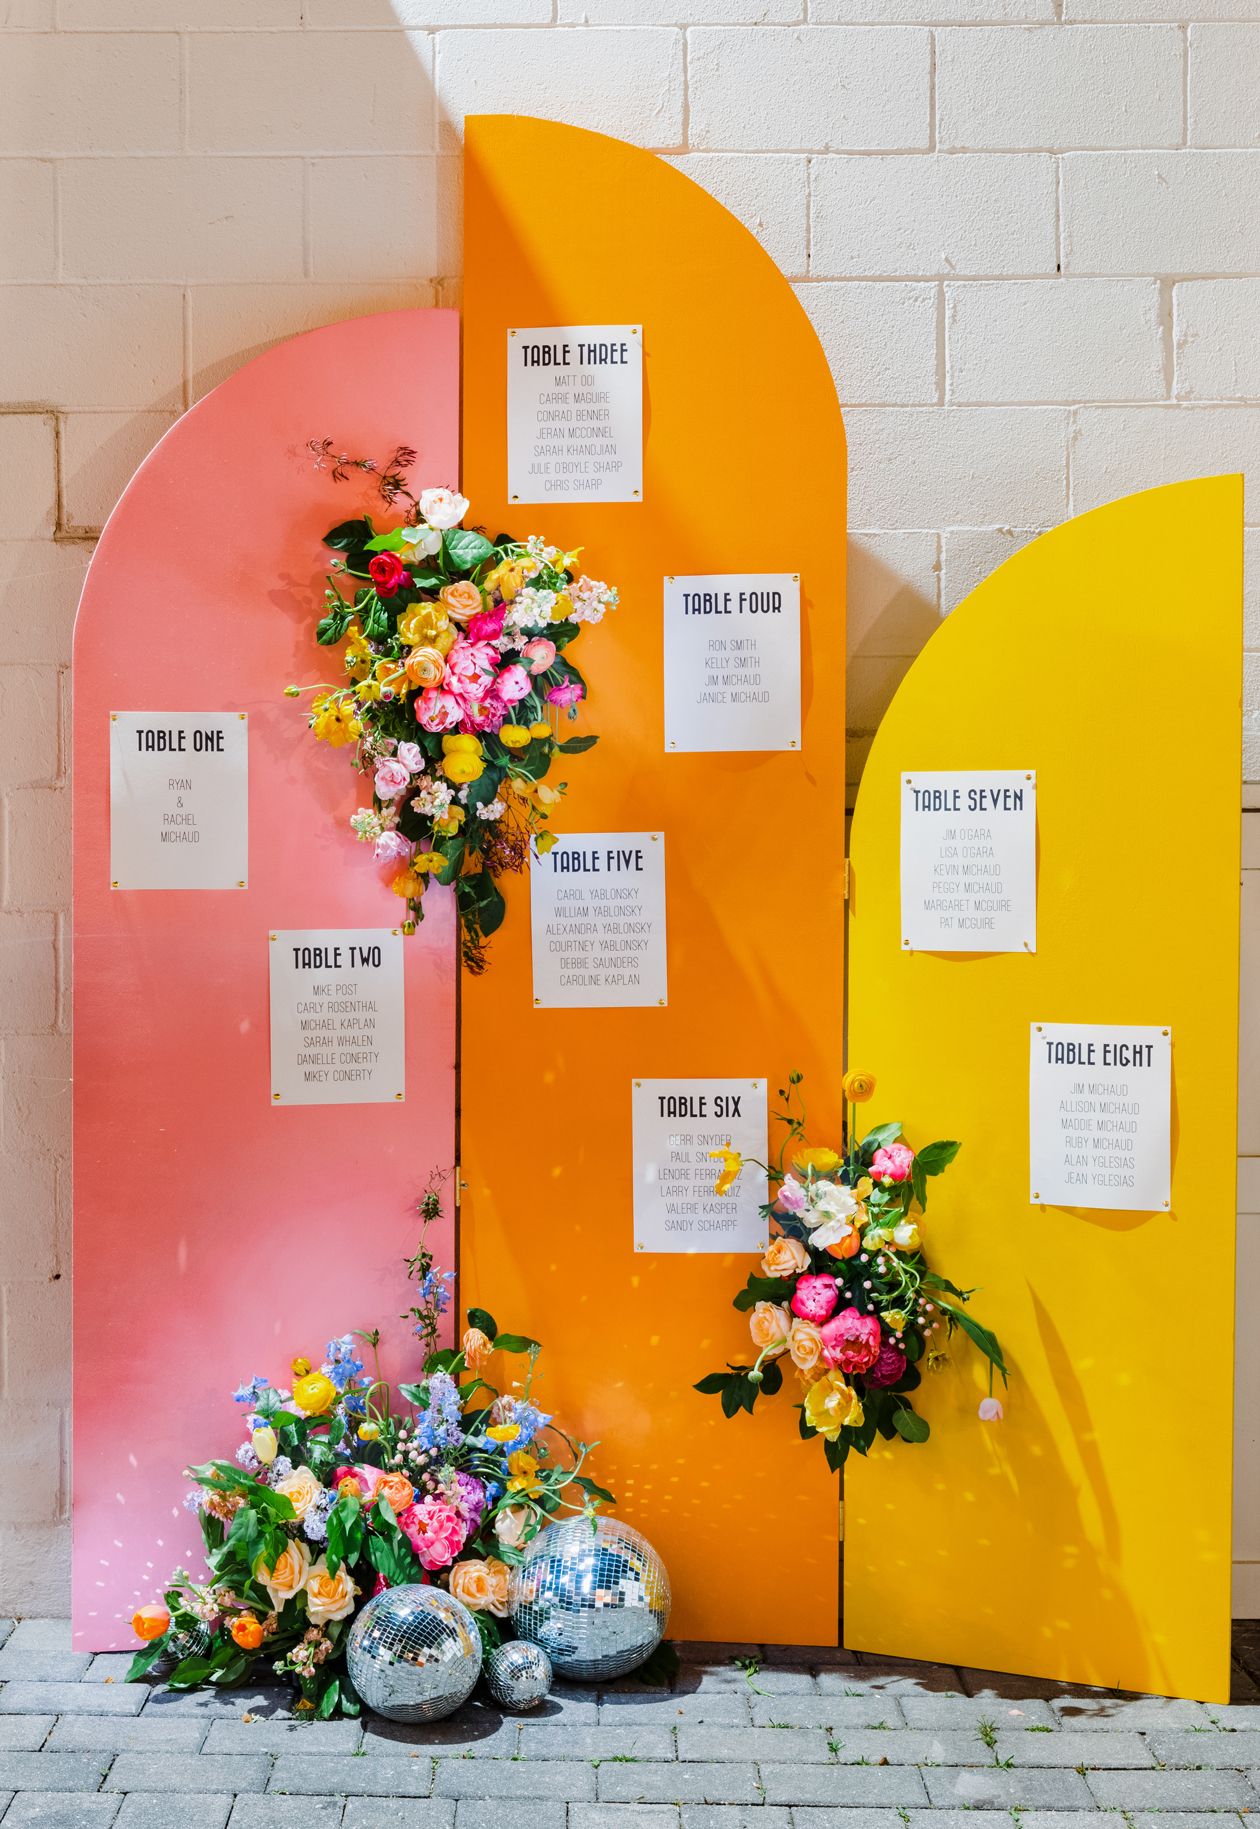
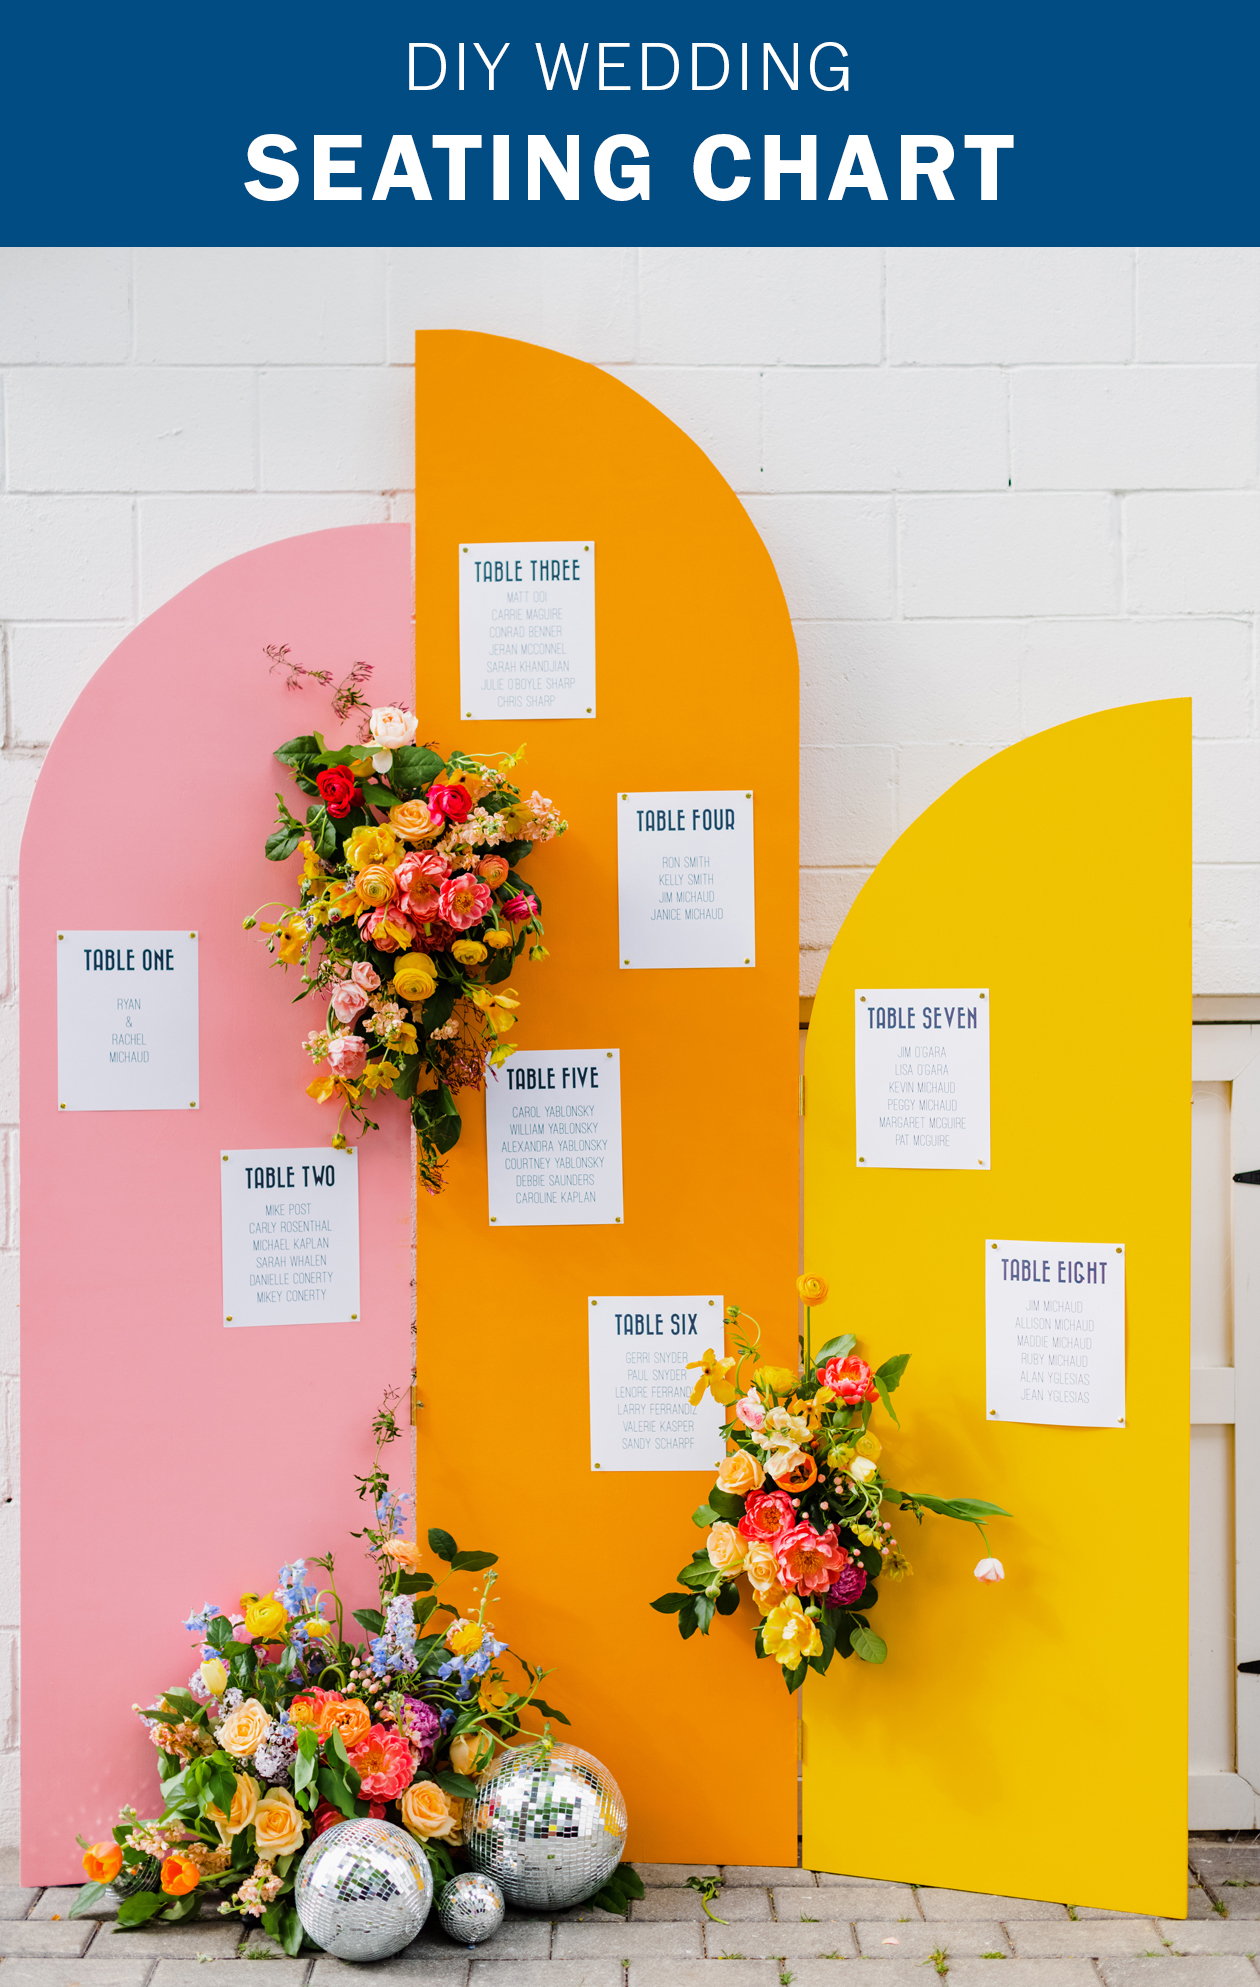
 [Final photos of this project taken by Redfield Photography]
It’s time for one of the best things about our wedding: THE DIYS!! Running this blog for the past ten years really prepared me for wedding projects. Because of our 6 week timeline (read about that here), it really was like the crafting olympics. And I loved it.
Making most of our decor really was one of my favorite parts about our wedding. It might have been a ton of work behind the scenes, but being surrounded by handmade items on your wedding adds another layer of love to the day.
I worked on this particular project with Ryan and his parents. It’ll be in our wedding photos forever and it just feels that much more special. Even if it’s just one project, absolutely consider crafting for your wedding… And might I suggest you make this one?!
Here’s how we made our DIY wedding seating chart:
 What You’ll Need
– 8’x4′ Plywood
– Jigsaw
– Sandpaper
– Paint
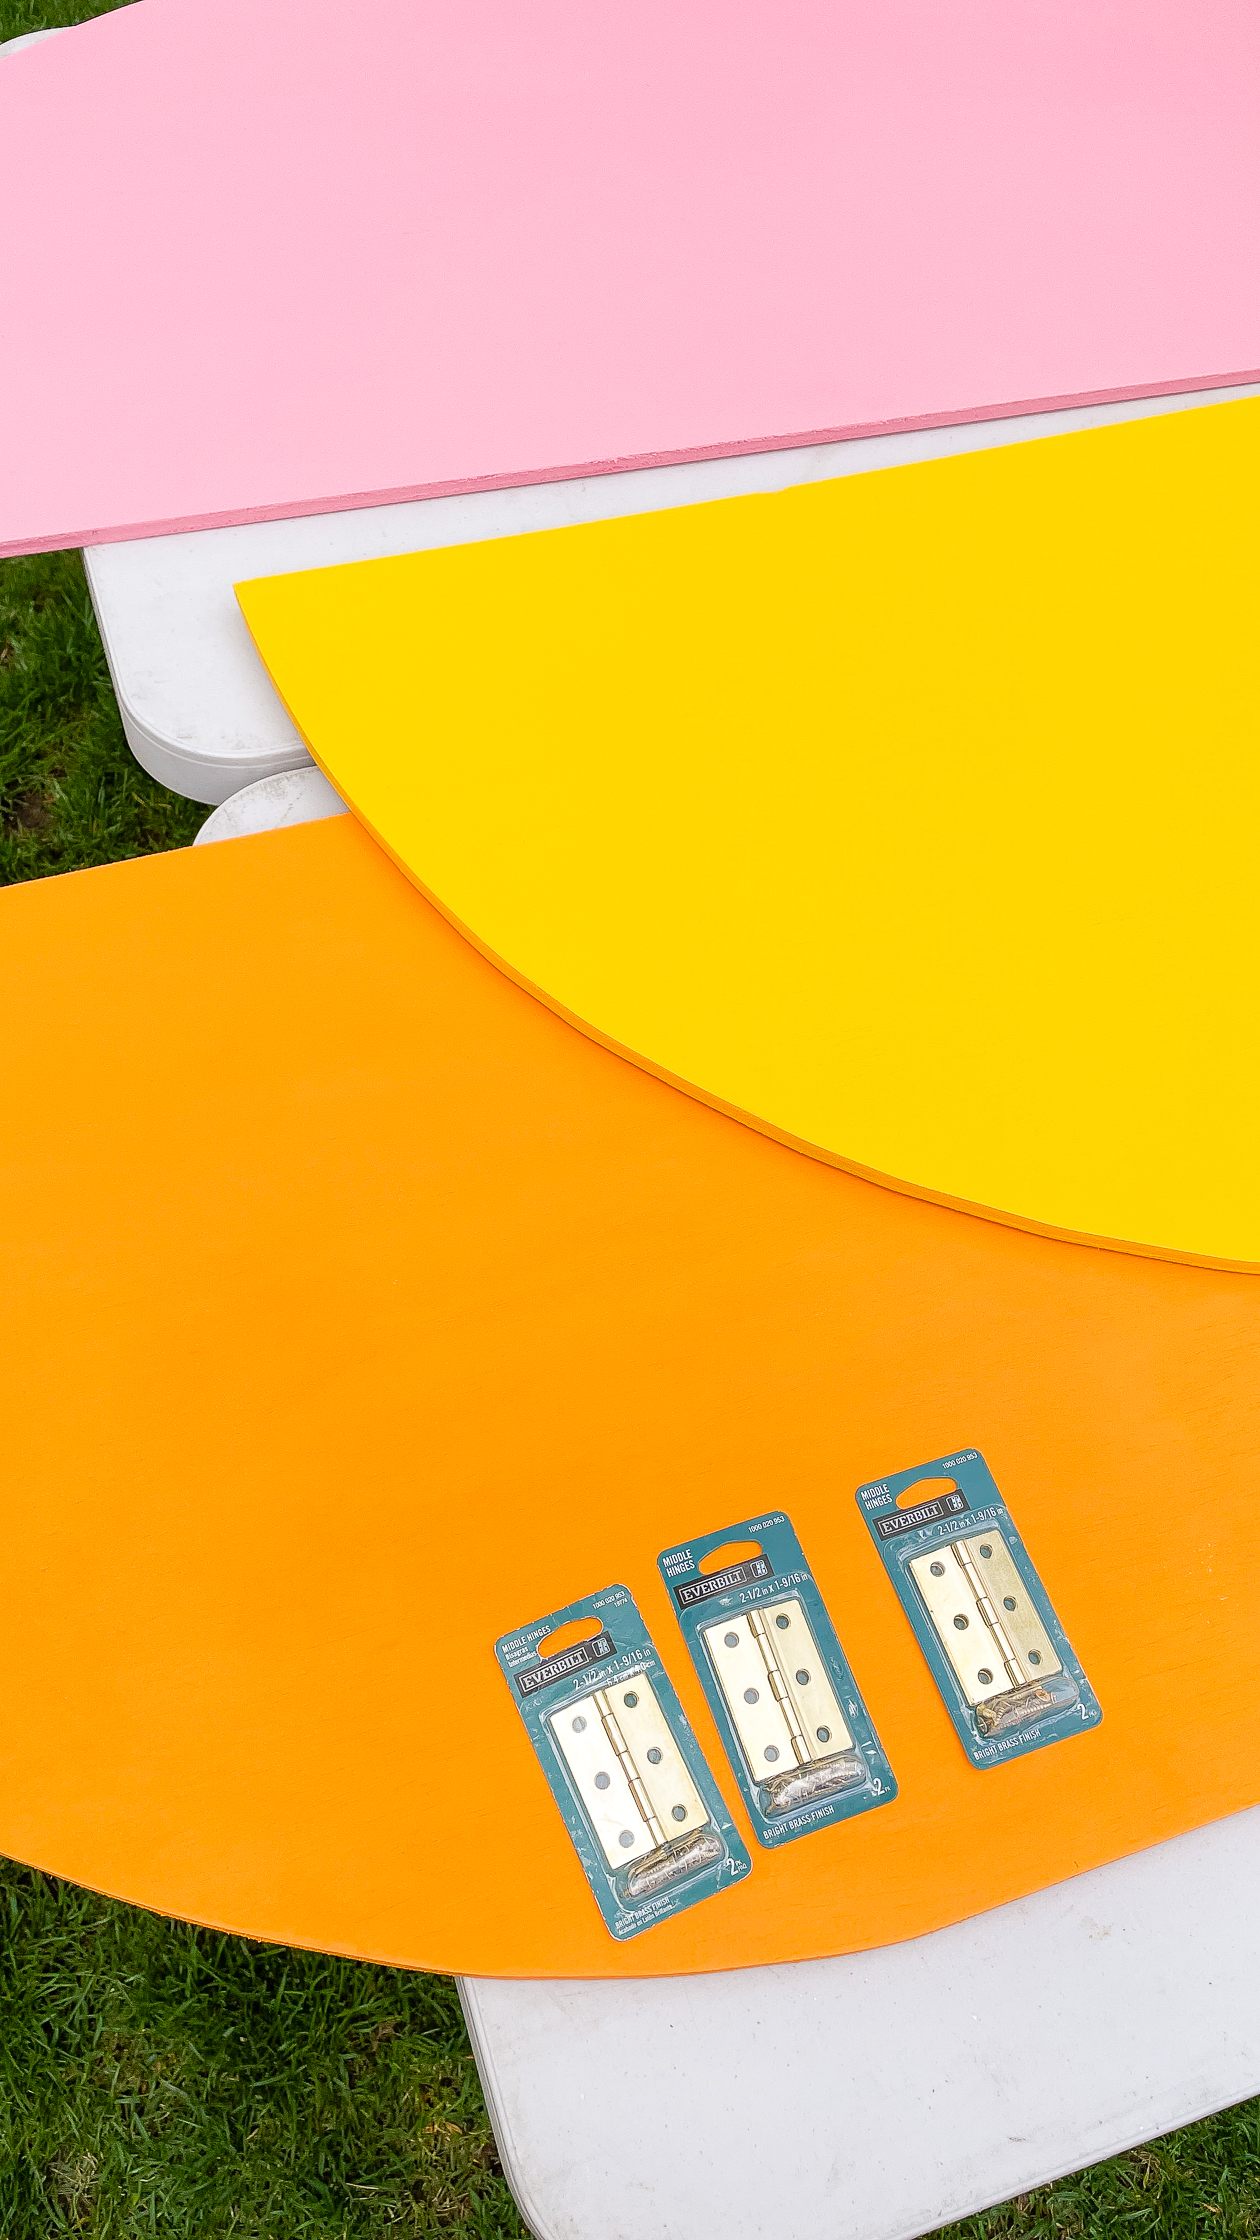
– Hinges
– Drill
Note we did start this project in February 2020 before the lumber shortage/pandemic. It might be more costly to make now, but would be worth it if it was a central piece of your overall decor.
I got a quart of each color of paint so that I could apply two coats, front and back. There was plenty of paint left over.
 How To Make a Wedding Seating Chart
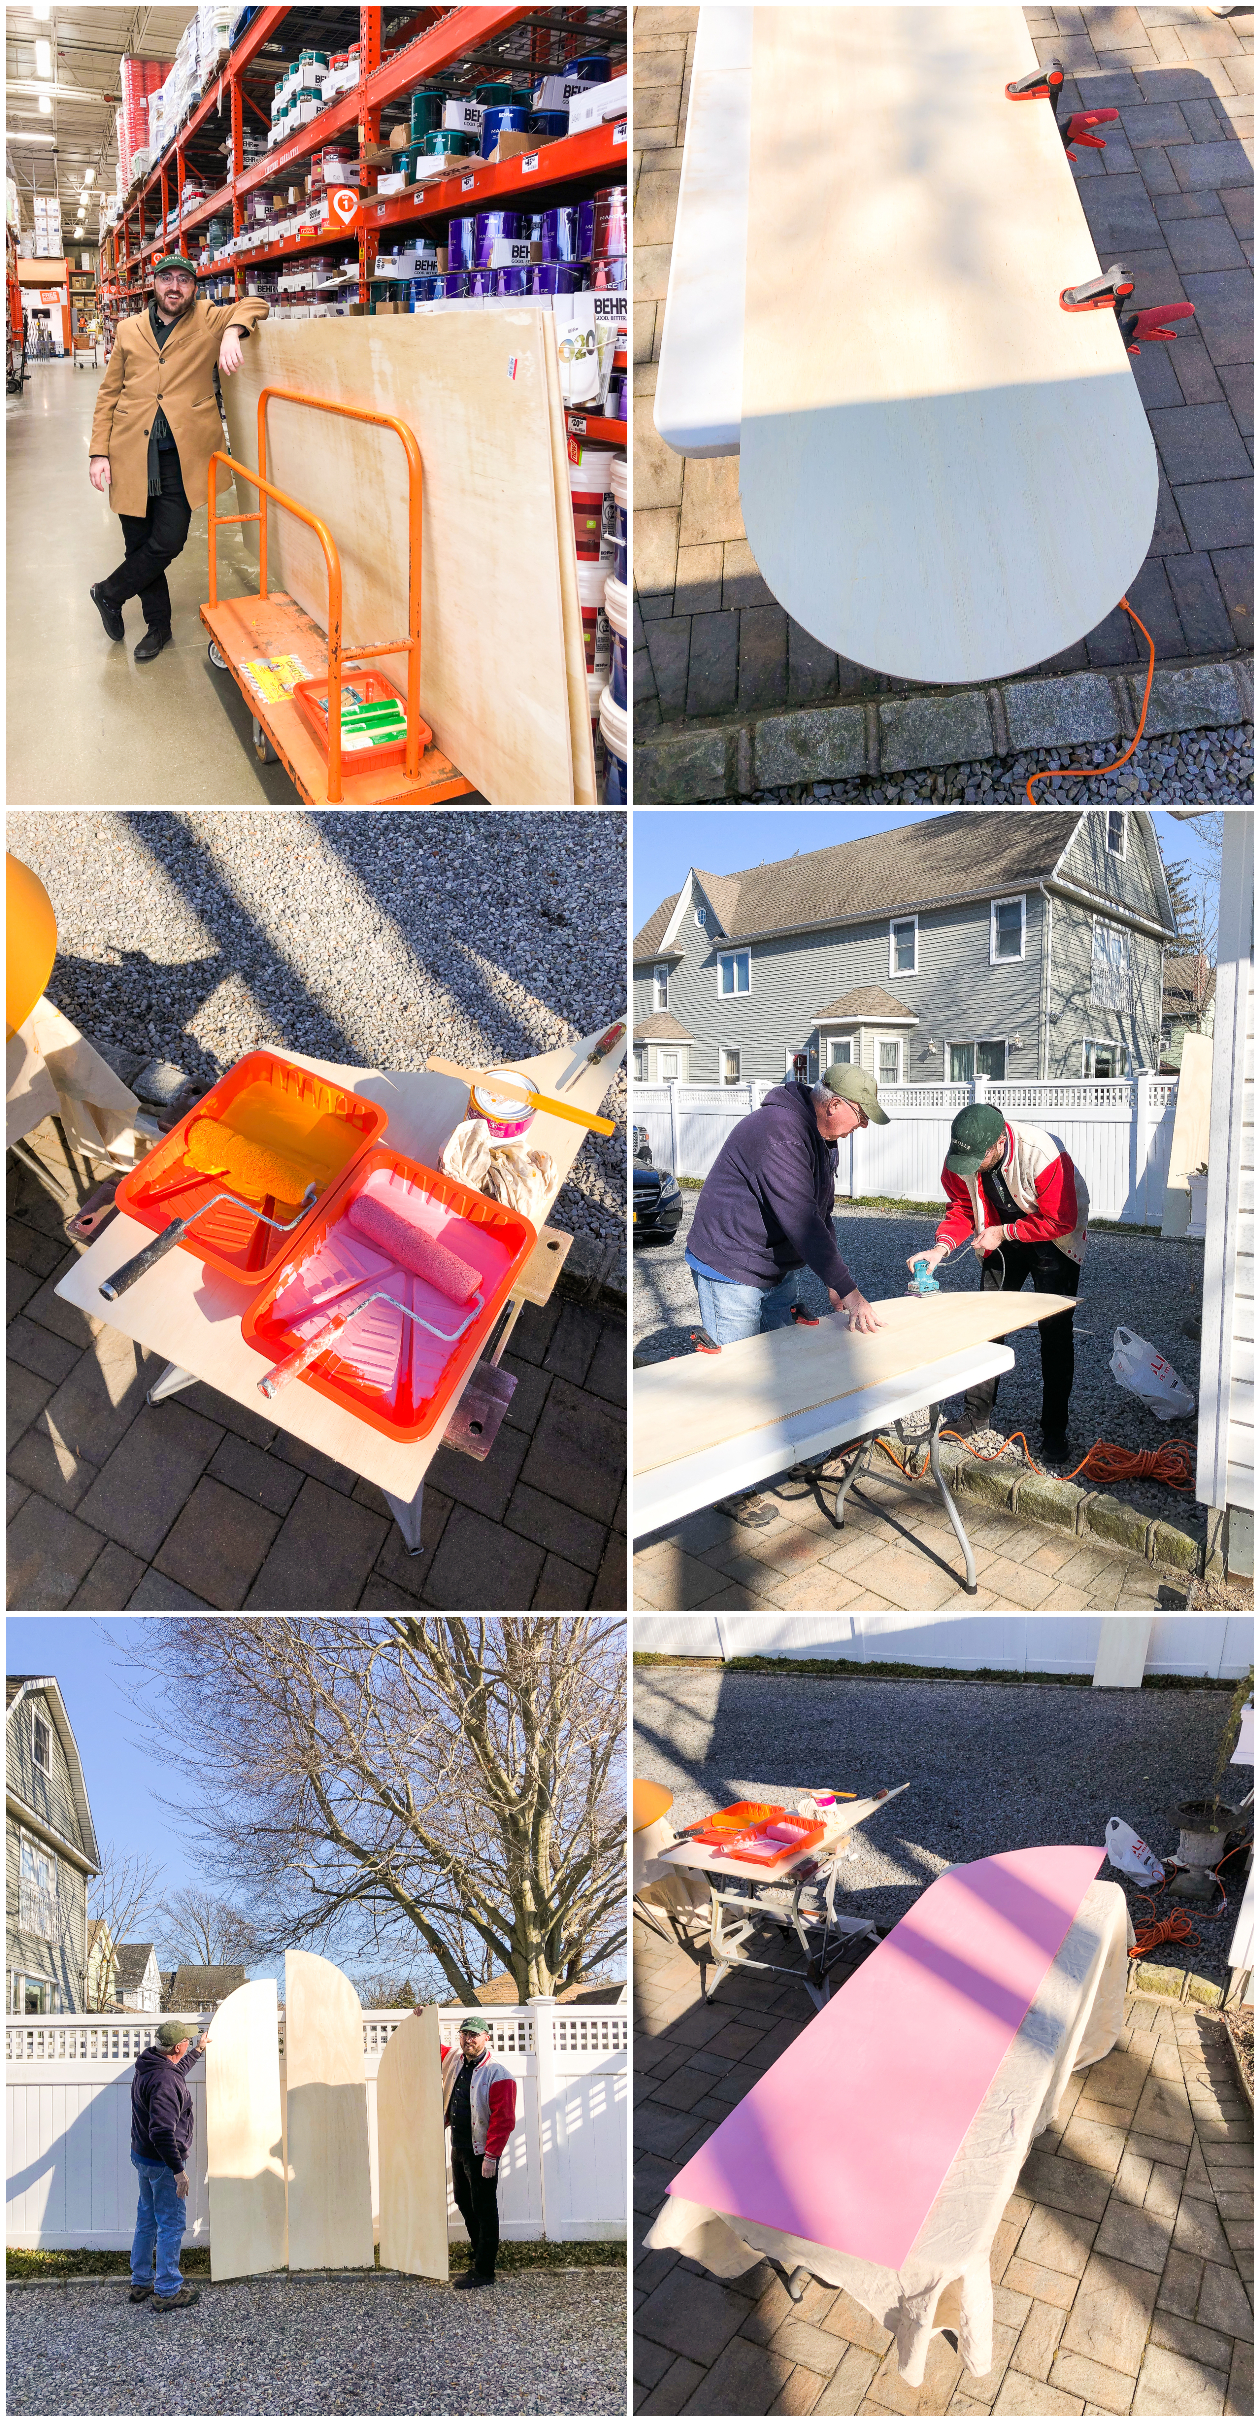
We bought two 8’x4′ sheets of plywood and cut them down the middle to make four 8’x2′ pieces (you can ask them to do this for you at the store). We ended up only using three of those pieces in the final seating chart.
After the wood was cut, we rounded off the tops with a jigsaw to create the arch shape. We tried one shape completely rounded off (you can see above), but it really did look way too phalic. A semi circle is definitely the better way to go unless you’re having a very different event.
To create dimension, we made the arches at varying heights.
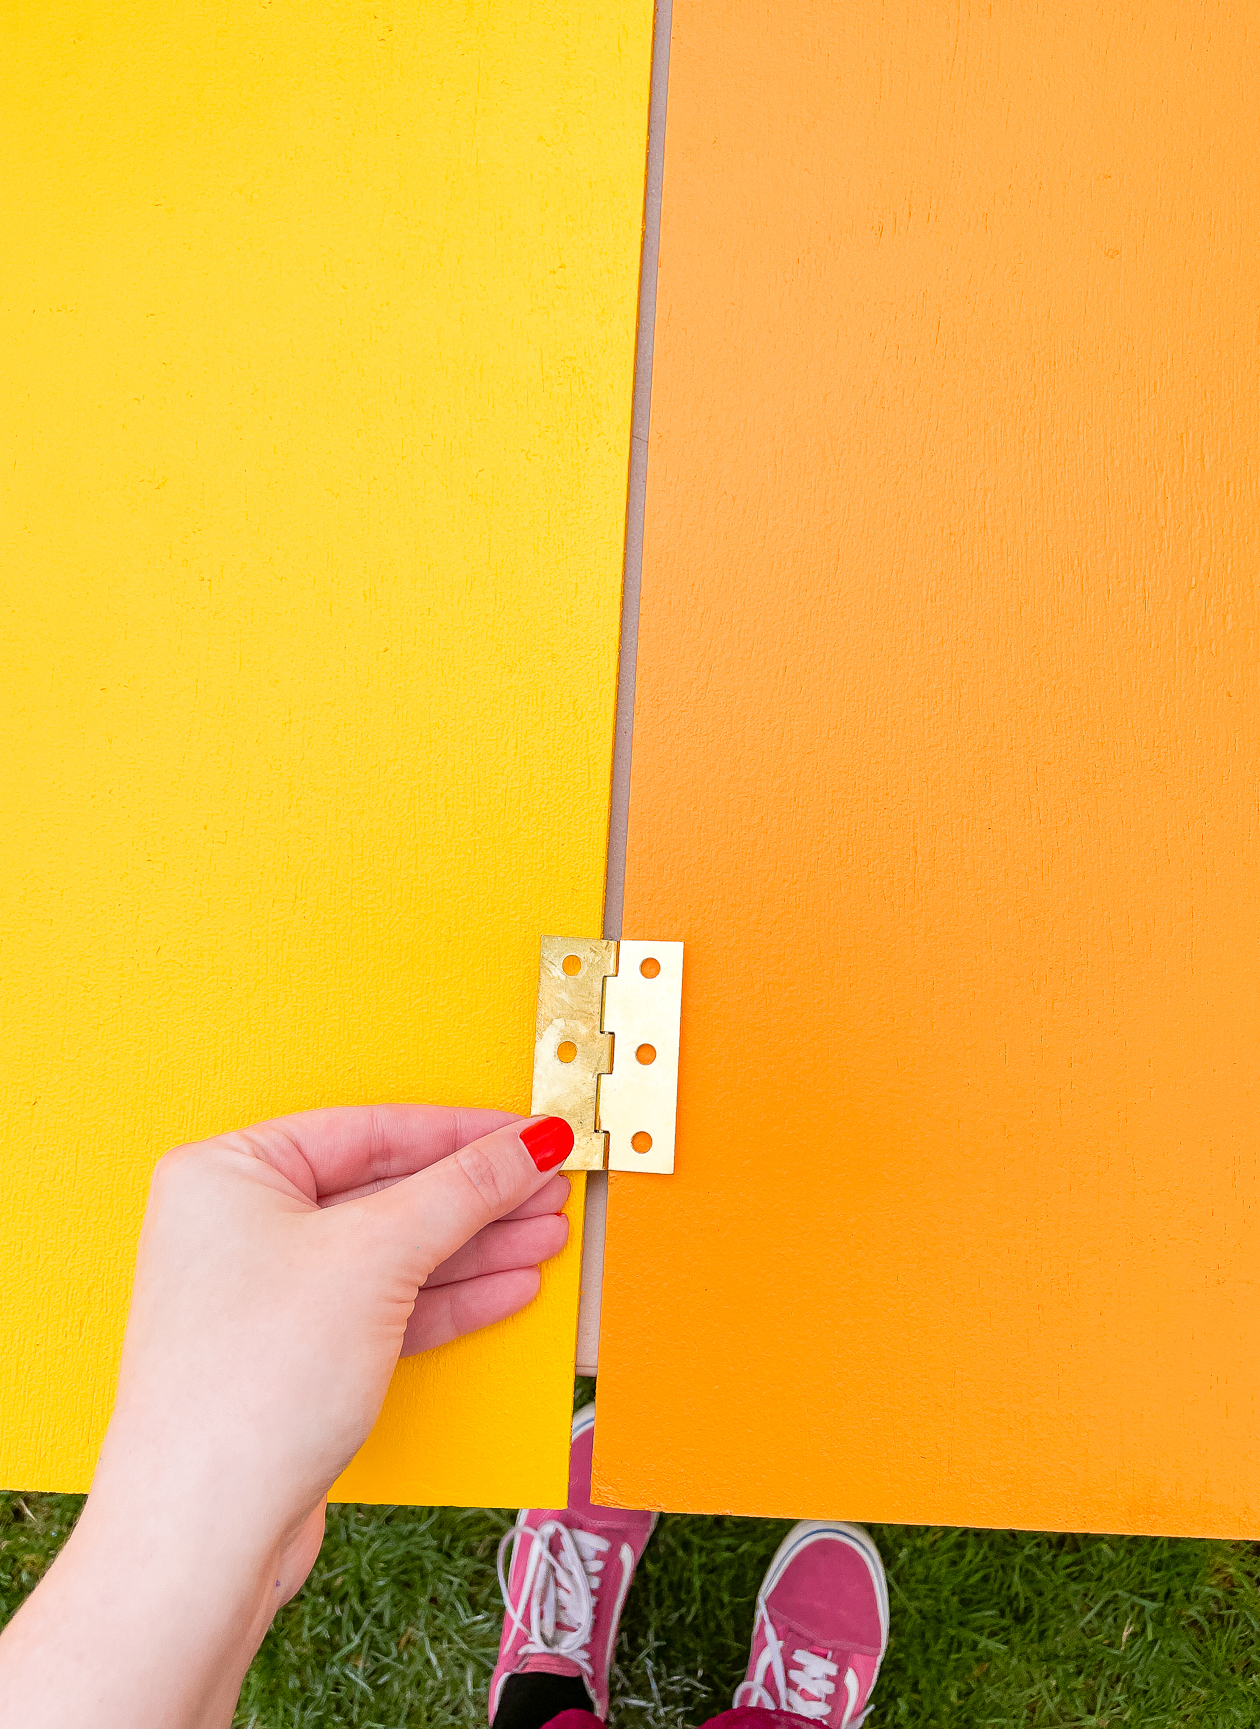 After finalizing the cuts, all of the panels were sanded on the surface and the edges. We applied two coats of paint to both sides. Let the paint dry fully between each coat and before turning over to paint the other side. For an extra layer of protection, you can seal with Polycrylic.
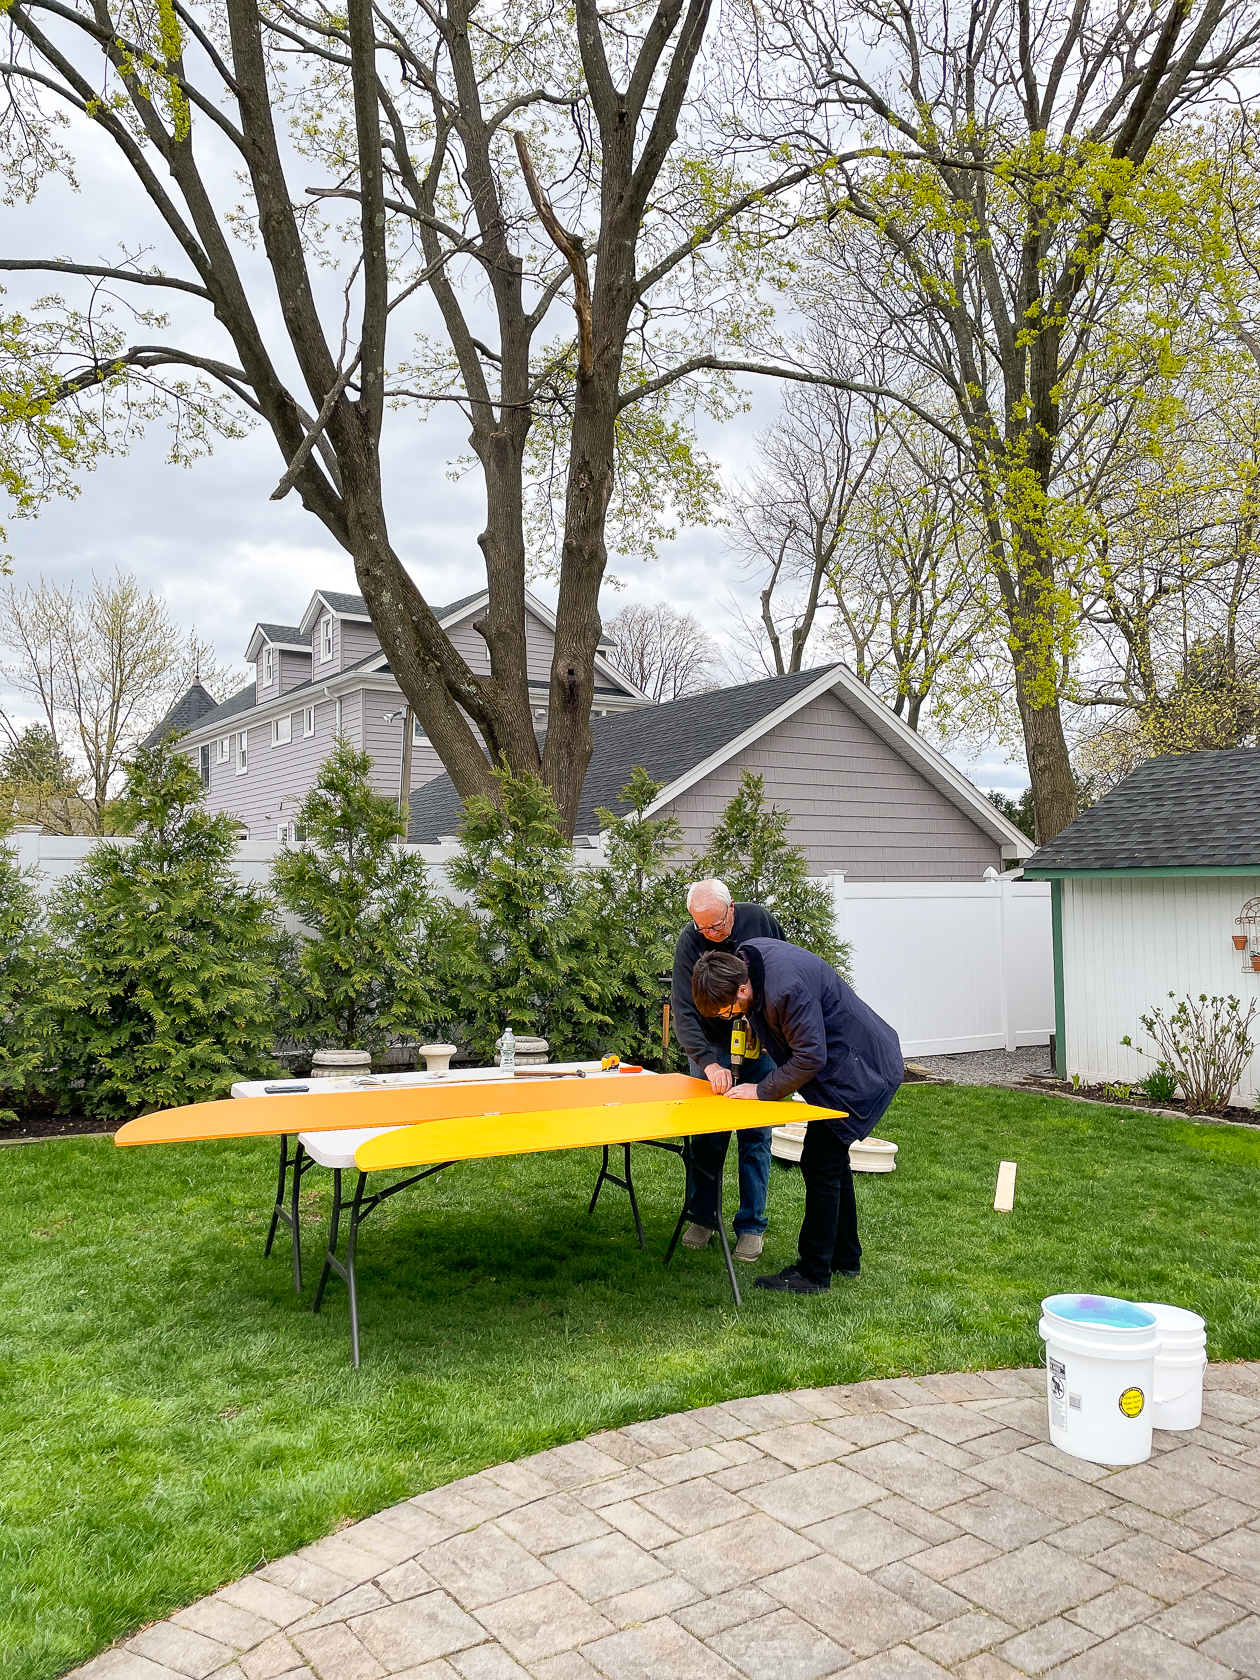 Once everything is fully dry, the final touch is to secure the panels together with hinges. This will not only help with transportation to your venue, but it will allow for movement for set up. Part of them will be visible, so take that into consideration when choosing a finish. You could also paint them if you want them to blend in more seamlessly.
And that’s all there really is to making a DIY seating chart! It’s a few simple cuts and a bit of paint!
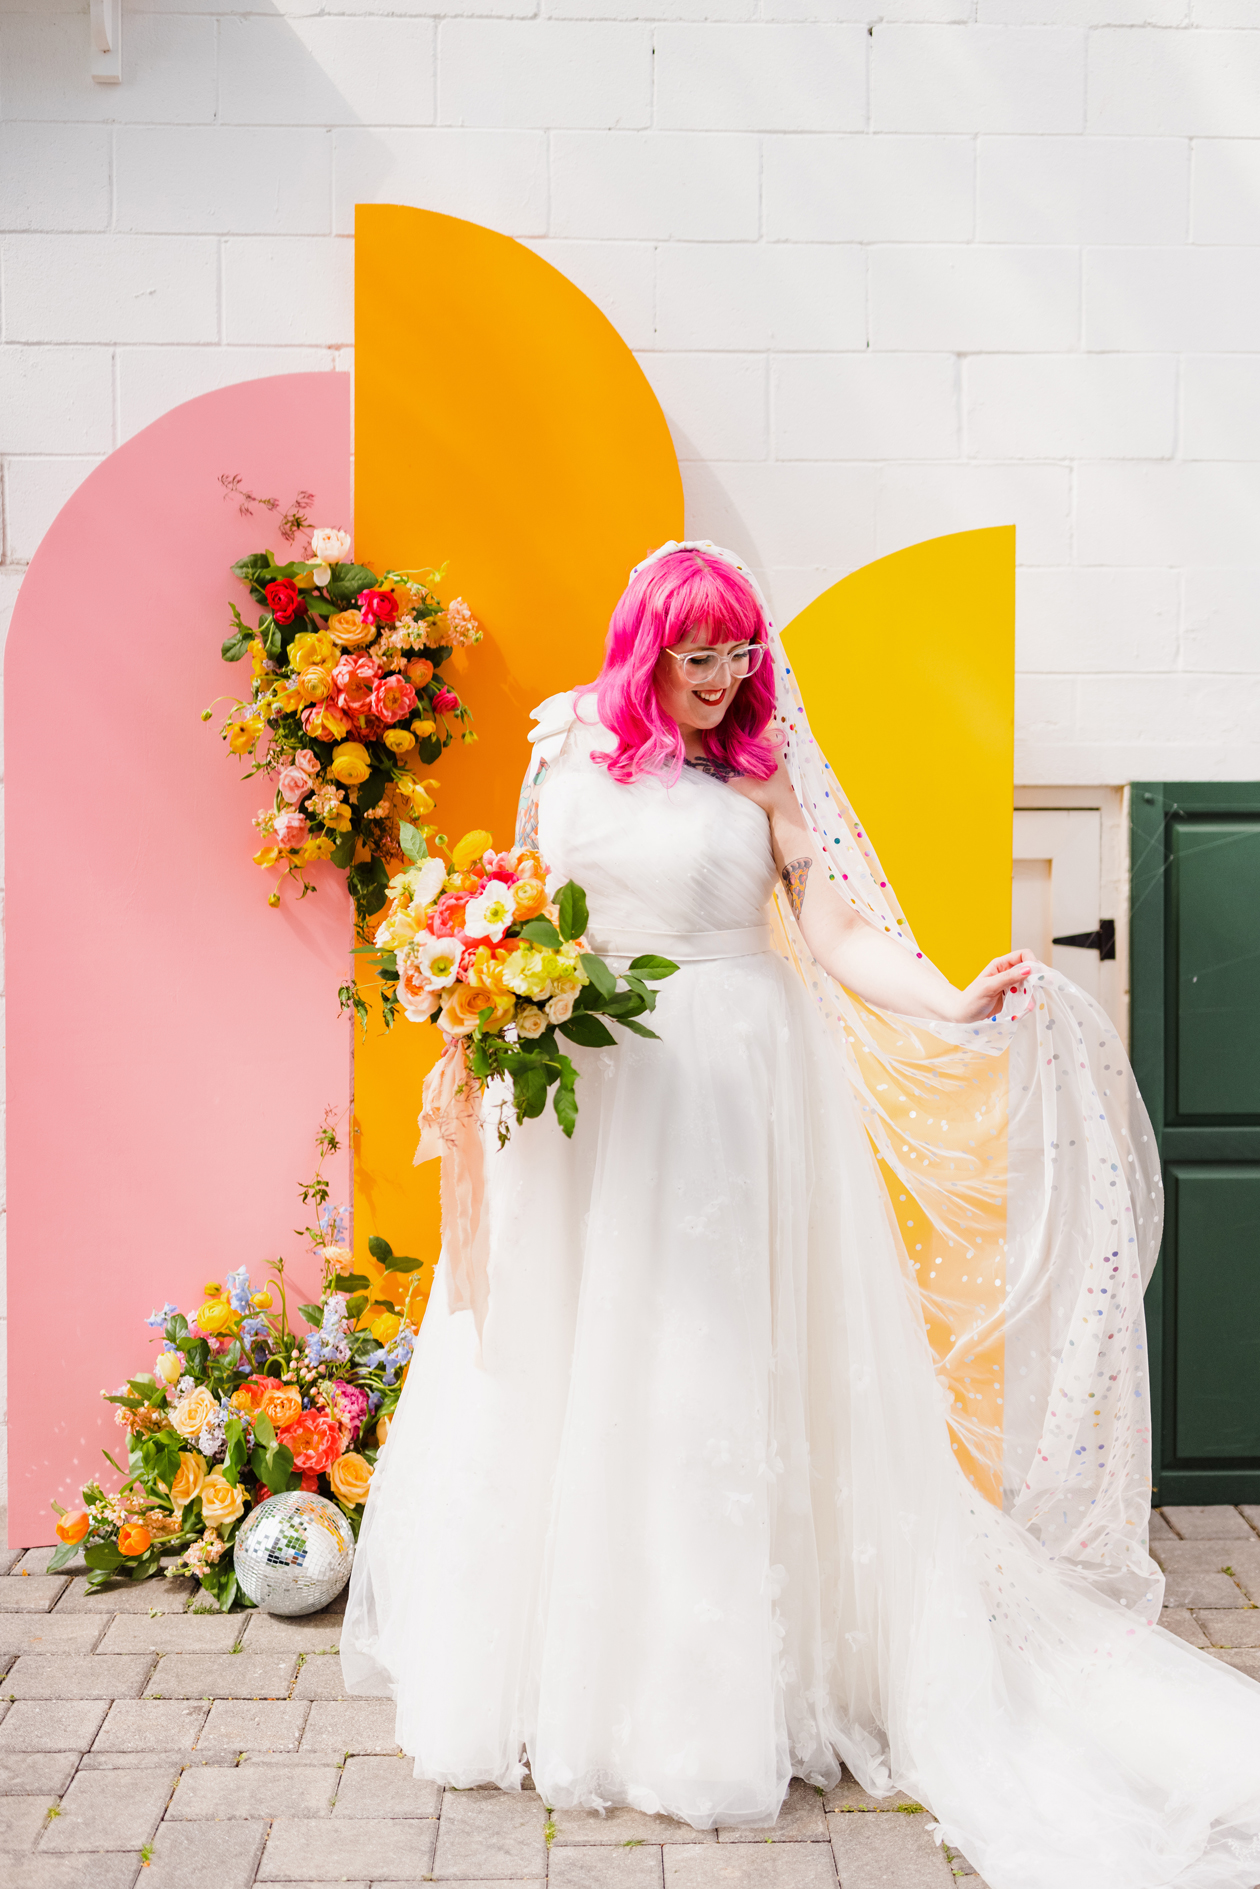 What’s great about this project is that it also doubled as a photo backdrop before we tacked on the seating arrangements. Ryan and I both had our portraits taken in front of it and it was the perfect pop of color to our photos.
You don’t even have to turn this piece into a seating chart, but instead use it as decor. It would be so pretty in different heights and arrangements around a seating area or even as your wedding altar. It would also give your wedding guests a cute place to take photos in front of.
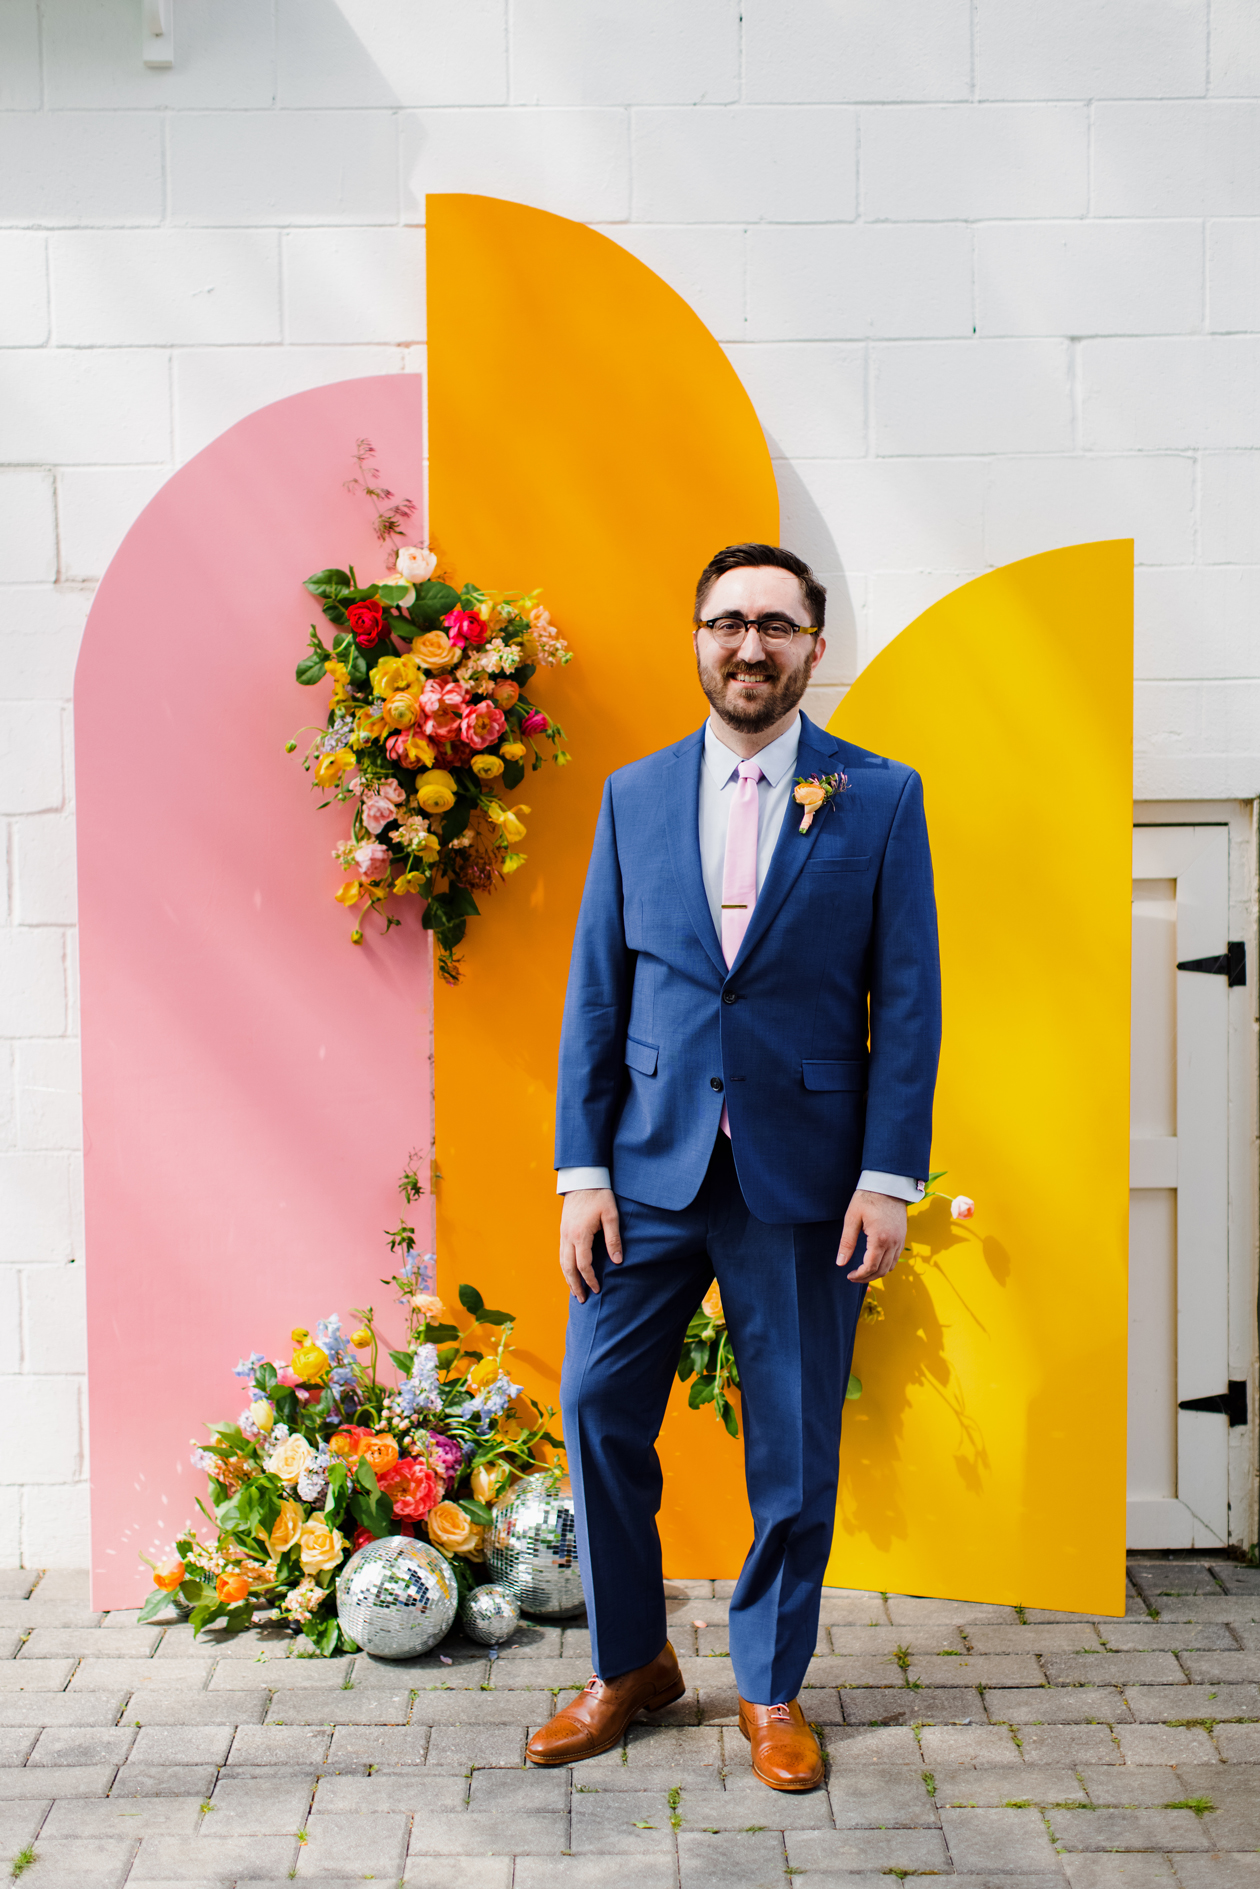 I know this project is about the wooden seating chart, but how cute is Ryan in front of this?! I may be biased since he since my husband, but the colors alone look so good! When selecting colors, be sure to take what you’ll be wearing into consideration just in case you want to take photos in front.
We ended up using clear string (behind and attached to the wall) to secure it in place. While it stands up on its own, the last thing you want would be for a gust of wind, or a younger wedding guest, to come along and knock it over.
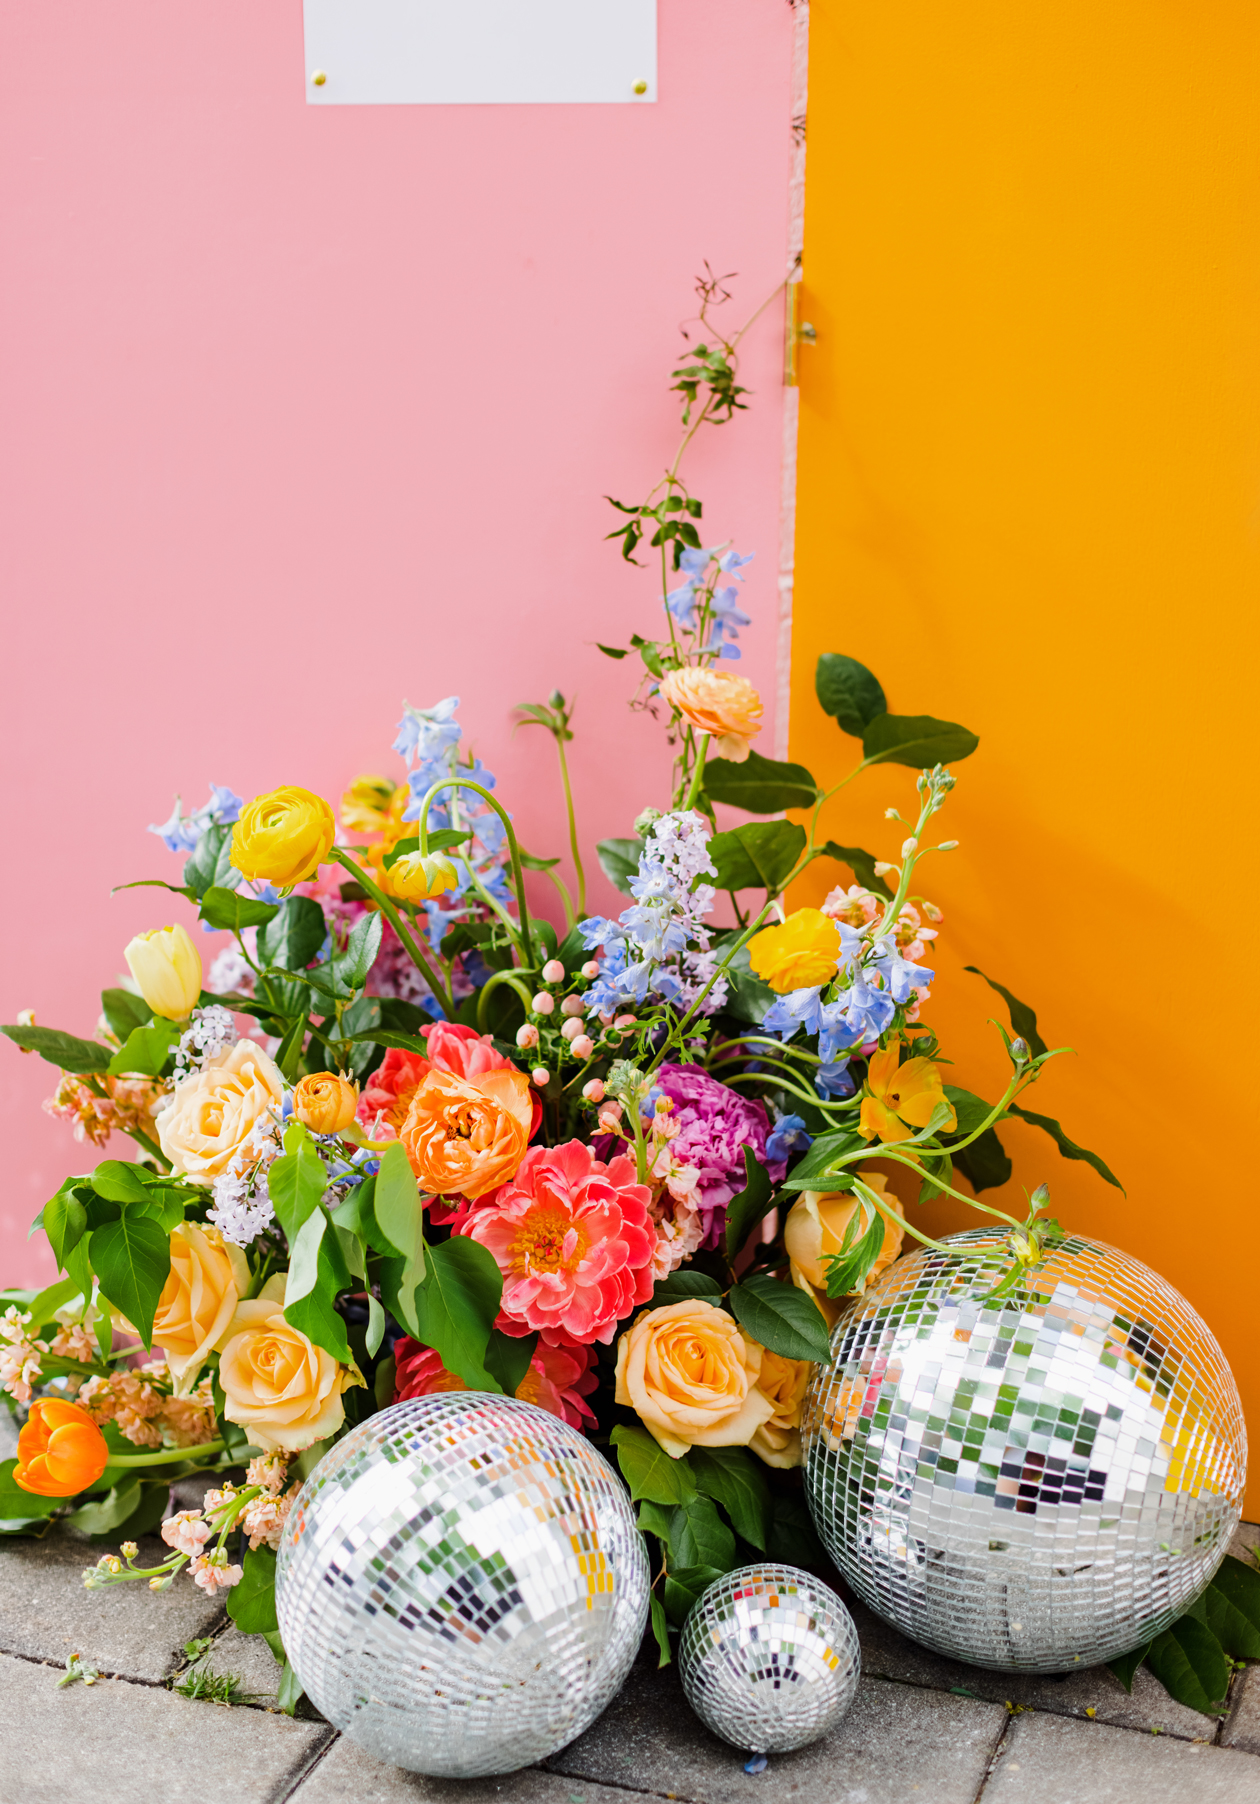 I can’t get over the florals added by our florist (seriously hire Devon & Pinkett). They really take the seating chart to an entirely different level.
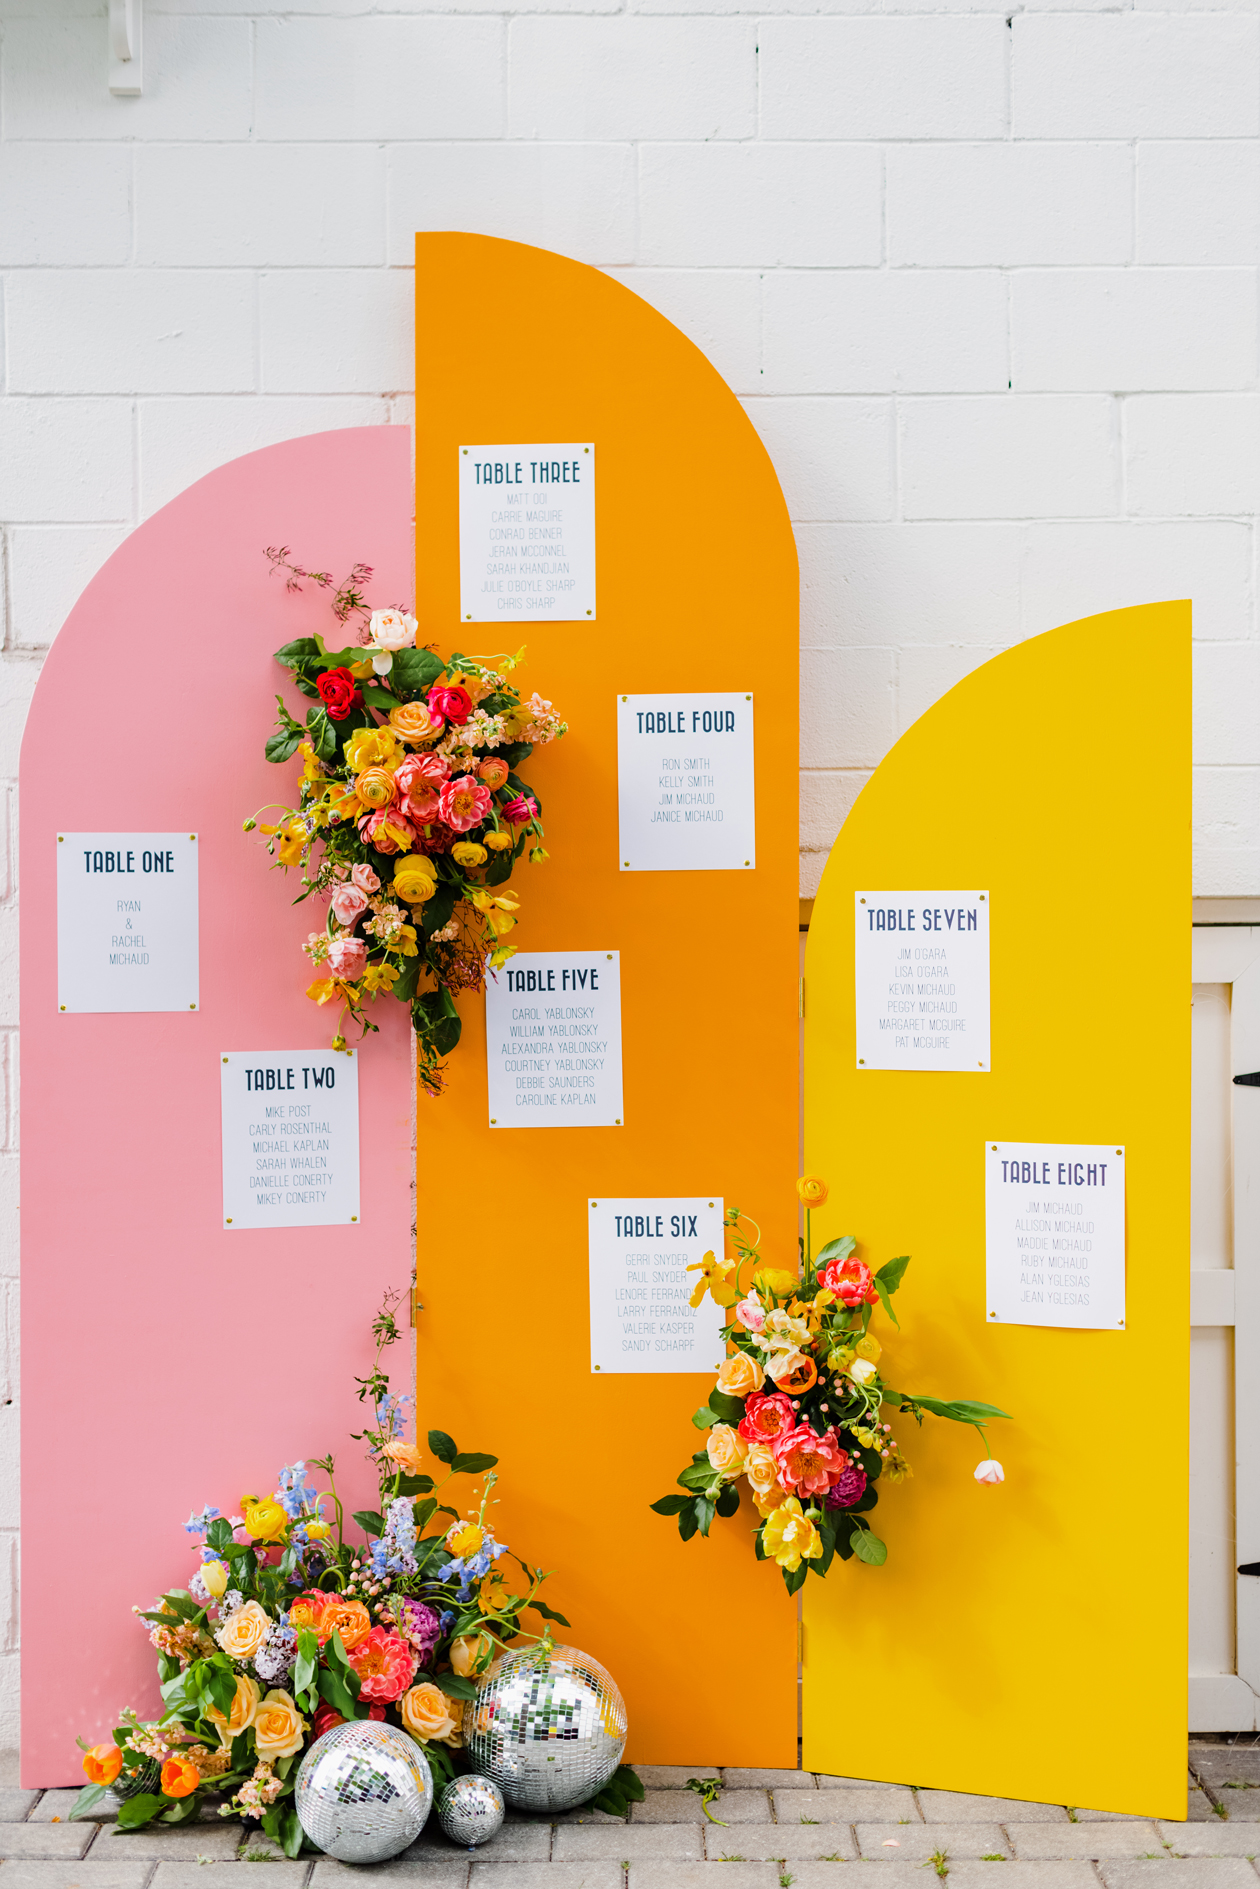 To display the seating assignments:
1. Print the wedding guest names on nicer, heavier weight 8.5×11″ paper. You can do this in alphabetical order or from shortest or longest name.
2. Secure the paper in place with gold push pins.
You may need to use a t-square to keep everything level and even. Shoutout to Jeran of Oleander + Palm for making sure these were tacked up beautifully the day of our wedding!
I used the same font on our wedding invitations, the paper for this seating chart, other wedding signs, and the table numbers inside the venue. It helped tie everything together and make the decor feel cohesive!
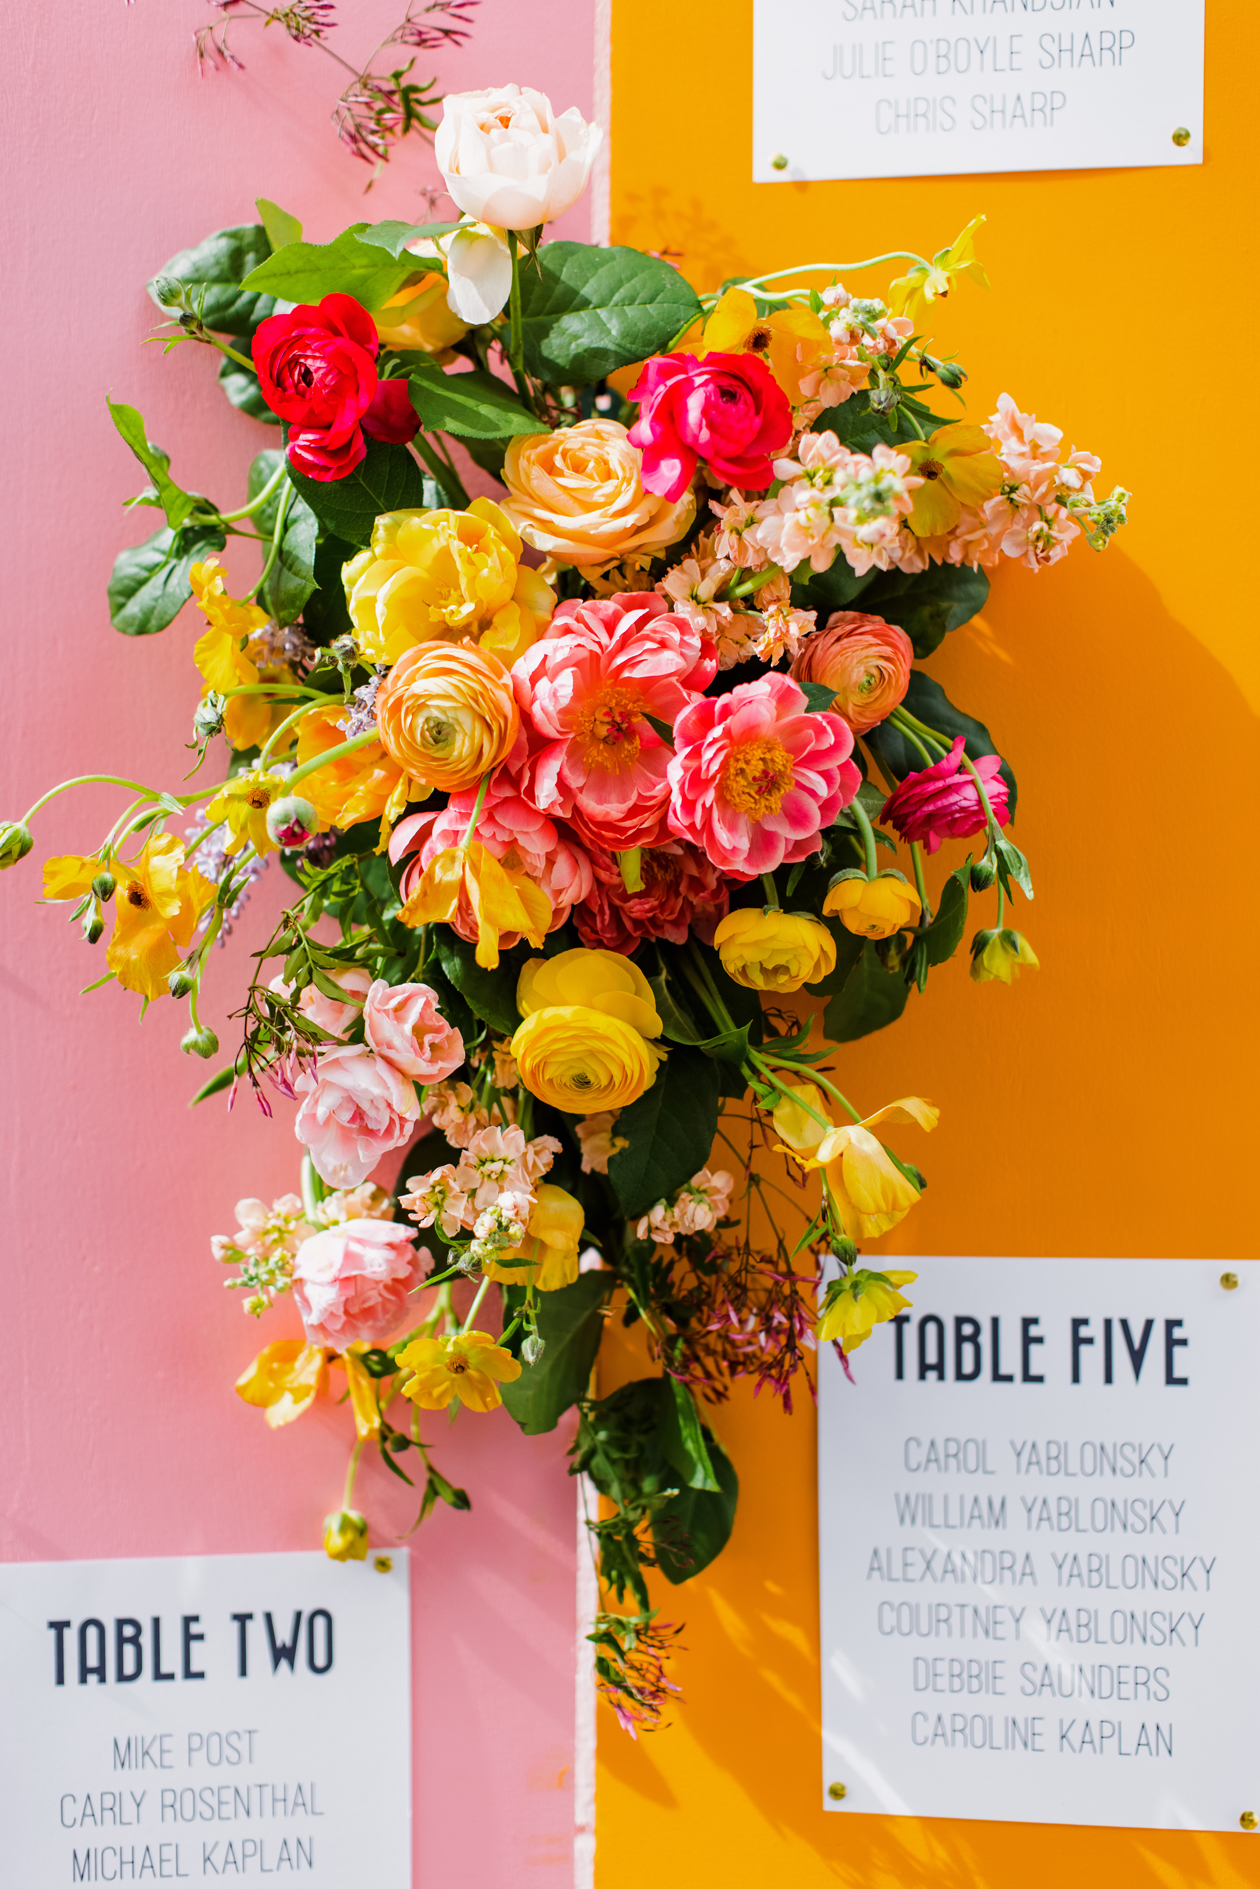 So that’s how we wedding seating chart display!! Let me know if you have any specific questions!
We’re going to try to find a place to keep and display this in our apartment. Maybe as a room divider or to display a dress or two on? It’s just too pretty to get rid of! Let me know if you have any ideas.
And for fun, here’s what it looked at the end of the night. The light from the disco ball is just ::chef’s kiss::! Thank you to our photographers for capturing this so beautifully!

