Time: 45 minutes + dry time
Materials: birch plywood, wood stain, brush, polyurethane spray, foam board, glue
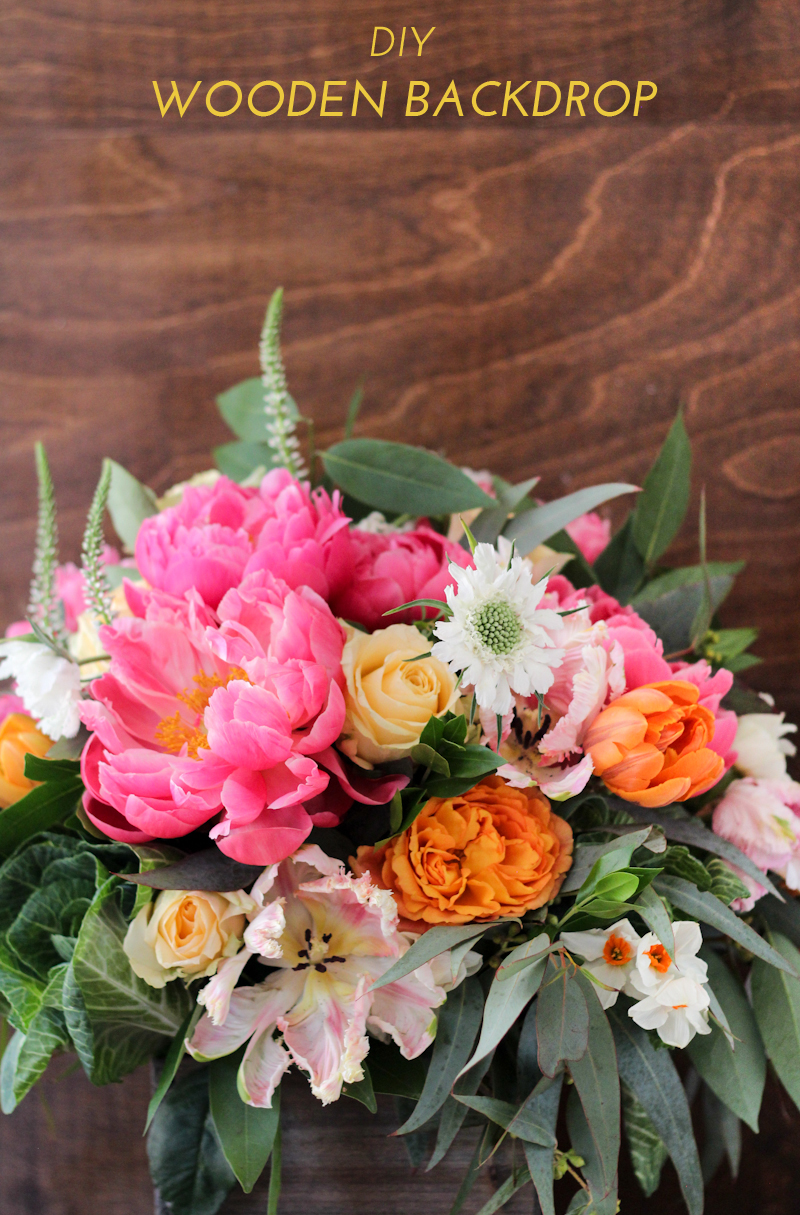
When taking photos, either for this blog or my Etsy shop, I like to keep my background as simple as possible. Don’t get me wrong, I definitely went through a polka dot phase, but overtime I’ve learn that my projects do better when the focus is on the work and not the surrounding area. Some items don’t pop as much on plain white poster board, so I decided to make this wooden backdrop for when I want to add a bit of color and texture to my photos.
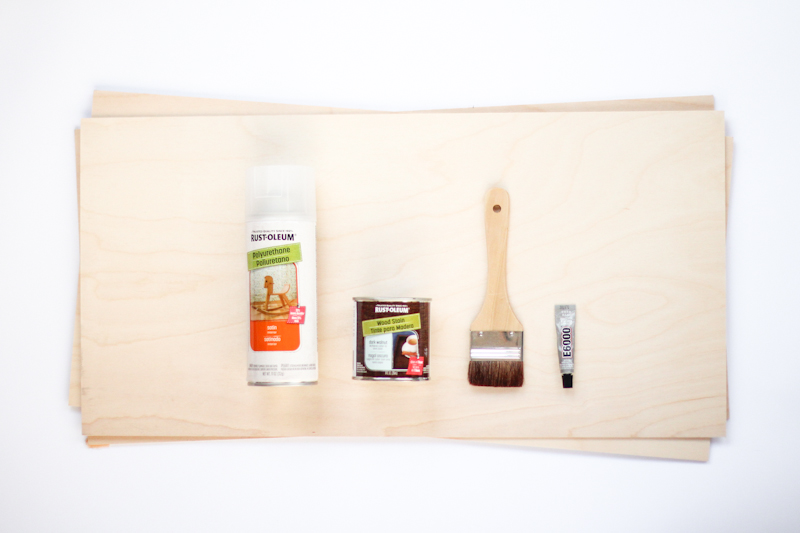 *Pictured above is E-6000 glue. It doesn’t work as well as I thought; hot glue did the trick though. You should be able to find all the supplies needed for this project at your local craft & hobby store. I found the birch plywood at Michaels.
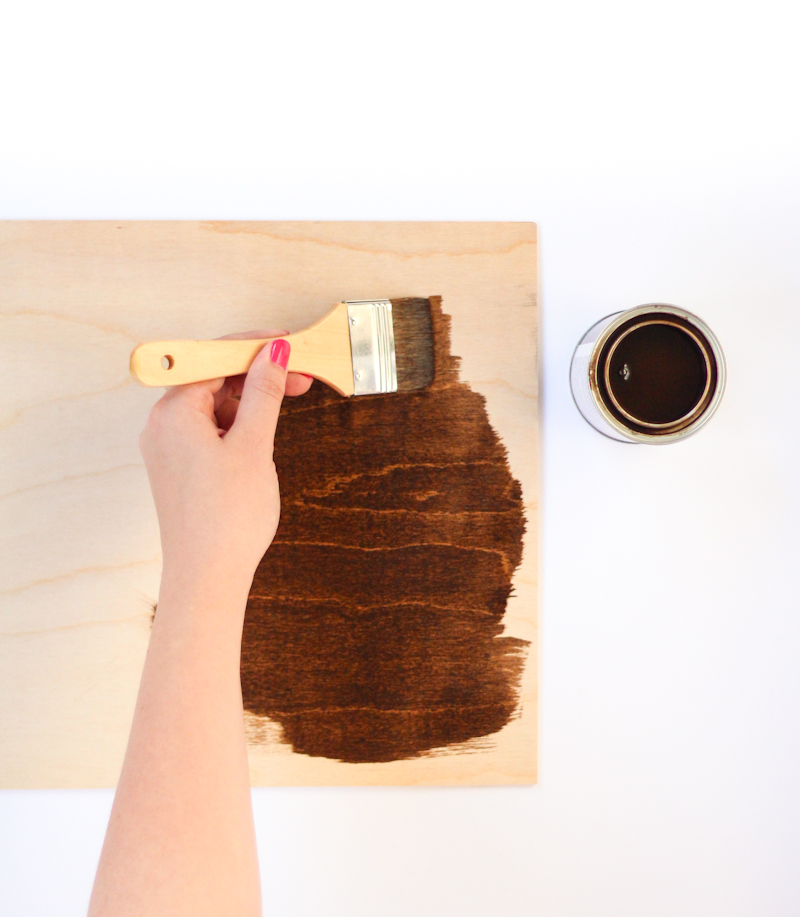
Stain wood to your desired color.
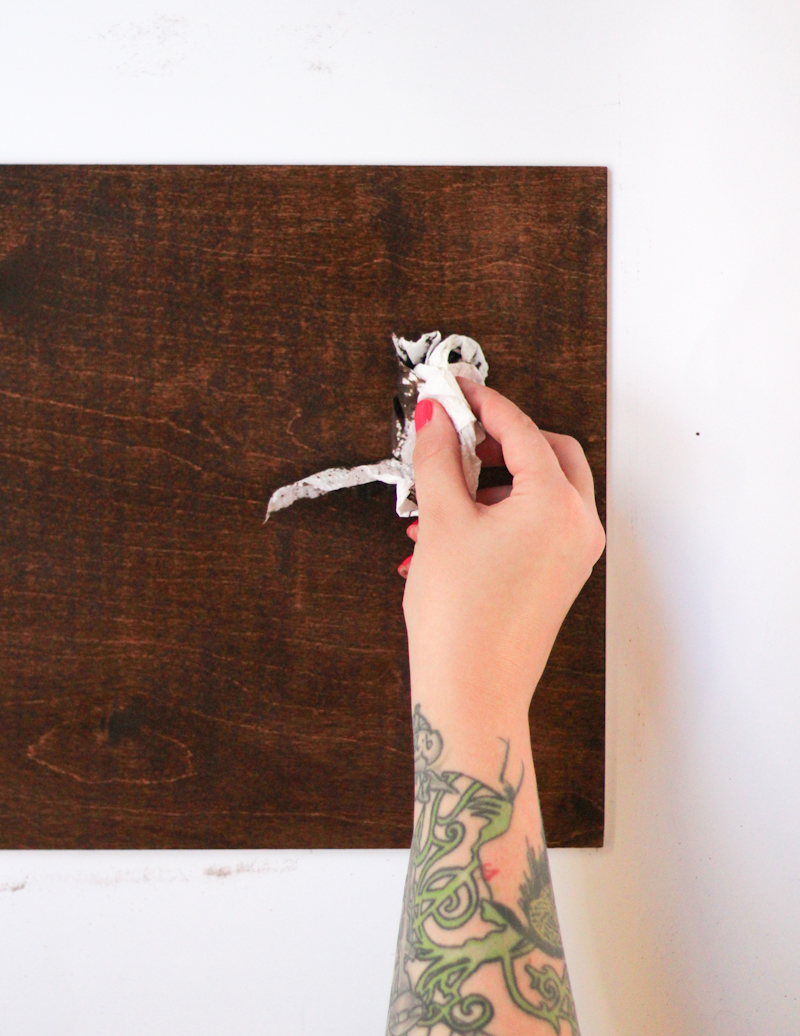 After letting stain sit for 2-3 minutes, wipe (in the direction of the grain) with an old rag. When dry, spray with polyurethane to seal. This may take 2-3 coats with up to an hour dry time in between.
Once your wood is completely dry, hot glue the pieces to a foam board. You’re free to use another method for securing the pieces together, but I found that using foam board allows for easy storage. Once secure, your backdrop is ready to use! Mine measures 36″L x 24″W and is 1/4″ thick.
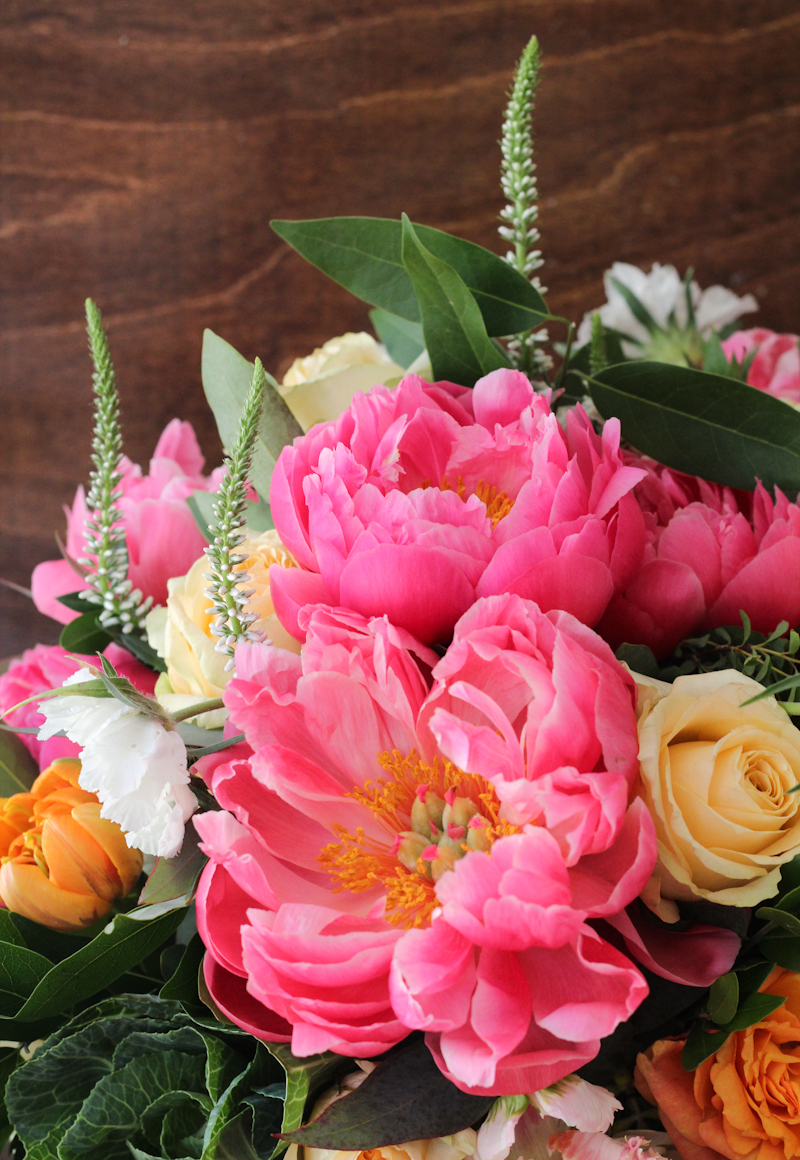
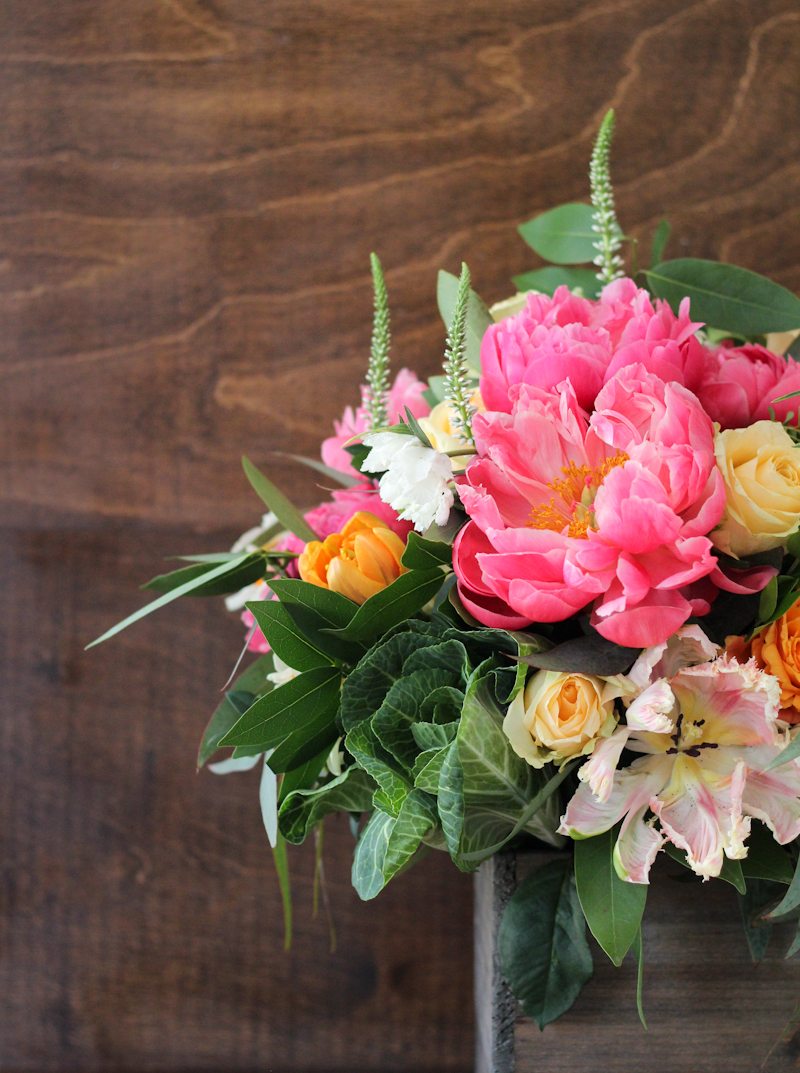
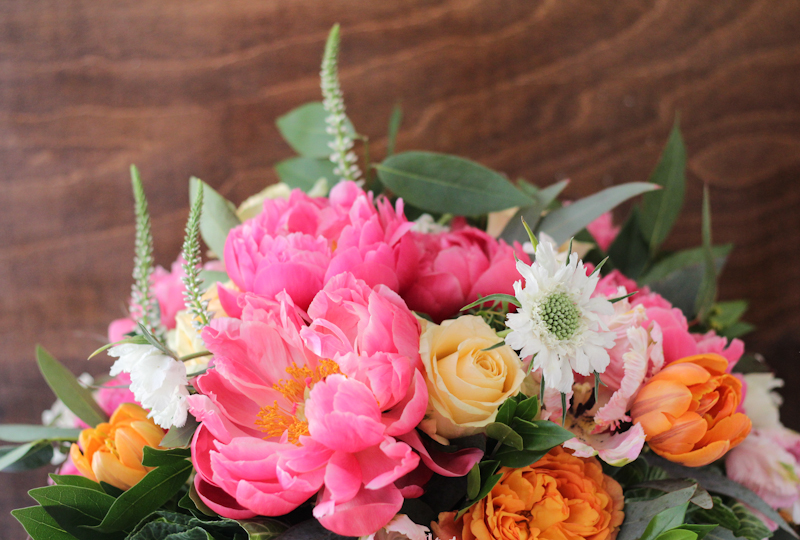
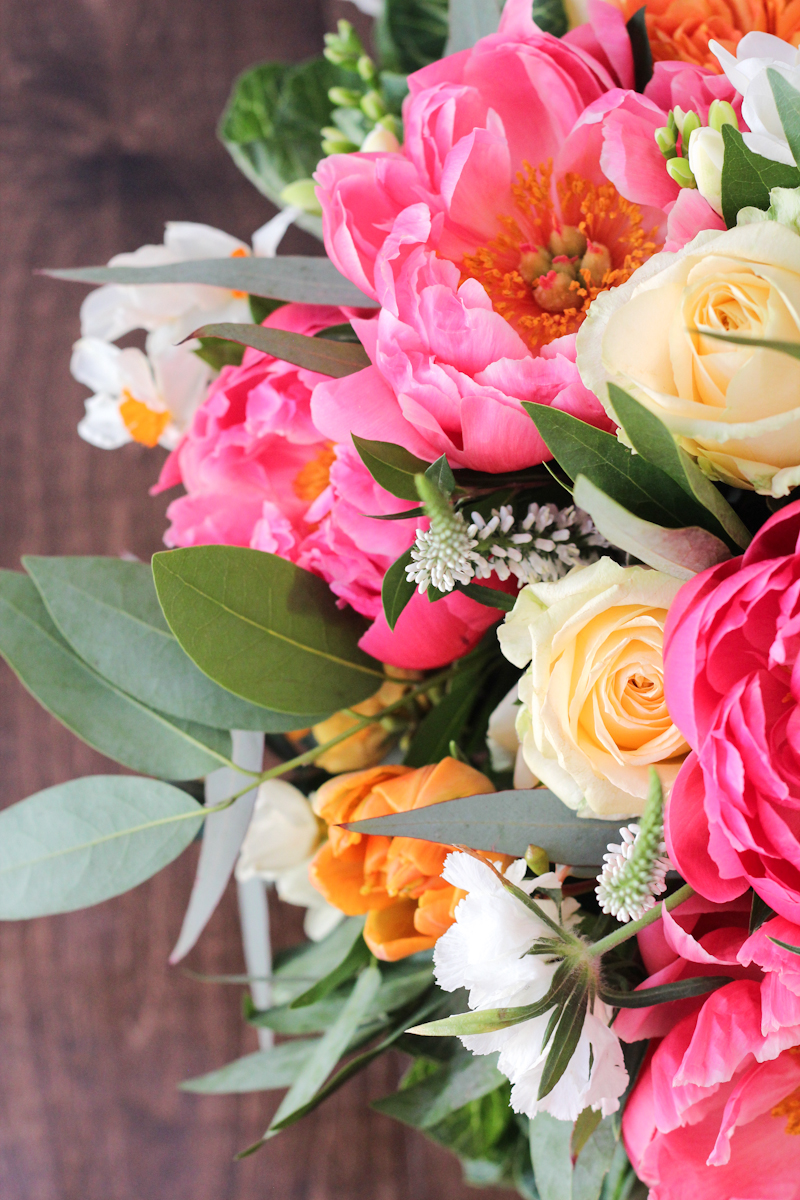
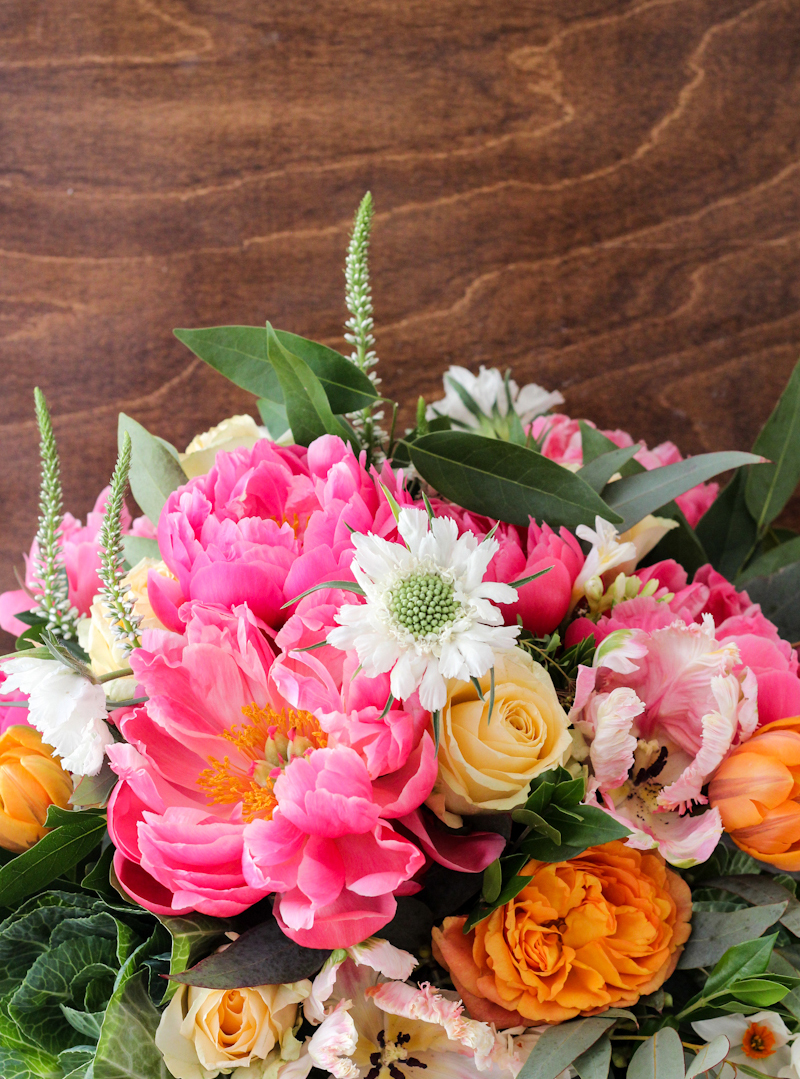
Aren’t these flowers absolutely stunning?! Farmgirl kindly sent them to me for this post and they may just be the prettiest flowers I’ve ever received. If you live in SF, be sure to check them out!