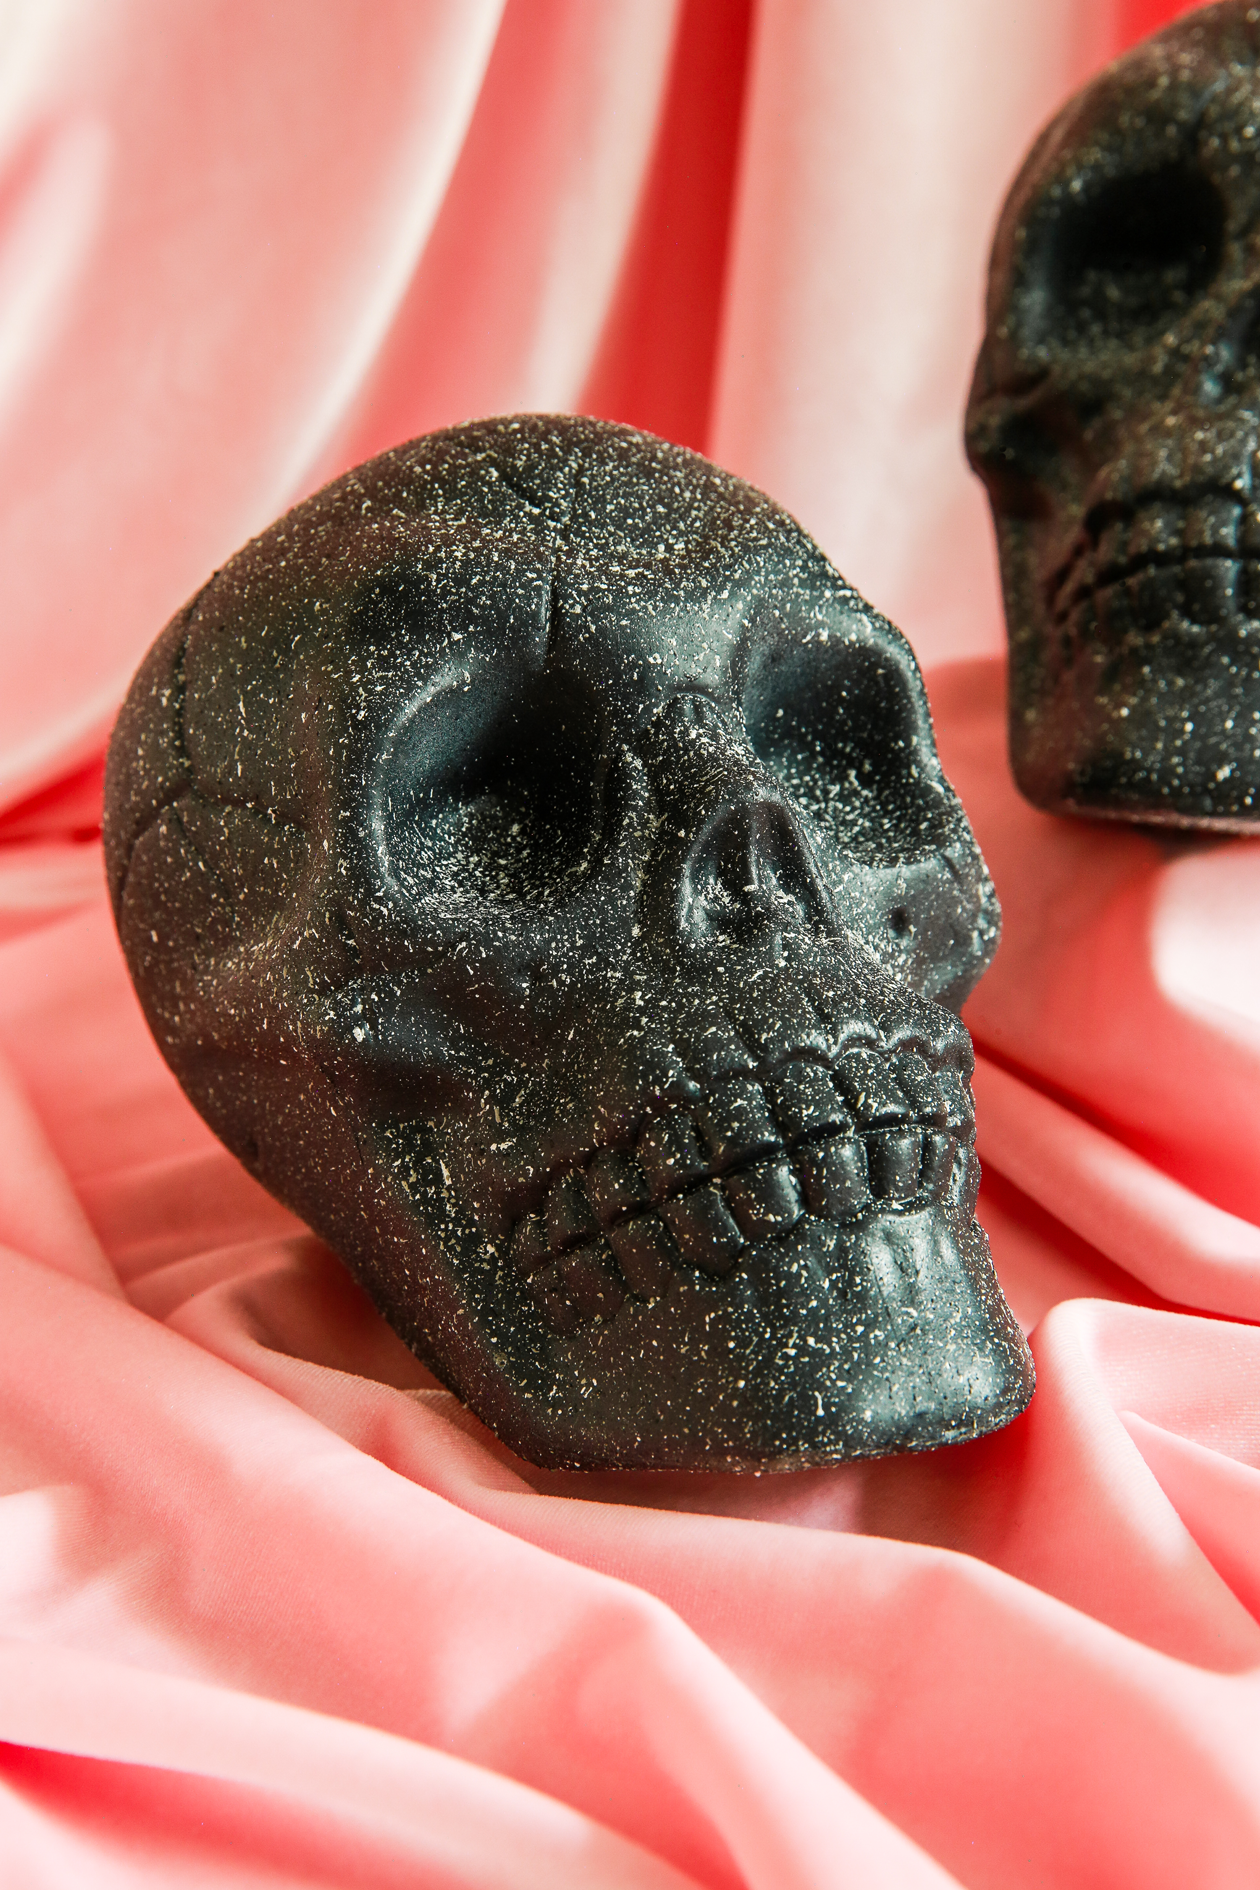
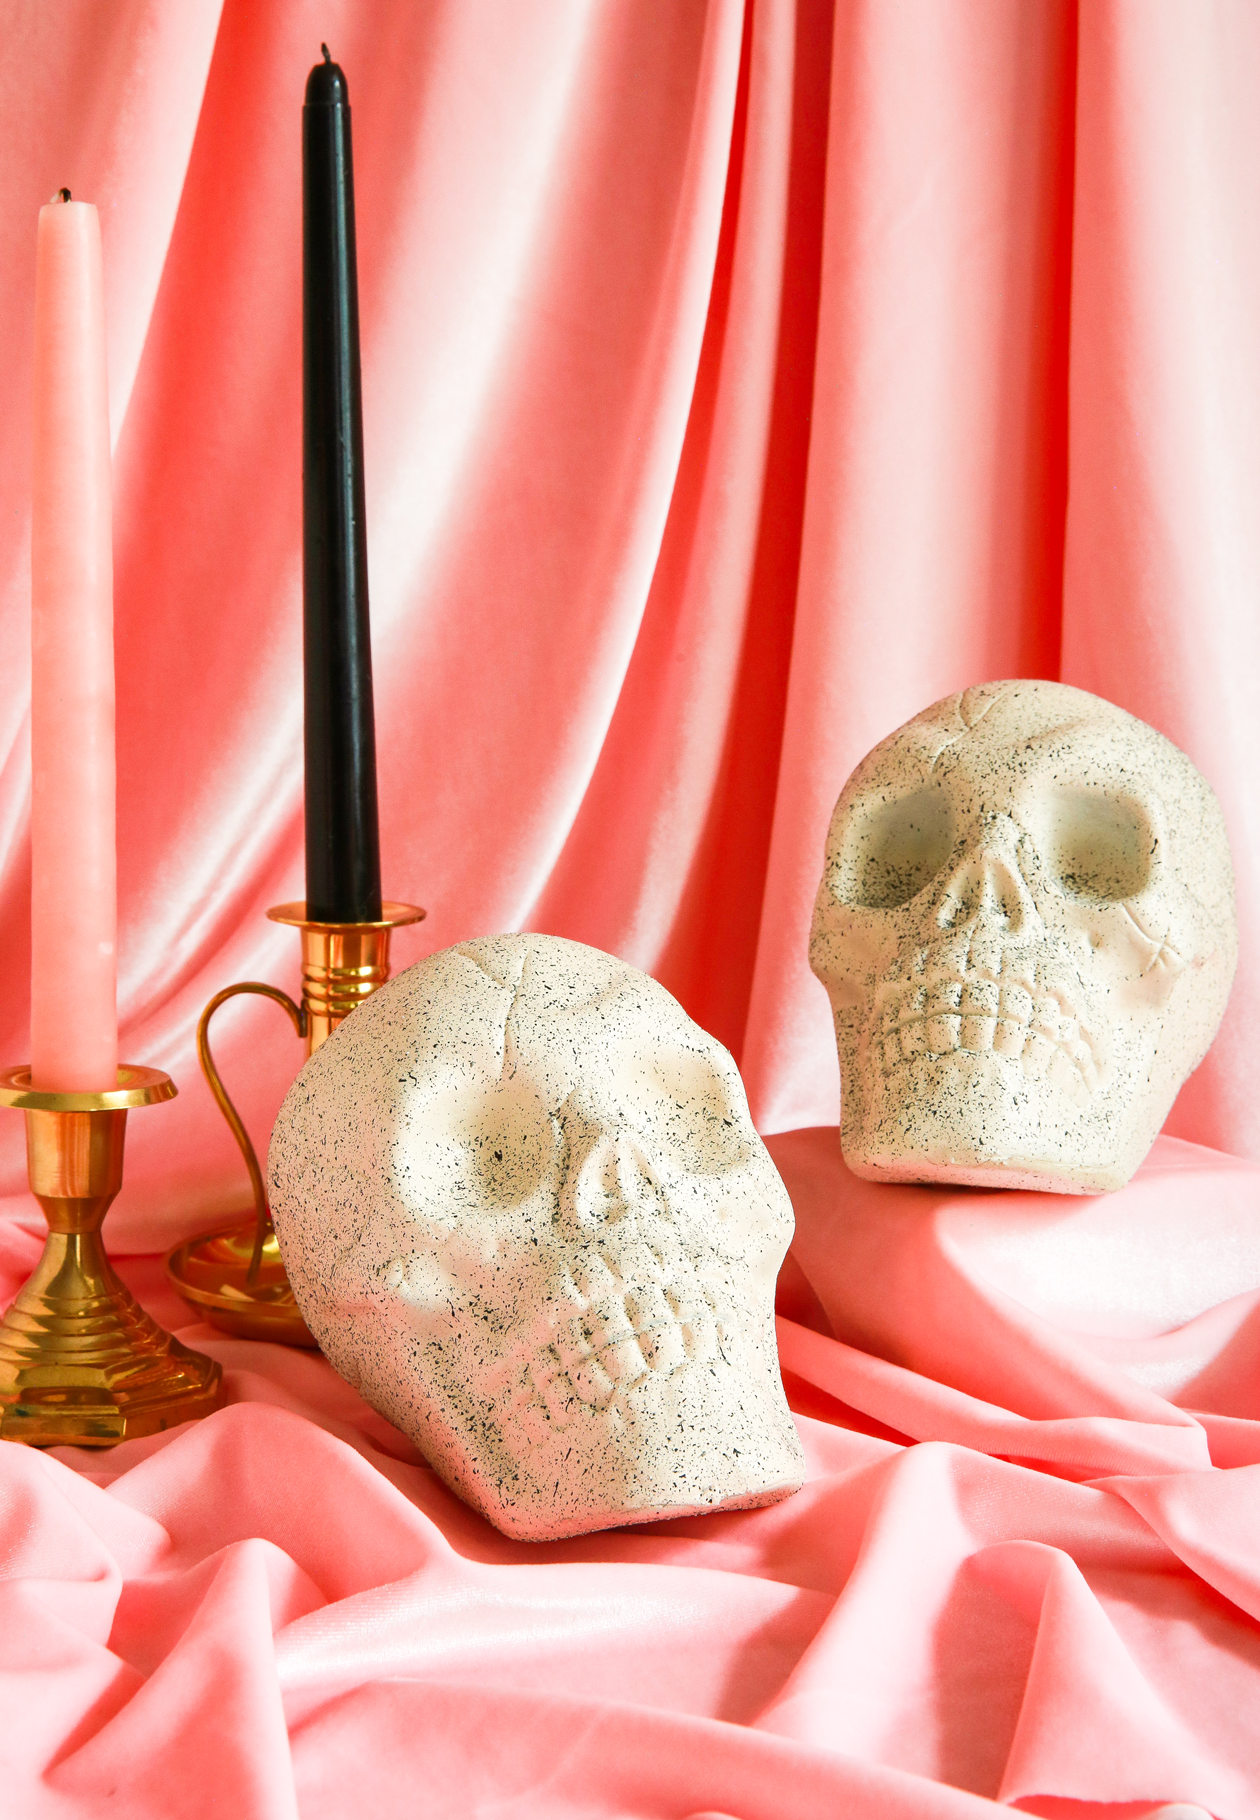
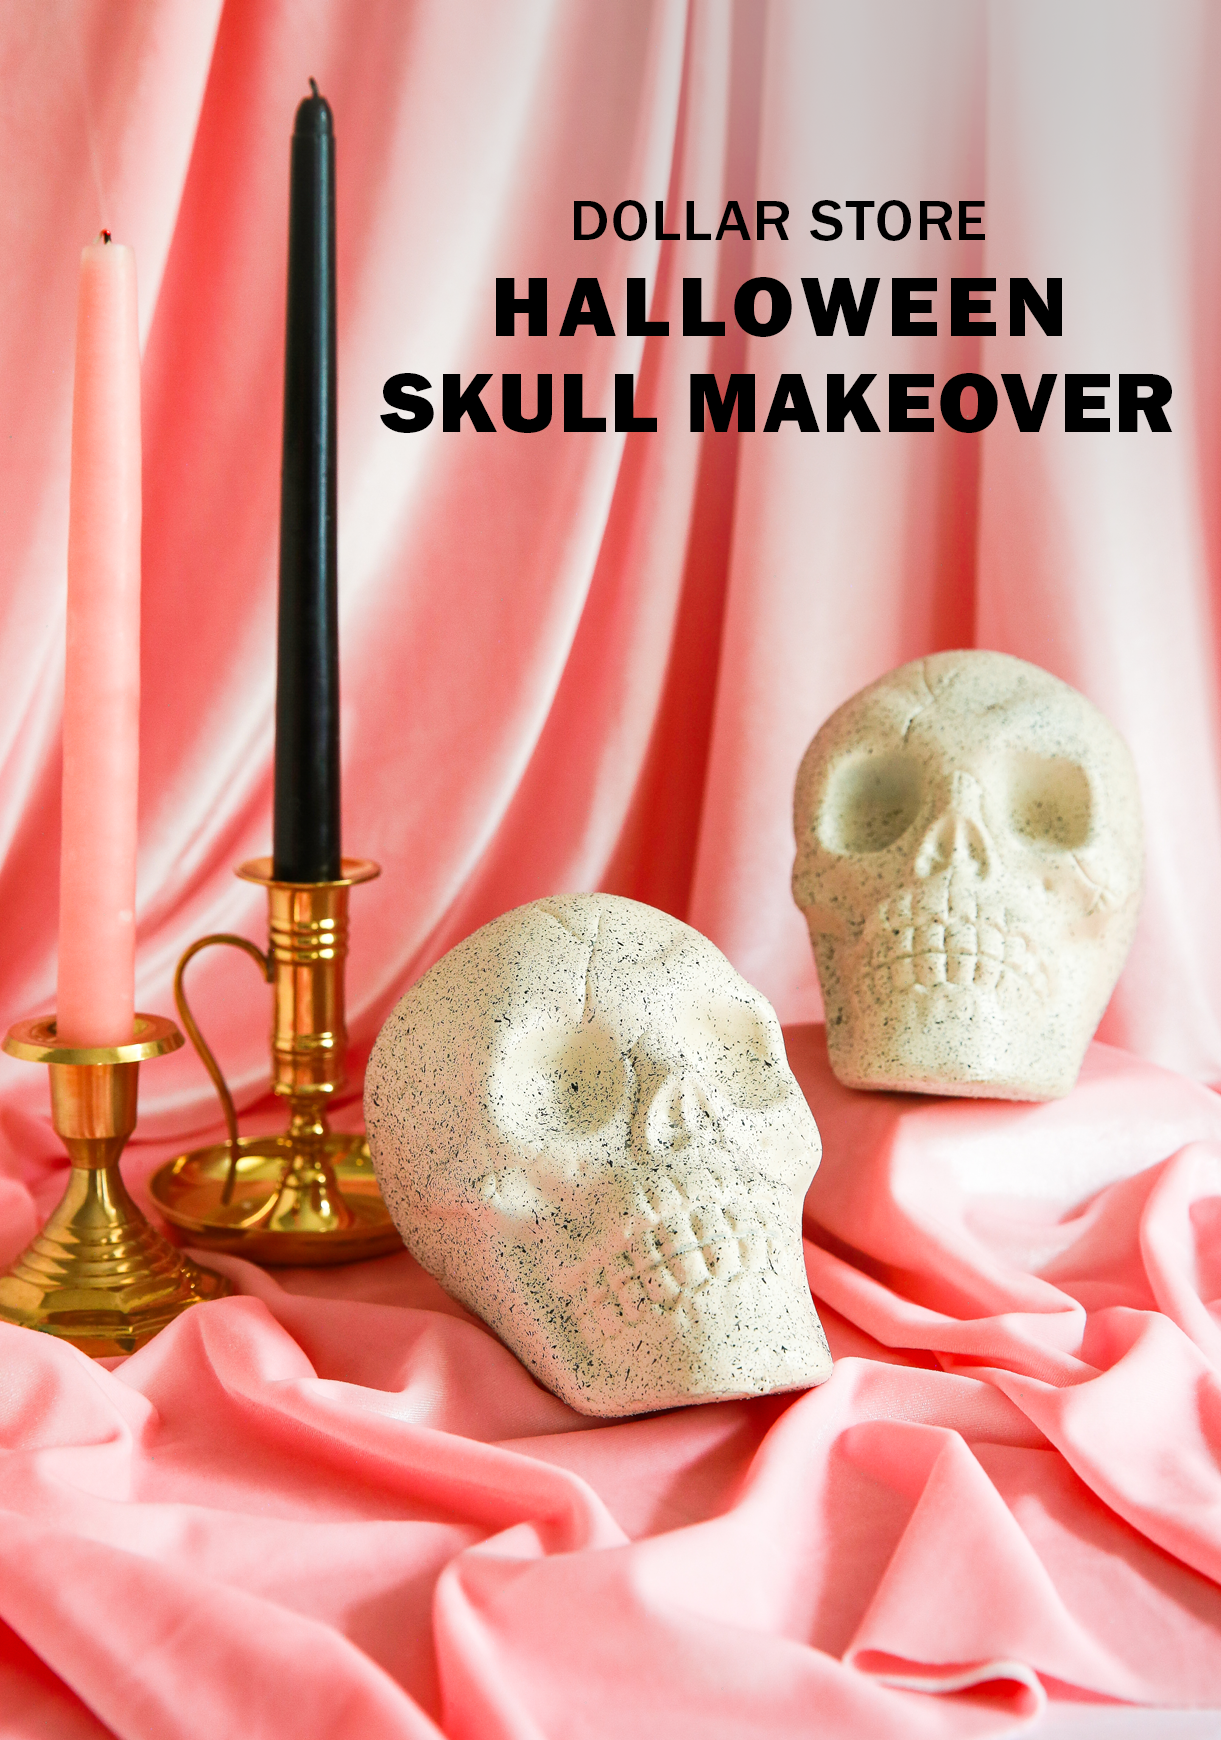
 Now that it’s October, it’s officially spooky craft season! And I’m kicking things off with a budget friendly, elevated Halloween look. If you can believe it, these skulls are from the dollar store! Well, from the dollar store plus a little bit of DIY magic. Here’s how I made this Halloween Skull DIY and how you can too:
My latest YouTube video is up and it’s for this project! Feel free to watch or keep scrolling for the photos and written tutorial.
Materials
– Plastic skulls (mine are from the Dollar Tree)
– Primer
– Sandpaper
– Spray paint in Bone + Coke
– Montana Granit Spray (I used grey)
I recommend using Bone or an ivory for your color choice if you’re going for a lighter colors. It’s a bit more realistic to a skull than plain white and will register softer.
 How To
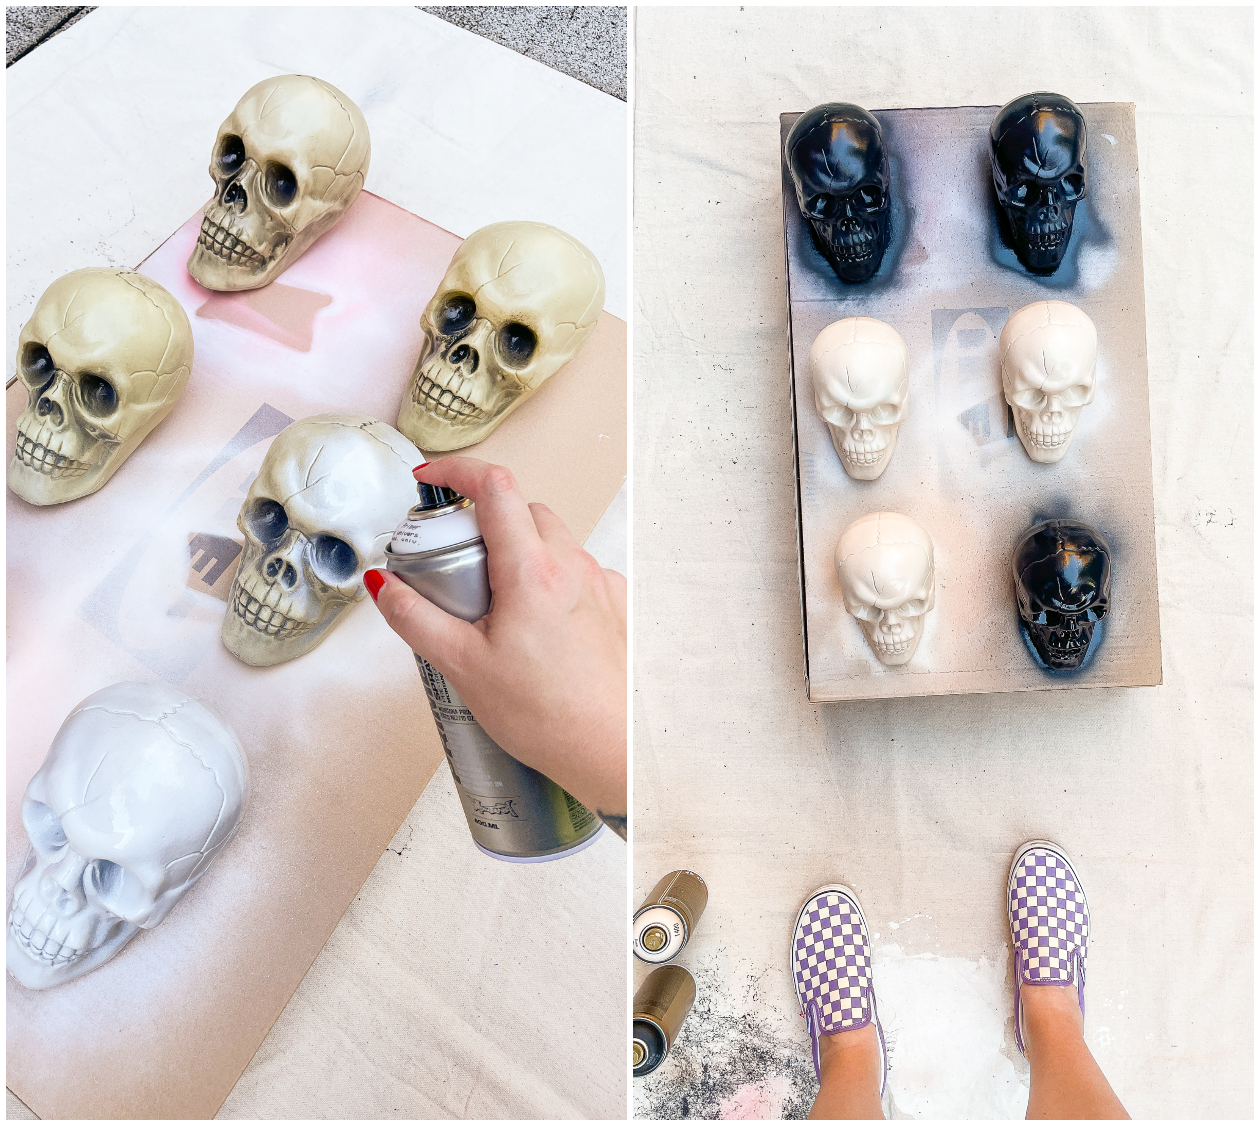
The skulls that I found had minor flaws and plastic imperfections (they were from the dollar store after all). I just used a bit of sandpaper to smooth out any rough ridges. Scuffing up your surface will also help the paint stick a bit better.
Start by priming your skulls. This will ensure that the paint lasts year after year. Once dry, spray on your paint color. You’ll need to let dry, flip the skulls over, and repeat this process on the back.
Once your skulls are the color you want, it’s time to add the granit spray. Spray in small burst from a distance until the surface is covered. This spray is so fun and really makes the plastic skulls feel like stone at the end.
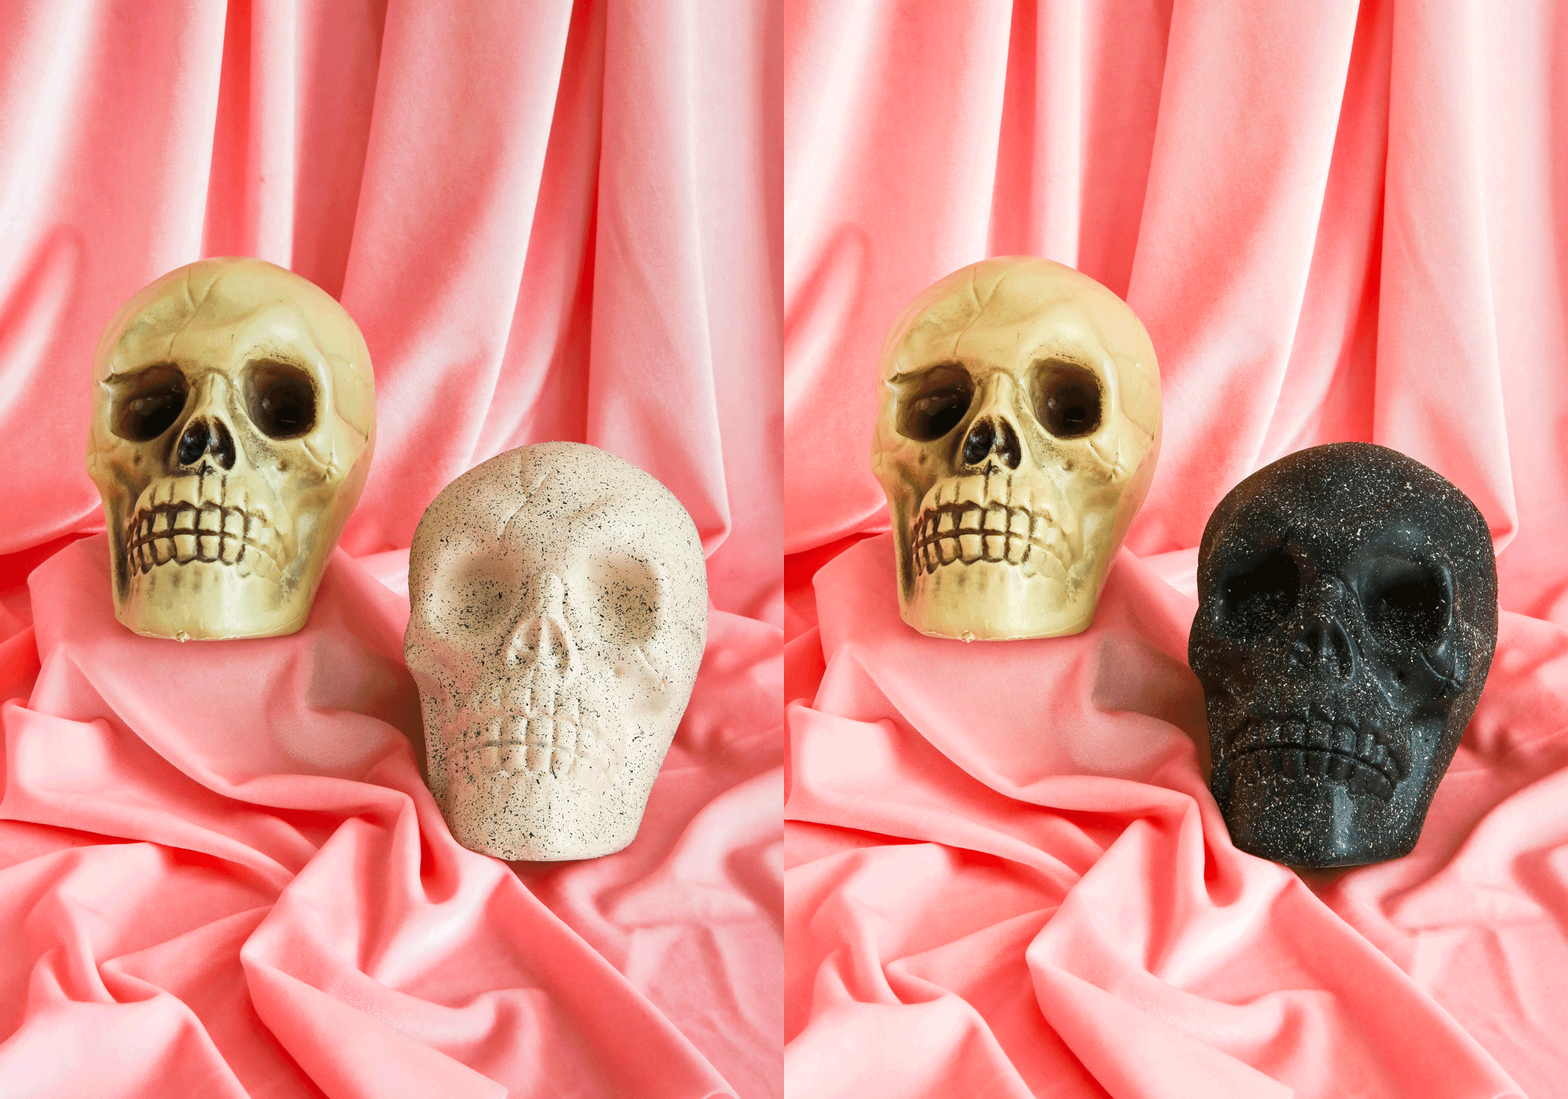 And that’s all there is to it! Here is the before and after side by side so you can see what a transformation it is! I’m actually still so surprised and happy with how these Halloween skulls came out.
Add them to a stack of books with dried florals for a spooky but polished look.
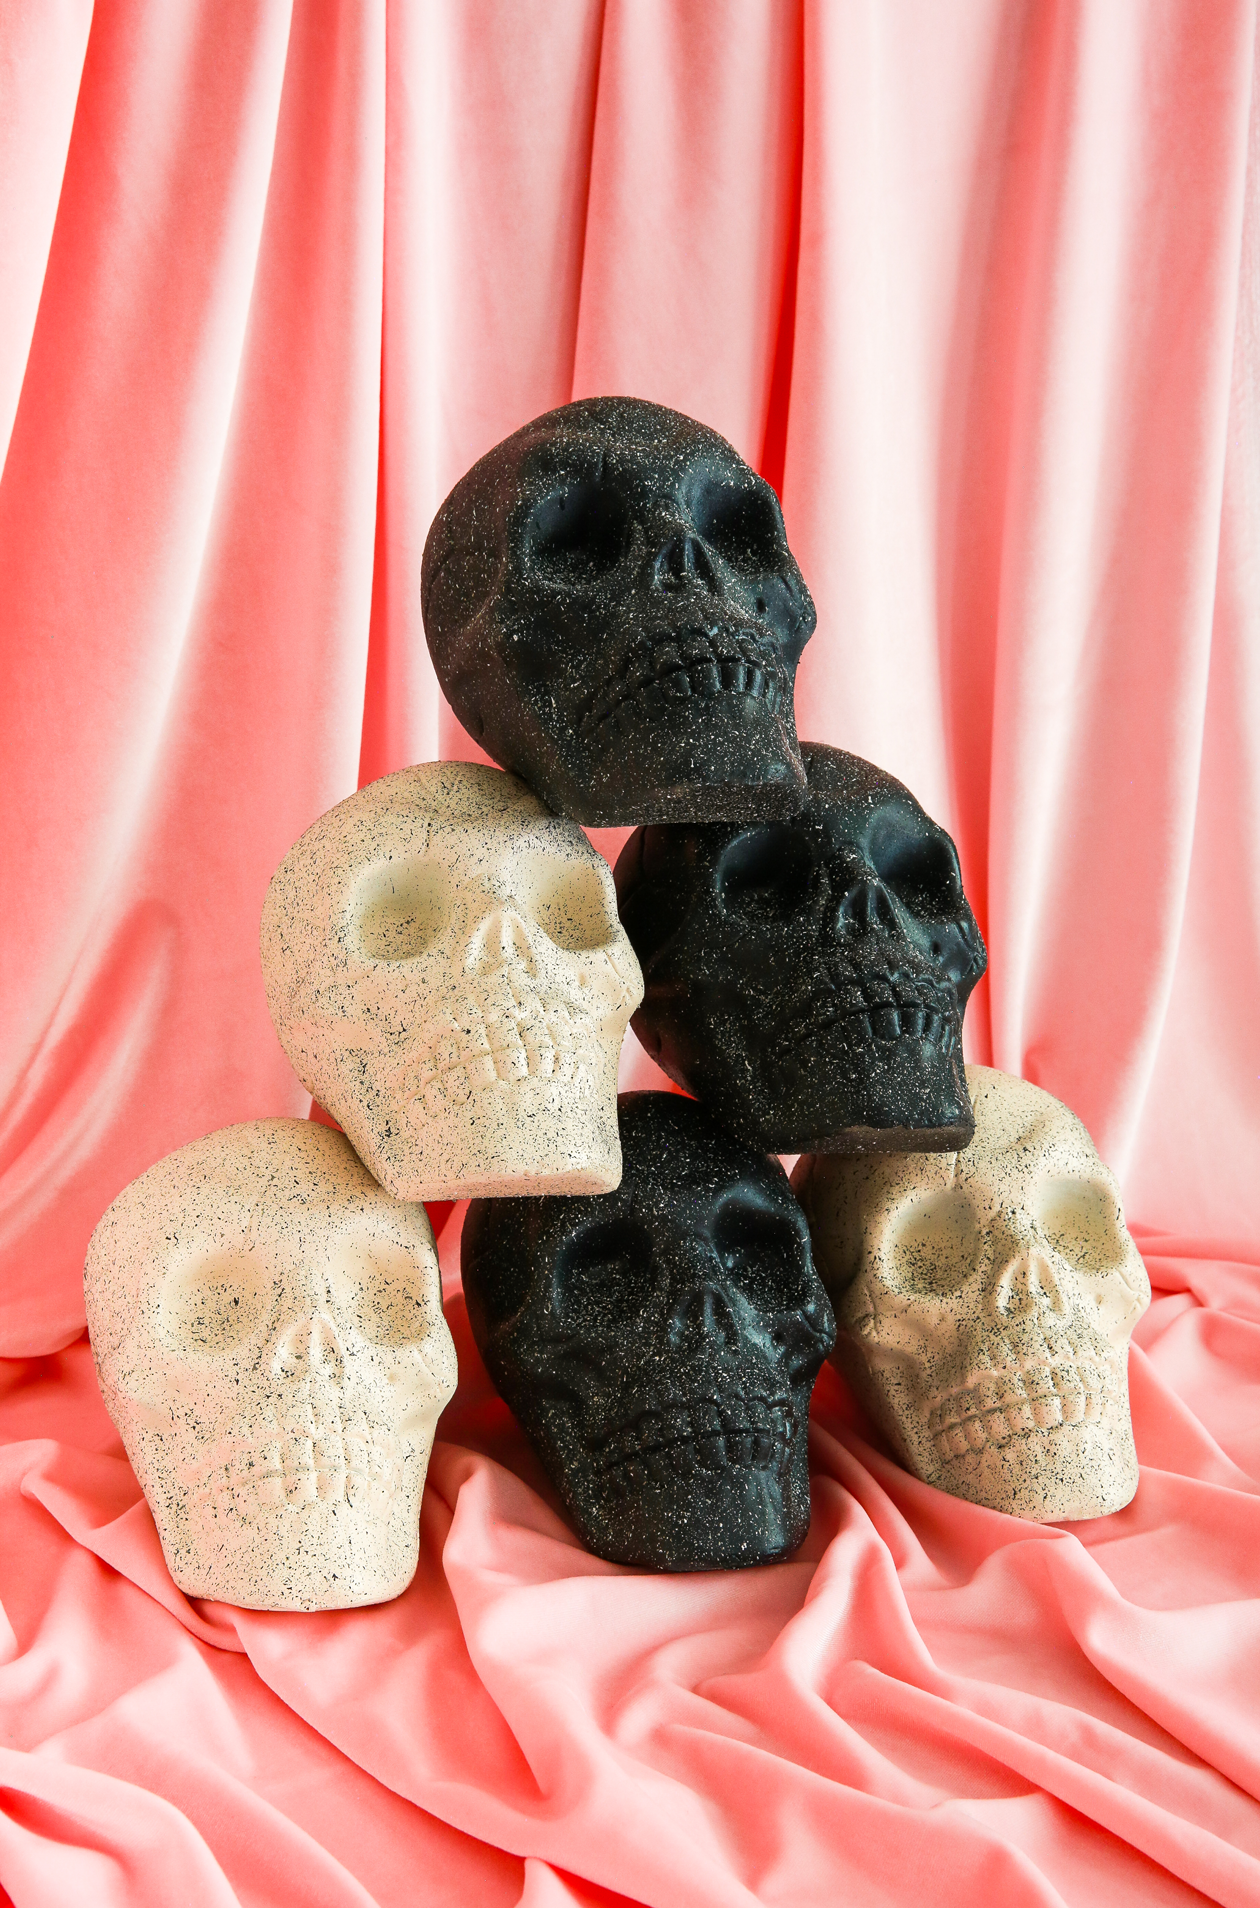 If you give this project a try, please tag me in your photo! I would love to see your DIY Halloween decor!

