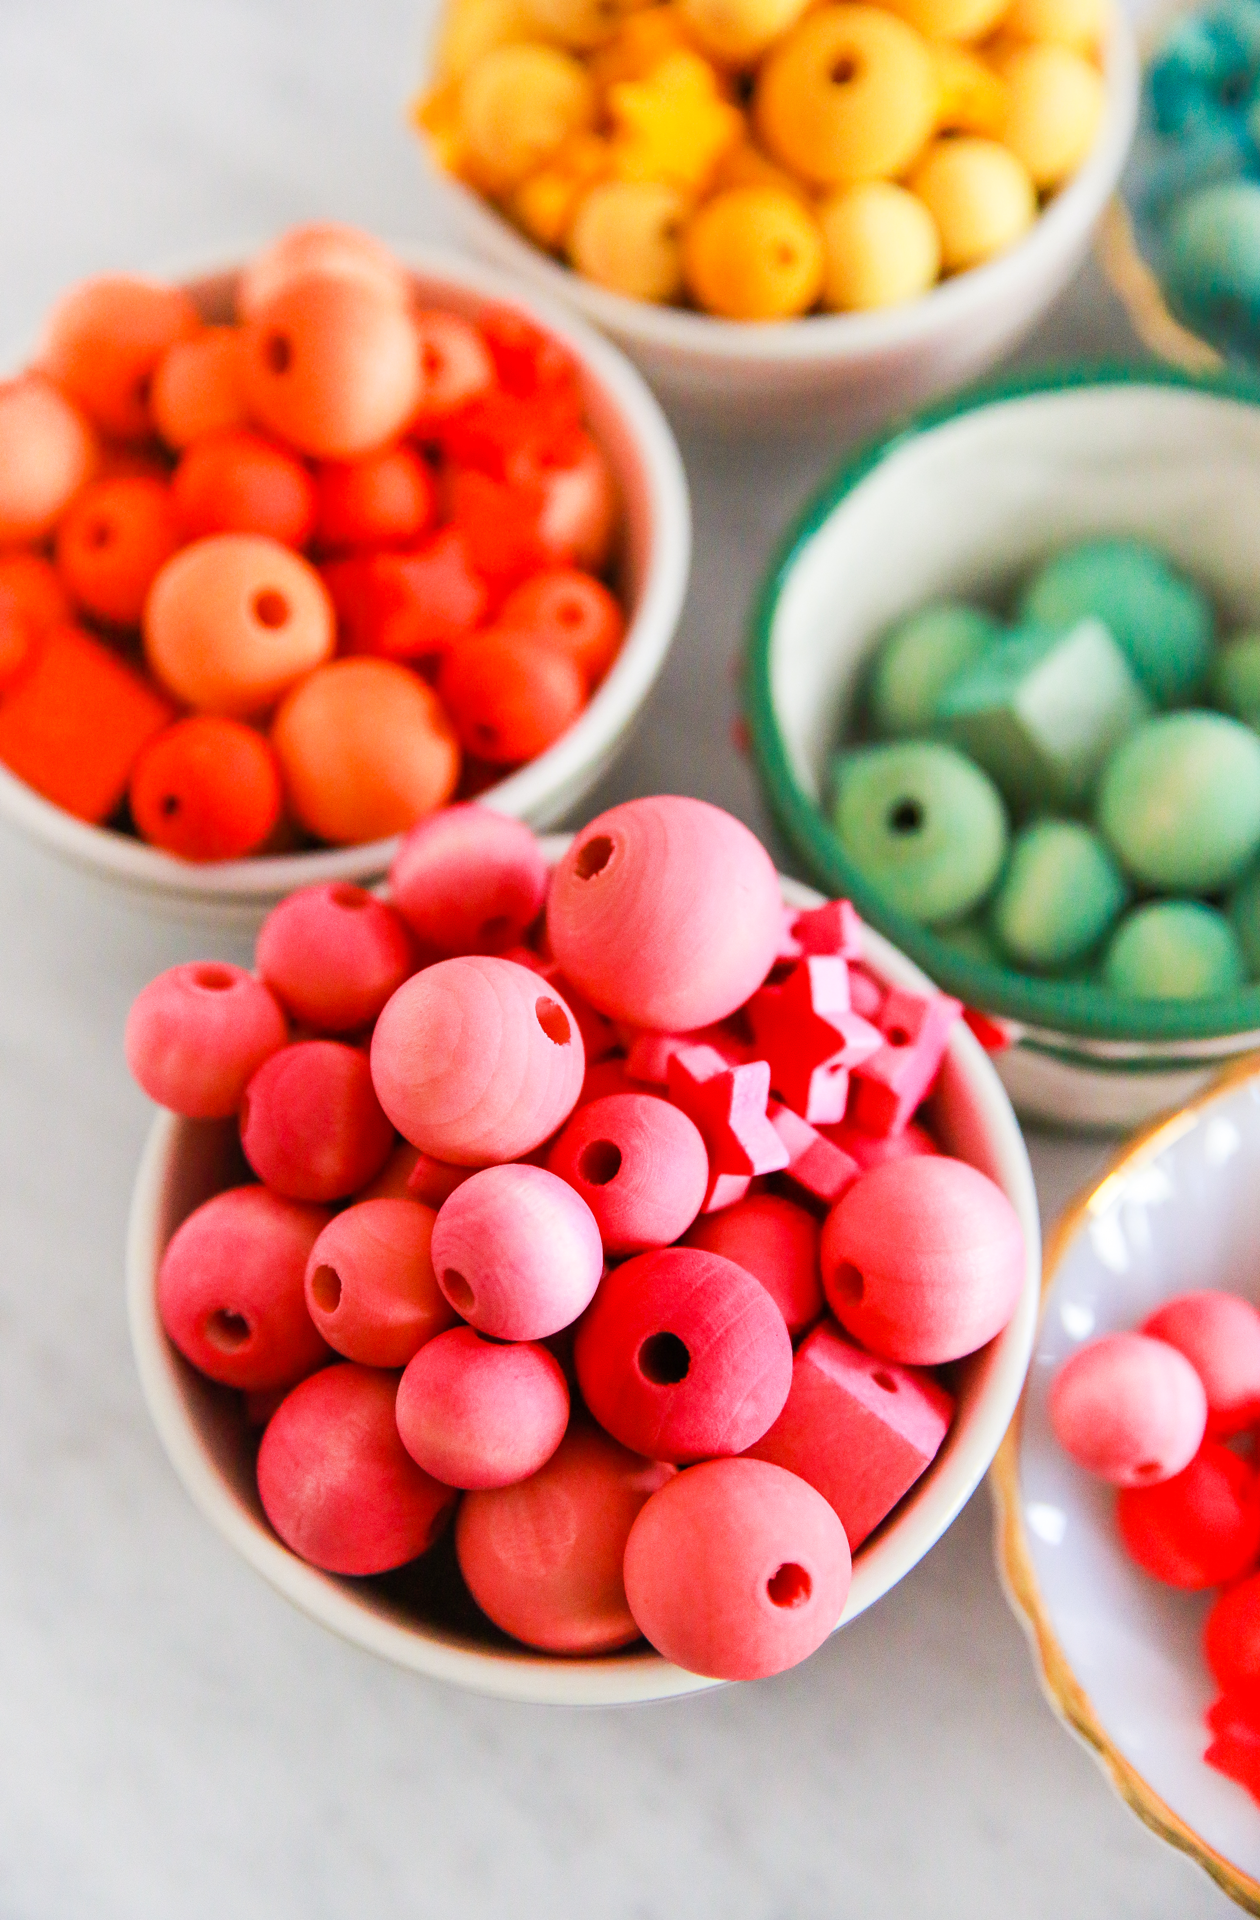
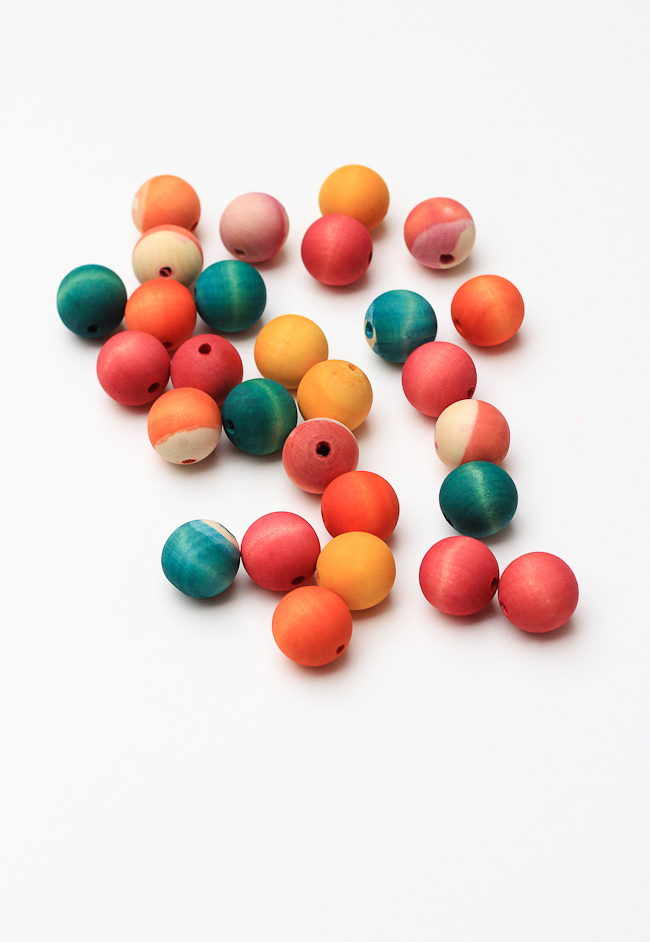
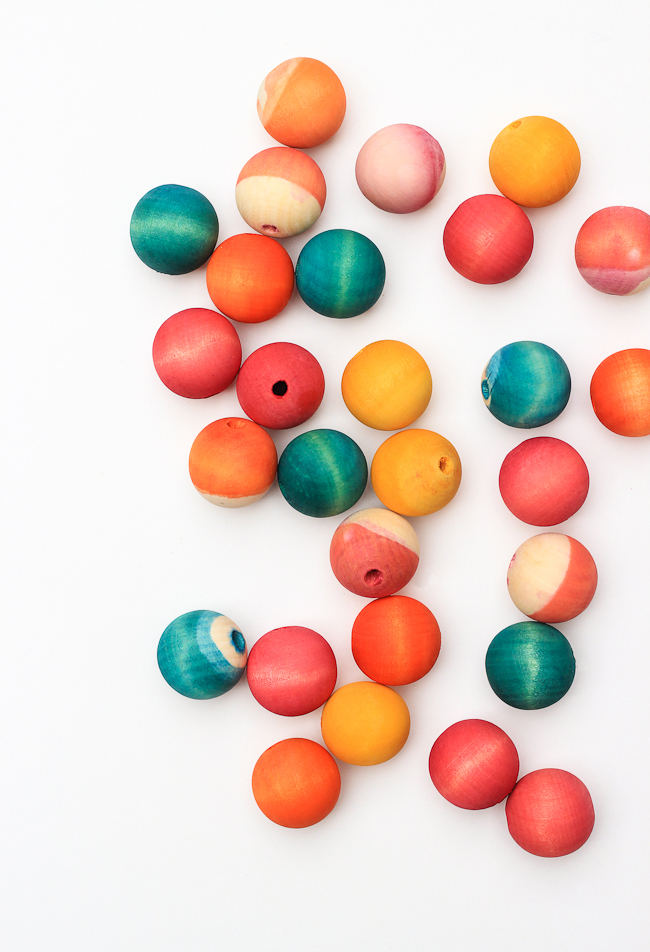
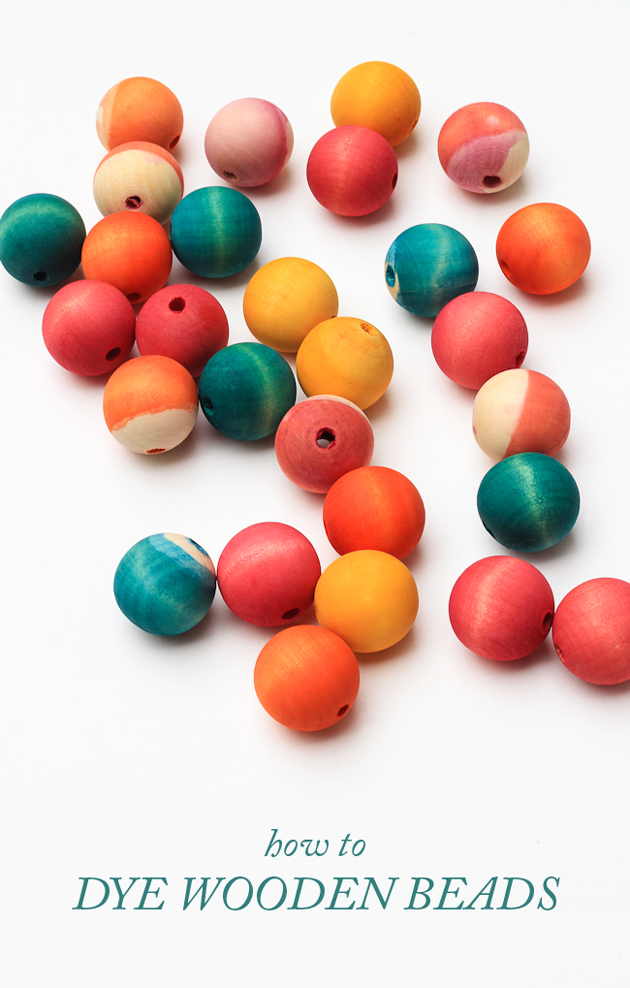
 Okay, so I’ve shown you how to paint wooden beads before, but did you know that you can dye them too?! I’ve been playing around with dye and wood since this project and I think these beads are my favorite results yet. It’s such a low maintenance project that anyone can do and the outcome is so colorful and fun! Here’s how:
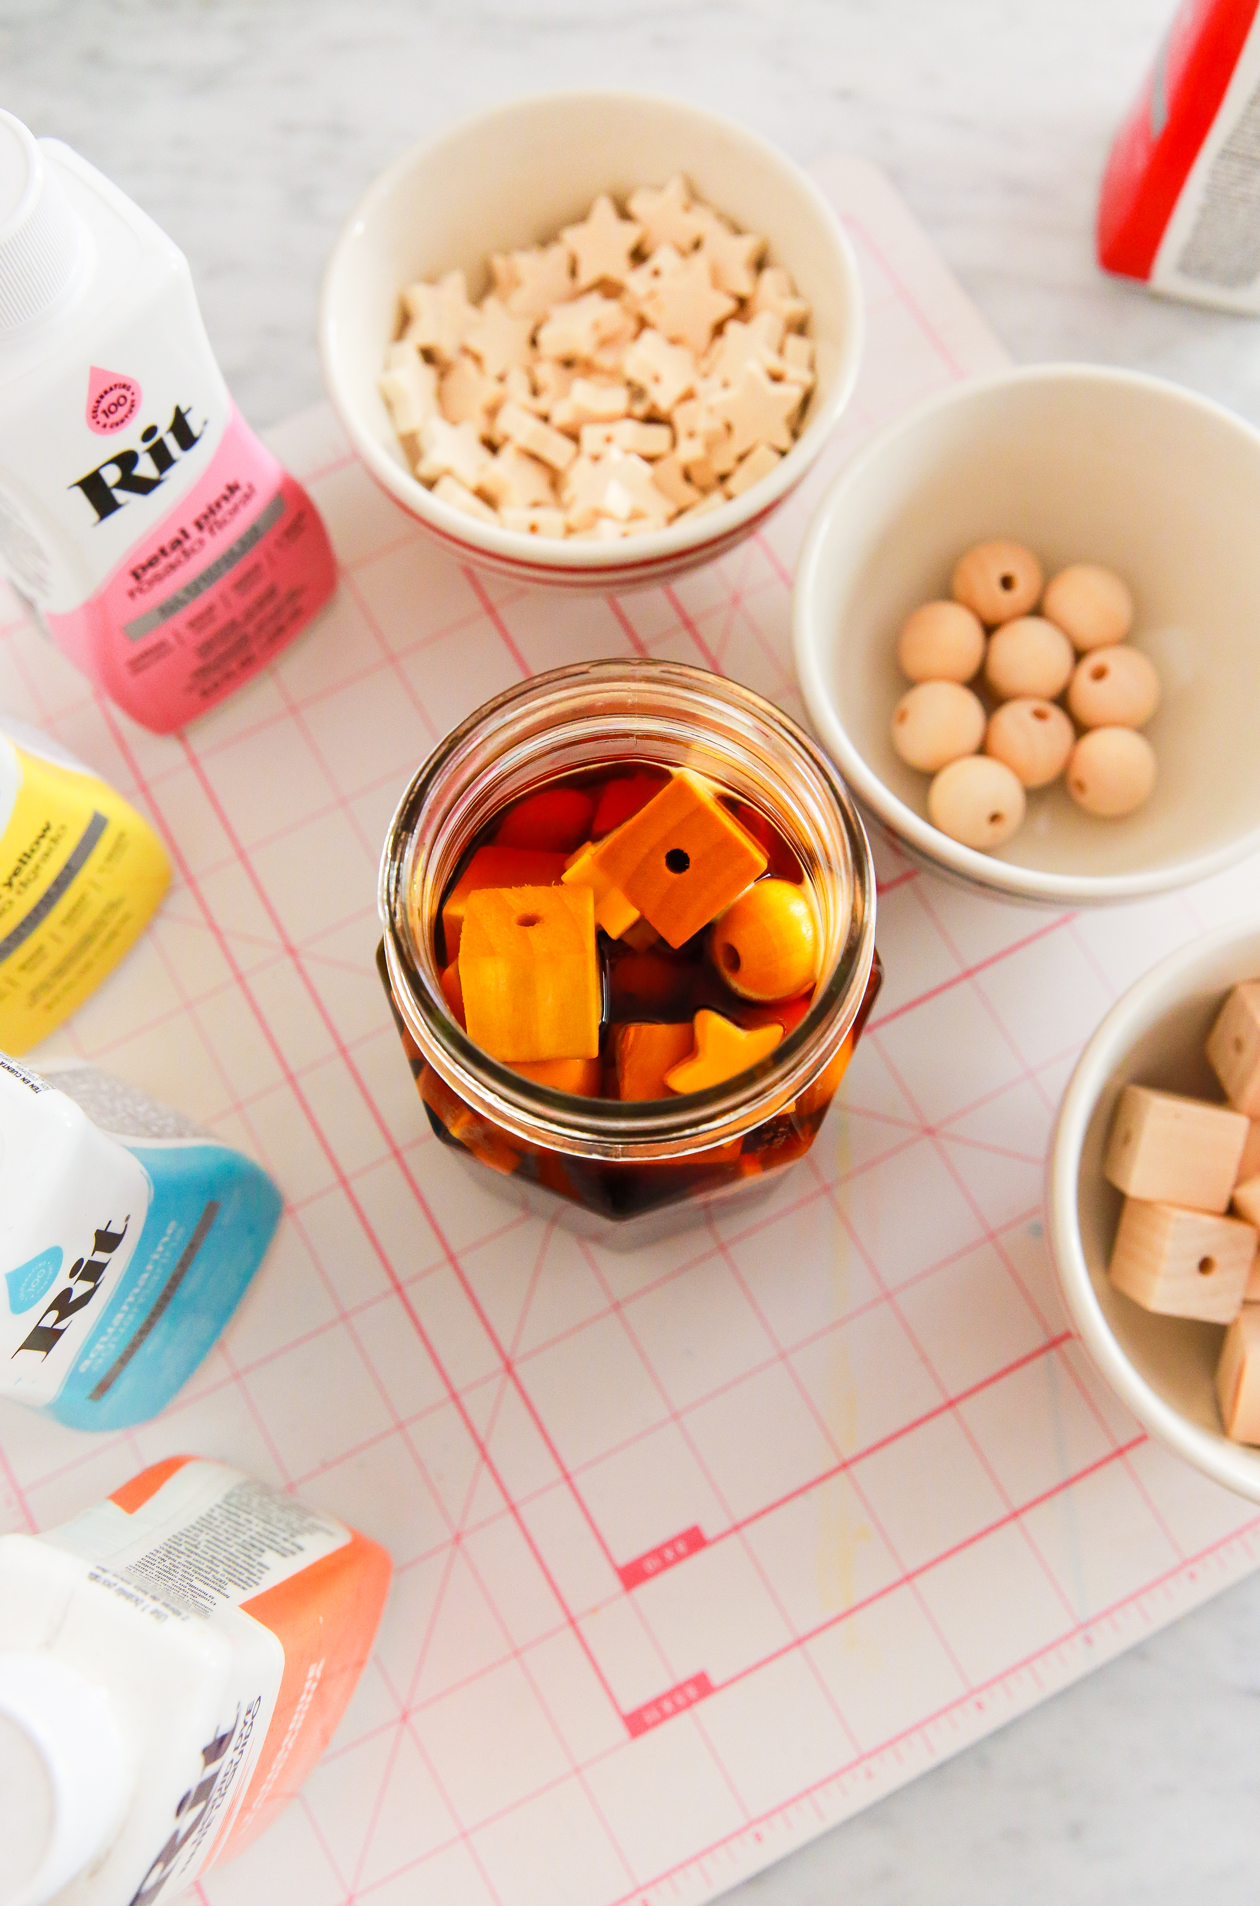 Time: 20 minutes + overnight dry
What You’ll Need:
– Wooden beads (I also love these square beads)
– Liquid dye
– Mason Jar
– Water + towel
Liquid dye is always my favorite to use. Feel free to mix colors to create your own custom results!
 How To:
Fill your mason jar with hot water and add a tablespoon or two of dye. For a more intense color, add more dye. It test your color before you add your beads, dip a small piece of paper towel into the dye solution. That color will help you see what color the beads will take.
Add your beads to the mason jar, secure the lid and let sit. Because the beads will float, you’ll want to shake them up every now and then. If you’re looking for the half dyed look pictured here, mix your dye in a shallow container instead.
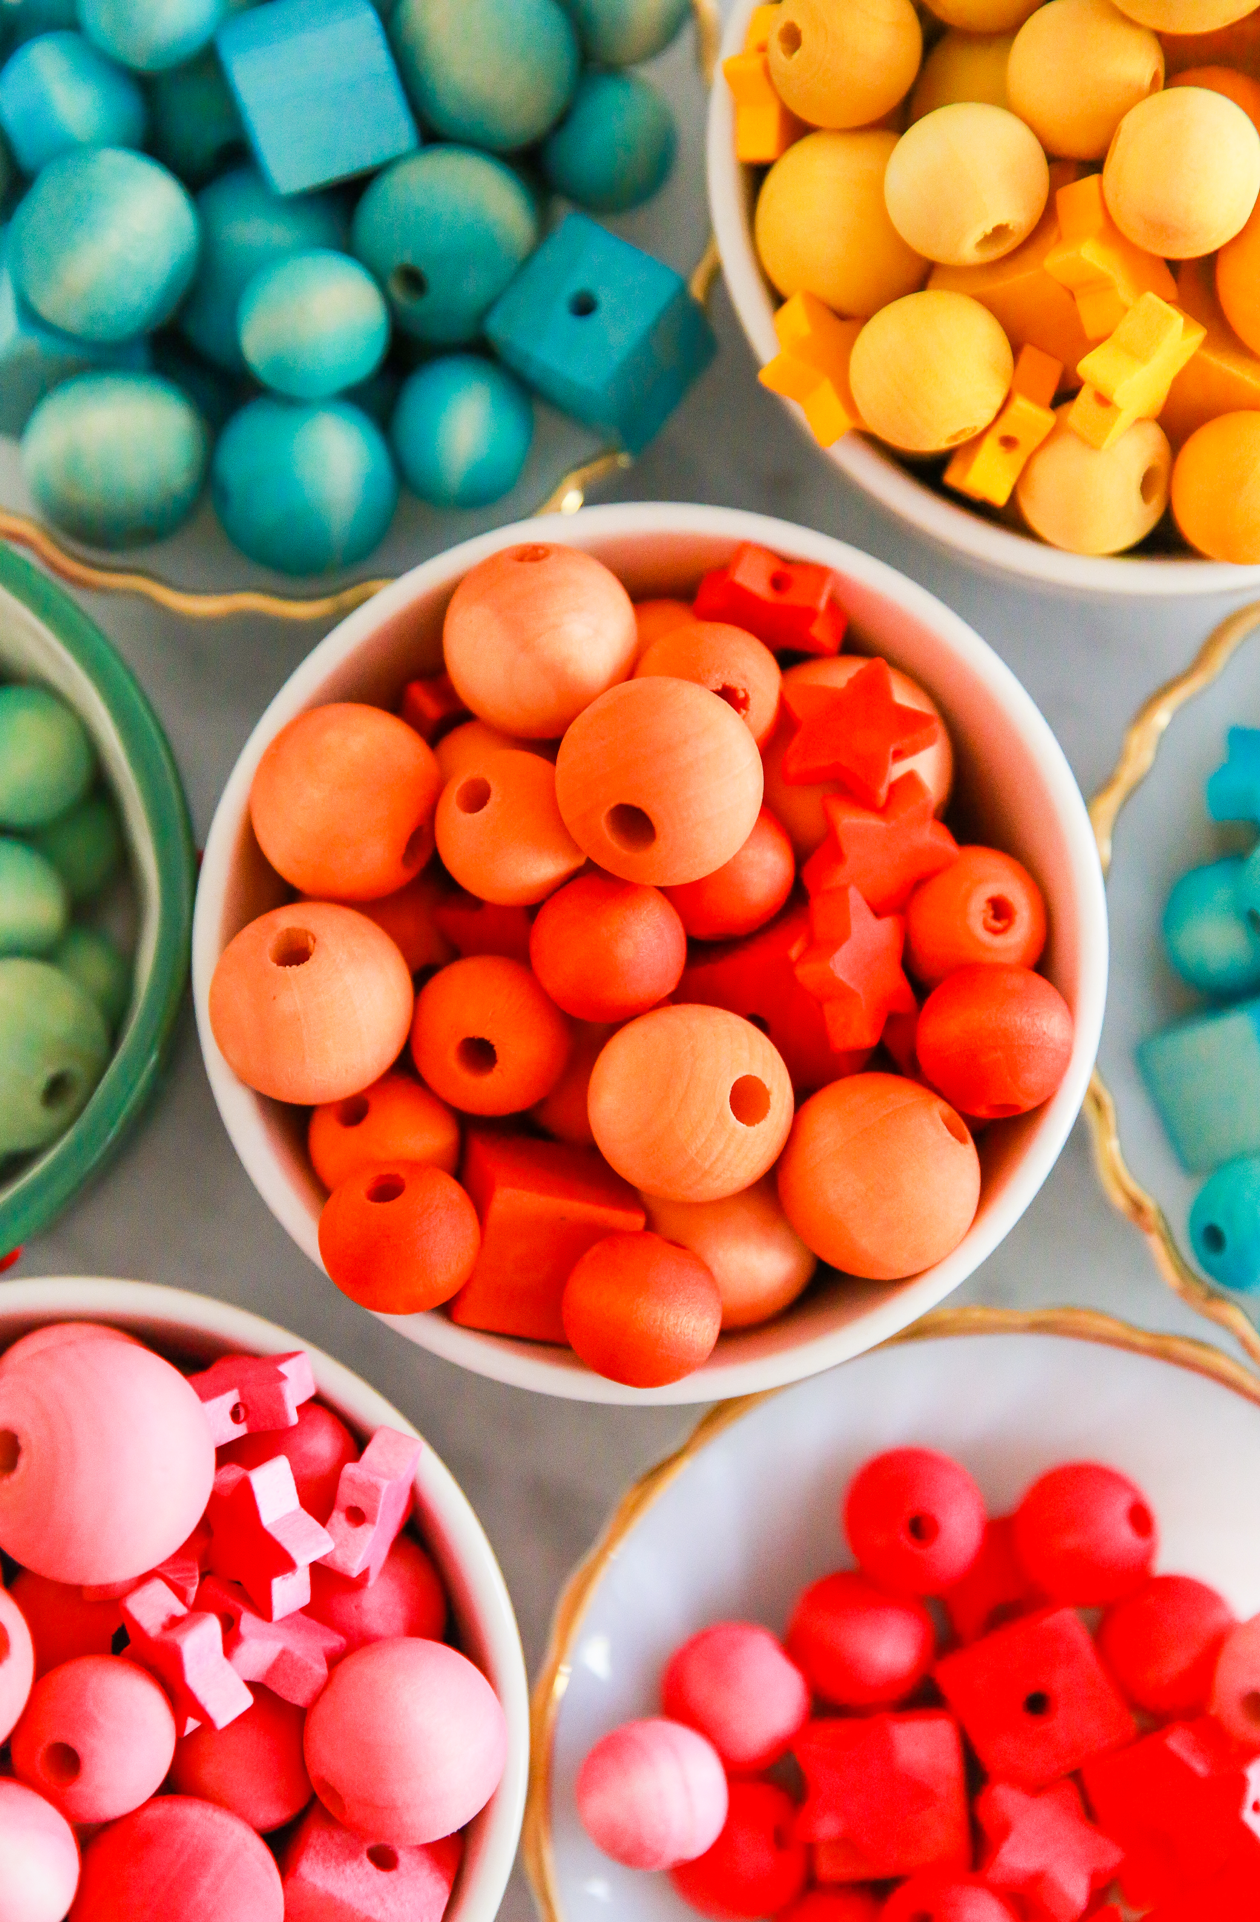 Let the beads sit in the dye solution until you’ve achieved your desired color. Keep in mind they will be darker when wet. Rinse in cold water, lay on a towel, and let dry overnight. After that you’re free to use the beads however you wish!
One of my favorite aspects of this process is that the results are organic and are different every time. There’s no hard and fast rule for getting great results, so have fun and don’t be scared to experiment a bit.
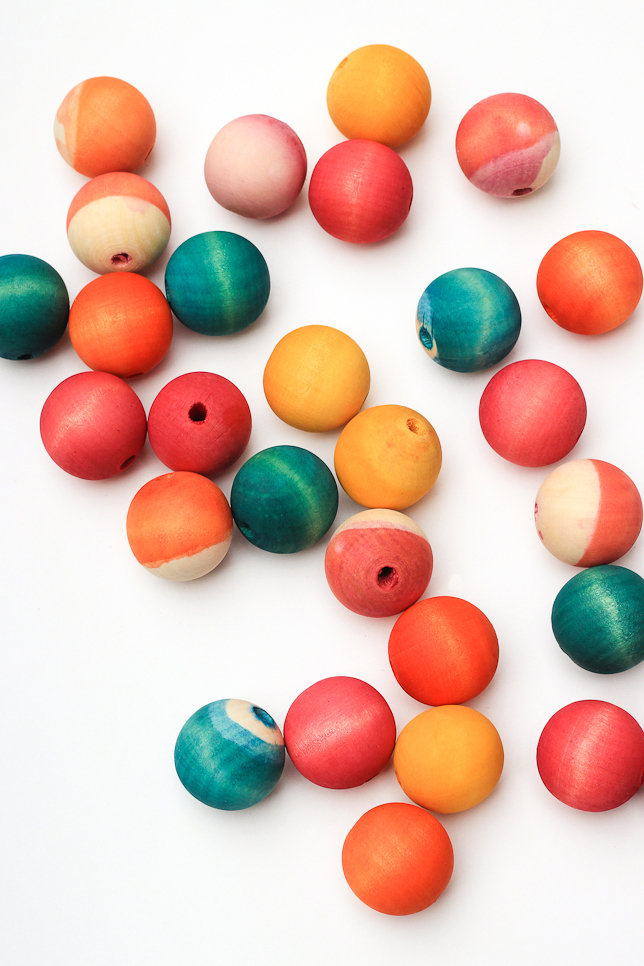 These would make just the cutest necklace for summer don’t you think? Here’s how I turned my dyed beads into a colorful garland:

