 One thing that I learned recently: dried flowers can be colorful too! And in fact, they’re a great alternative way to add color to your home if you love flowers, but don’t want to buy them on a weekly basis.
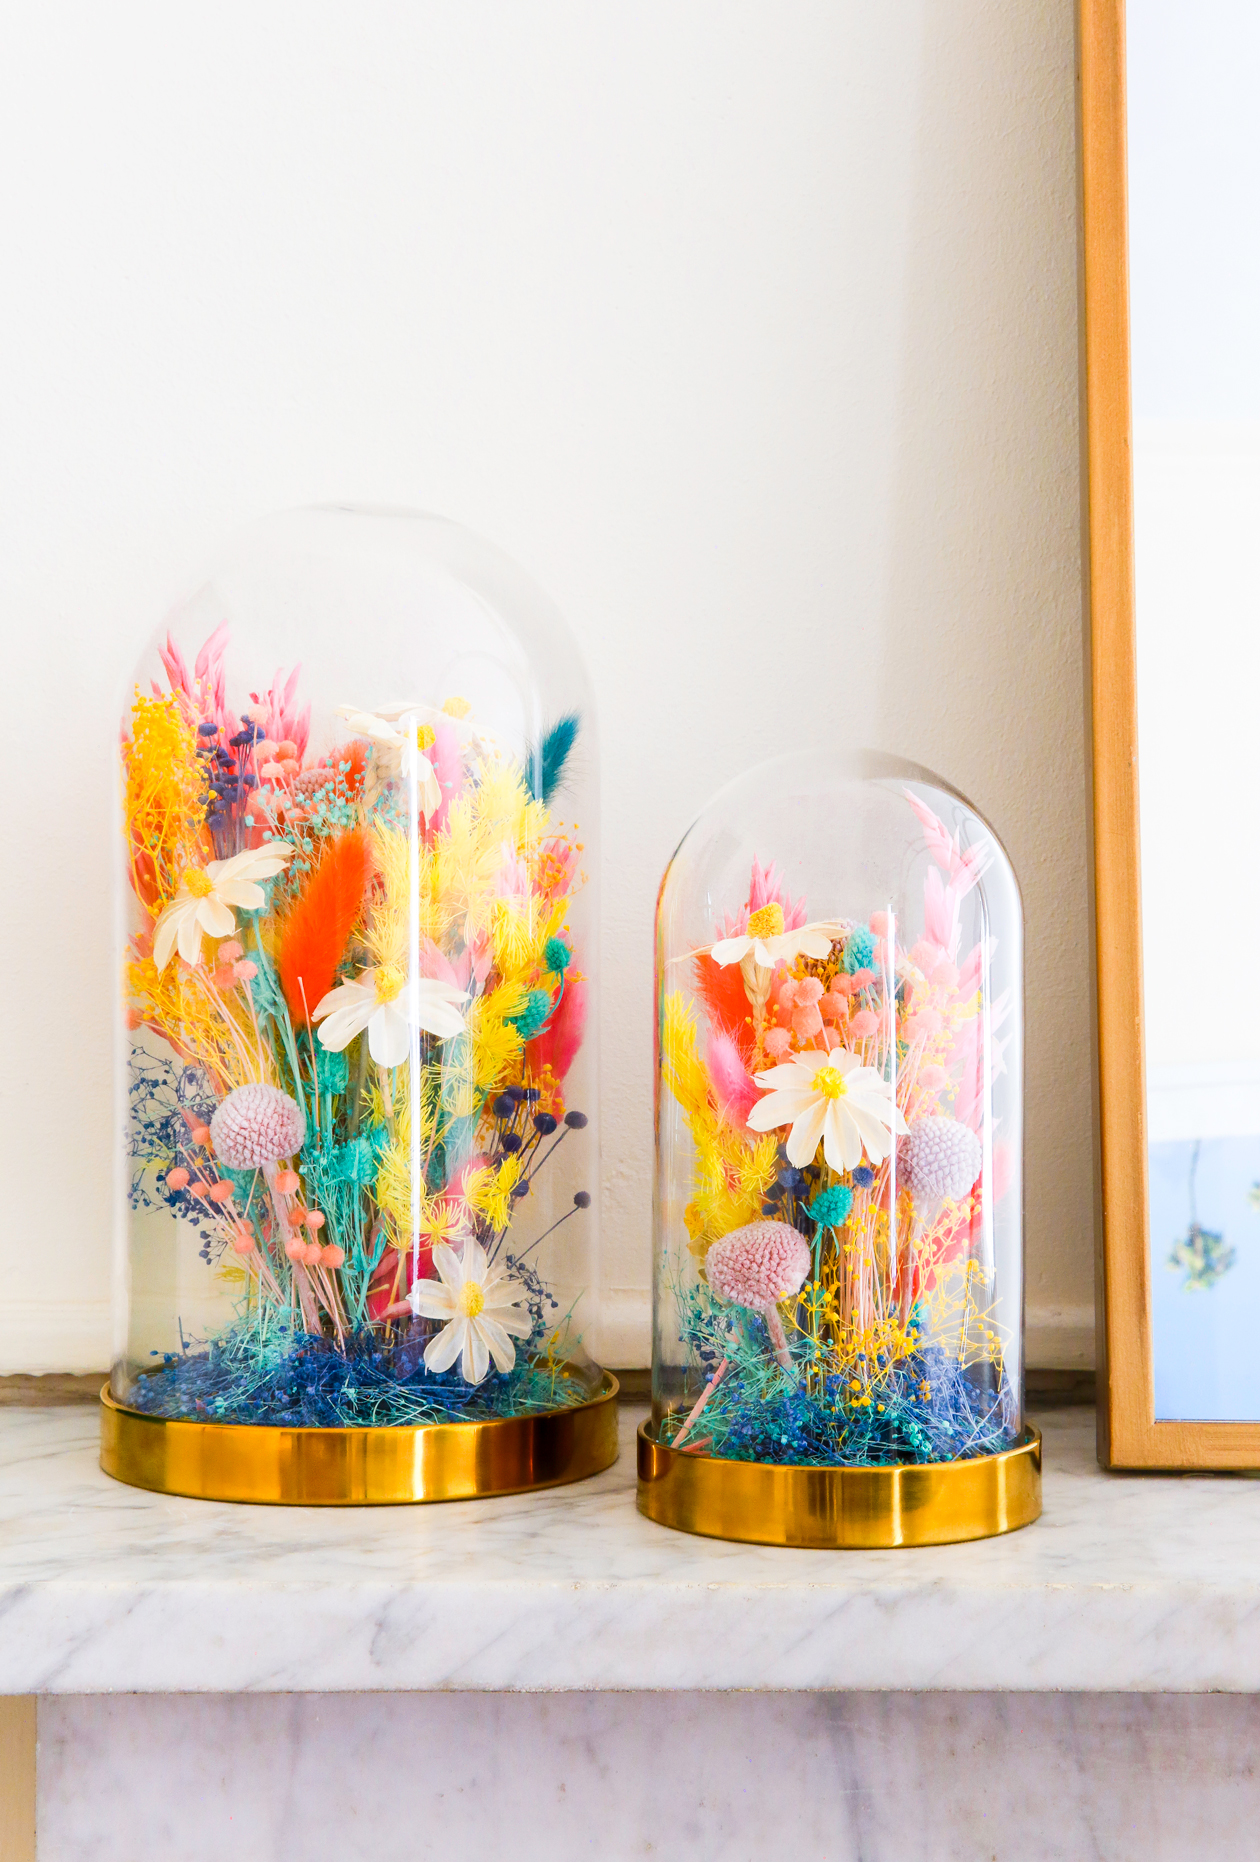
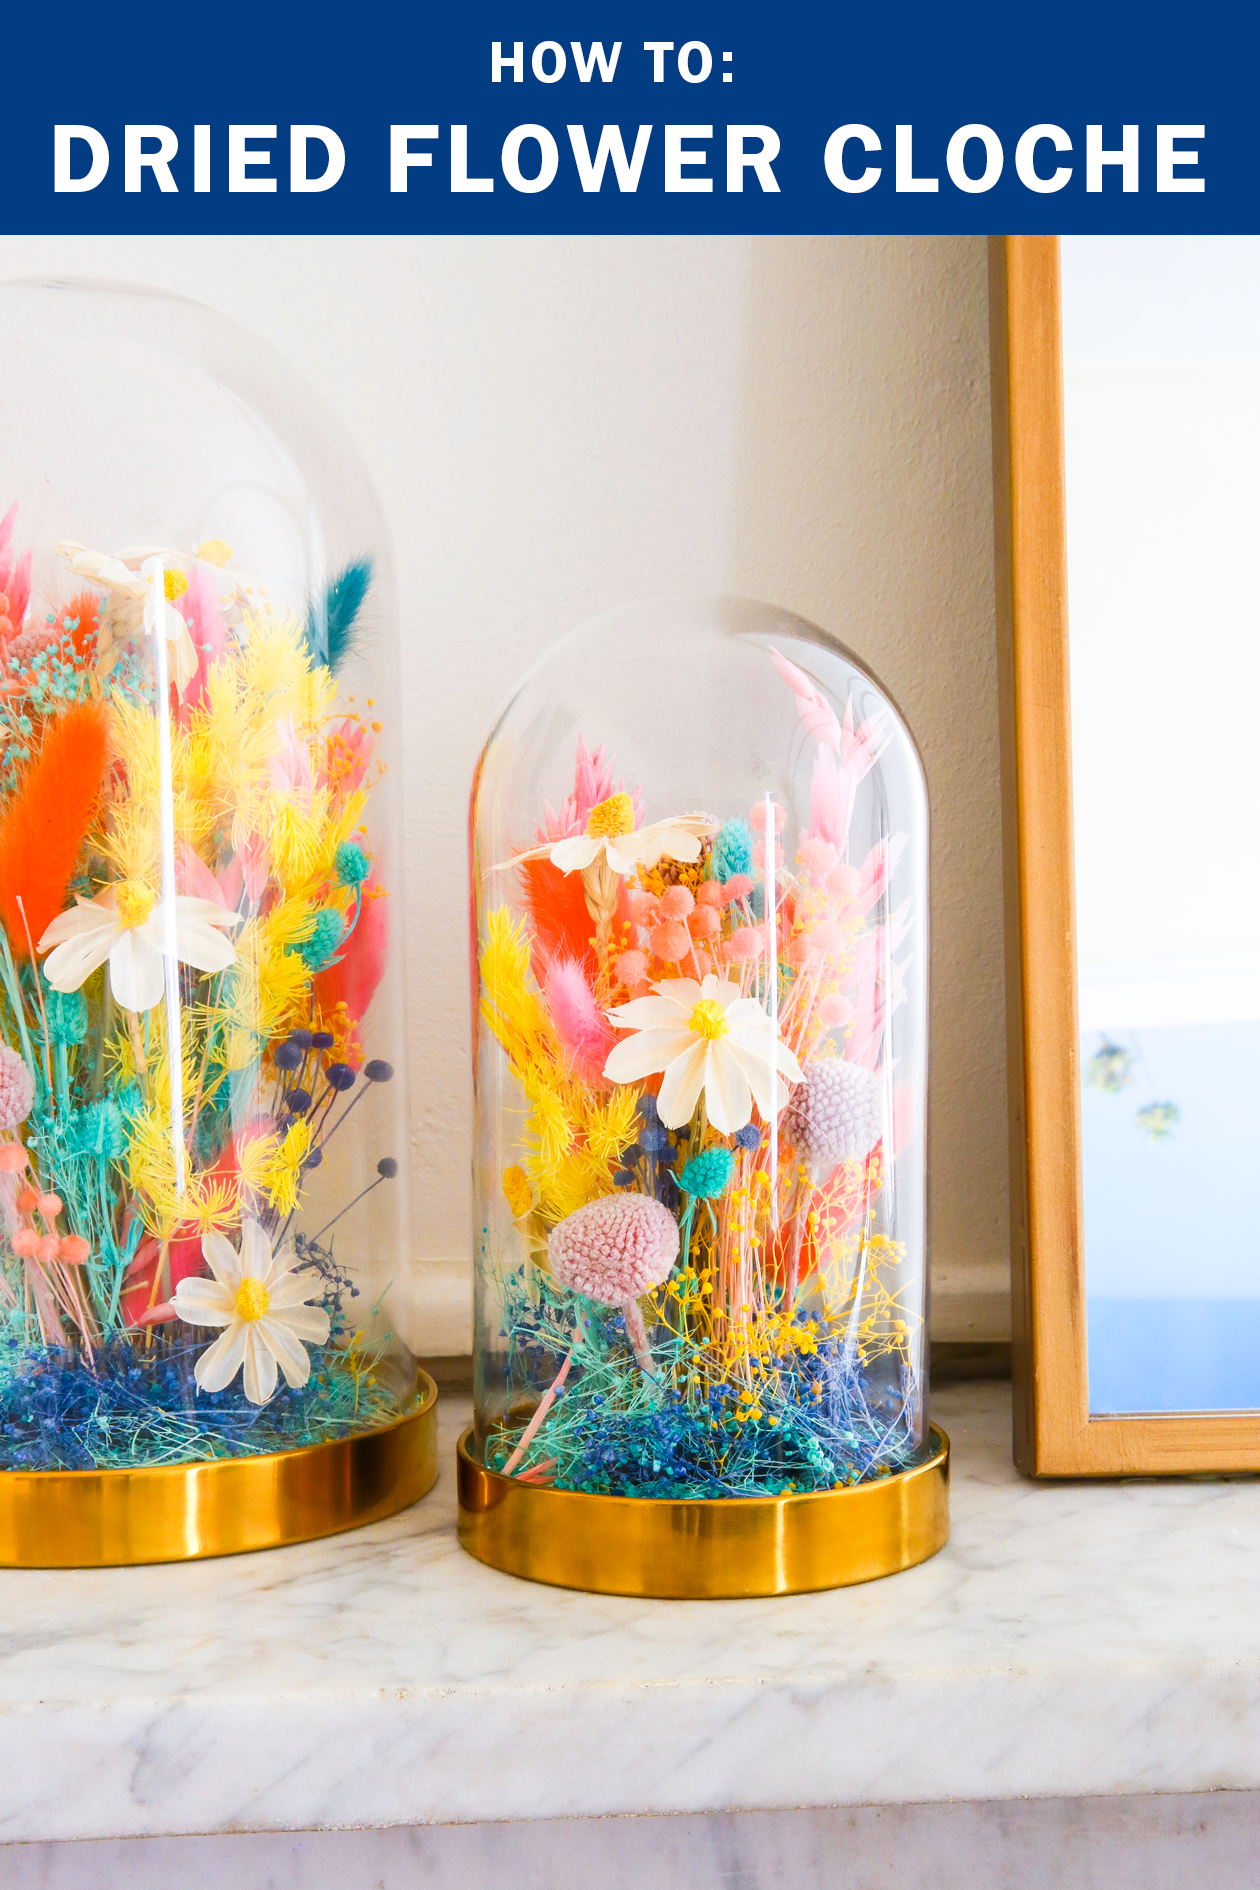
Displaying them under a cloche is a great way to showcase them and they’ll last for months to come. The DIY is pretty easy too! Here’s how to make a dried flower cloche:
 What You’ll Need
(This post contains affiliate links)
– Glass dome
– Assortment of dried flowers (found all of mine on this site
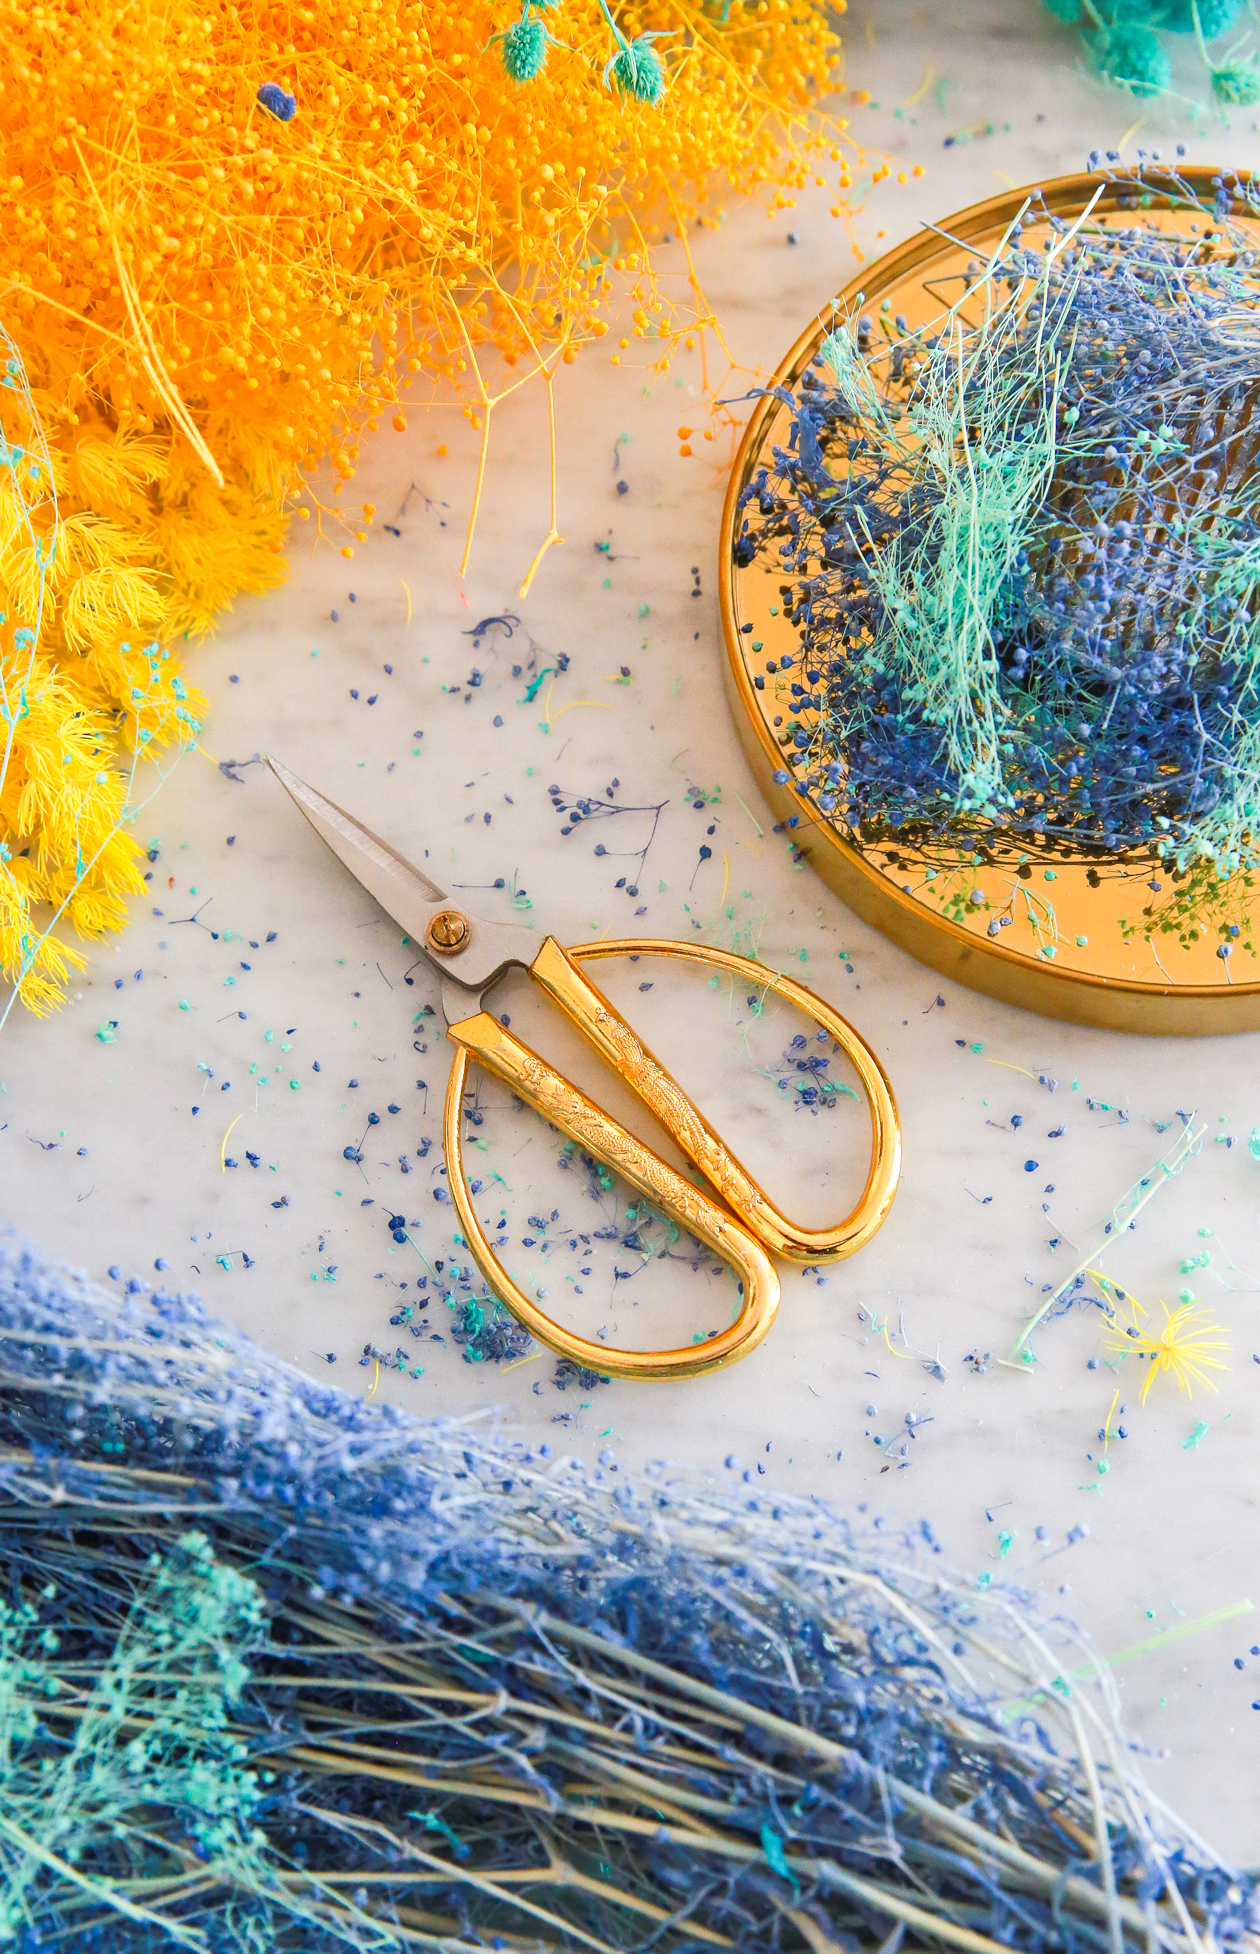
– Flower frog
– Scissors
You could also use floral foam or chicken wire for this project, but I prefer a flower frog. It’s reusable and I felt like it held the smaller dried flowers best.
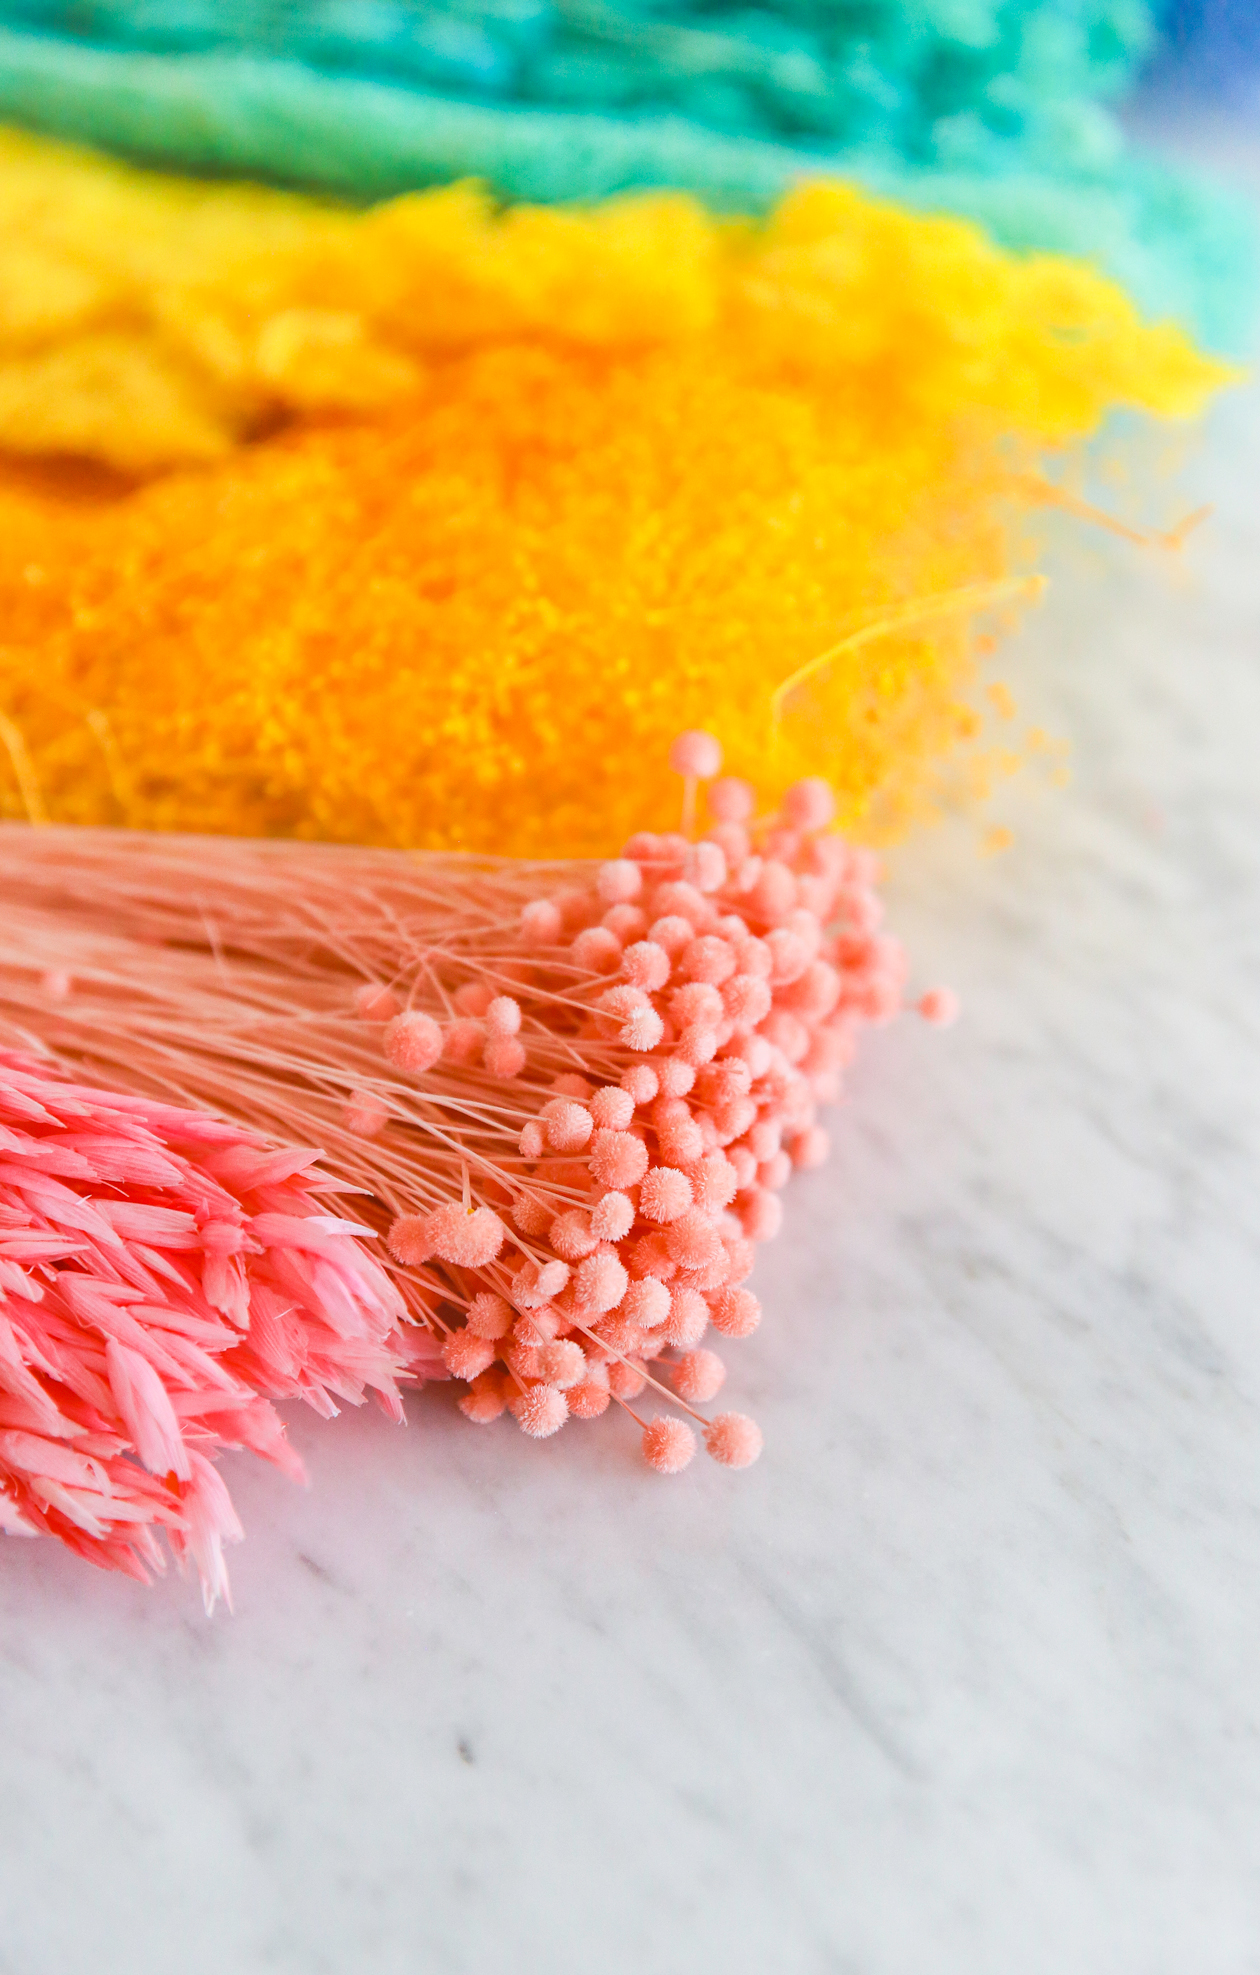
For the flowers, I used the following: bunny tails, floral buttons, billy button craspedia, wild oats, Million Star Gyp Flowers, jeweled orchids, and ming fern. You’ll want to use a variety of flowers to create dimension. Think different shapes, textures, and colors. Having a mix of filler and statement flowers is the best way to get balance.
If you’re looking for other cloche ideas, I actually made a Halloween Cloche with the same containers. I found it at Ikea, but I also saw this cute wood version on Amazon. You could paint the base any color you wanted, opening this project up for new color combo possibilities!
You can watch the video tutorial for this floral cloche over on my YouTube channel!
 How To Make a Dried Flower Cloche
You don’t need to be a florist to be able to make this cloche DIY. In fact, I think I’m TERRIBLE at arranging flowers, but was somehow able to make it work with this step by step.
Start by creating a base with a filler flower or moss. This will not only cover your frog pin, but it will also help your flowers stick into the pin a bit better.
Cover the sides of the pin as well as on top. If you’ve never worked with a frog pin before, please be careful as they’re extra sharp! Continue adding dried florals until the base is no longer visible.
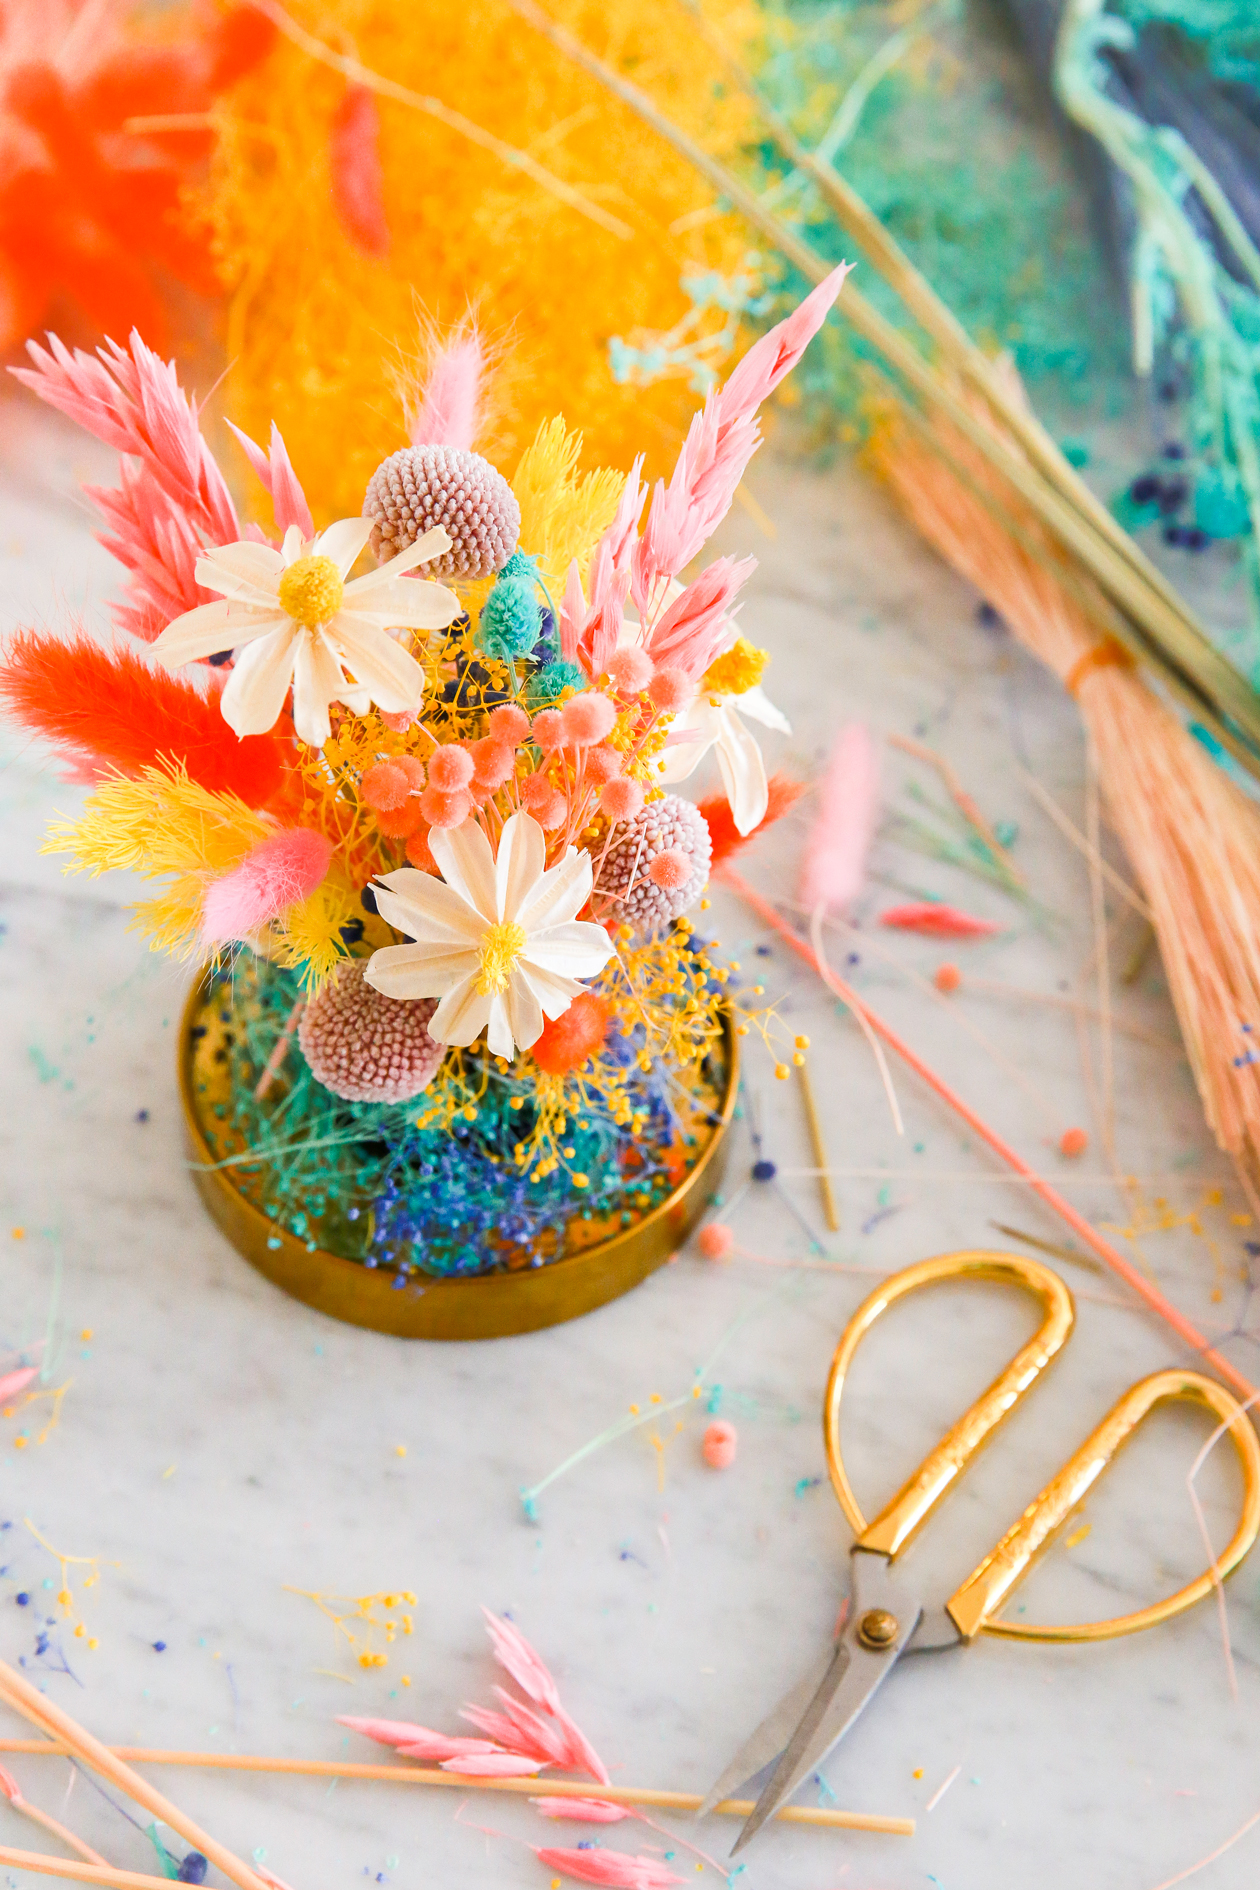
Now it’s time to add volume. I used my flowers that had a thicker base/leaf to fill out the cloche. When you add your highest stems, it’s a good idea to add your dome on top to see if it fits. Make any height adjustments to your stems now before continuing to add flowers.
 When you have your initial base set, you can start weaving in those statement flowers and the ones with much thinner stems. They’ll hold in the frog much better once they have some support.
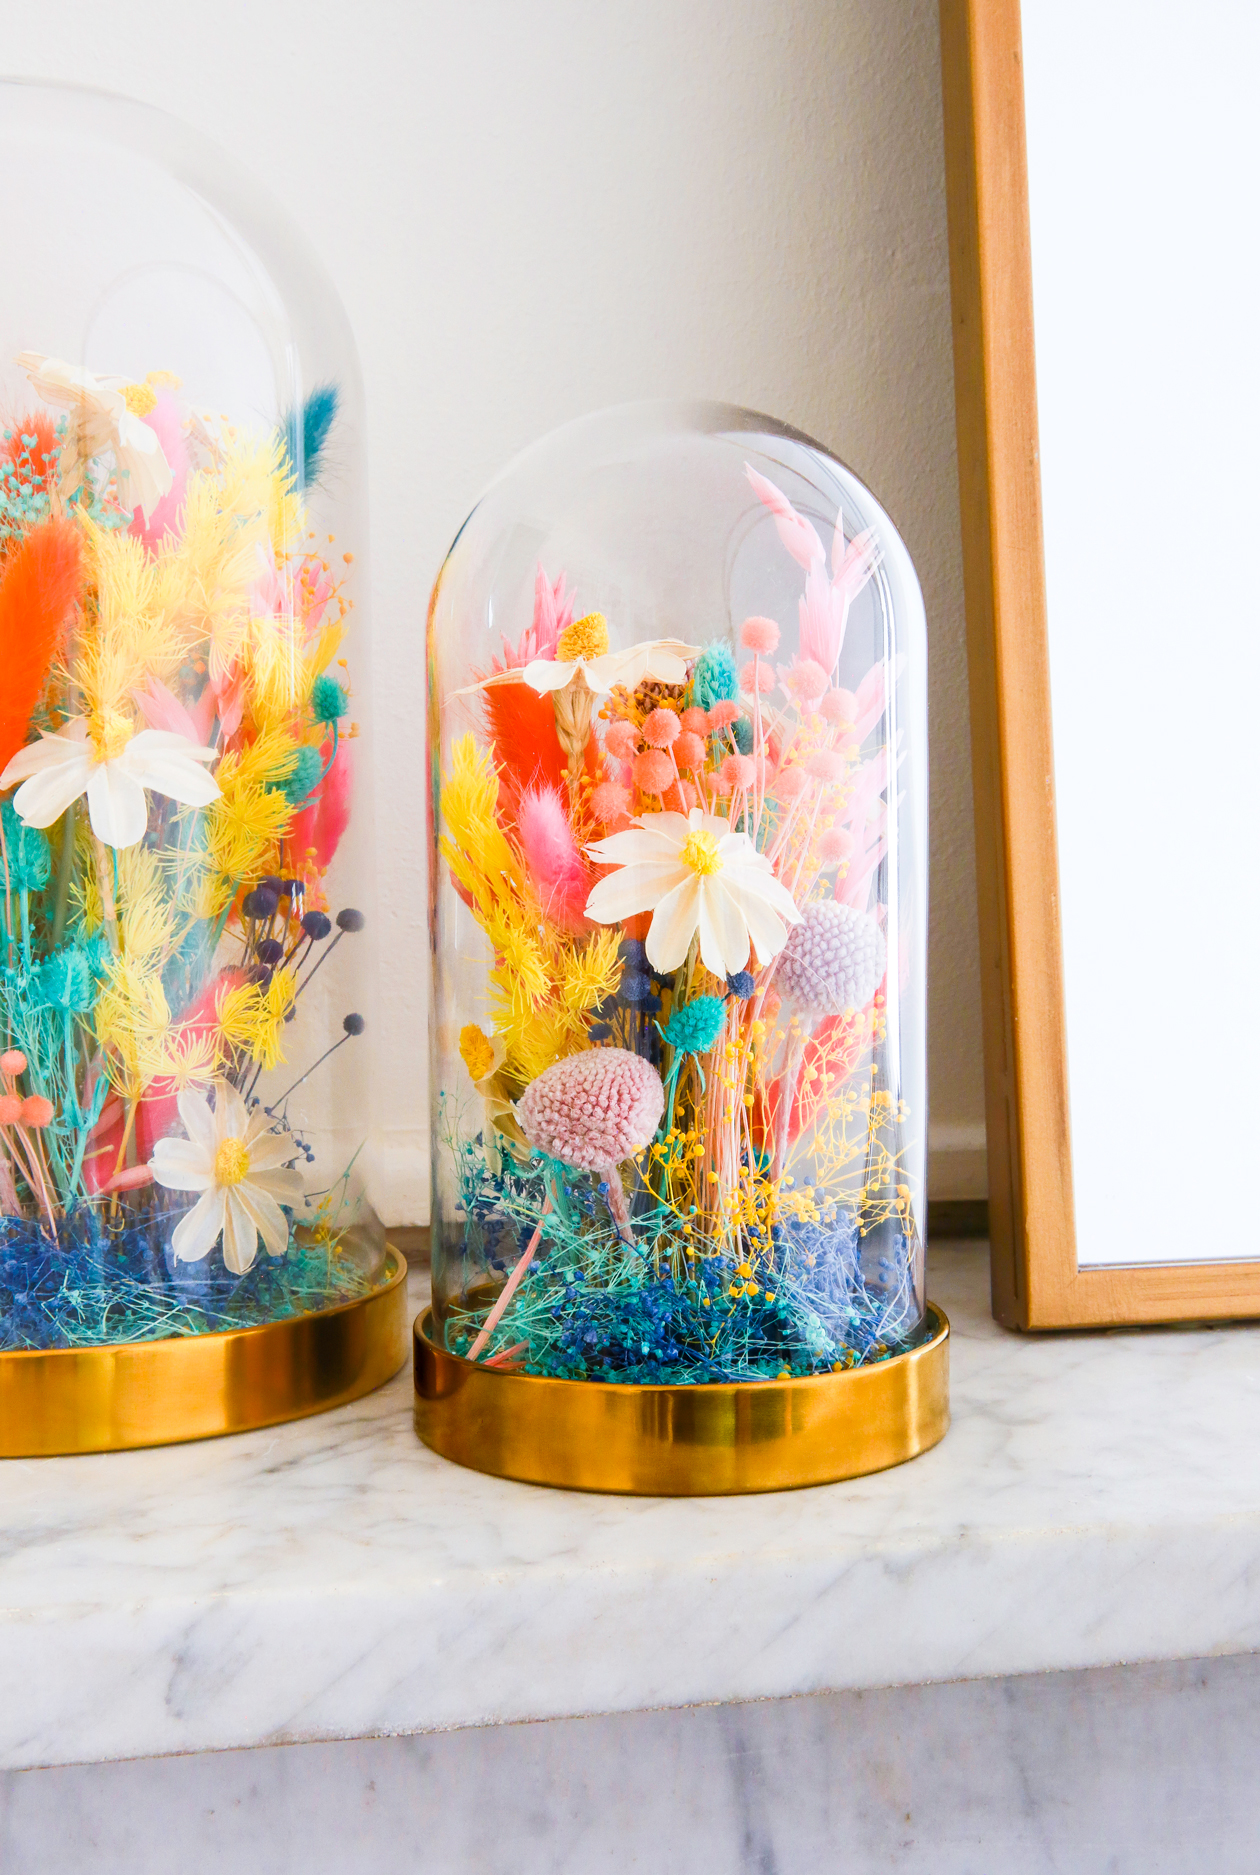
Keep in mind that you’ll be able to see the flowers from all angles. Walk around your base, and look at it from different heights as you work, so you don’t miss any spots.
 Make any tweaks you need until your dried flower arrangement is done. Carefully add your glass cloche on top, and you’re done! That’s how you make a dried flower cloche!
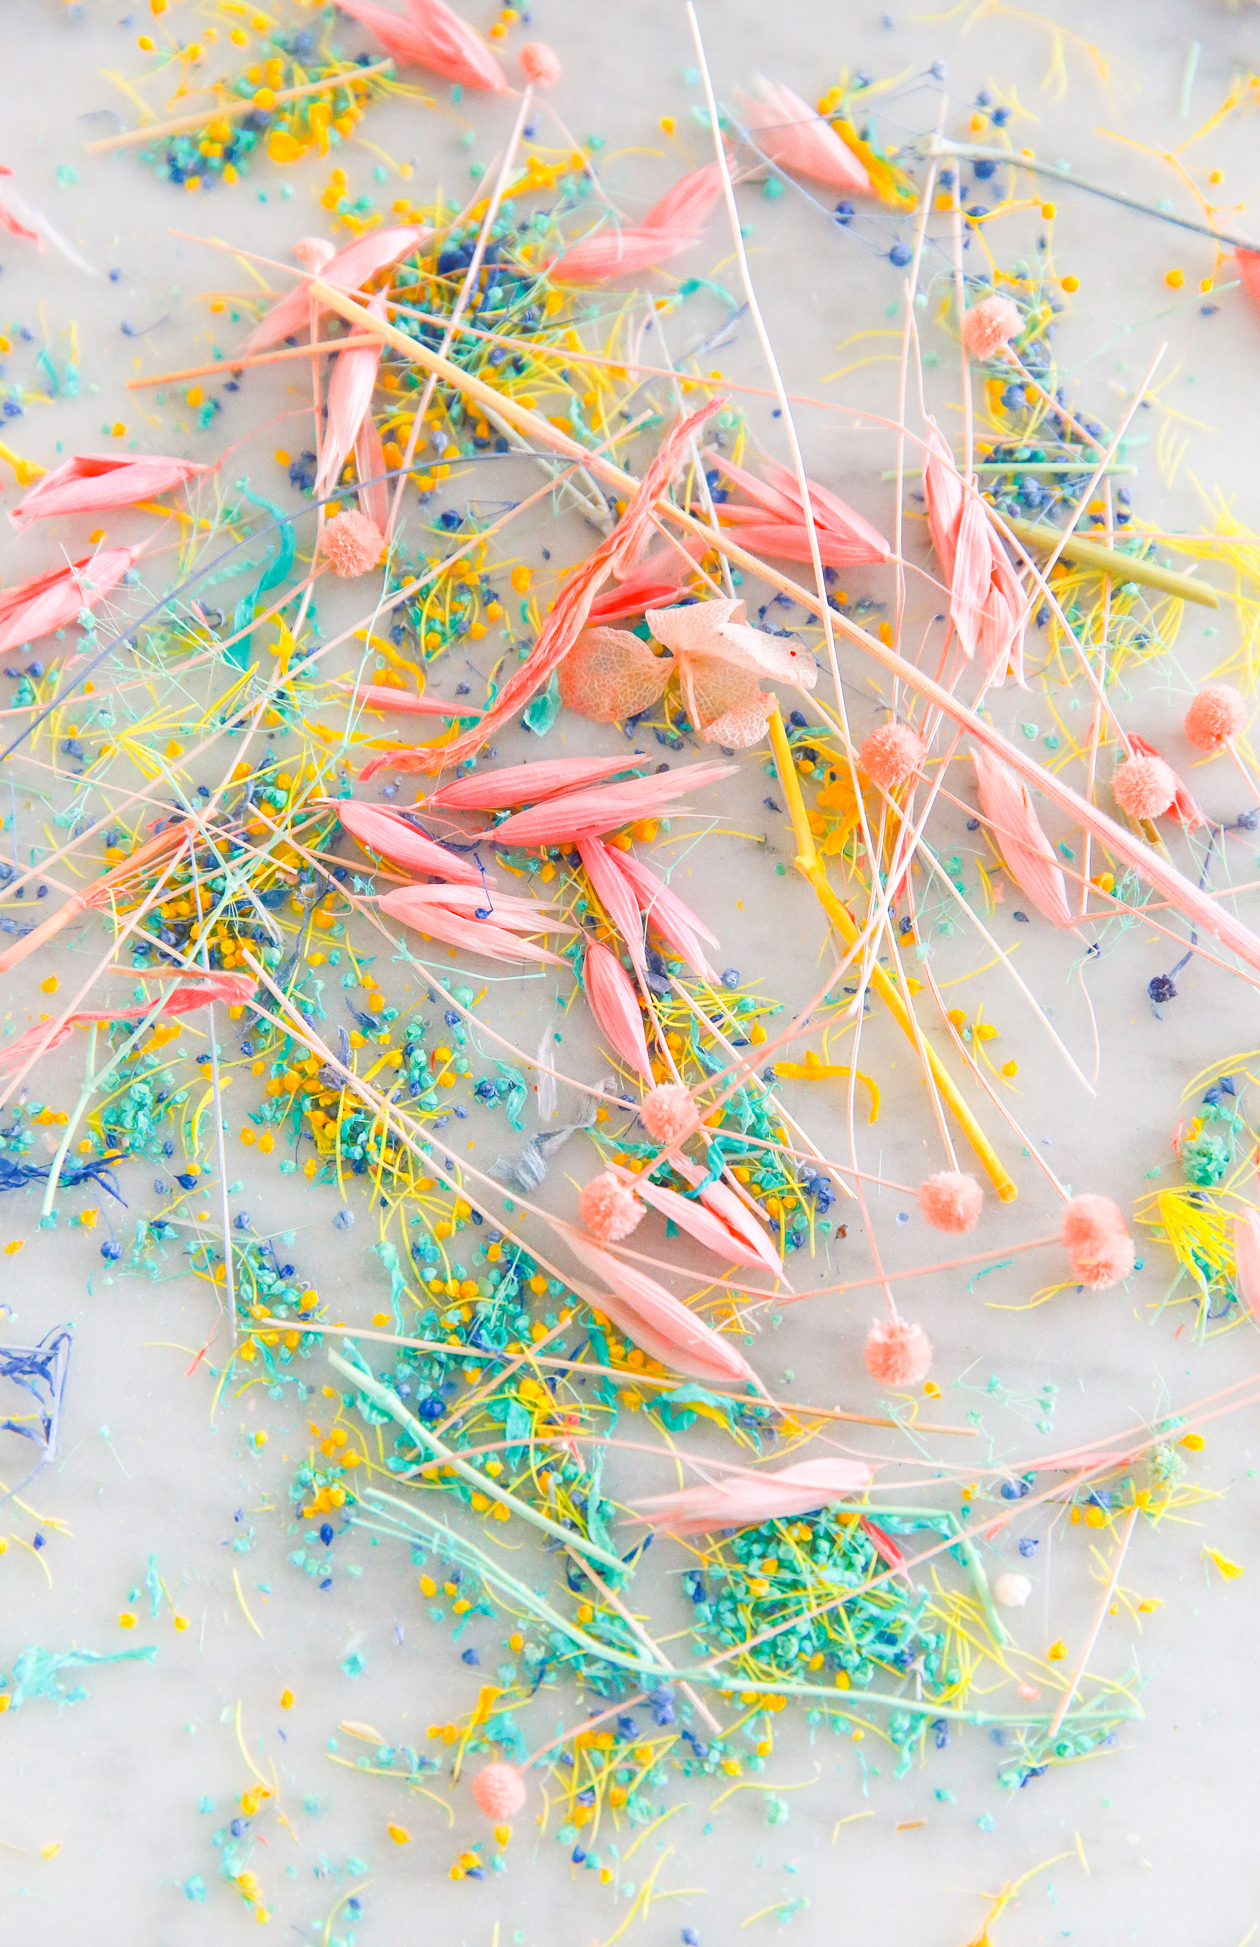 The scraps of this project are just so pretty, be sure to keep them for another project. They would actually look great in these DIY confetti programs, or on a tray with resin, so don’t throw away anything if you’re getting married anytime soon.
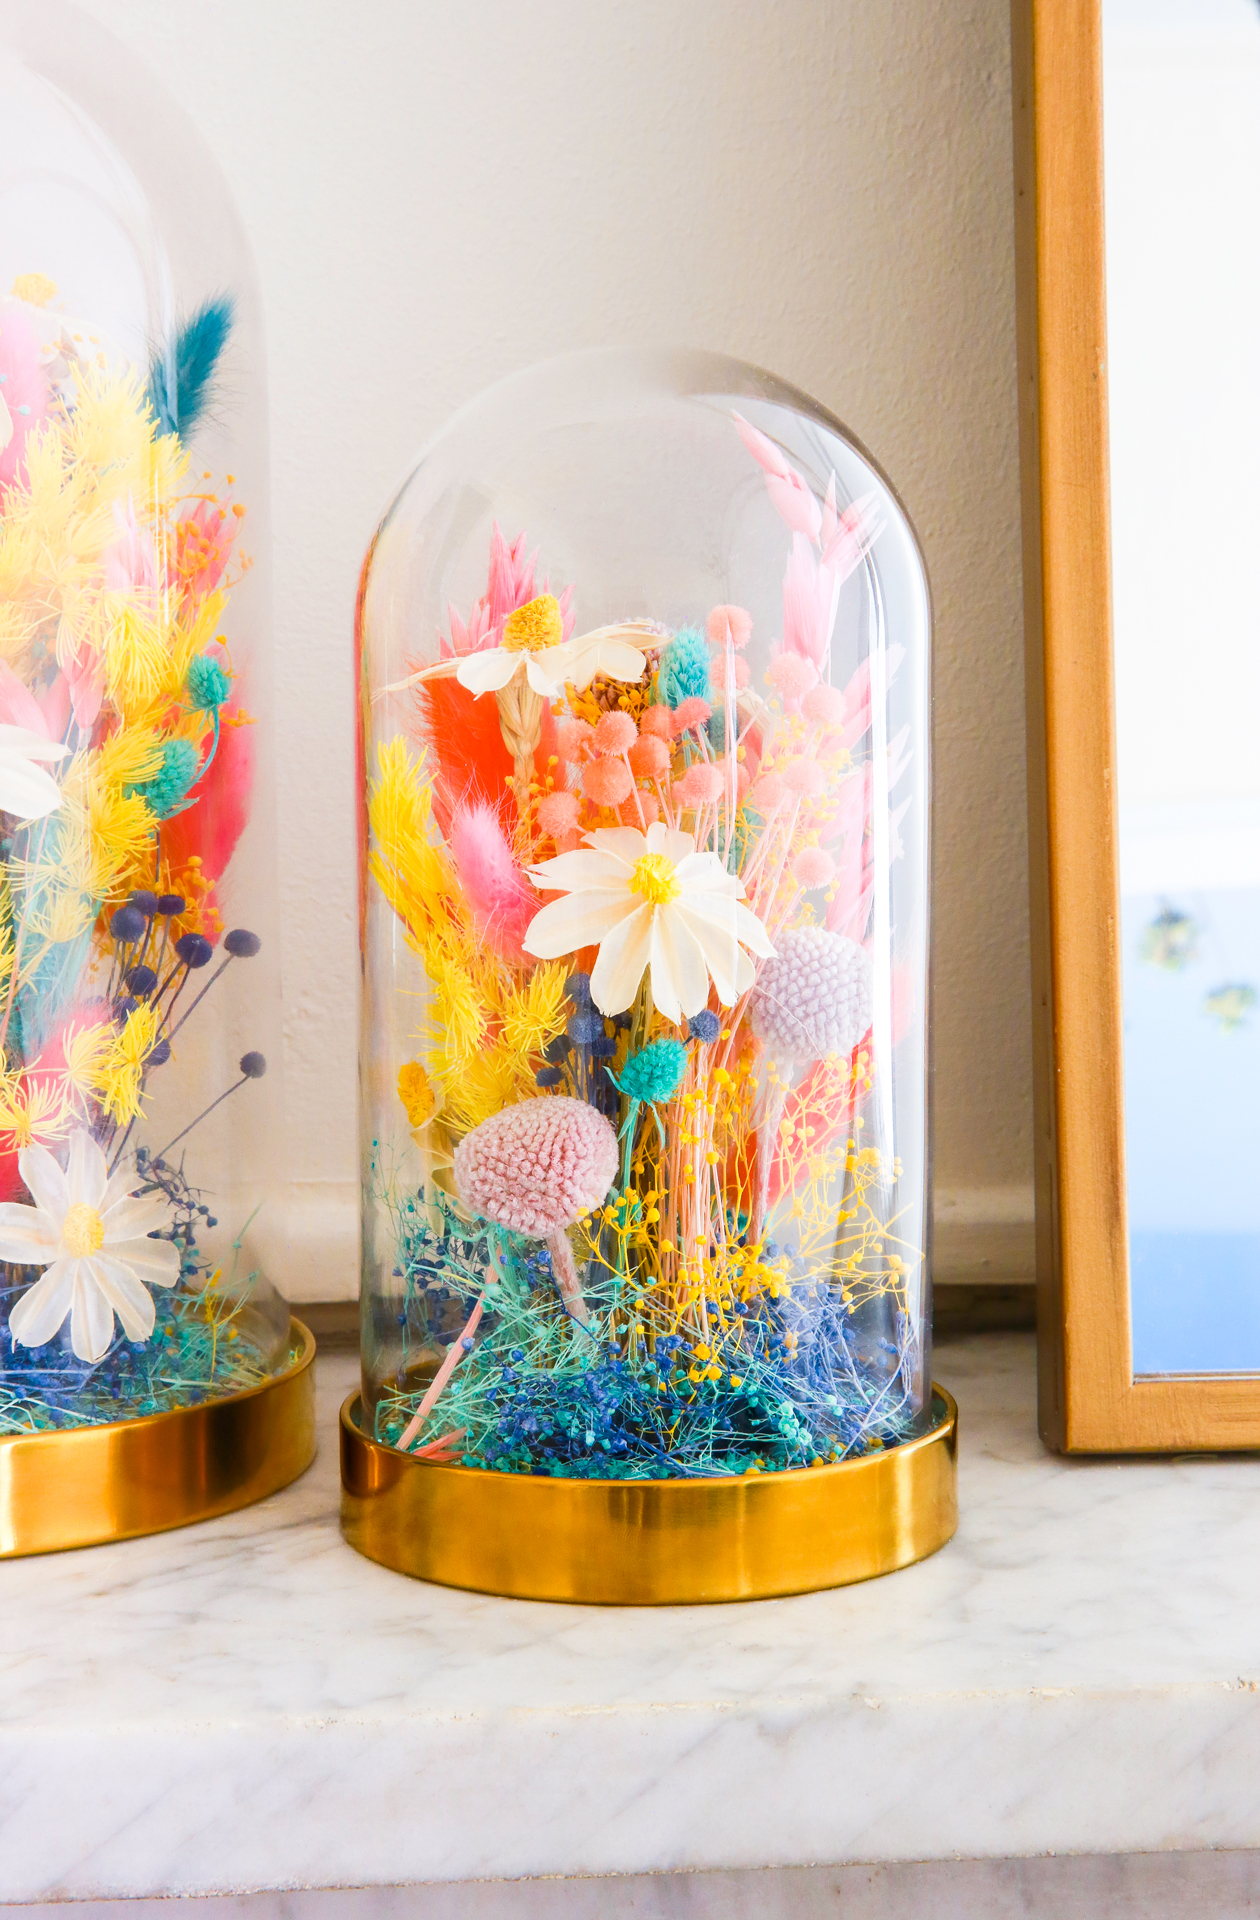 Aren’t the colors so great?! They’re much more vibrant than I expected. I’m so excited to have flowers in my home for the rest of winter without having to splurge on a bouquet every week.
I hope that you give this one a try! I’d love to see a version of this with painted faux flowers from the dollar tree!