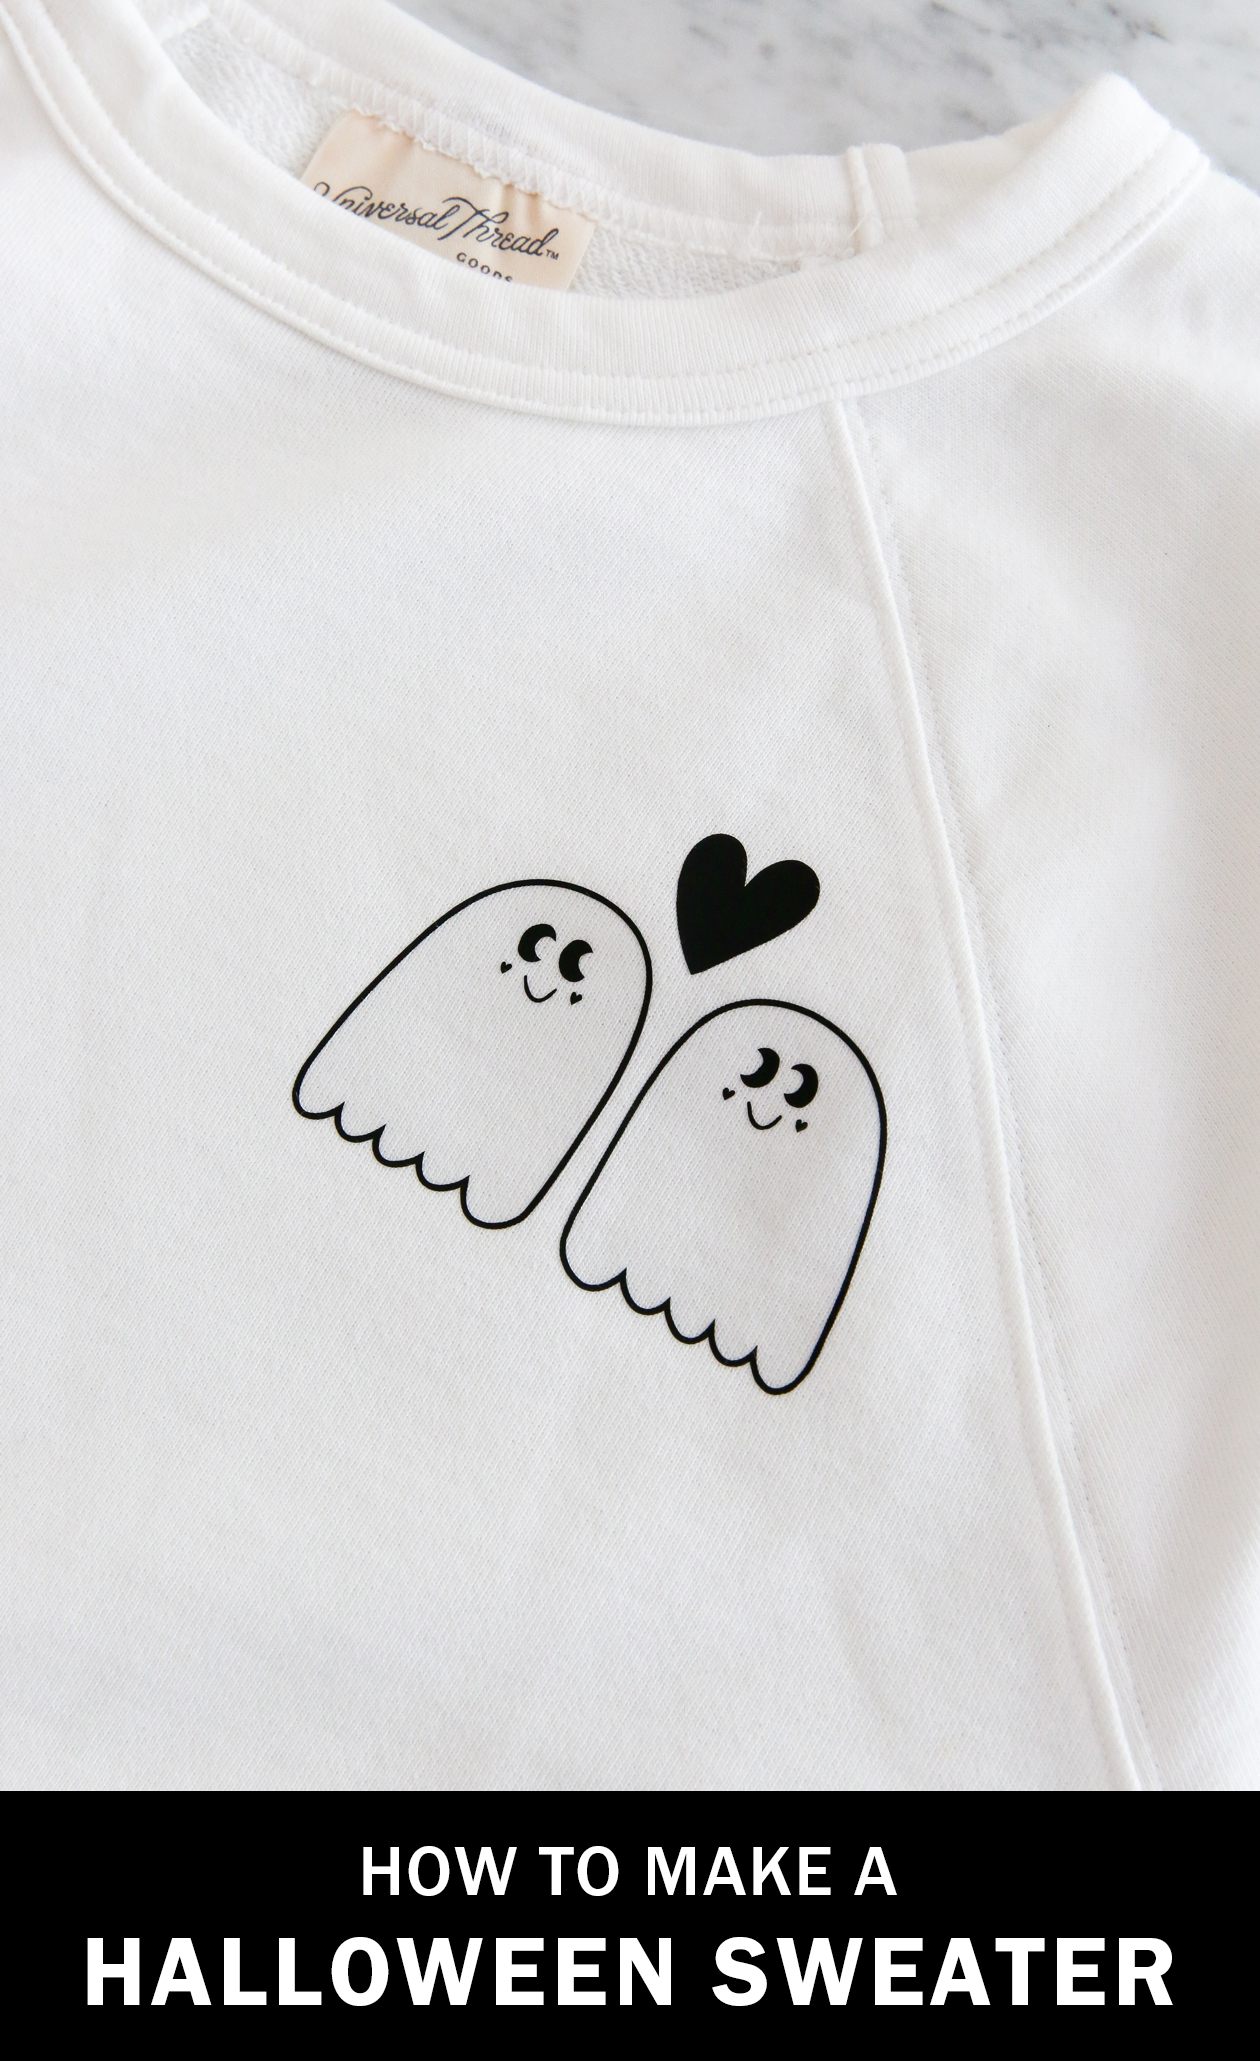
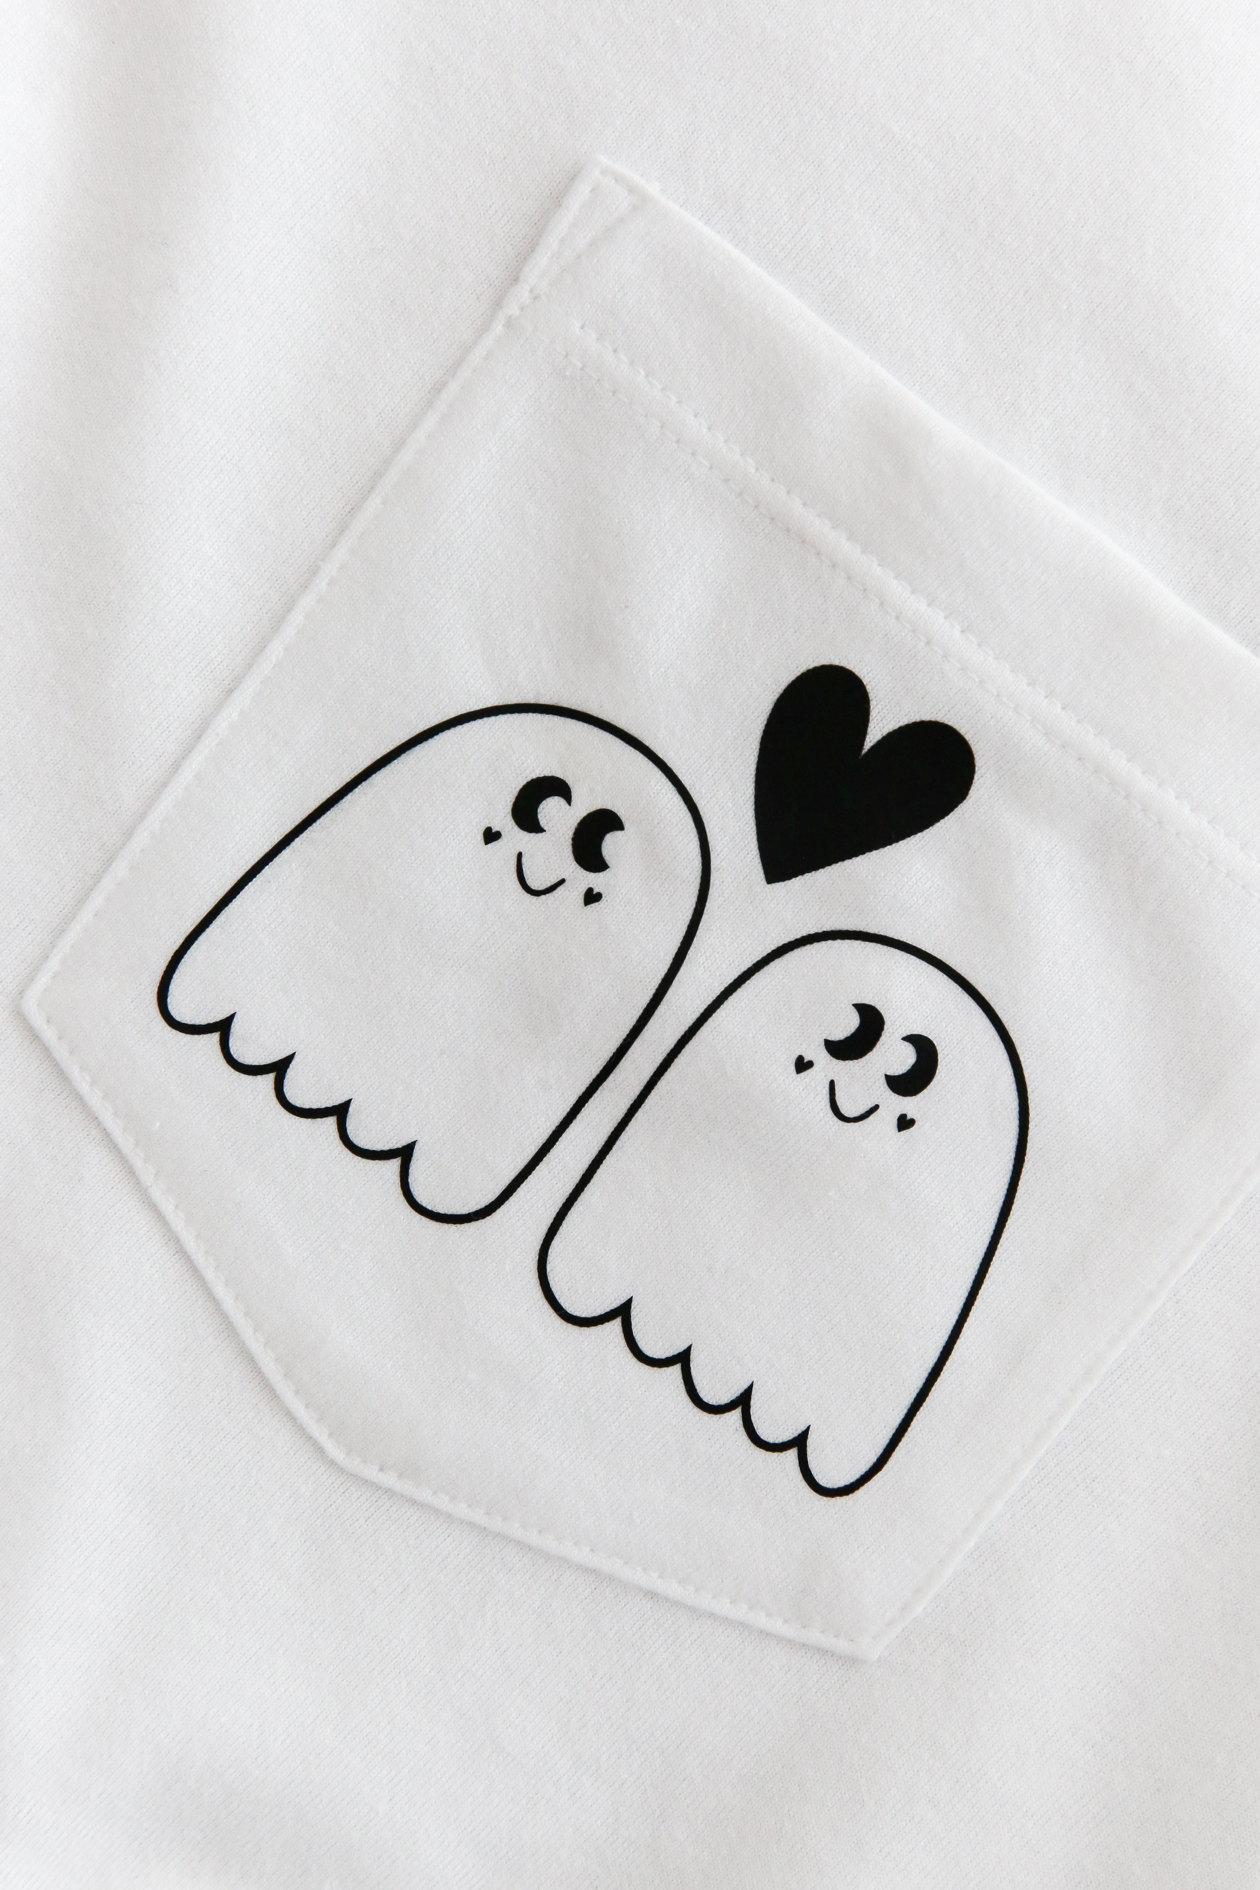
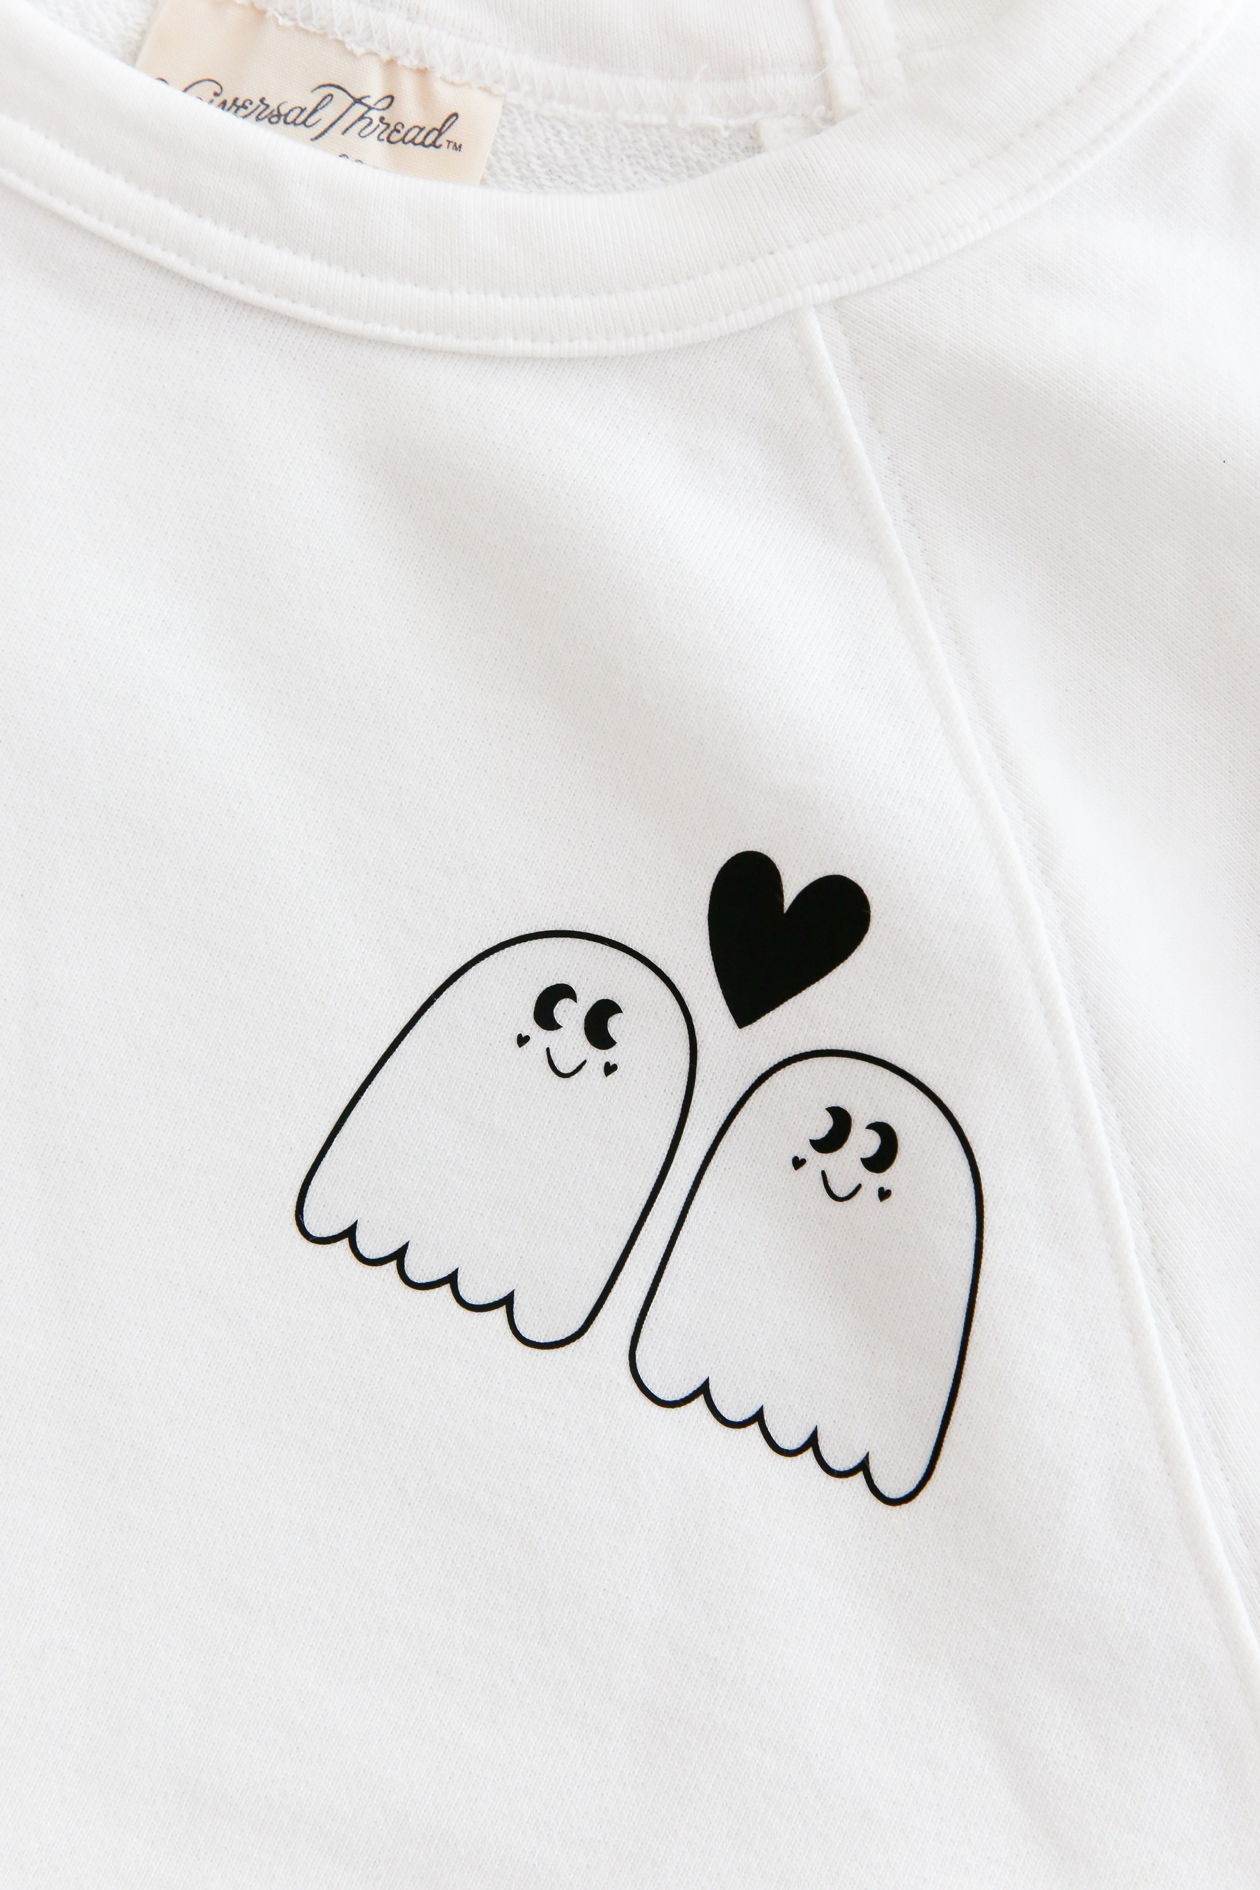
 Well this is it, the cutest thing I’ve ever made in my life. I can retire now.
After sketching a few Halloween ideas out on my iPad, I thought it would be fun to bring them off the screen and into my crafts for this year. And what’s more perfect for fall than a Halloween sweater?!
I know you might be thinking, well I don’t have a cutting machine, I can’t do this project. But I’m here with good news! I actually made the vinyl decal available in my shop so that anyone can recreate this sweater. Just follow the instructions below for how to apply iron-on vinyl and you will be good to go!
Let’s get right into the DIY– here’s how to make a Halloween sweater:
Materials for DIY Halloween Sweater
This post contains affiliate links
– Cotton sweatshirt or long sleeve shirt
– Iron-On vinyl
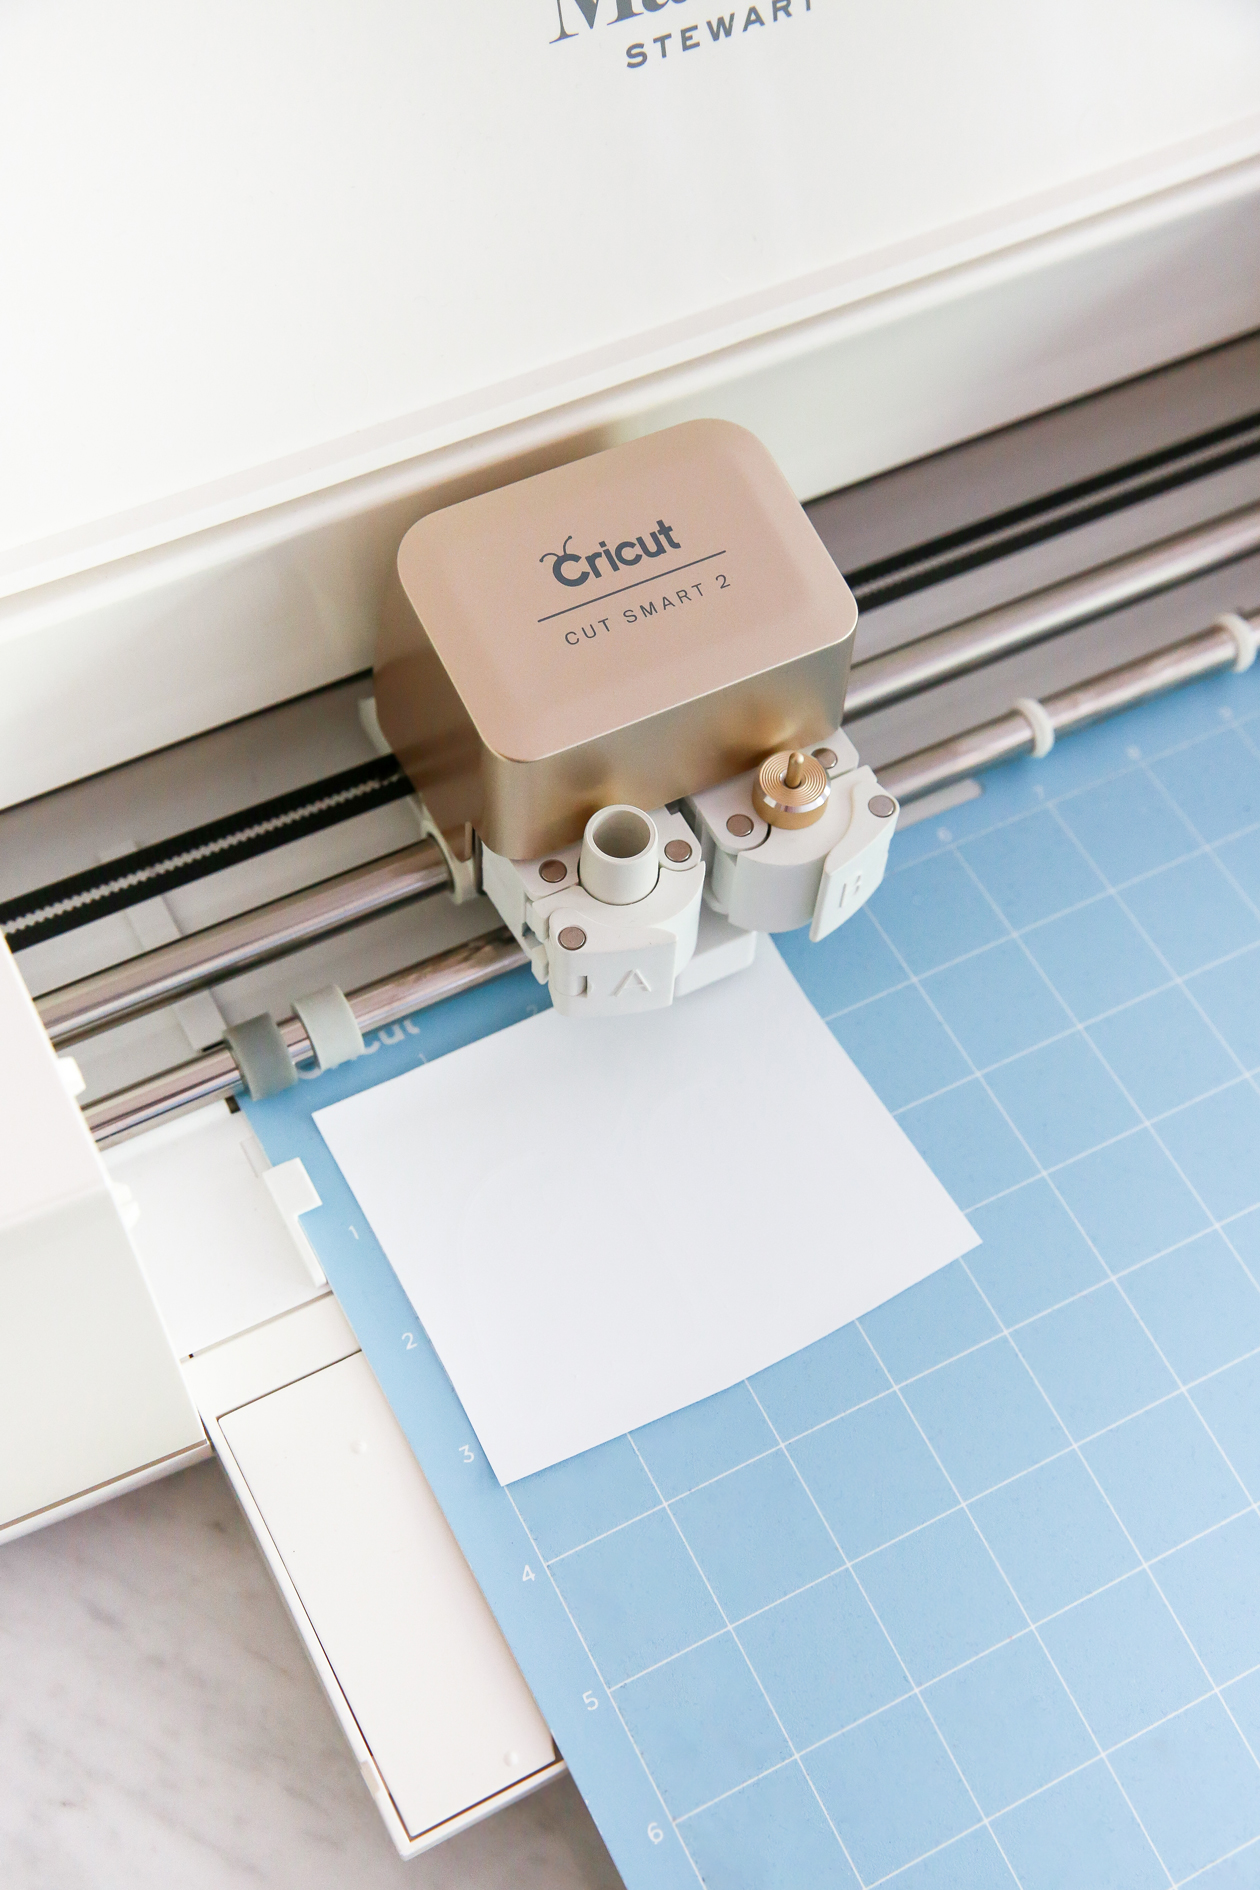
– Cutting machine (Brother or Cricut)
– Weeding tools
– Halloween SVG Bundle
– Easy Press or iron without holes on the bottom
The good news for this project is that I’ve made this ghost illustration available for those without a cutting machine! You can grab it in my shop here.
If you do want to cut the vinyl out yourself, I’ve also designed a set of 14 illustrations that you can use. Just download, unzip the file, and you’ll be good to go. There are so many options for what you can make with this Halloween Bundle. Wall art, a trick or treat tote, decals for your mirror, and the list goes on! Click here to download the SVG + PNG files from my shop!
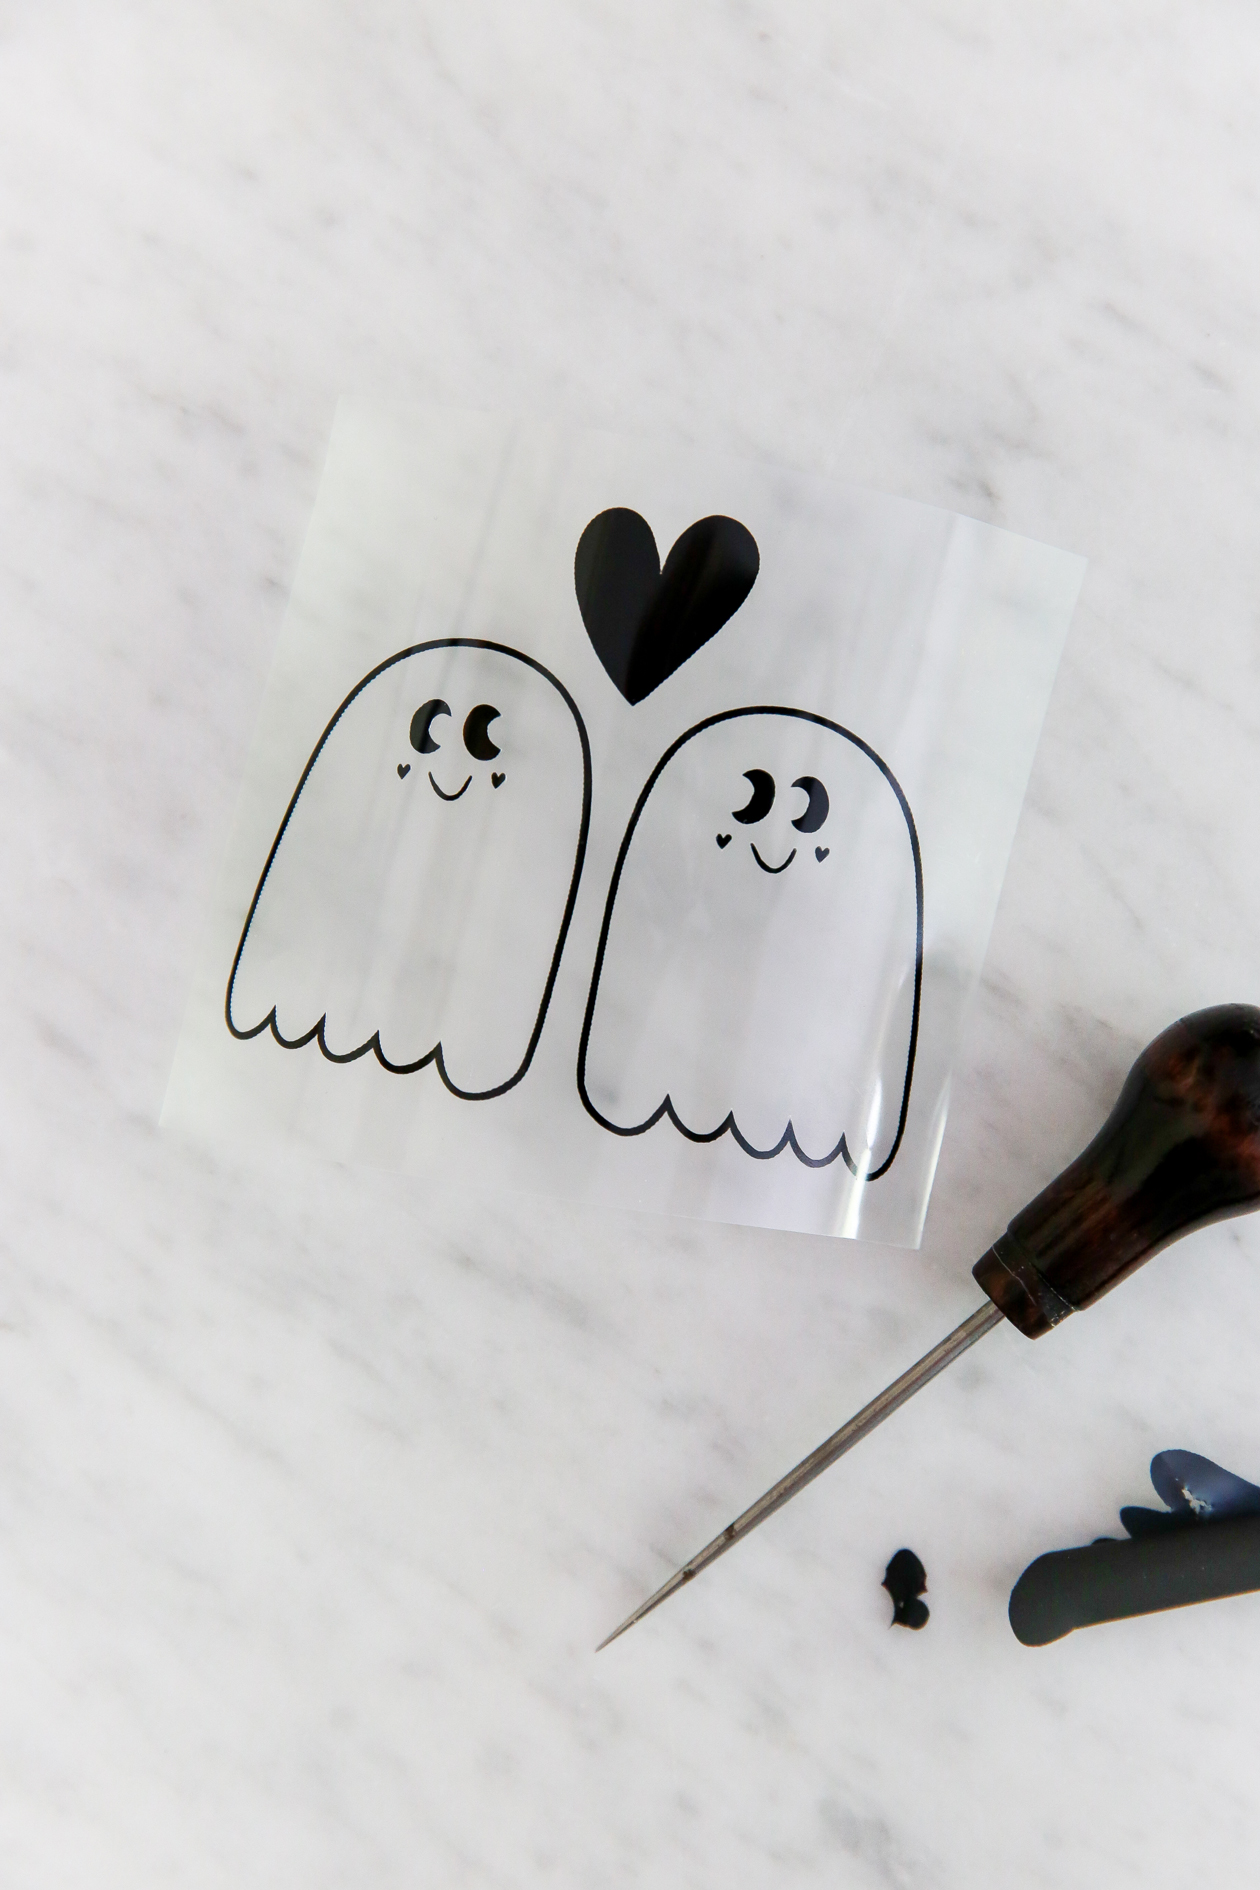 How to Cut Heat Transfer Vinyl
Just a few tips to keep in mind as you’re setting up your files for cutting:
1. Because of the way the machine will cut the image, you’ll want to mirror the design so that it’s cut the way you see here.
2. Place your heat transfer vinyl on your mat with the shiny side down. Set your machine to be able to cut vinyl.
3. After you cut your vinyl out with your machine, it’s time to weed your design. Remove all parts that you don’t want to be on your sweater. Any vinyl left on the cover sheet will transfer to your sweater.
Your decal is now ready to be ironed!
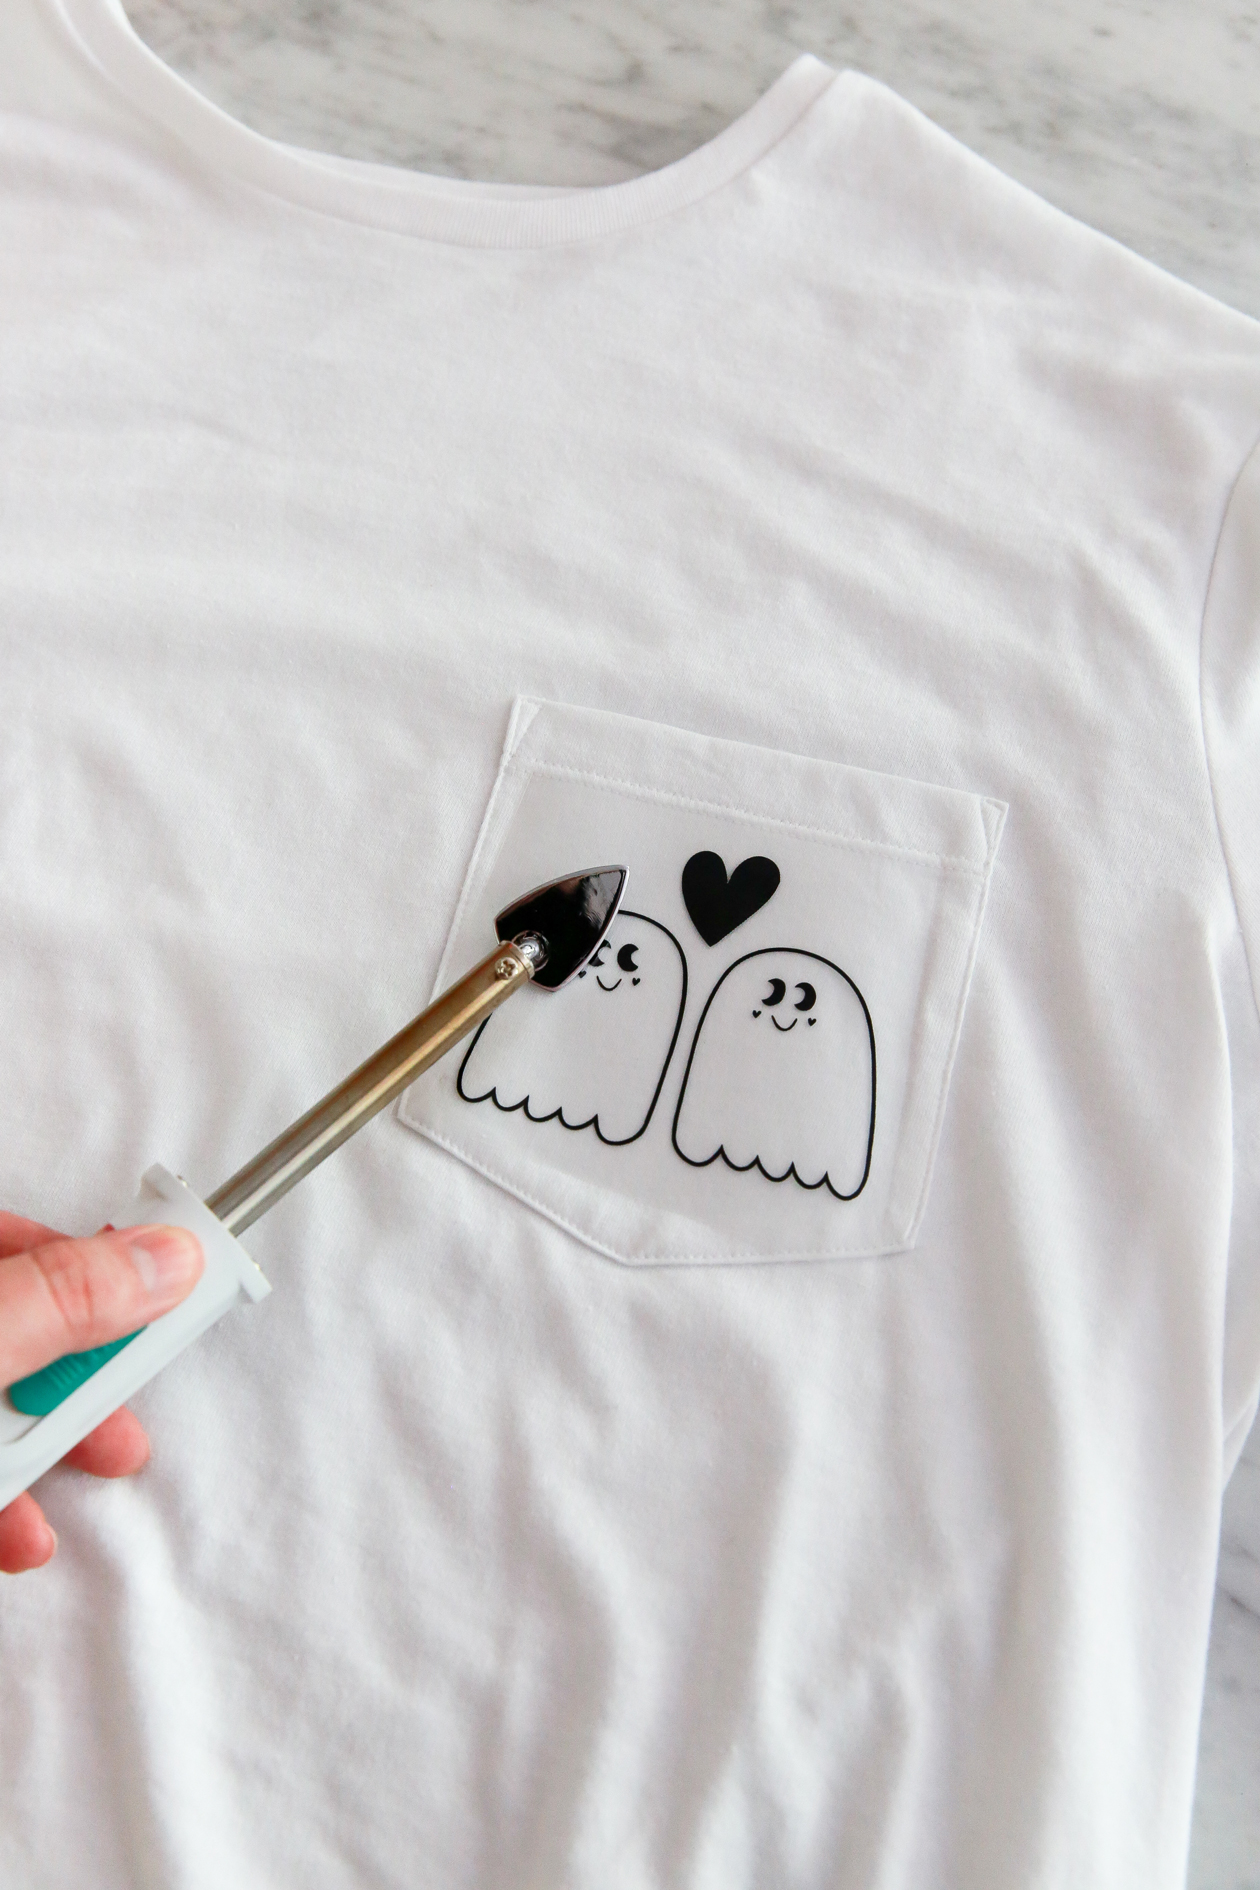 How to Apply Iron-On Vinyl
Because you will be applying heat and pressure, it’s best to have a heat mat under your sweater to protect your work surface. Make sure your garment is made of cotton so that you can avoid burning it.
1. Heat the iron to 320°F. Do not steam. Iron your clothing and then place your decal vinyl side down. You want the plastic sheet, aka the cover sheet, to be what the iron comes in contact with. This process really works best with the Easy Press or with an iron that doesn’t have holes on the bottom.
2. Iron your decal in place by applying pressure for 10-15 seconds at a time. You may need to iron for longer, just check the design as you go and don’t remove the cover sheet. You also want to keep your iron still. If you’re moving the iron around, there’s a chance you could move the cover sheet and damage your design.
3. You can turn your sweater inside out and iron the back of your design to really secure the decal.
4. Before removing the cover sheet, check to see if your vinyl is hot or cool peel. If it’s hot then you can remove it right away. If it’s cool peel, you’ll want the design to cool to the touch before removing the cover sheet.
 After Care Tips
After your design is set, don’t iron over the area again. The heat can cause the vinyl to melt even after you’ve worn the sweater a few times.
Allow 24 hours after application before washing. To help the design last a bit longer, turn the sweater inside out to wash and tumble dry. This is still a handmade item so, you’ll want to be gentle with care to make it last as long as possible.
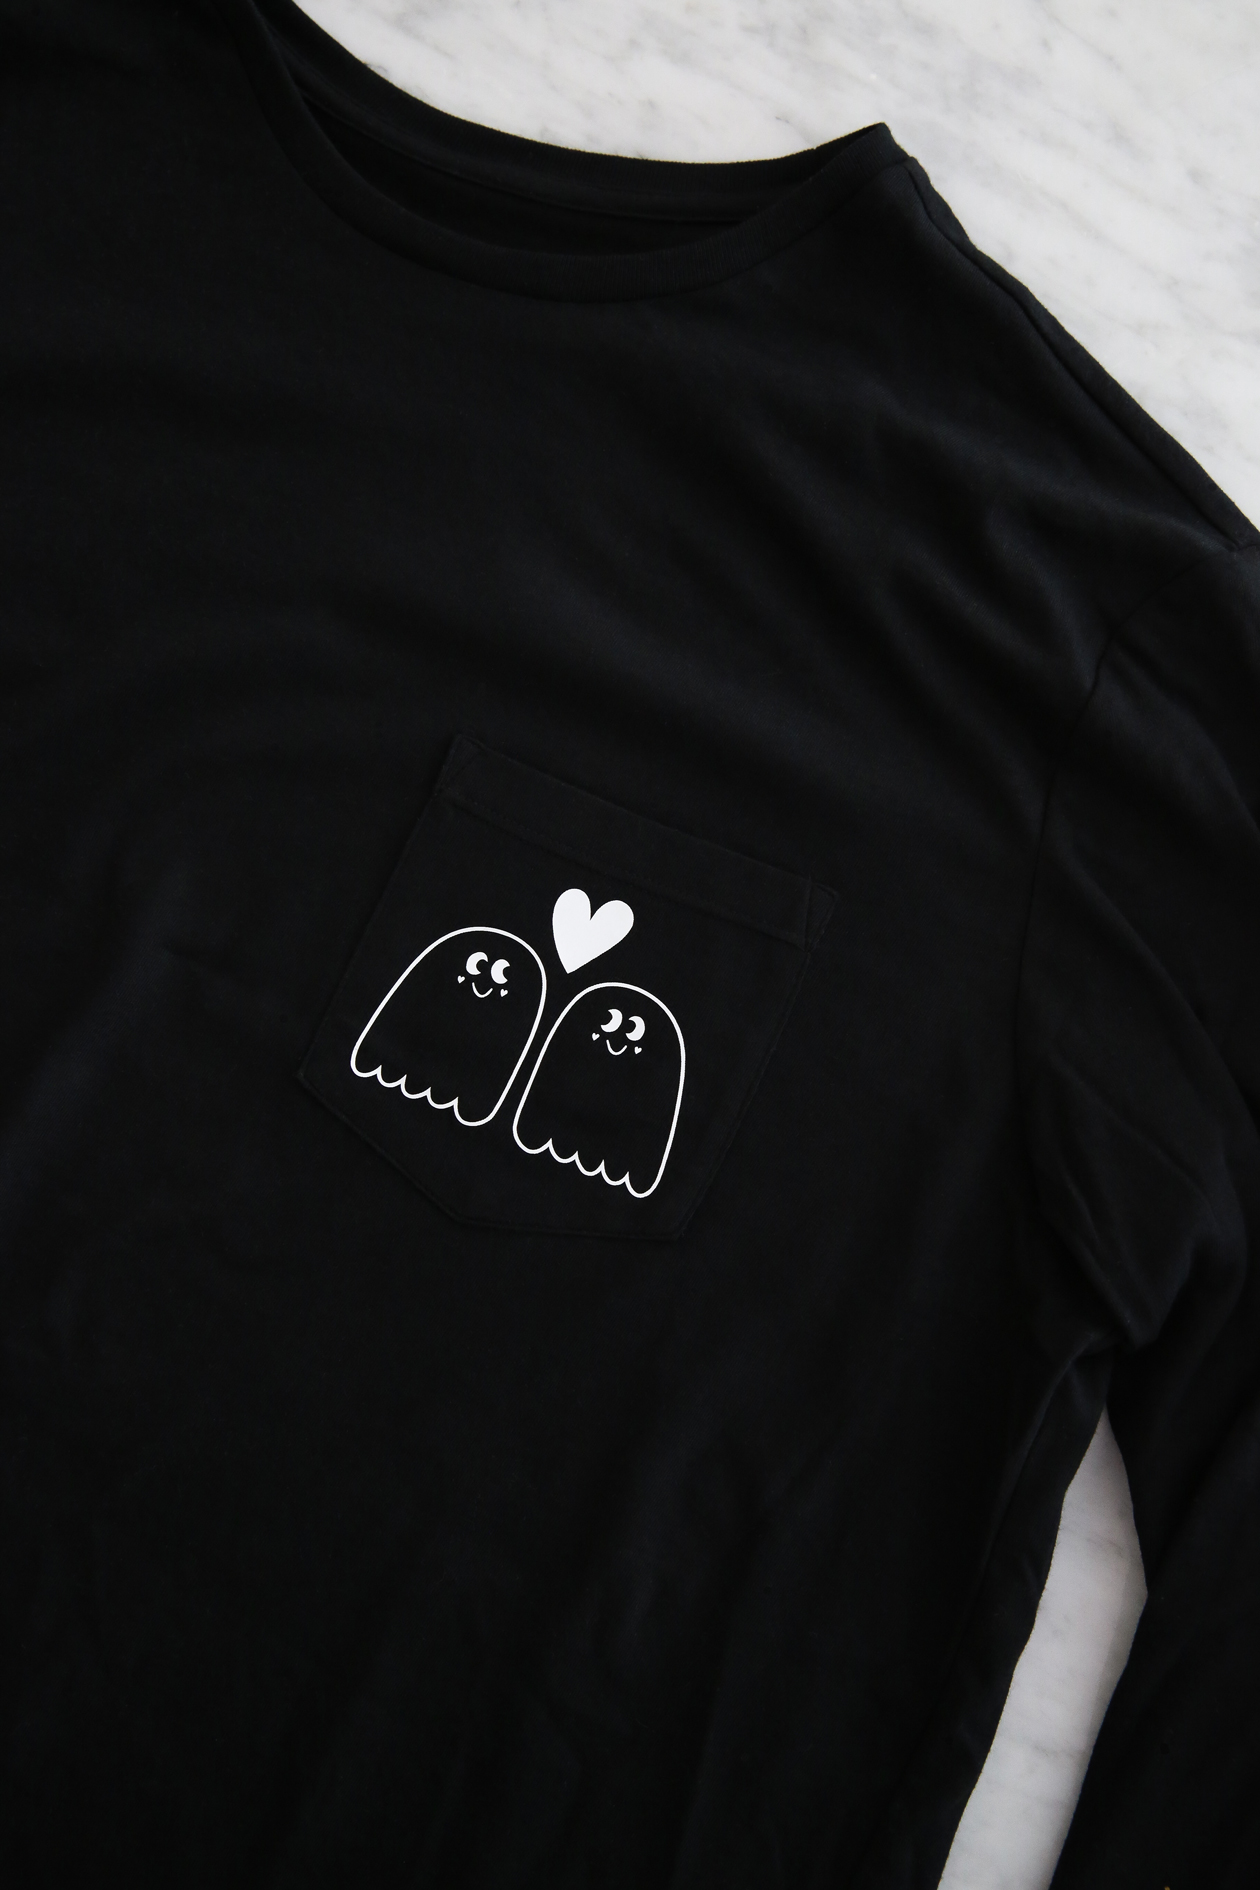 I made Ryan a matching sweater in the opposite colors and I can’t wait to wear these while we work our way through the Halloween Movie Checklist! Fall is finally here!
If you make a sweater this Halloween, or anything else using my Halloween illustration bundle, please tag me (@thecraftedlife) so I can see the cuteness!

