 Ooooo friends, are you ready for a fun post or what?! For a few years now I’ve been crafting something off camera and thought it was about time I shared it with you. I’ve been making Ryan a scrapbook every year for Christmas since we started dating. Since this is Valentine’s Day week, I think it would also make a great gift for any of your loved ones (parents, friends, and yourself included)! Our time in life is so short, and technology break, so why not put more time into our memories?
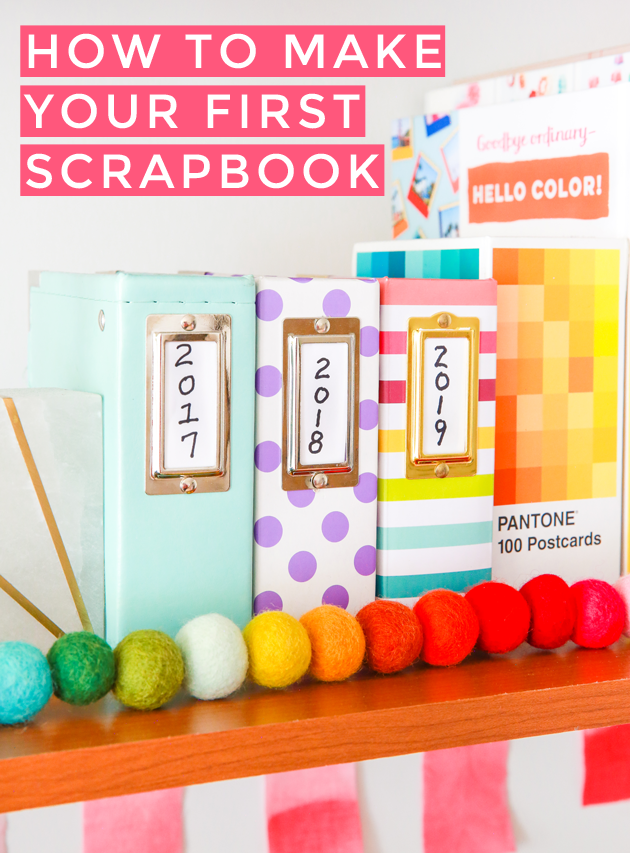
Here’s how I made my first scrapbook and how you can too:
 If you really want to become a hardcore scrapbooker, this post, truthfully, may be a bit too basic for you. As someone who’s always wanted to have nice photo albums, but always thought the idea of scrapbooking seemed overwhelming (and expensive), I can tell you that this is such a perfect jumping off point. It’s a nice mix of adding personal details and memories, while still creating a space for your photos to live off of your phone.
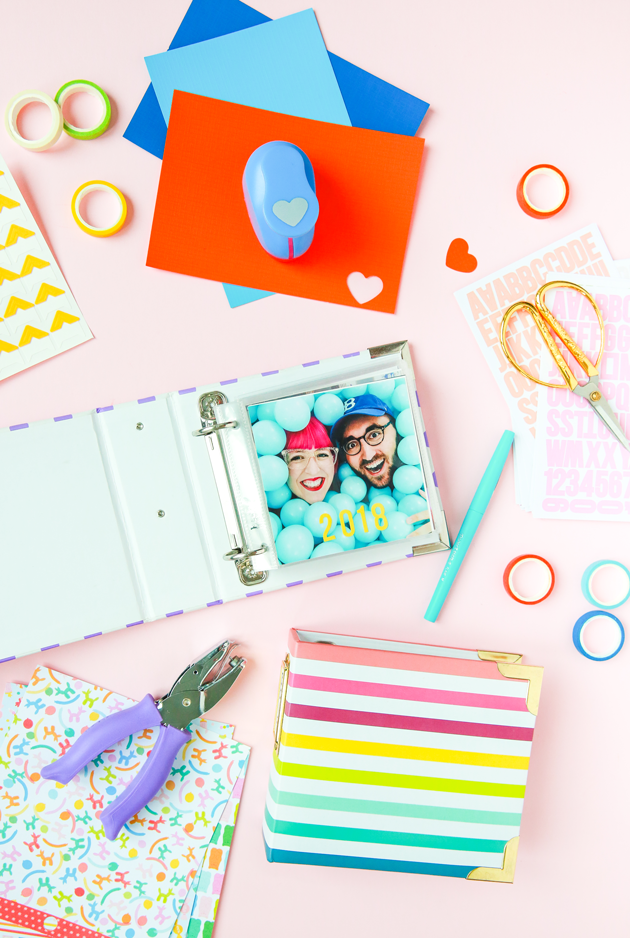
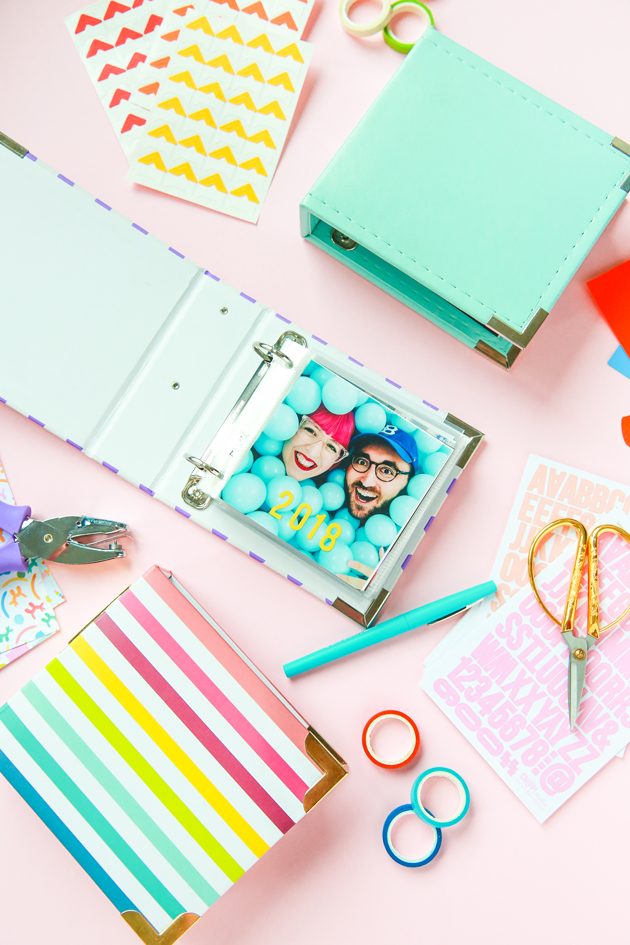
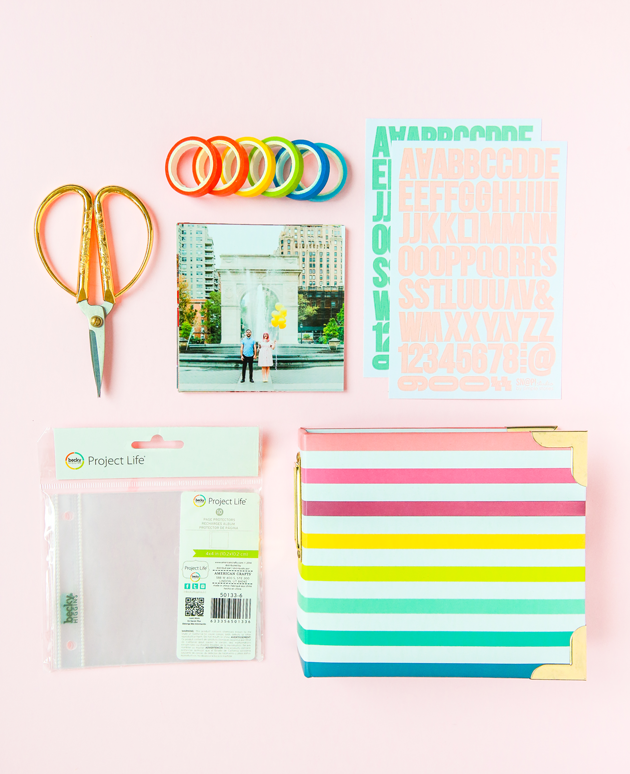 Materials
– 4″ x 4″ Photo album
– 4″ x 4″ Page protectors
– Photos (fit to size of your page protectors)
– Letter stickers
– Washi tape (the rainbow above is soon to be in my shop!)
– Scissors
– Keepsakes
You can get more elaborate supplies if you want. Don’t let me hold you back! I also just really like the 4×4 size, but that’s only a suggestion. If you plan on trimming photos, a paper trimmer is worth the investment.
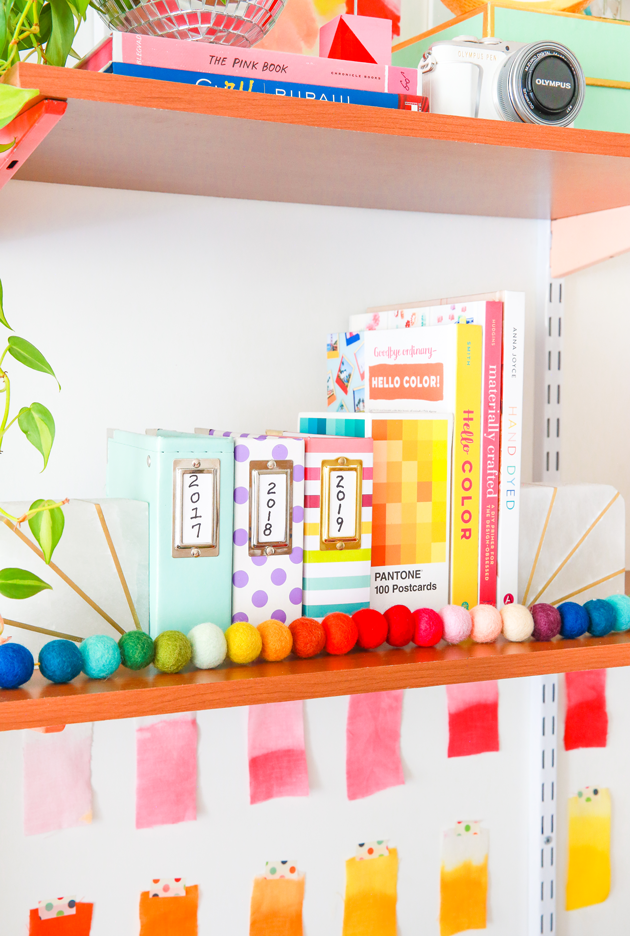
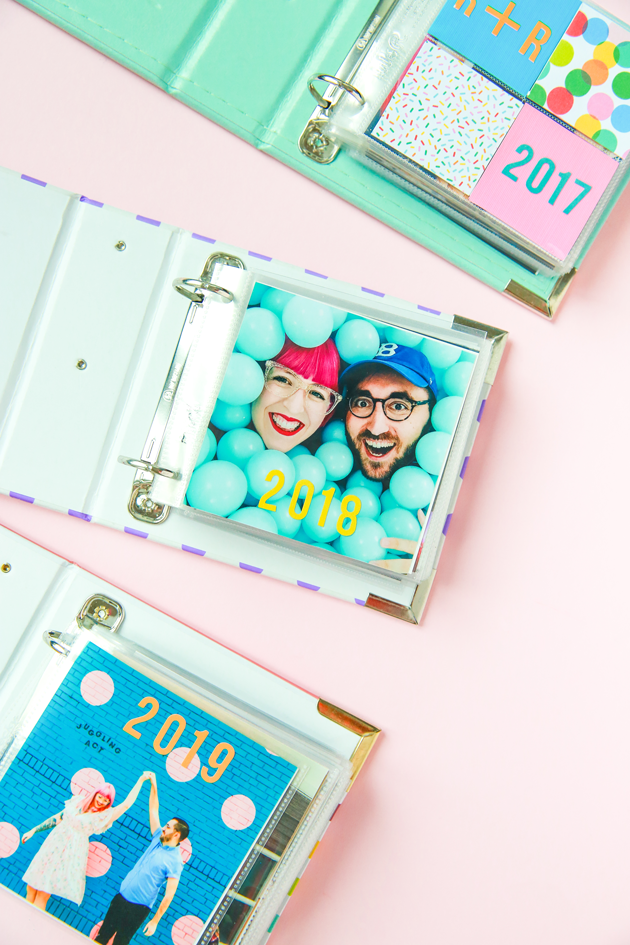 You can see by the first book that I made in 2017 that I used to add colorful paper to my books. While this approach was super cute, I like the simplicity of just having a photo with the year added with stickers (what I’m doing from now on).
Since I make my scrapbooks at the end of the year, the photos are in the book in chronological order. When working, it helps to have a lot of space so that you can spread out your photos, put them in order, and edit as you work. Not everything you print will make the cut. Start by filling your page protectors with the photos and getting them in order before adding any decorative elements. See what photos play off of one another and keep the flow of the book in mind as you fill in the pages.
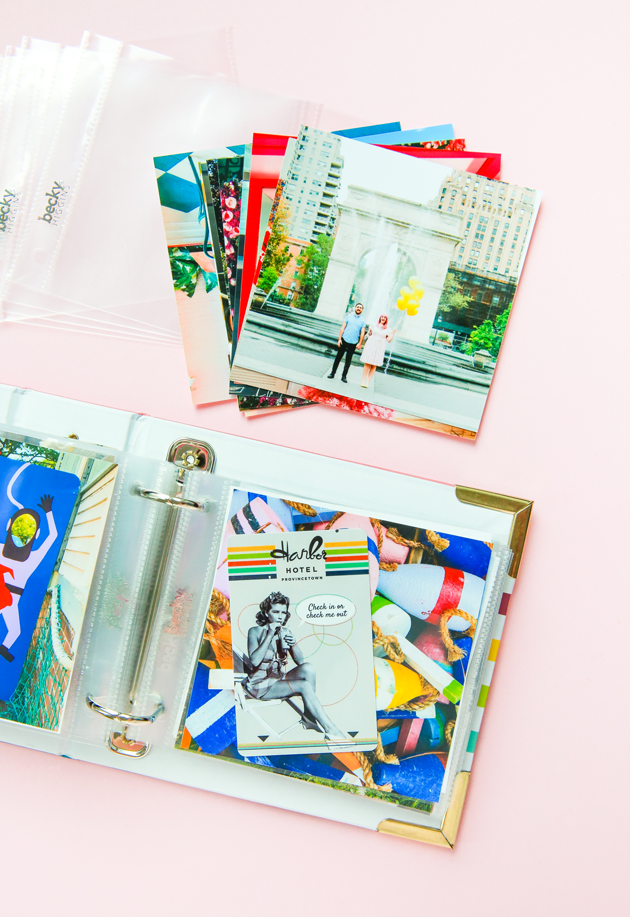 Once your book is set with photos, you can go back in and add those 3D elements (like I did with the hotel key pictured above). Throughout the year I have a separate box to store all of the keepsakes. I’ve added everything to my books from a pressed leaf to part of a food menu! If something feels special to you, be sure to hold onto it and save it for later. A separate storage box for it means you won’t lose it or damage it before it’s time to craft.
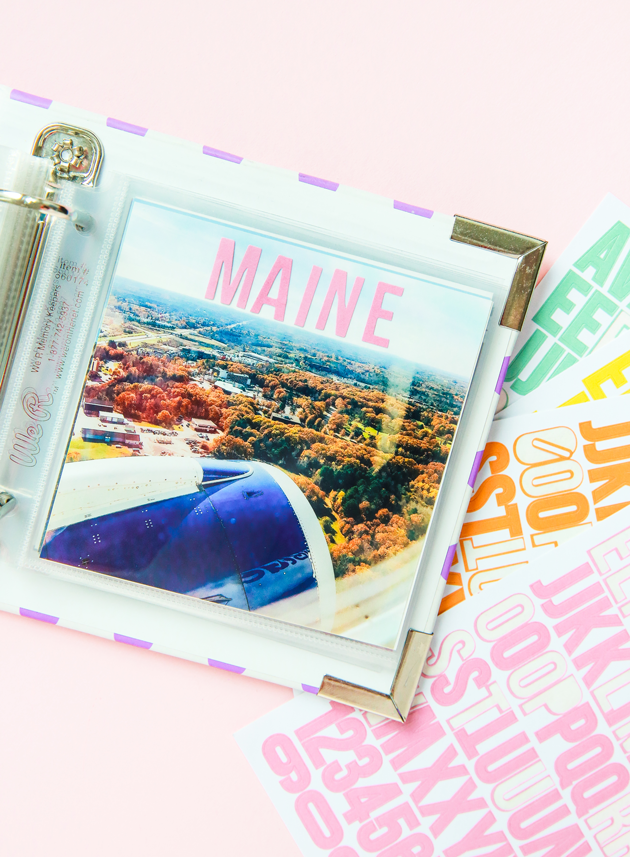 Stickers are such an awesome way to add details to your photos. Consider using them to record a location, inside jokes, or something funny to the photo (like I did with the soup photos below). Writing on the back of the photos is a great way to never lose that exact detail, but I also love the extra colorful graphic detail that the stickers add. Plus you won’t have to remove the photo just to remember where it was taken.
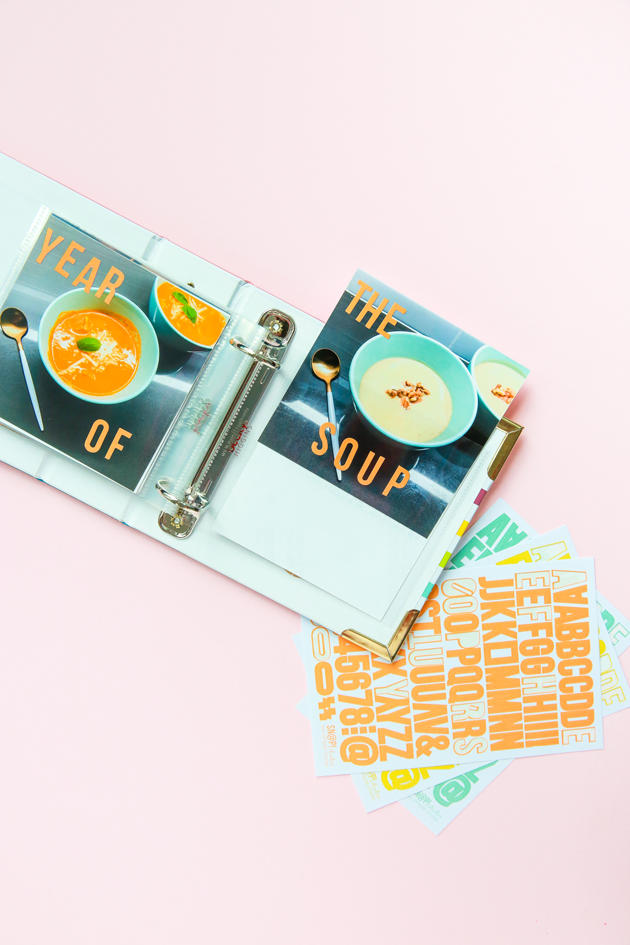 Ya’ll remember when I made nothing but soup last year? Well I guess, and this year too? Of course that got added to the scrapbook!
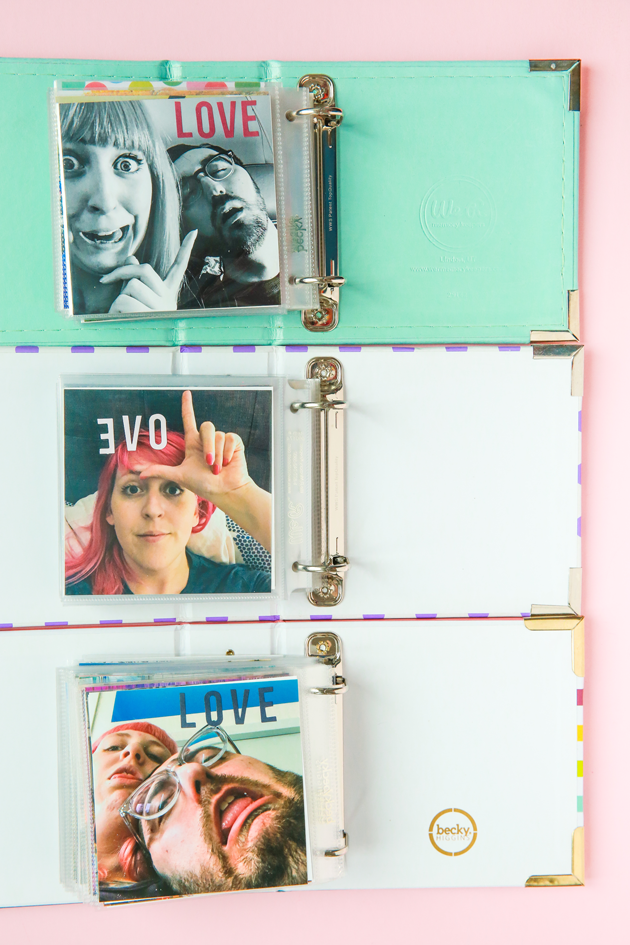 And as sweet as the scrapbook is, I love to end in a funny way. It’s clearly evolved the longer we’ve been together.
 So that’s it! As simple as they are, they’re so so wonderful to pull off the shelf and flip through. My plan is to make one every year that we’re together so that in 30 years we have an entire shelf full. And it’s just something great for our future kids to flip through (I’m not crying, you’re crying)!
I hope this helps you start on your own scrapbooking journey! It’s absolutely worth it!