I’ve always wanted to learn how to print my own fabric, but never had the time or space to invest in it (aside from using rubber and potato stamps that is). Thankfully though, Inkodye exist! With a few steps and even fewer materials, I was able to transform one of my photographs into custom wall art. Here’s how to print fabric with Inkodye:
 Time: 1.5 hours
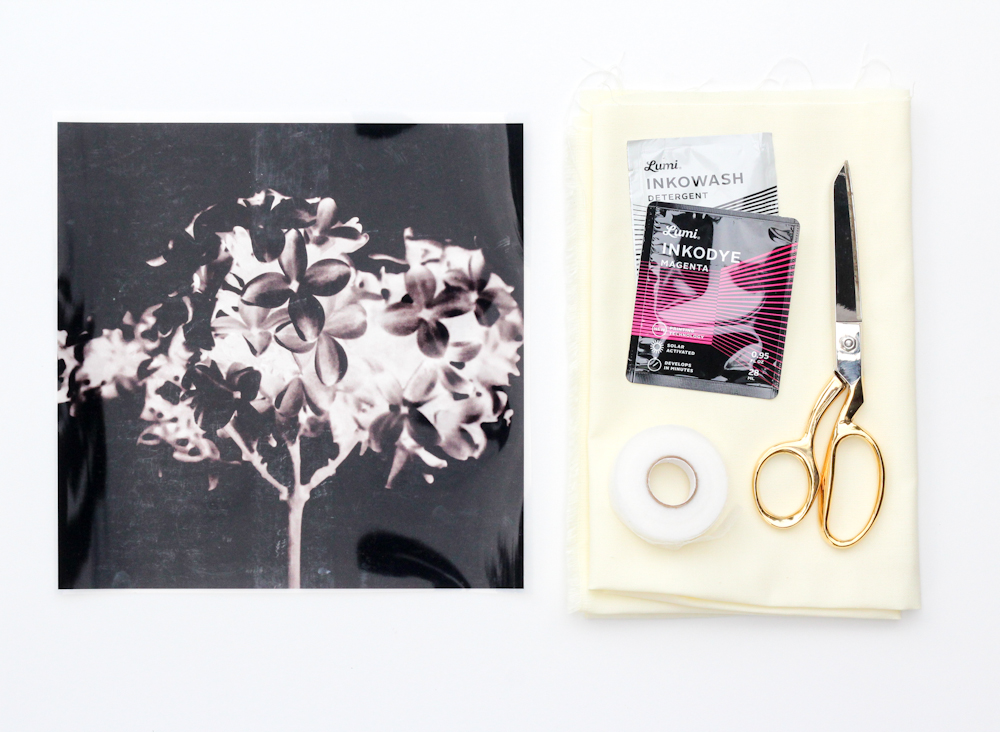
What You’ll Need:
– Natural fabric (cotton, silk, linen, etc)
– Photo negative
Start by working indoors in a shady space so that the ink doesn’t develop before you have a chance to lay your negative over it.
 Shake your inkodye packet then snap open to spread on your fabric. Each packet should cover a 12×12″ area, so use more than one if you want the surrounding area to be dyed too (I used two for this project).
Once you’re done applying the dye, position your photo negative and pin in place. If you don’t know where to get an enlarged copy of a photo negative, you can order one through the Lumi App! I used one of the photos I took for my Instagram Sunday Flower Series (see the original photograph here).
Take your fabric outside and lay in the sun for about 15-20 minutes. The dye will darken significantly from the initial application. When done developing, take inside, remove negative and toss in the wash. You’ll want to use Inkowash and run through a hot/cold cycle twice in order to remove any unexposed Inkodye molecules from your fabric. Once done and dried, your design will be permanent!
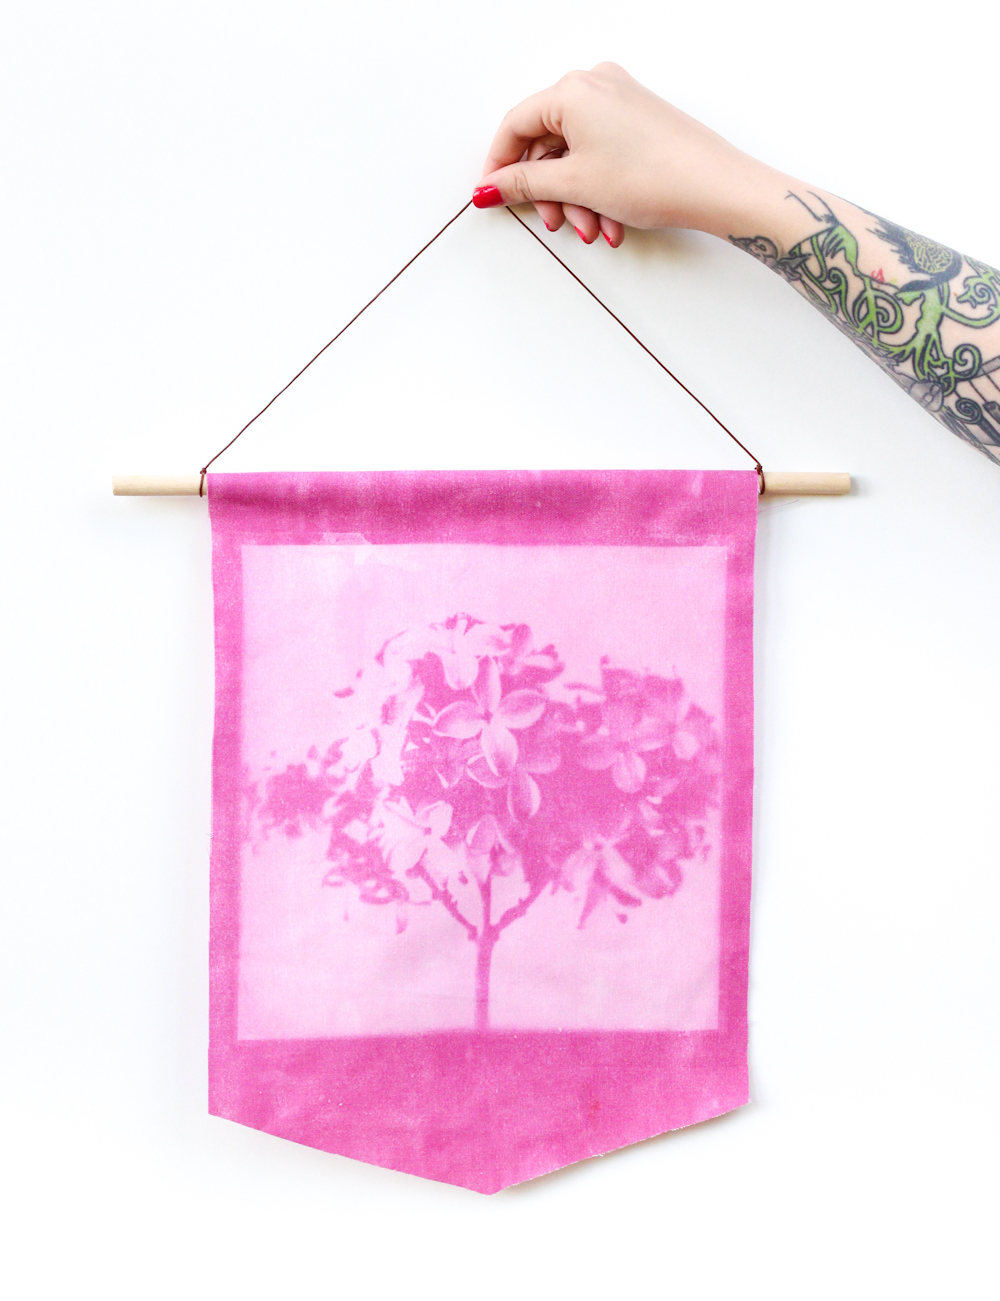
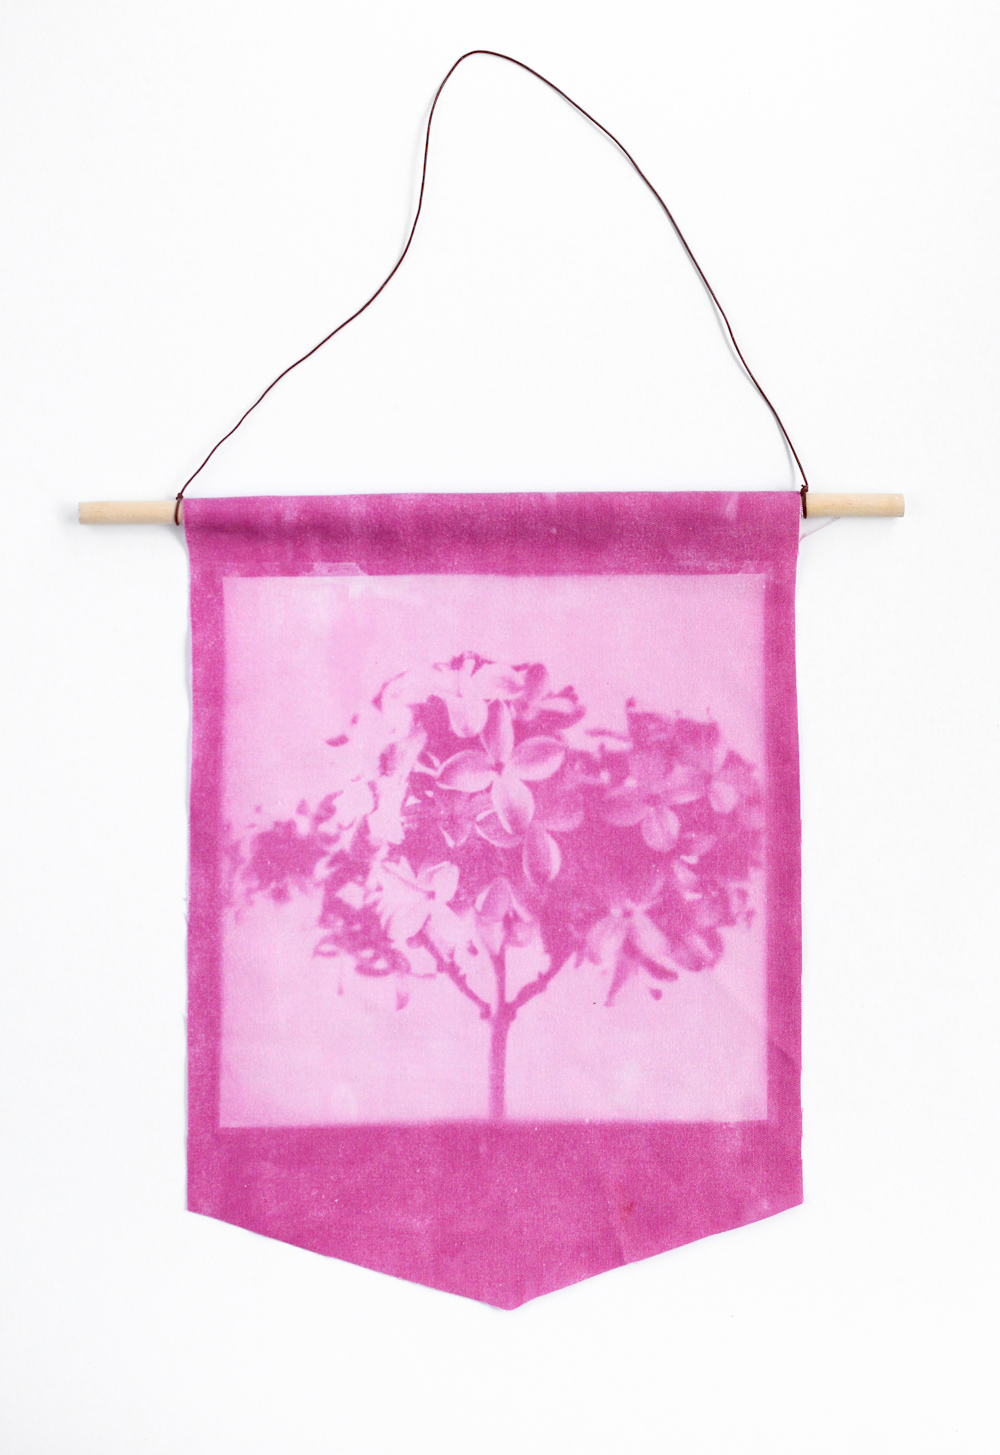 To display, I decided to turn mine into a banner! Here’s how:
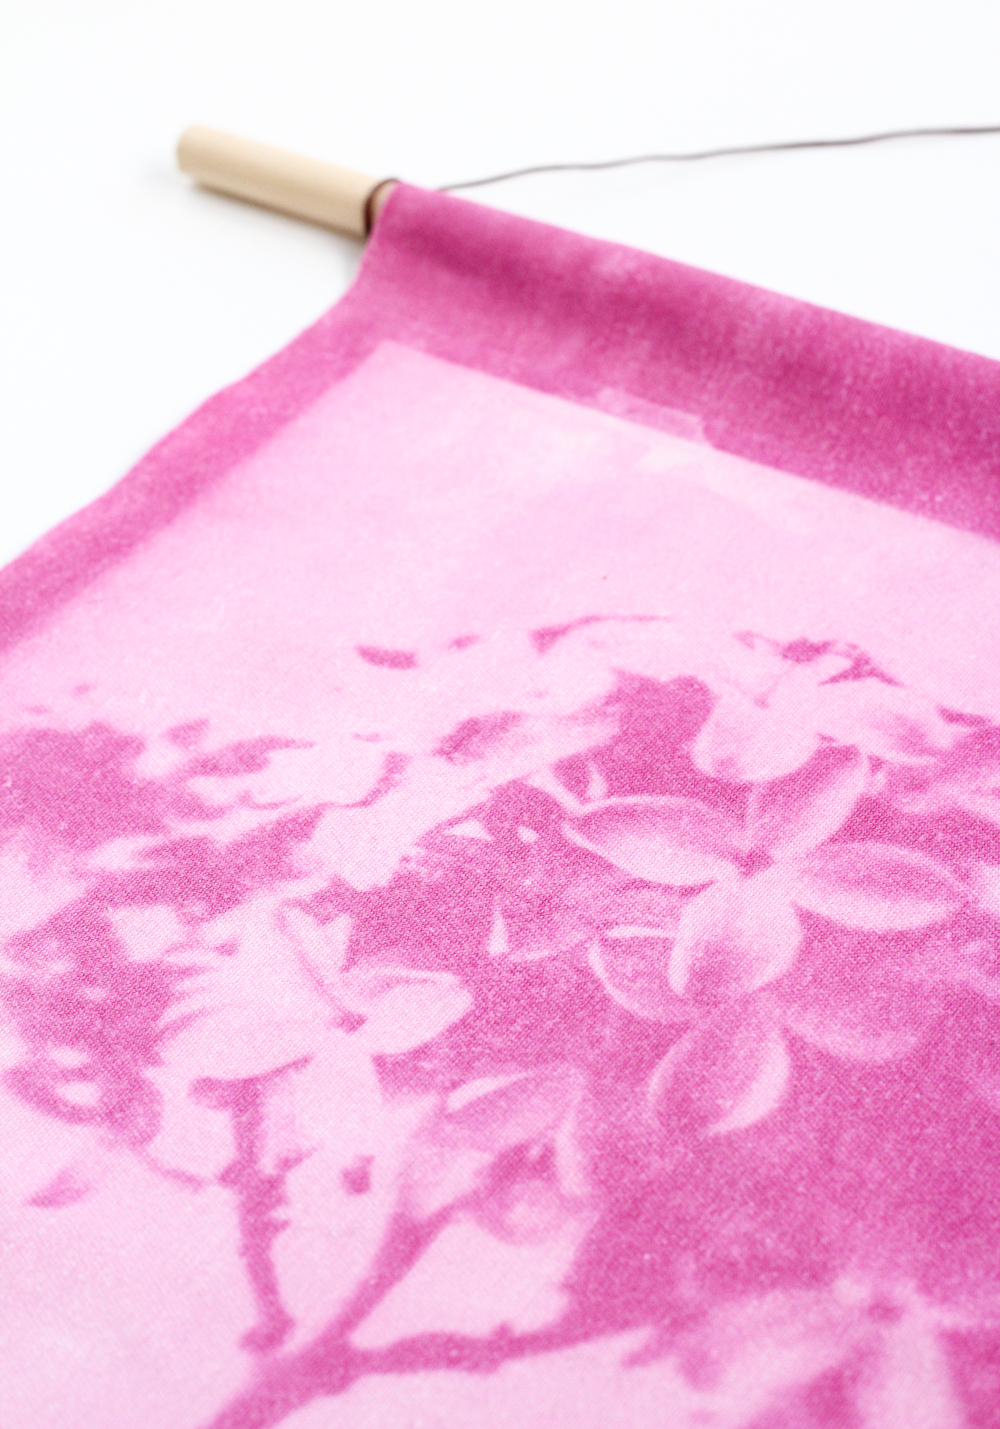
Cut fabric into desired shape, leaving extra room at the top. Fold fabric over dowel rod and seal in place with fusible bonding web. It’s easiest to fold the fabric over the rod (position it in the way it would hang) then remove the rod to iron. Knot a strip of twine or leather cord on either side of your print, then hang on a nail.