This post is sponsored by Mixbook. All opinions expressed are my own. Thanks for supporting the brands that keep The Crafted Life making!
 If you’re like Ryan and me, you want to send a Christmas card, but don’t really want to spend the money to hire a photographer. Well good news– you can totally take the photo yourself! I am so excited to share this post with you guys because boy did we learn a lot during the process. With a little patience, and a bit of trial and error, we were able to get something we both loved. Here’s how to take your own Christmas card photo:
 What you’ll need:
Tripod
Camera*
Wireless remote
*You can absolutely use your phone and the timer mode, but just make sure the tripod you order works with a phone. Also be sure if you want to take a photo from a distance that the remote will reach your camera to trigger the timer.
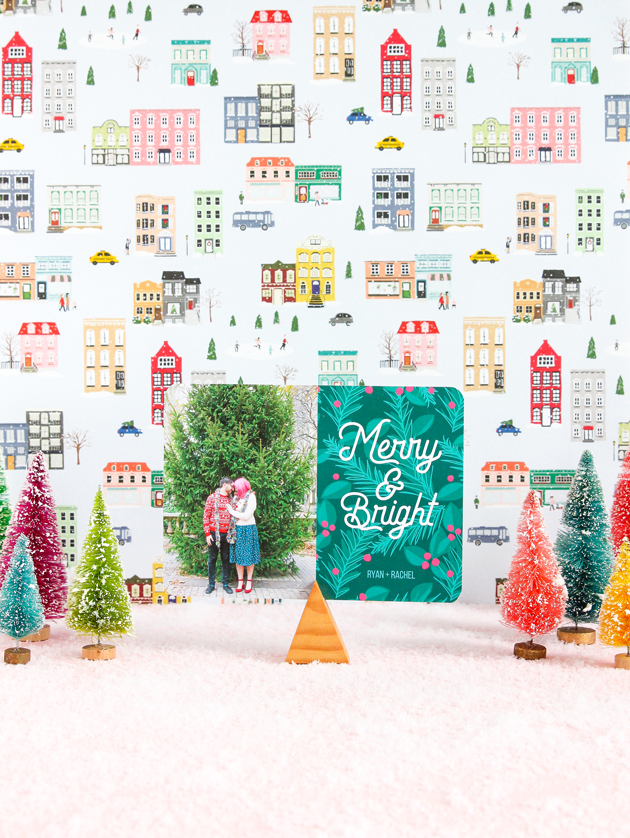
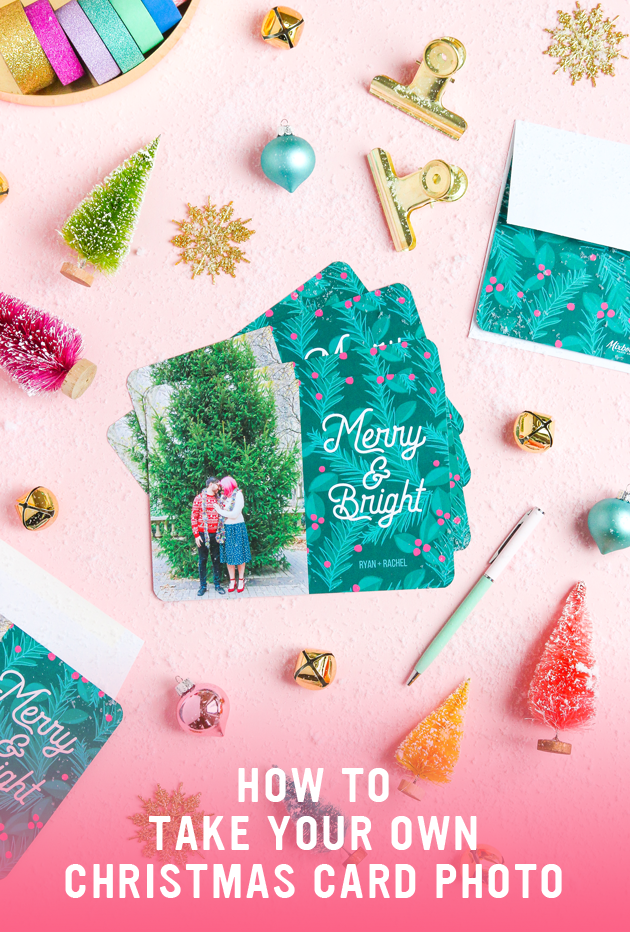
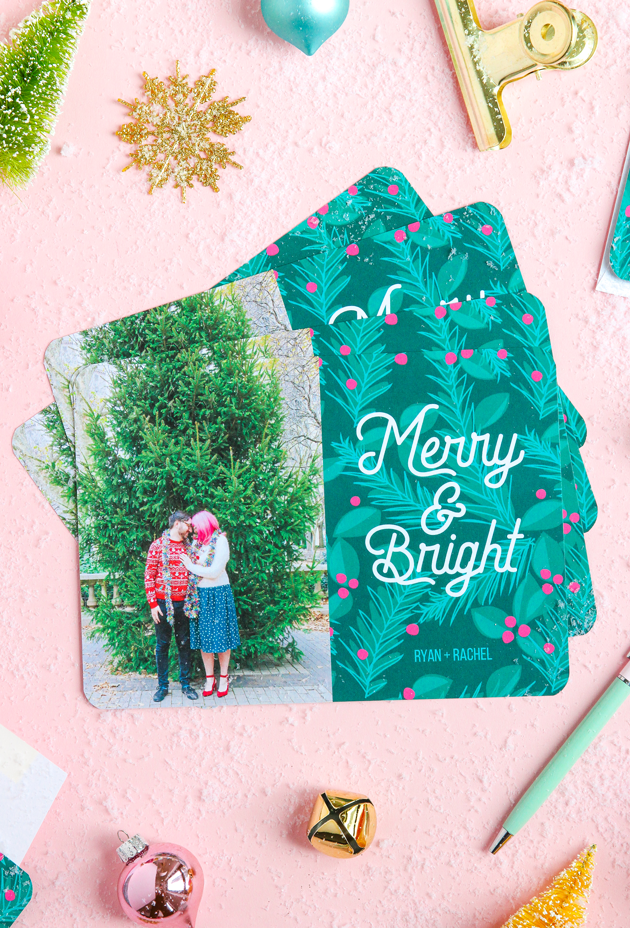
1. Pick your card first. The last thing you want is to take the perfect photo and then realize your dream Christmas card is a different layout (vertical vs horizontal). We found our card on Mixbook (shop it here) and let me tell you, we had a hard time finalizing it because there’s so many good ones. They even have an entire line of foil cards for that extra holiday sparkle.
2. Plan the details ahead of time. Make sure to have your outfits, props, and location all picked out before the day of the shoot. Shooting is stressful enough that this will help the process go smoothly. It will also ensure that you don’t clash with your location. If you can, go to the specific a day or two before and take a test photo. Don’t forget to charge your camera the night before!
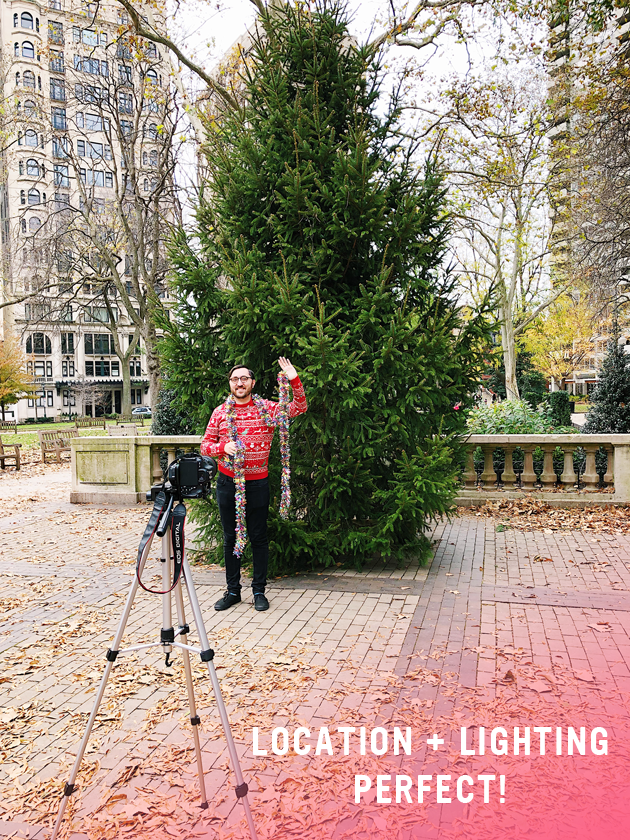
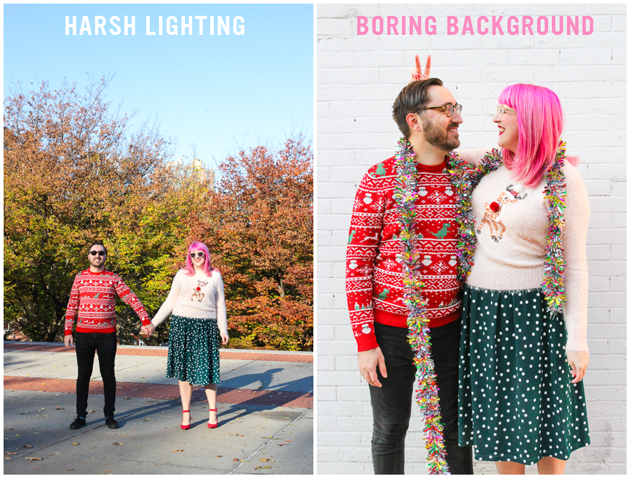 3. Have flexibility. We ended up shooting over two days because of lighting and unseen location issues. The park by our house was the first choice, but the lighting that day was just too harsh. On the way home we stopped by the white wall where I shoot a lot of projects in front of, but it came out a little boring and not so holiday. We were finally able to find a tree that was perfect for what we had in mind!
For the lighting, an overcast day will give you a balanced look without shadows. If you’re shooting on a sunny day, consider shooting closer to golden hour for that warm glow. Another reason to visit your location before shoot day is to know where the sunlight falls at what time so you can optimize your shoot time.
 4. Frame + shoot! On shoot day, have one person stand in position to make sure you get the framing and focus correct right away. Because you have a wireless remote, take as many photos as you want. Try posed, candid, close, apart, try it all! Just remember to hide the remote in your hand!
 Once you’ve taken the photos, give them a quick edit and then order those cards. If you have any questions about the process, I’m happy to answer them in the comments! Happy photo taking!