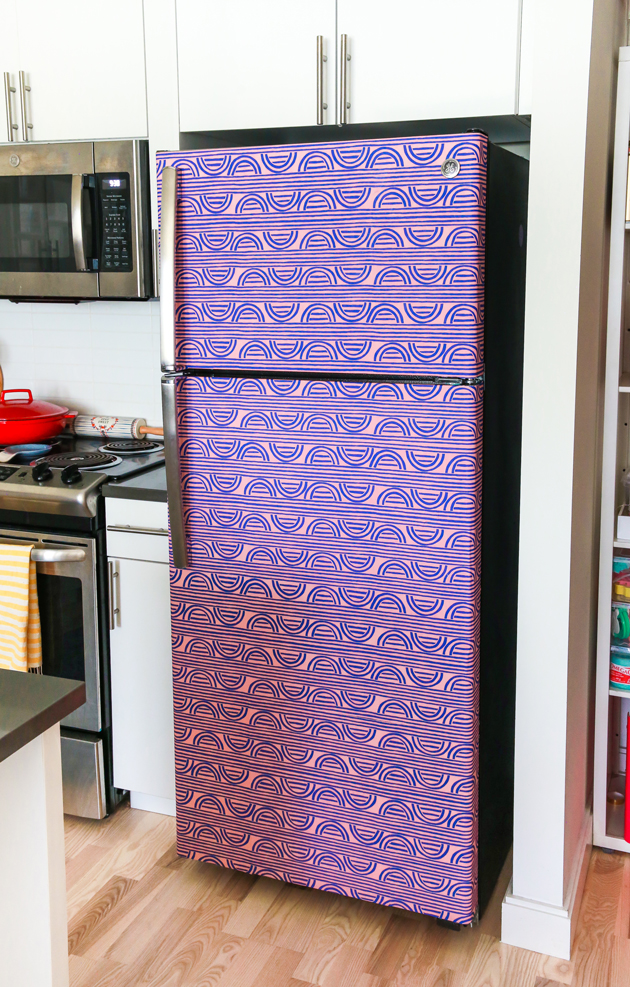
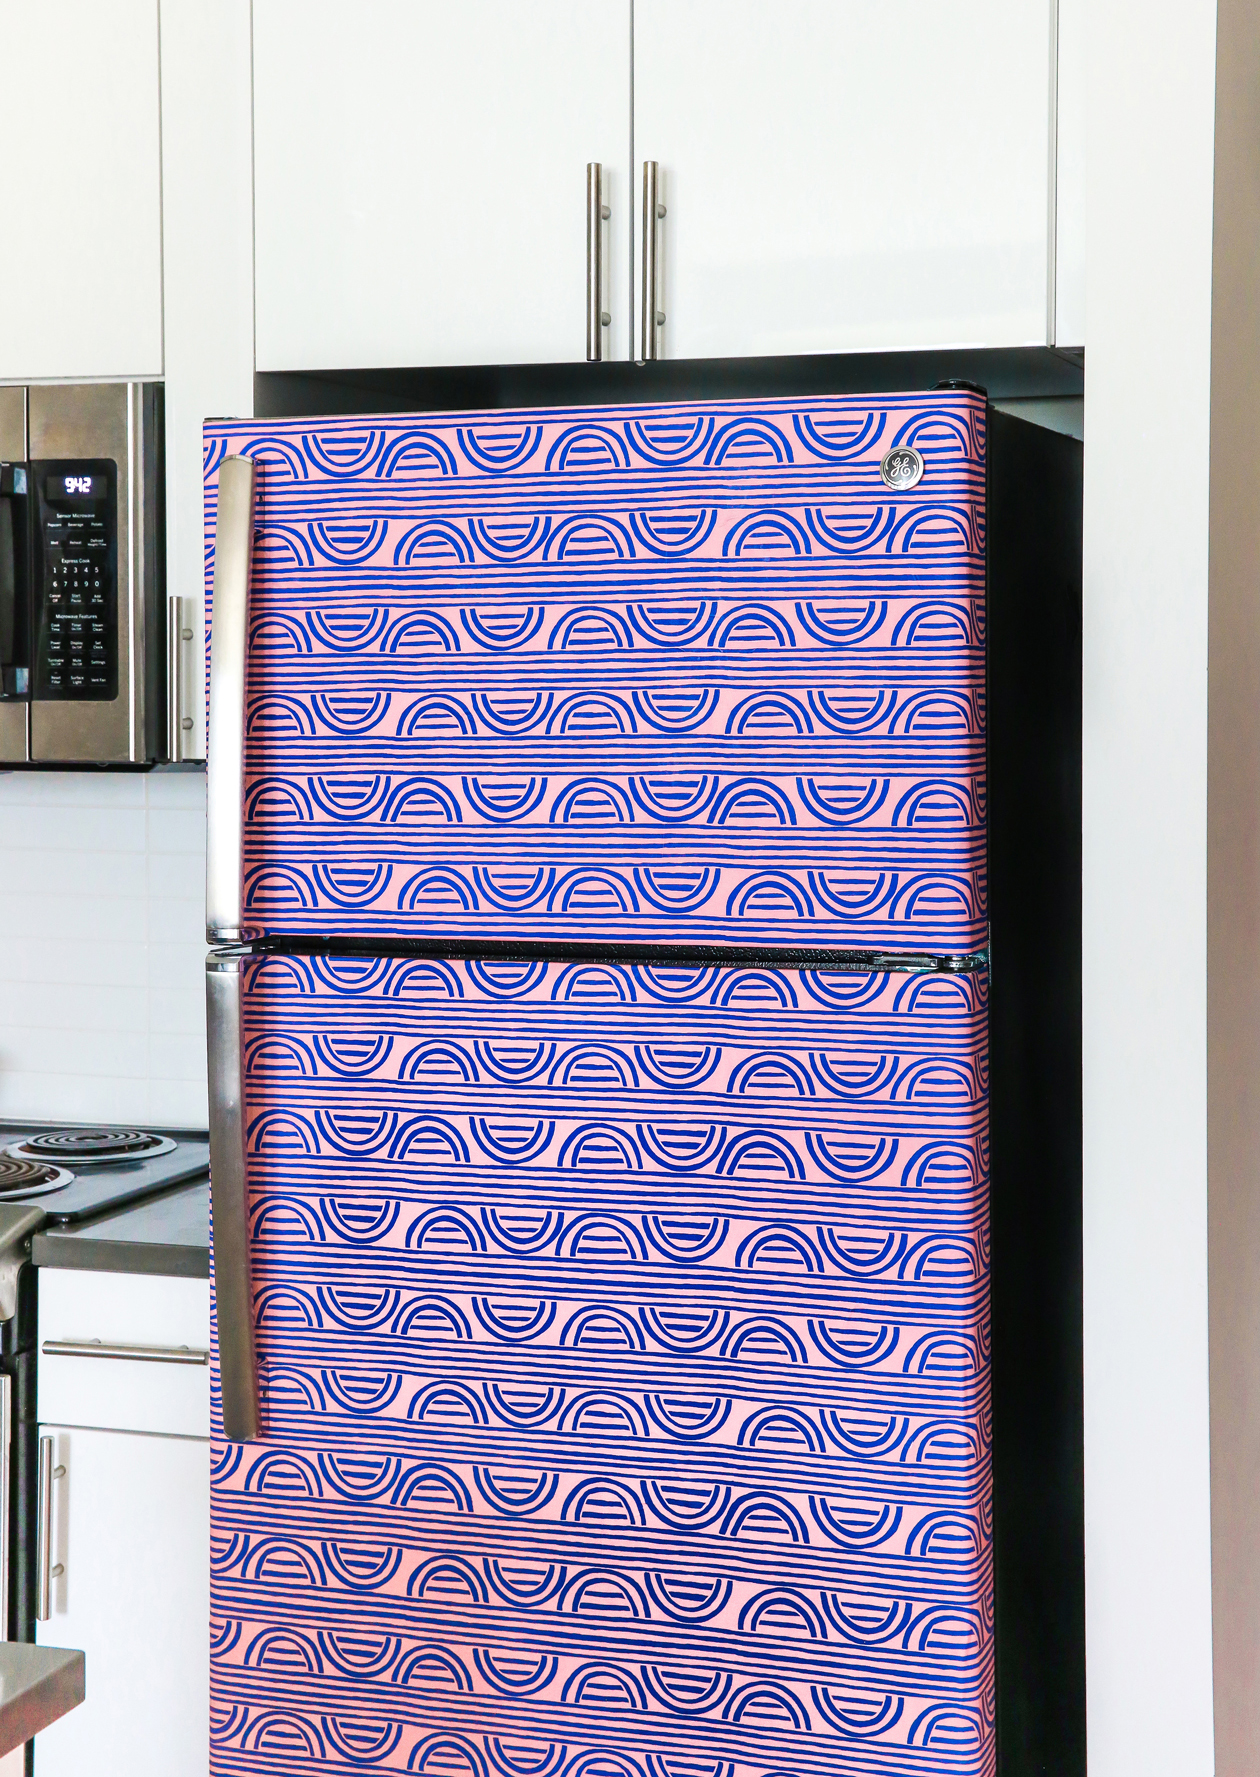
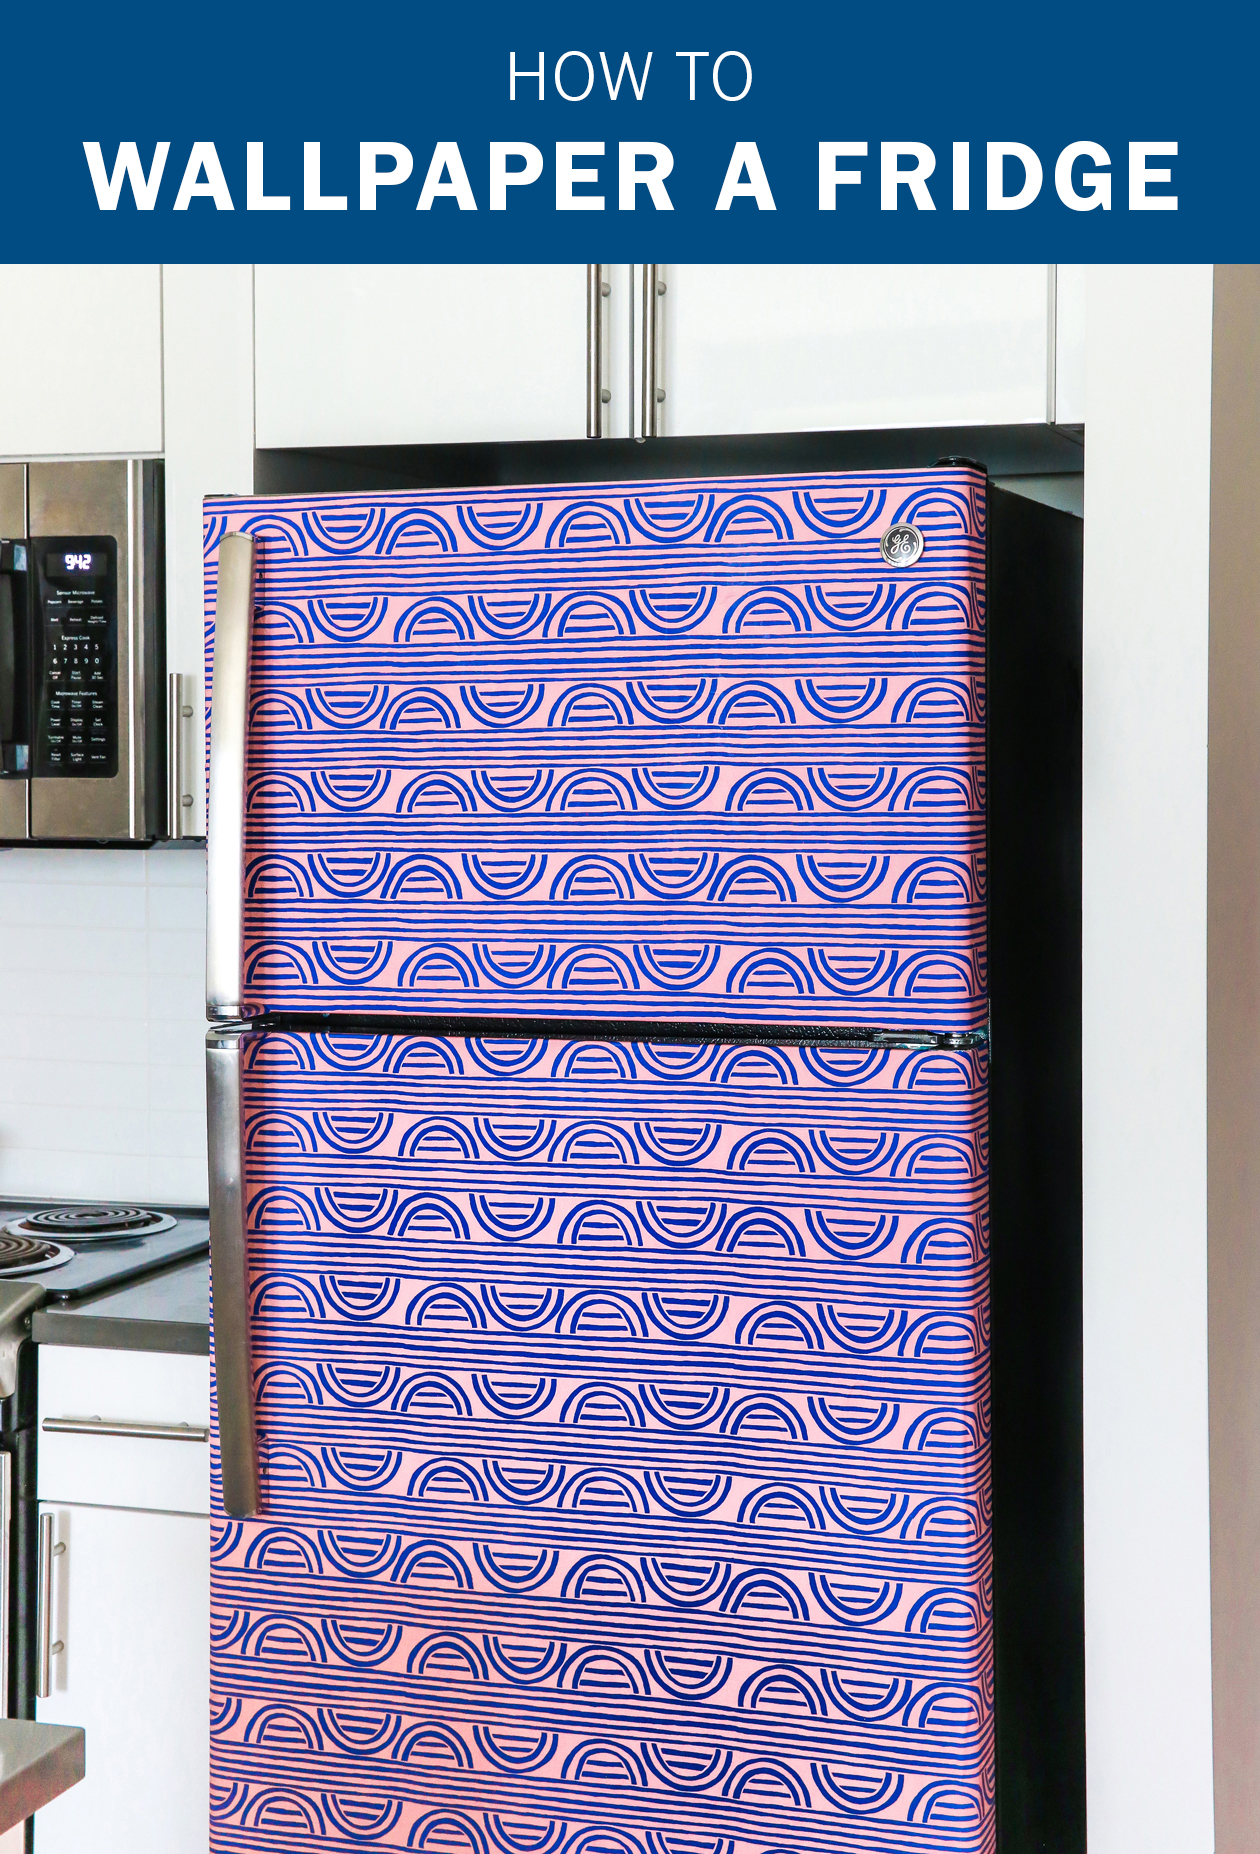
 Truthfully, I hate stainless steel. At least cleaning it, because I’ve never found a way to make it actually look clean. Plus all of the harsh metal really just doesn’t spark any joy for me. Because all of our apartment appliances are stainless steel, our kitchen was lacking a bit of color and personality. So of course I had to go with a DIY solution! Learning how to wallpaper your fridge is the the perfect renter friendly solution if you’re looking to add a bit of fun to your kitchen or if you can’t spring for a new fridge.
Here’s how to wallpaper your fridge:
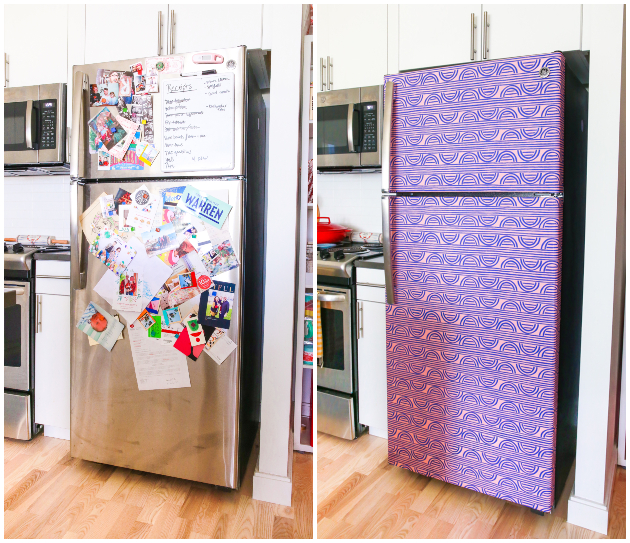 I’ve been in love with the idea of a wallpapered fridge ever since I saw Amanda Evanston do this to her fridge years ago. I don’t know why it took me so long, but I finally took the plunge and it’s a GAME CHANGER!
What You’ll Need to Wallpaper your Fridge
This post contains affiliate links
– Removable wallpaper (here’s the one I used)
– Scissors
– X-Acto knife
– Rubber scrapper or spatula
– Tape measurer
When ordering your wallpaper, please make sure to measure twice beforehand. I made the mistake of not ordering enough the first time and had a section left at the bottom undone until I was able to get more wallpaper in. Also make sure your fridge is actually stainless steel vs just being coated to avoid any damage upon removal. When is doubt, do a small test swatch first!
Before You Start Wallpapering
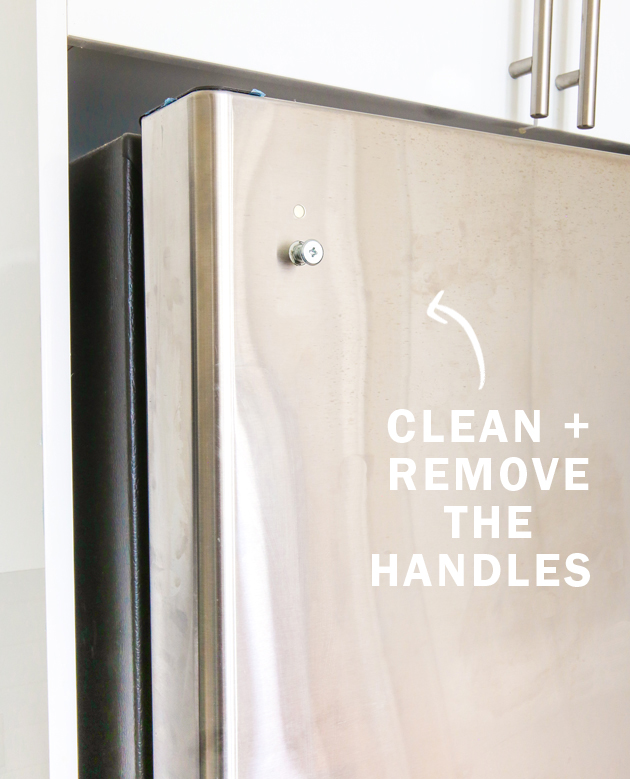
Start by taking everything off of your fridge and removing the handles. Wipe the entire surface down with soap and water to make sure it’s clean.
Measure your fridge and the panels and trim if necessary. Instead of looking at the fridge doors as two different sections, wallpaper over the entire surface including the space between the doors. Once you’re done, you can go back in with an X-Acto knife to cut and trim. This will save you so much wallpaper and make it easier on you in the long run!
How to Wallpaper a Fridge
It’s easiest to pick a corner and work from there (I started with the top right corner on the top of the fridge). Once your wallpaper is aligned in the corner, remove about 3″- 6″ of backing at a time to stick in place, removing air bubbles with your rubber scrapper or spatula as you work. I cannot stress that part enough. If you remove too much of the backing, you’ll most likely mess it up and have a ton of air bubbles! It helps to have a second person to hold the paper as you move and work.
You may have branding or surfaces on the fridge that are causing a bubble underneath the paper. With your X-Acto knife, cut a small X on top to bring to the surface (trimming around them).
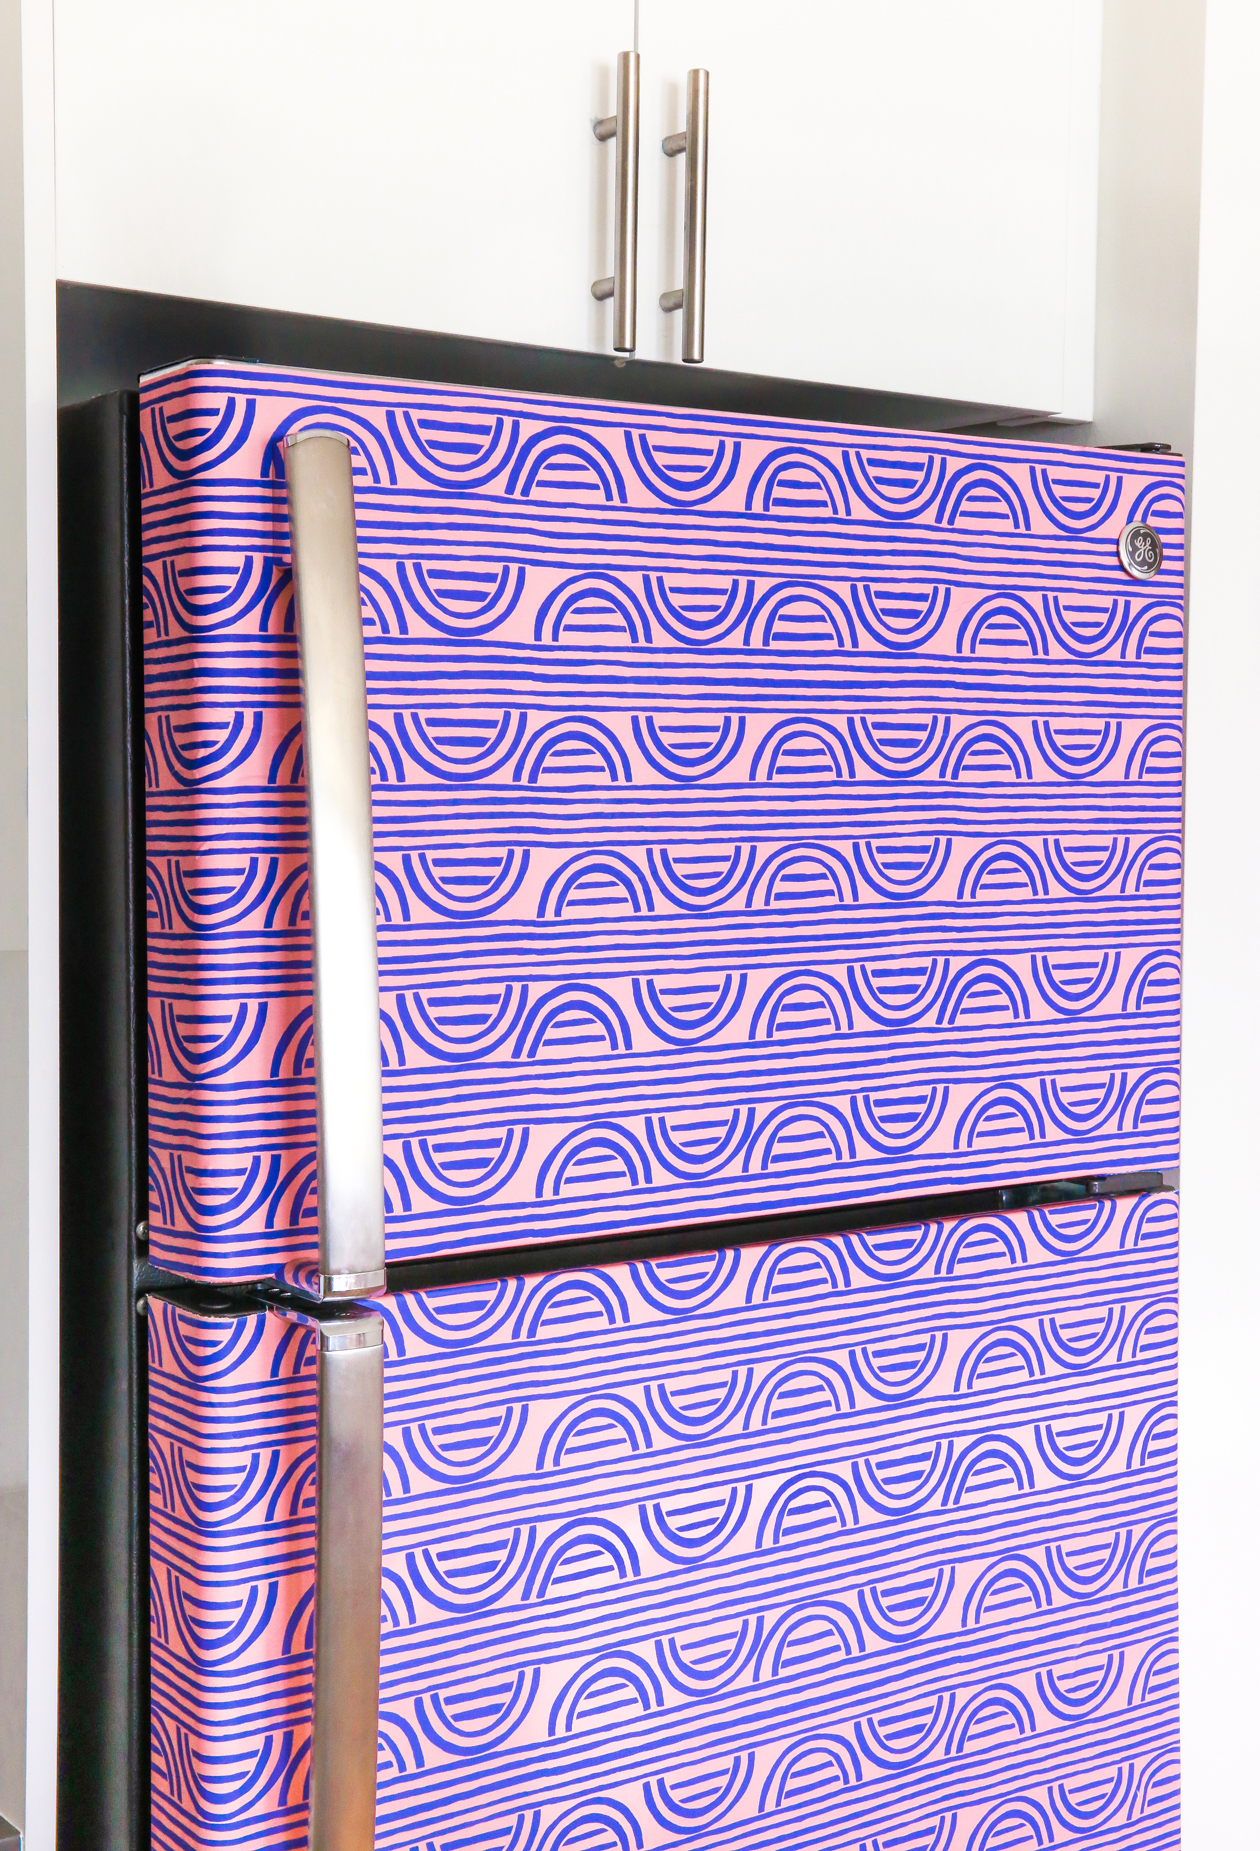 Continue until the entire fridge is covered, matching your panels on top of one another as you work. Force out remaining air bubbles with your spatula (there should be a popping sound once they’re gone), then trim away any excess paper.
Put your handles back on and you’re all done!
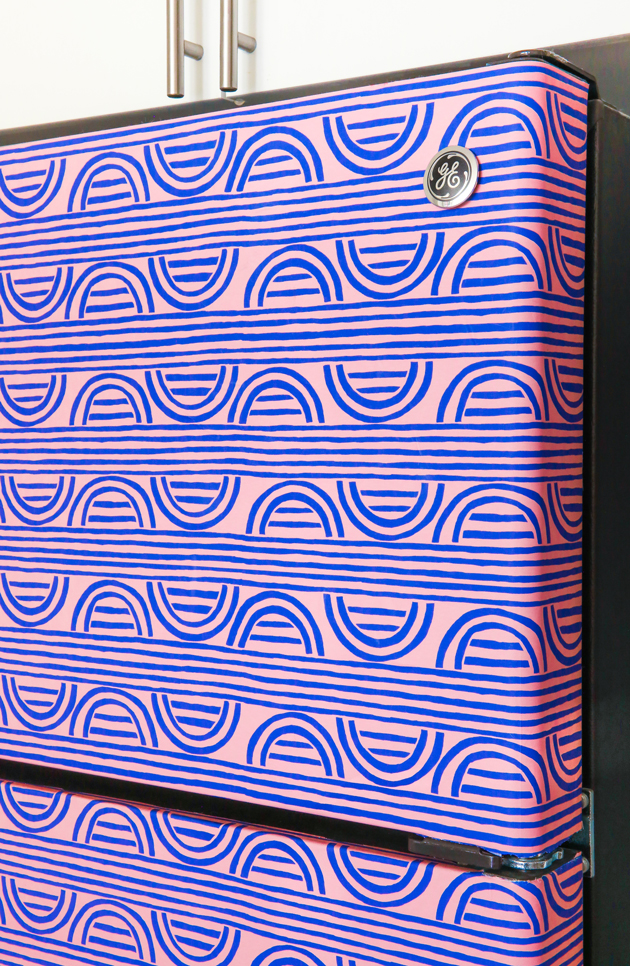 Here’s a TikTok I made of the process if you’d like to see a video of the process in action. The pattern is SO fun, but I also love how much nicer/cleaner the surface of the fridge is. The texture of the wallpaper also makes it easy to wipe down. While it wasn’t the cheapest or overall easiest DIY to do, it was absolutely worth it in the end.
What do you think?! Is this something you’d ever have in your home?
**Update: I took the wallpaper down when we moved. You can see the process of removing the wallpaper here!**

