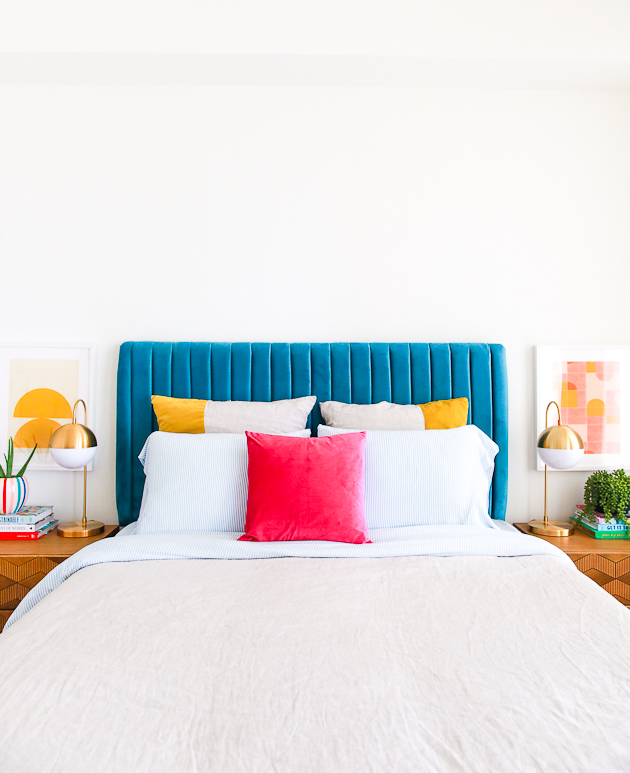
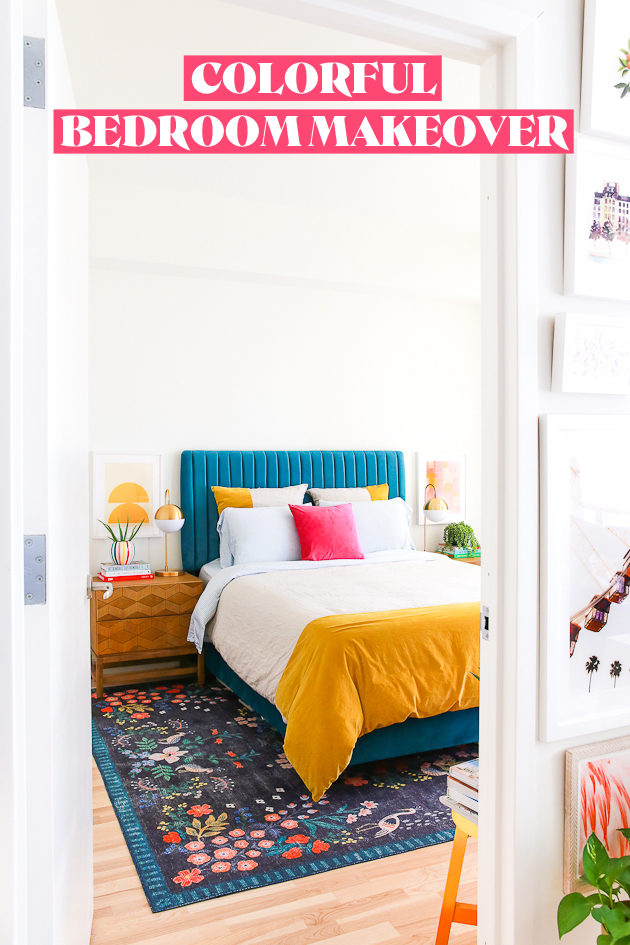
 It’s finally here!! Our colorful bedroom makeover!! I’ve been working on this for so long, that I can’t believe I’m actually posting about it. The last time I gave my bedroom a makeover was back in 2016 (remember this?!). Since then, a lot has changed. Not only is my style a bit different, but I also moved to NYC (hello less space), AND I live with Ryan. Clearly it was time for an upgrade and to make a space for the both of us. It’s a mix of purchased items + DIY and I can’t wait for you to see it all! Here’s what our bedroom looks like now:
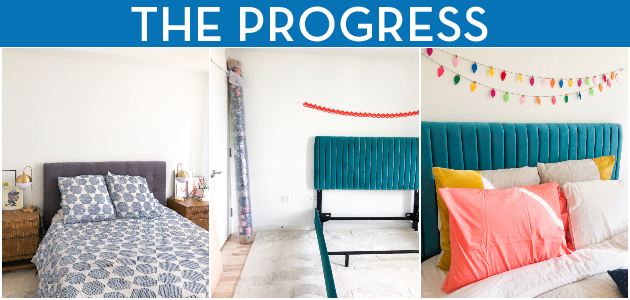 If there’s any advice I could give to all of you reading this right now, it’s don’t ever let the internet or TV trick you into thinking that you have to remake your house in a week. All together I think this makeover took about a year (you can tell by the different holiday garlands above the bed). We actually didn’t even have side tables for a while after moving in together. We upgraded the pieces we didn’t like a little at a time and eventually it all came together. There was always a mood board and a plan, but our budget just didn’t allow for us to go on a shopping spree to get everything at once.
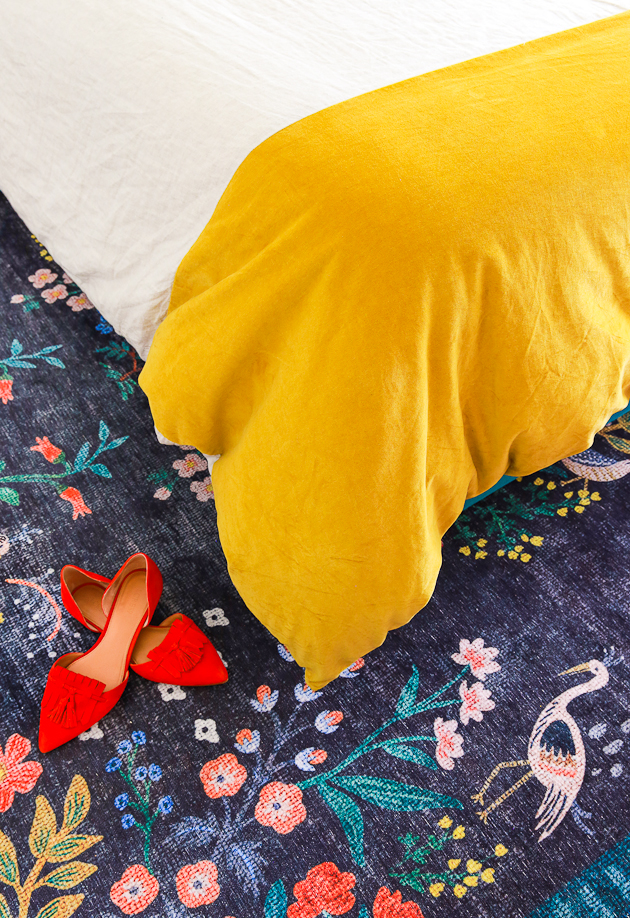
We started with new side tables and lamps, then the bed, rug, and finished linens and accessories. And OMG the linen changes. If you followed along on Instagram (there’s a story highlight if you missed it), then you know I tried multiple duvet covers and sheet options before deciding on what’s photographed here.
 Truthfully I don’t know if the space would’ve come together as perfectly as it did if it wasn’t for us taking our time and creating room for trial and error. When shopping for items for your home, if you’re not entirely sure how it’ll work in your place, be sure to check the return policy before you start shopping. That will allow you to see how something looks in your space before committing to it 100%.

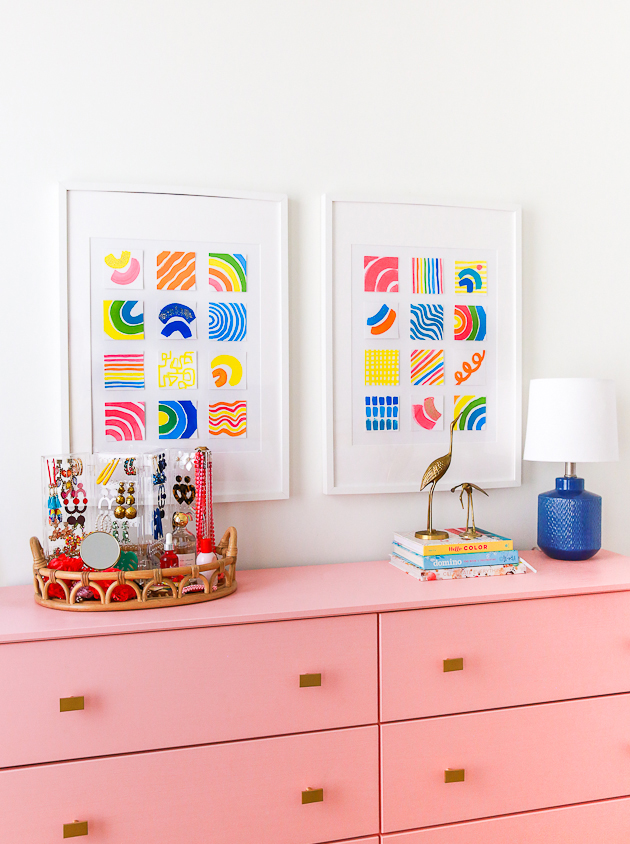
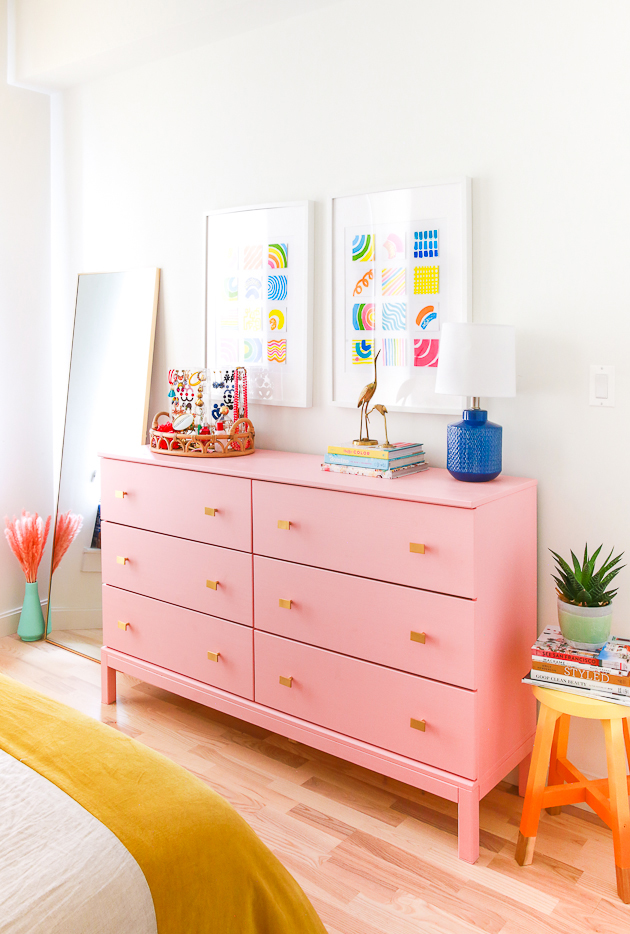 Another upgrade that I did last year that you might remember is this Ikea Dresser Hack and DIY Wall Art! Both are such excellent ways to add a little DIY into your home and to save you a bit on money so that you can splurge on other items (for us the splurge item was the rug).
The painted stool is also another DIY that I did for another site I contribute to (check out the tutorial here).
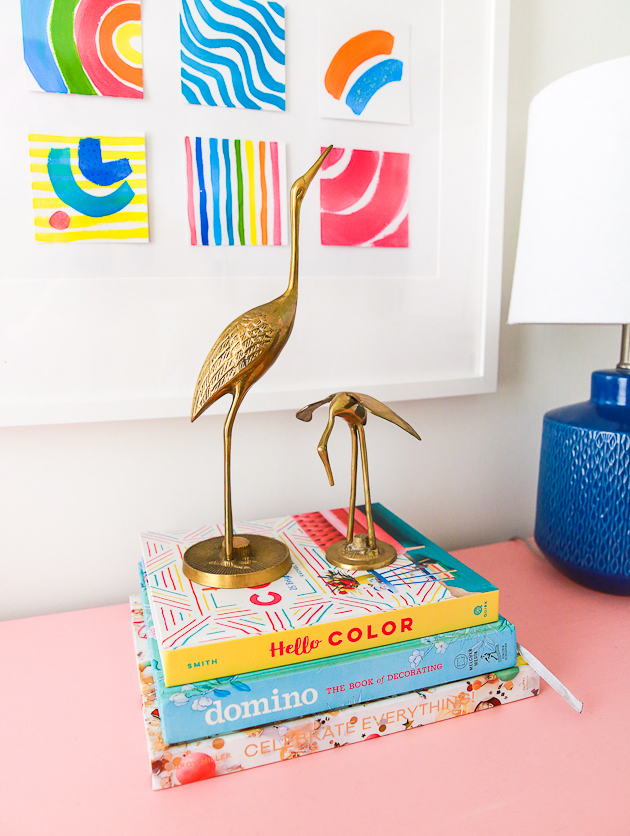 My friend Julie gave me these vintage brass birds for my birthday and they’re the perfect compliment to all of the newer items in the room. Sometimes when you buy all new things, it helps to balance it out the newness with a vintage element or two. Plus it’s just really fun to hunt for treasures!
 So that’s it! We are so so happy with the end result and I really hope you like it too! Because I know there will be questions, here’s all the shopping sources:
Bed Frame | Sheets | Rug | Side Tables | Lamps | Duvet Cover (on sale now) Earring Holder | Art #1 | Art #2 | Mirror
If there’s anything I didn’t link to, or if you have any questions at all, just leave a comment below and I’ll do my best to help!