Time: 1 hour
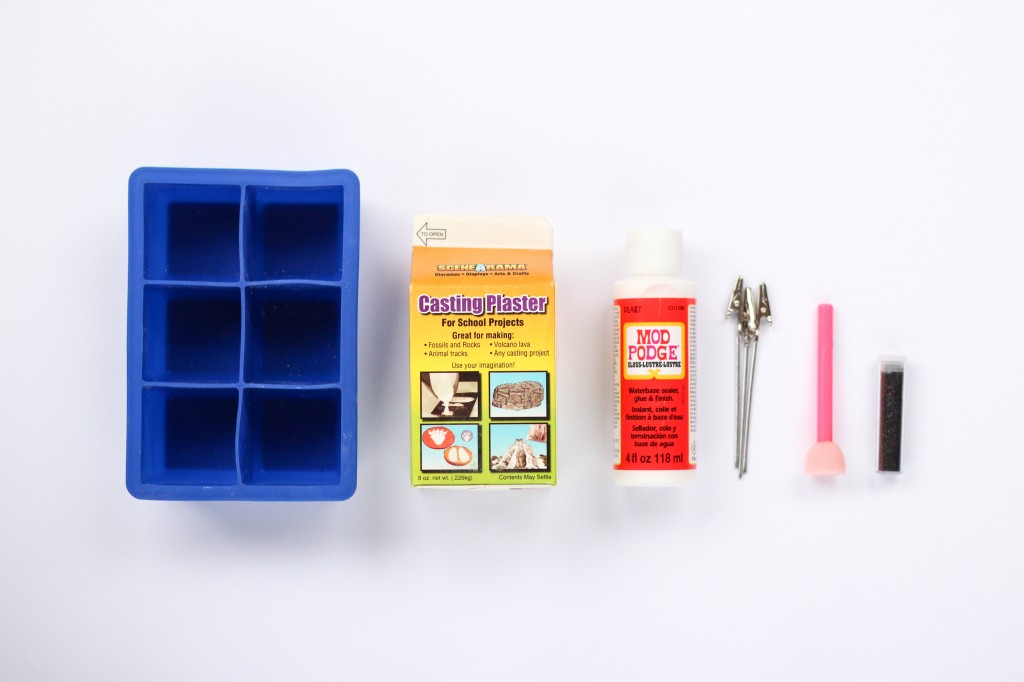
Materials: Darby Smart Kit
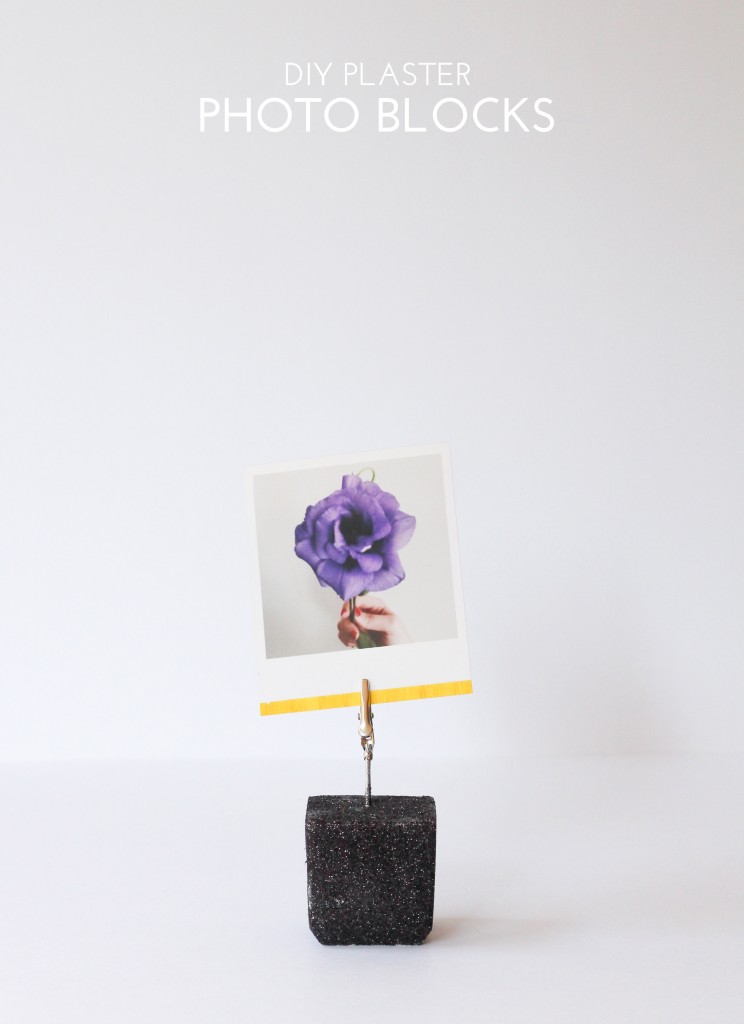
As much as I love taking photos, I’m terrible at displaying them. Perhaps it’s my inability to hang a picture level or because there’s something about frames that seems so permanent, but I have boxes (and bowls) of photos just dying to be seen. If you have framing commitment issues like me, then consider these plaster photo blocks the perfect solution.
If you’ve never worked with plaster before, this project is fairly painless, so take a sigh of relief and keep reading!
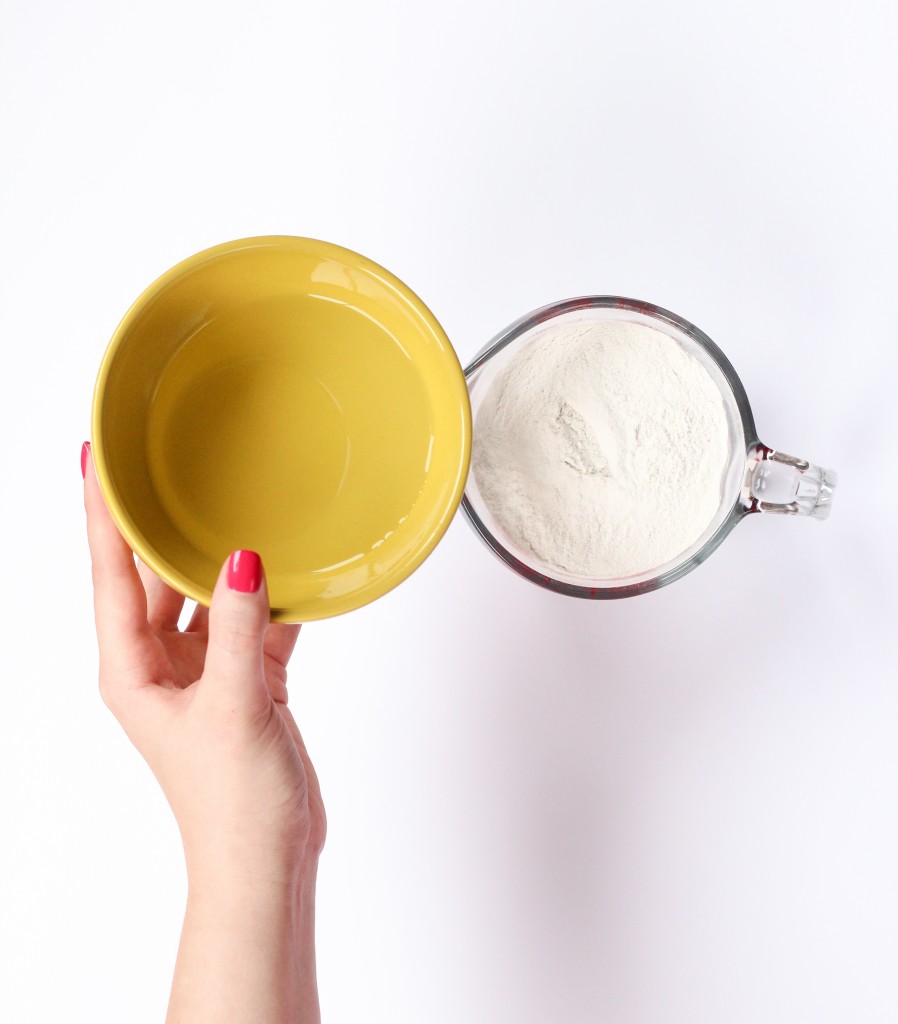
To make your plaster, measure out all the ingredients before stirring together. It’s a time sensitive material, so the faster you can stir and pour, the better! 2 cups plaster mix and ~10.5 tbsp water will produce 3 blocks.
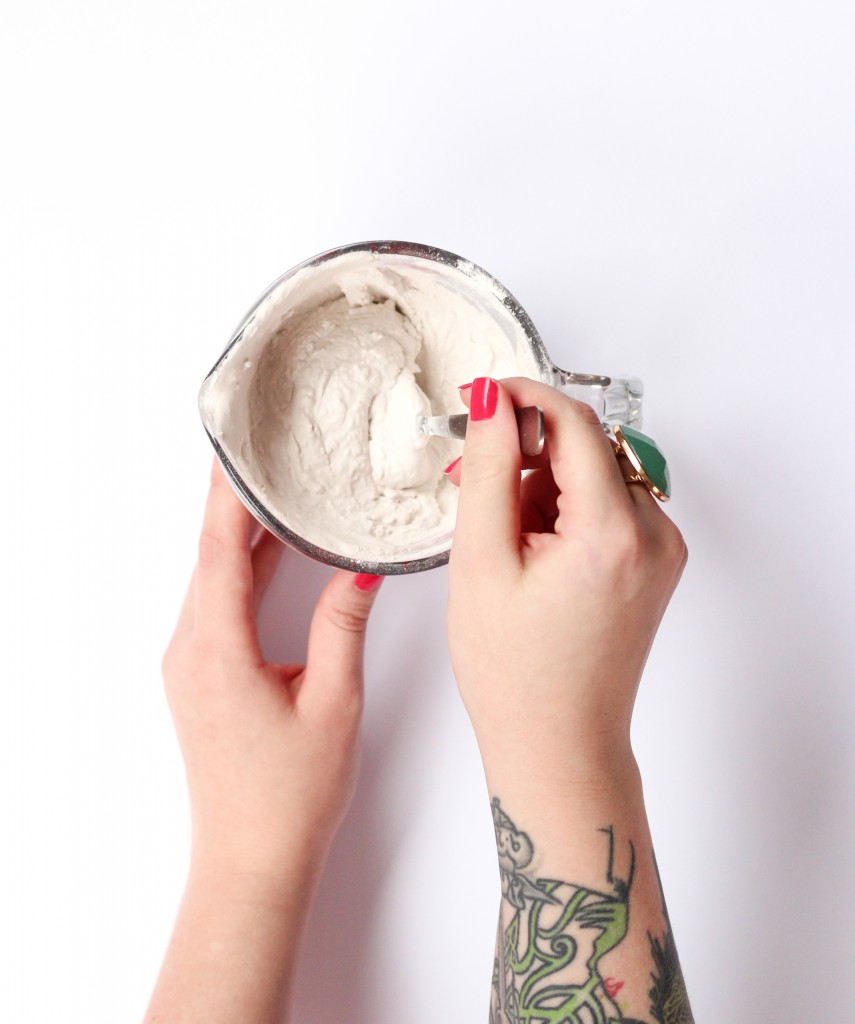
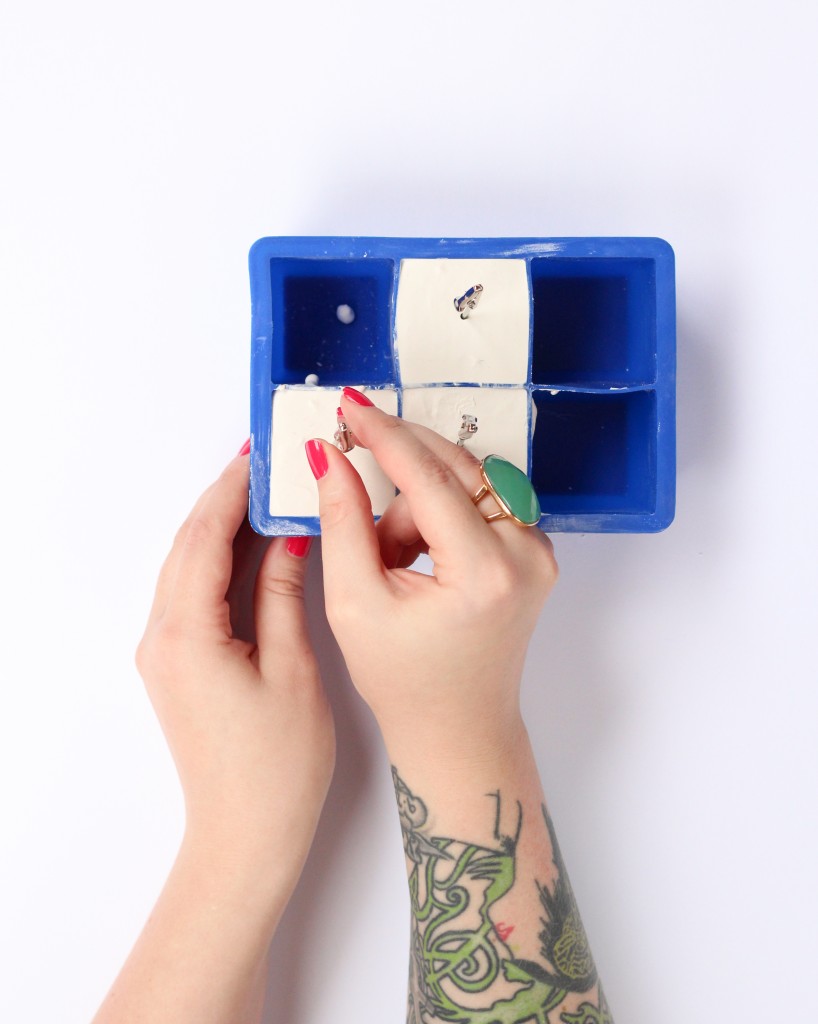
Combine plaster mix and water then stir until smooth. Pour directly into the mold until plaster reaches the top. Tap mold gently on a hard surface to remove any air bubbles.
Let plaster firm for about 3-5 minutes, then push your alligator clips into the mold. Make sure to center your clips and have the heads face out so photos display forward when dry. Let dry in mold for 35 minutes or until completely set (overnight).
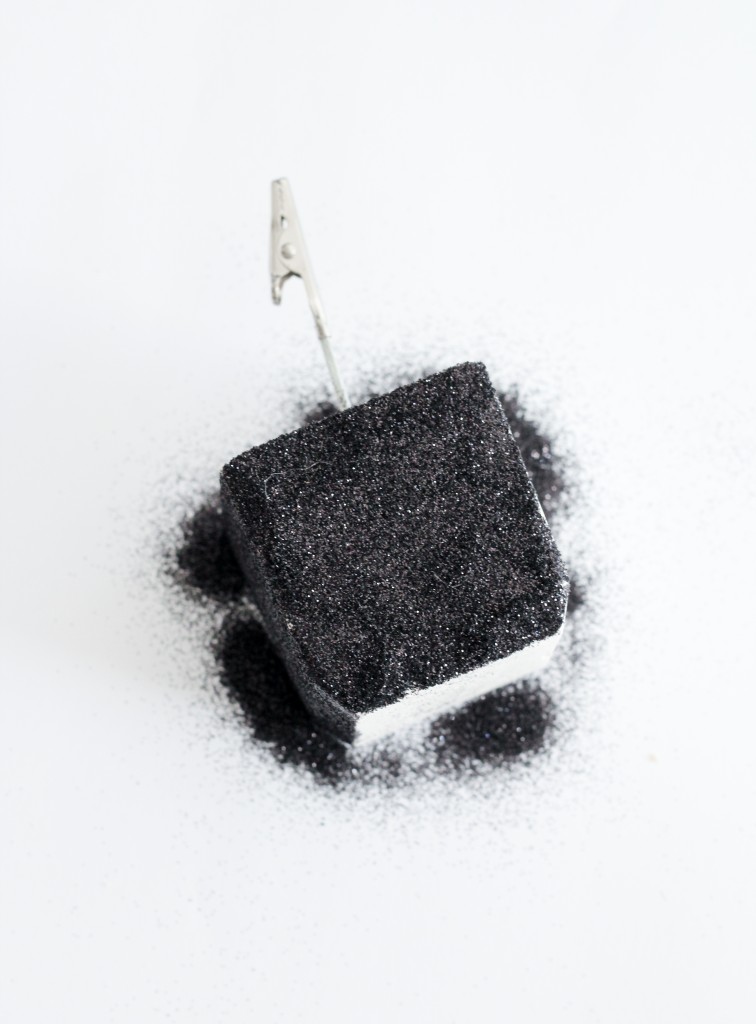
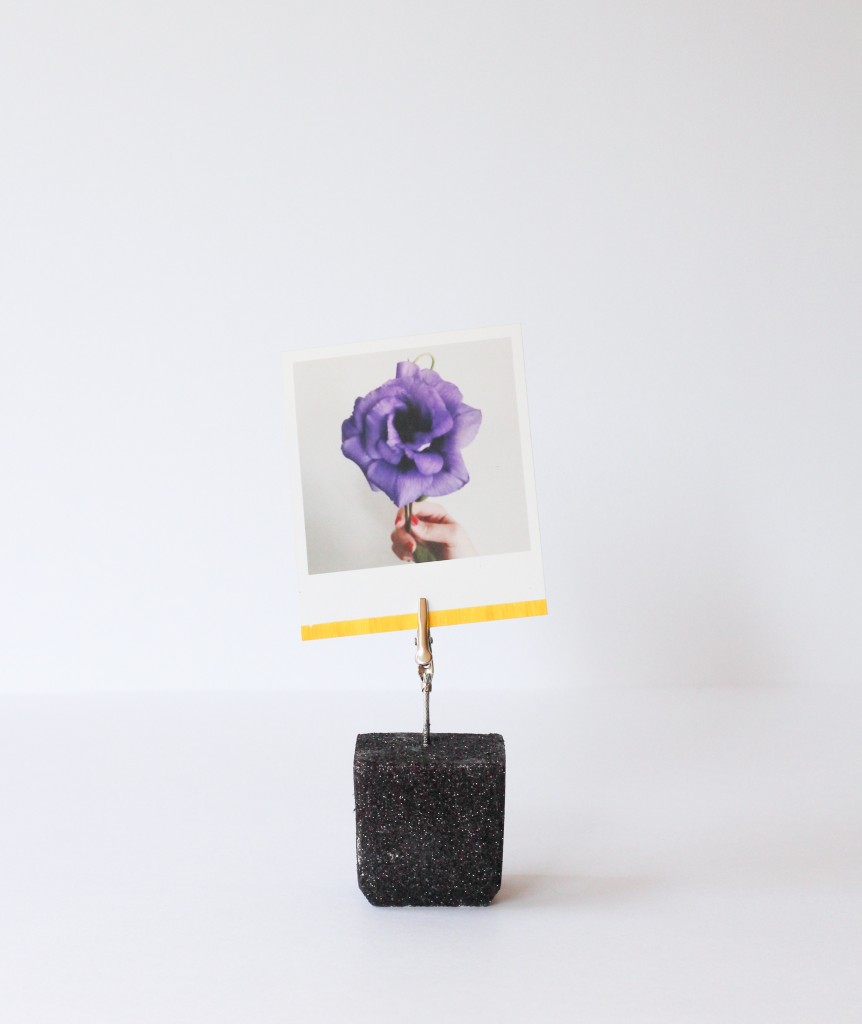
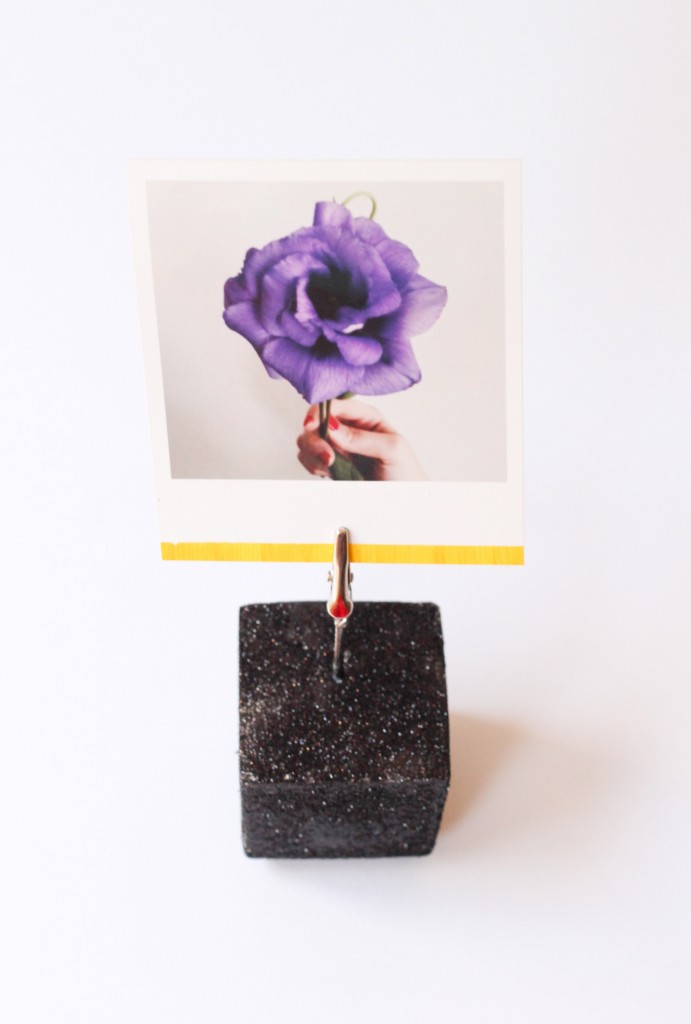
Remove from the mold and decorate! Mod Podge + glitter is always a winning combination. Once done, add your photos and display. These blocks make it easy to swap out photos, notes, and cards on a moments notice without damaging your pictures or walls.
Fun news! My Glitter Dipped Photo Block Kit on Darby Smart now comes with black glitter. Get yours here today!

