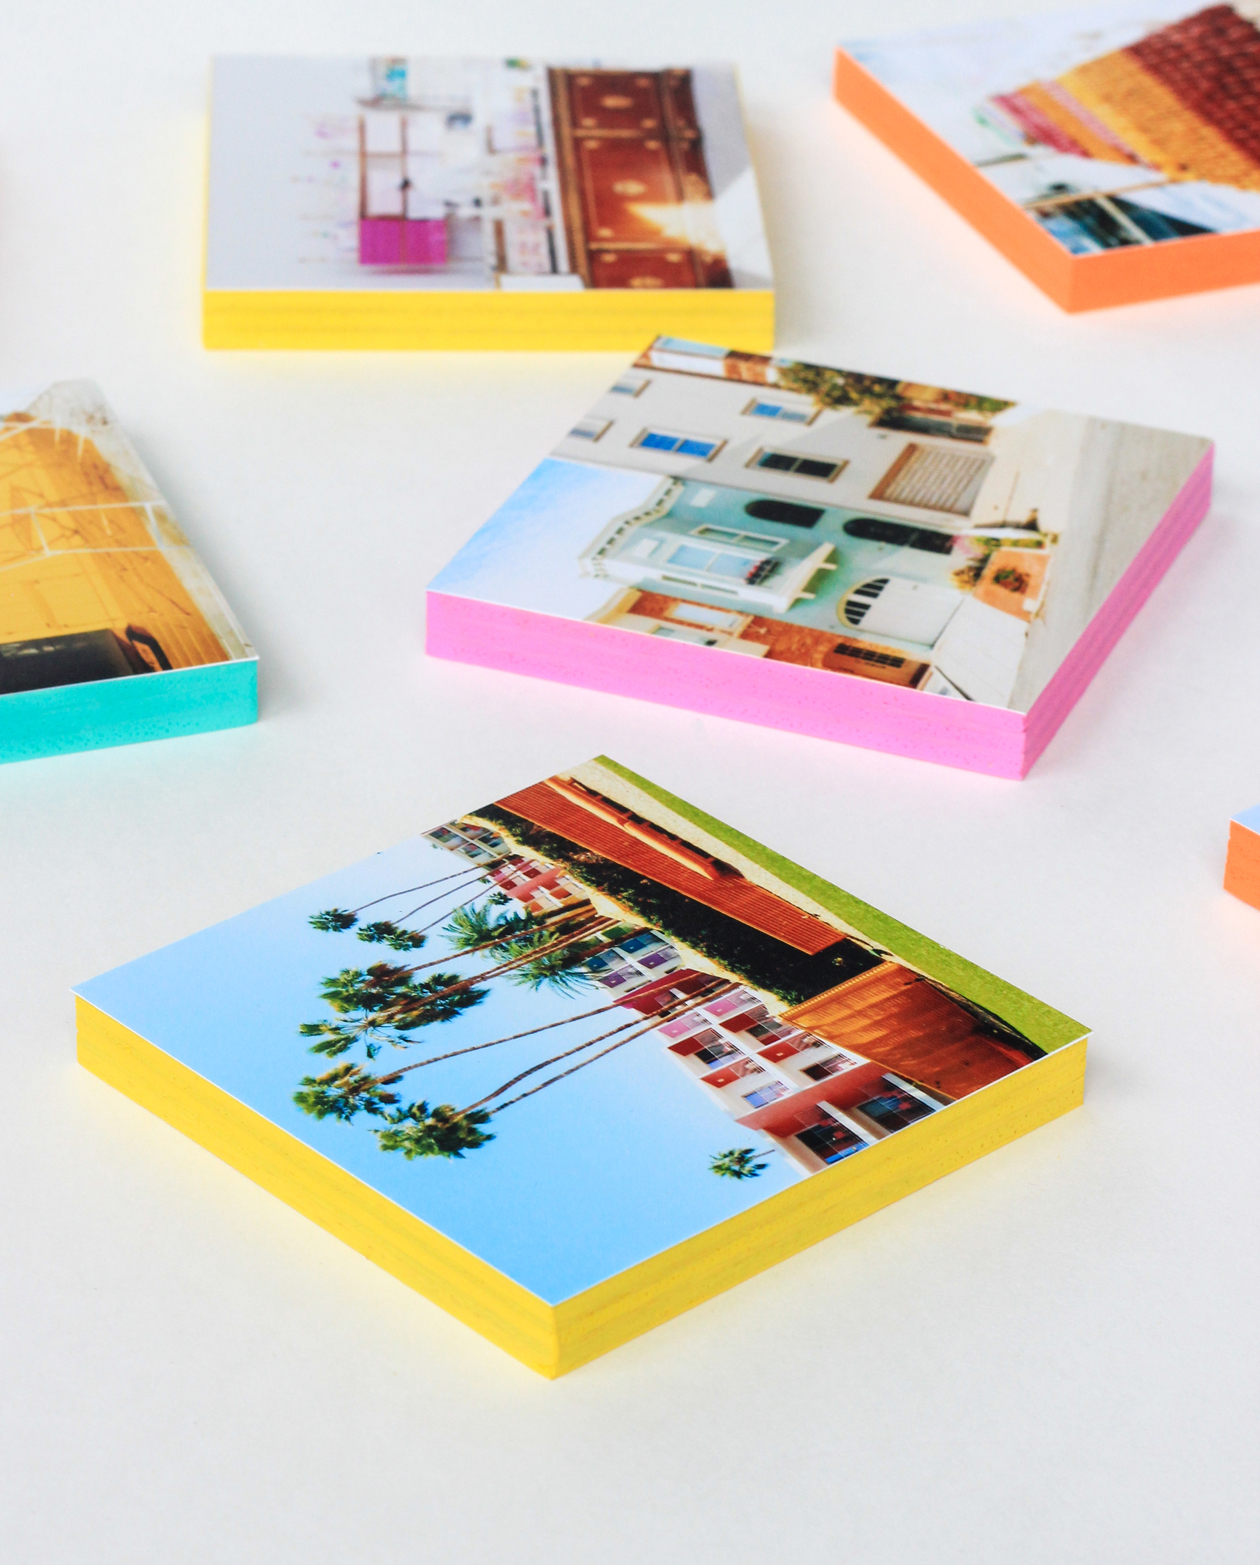
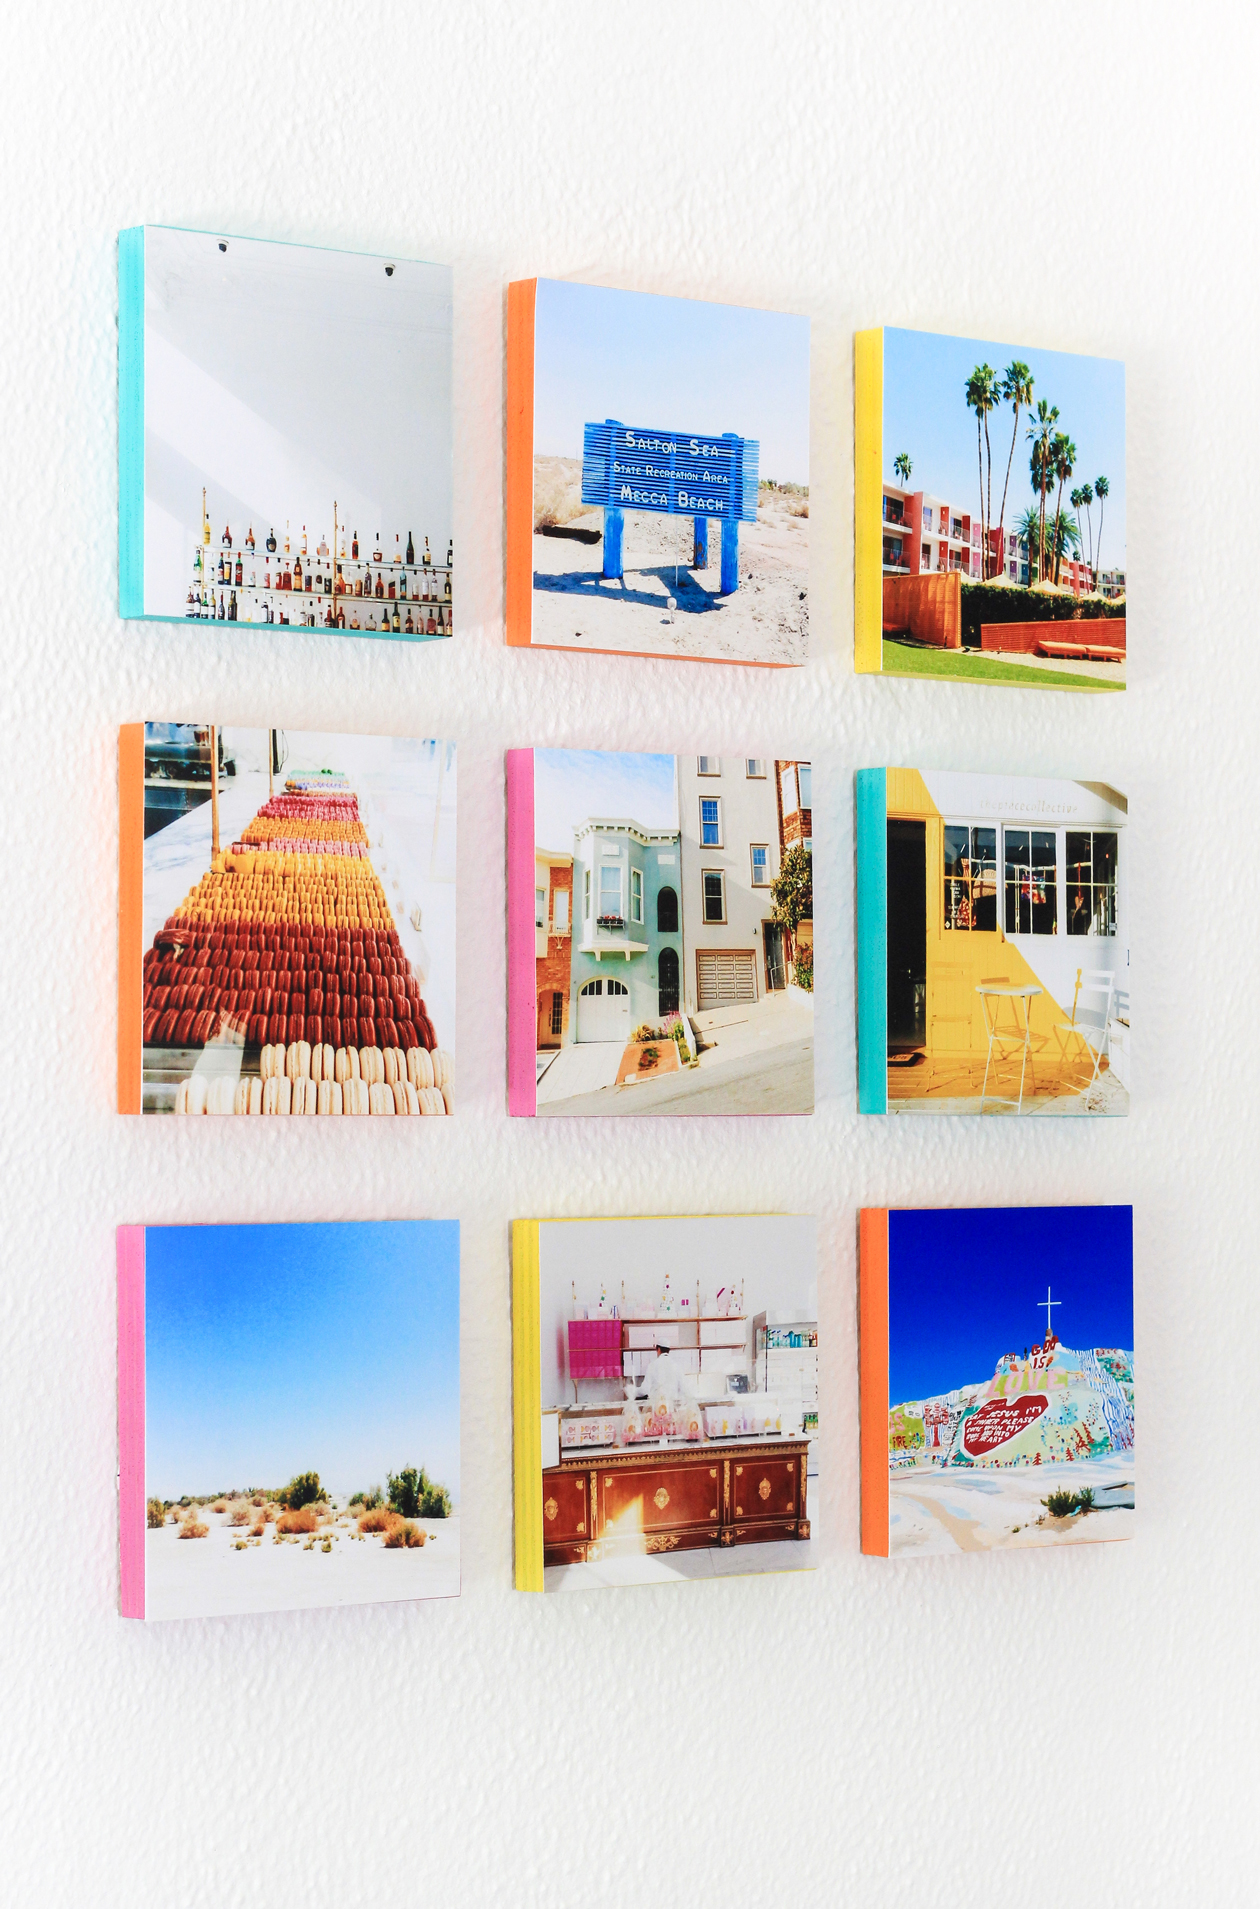
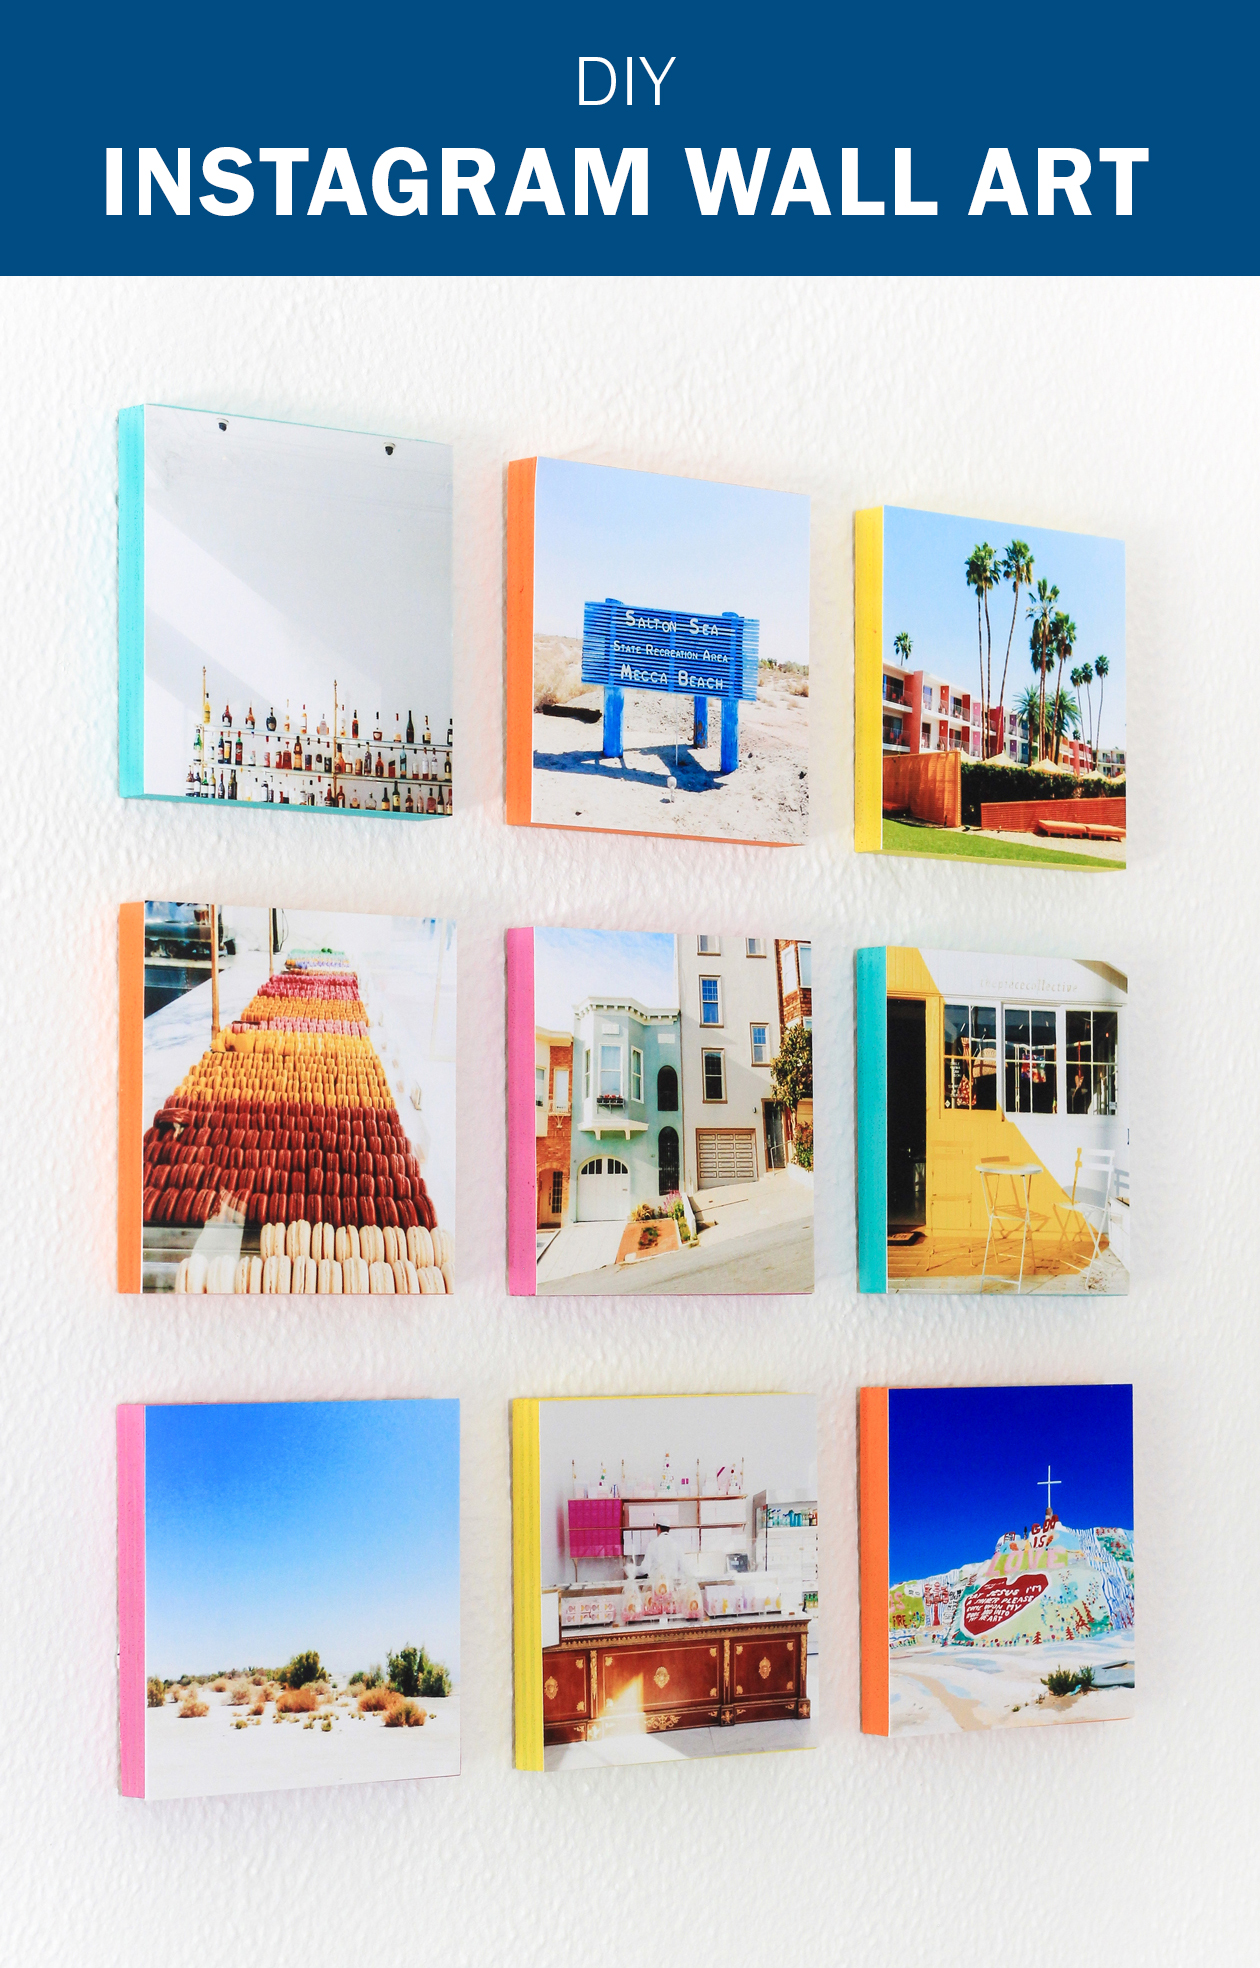
 My love for Instagram runs deep, but one thing I really miss is having physical copies of my photos. After scrolling through the snaps from my recent California road trip, I decided enough was enough and just printed a few off. And what better way to display them than by turning them into wall art?! This project is amazingly easy (and possibly my favorite to date) and can be done for under thirty buck. $30! Here’s how to turn your instagram photos into wall art:
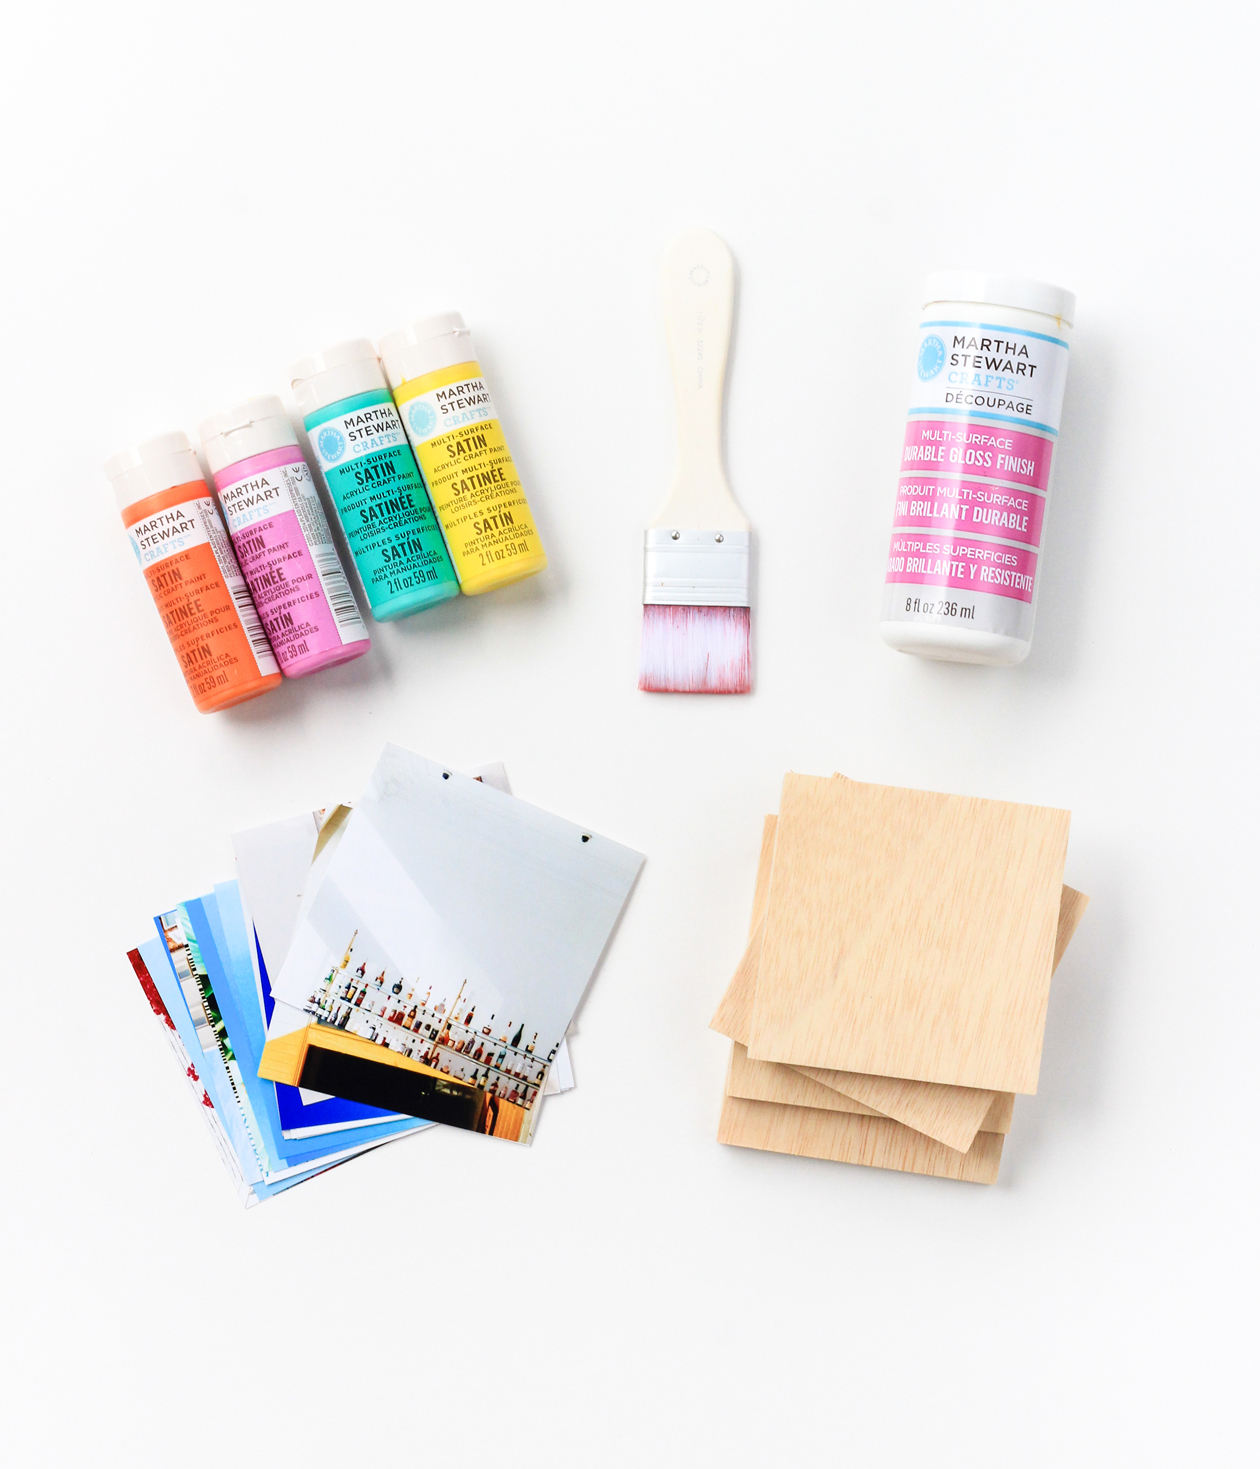 Time: 30 minutes
What You’ll Need
– 4″ x 4″ photos
– 4″ wood blocks (these are similar to what I used)
– Paint
– Decoupage
– Brushes
– Laser Level
– Velcro Strips
You can also find this project in my book Hello Color!
I used Snapfish to print my photos. If you plan on hanging your blocks with nails, you will want to hammer in your hook before starting this project. I recommend that you use velcro stripes instead though. You’ll be able to swap around your art and your pieces will hang flat.
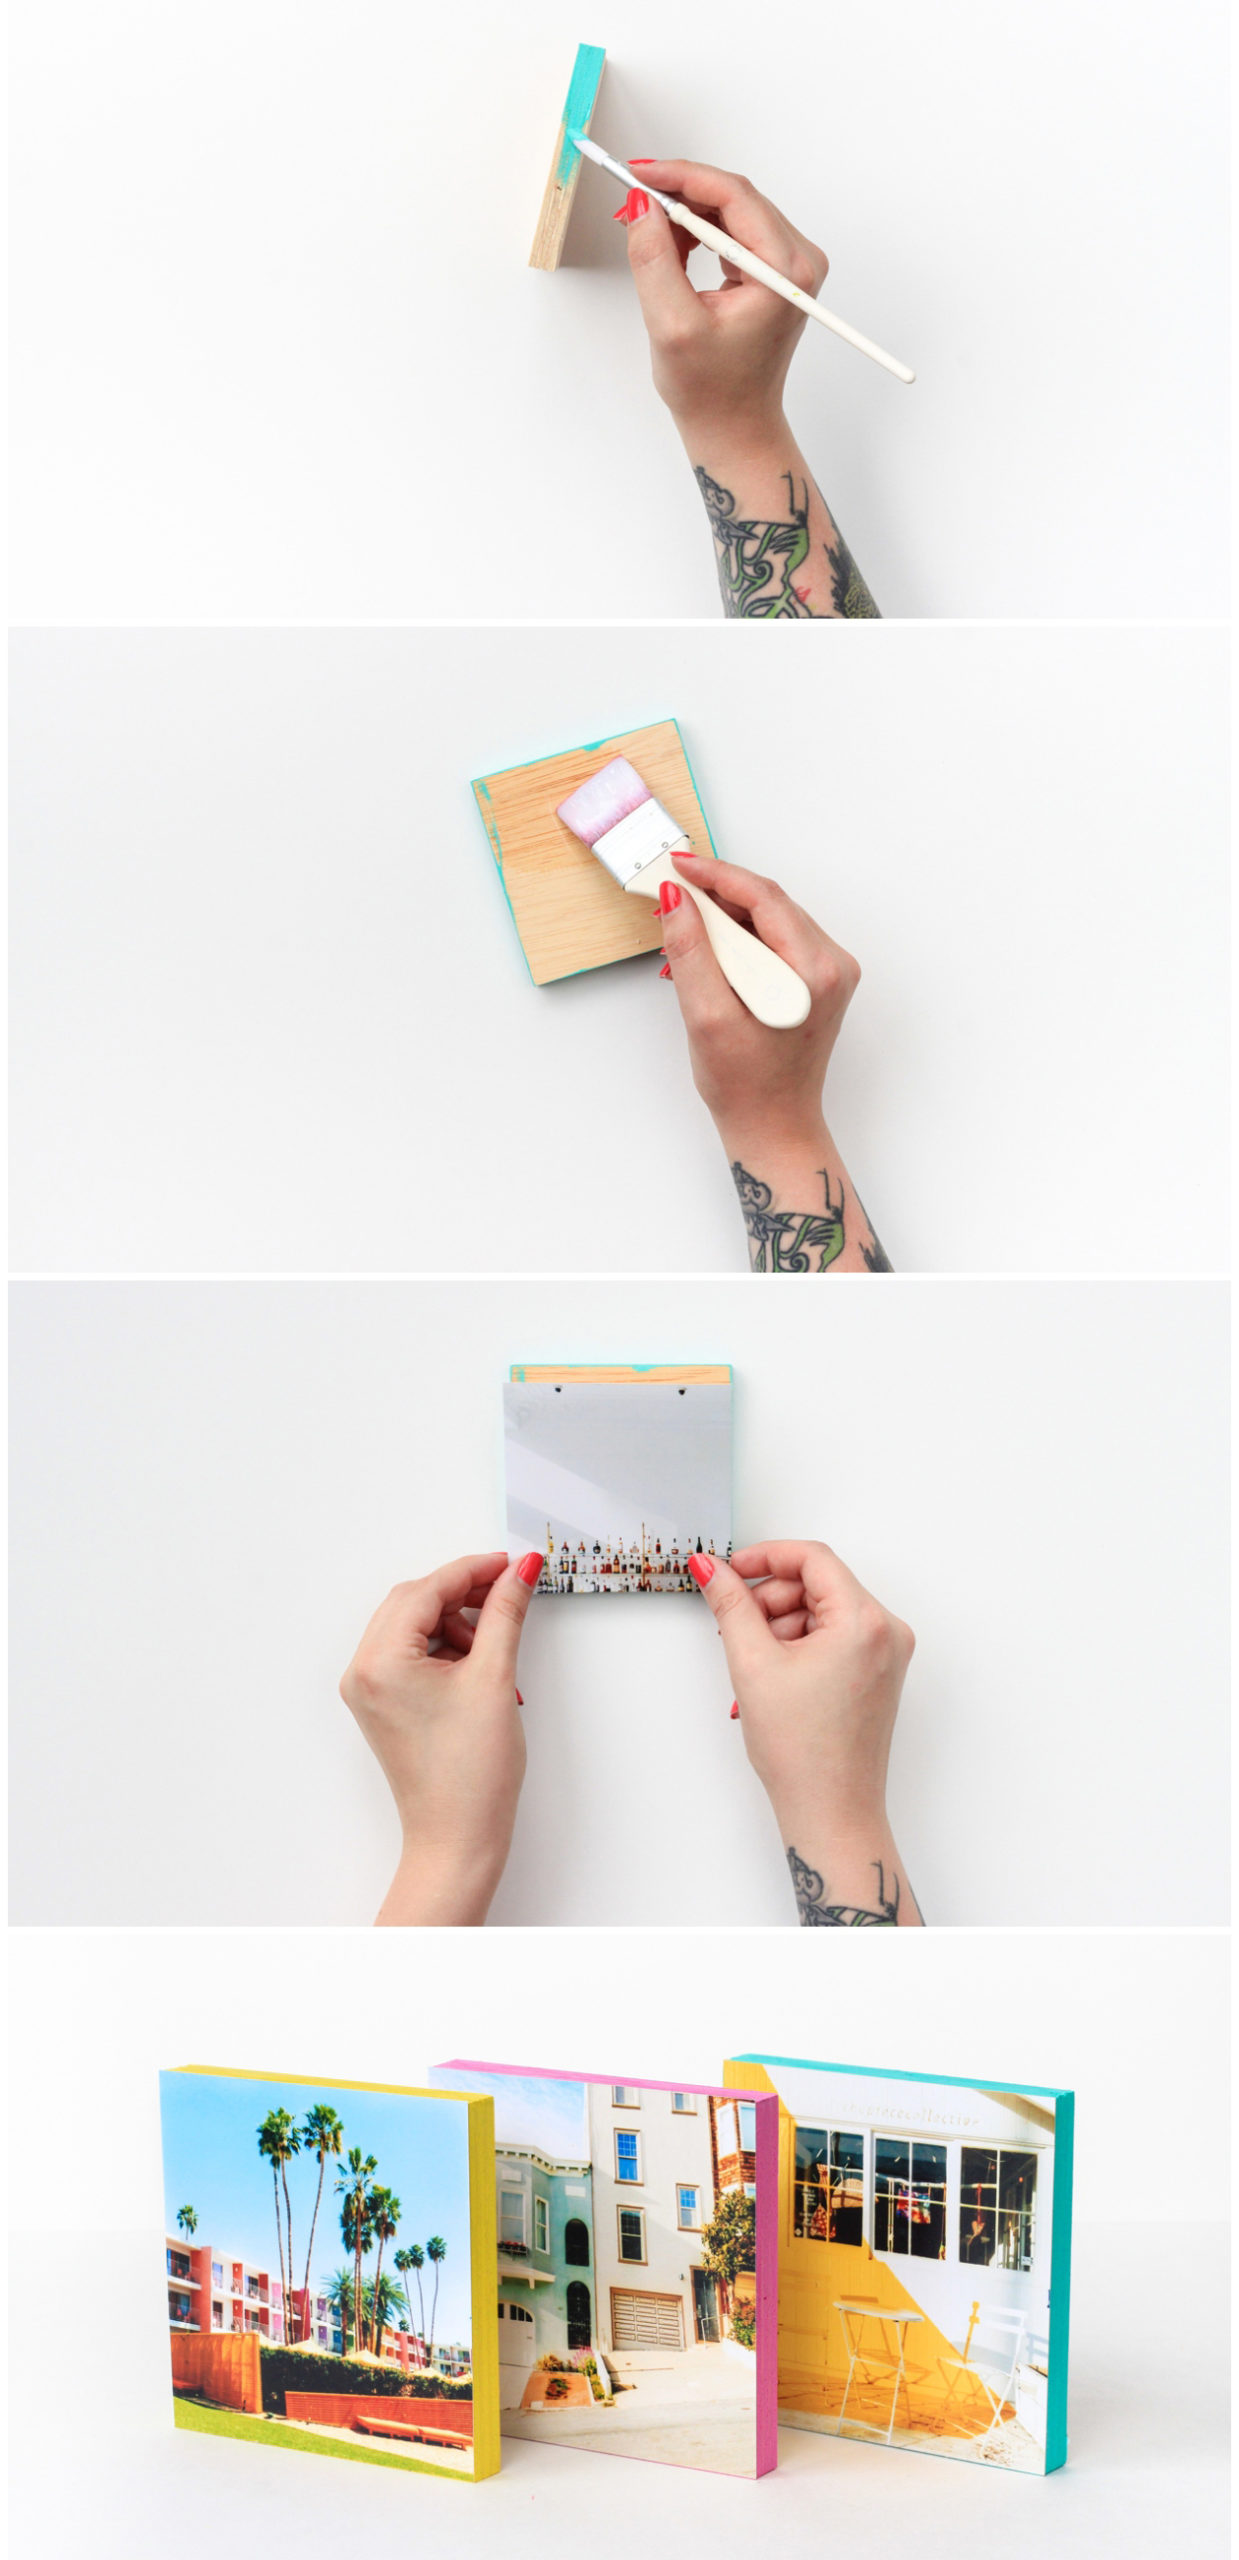 You can make this project in any size that you’d like. I chose 4″ because I planned to hang several pieces together. As long as your photos and wood blocks are the same size, you’ll be good!
How to Turn Your Instagram Photos Into Wall Art
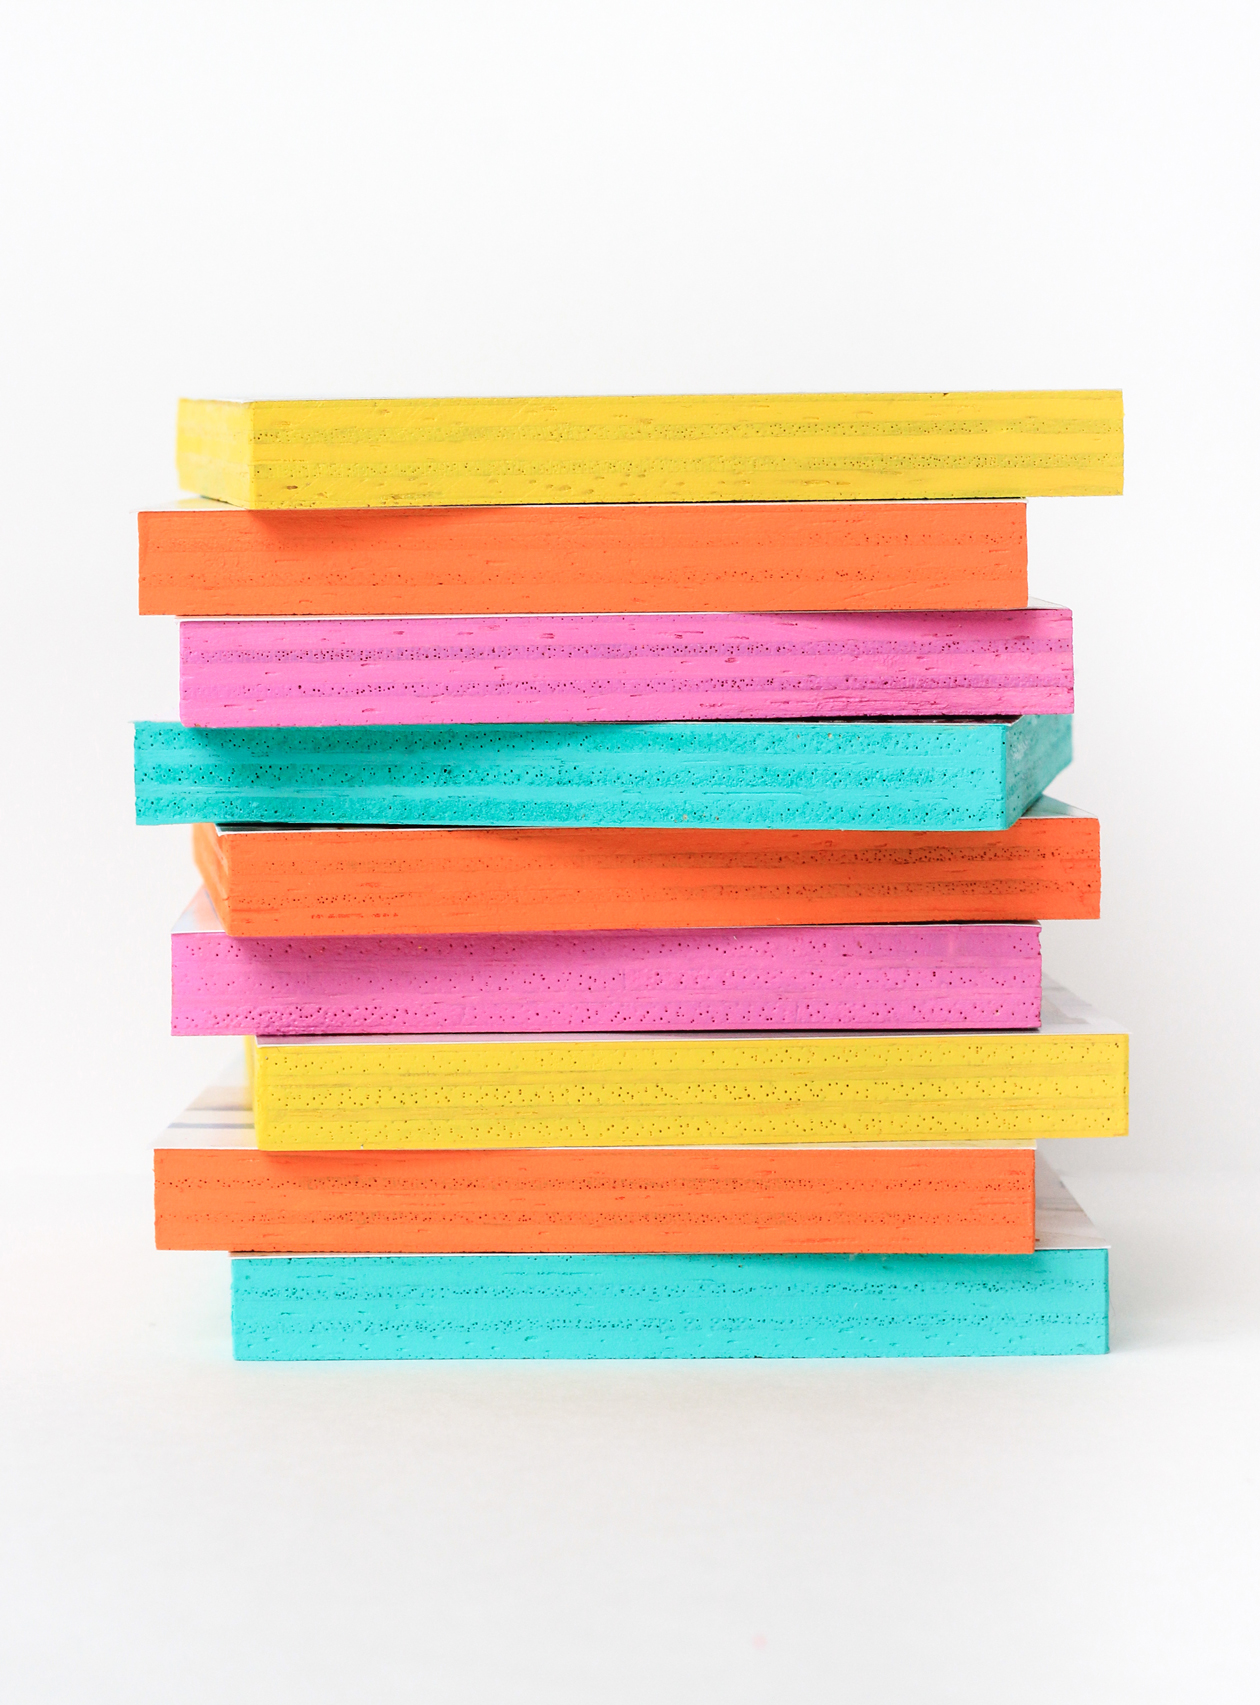
1. Paint the edges of your wooden blocks. Don’t worry if you get paint on the flat sides since one side will face the wall and the photo will cover up the other.
2. Once the paint is dry, apply a thin layer of decoupage to the block front and then place your photo. When your photo is in the desired position, let it dry flat.
3. Apply your velcro hangers to the back. Then grab your laser level to help hang photo blocks on your wall in a grid shape or any way you like!
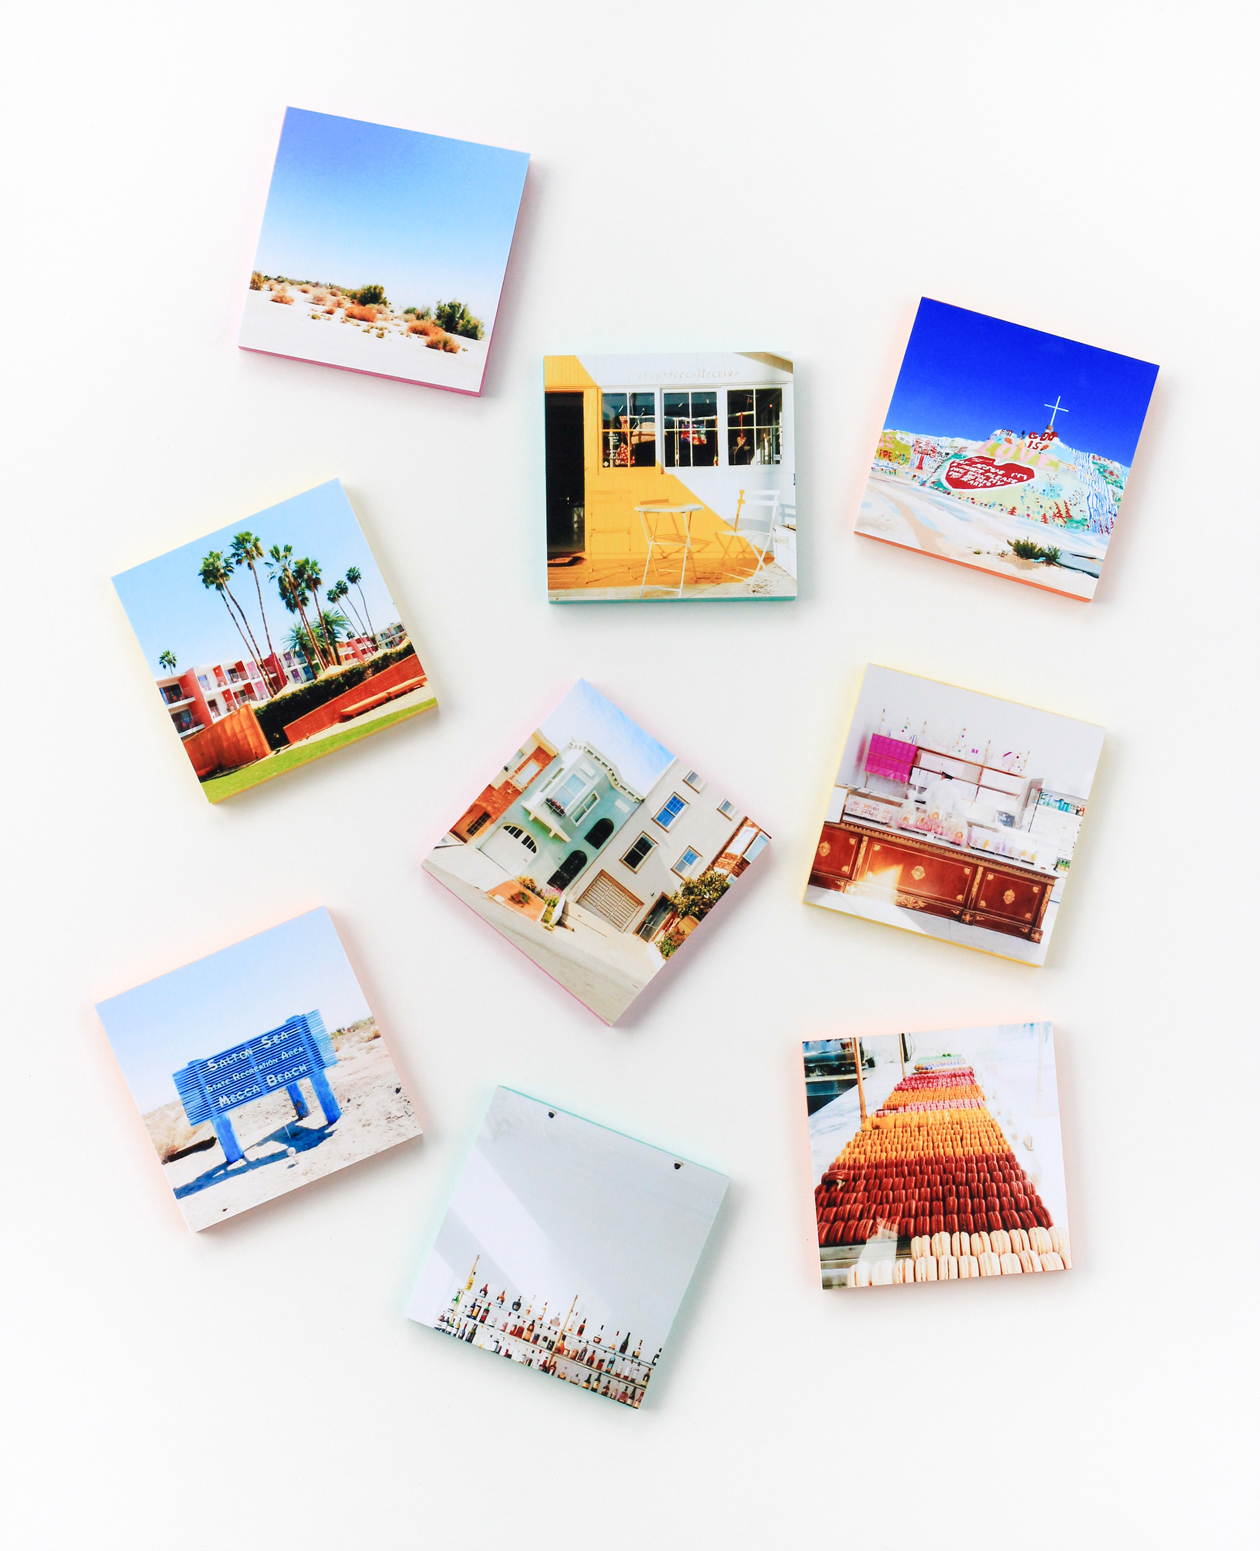 And that’s the project! This is such a great way to display your favorite trip or memory without having to use traditional frames. Because of the velcro, you could also swap images in and out seasonally.
Can’t wait to see your versions!

