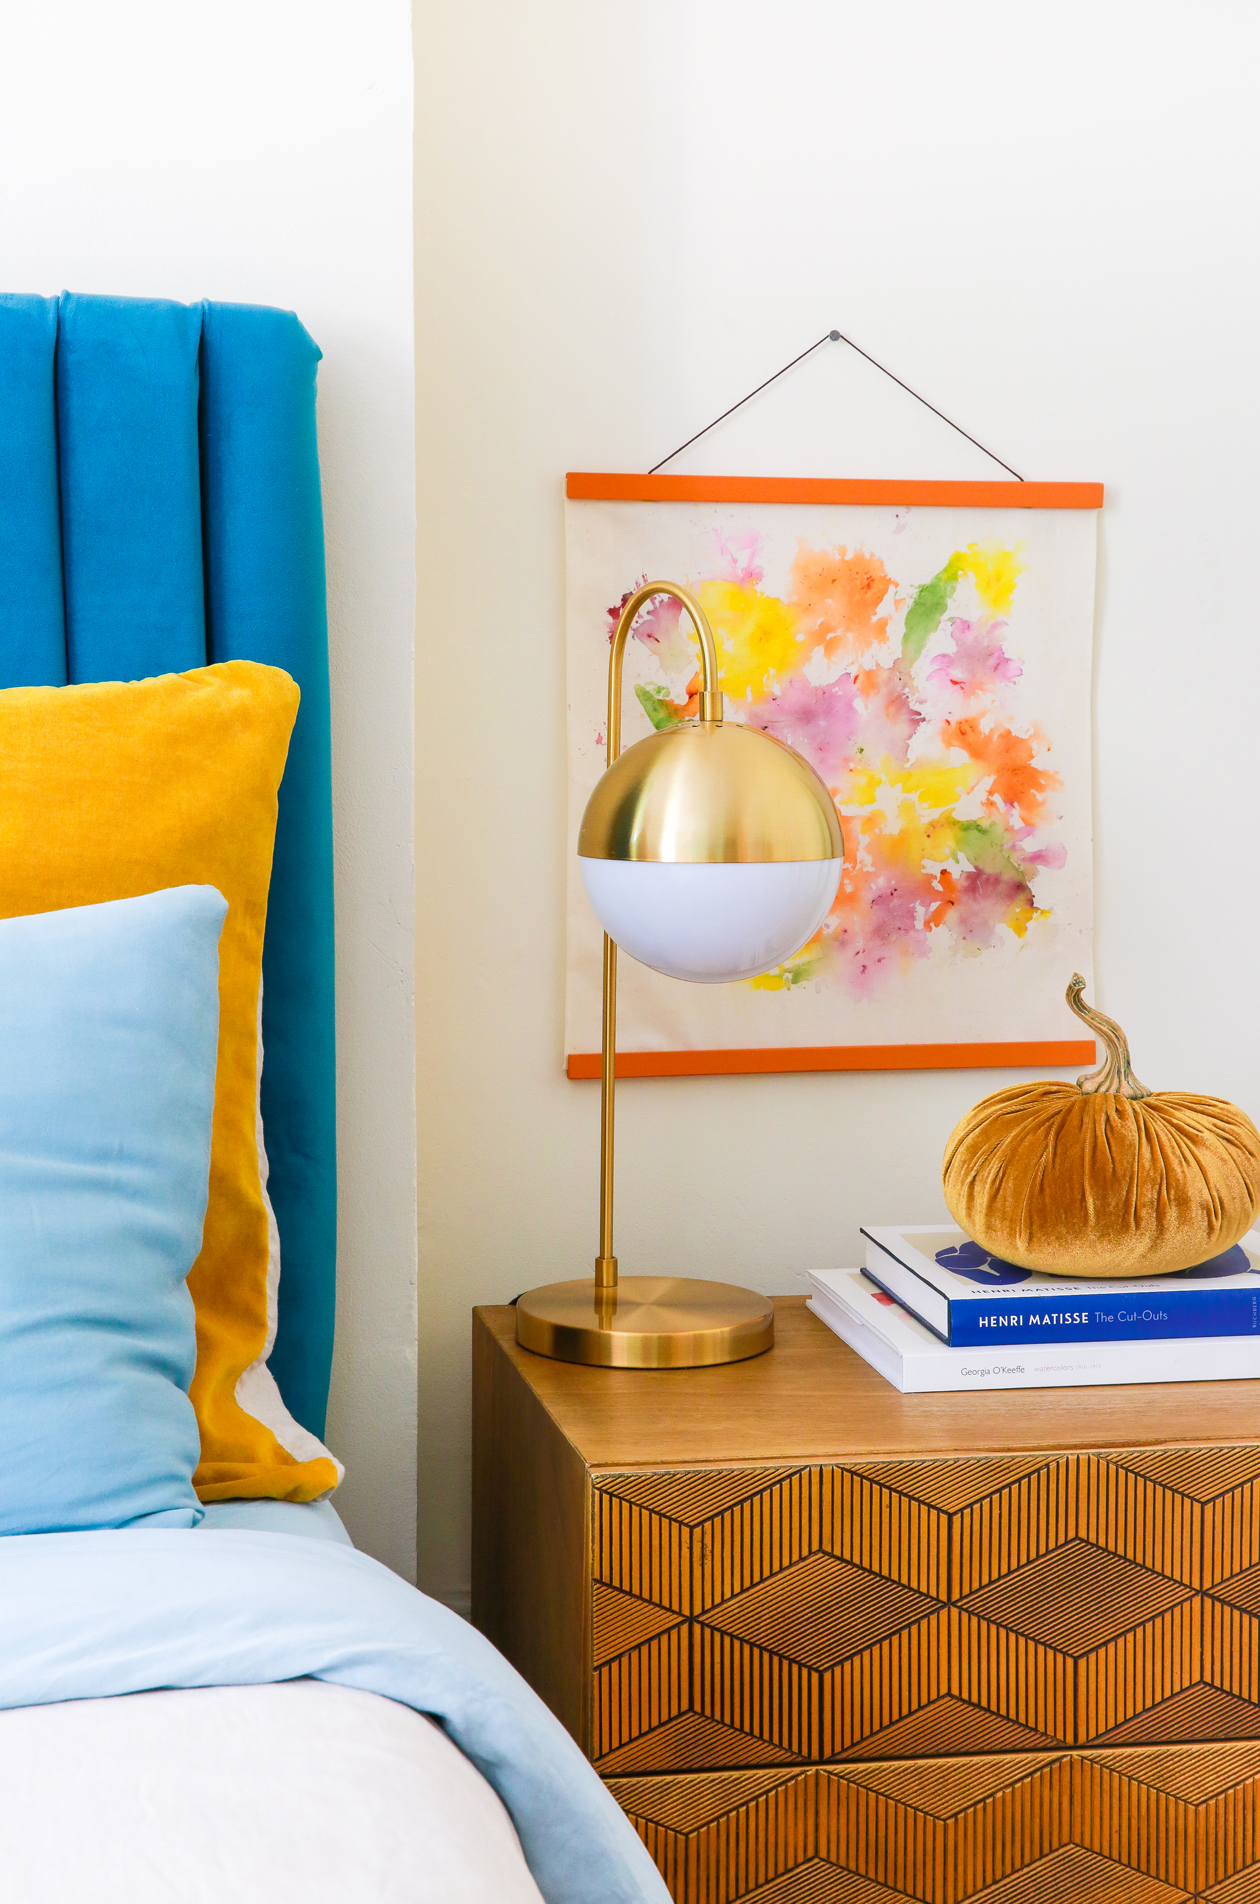
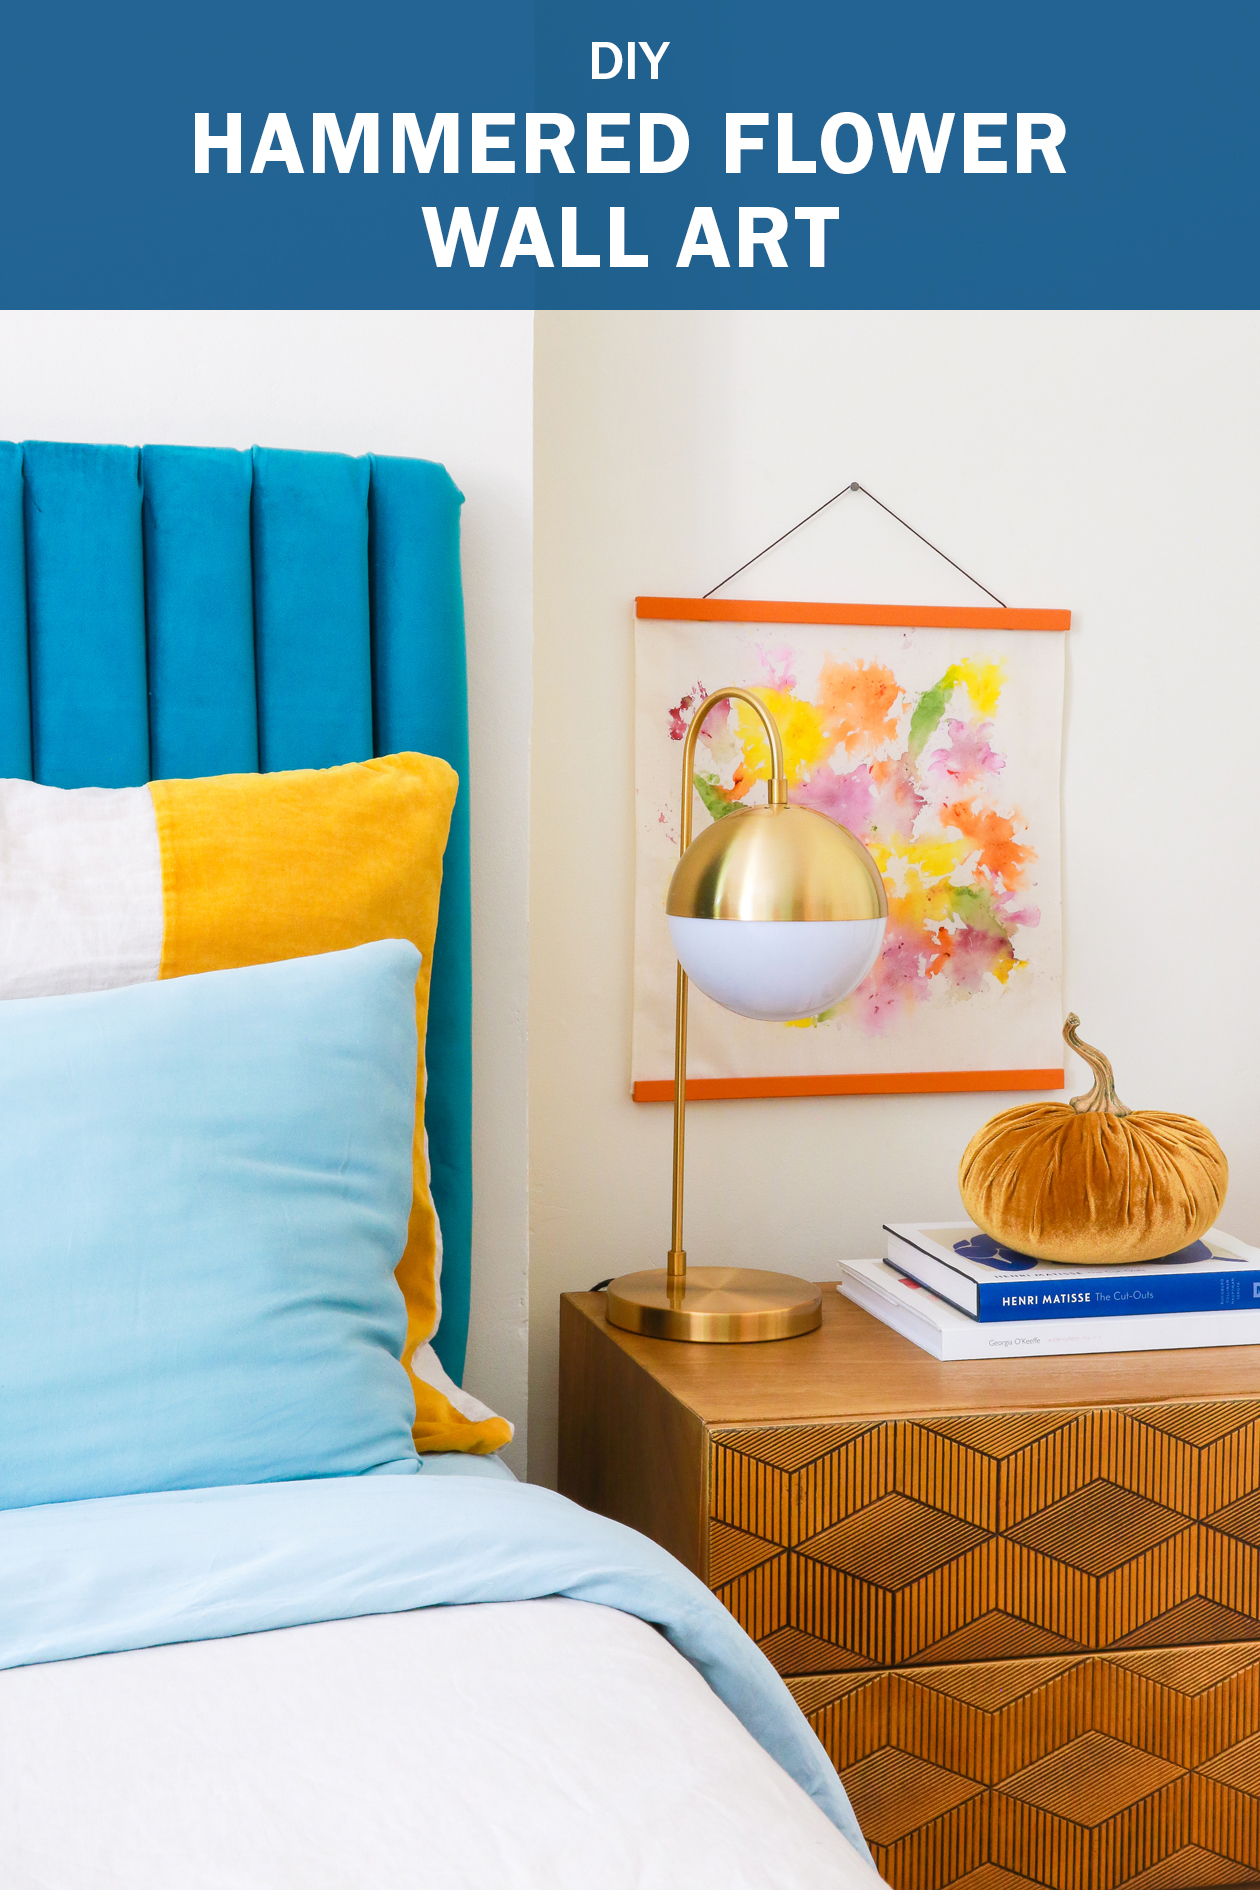
 Hello and happy October! Now that we’re officially into one of the best seasons of the year, I thought I’d bring the colors of fall into my home with this DIY Hammered Flower Art!
I have saved hammered flower projects on Pinterest since they started trending and I’m so happy that I finally gave it a shot. Not only are the results really cool, but the process was a bit cathartic. If you’re looking for an organic, soft, yet colorful piece of art to add to your home for fall then look no further!
Here’s how to make hammered flower art:
Be sure to head over to The Crafted Life YouTube channel to watch the quick how-to for this project!
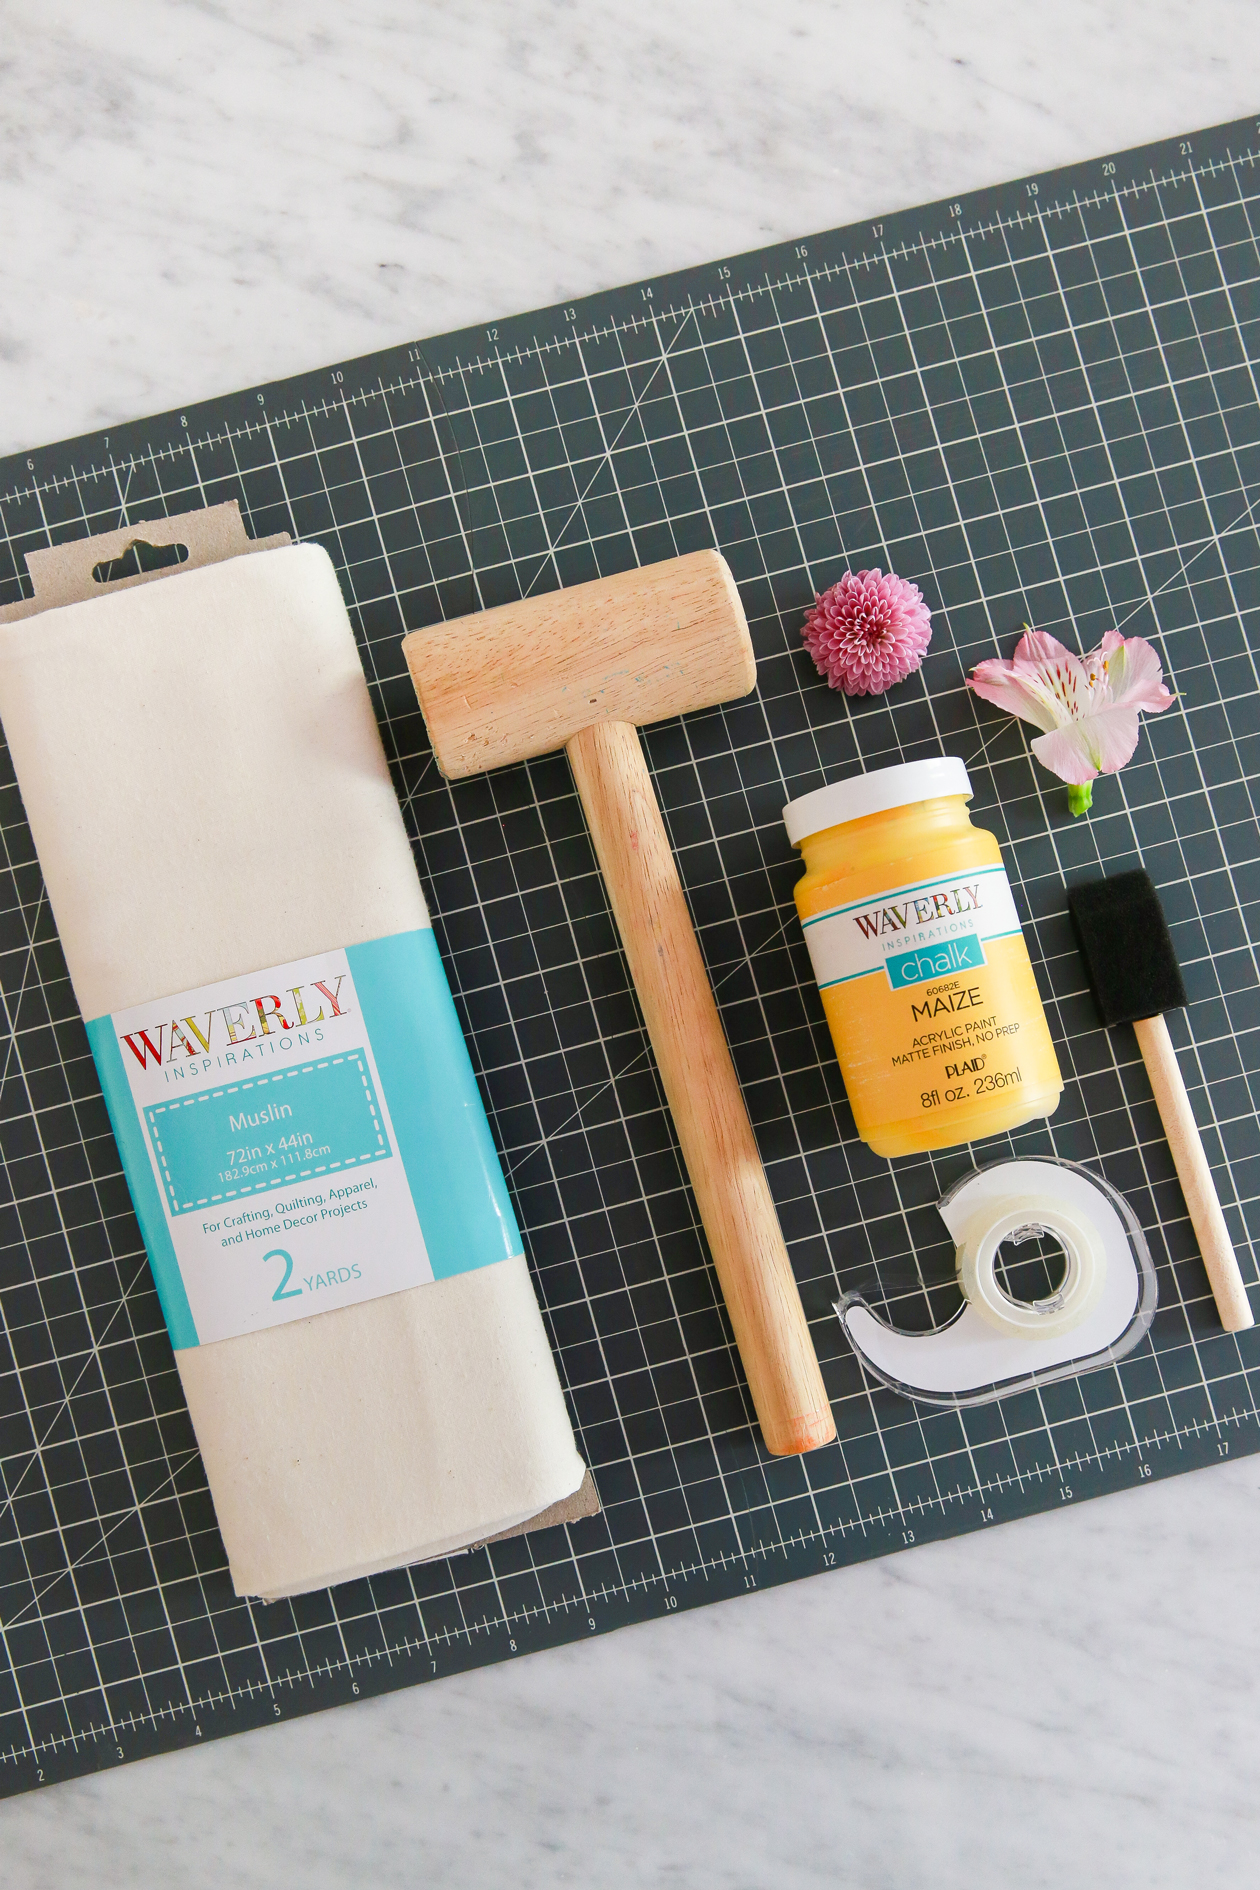 What You Need to Make Flower Art
This post contains affiliate links
– Waverly cotton muslin
– Fresh flowers (grocery store is fine)
– Hammer
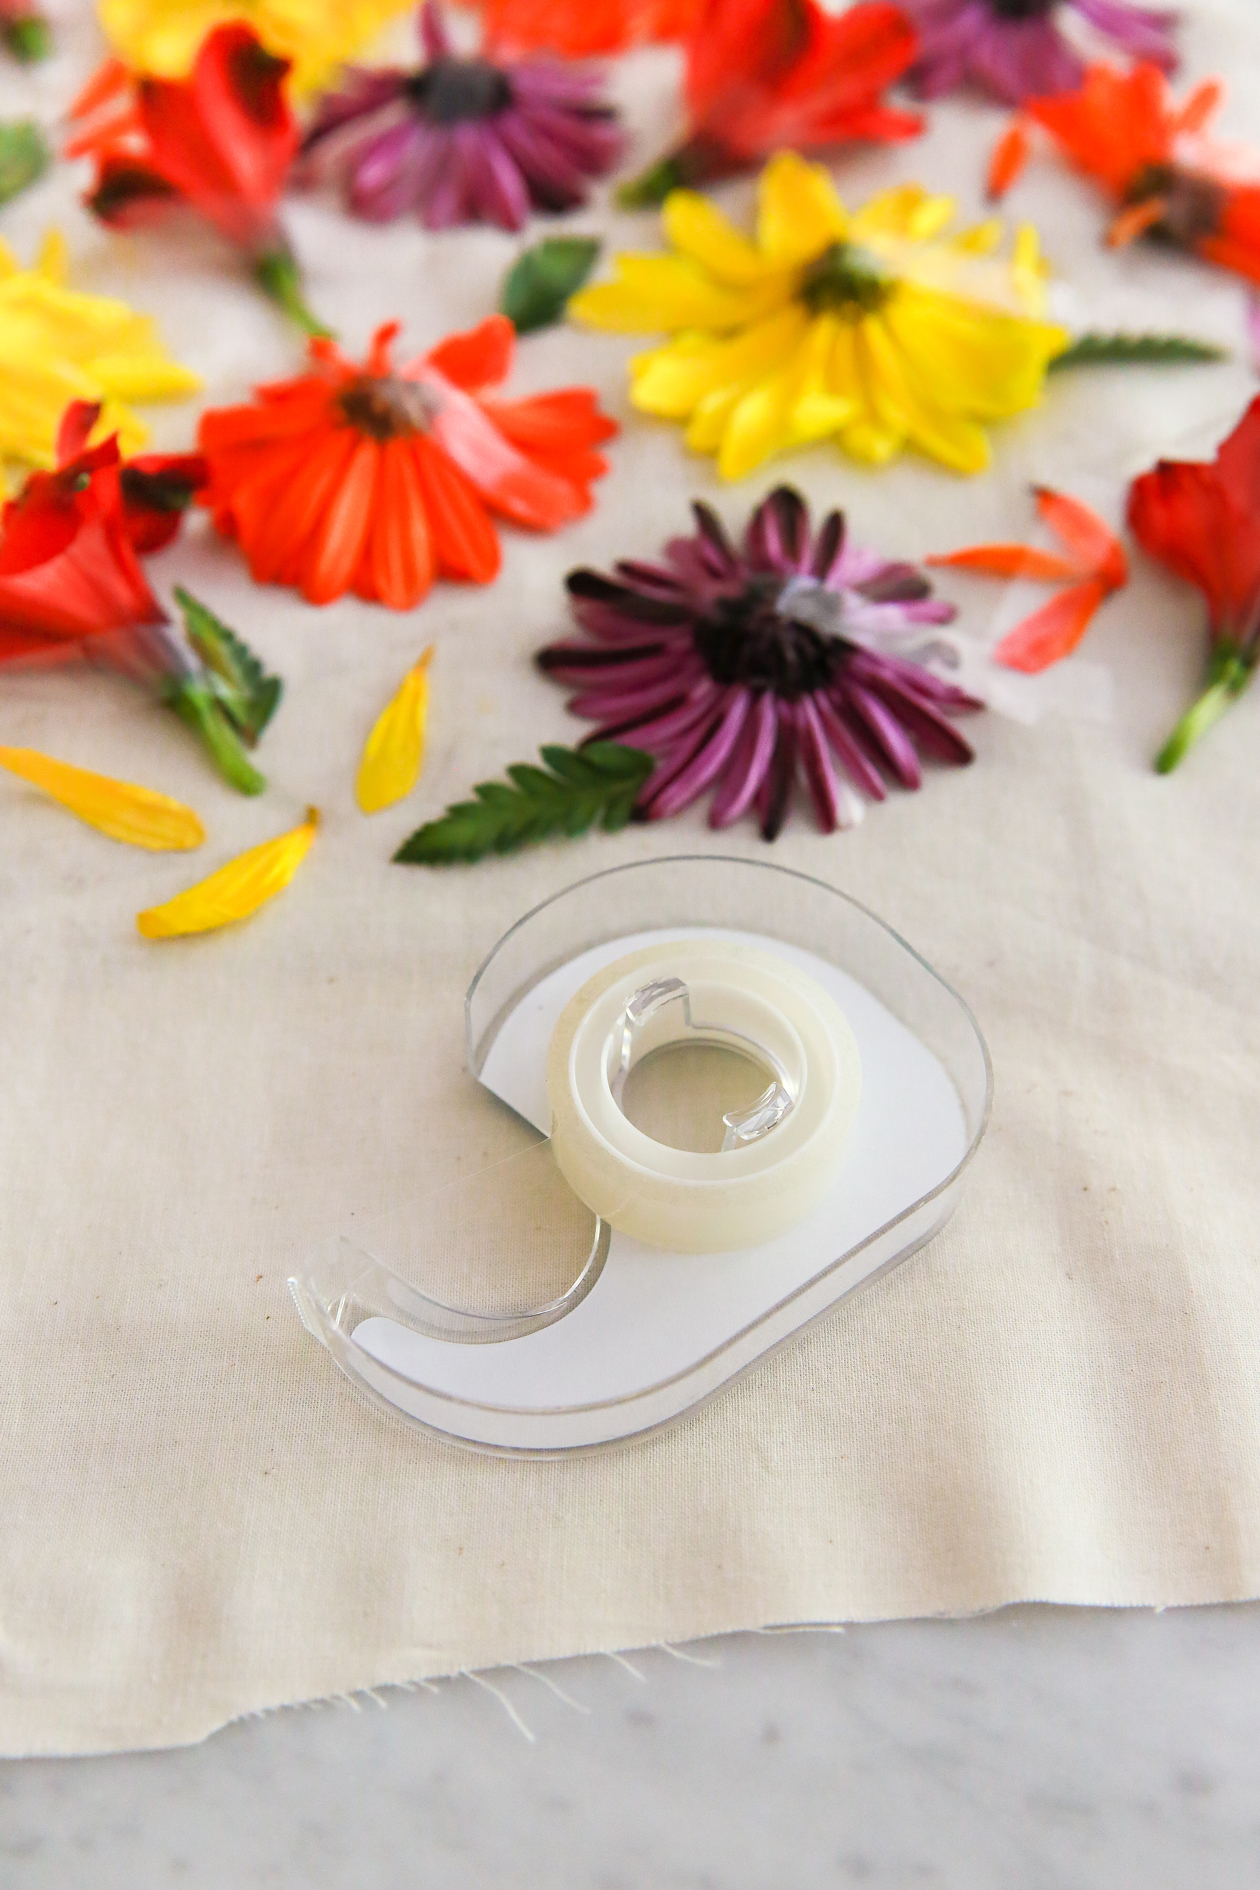
– Tape
– Parchment paper
– Scissors
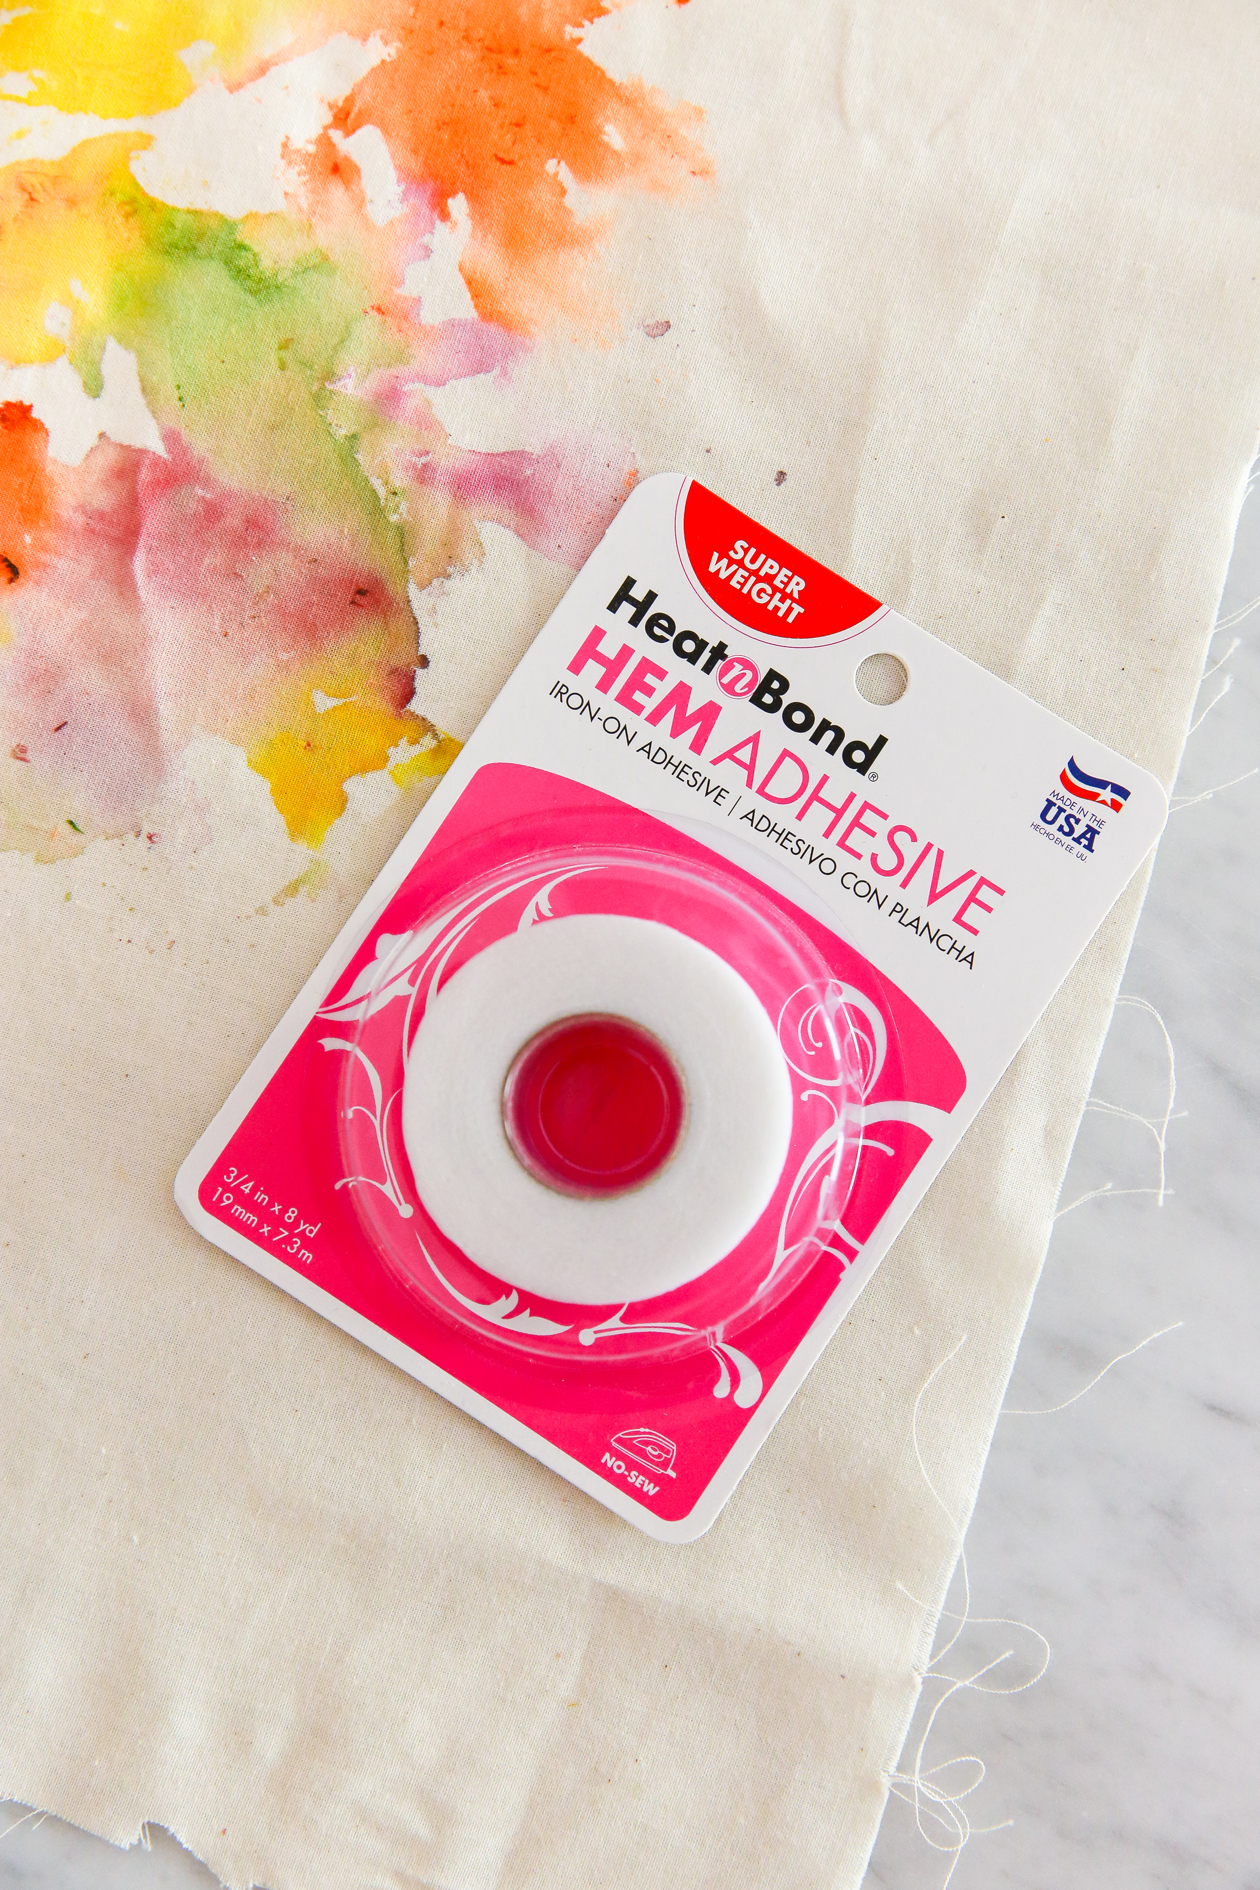
– Hem adhesive
– Picture hanger
– Chalk paint (optional)
I started this project by using a wooden mallet. I found that a metal hammer worked better when it came to transferring the colors of the flower to the fabric.
 How to Hammer Flowers
1. Cut your cotton muslin roughly to the size of your picture hanger. You’ll want at least 2.5″ along the sides so you can hem the fabric at the end.
2. Iron your fabric.
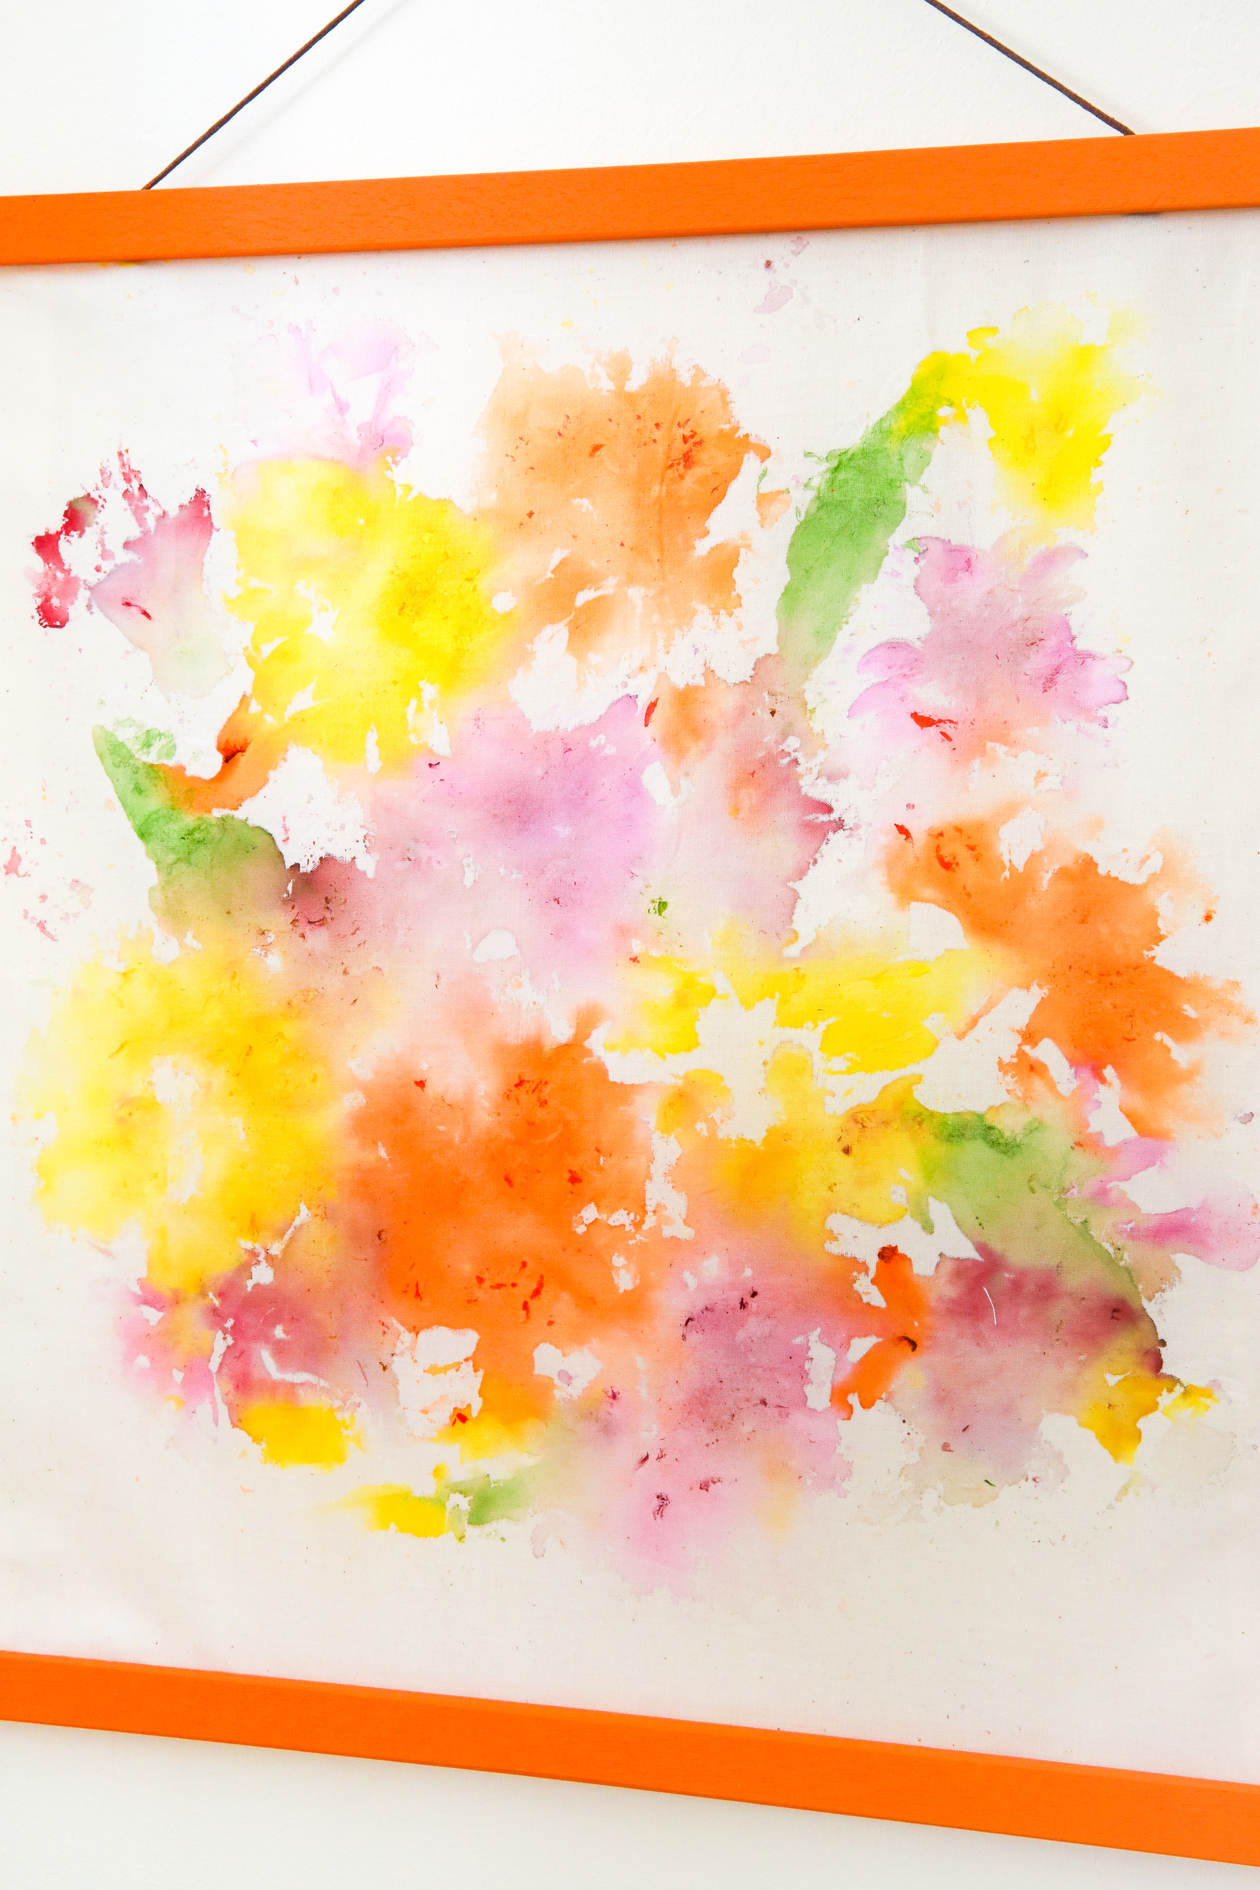
3. Lay your flowers out in the pattern you desire. Feel free to use petals and leaves in addition to whole flowers. Keep the colors in mind and don’t be afraid to mix it up a bit. The end result will be more abstract in shape, but the colors will be relatively consistent with the flower itself. I did find red to transfer as purple.
If you’re not sure if a flower will transfer color, feel free to do a test with a few petals. I originally had a green fern leaf taped down but had to swap it out to get a better result.
4. Tape your flowers in place and then cover with a piece of parchment paper.
5. Take your design outside on the concrete to hammer. You’ll really want to hammer the flowers so the color transfers. No need to be gentle here! Keep in mind that the color will also bleed through the fabric, so you may want to place a piece of cardboard underneath.
6. Check your progress as you work and continue hammering until all of your flowers have left behind color.
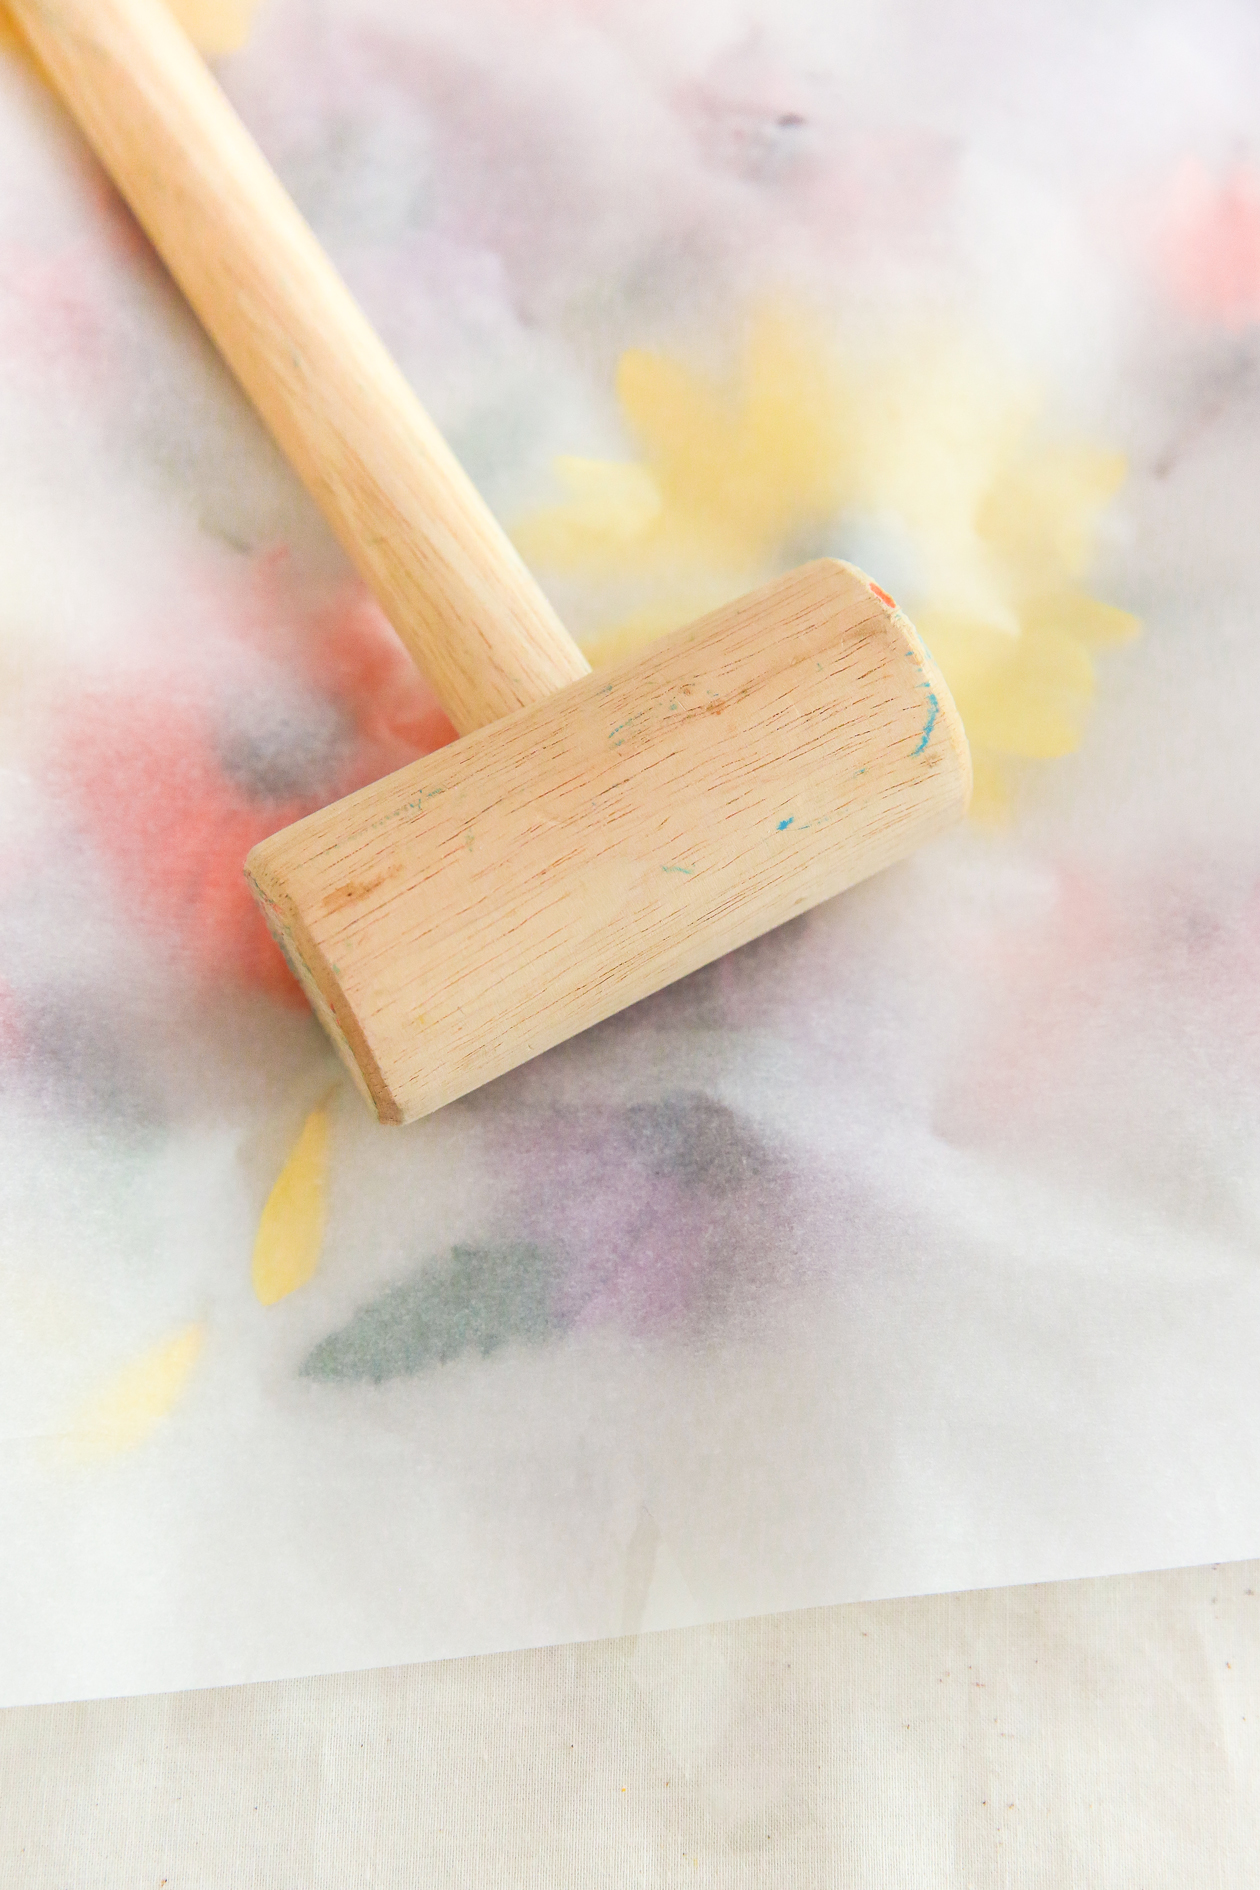 Once you’re done hammering your design, remove all petals and tape from your fabric.
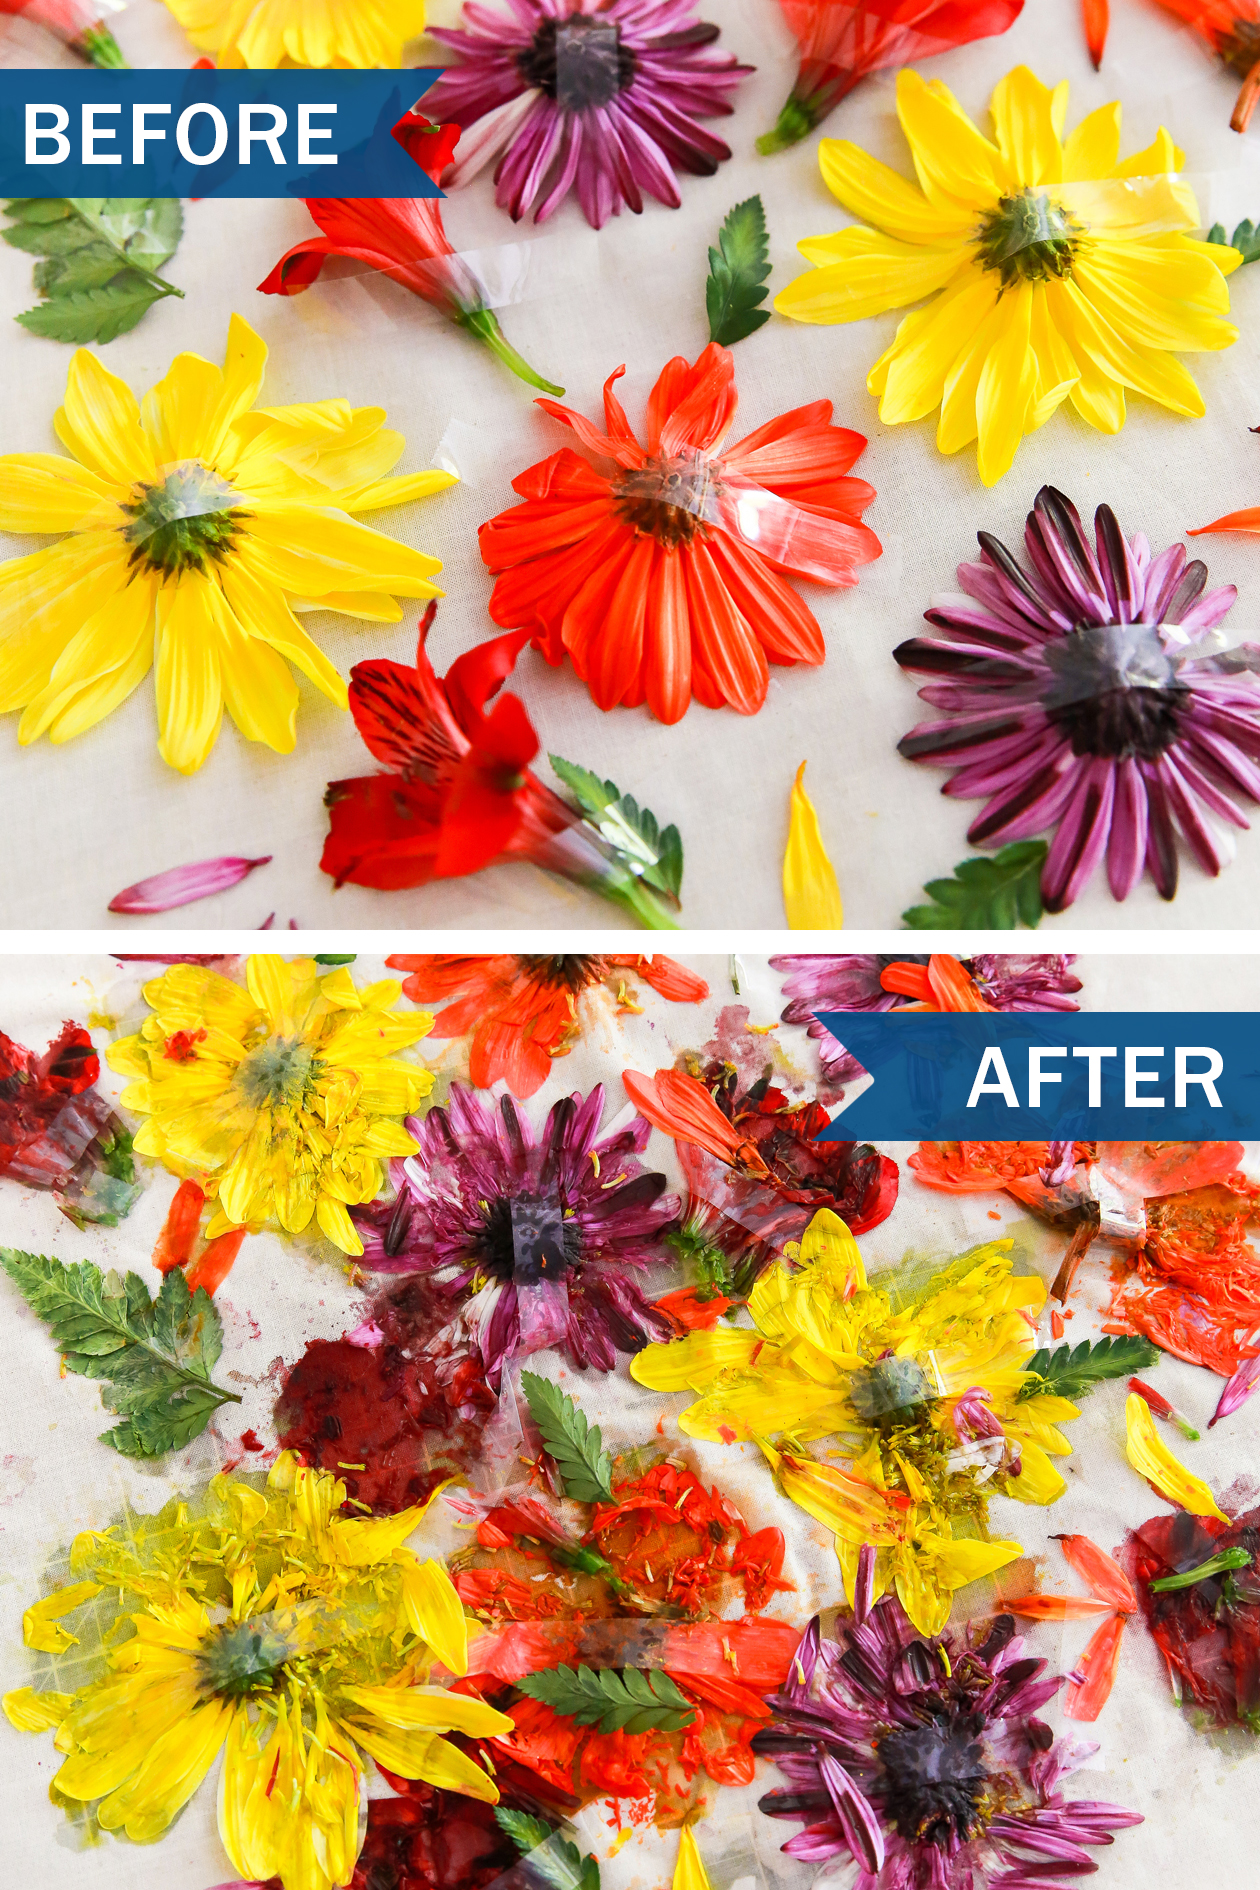 The end results should look similar to above. Your flowers will be properly smashed, but I promise it’s the best way to get the colors you want.
Let the fabric dry before adding the finishing touches.
 How to Make Hammered Flower Wall Art
It’s time to add the finishing touches to your fabric so that the end results will be a polished piece of art!
1. Hem all four sides of your fabric with hem adhesive. You could also sew them, but this is a great alternative for those of us that don’t sew! Keep the size of your picture hanger in mind as you’re deciding how much fabric to hem.
You’ll also want to consider using a t-square to keep your edges straight.
2. Trim any excess fabric with scissors.
3. To add a pop of color to your frame, apply 1-2 coats of chalk paint. This paint is perfect for this project since you don’t need to prep the surface.
4. Once everything is dry, add your art between the magnet holders of the poster hanger and you’re done!
Hang up your new DIY wall art and enjoy!
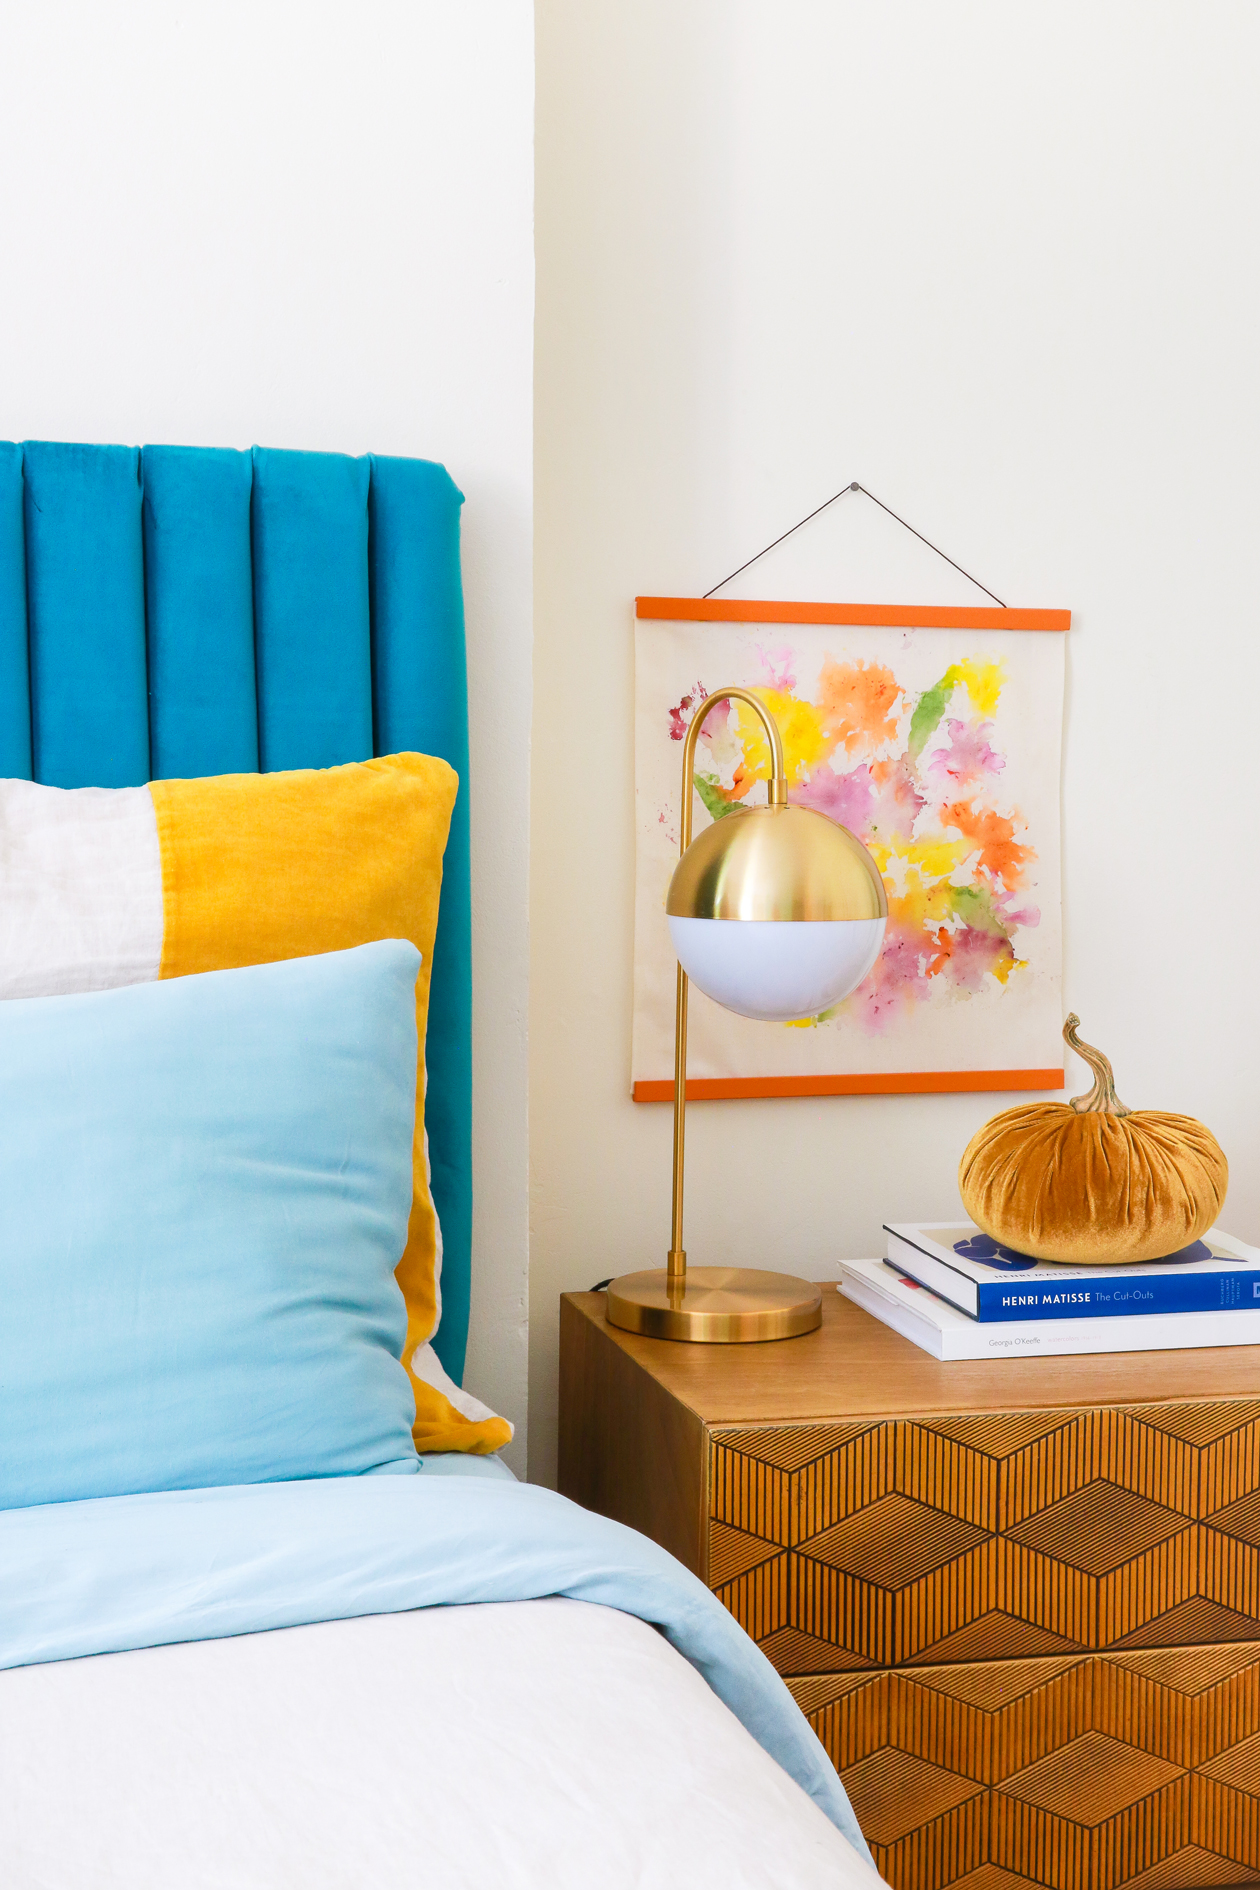 I absolutely love how the colors turned out perfectly for fall. This project was so fun that I’m already planning a pink version for spring!
Let me know if you give this DIY hammered flower art project a try. I can’t wait to see what you make!

