This post is sponsored by All Spray Painted. All opinions expressed are my own. Thanks for supporting the brands that keep The Crafted Life making!
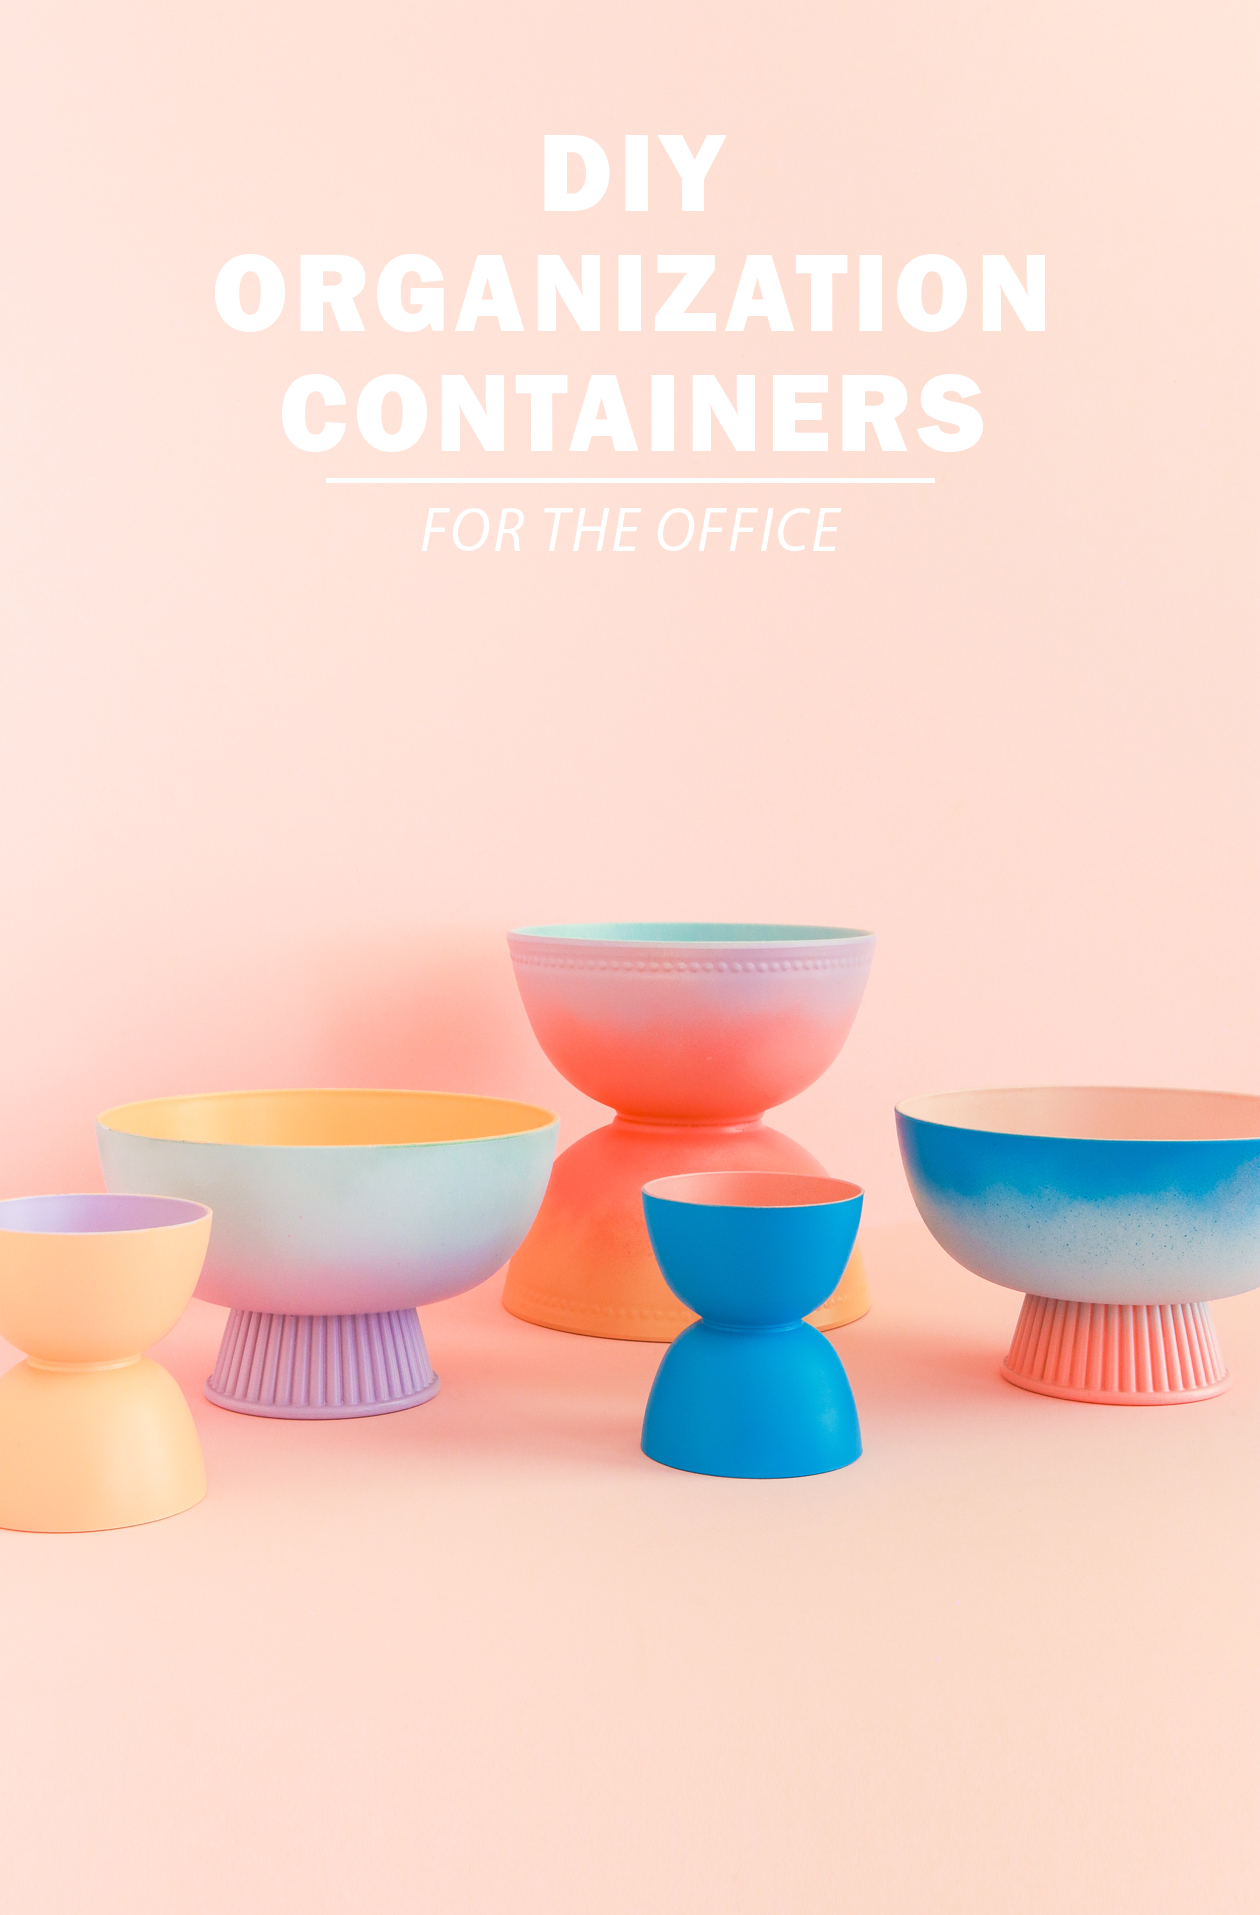 Hello and happy 2022! With the new year comes that overwhelming desire to organize and declutter. And honestly I look forward to it because I put it off all year until January. So let’s kick off the new year with an easy, colorful, and practical project, shall we?! Here’s how to make DIY organization containers that would be perfect for any office space:
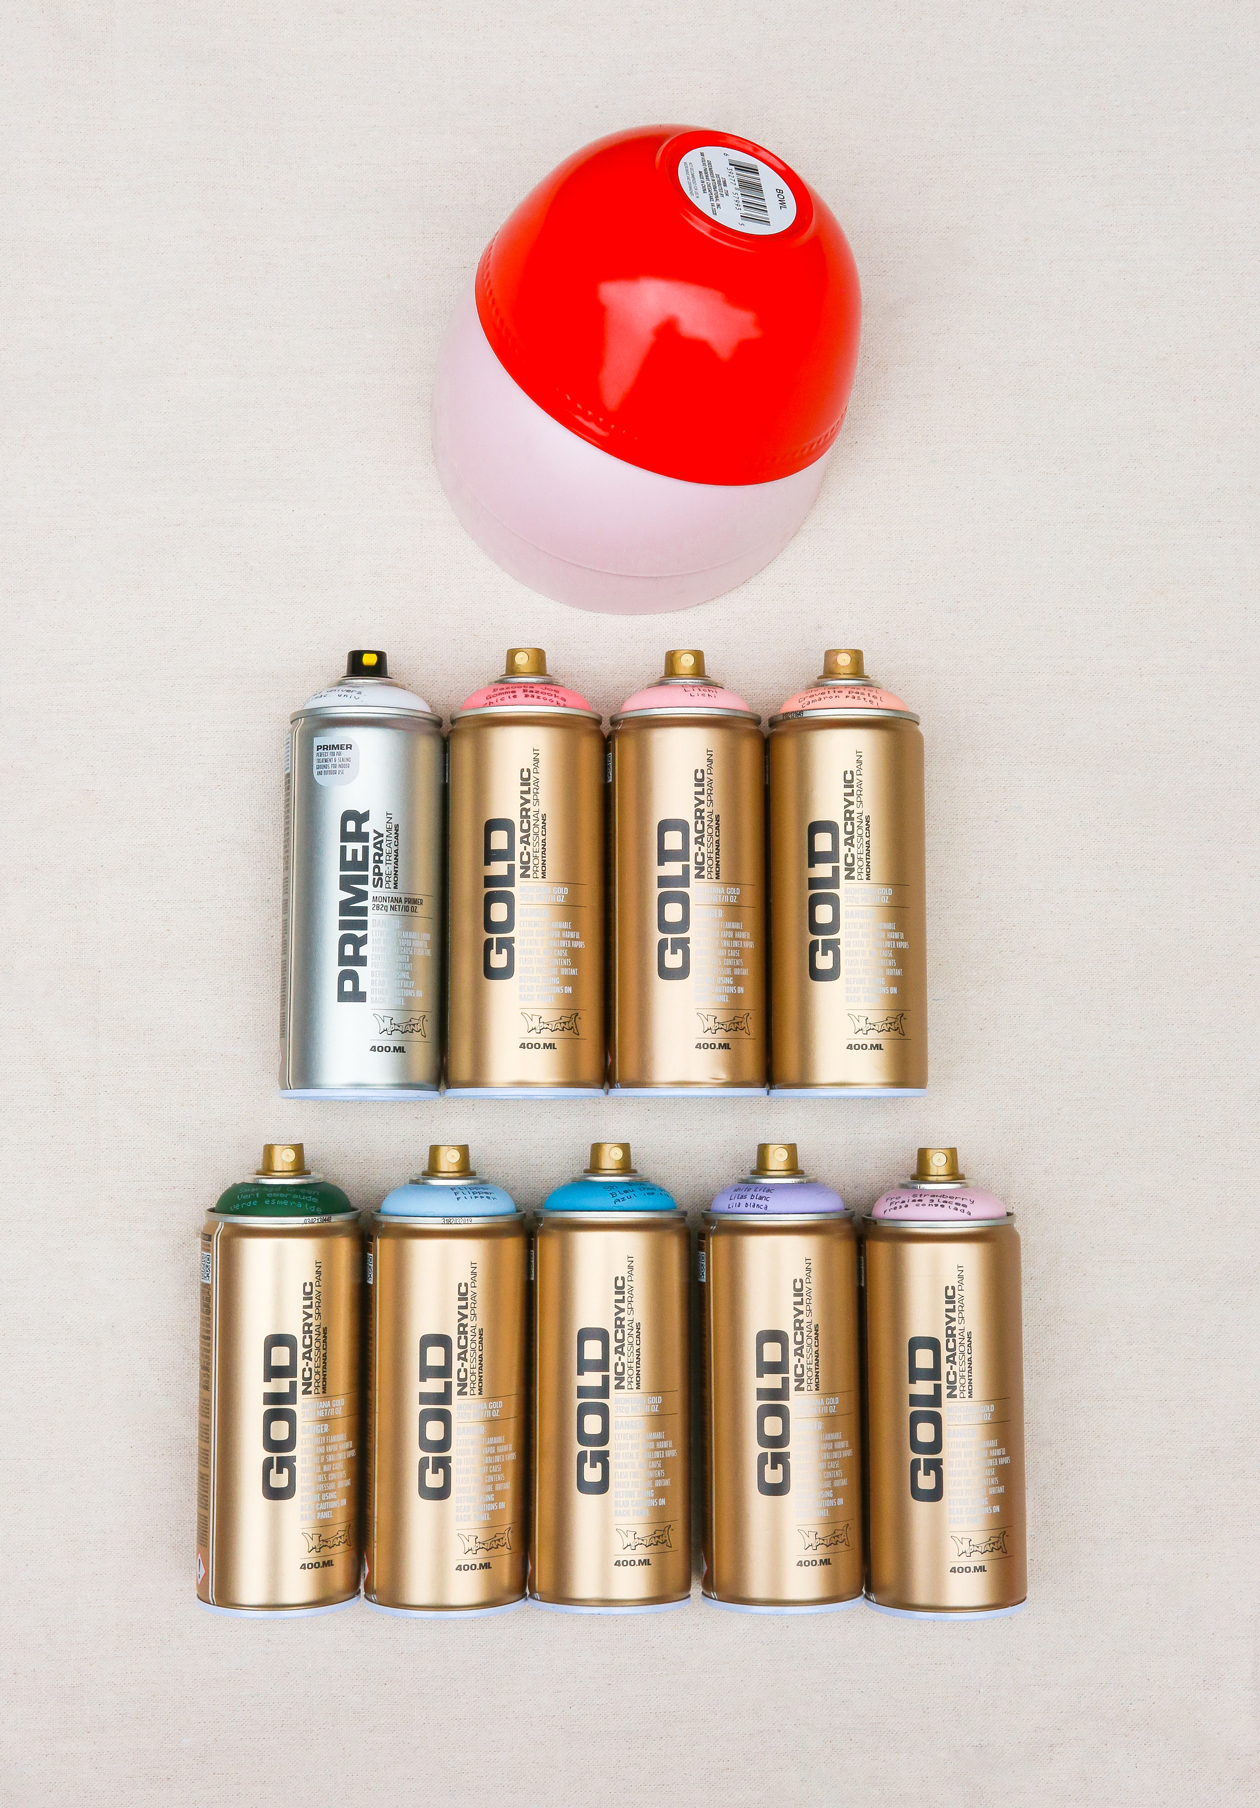
What You’ll Need
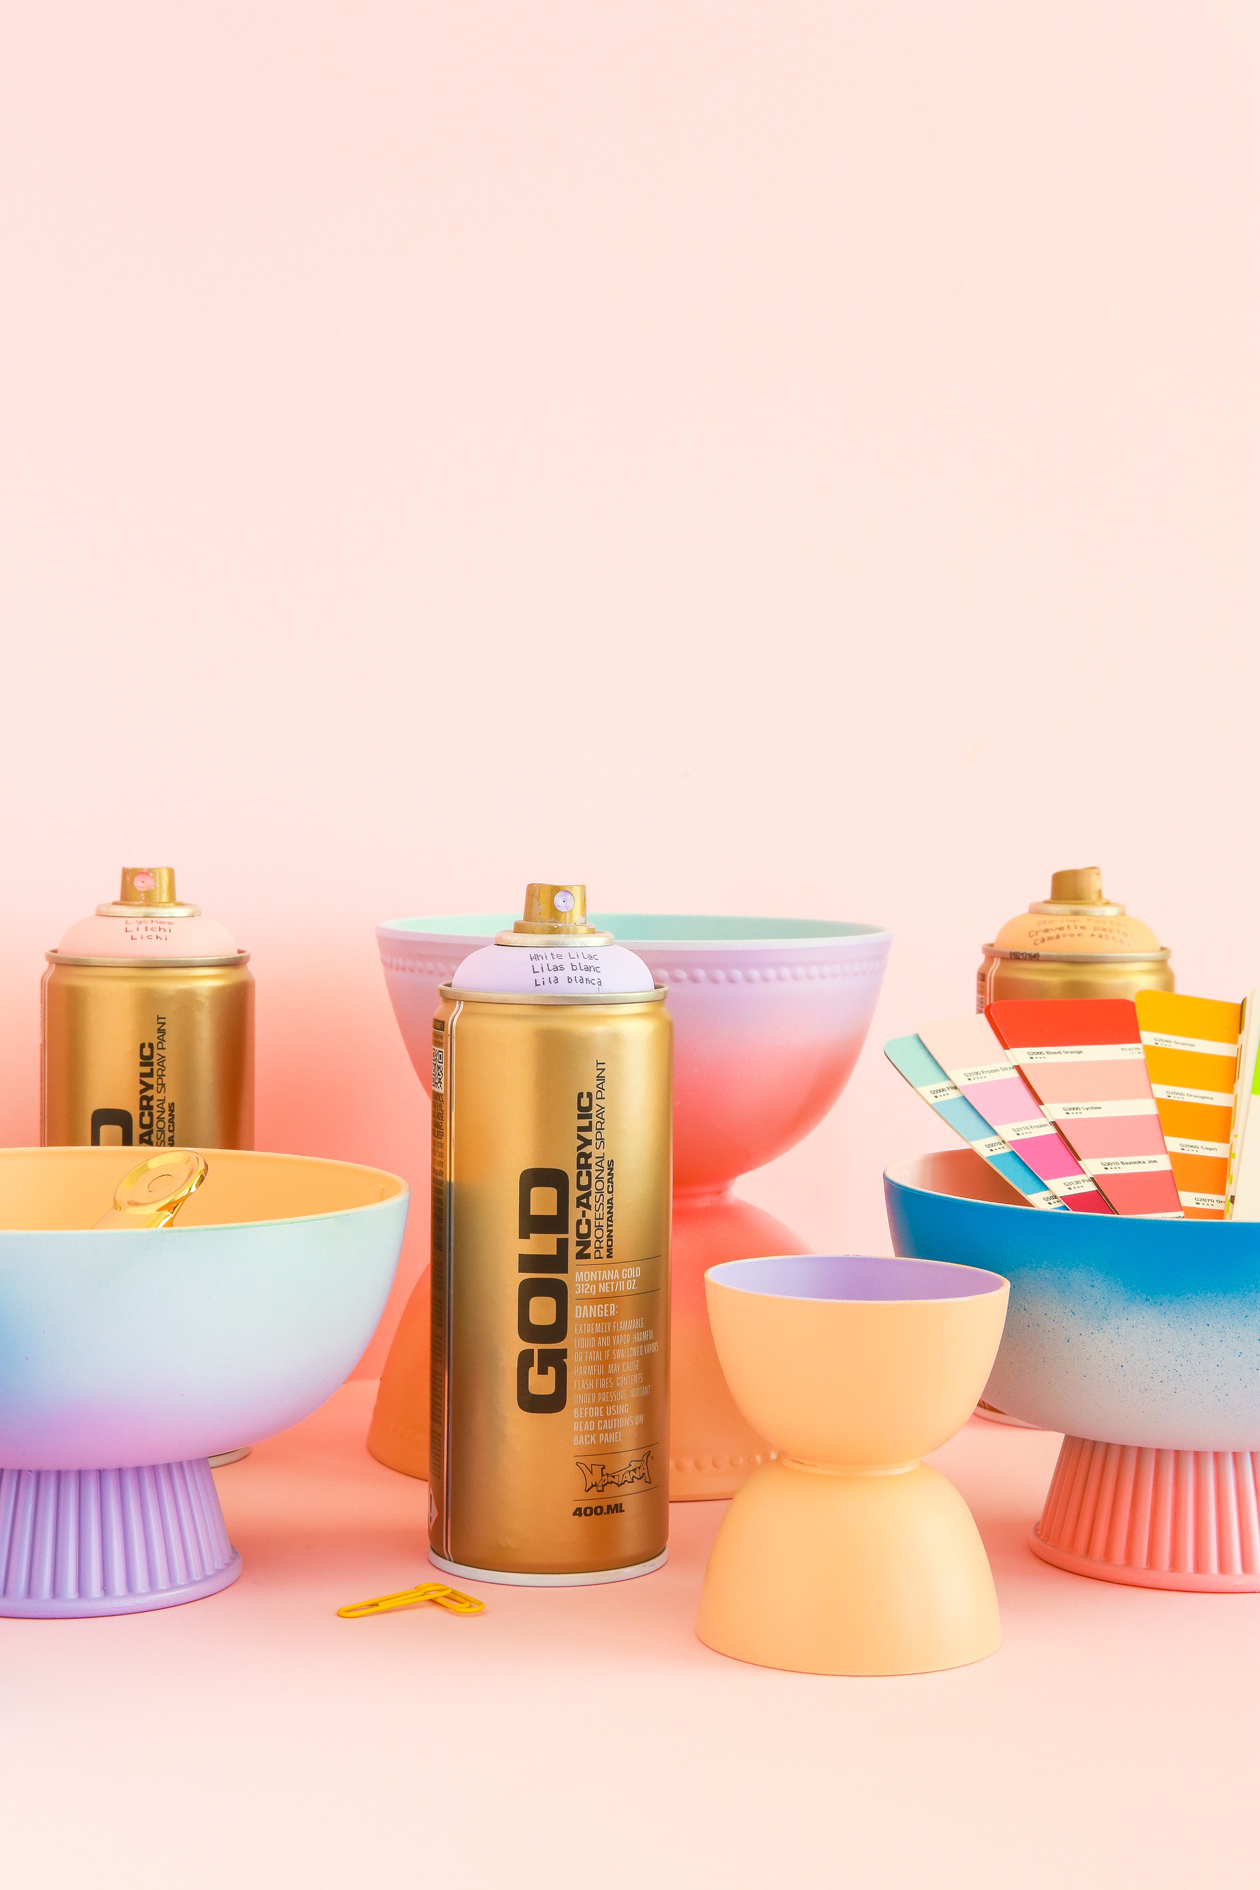
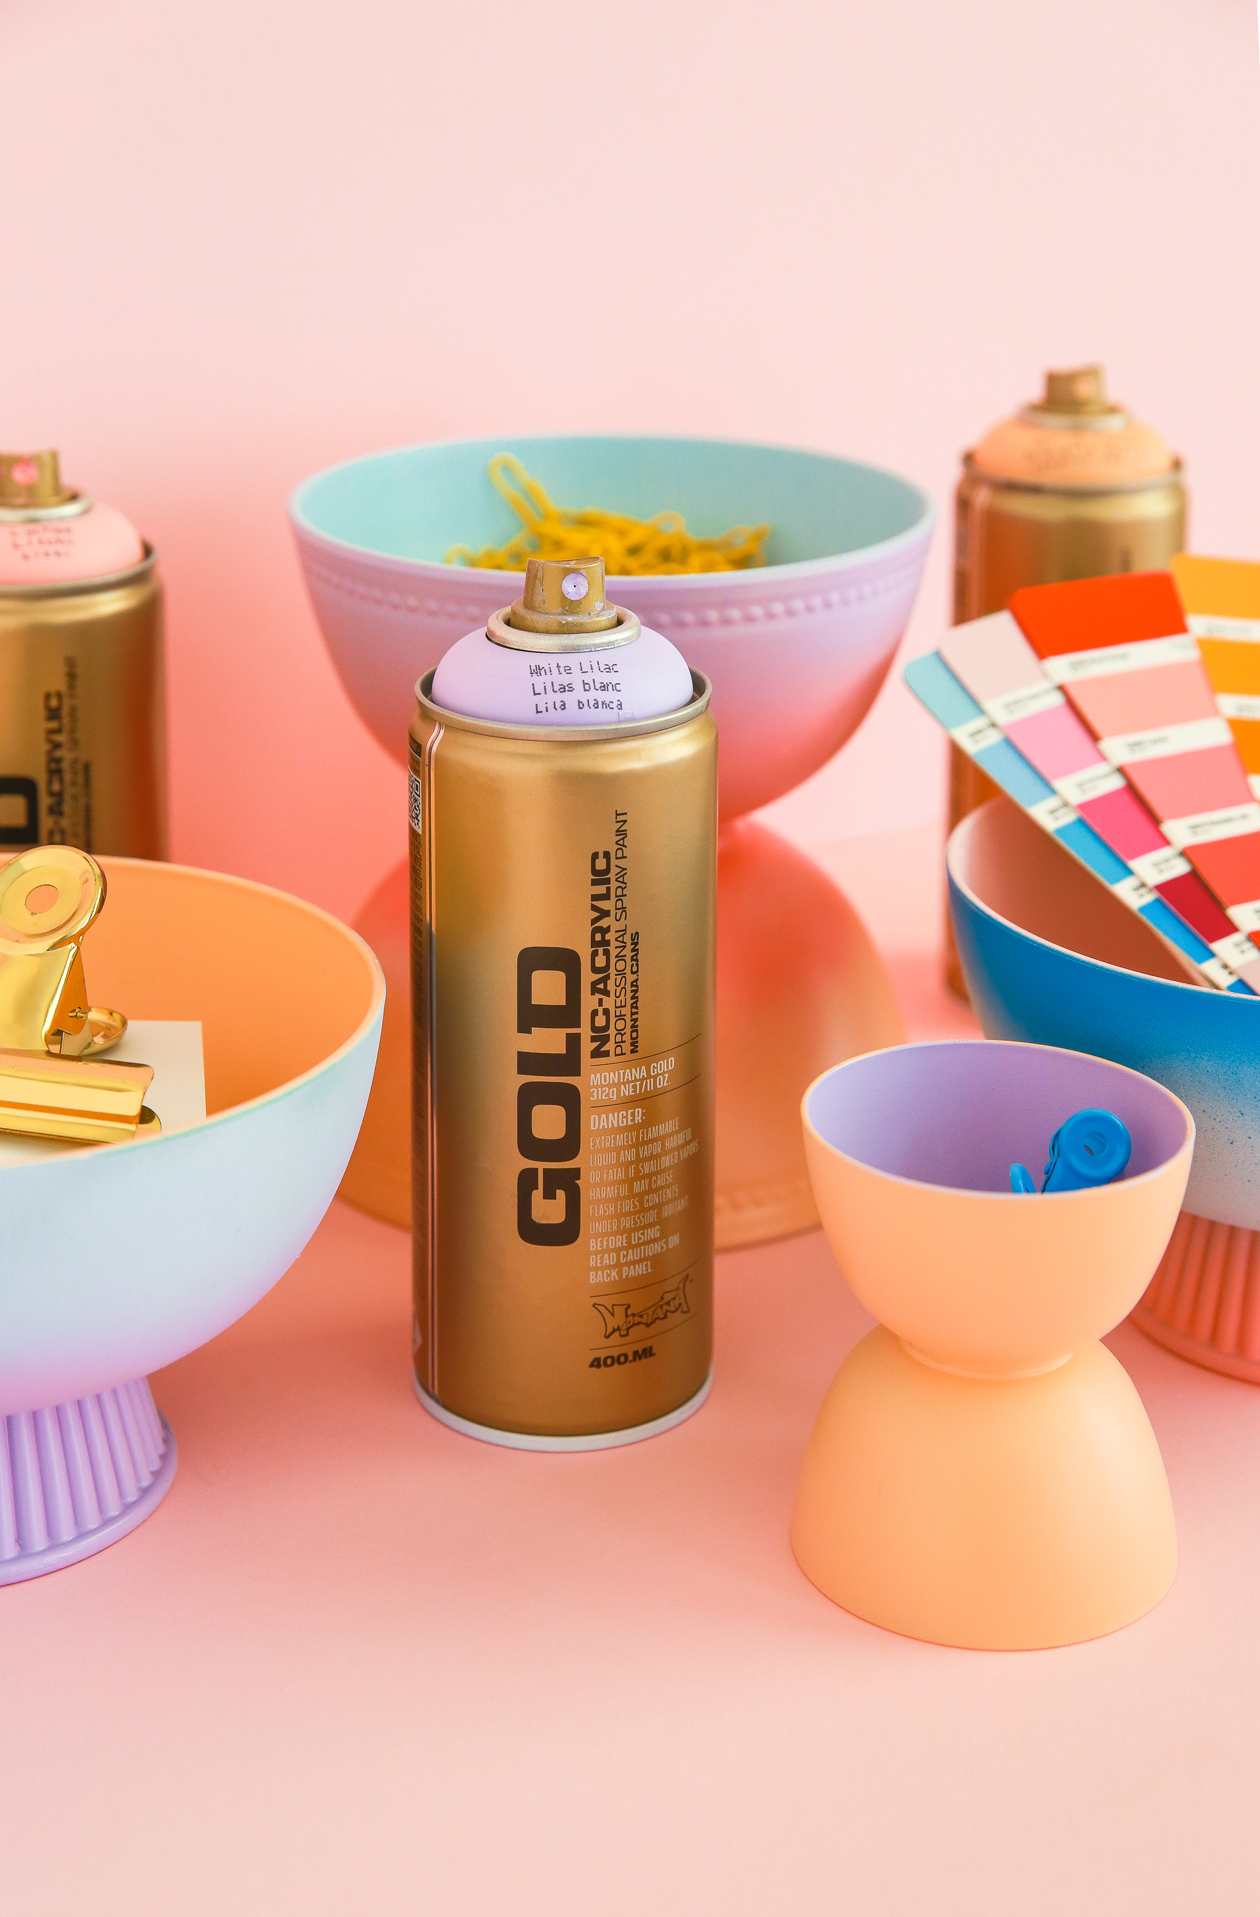
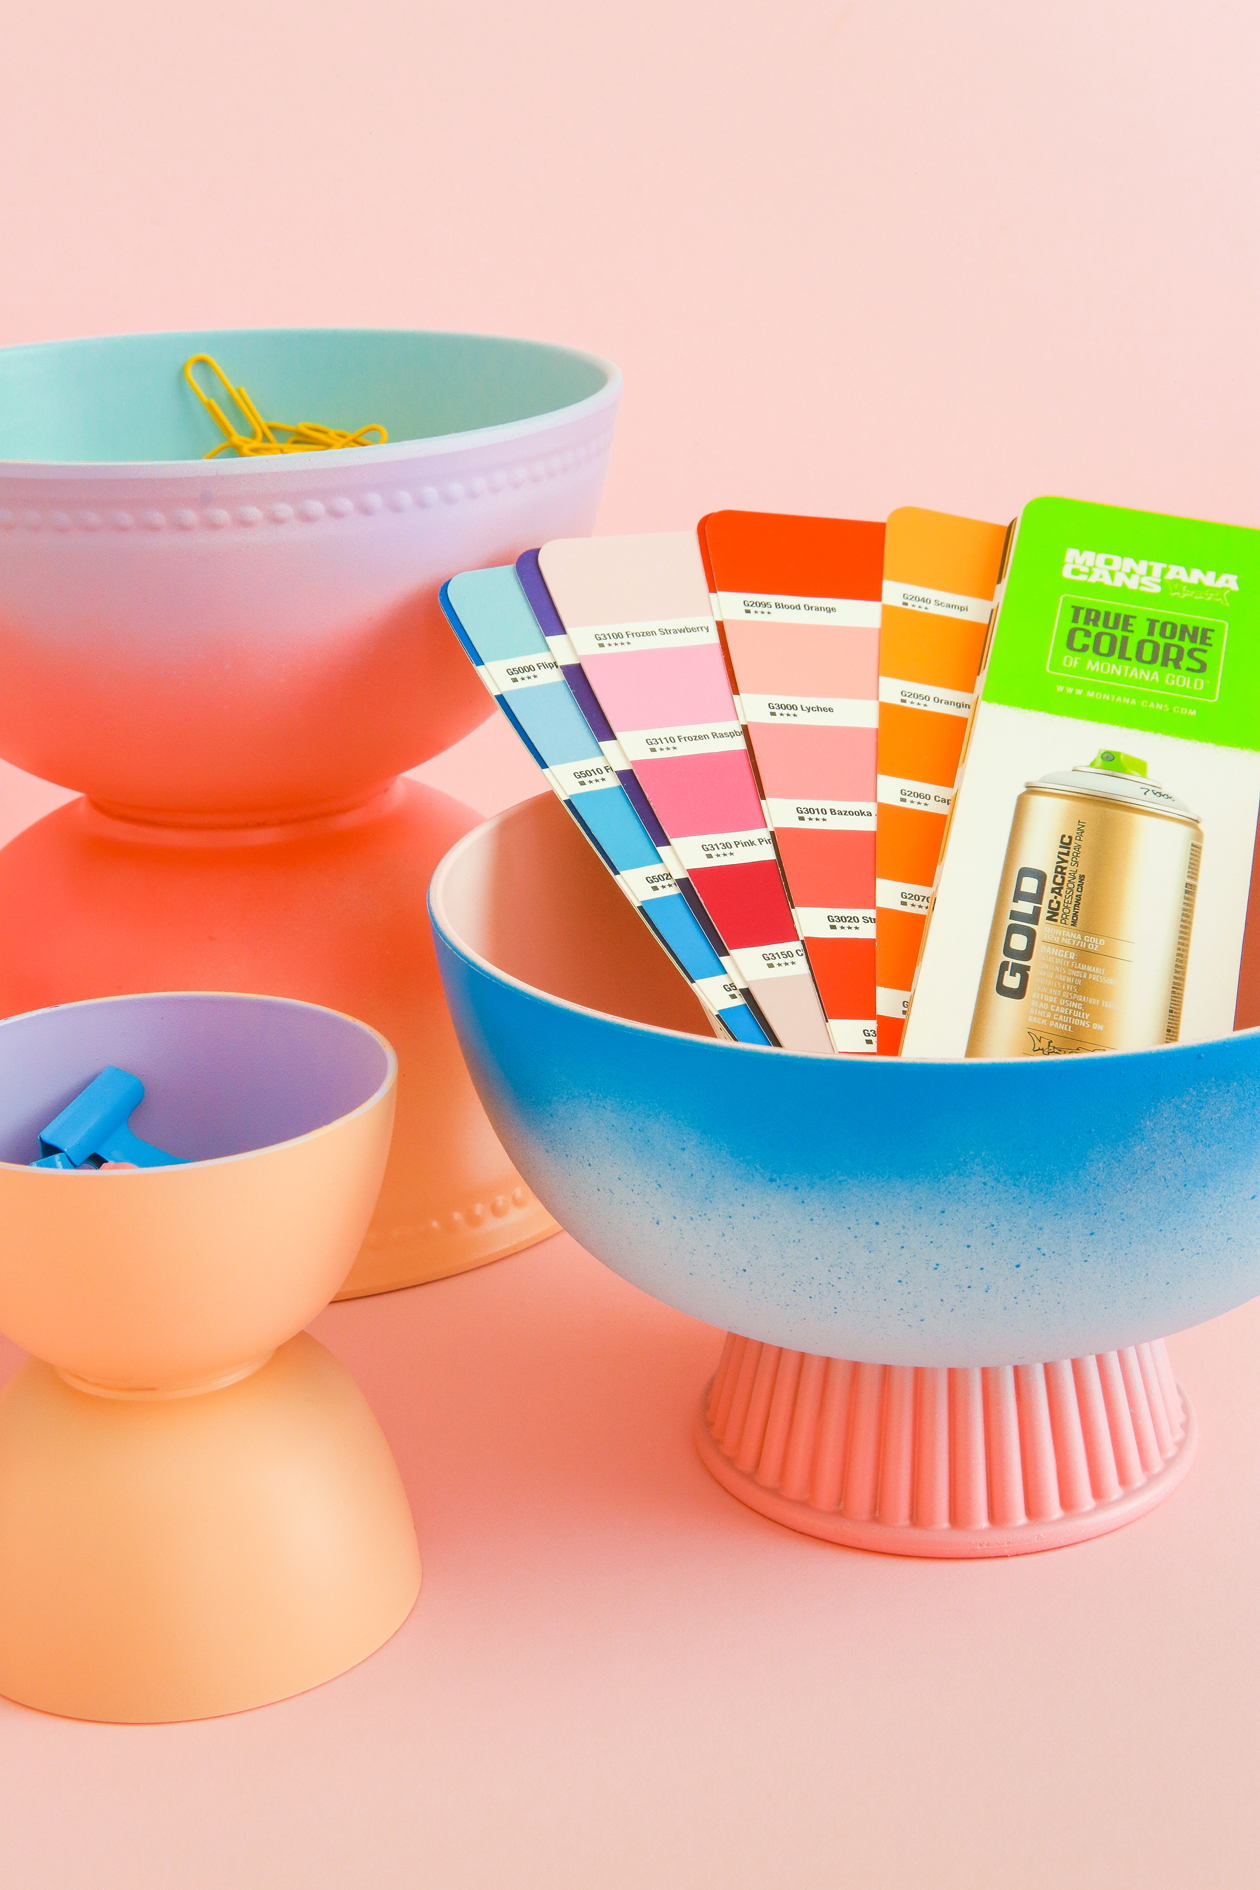
– GOLD spray paint in variety of colors
– Primer
– Gloves
– Bowls/cups/dishes
– Super glue or E-6000 Glue
– Q-Tips
Make sure that your primer matches the materials that you use (plastic primer for plastic bowls, etc). And don’t forget this step! If you plan to use your containers often, this will help reduce the risk of your paint chipping.
 **Note: this project requires overnight dry time for both the glue and the paint. Take your time and allow for complete dry times to get the smoothest final look.
How-To:
1. Test your dish layout as a set before glueing together. You’ll want to make sure there’s good weight distribution so that they don’t fall over once you add your stationery.
2. Once you have the combo you want, glue the pieces together. Apply the glue lightly on the inside rim. Hold the pieces in place and let sit upright overnight to dry fully. If any excess glue comes out, be sure to wipe up immediately with a Q-Tip. Any excess glue will show once you paint, so you’ll want to clean up your surface right away.
3. Prep your surface with a coat of primer. If your dishes are plastic, you’ll want to gently scuff up the surface with sandpaper and wipe clean beforehand. Also be sure to use the Montana plastic primer.
4. Once the primer is dry, it’s time to add color! Start with the inside of your bowl (where you’ll be storing your items). Apply your paint, turning your bowl as you spray, then let dry overnight.
5. Place your bowl upside down and start painting the base. You can move into your second color for the middle, overlapping colors a bit for an ombre look. For the rim of the bowl, and to get a splattered gradient effect, spray your paint into the surface, close to the rim but not on it. This will ensure your paint will splatter up the sides a bit.
6. Continue painting until the surface is fully painted and let dry overnight before sealing.
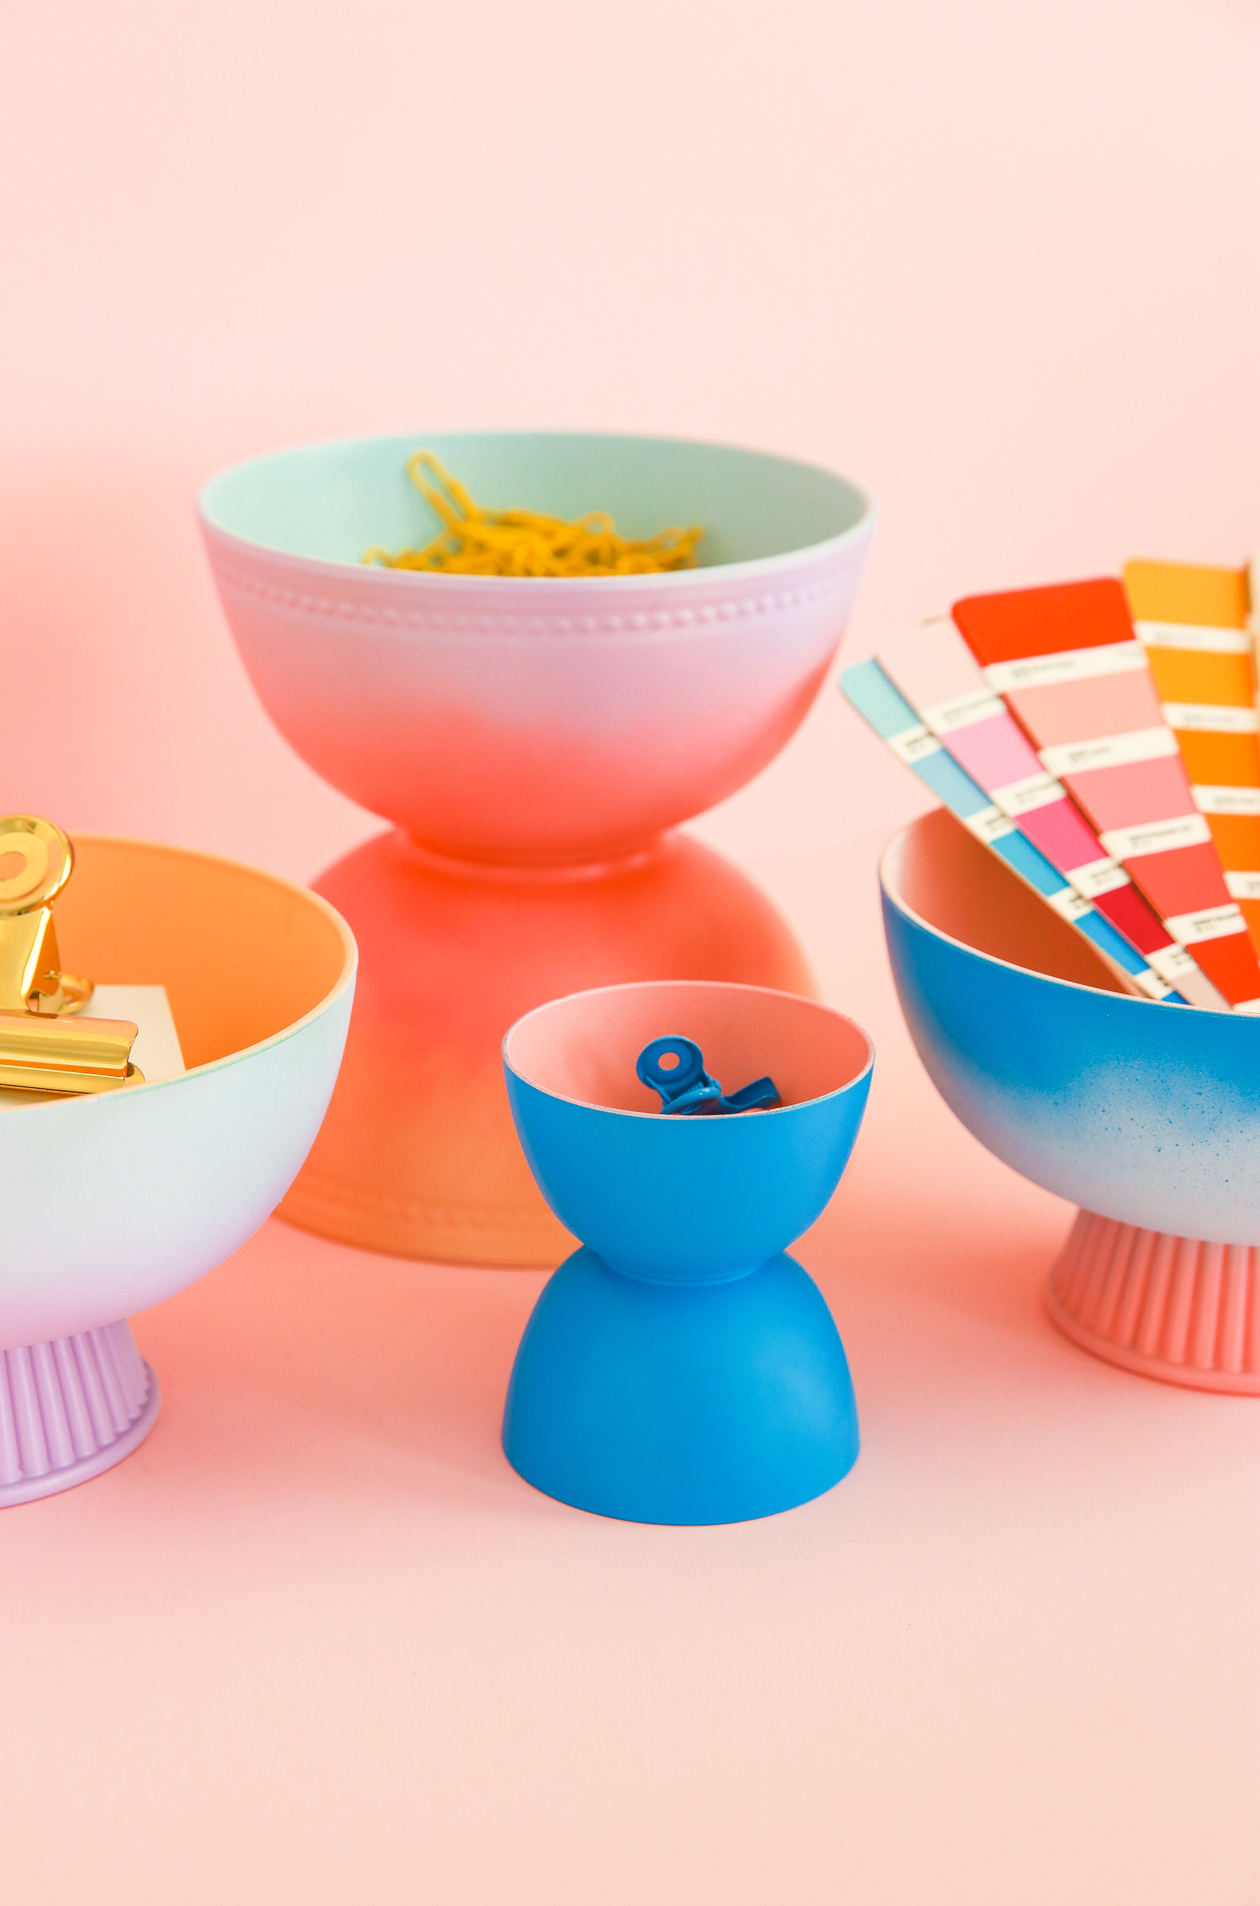 Once your sealer is completely dry, it’s time to fill with your supplies and display! Use to store your go to desk items like paper clips, post-it’s, and more. You could even just use these for decor on a shelf if you’re looking to add more color to your work area. Your office is sure to be happier, especially in January, with an extra burst of color!
For more spray paint projects, be sure to check out All Spray Painted!

