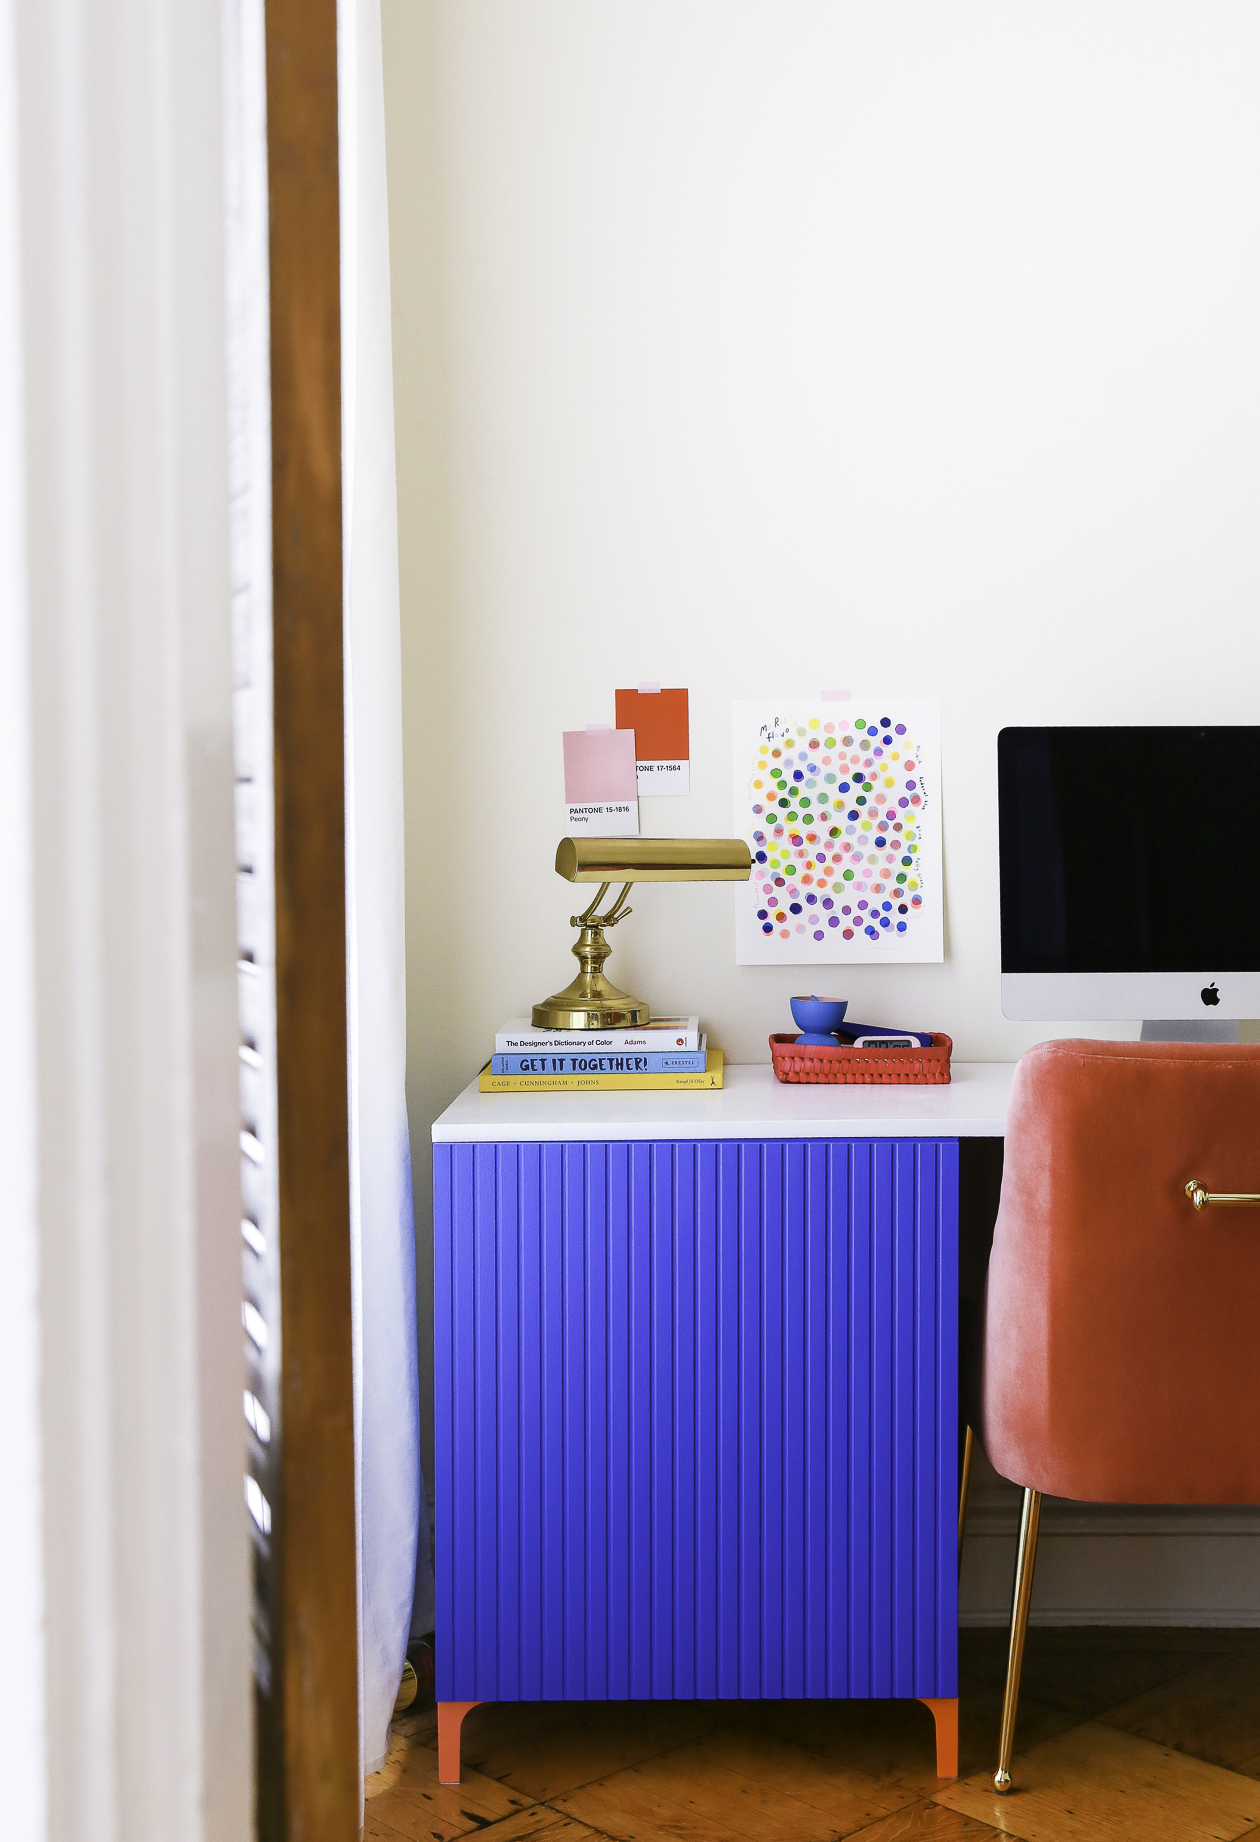
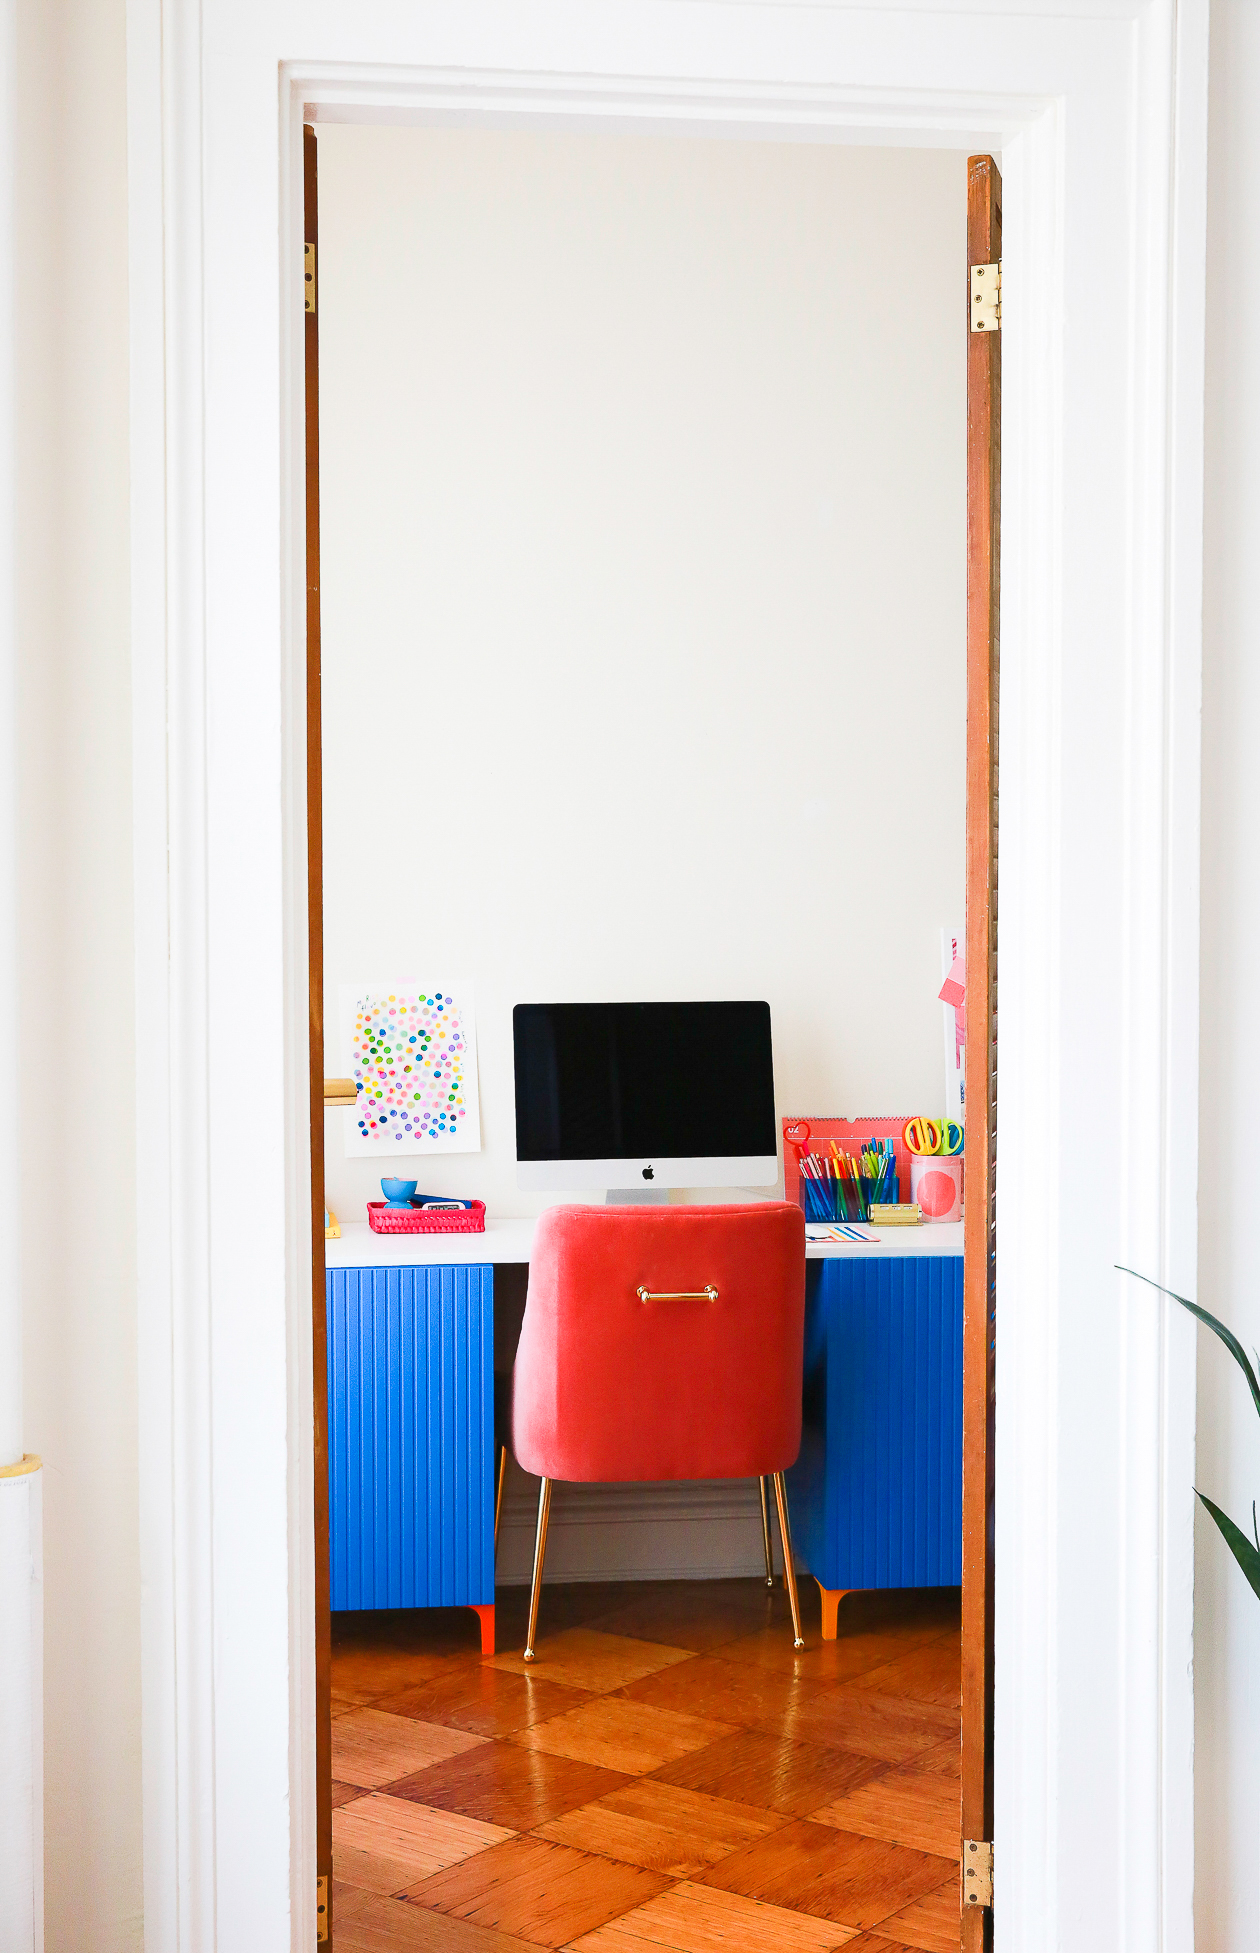
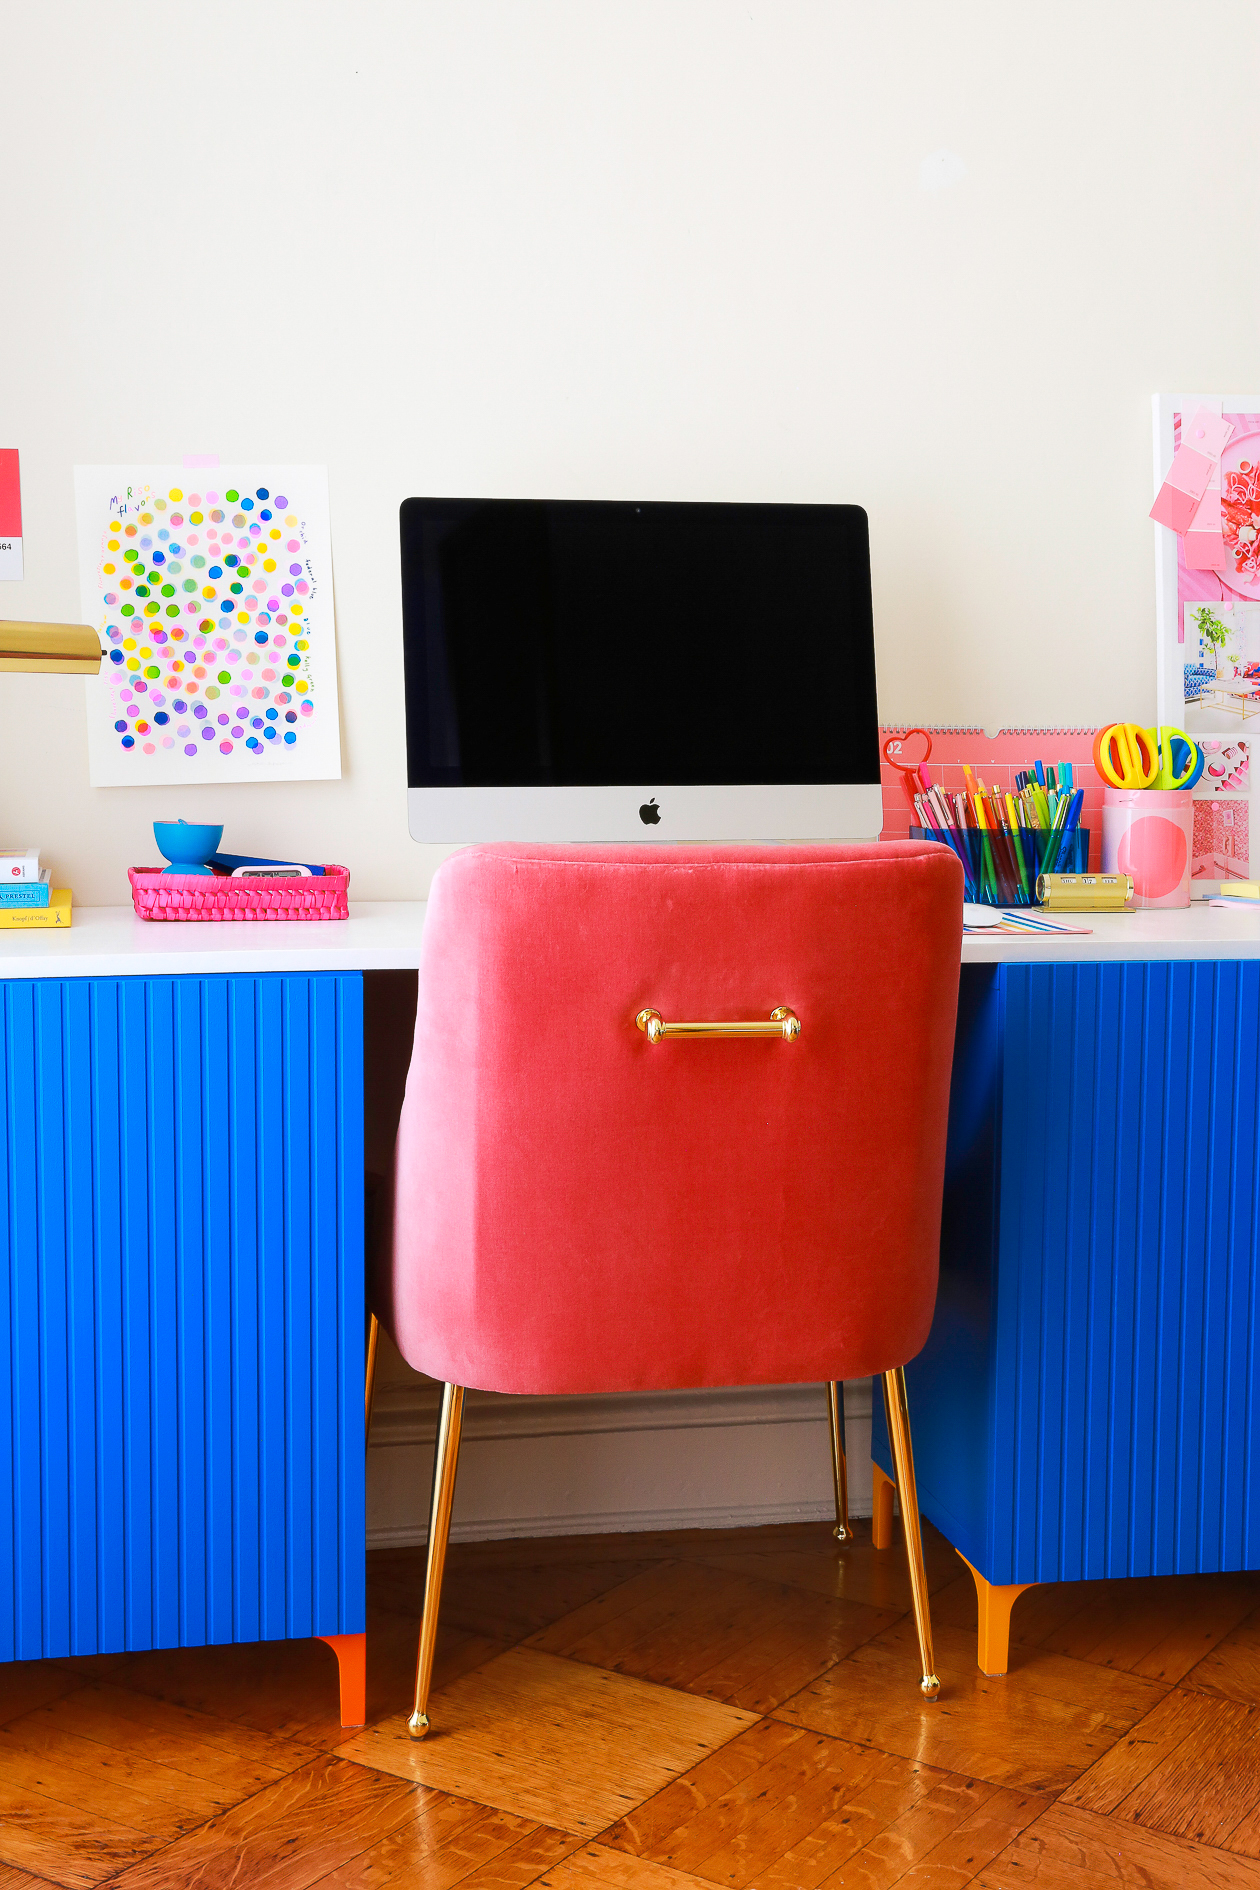
 TODAY IS THE DAY!! My custom Ikea desk is finally done! I started this project in the summer of 2021 when we moved and I’m so thankful that I can finally cross it off of my to-do list. This is the perfect desk hack to make if you need storage space and a larger work surface for your home office (hello fellow crafters). Plus the great part is that you can take this blueprint and adopt the desk size to your specific space.
Here’s how I made a custom Ikea desk:
You can watch the full process video for the project over on my YouTube Channel. I share all about how to paint Ikea furniture and the DIY details in case you missed all of the other process posts.
What I Used to Make My Desk
From Ikea
– BESTA double unit
– BESTA single unit
– BJÖRKÖVIKEN doors (3)
– NANNARP legs (8 legs total)
I also grabbed a few Besta shelves; there’s two in each cabinet. I used the KUGGIS storage boxes and have two on each shelf for a total of 6 per cabinet (18 total).
From Hardware Store
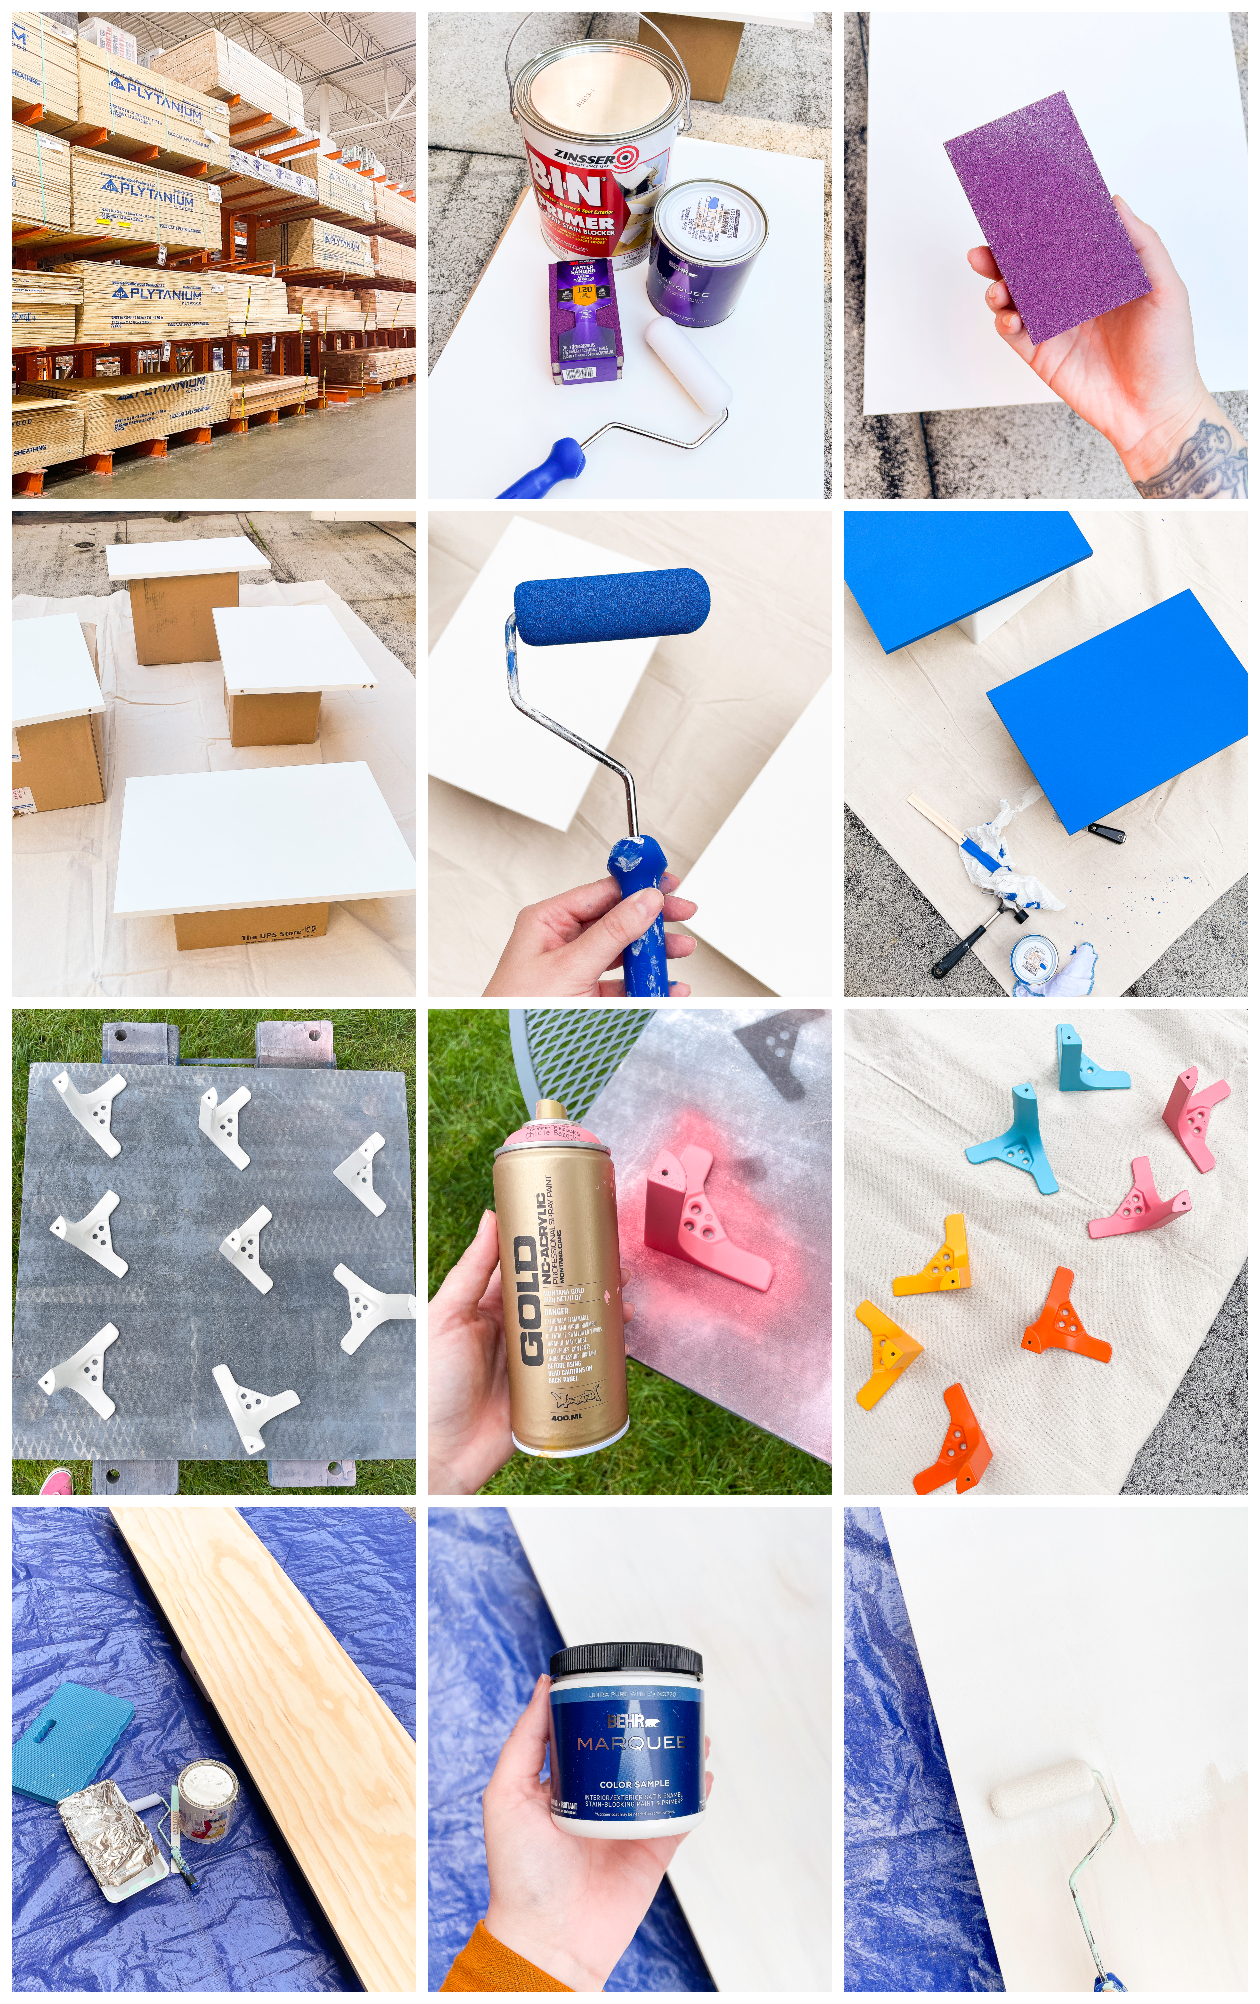
– Plywood (cut to 20″ wide x 8 ft long)
– Sandpaper in 80 + 120 grit
– BIN primer
– Behr Marquee paint in Deep River
– Behr Ultra Pure White color sample
– Polycrylic
– Iron on veneer edging
– Paint brushes + rollers
– Spray paint
– Spray primer + varnish
 How To Make a Custom Ikea Desk
After you gather all of your supplies, get ready to work. This is a project that I worked on over the course of several full days. I was tired and a mess after all of it, but it’s so worth it.
Note: I didn’t use any power tools for this project because they were able to cut the wood to size at Home Depot. So if you live in an apartment, you can still make this project!
Here’s how everything came together:
1. Paint before you assemble. I shared how I paint Ikea furniture in Part II and how I painted the desk top and legs in Part III. This by far takes up the most time of the project and is completely optional. If you don’t paint, you can finish this project in a day.
2. Once your pieces are painted, dried, and sealed, it’s time to put them all together. Assemble your BESTA units just as you typically would, legs and all. I suggest working on a rug so that you protect the paint job.
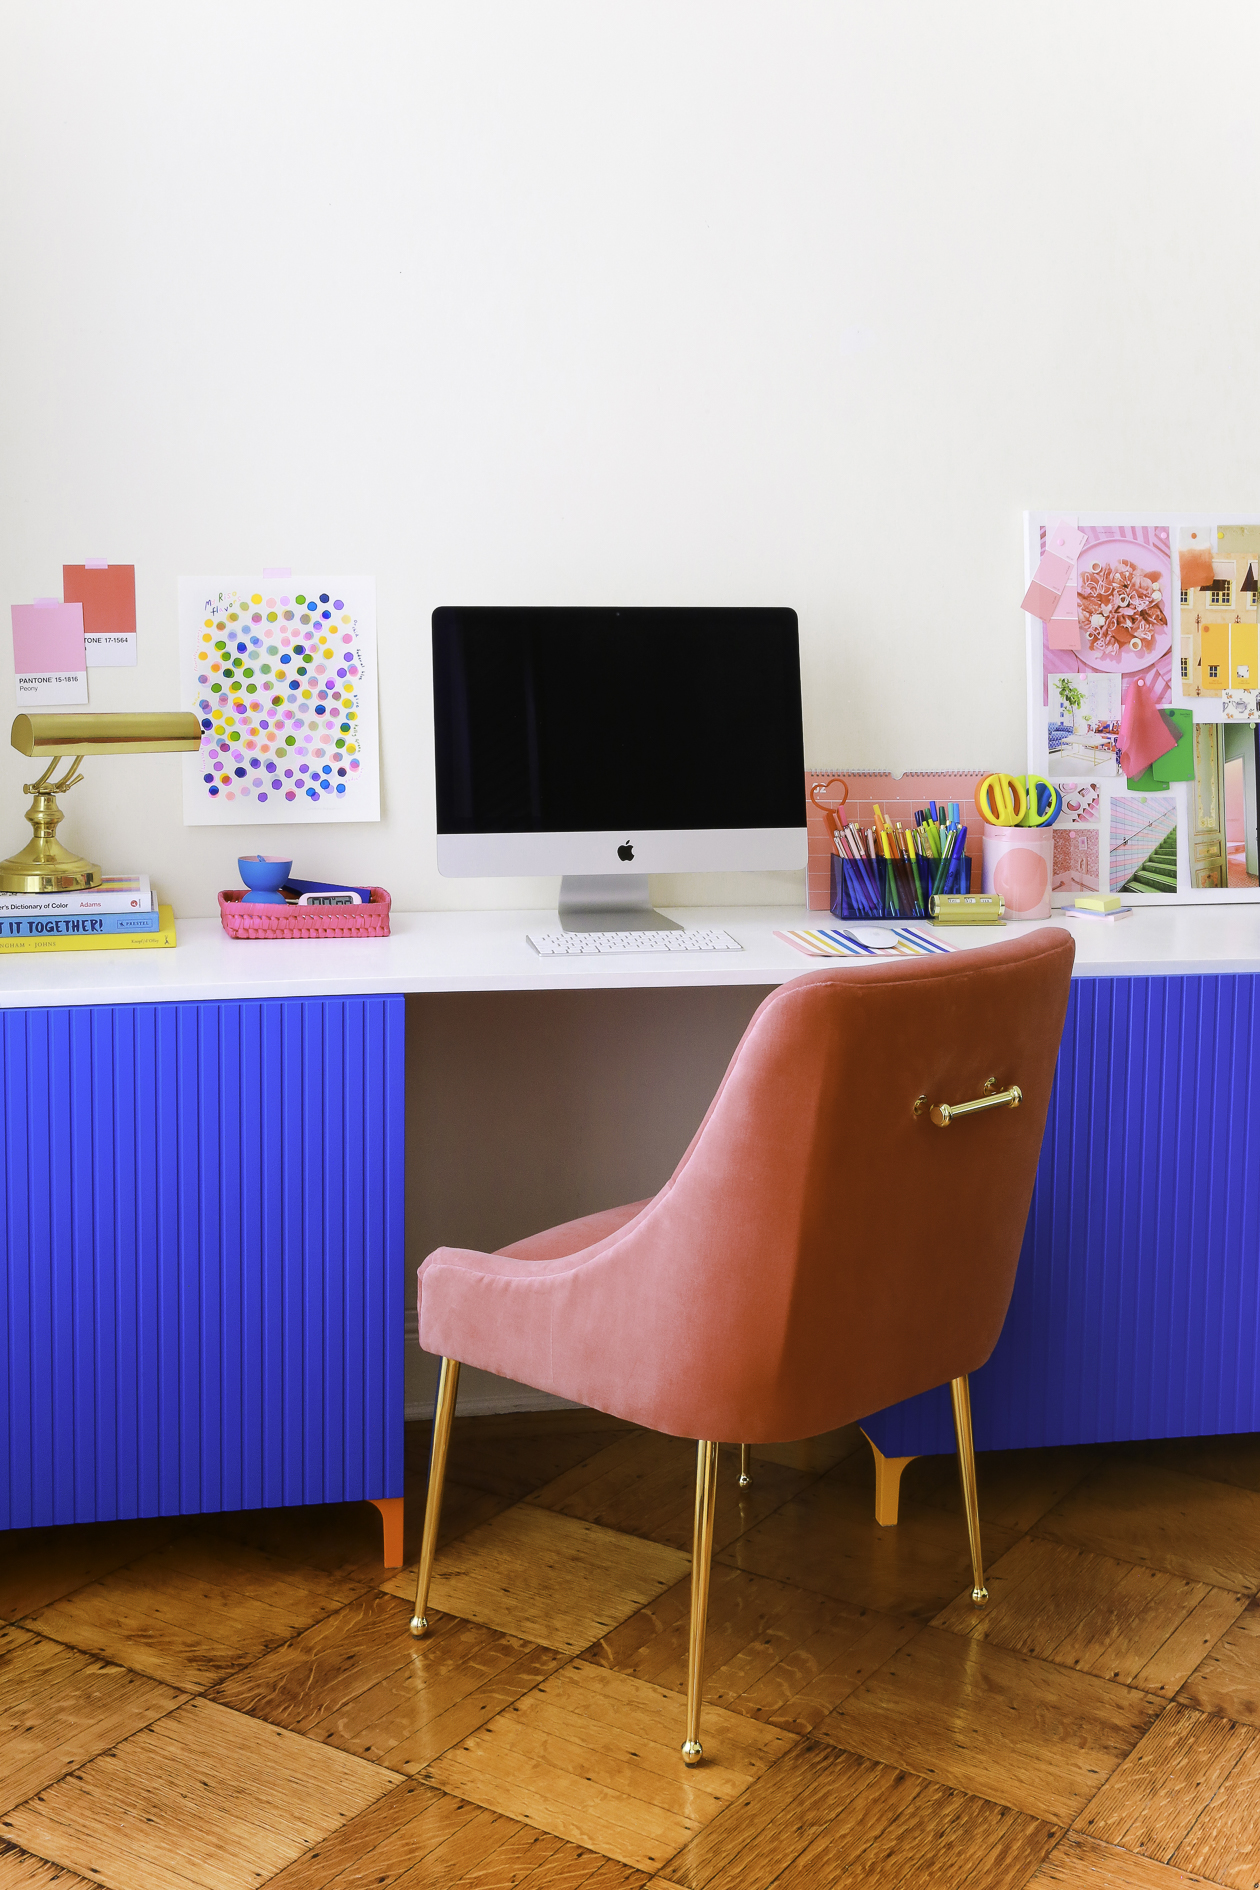
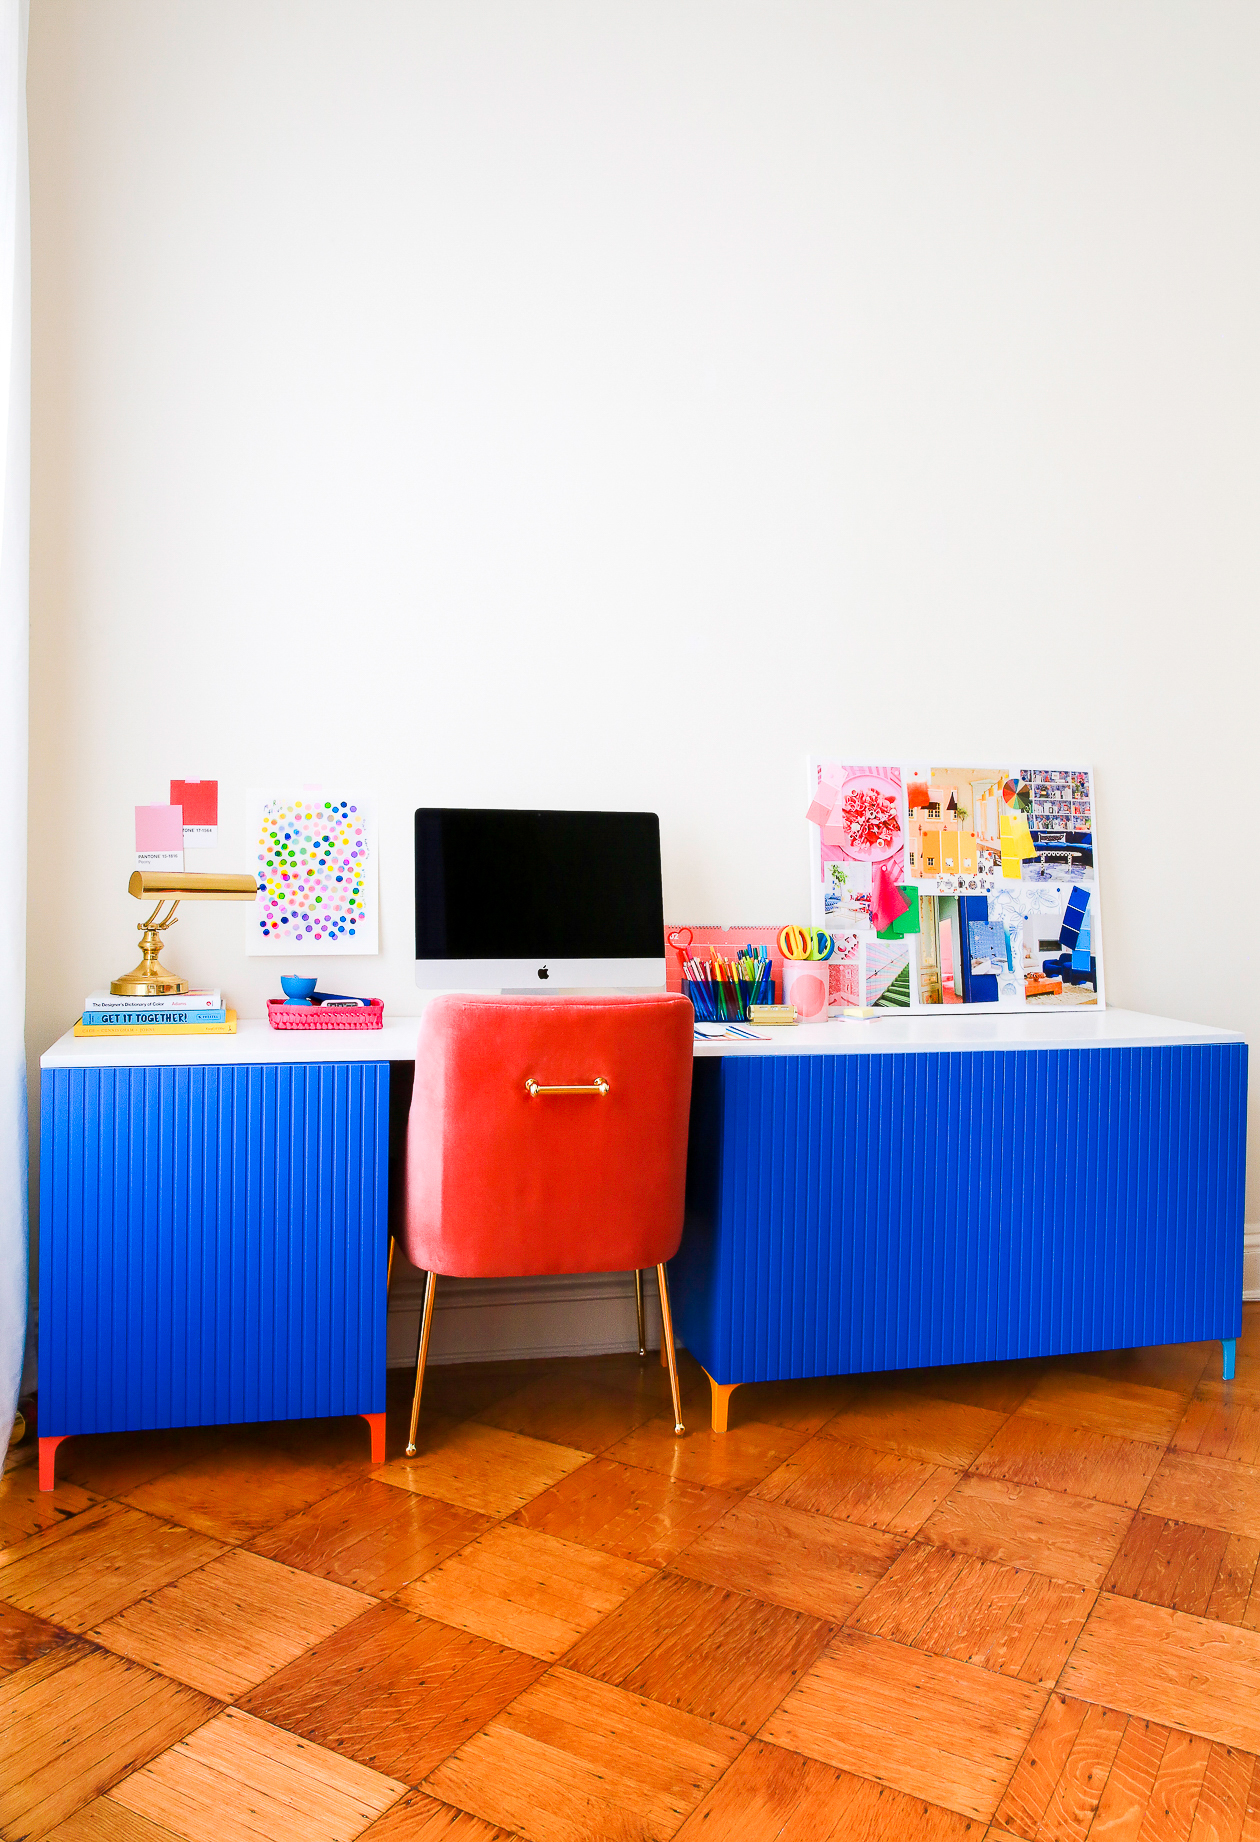
3. When setting up, you’ll need to leave about 24.5″ in between the two units to leave room for your chair.
4. I also kept a space of 4.5″ between the BESTA units and the wall. This is a great storage area if you need to store chords or photo backdrops.
5. When your units are in their set places, add your wood on top. It should be flush with the ends of the base and the wall. There will be space behind the base and under the top. Make any adjustments as needed.
6. To seal the raw edge of the desk top, apply iron on veneer edging (you’ll need an iron and parchment paper). This is optional, but it really helps polish the final look.
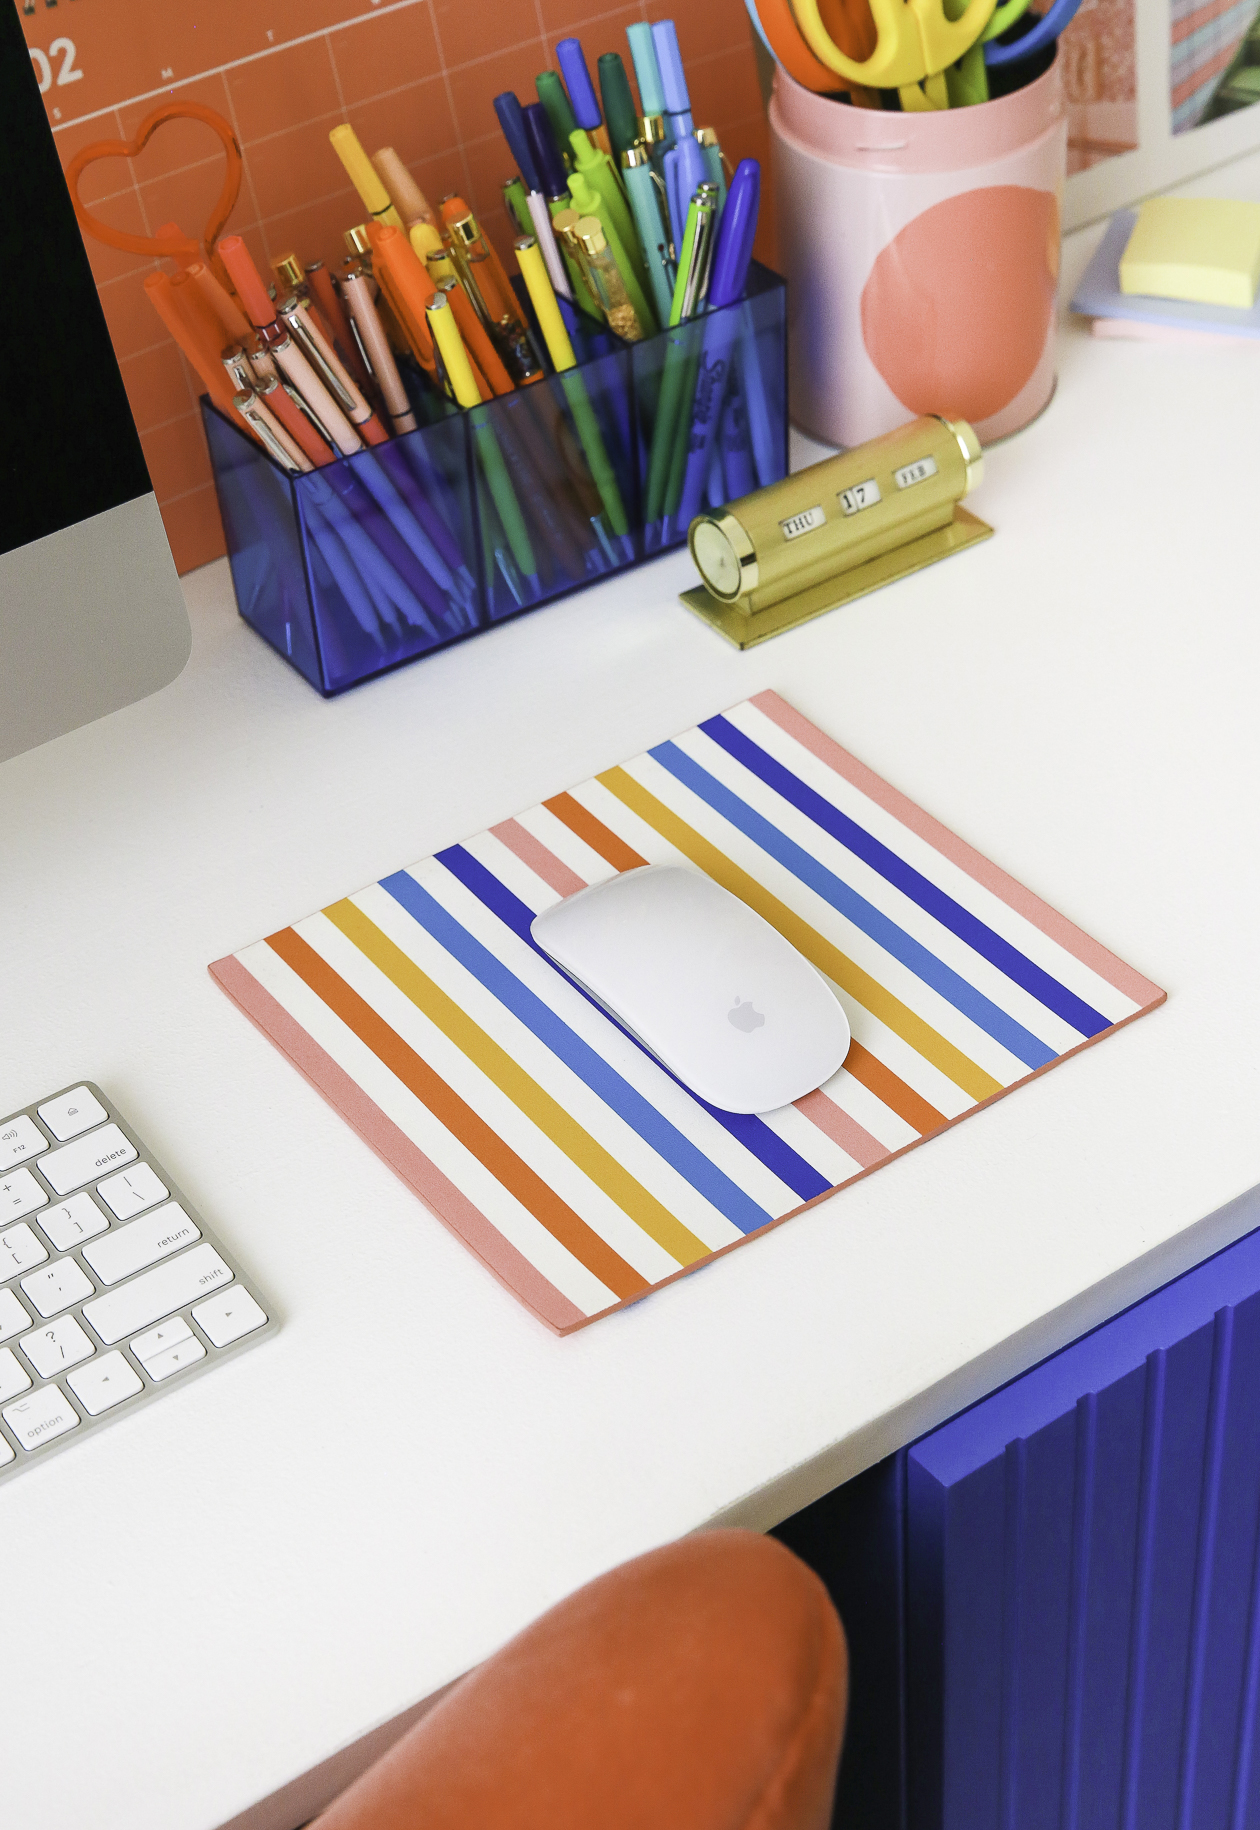
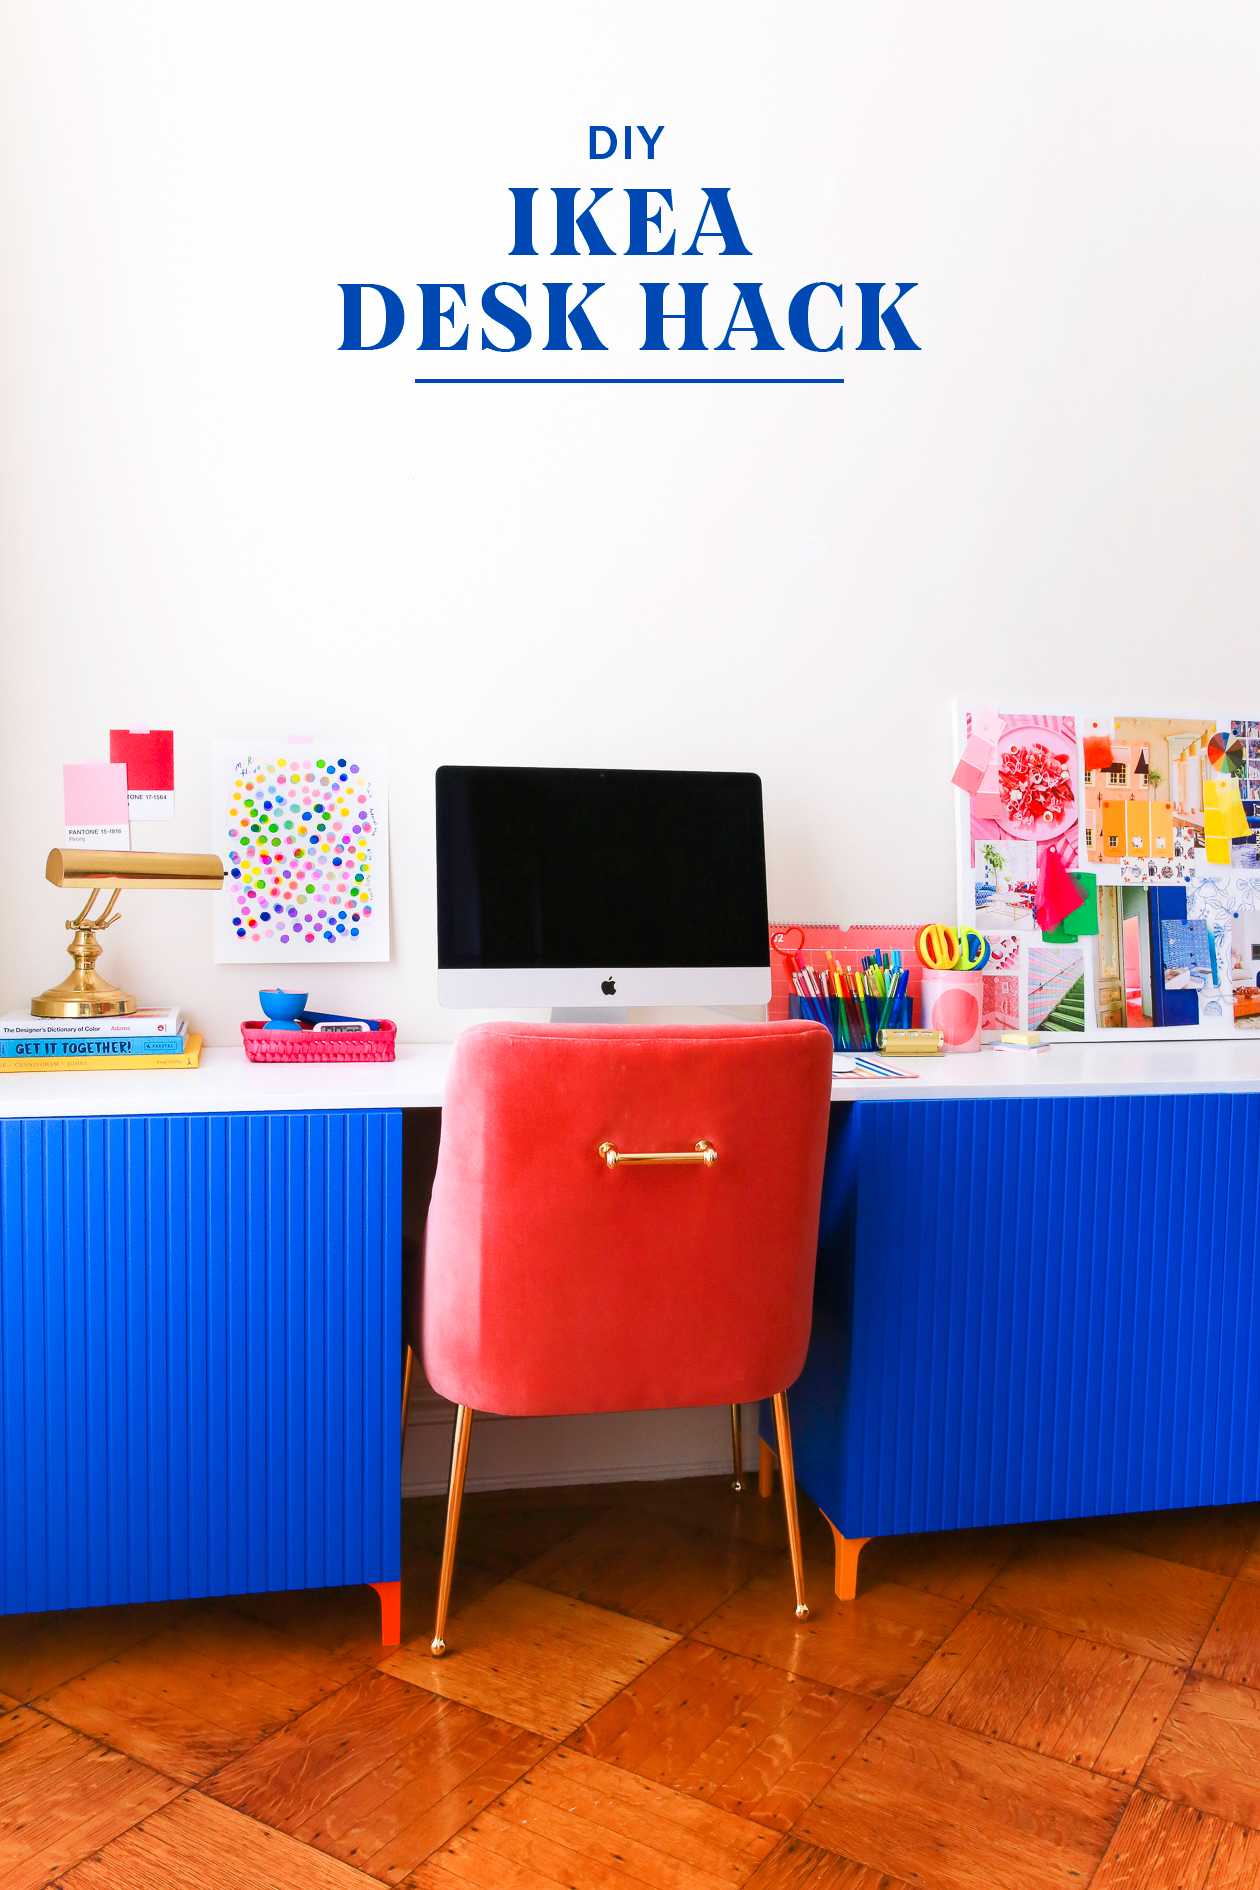
7. Add your computer and style how you want! You did it– you made a computer desk!
 DIY Tips
I built this Ikea desk hack custom to my current office/work from home set up because the width of a standard desk (around 24″) was too deep for my space and would block my window. You can definitely take this plan and adopt it to your space, but here are some things to keep in mind:
1. There are SO many Besta units at Ikea. Just make sure that your height and depths are the same when choosing your pieces. I linked to the ones that I used above, so hopefully that’s helpful when it comes to measurements.
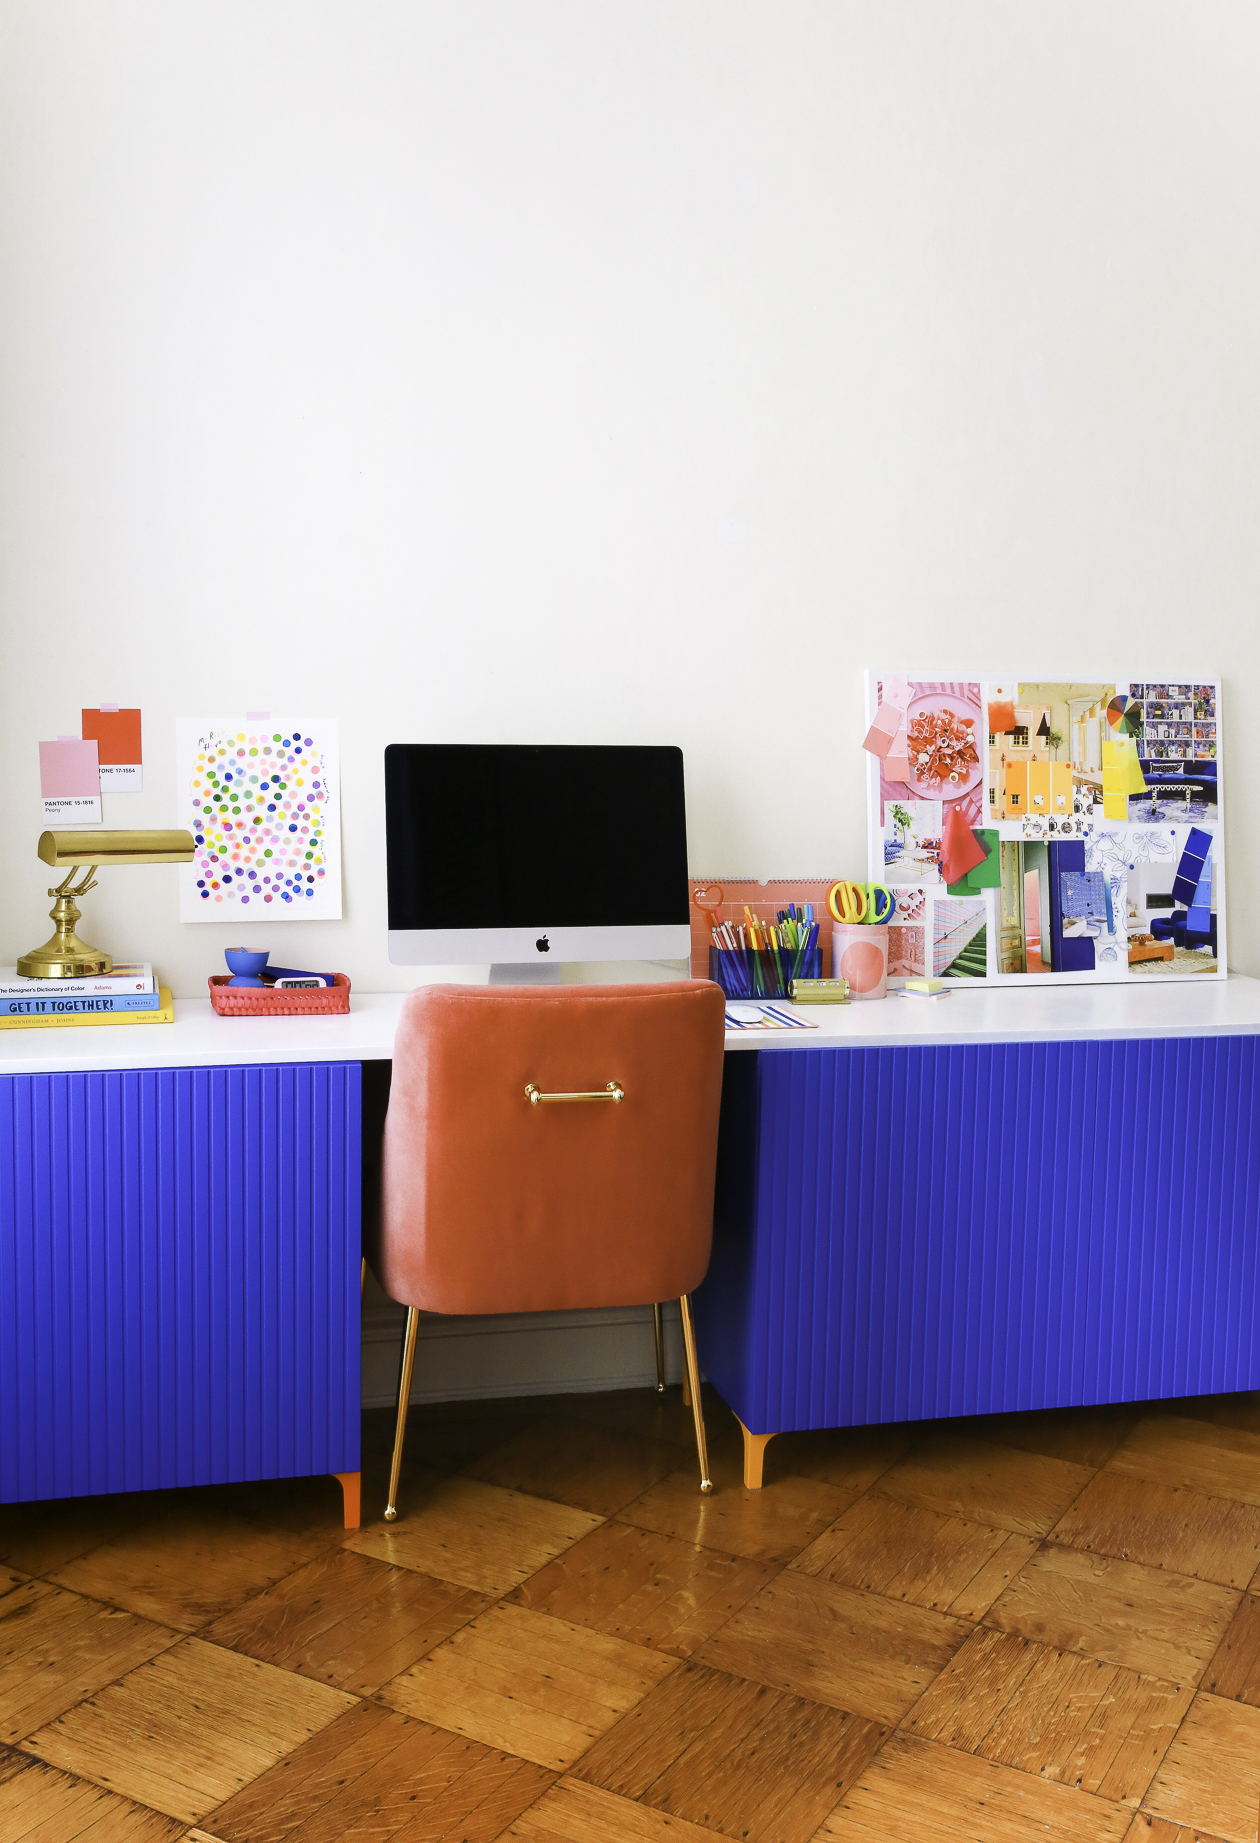
2. There will be space behind the desk if you choose the exact pieces that I did (the wood top is wider than the units). This helps me store poster boards, other photoshoot items, and hide wires. If you don’t want the gap, keep that in mind when searching for your base pieces.
3. The depth of my desk is slimmer because of my narrow office space. If you have more room, you can most likely go for 24″ instead of the 20″ that I have. You may want to find a deeper Besta unit if you go deeper for the top.
4. Measure and then measure again. Then measure one more time to be safe. It took a lot of prep work to figure out what would exactly work for my space, so take your time with the initial prep then everything should come together nicely!
5. You will need to add legs to make the desk the right size for working. Mine is 30″ tall and works for my height and the chair that I have. Again, measuring correctly is the key to this project.
 I think the next step in the office makeover process would be to maybe add shelving and something to the walls. Our ceilings are 10 ft tall which makes it difficult to paint or wallpaper ourselves (I’m not a fan of ladders), but I’m working on a project that might be easier. More on that to come!
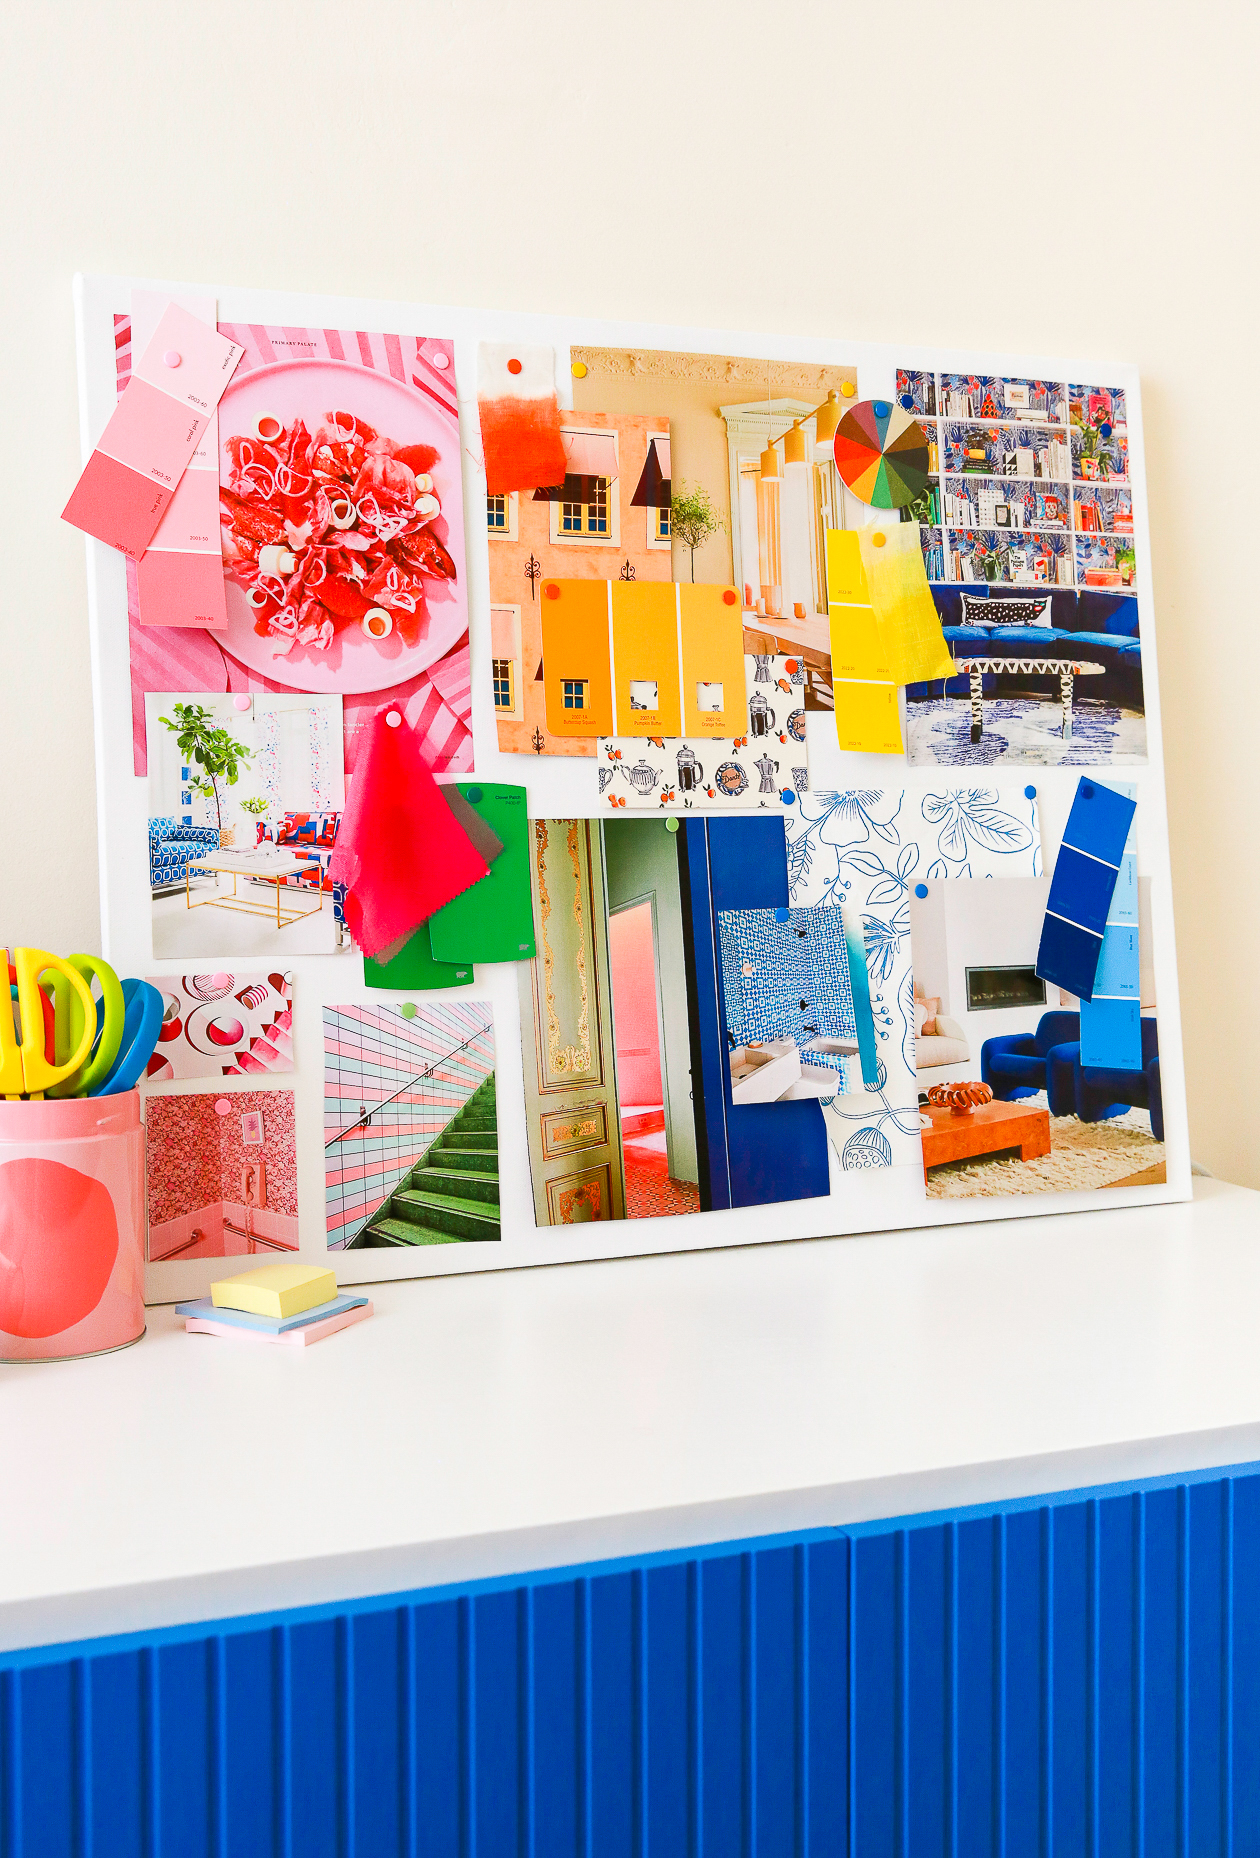
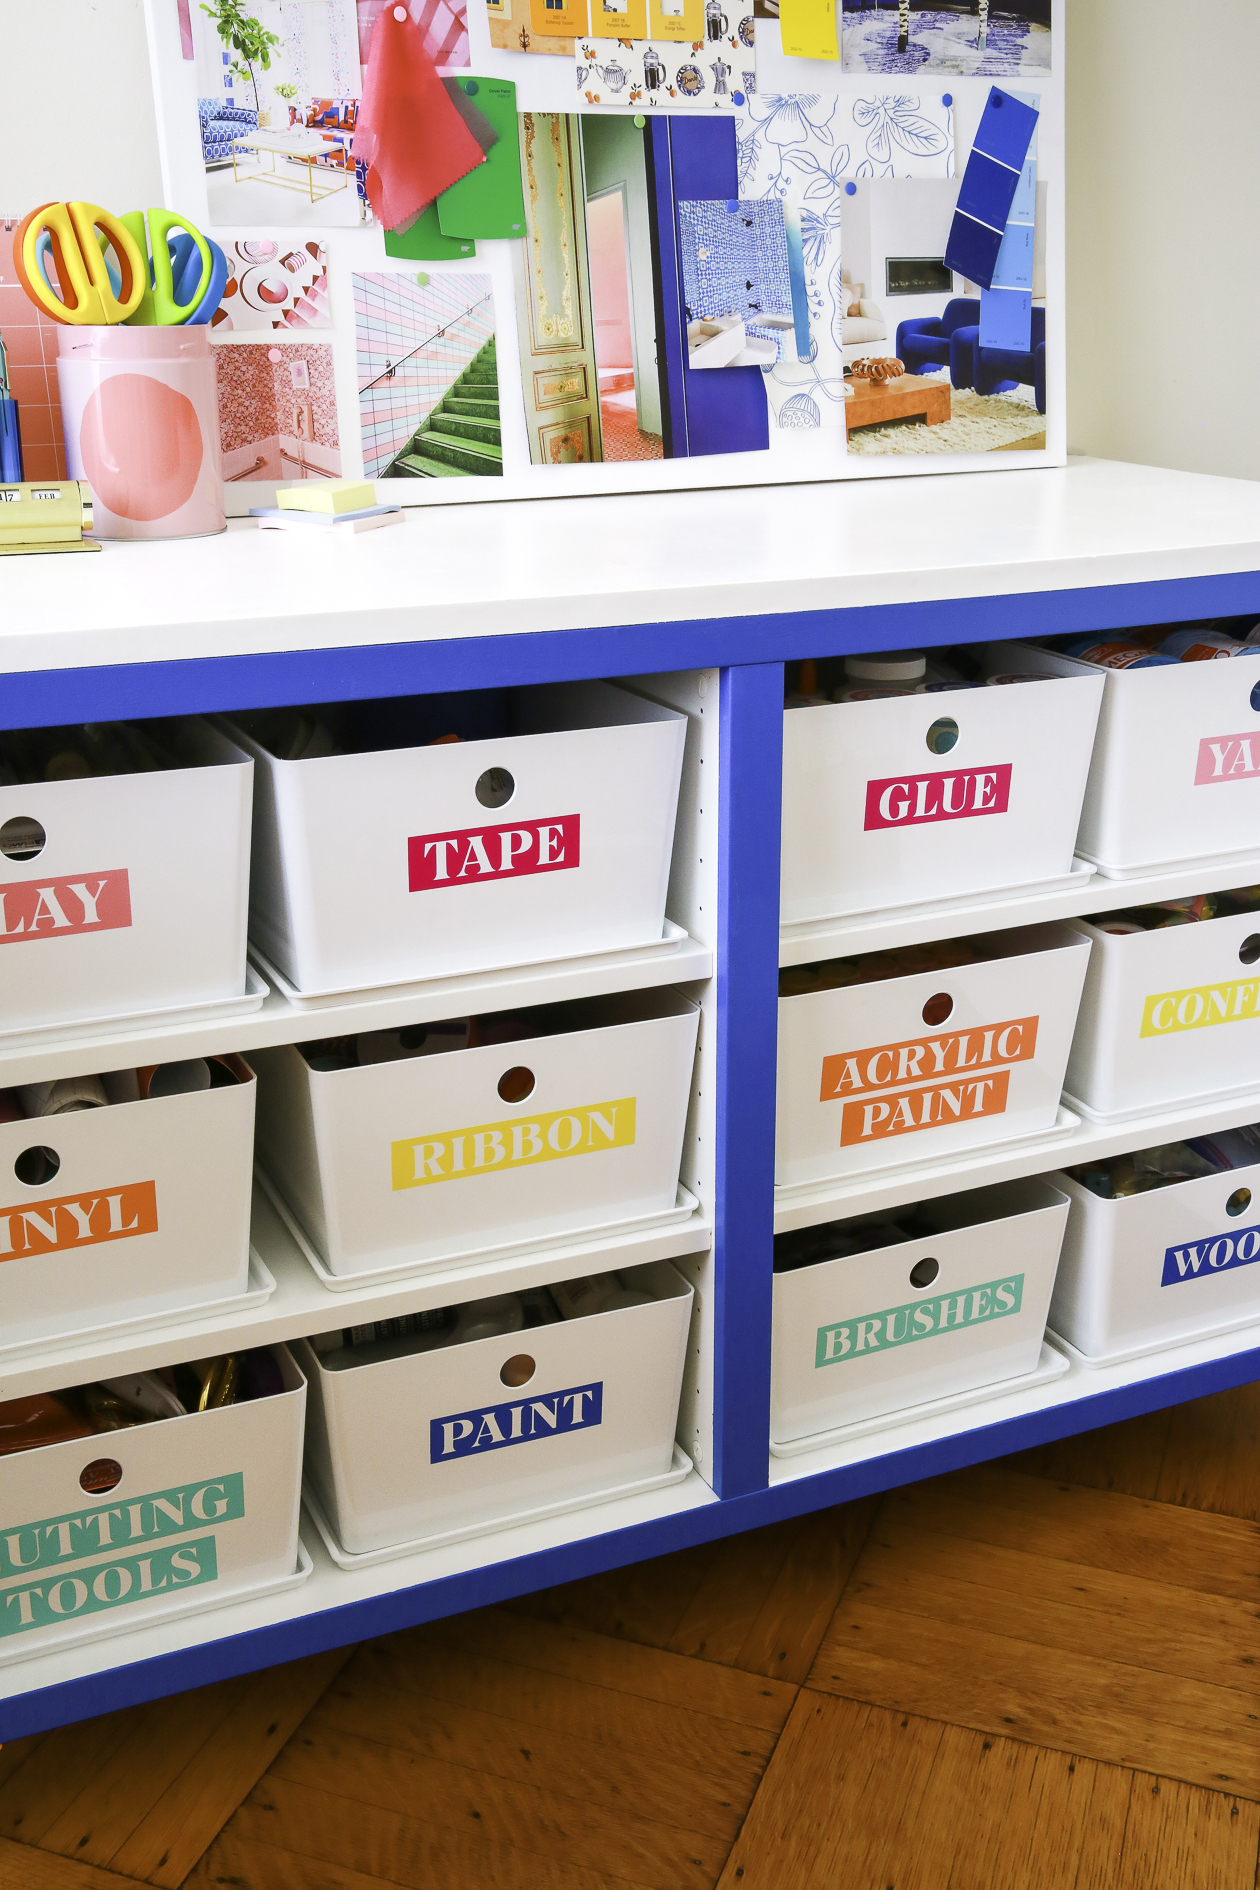 To organize the storage space and all of my supplies, I made craft room labels! You can make your own files for this project, or grab an SVG set in my Etsy shop. They have kept me SO organized and are one of the best features about my desk.
Anddd that’s how I made my custom Ikea Desk! That’s a wrap! Thank you so much for following along with this project. If you’re in need of an office desk, I hope that you’ll give this project a try.
Now that the reveal is here, I’m curious–would you make your own DIY Ikea Desk hack? Did you like following along as a series? Do you prefer to just have the one post with less details? I have another furniture project in the works, so I’d love to know what you think.
Also let me know if you have any questions about the desk project at all– I’m happy to help how I can! Can’t wait to see how your home office comes together!