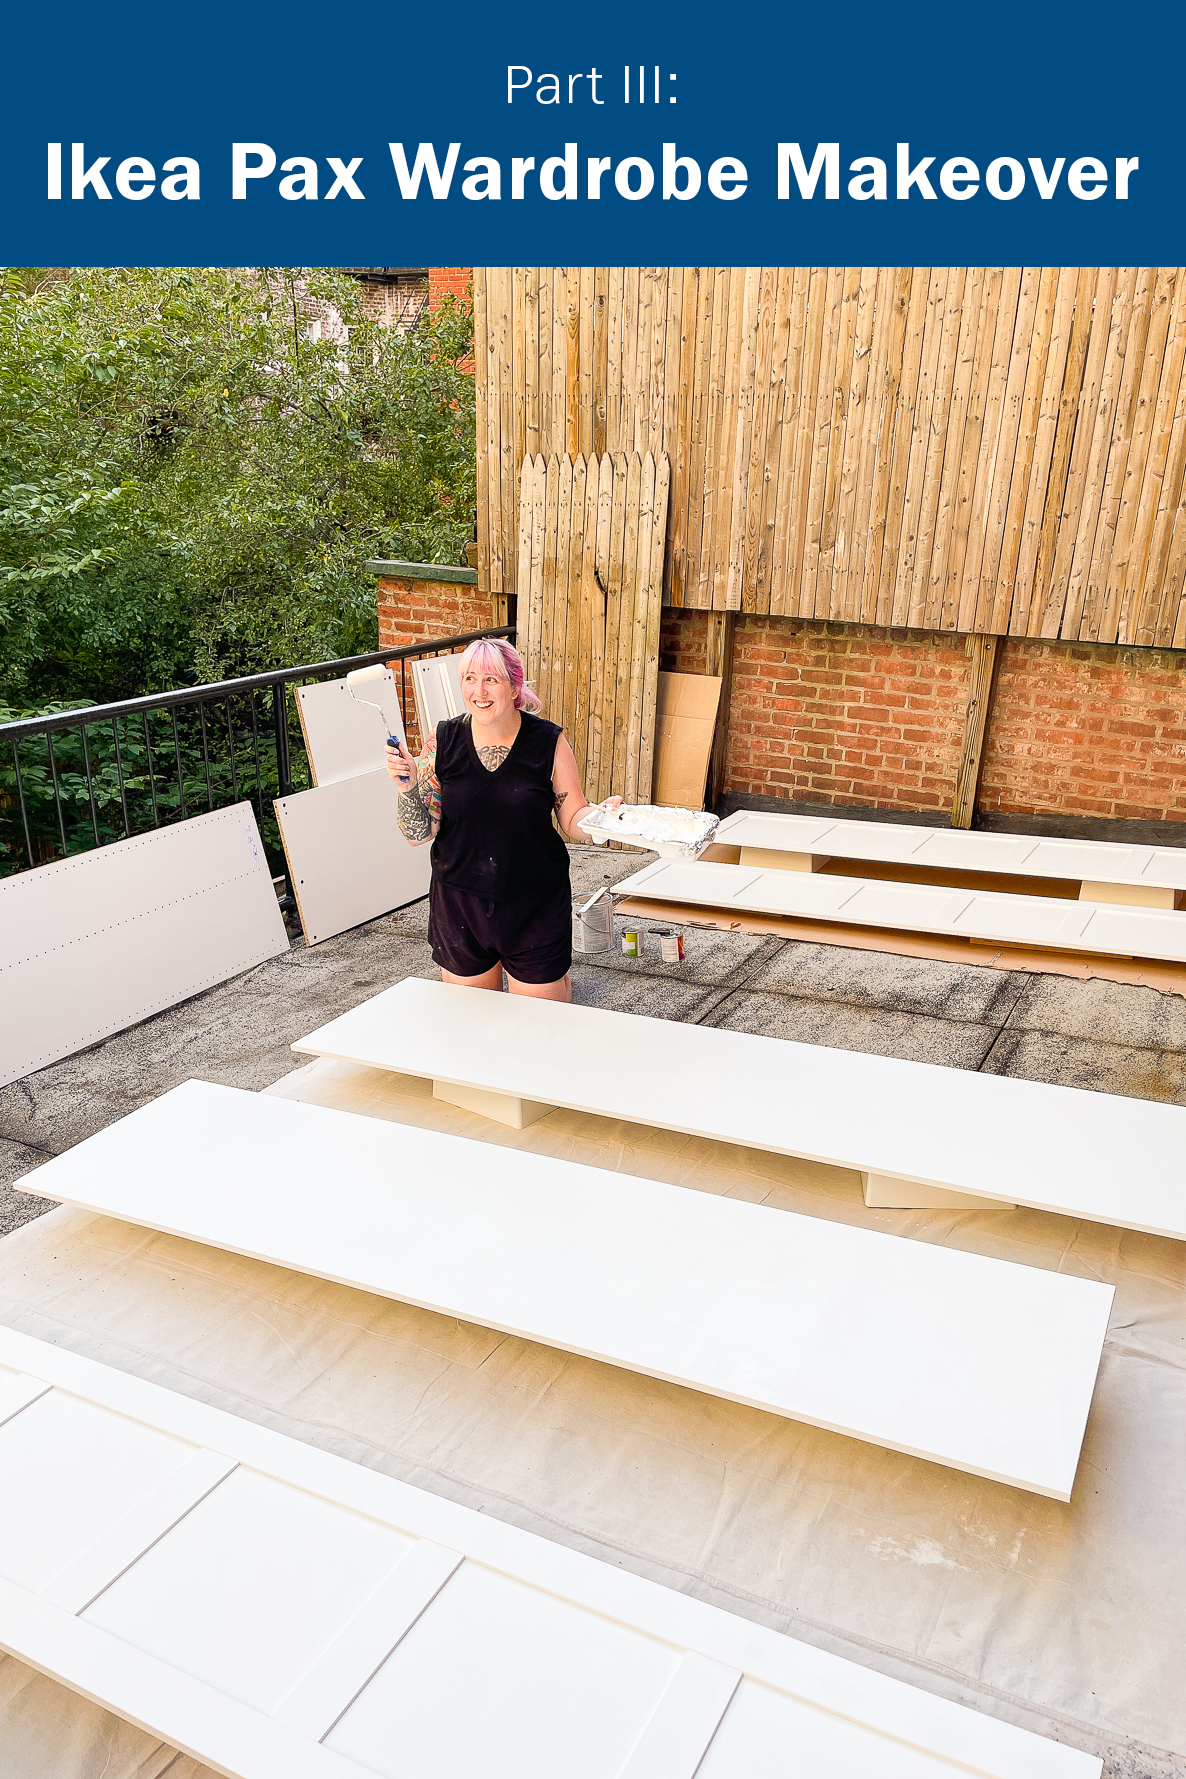
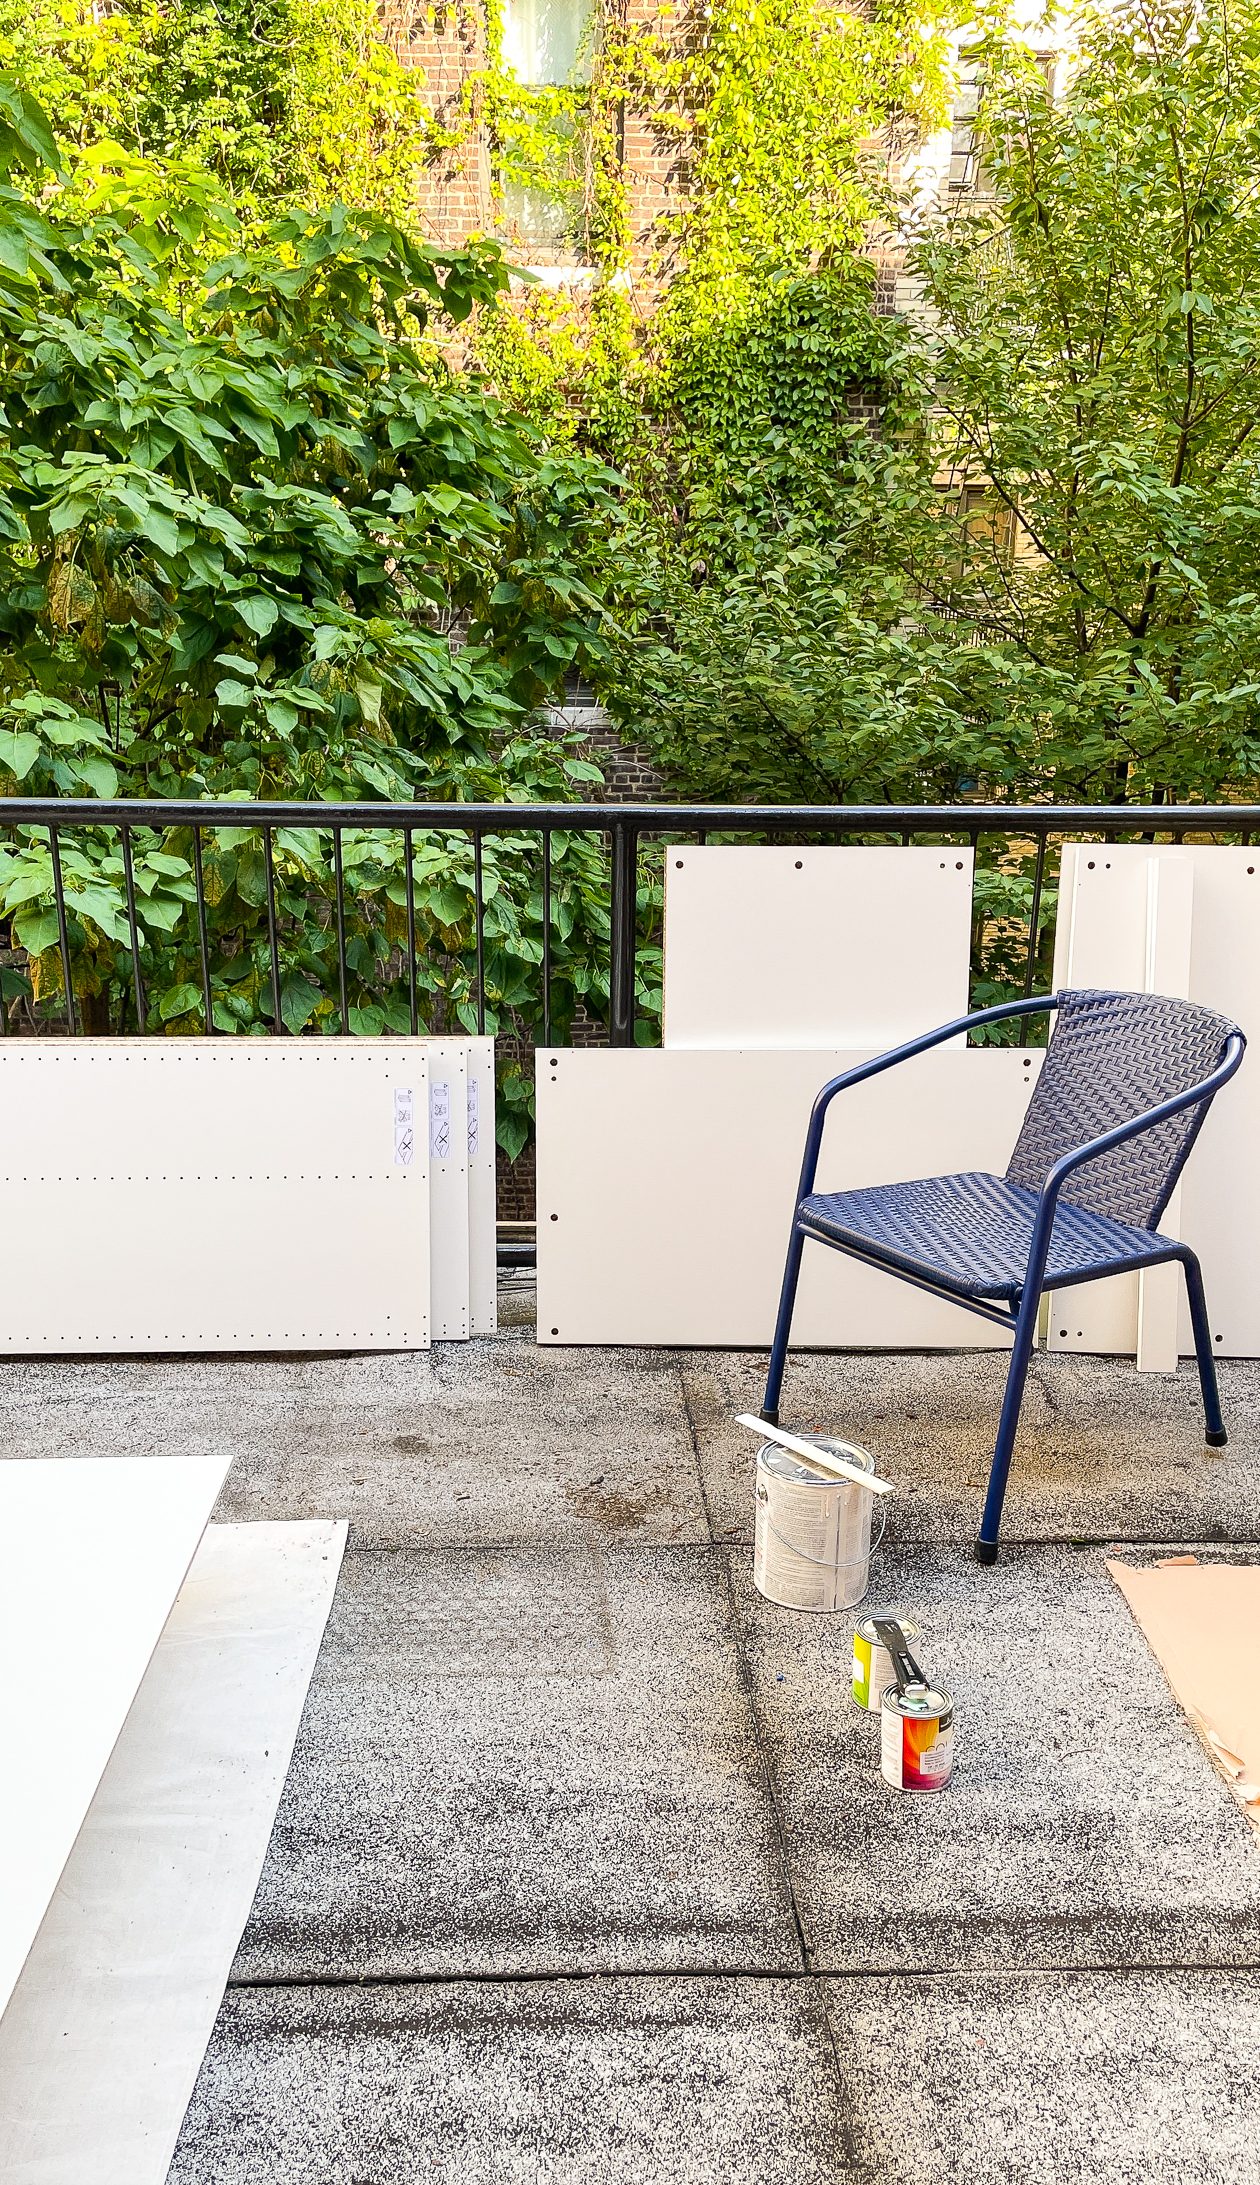
 I’ve taken you through the planning and errors of our pax wardrobe makeover in parts one and two, and today is all about the process! After painting the hutch and my desk right before this project, I was definitely tired of painting furniture by the time I finished. But I’m go glad that I pushed through with adding color because it completely changed the piece for the better, especially when it came to blending in with our existing bedroom furniture.
Here’s part three of our Ikea Pax Wardrobe Makeover:
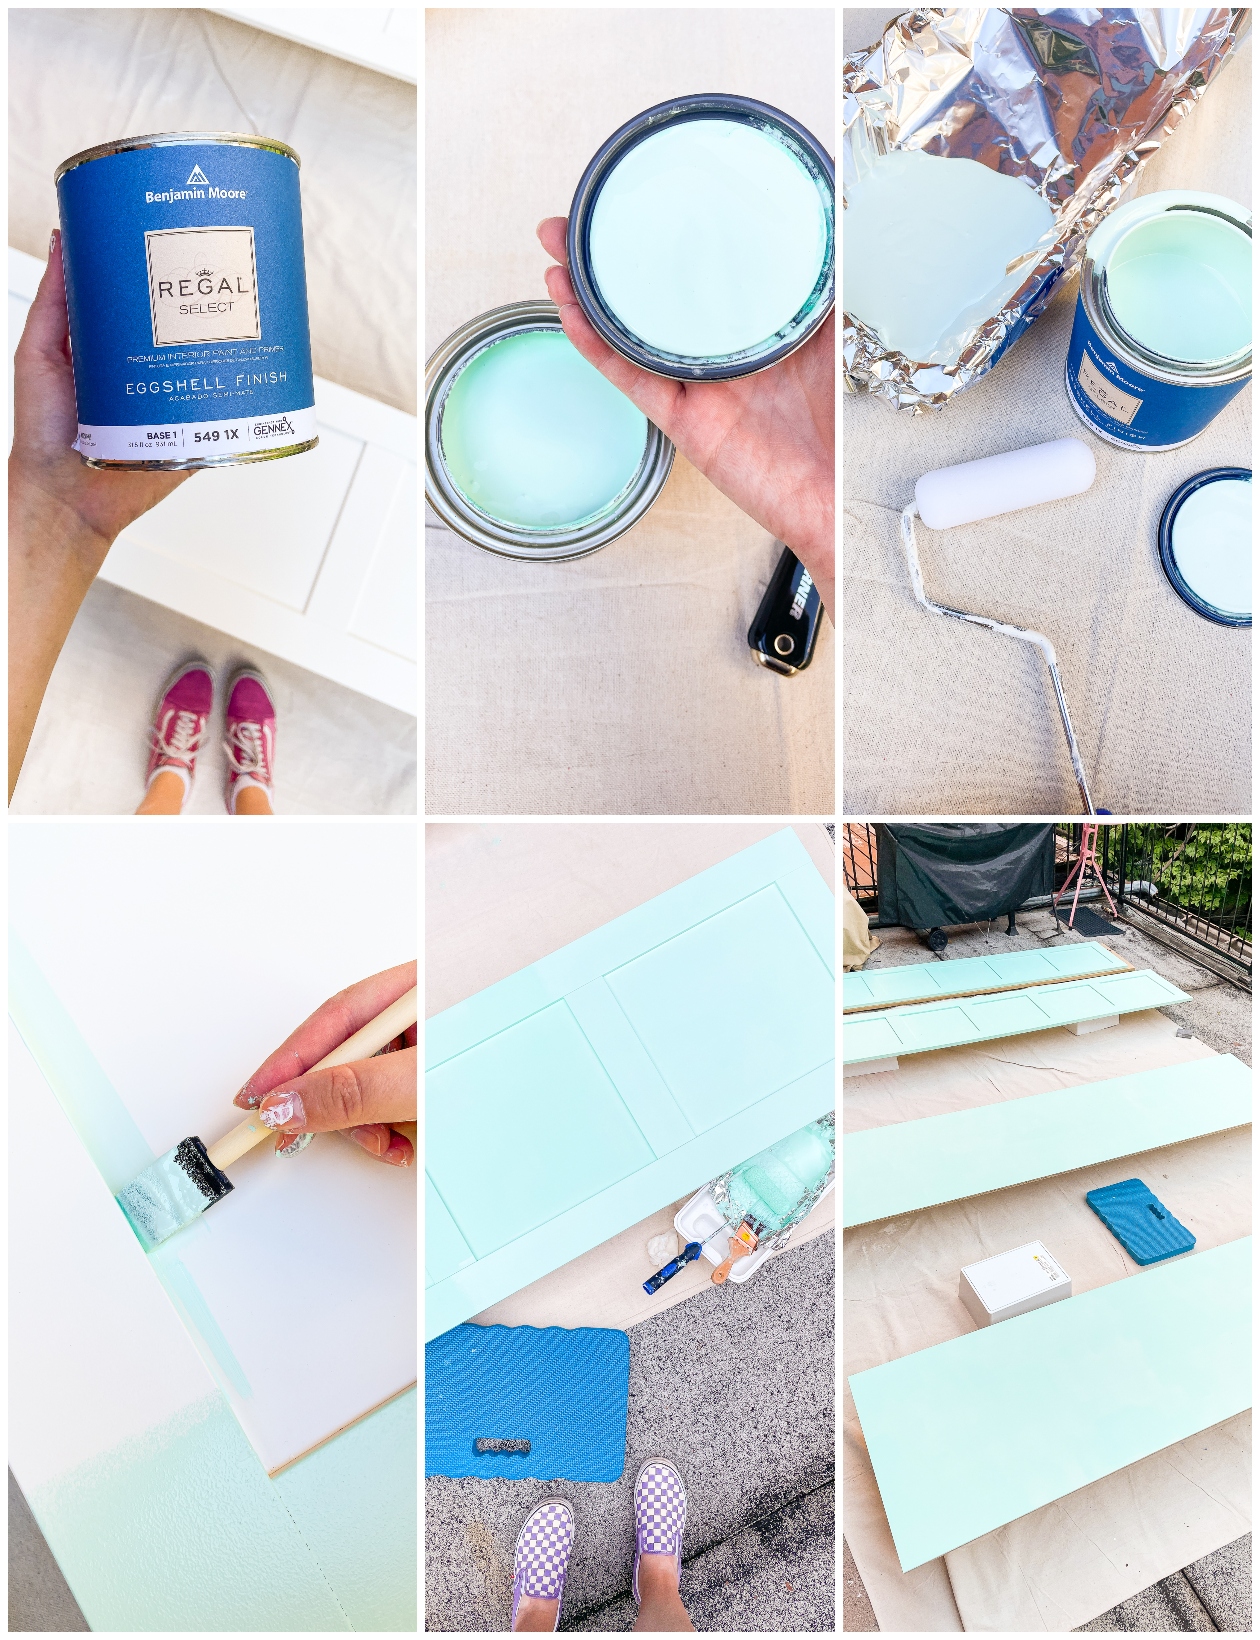
 If you guessed the paint color on the left from last week’s post, YOU GOT IT!!!
How To Paint an Ikea Pax Wardrobe
I covered this topic a bit when I shared my custom Ikea Desk and the process for painting the Pax wardrobe is the same. In fact, this method should work for all Ikea particleboard pieces. If you’ve ever wanted to learn how to paint Ikea furniture, just follow this step by step:
1. Lightly sand all of your doors and panels with 120 grit sandpaper. Any area that will be painted should be sanded. This will help the paint stick which is key when painting Ikea furniture. Wipe down thoroughly to remove all dust.
2. Before you can add your color, you need to prime your surface. Sorry, this step is non-negotiable and will save you so many headaches in the future. As you probably have seen me say by now, my go-to primer is BIN primer. Apply a coat to all areas you plan to paint and let dry overnight.
3. Now it’s time to add color! The doors I chose had detail, so I started by cutting in all the corners, then I rolled on a coat of paint. I let this dry for a few hours then went back in with a second coat. Two coats should give you a good amount of coverage, but once everything is dry, go back in and make touchups.
4. Let your paint dry fully for 2 days.
5. Now it’s time to seal in your beautiful paint job! Apply 1-2 coats of Polycrylic, sanding lightly in between coats.
6. Let sealant dry completely (I suggest another two days) before you try to assemble.
For a special detail for the wardrobe, I decided to add wallpaper to the backing.
 How To Apply Removable Wallpaper
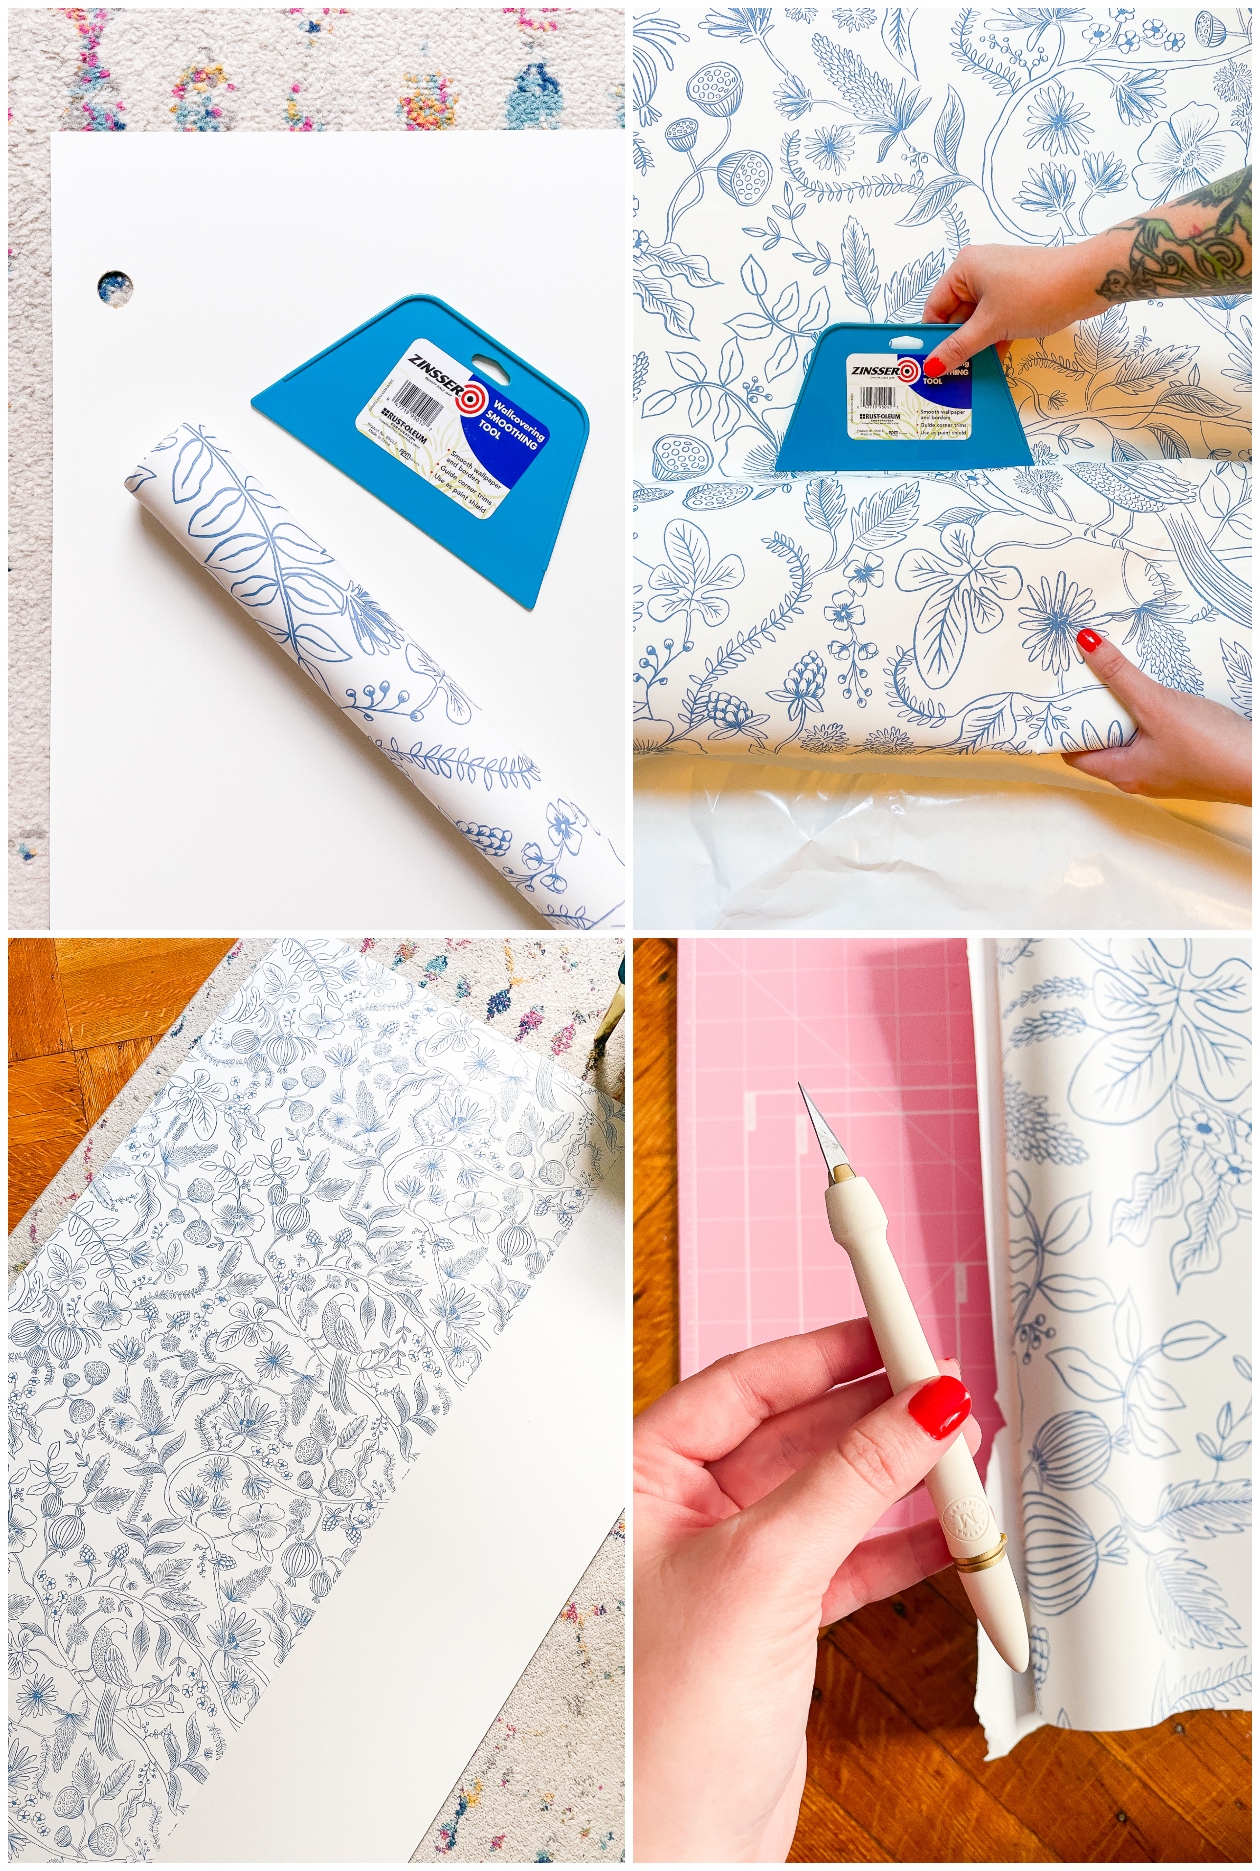
For our hutch makeover, I used traditional wallpaper that I had to apply with a paste. The wallpaper I fell in love with for this project only came in a peel and stick option, so this is how I applied it:
1. Line up the corner of your wallpaper with the top left of the back panel. Getting the initial placement correct is key for how the everything will line up later on, so take your time.
2. From there, peel the backing of the wallpaper away from the design as you put in place. Using a scraper will help smooth out air bubbles as you work.
3. Continue down the panel. Repeat a second time until the entire panel is covered.
4. Trim any excess along the bottom and sides with an x-acto knife.
It’s a pretty straight forward process, and the trick is just getting the initial placement correct. You’re welcome to skip this step if you recreate this makeover, but I love how it adds a subtle pattern to the inside of the wardrobe.
I’m so in love with this wallpaper pattern that I’m considering adding this to our office. I think it would tie in with my desk really well. I still need to talk myself into splurging for wallpaper for a rental, since that’s the only thing holding me back. Is it worth it? Should I just go for it??
But that’s it for part III of our Ikea Pax Wardrobe Makeover!!! The next post will be the full reveal, including the video, and I can’t wait for you to see how everything came together!
**UPDATE** The reveal is now live! See the completed Pax wardrobe here or watch the full process on YouTube by clicking above!

