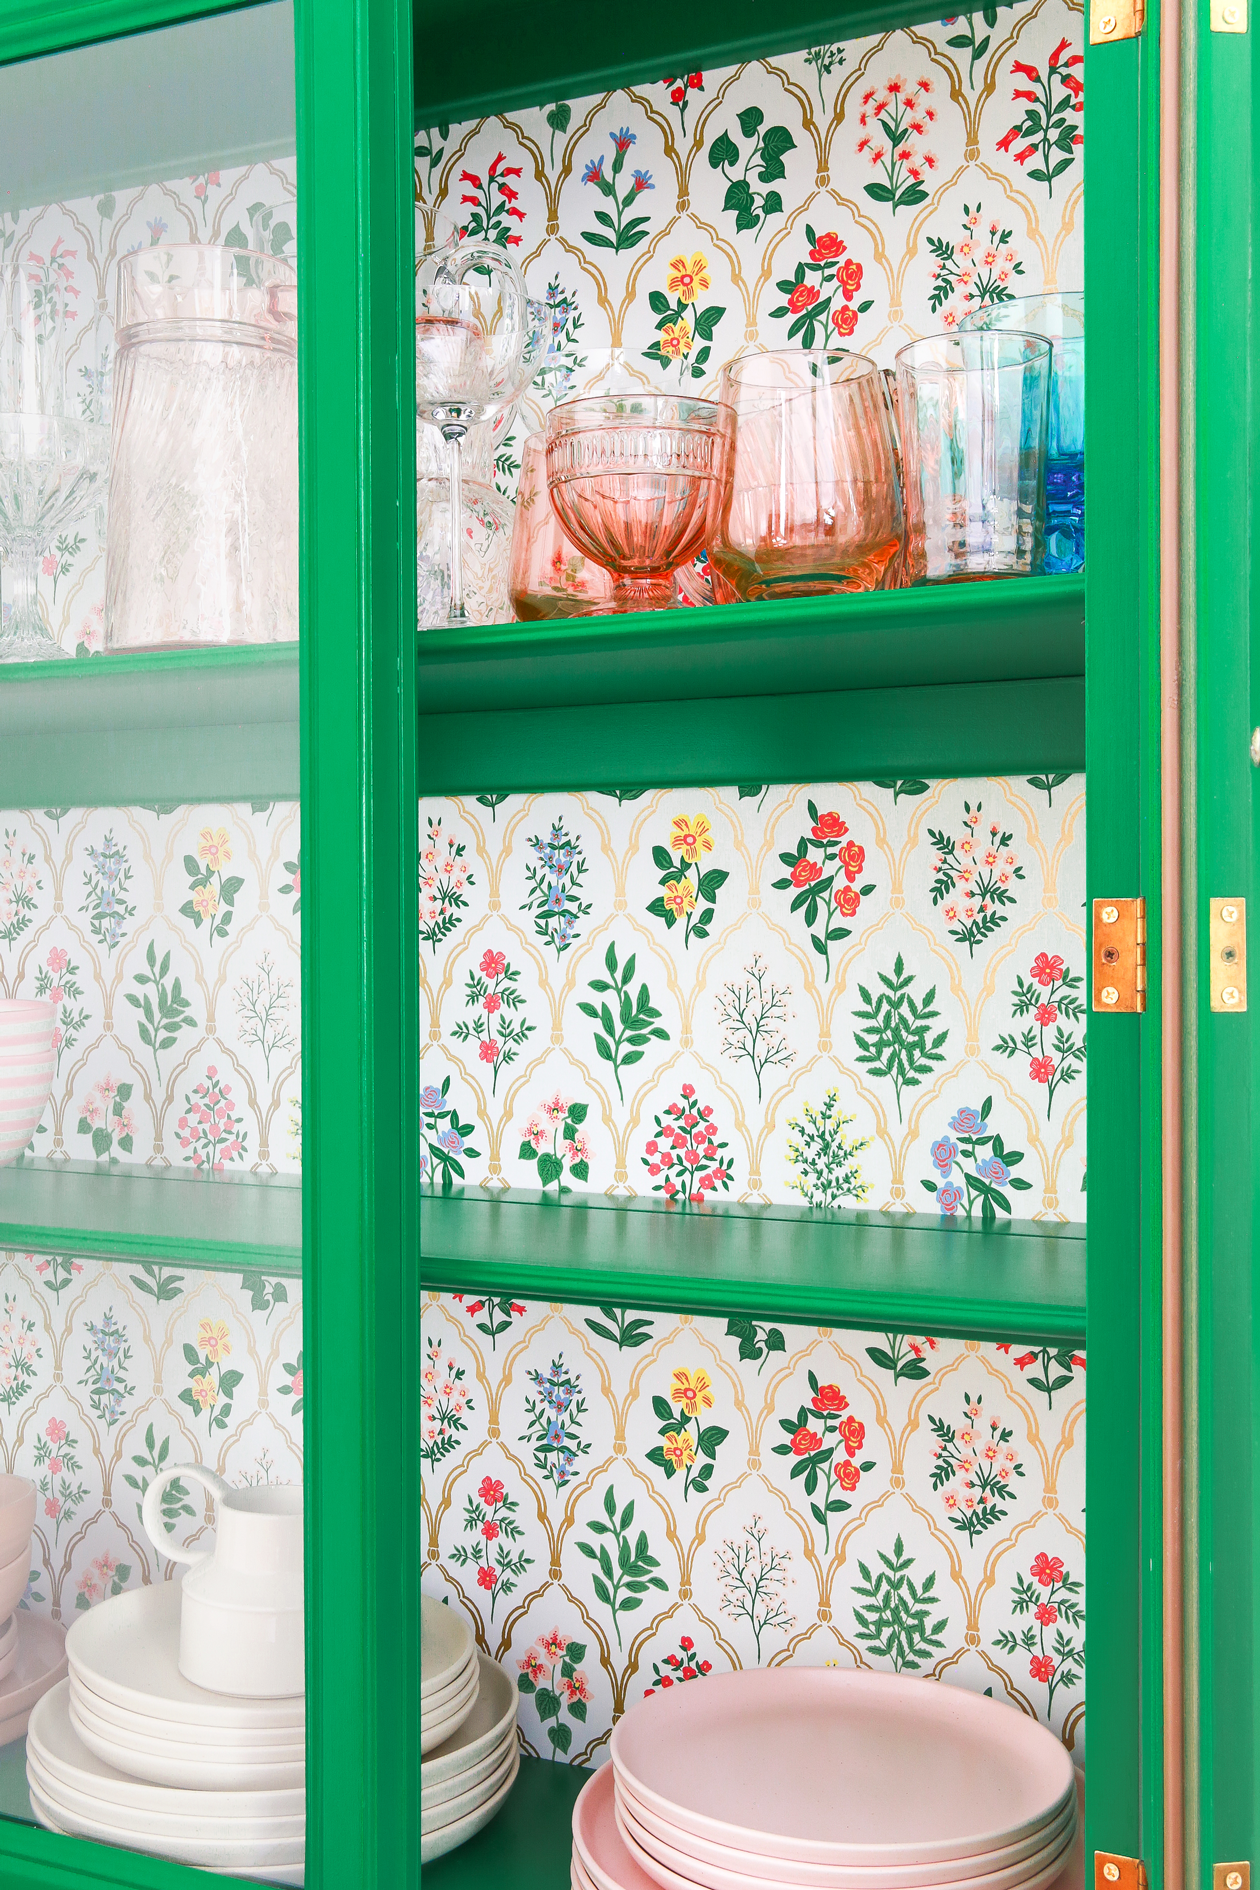
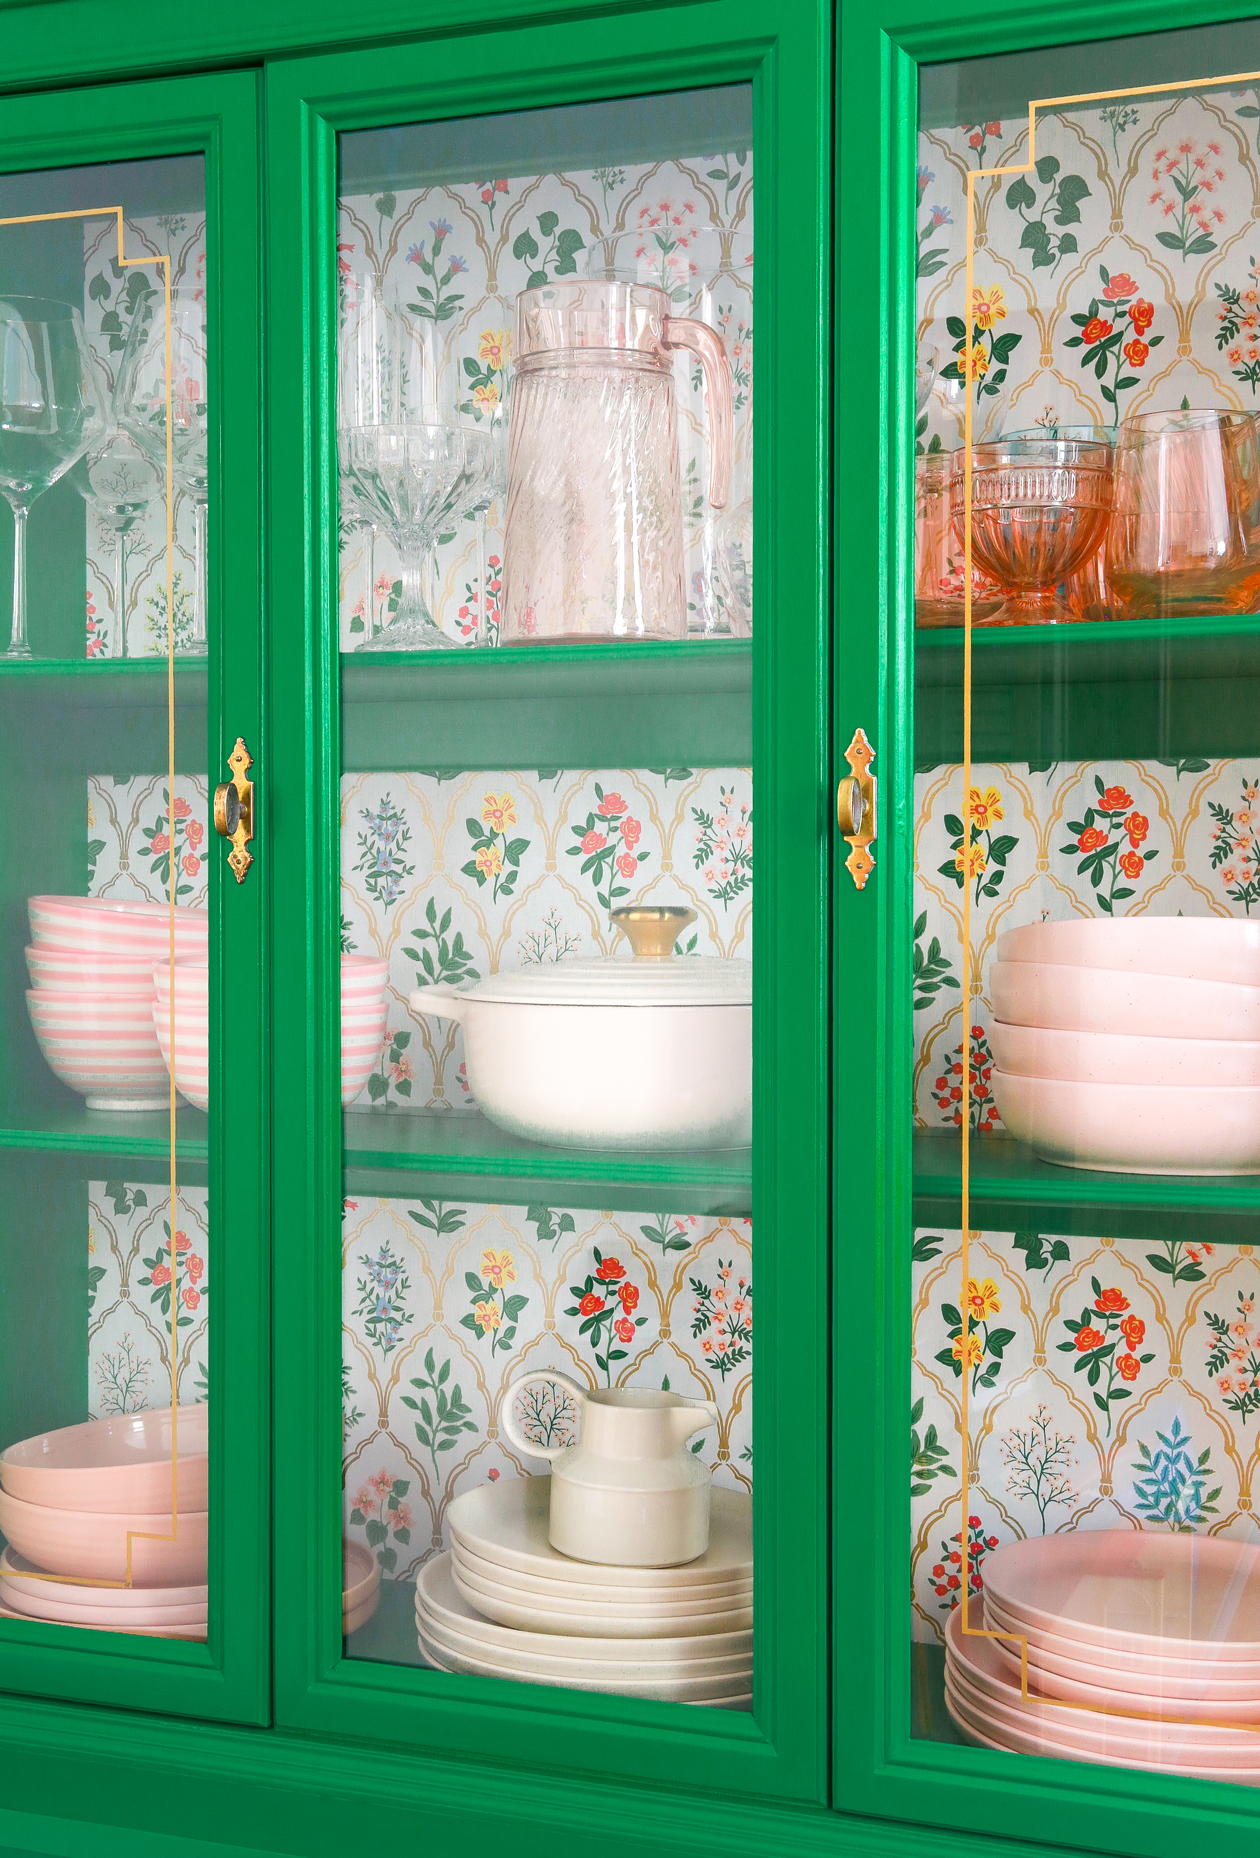
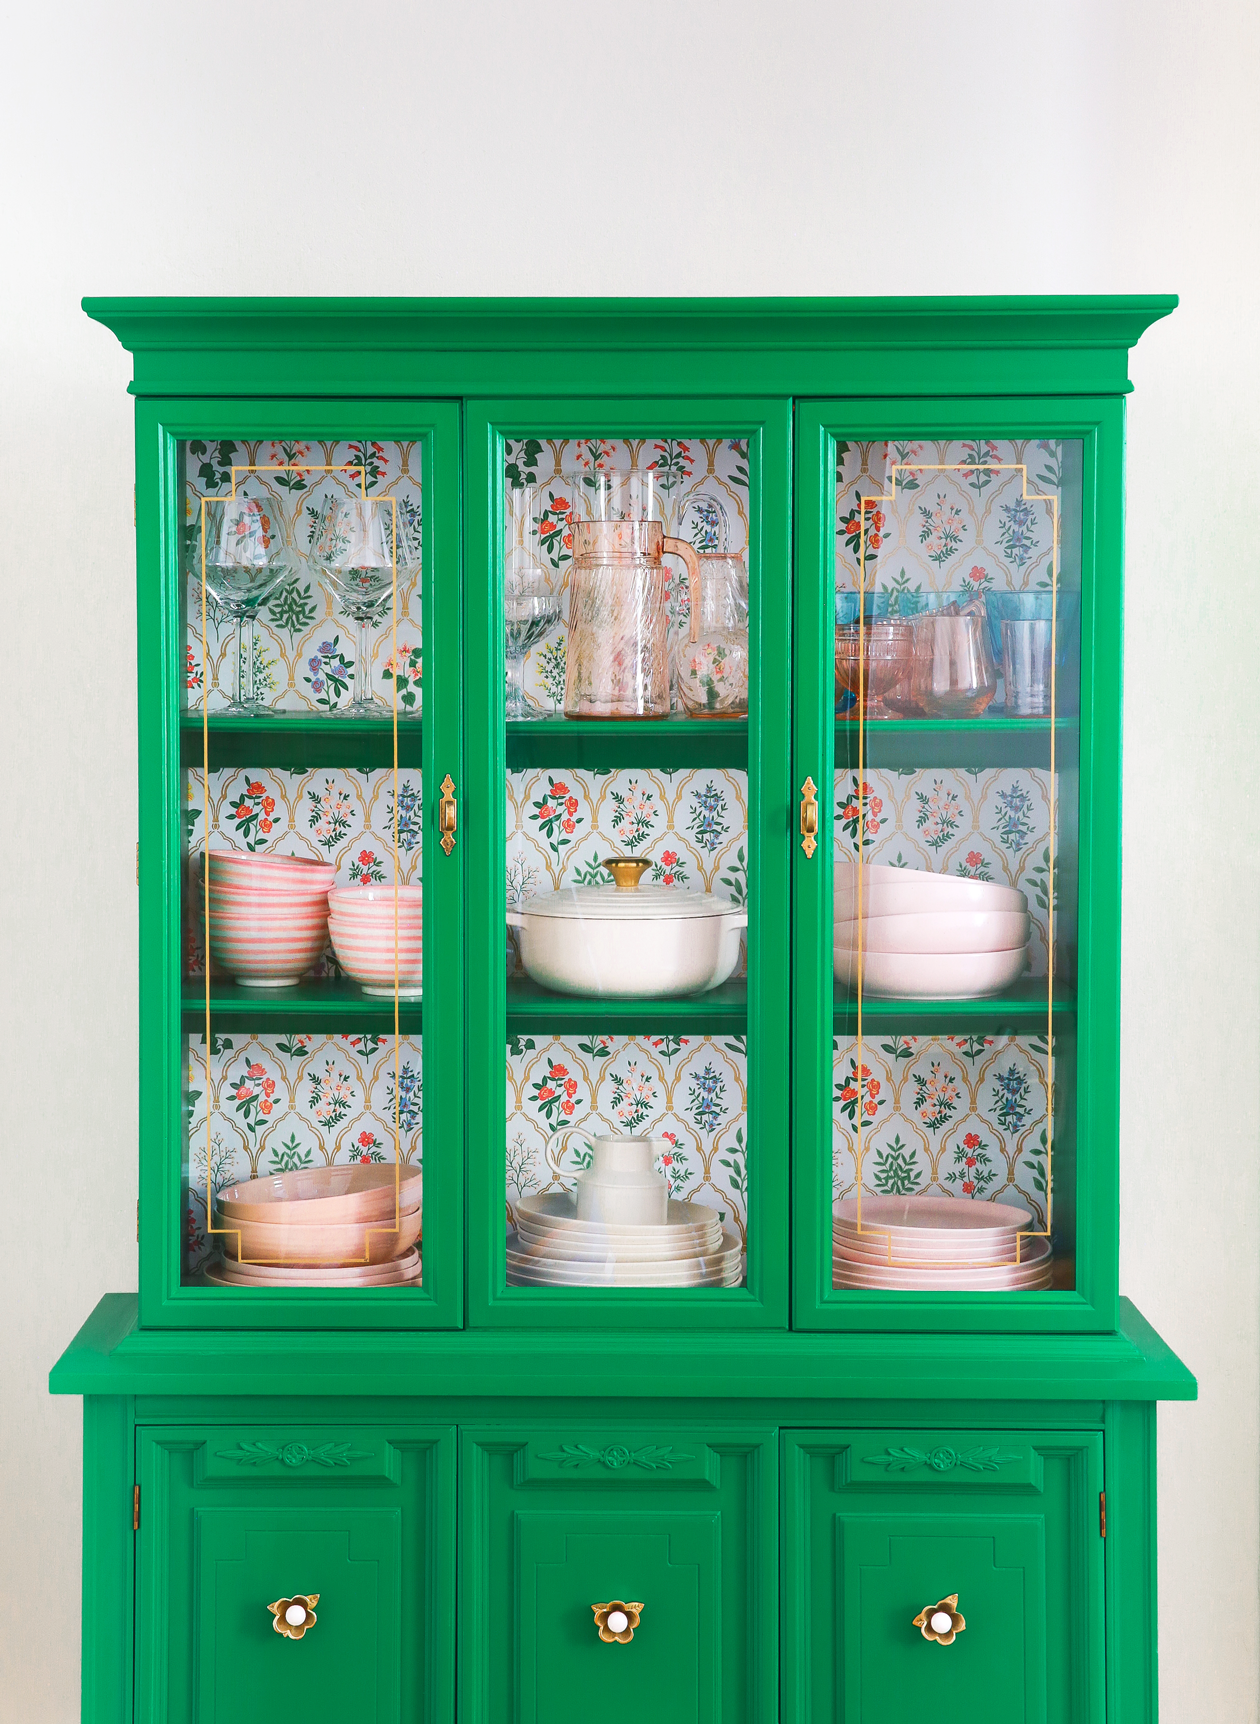
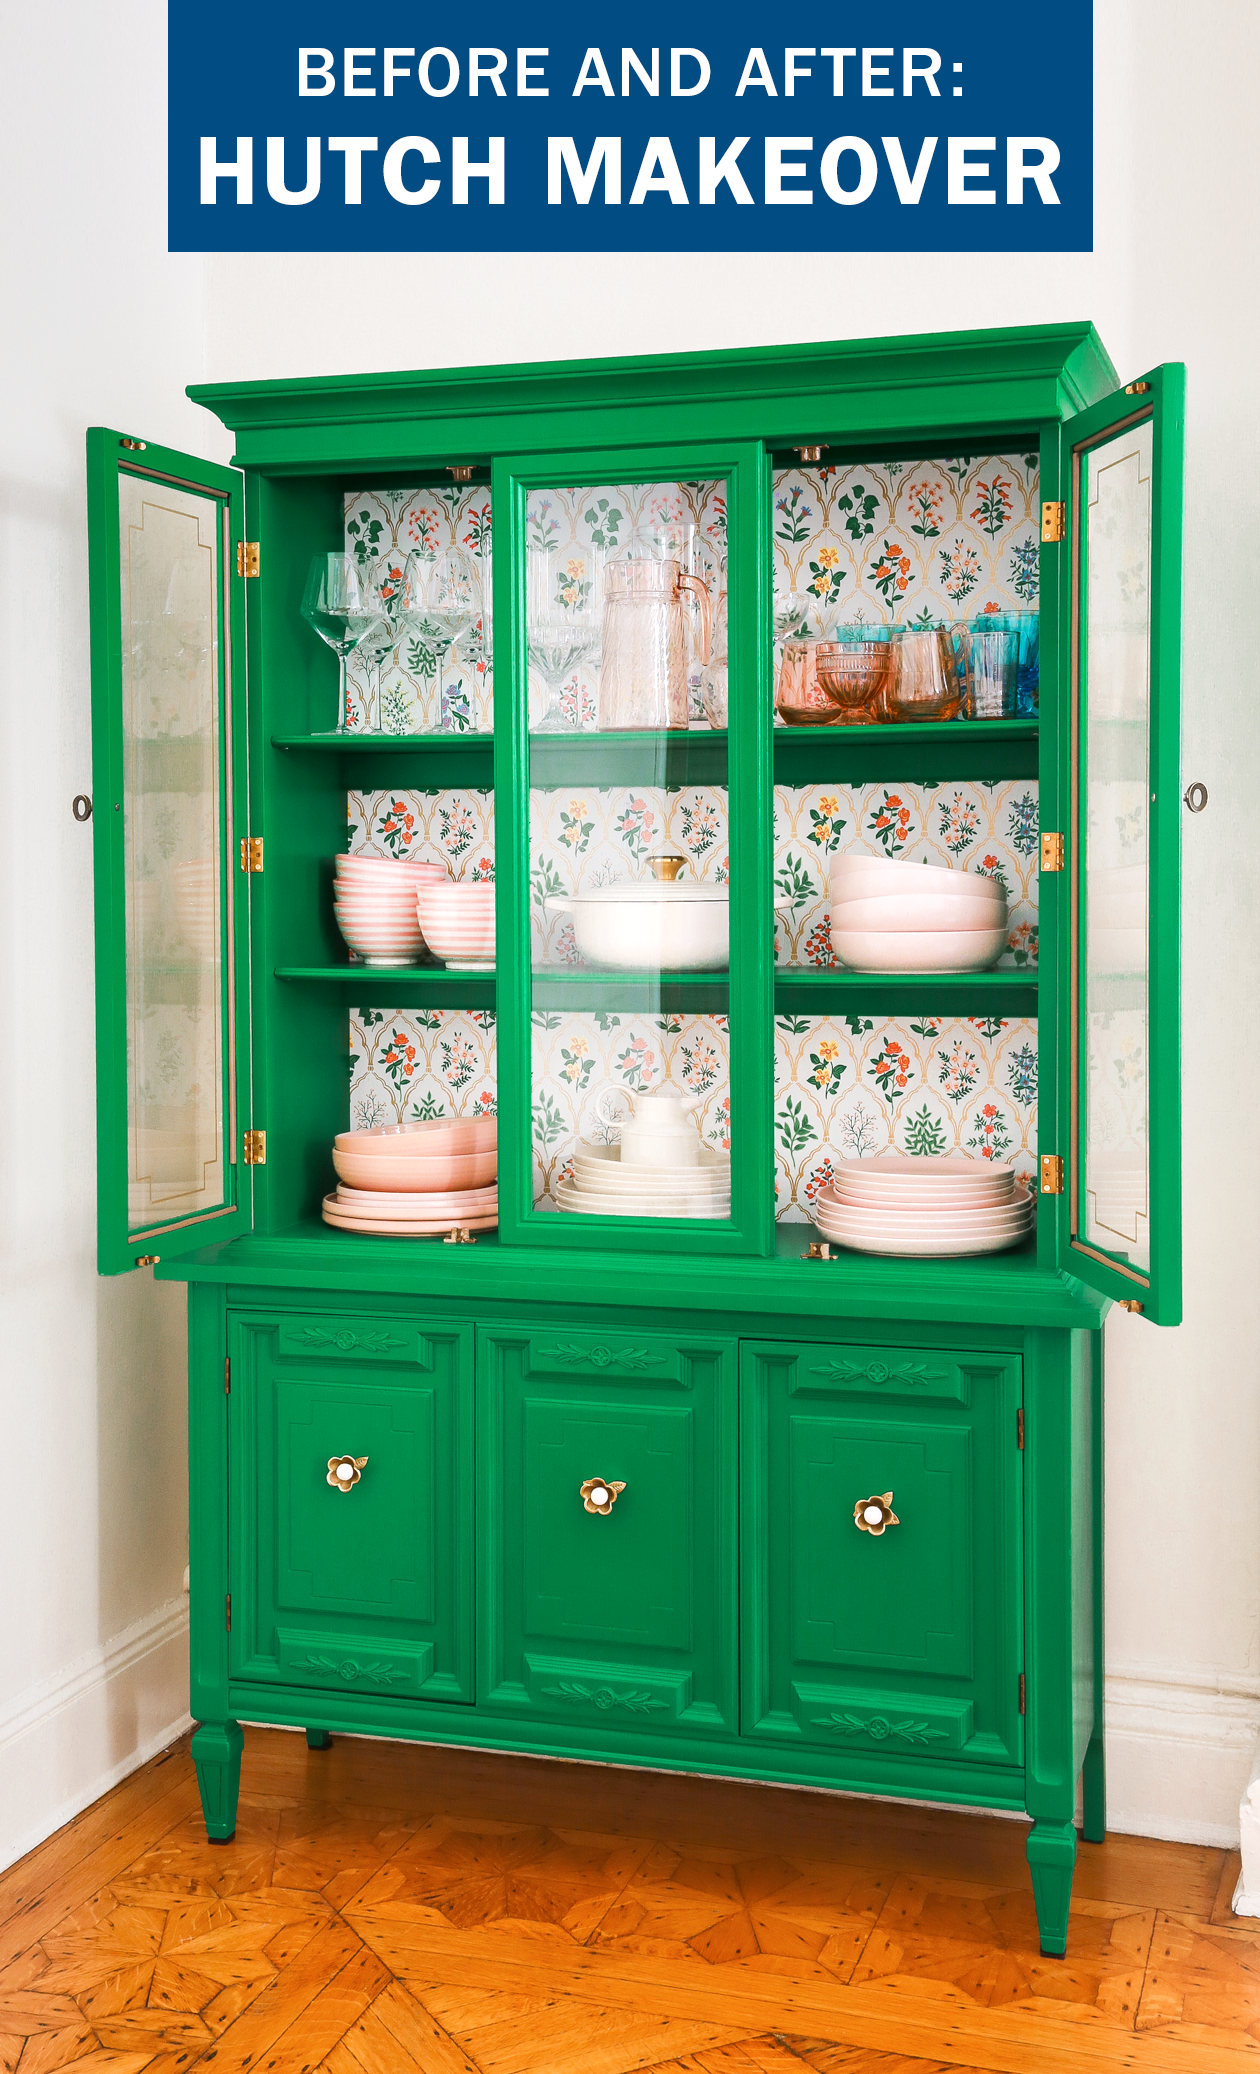
 IT’S REVEAL DAYYYYYY!! After lots of sweat and work, the hutch is officially done. I’m so happy for you to finally be able to see it.
Be sure to check out part one of the hutch makeover if you’re just catching up here. There’s so much to say, so let’s just get right into it! Here’s the reveal of my painted hutch makeover:
If you prefer to watch how I did the cabinet makeover, I even made video for this project! This video is actually the launch of my YouTube Channel. I’ll try to share longer home decor videos over there, so be sure to subscribe to stay around a while.
Keep reading if you prefer the written + photo step by step for how I did it.
How I Painted The Hutch
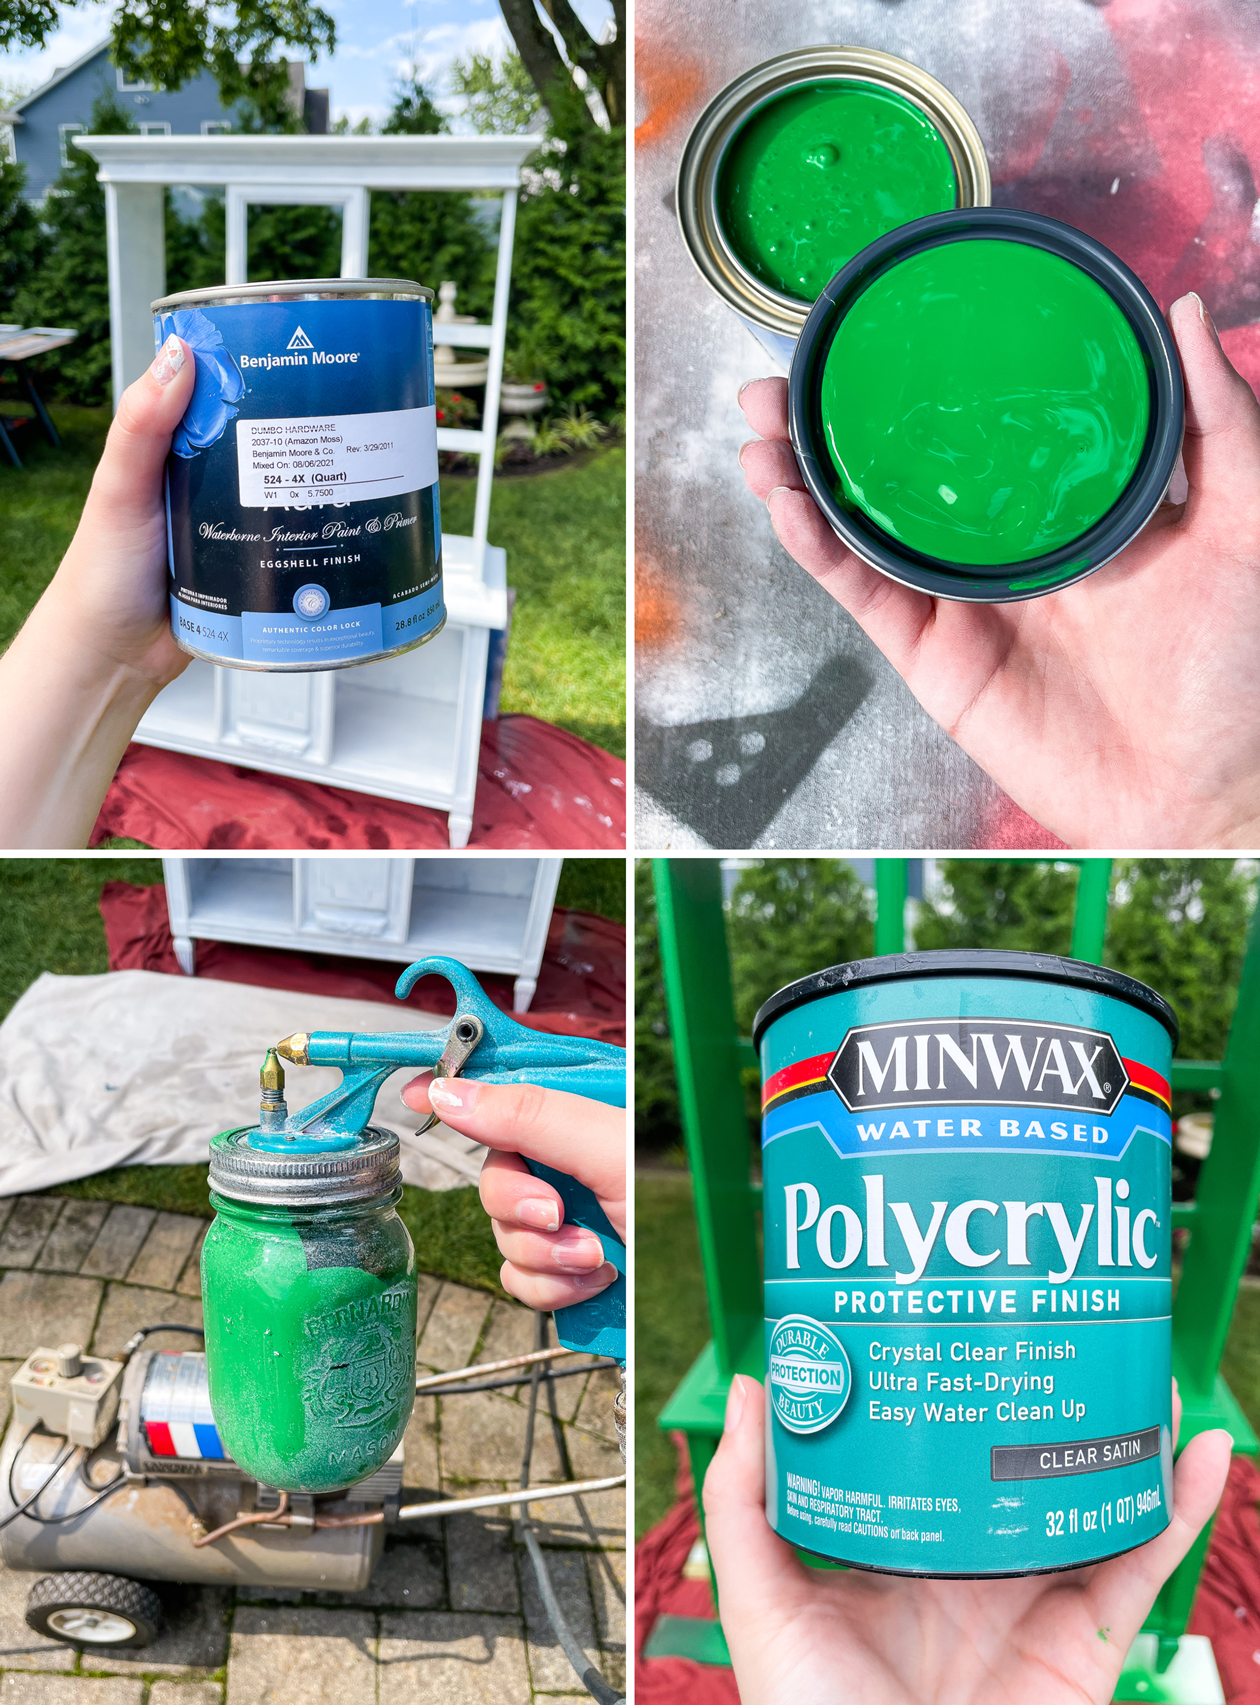 And the color I went with, if you couldn’t already tell, was green! I’m definitely having a moment with green right now, so I’m leaning into it. Plus it matches so well with everything else we have planned for the dining room area of our apartment. Don’t worry, pink is still in the plan, just in other areas.
The color is Amazon Moss from Benjamin Moore. It’s super bright in the can as you can see here, but it does dry a rich, pretty green. I know a lot of furniture makeovers use chalk paint, but I really prefer the colors you can get from interior paint.
Let’s talk about paint application. You can use a paint brush, or a roller, but for the smoothest finish, I used a compressor mounted spray gun. The downside of course is that you need to use an air compressor, but I have to tell you that this is the smoothest finish I’ve ever gotten! You could also use a sprayer with the compressor built in; however I found this one easier for paint clean up.
It’s so much easier to get into those hard to reach curves and details when using the spray gun. Plus there were no brush strokes when it dried. It will take an extra coat of paint for coverage, I ended up needing a second quart, but the end result were worth it.
I sealed everything with Polycrylic. I recommend quickly applying on a thin layer with roller and then going over it with a sponge brush. Use long brush strokes until all the air bubble are smoothed out.
The Wallpaper
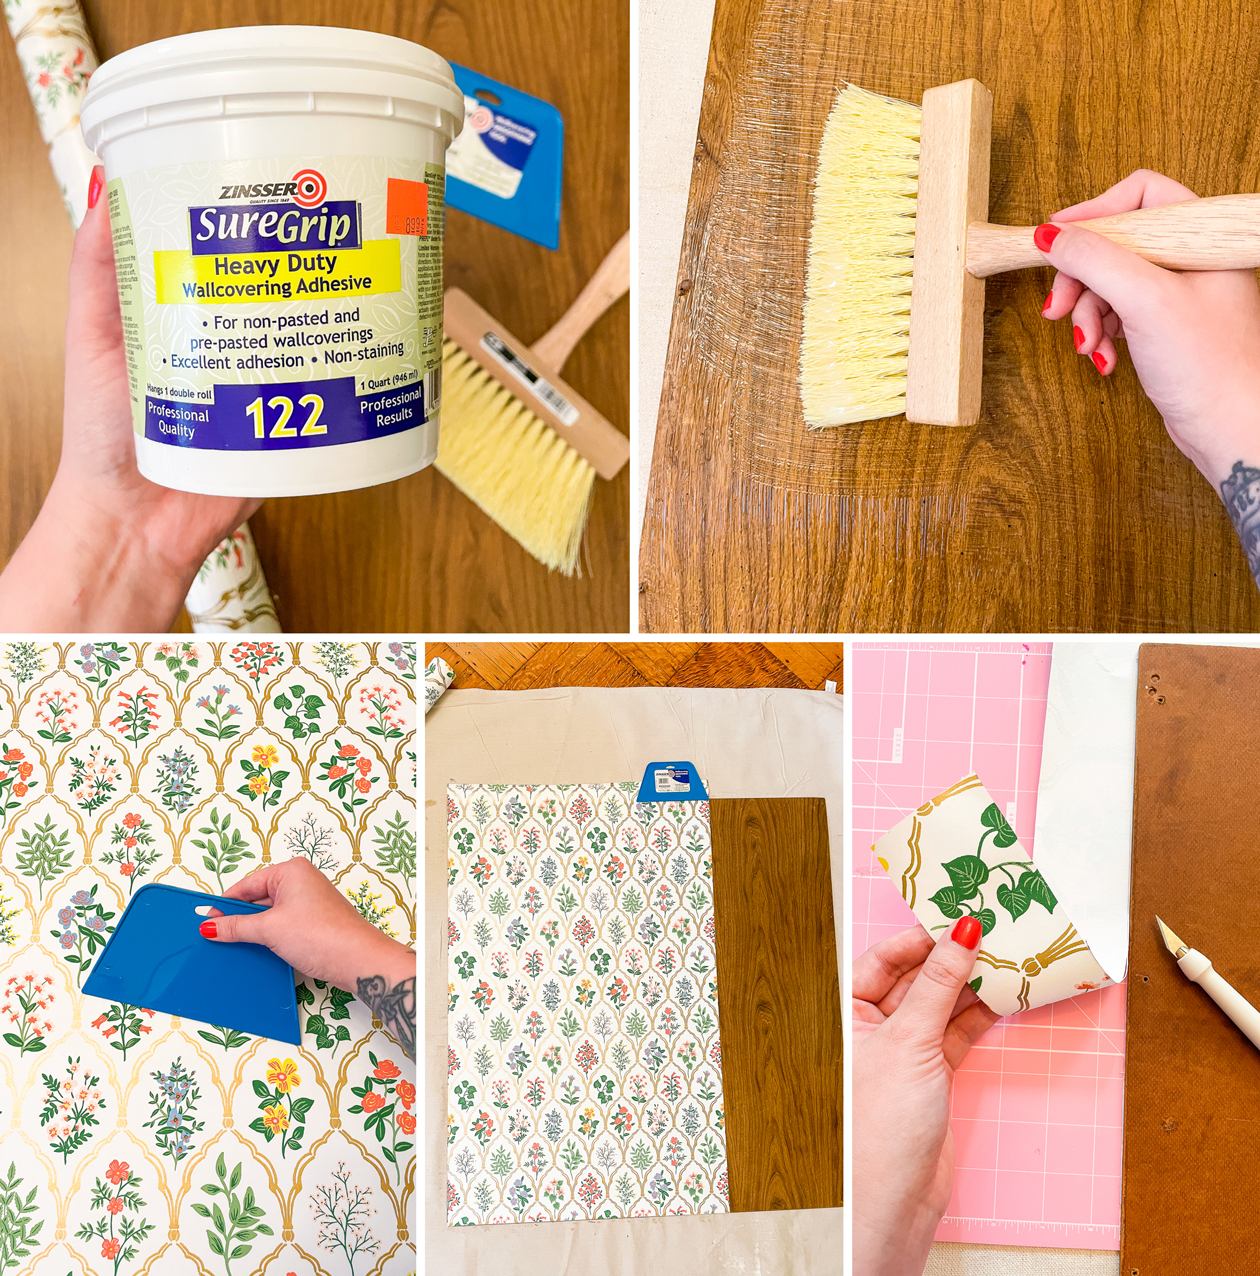 To add a bit of pattern to the piece, I decided to wallpaper the back of the hutch. I’ve been eyeing this wallpaper from Rifle Paper Co, and since I can’t justify wallpapering the walls in our rental, this was the perfect opportunity to use it. The flowers and the gold detailing is the perfect combination!
I applied a thin layer of wallpaper paste to the back, put the wallpaper in place, and then went over the surface with a smoothing tool. After letting the paper dry for a few days, I trimmed the excess paper with an X-Acto knife.
The Finishing Touches
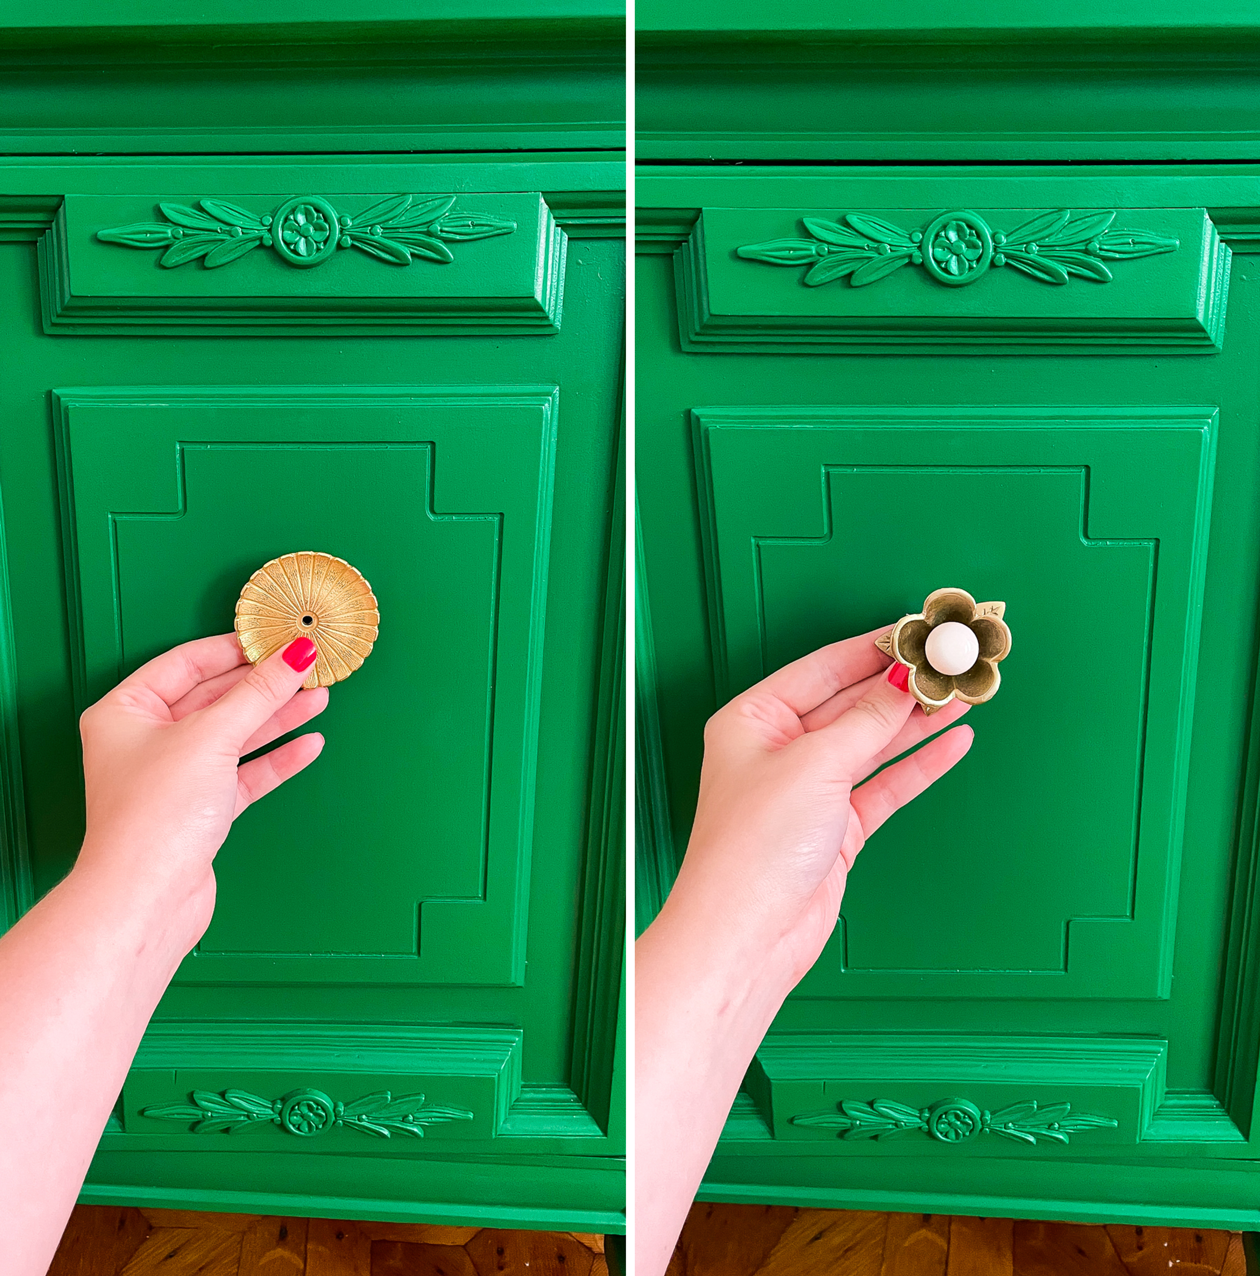 The final detail for finishing the furniture makeover came down to the hardware for the bottom cabinet. I was torn between a vintage piece on the left and a flower knob on the right.
I ended up going with the flower knob for two reasons:
1. It matched the flower detail on the hutch perfectly! The rounded petals were almost identical.
2. The tone of brass was much more complimentary with the green. The antique brass matched the original hardware that I saved for the top cabinets.
And just like that, drumroll for the final product……
The Final Hutch Makeover
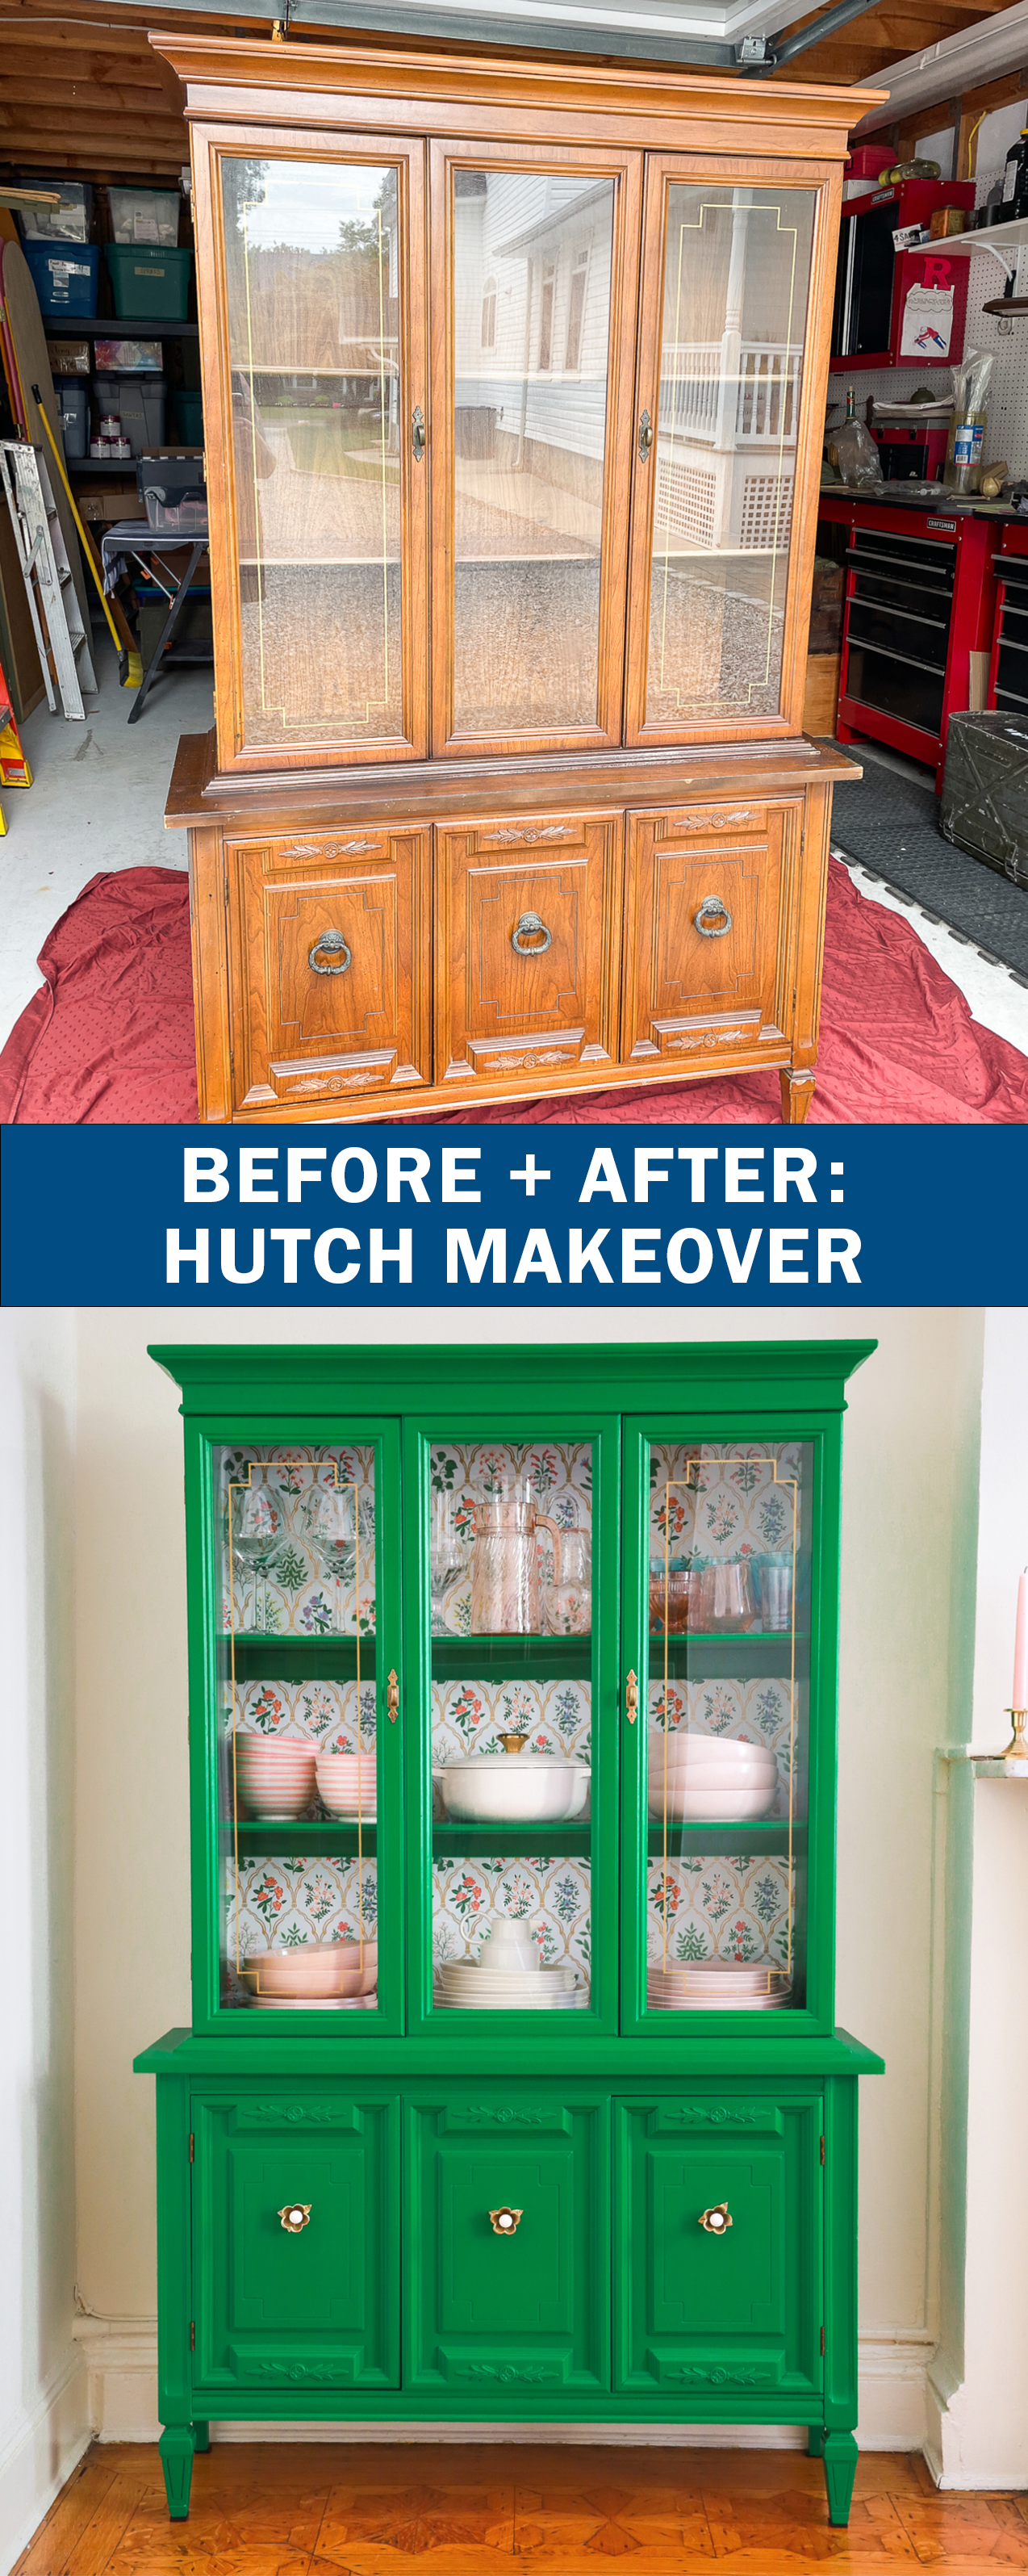 So that’s the thrifted hutch makeover!! I can’t believe the hutch was just sitting in a garage before we got to it. I know not everyone likes painted furniture, but I feel really happy that we saved this piece from being thrown out. We found several hutches at thrift stores too, so they’re out there if you’re looking to recreate this project!
A lot of work went into this project, but I really think it was worth it at the end. It may just be one of my favorite pieces of furniture that I’ve ever owned. Not only do we have a unique piece for our living room, but we also have something that has memories because we worked on it to make it our own.
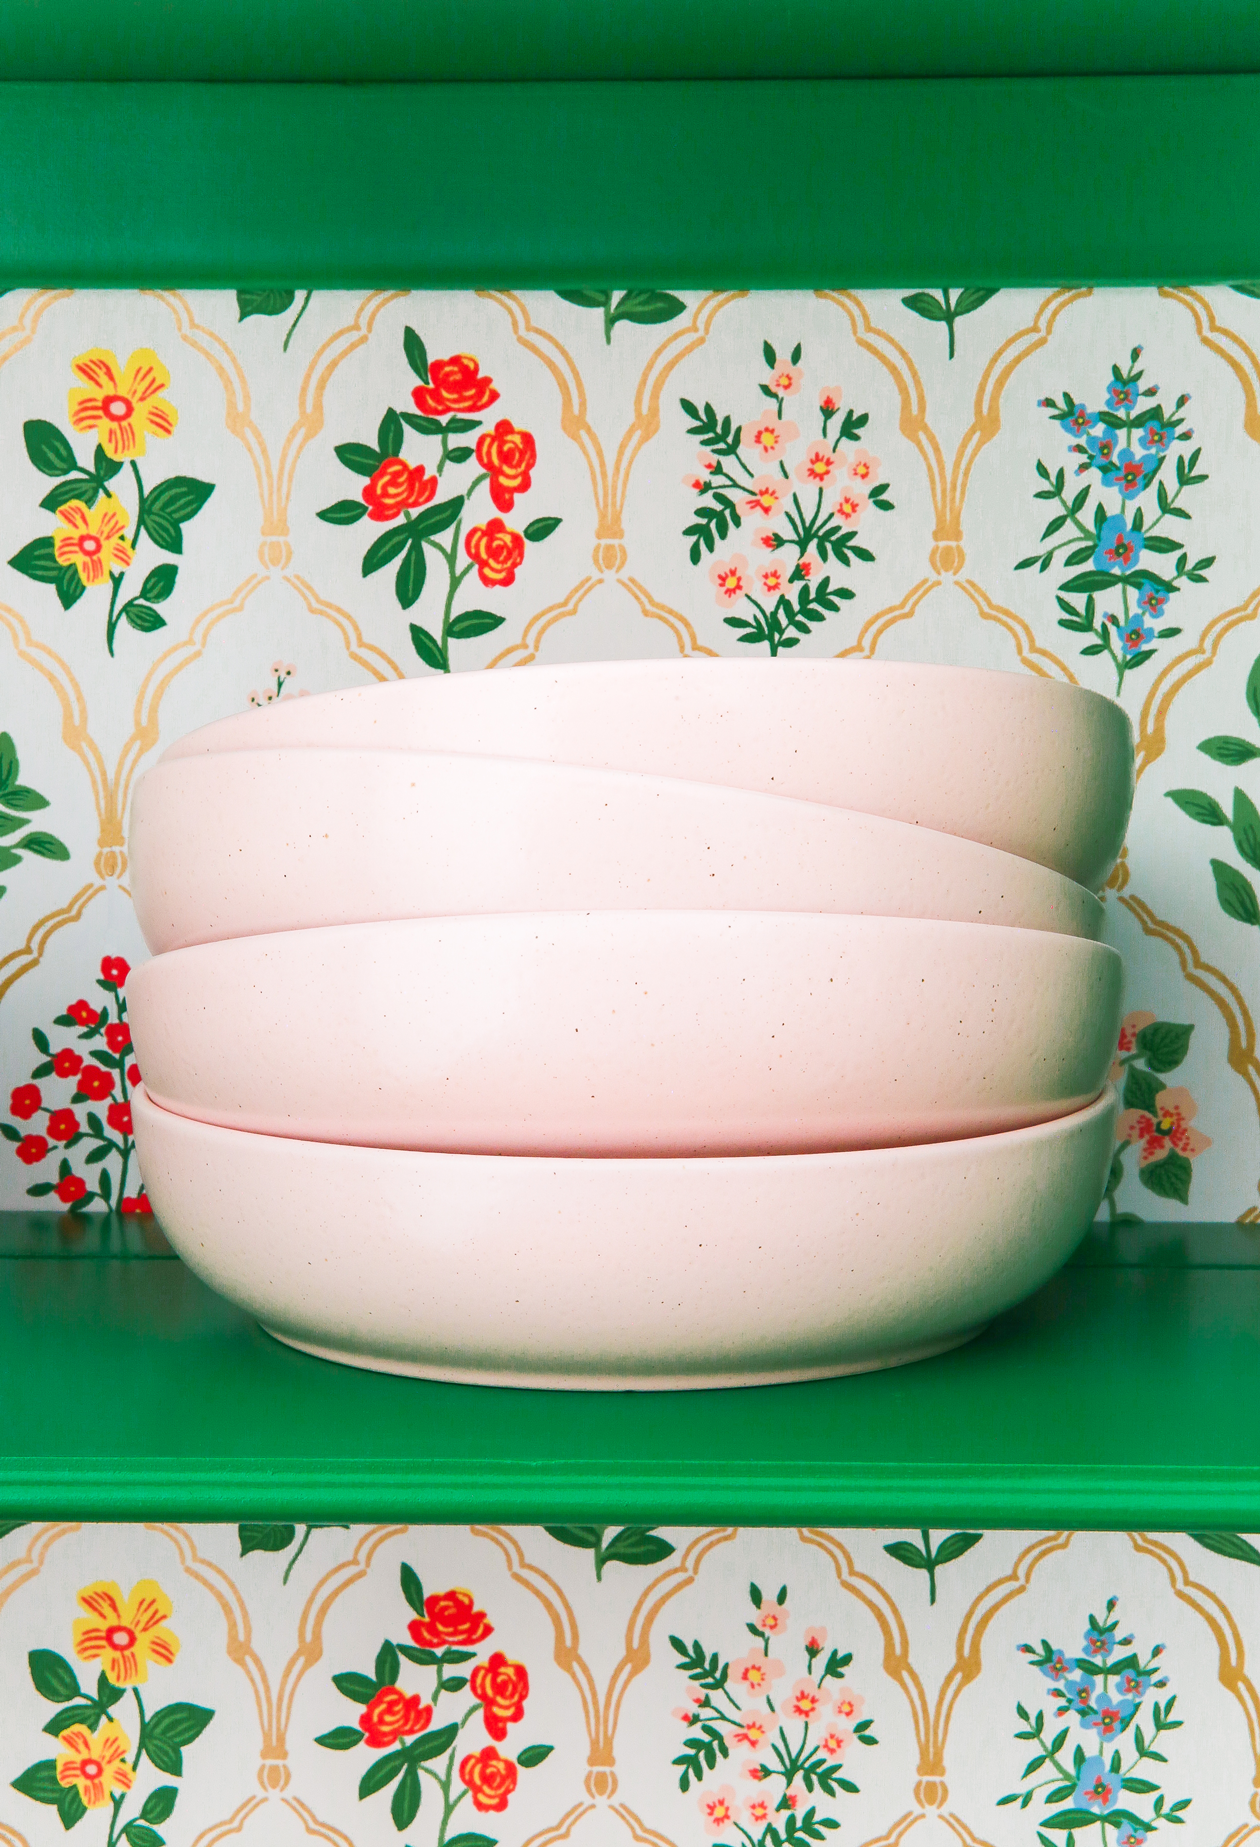 My dishes also feel that much more special having them on display. Some are thrifted, but the ceramic plates can be found here, here, and here, and we love them so much! Like this is the dish I would be happy having for the rest of my life. They’re that right kind of heavy and the perfect shade of pink (we also have a set in white too).
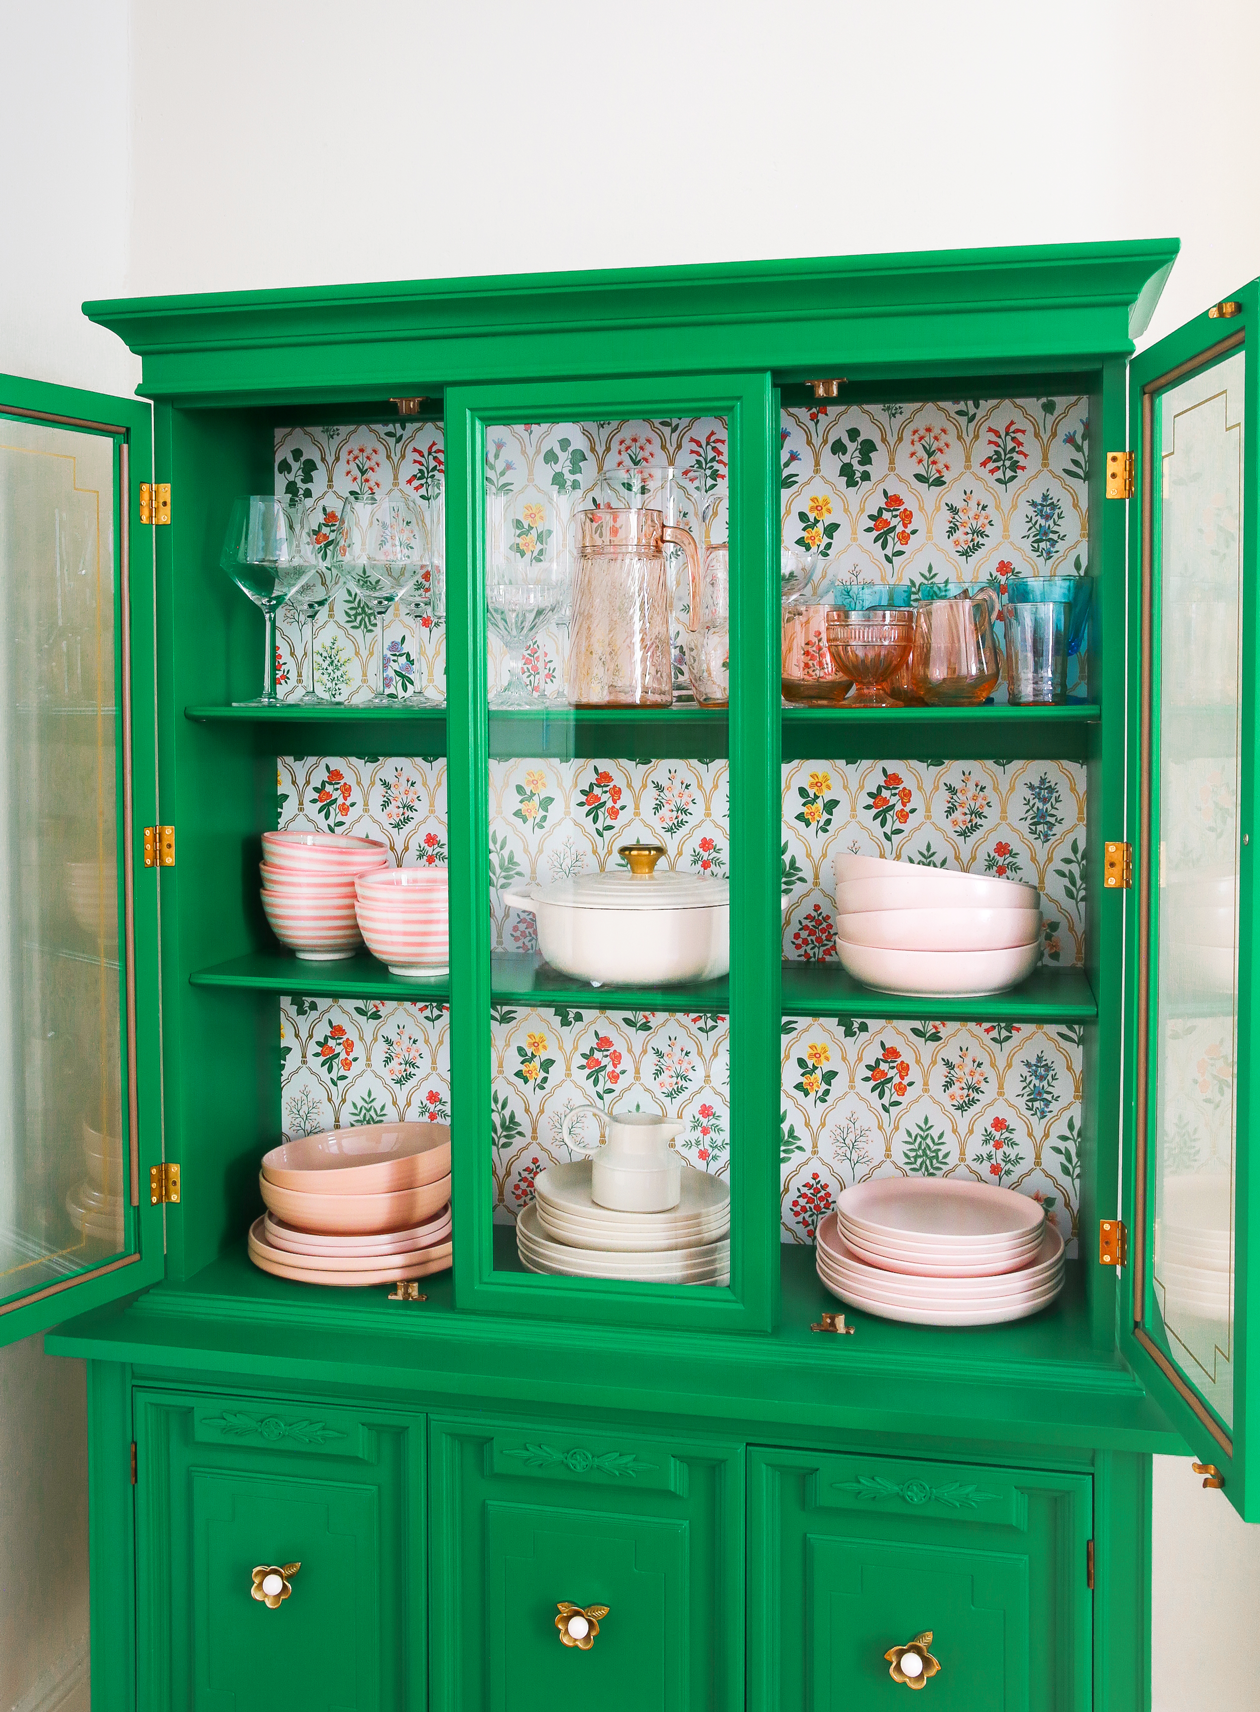 Let me know what you think! Also if you have any other questions about the process or want sources linked, just drop me a note in the comments and I’ll be happy to help!

