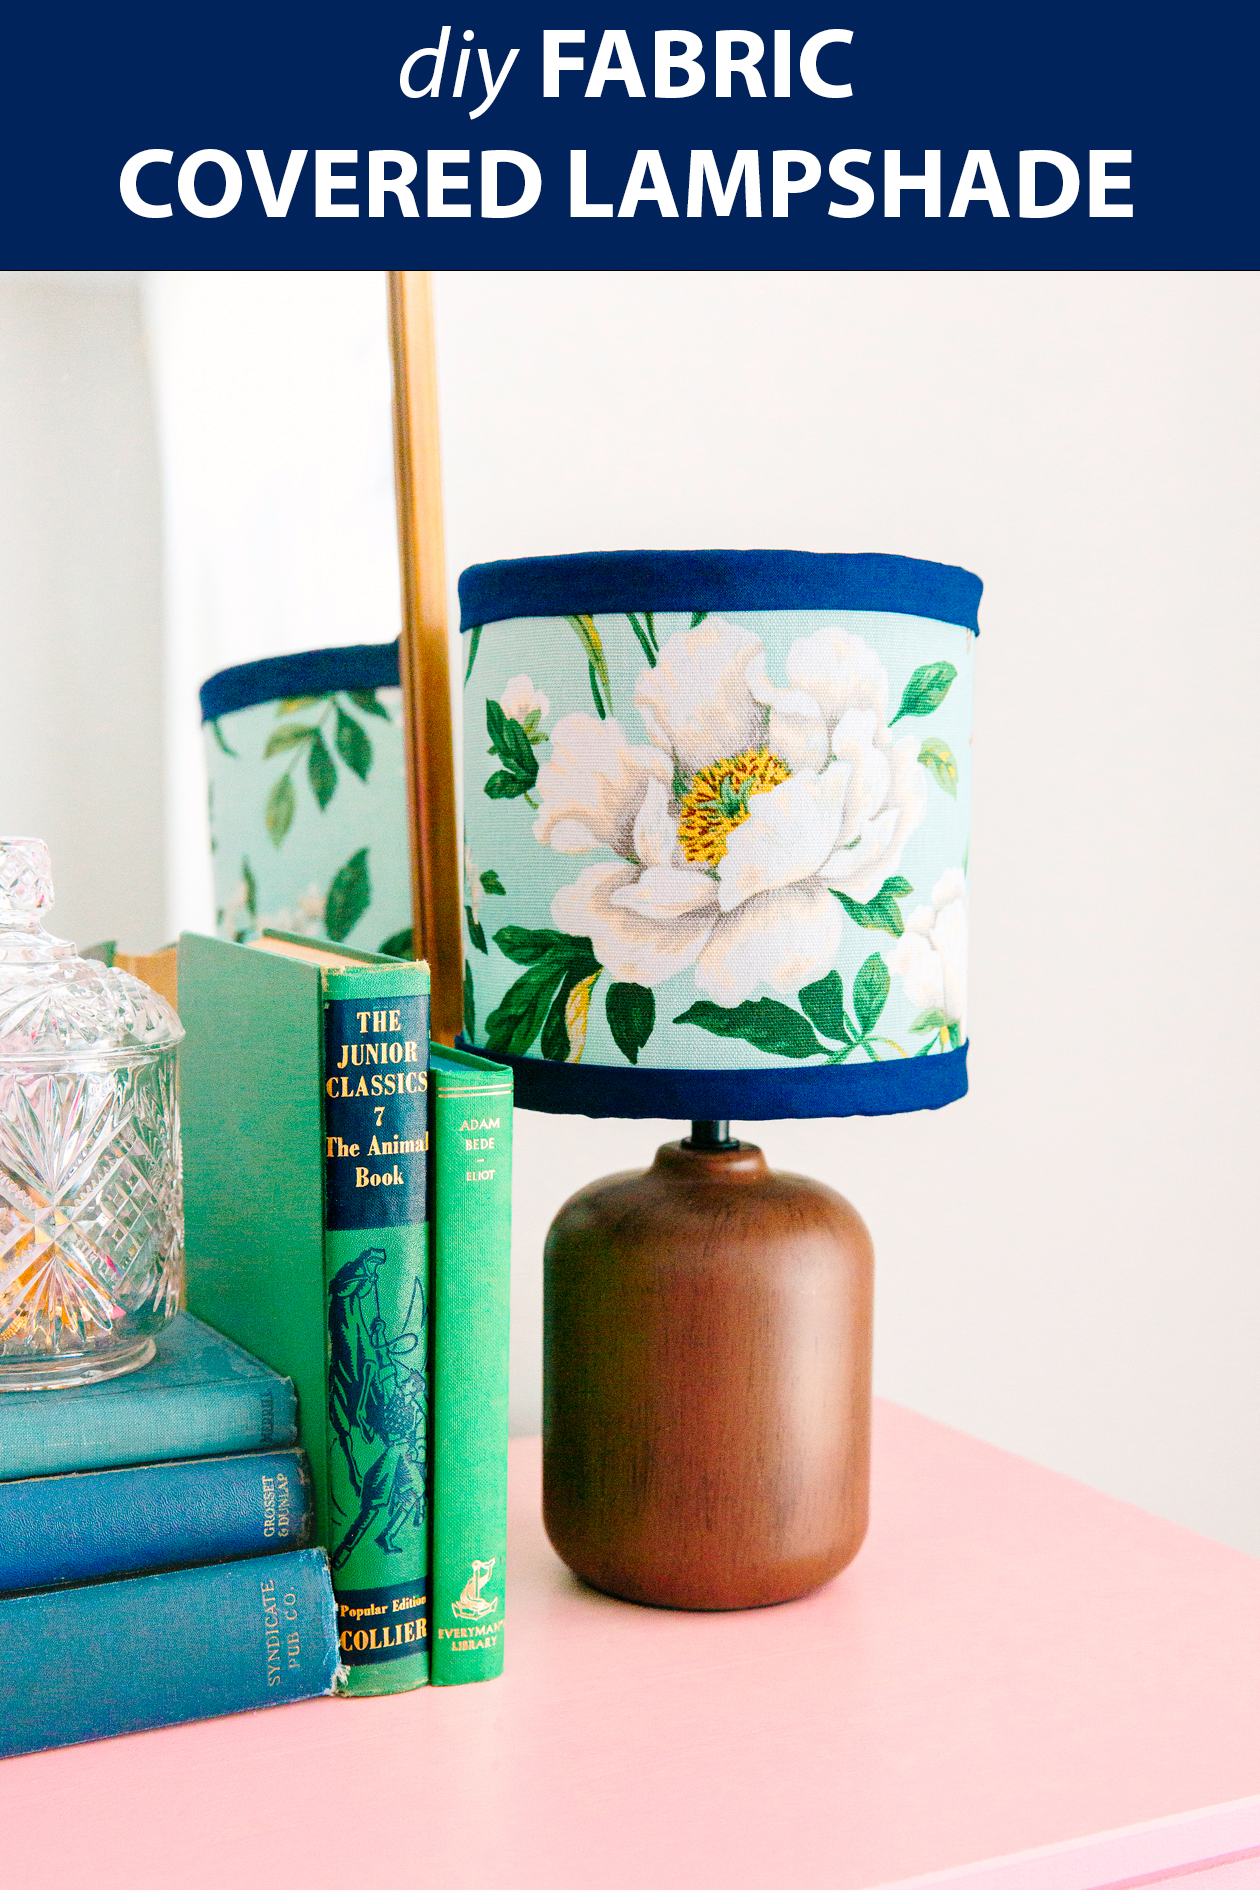
 Hello and happy 2024! Let’s kick off the new year with a project that would look great in any home. Why? Because you can customize this fabric covered lampshade exactly to your decor and color style! I recently posted this project on Instagram as a sponsored post for Waverly, but thought I would go more in depth here in case anyone was considering recreating the project. Here’s how to cover a lampshade with fabric:
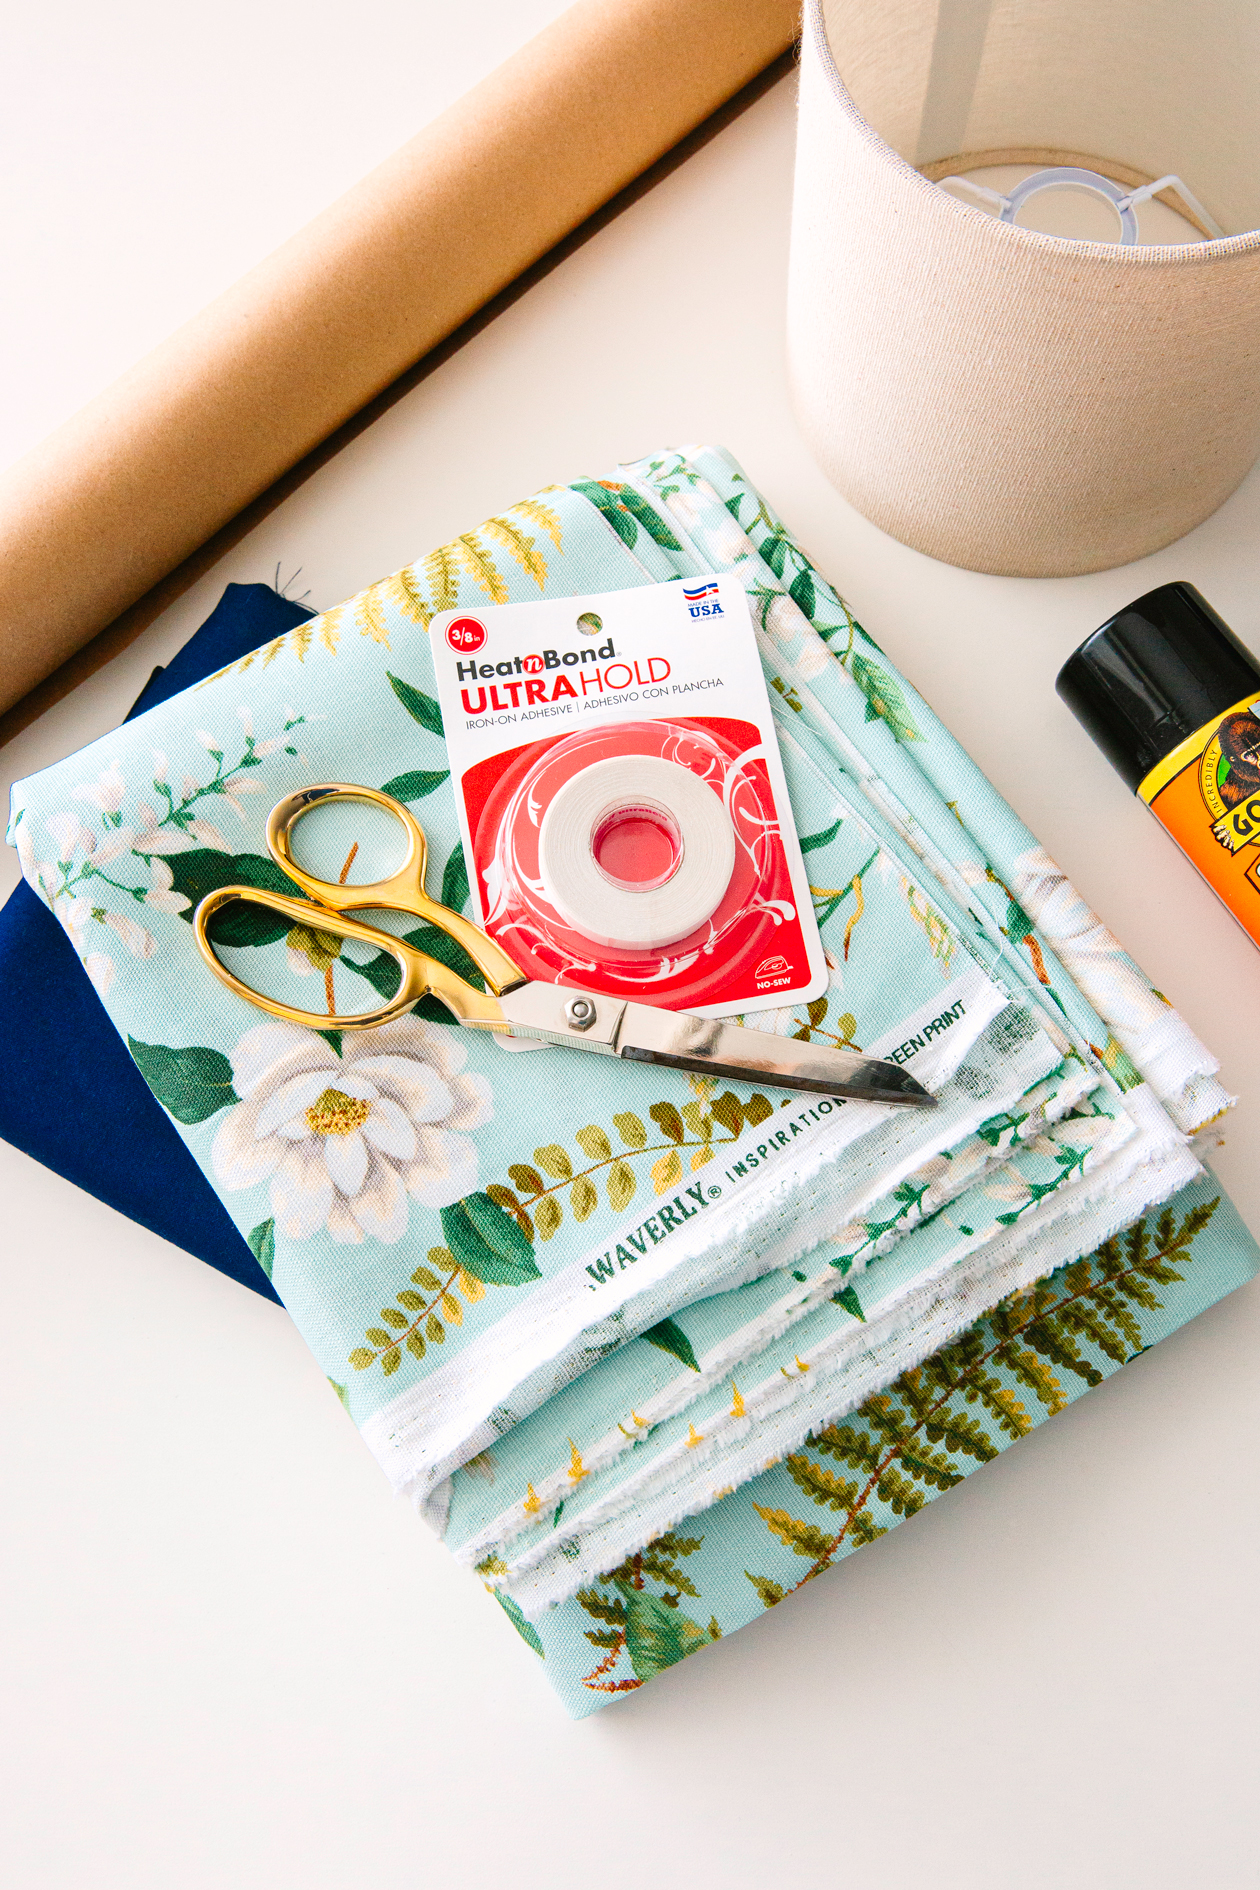 Materials Needed to Make a Fabric-Covered Lampshade
Post contains affiliate links
– Lampshade (I found this entire lamp for $10!)
– Fabric (here’s the one I used)
– Pencil
 How to Cover a Lampshade with Fabric
Step 1
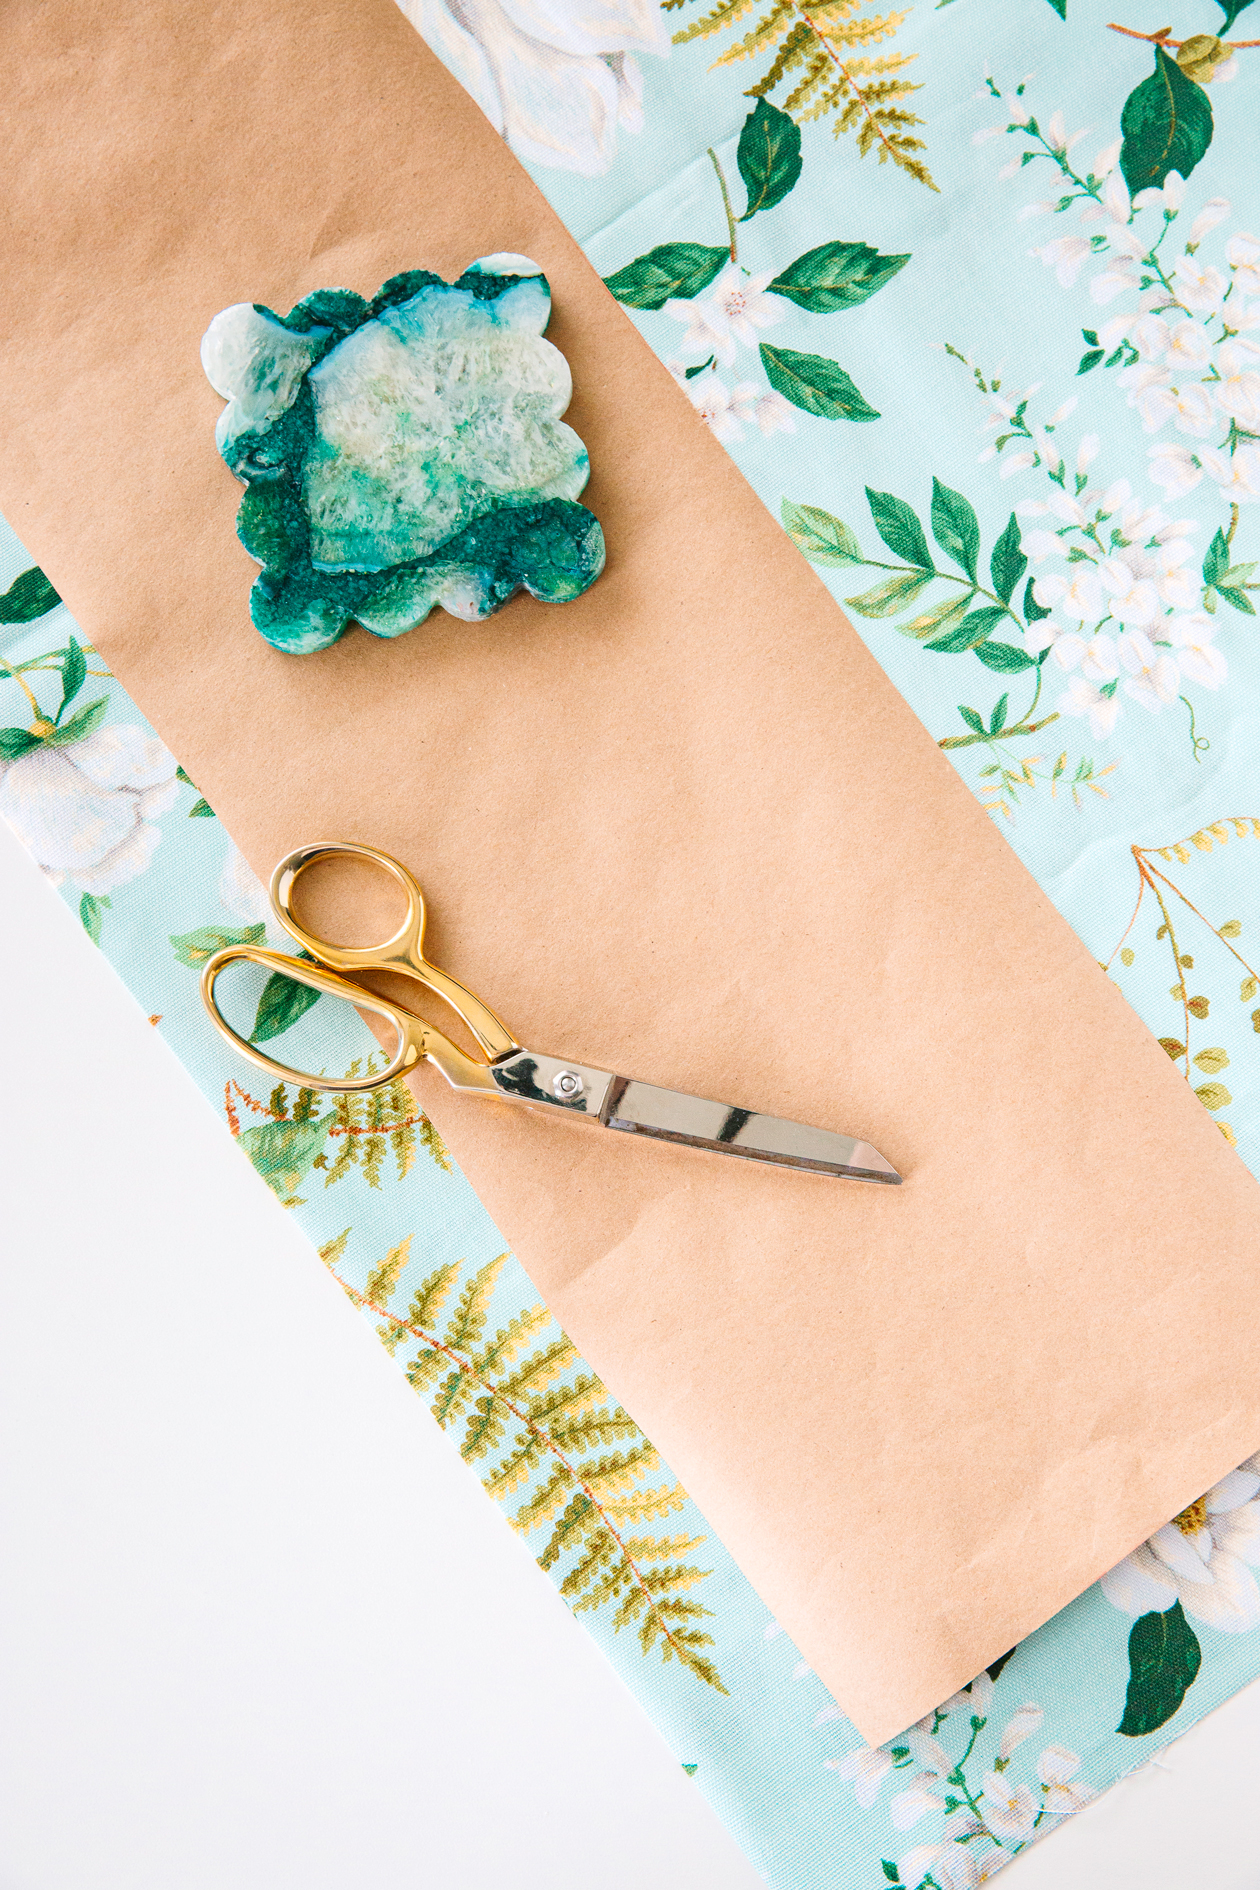
Place your lampshade on kraft paper to make a pattern. To do this, you’ll plant your pencil at the ends of the shade and slowly roll the shade as you trace. Repeat on the top and bottom of the shade. Because you’ll need to fold the fabric over the shade, you’ll want to make a line 1″ out on both sides to extend your pattern before cutting.
Now while this step might seem skippable, let me explain why you might not want to. Making a pattern with kraft paper will allow you two things. The first would be that you’re going to be able to test to see if you made the pattern correctly (if you’ll have enough fabric and if it will cover the entire shade). And the second is that you will actually save your fabric from unwanted markings and cuts. Paper is easier to scrap than fabric in the event of a mistake!
So while you can trace directly on the fabric, I promise you that it’s better to try on paper first!
 Step 2
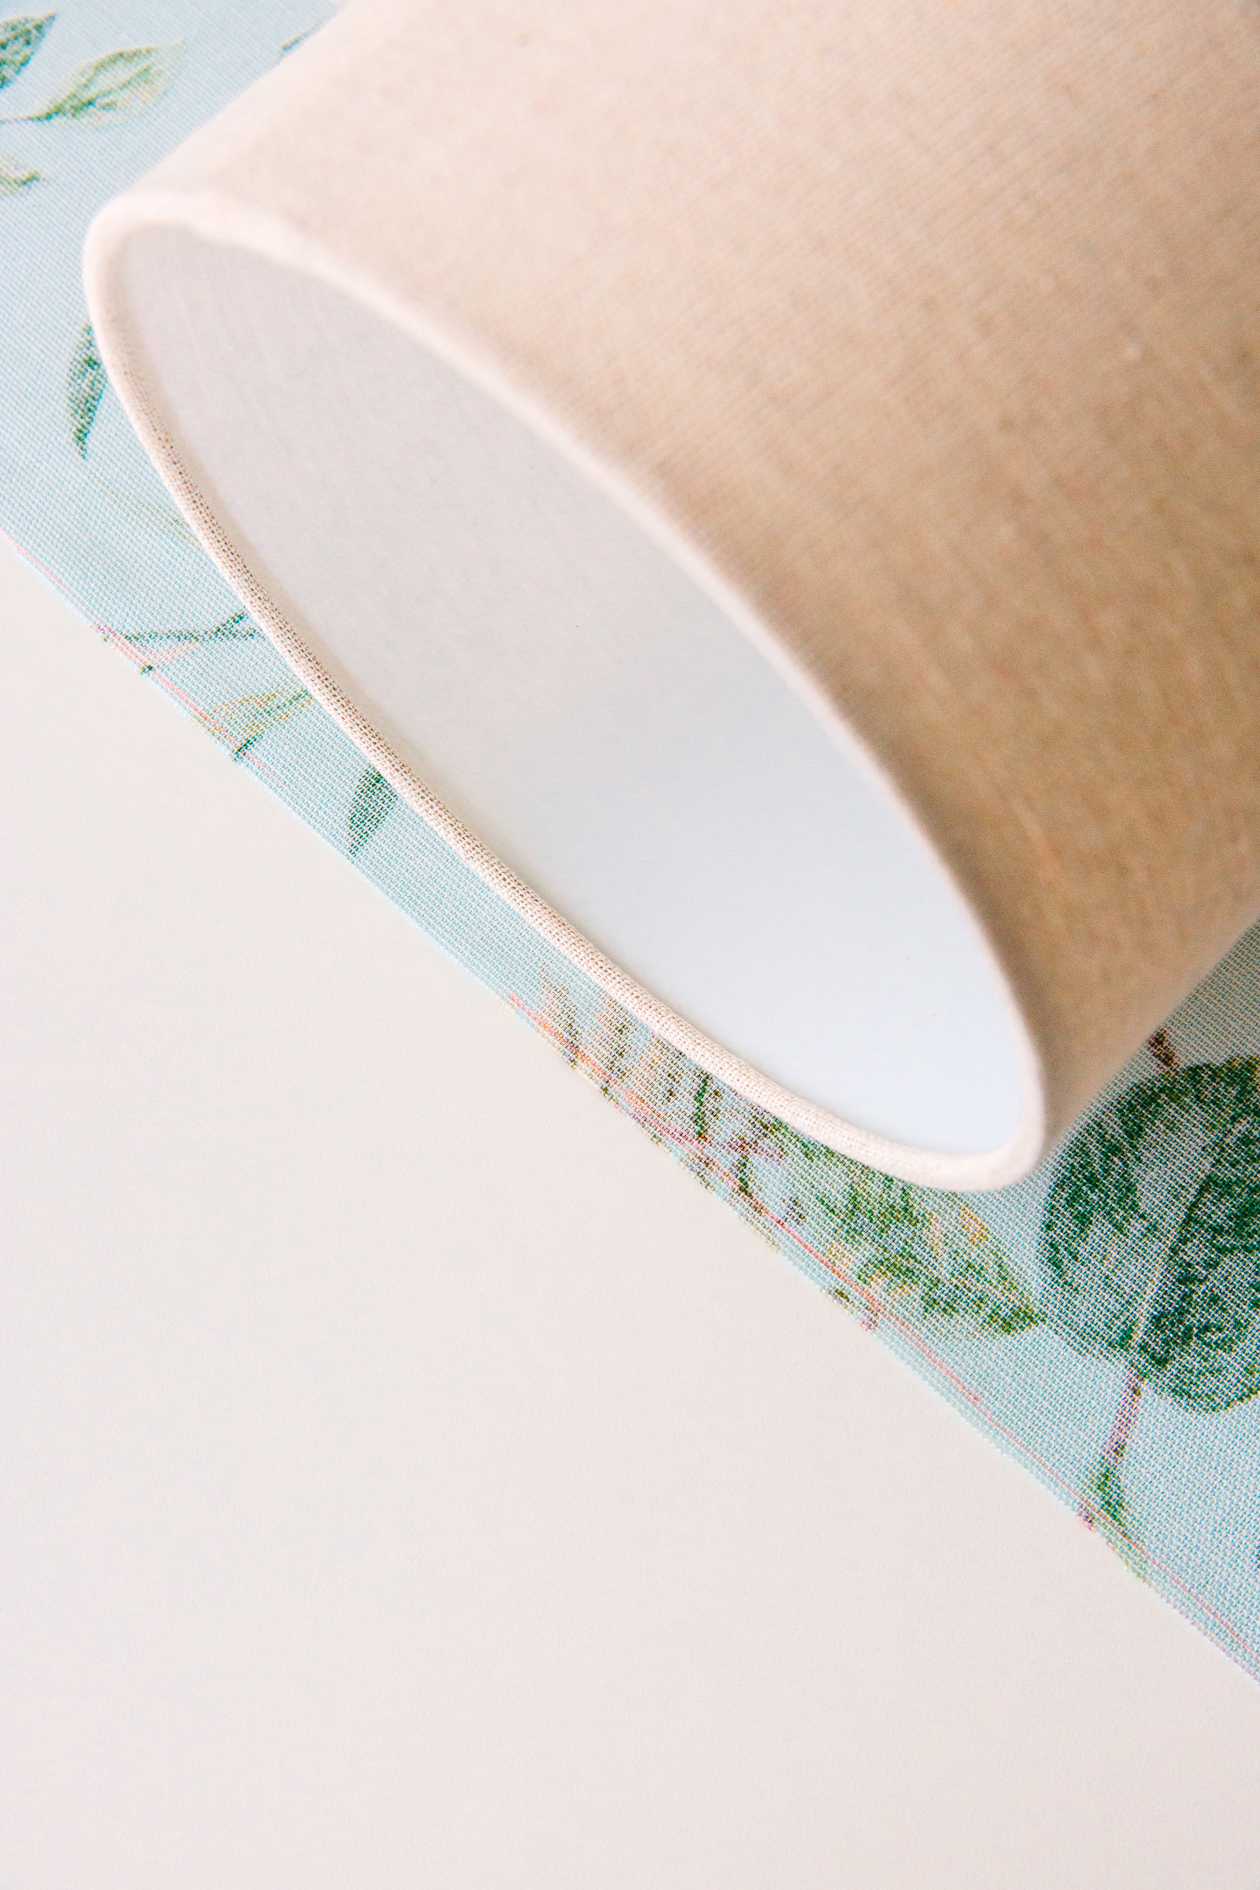
Cut out your kraft paper pattern and place on your fabric. You’ll want to make sure your fabric design is facing down so you can mark on the back. Move your pattern around until you have the placement you want, then trace onto your fabric.
 Step 3
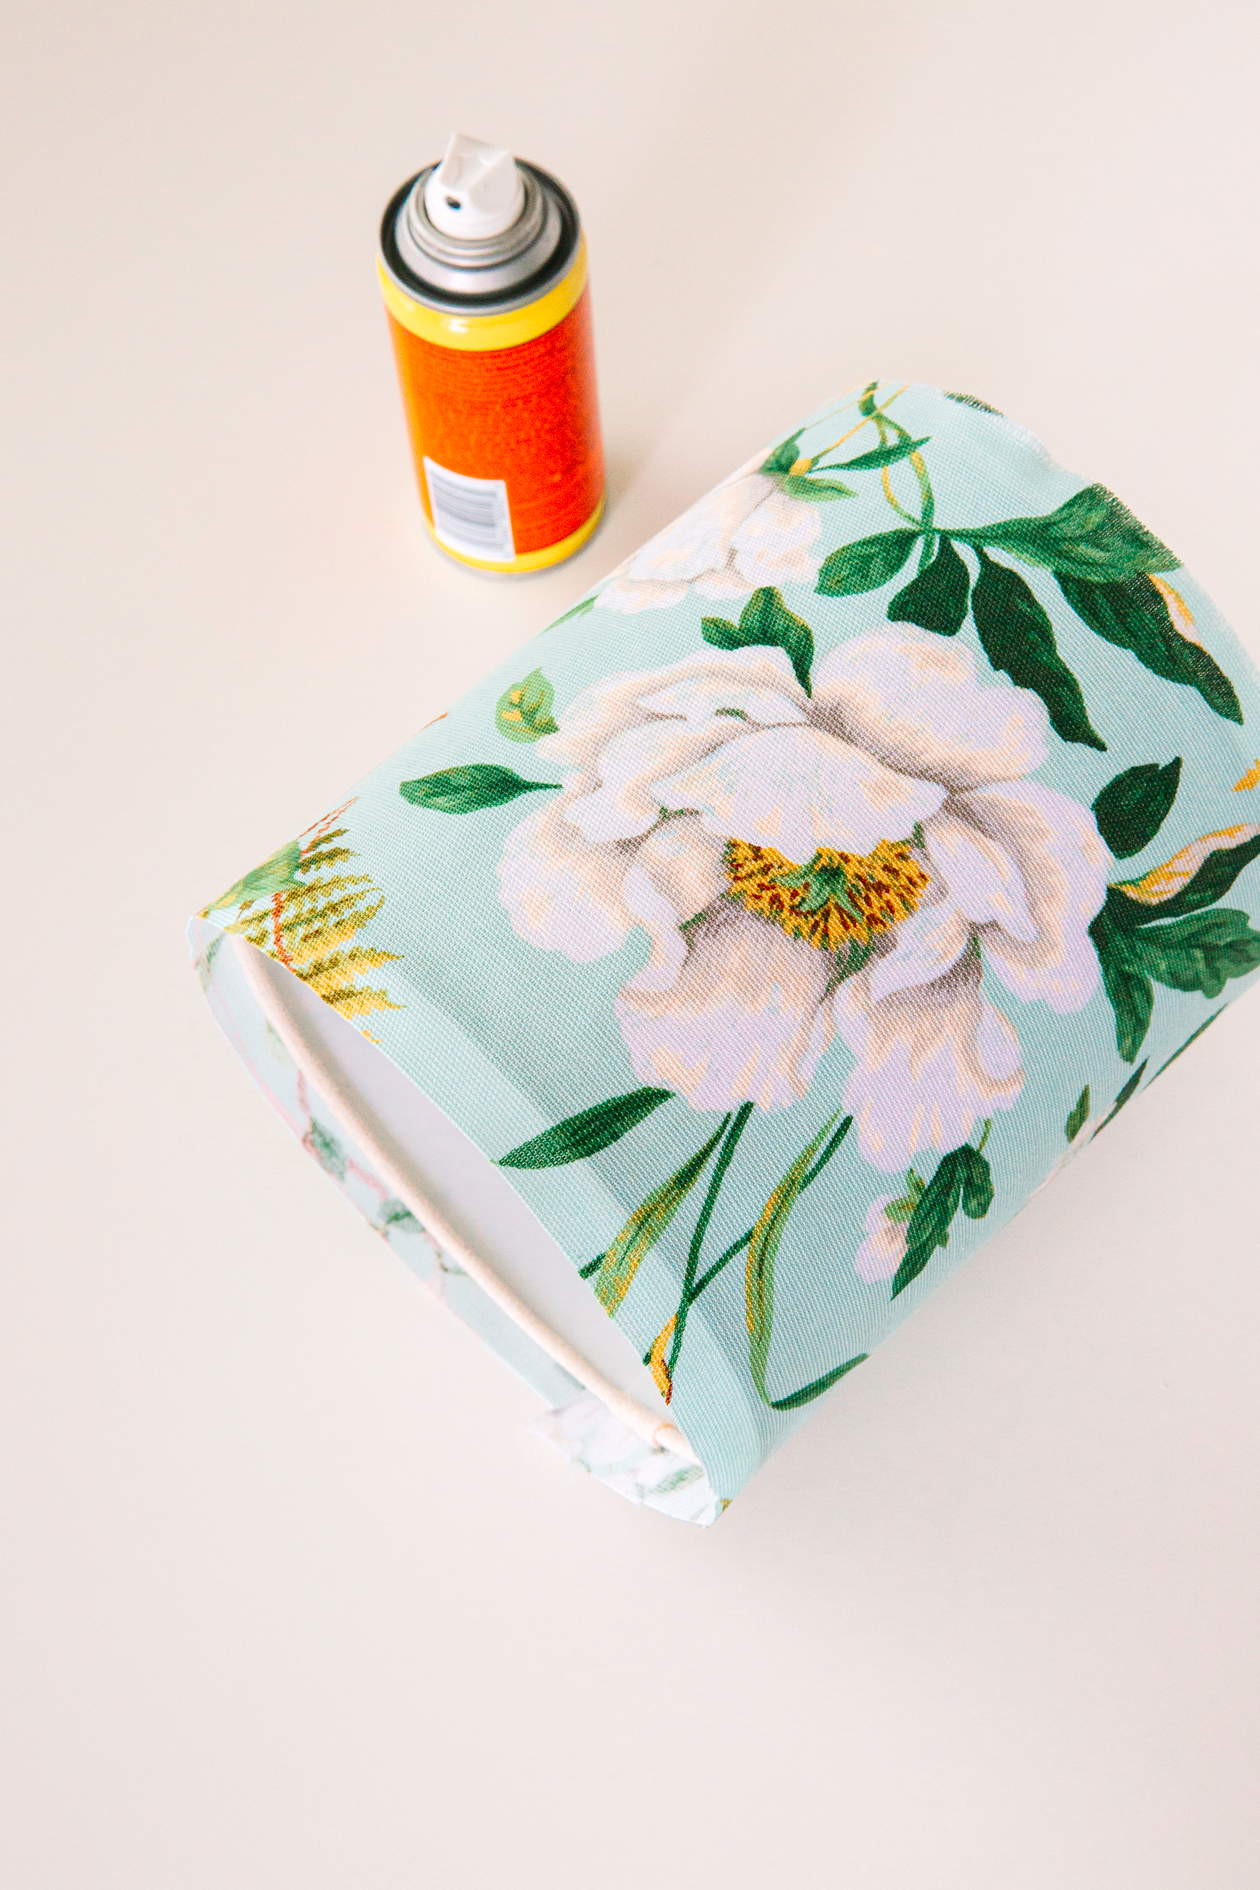
Spray your shade and your fabric with adhesive. Roll and smooth as you go. Let dry overnight.
One thing to keep in mind with this step is that if your spray adhesive gets anywhere besides on the fabric, it will leave behind a sticky residue. You might want to use any leftover kraft paper to protect your surface!
 Step 4
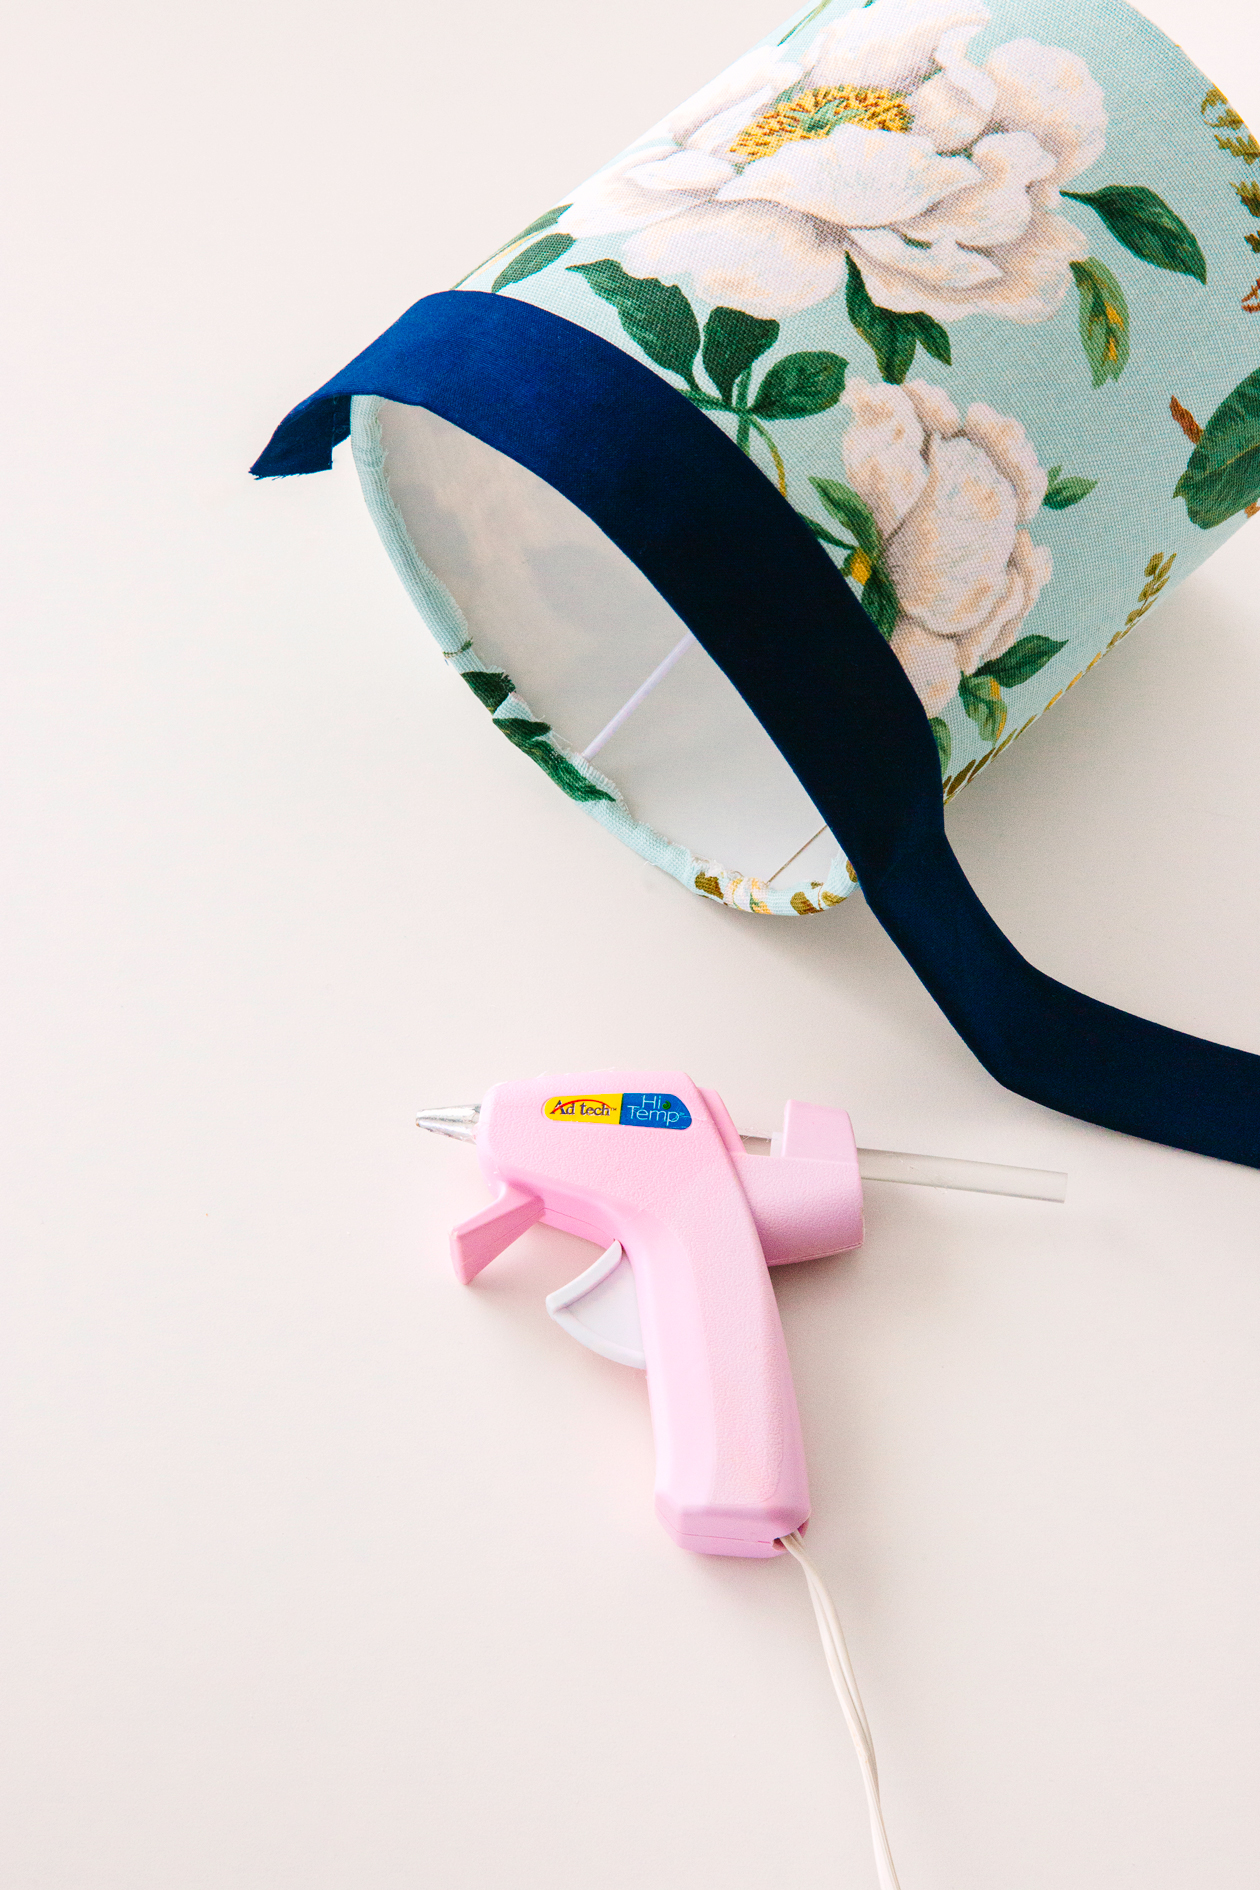
Now it’s time for the polishing touches! You’ll want to fold your fabric over twice to create a smooth finish. You can see my single fold above (which I only did because I was adding a trim on top). A double fold will ensure that the fabric is pretty on the inside of the lamp as well.
Hot glue your ends in place and you’re done!
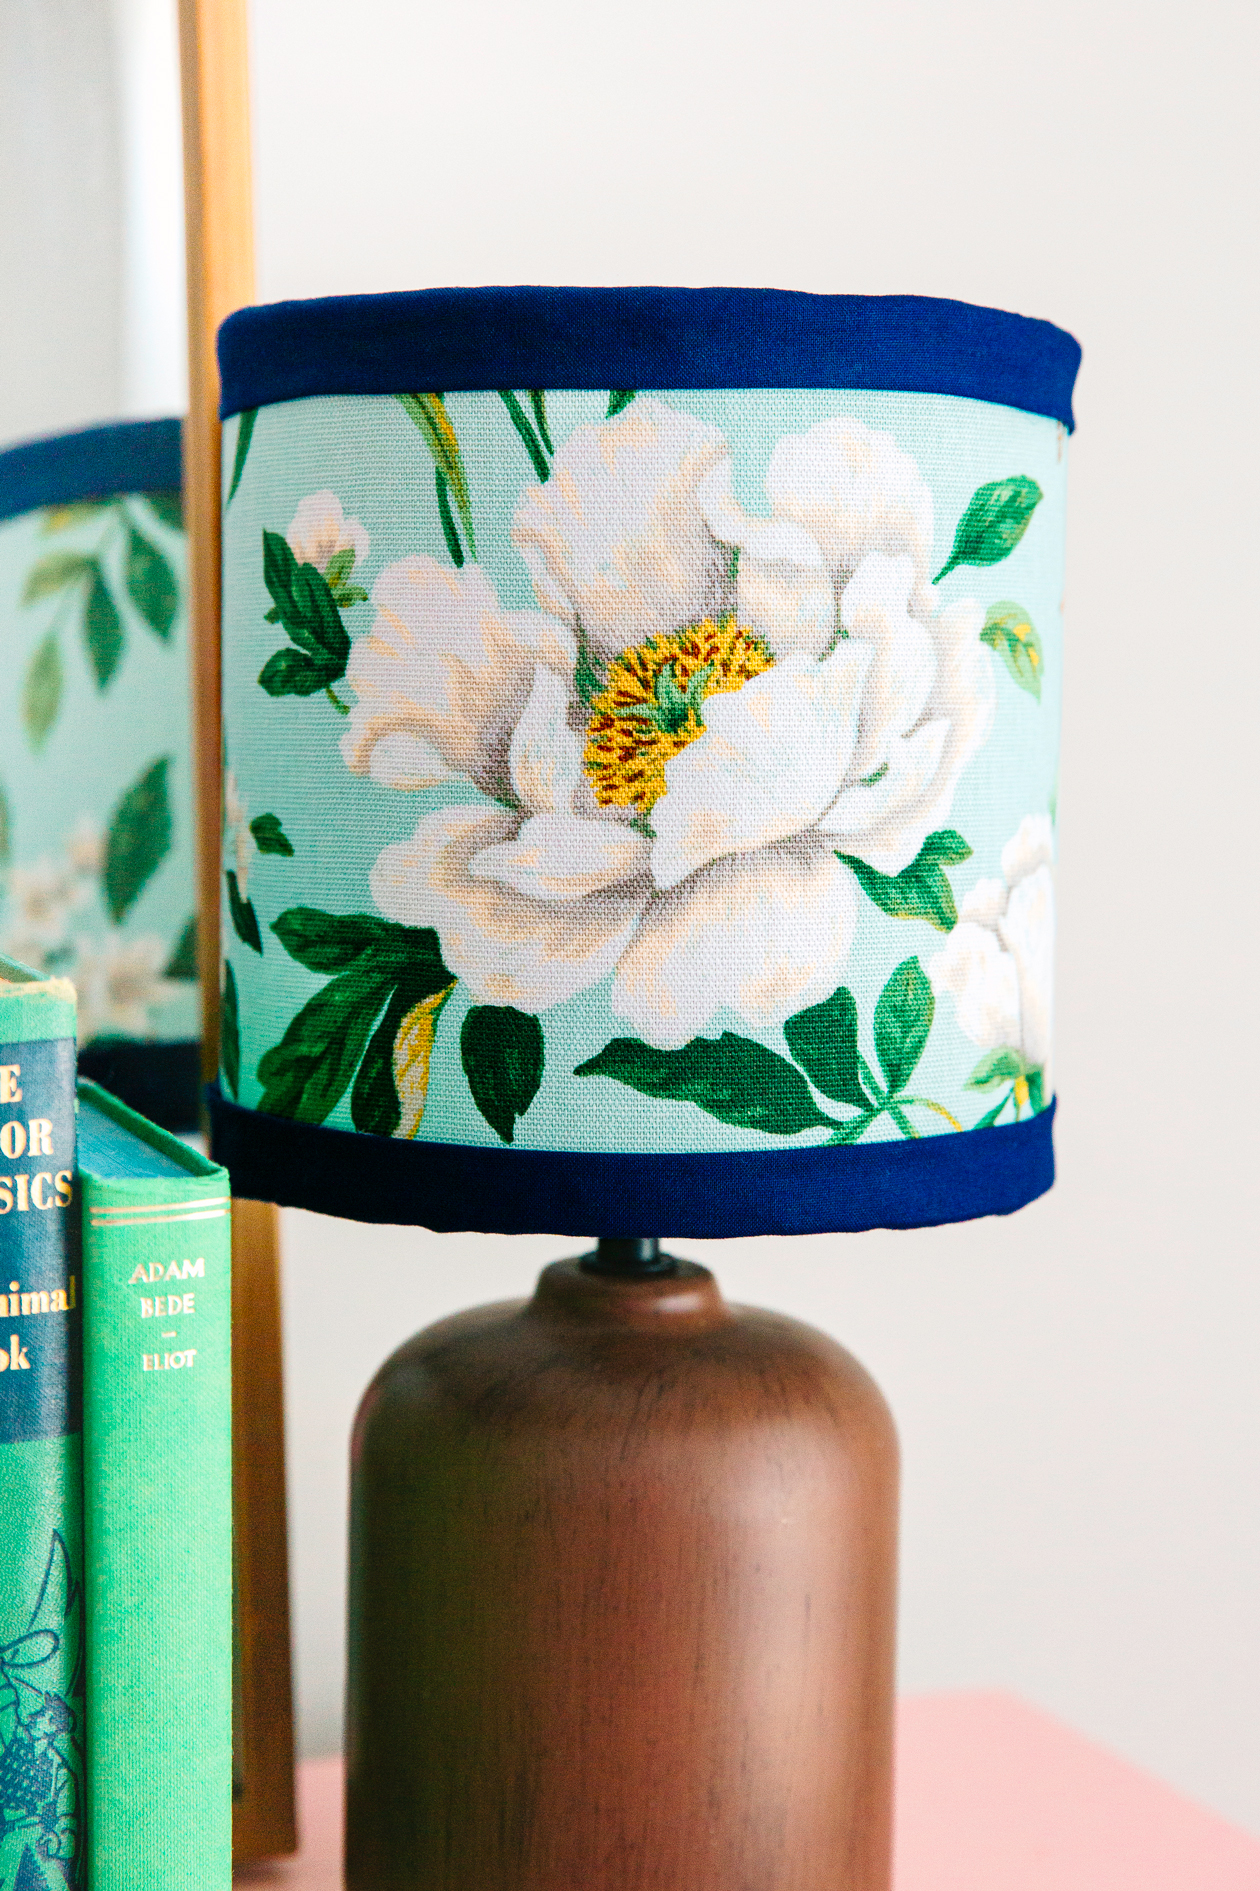 Adding fabric to a lampshade is a great way to add that bit of color and pattern to your home! Be sure to keep your eyes open for lamps at the thrift store because most likely the shade just needs a little love!
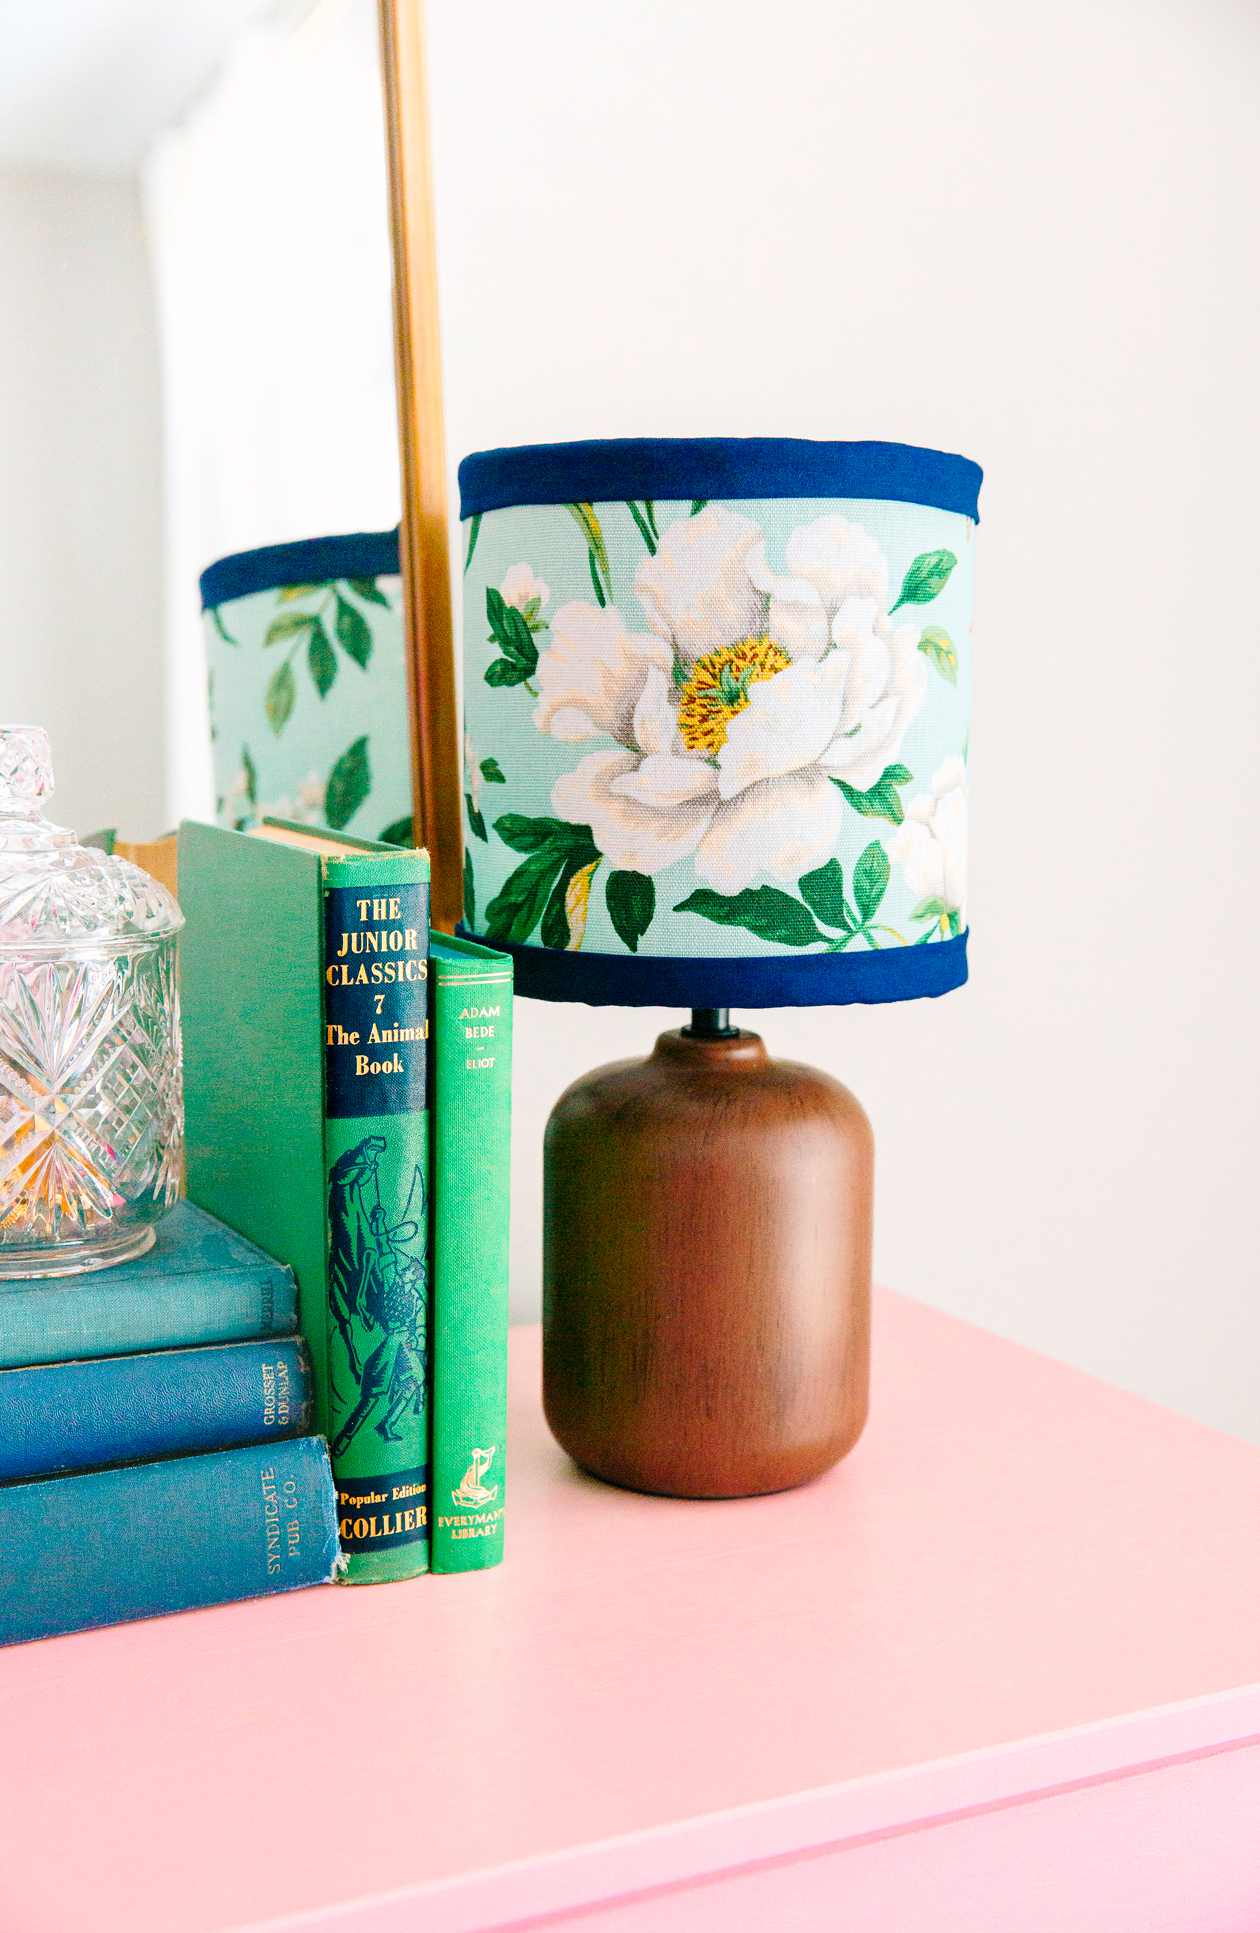 And if you prefer video, here’s a short reel I made of the process! Let me know if you have any questions!
View this post on Instagram
