 Today’s project comes to you from my book Hello Color! If you haven’t picked up your copy yet, grab here’s a list of all the stores selling it (you can also request a copy at your local bookstore or library). I also have a few signed copies in my shop!
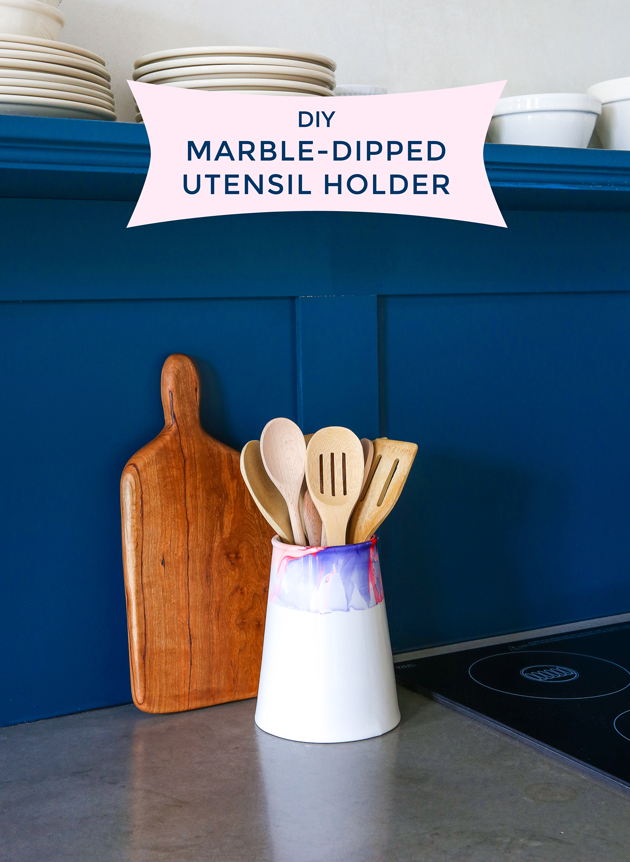
I love this DIY because it’s such a simple way to introduce color into your home, perhaps in an area you would’ve never considered before. If you want to add some unexpected pattern to your kitchen countertops here’s how make a marble dipped utensil holder:
 Materials
– Deep tub, bowl, or bucket
– Ceramic utensil holder
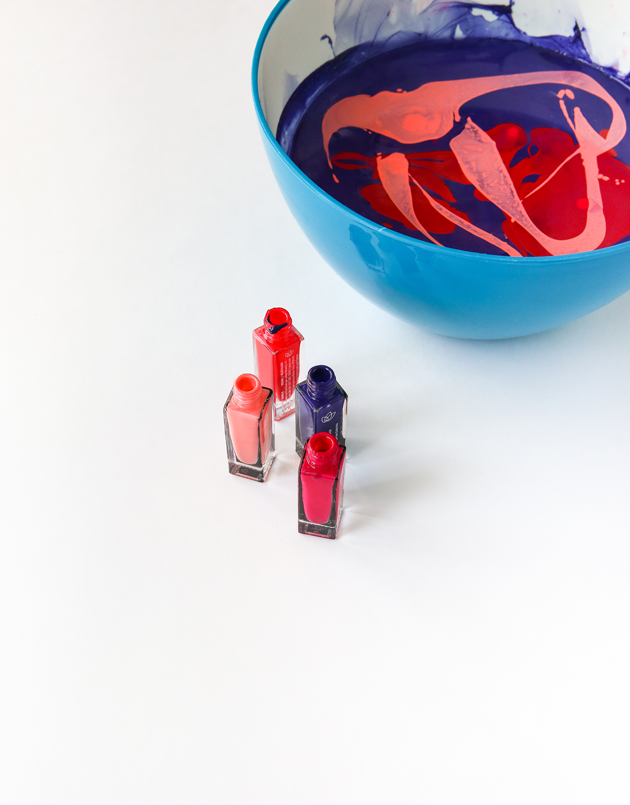
– Nail polish in variety of colors (not quick-dry)
– Craft stick
1. Fill your container with hot water, the deeper the container is, the more of your utensil holder will be covered with the marble pattern. Note that in the future you’ll only be able to use the container for marbling/painting since the nail polish will drop + stick to the bottom– so don’t use your nice baking bowls!
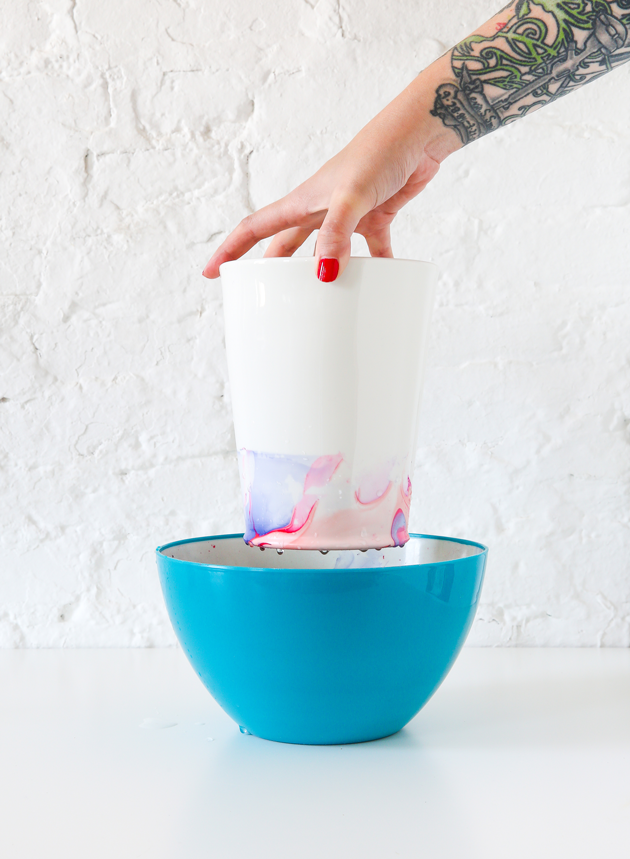 2. Working in a well ventilated area, pour the polish in the water. Use your craft stick to gently mix the colors to create a pattern. Immediately dip in your utensil holder. I suggest going straight down from the center of the polish bath to evenly coat all the way around. This should only take a few seconds– no need to leave it in the water as the pattern will take instantly.
The trick to successful marbling is working fast. I’ve found that it helps to take the caps off all the nail polishes first. Then pour them into the hot water at the same time with one hand and stir with the other. Try a few test runs to get the hang of it before dipping in your utensil holder.
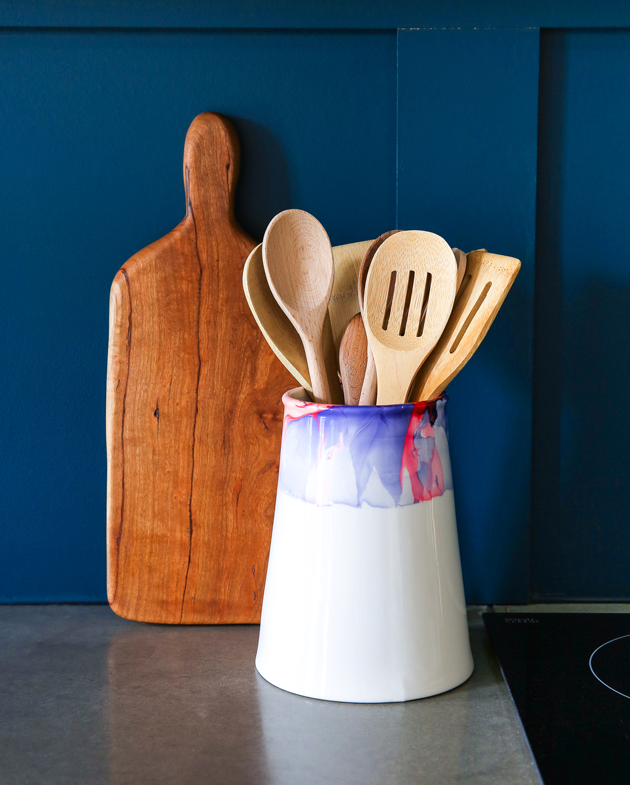
3. Pull the utensil holder out of the water and let dry completely before adding utensils and displaying on the counter!
 And if you’re looking for more color DIYS to make for your home, be sure to take an inside look at Hello Color!