 Anndddd I’m back! And if the title of this post didn’t tip you off, I’m also now a mom! Fellow parents, does that ever not feel weird to say?!
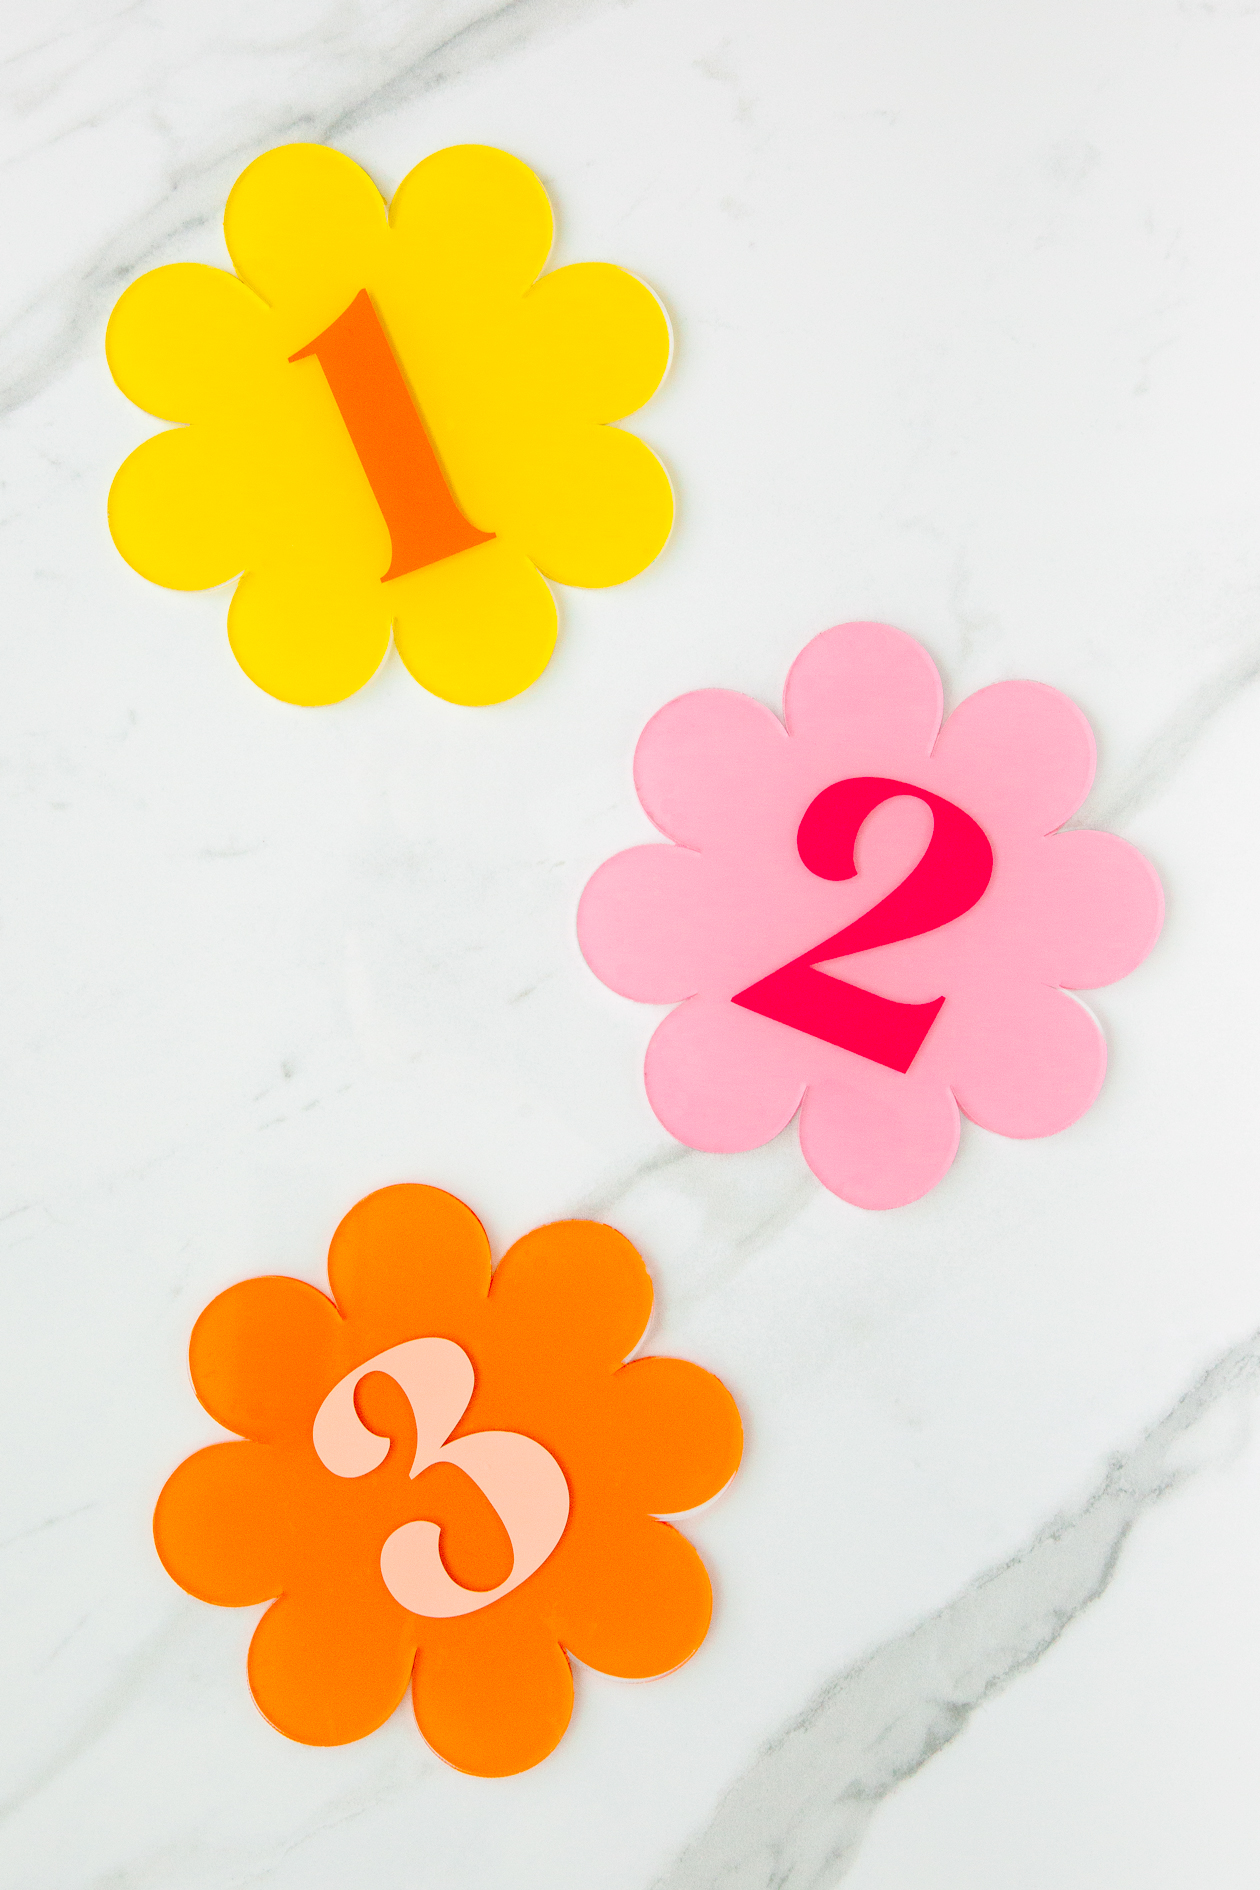
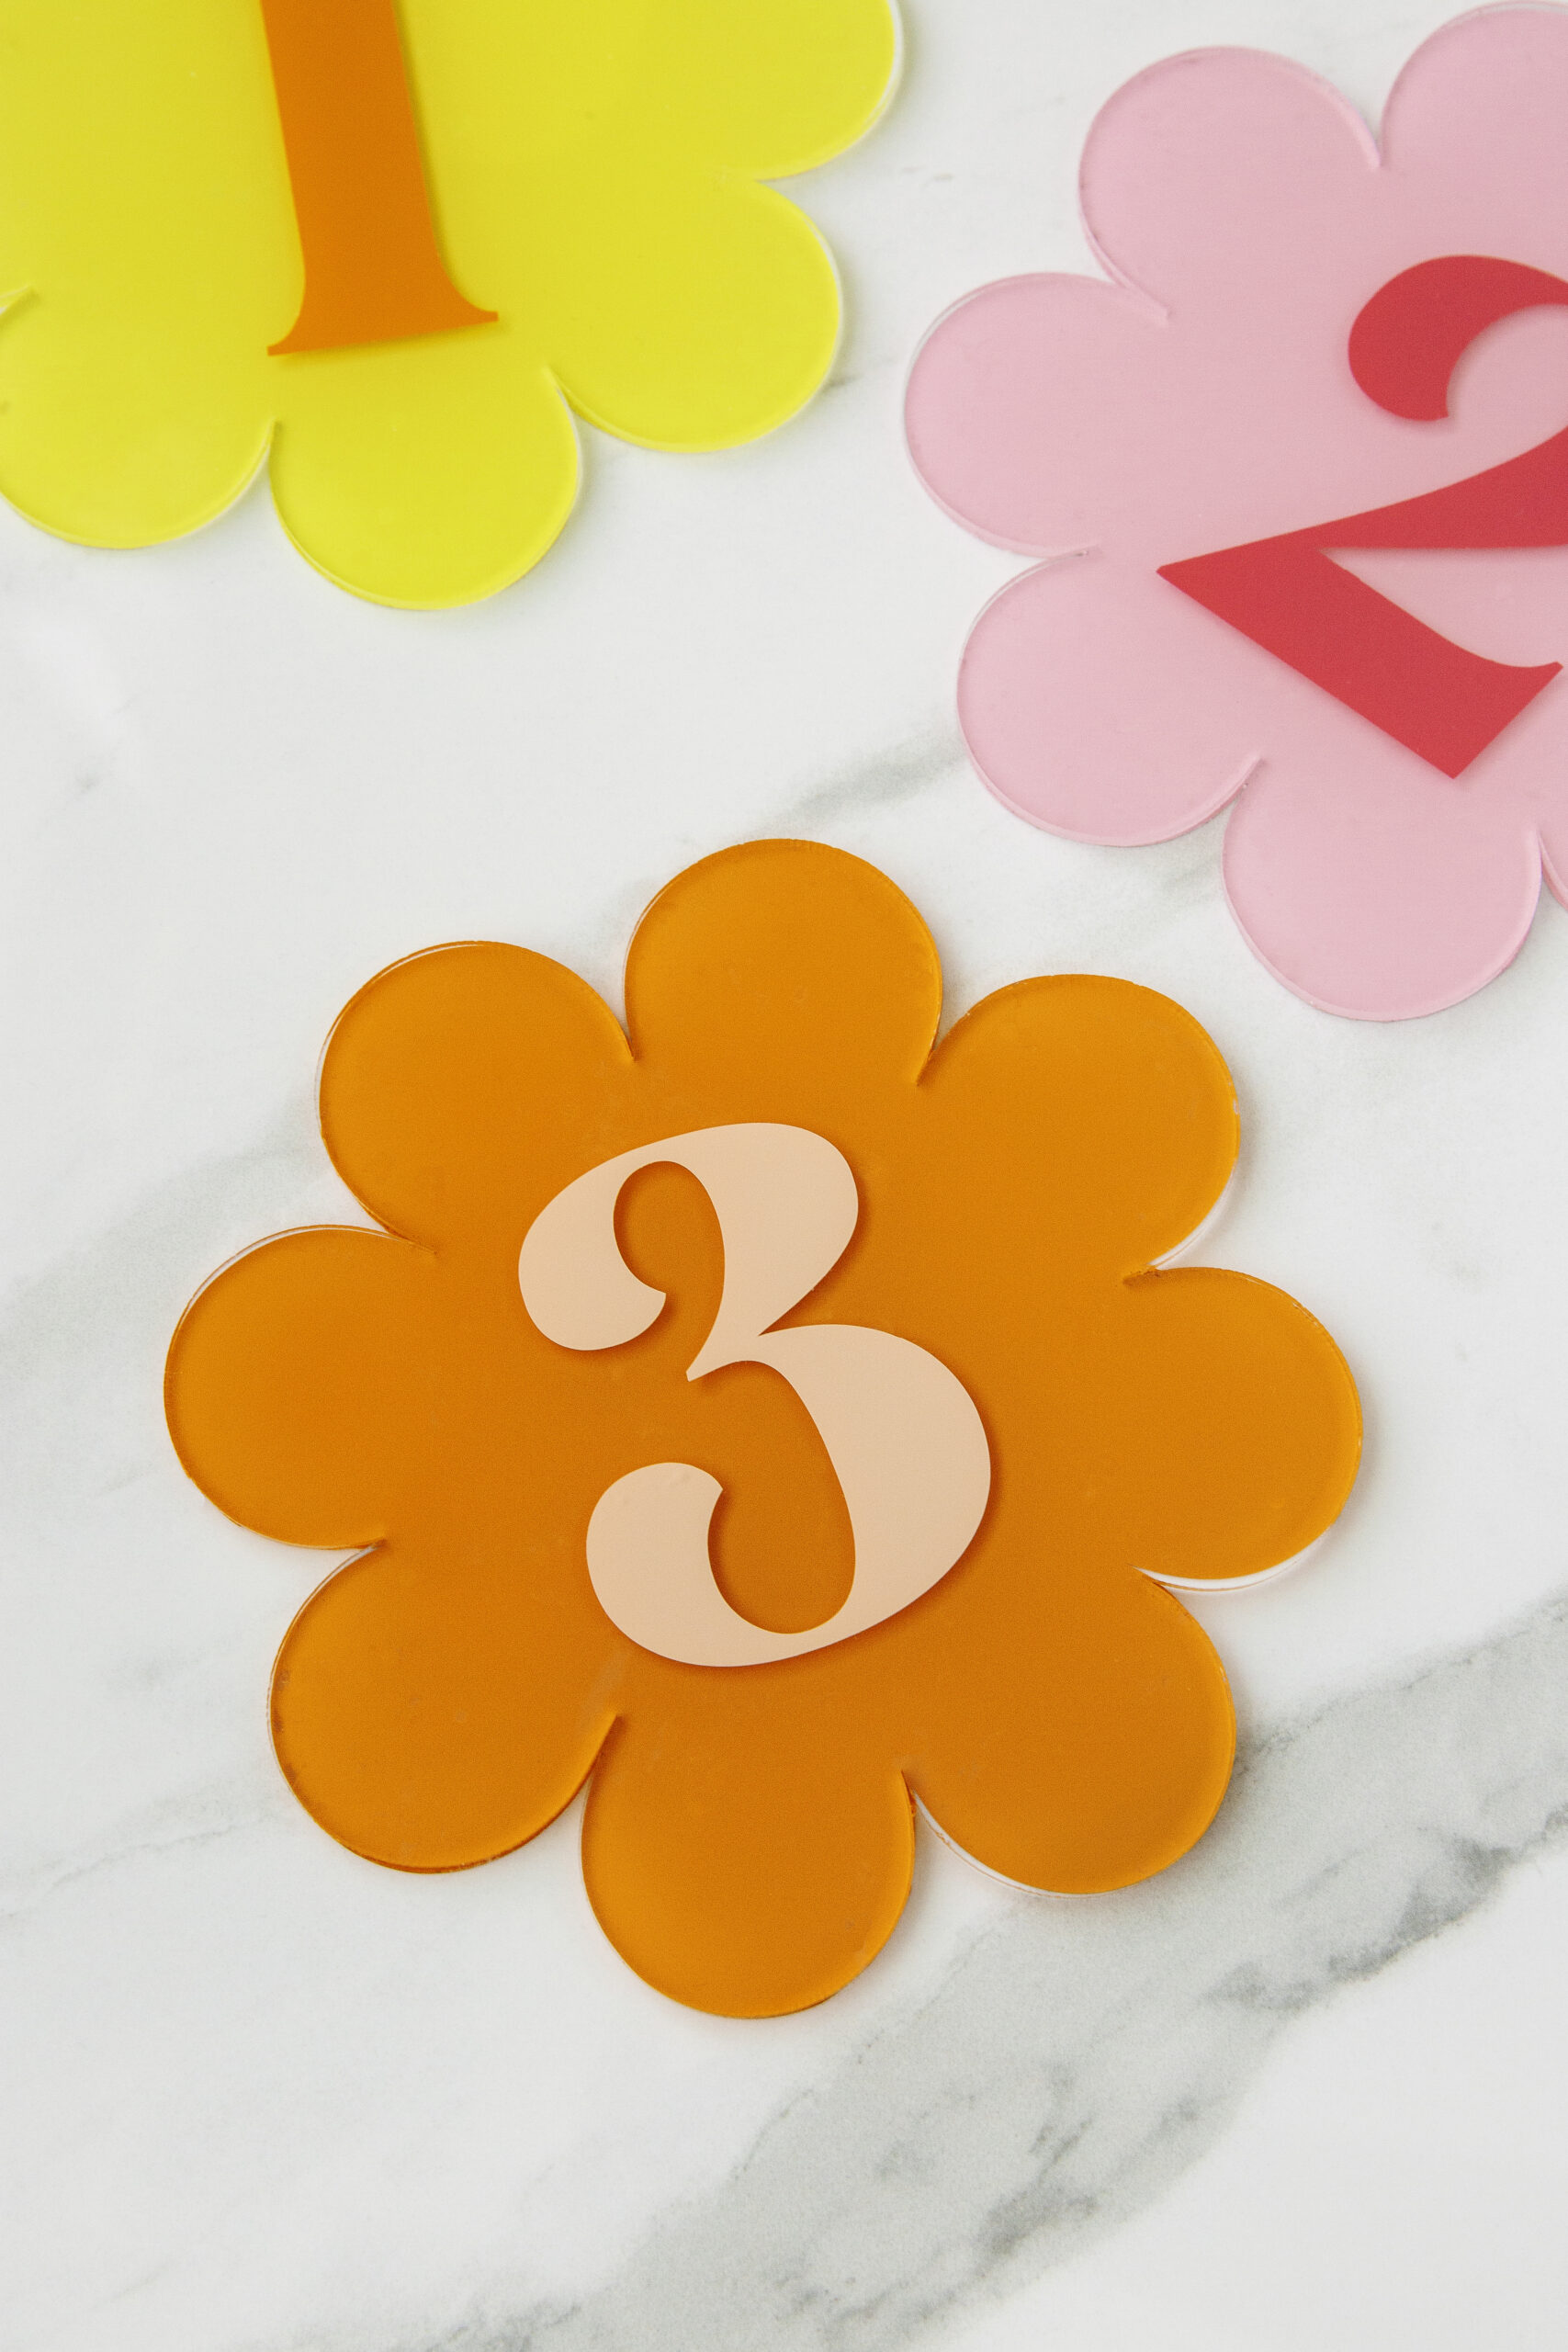
I made these DIY Baby Monthly Milestone Numbers for my daughter and thought they were too cute not to share. So let’s jump right into the project (and keep scrolling to see how I used them in our first month photo)!
Materials
This post contains affiliate links
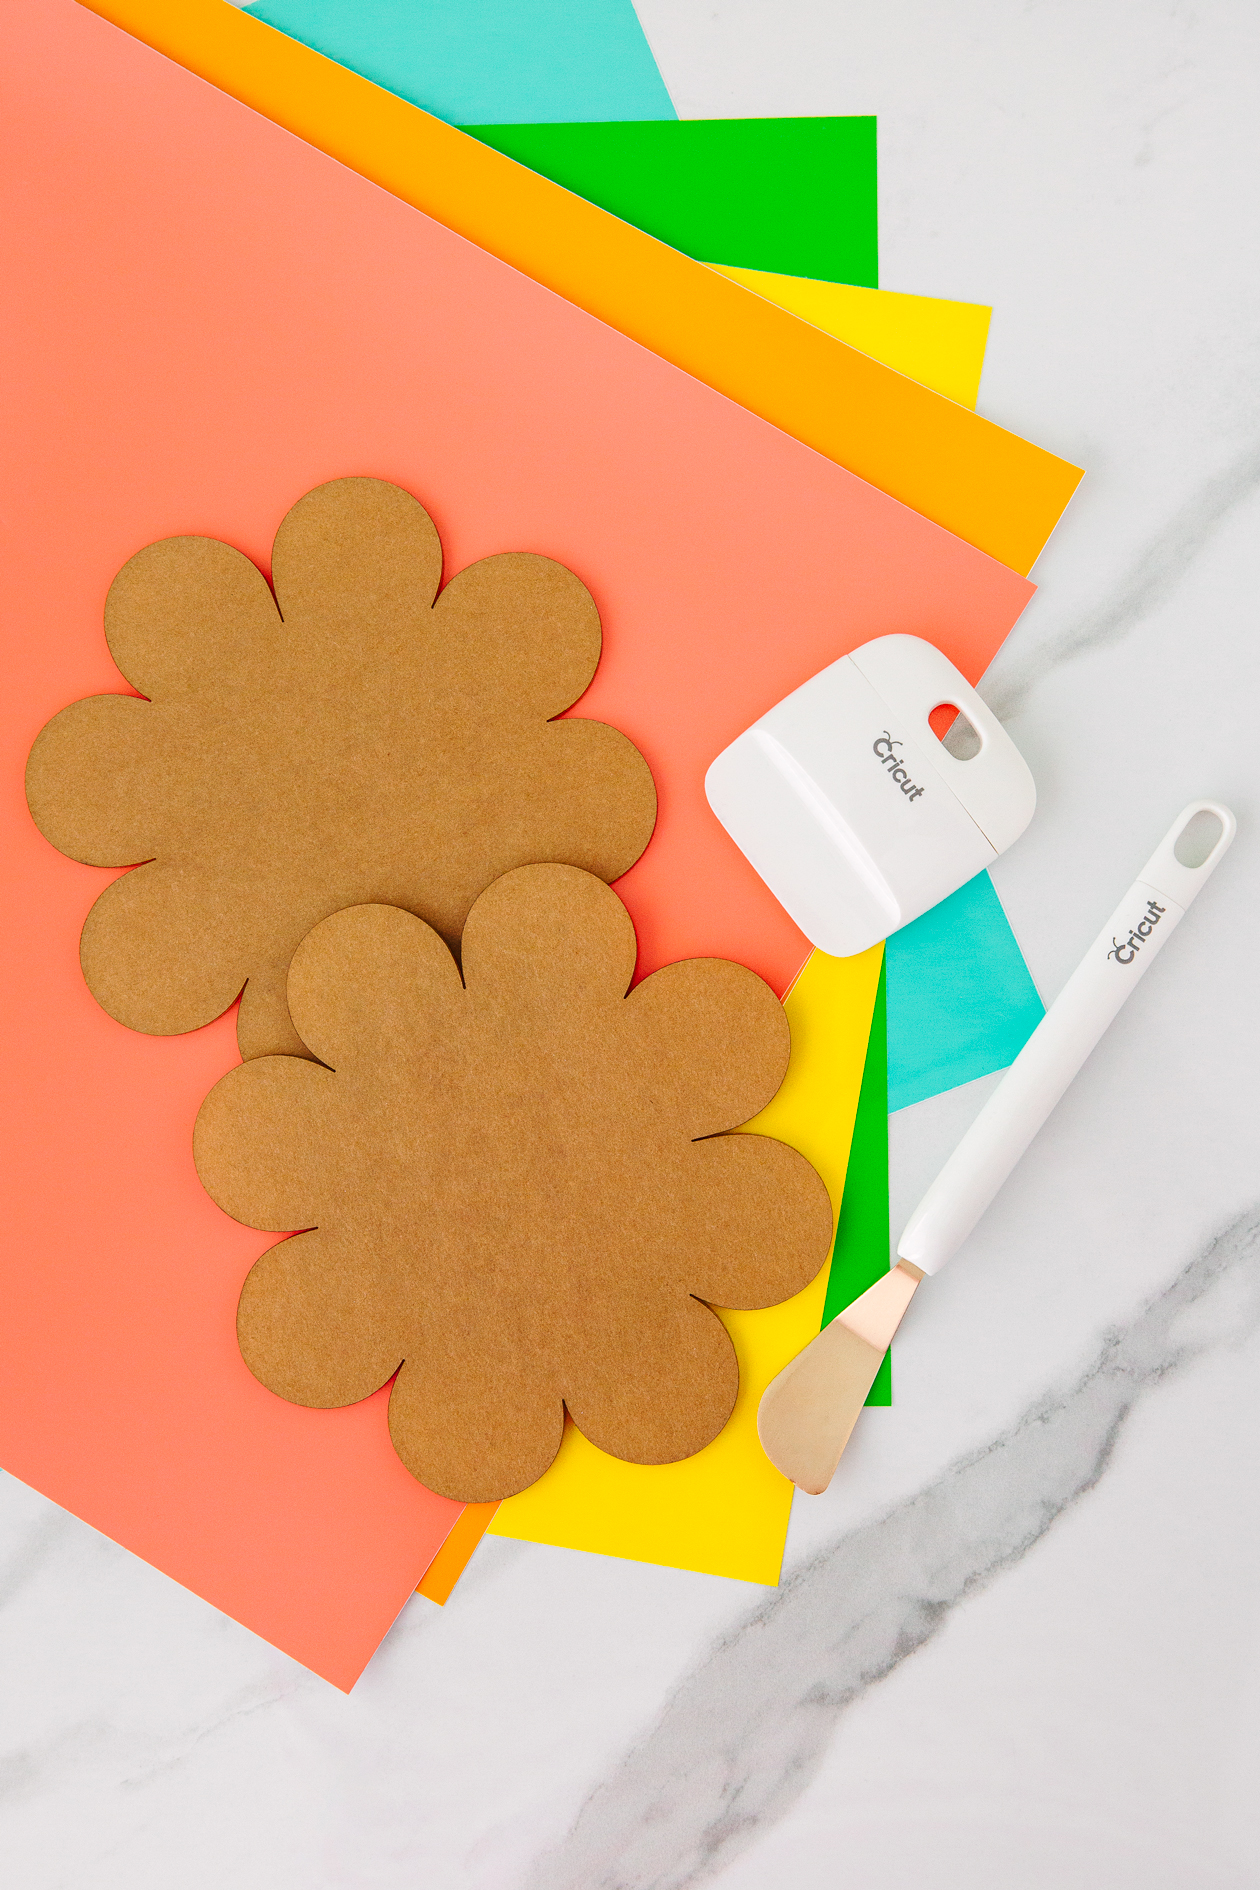
– Acrylic Flower Round (I used the 6″ size)
– Permanent vinyl
– Transfer Tape
– Cutting Machine (Brother or Cricut)
– Cricut tools
If you don’t want to keep the set throughout the years, grab removable vinyl instead. This way you can remove it once you’ve taken your pictures and reuse the acrylic blanks for another project.
The flower rounds that I ordered also came with the free SVG file. It was sized perfectly to the shape I ordered, so I didn’t have to reformat anything before cutting!
If you don’t have a cutting machine, you can also make this project with a bit of paint and large stickers. The cutting machine just allows you to customize your font and cut the floral shape.
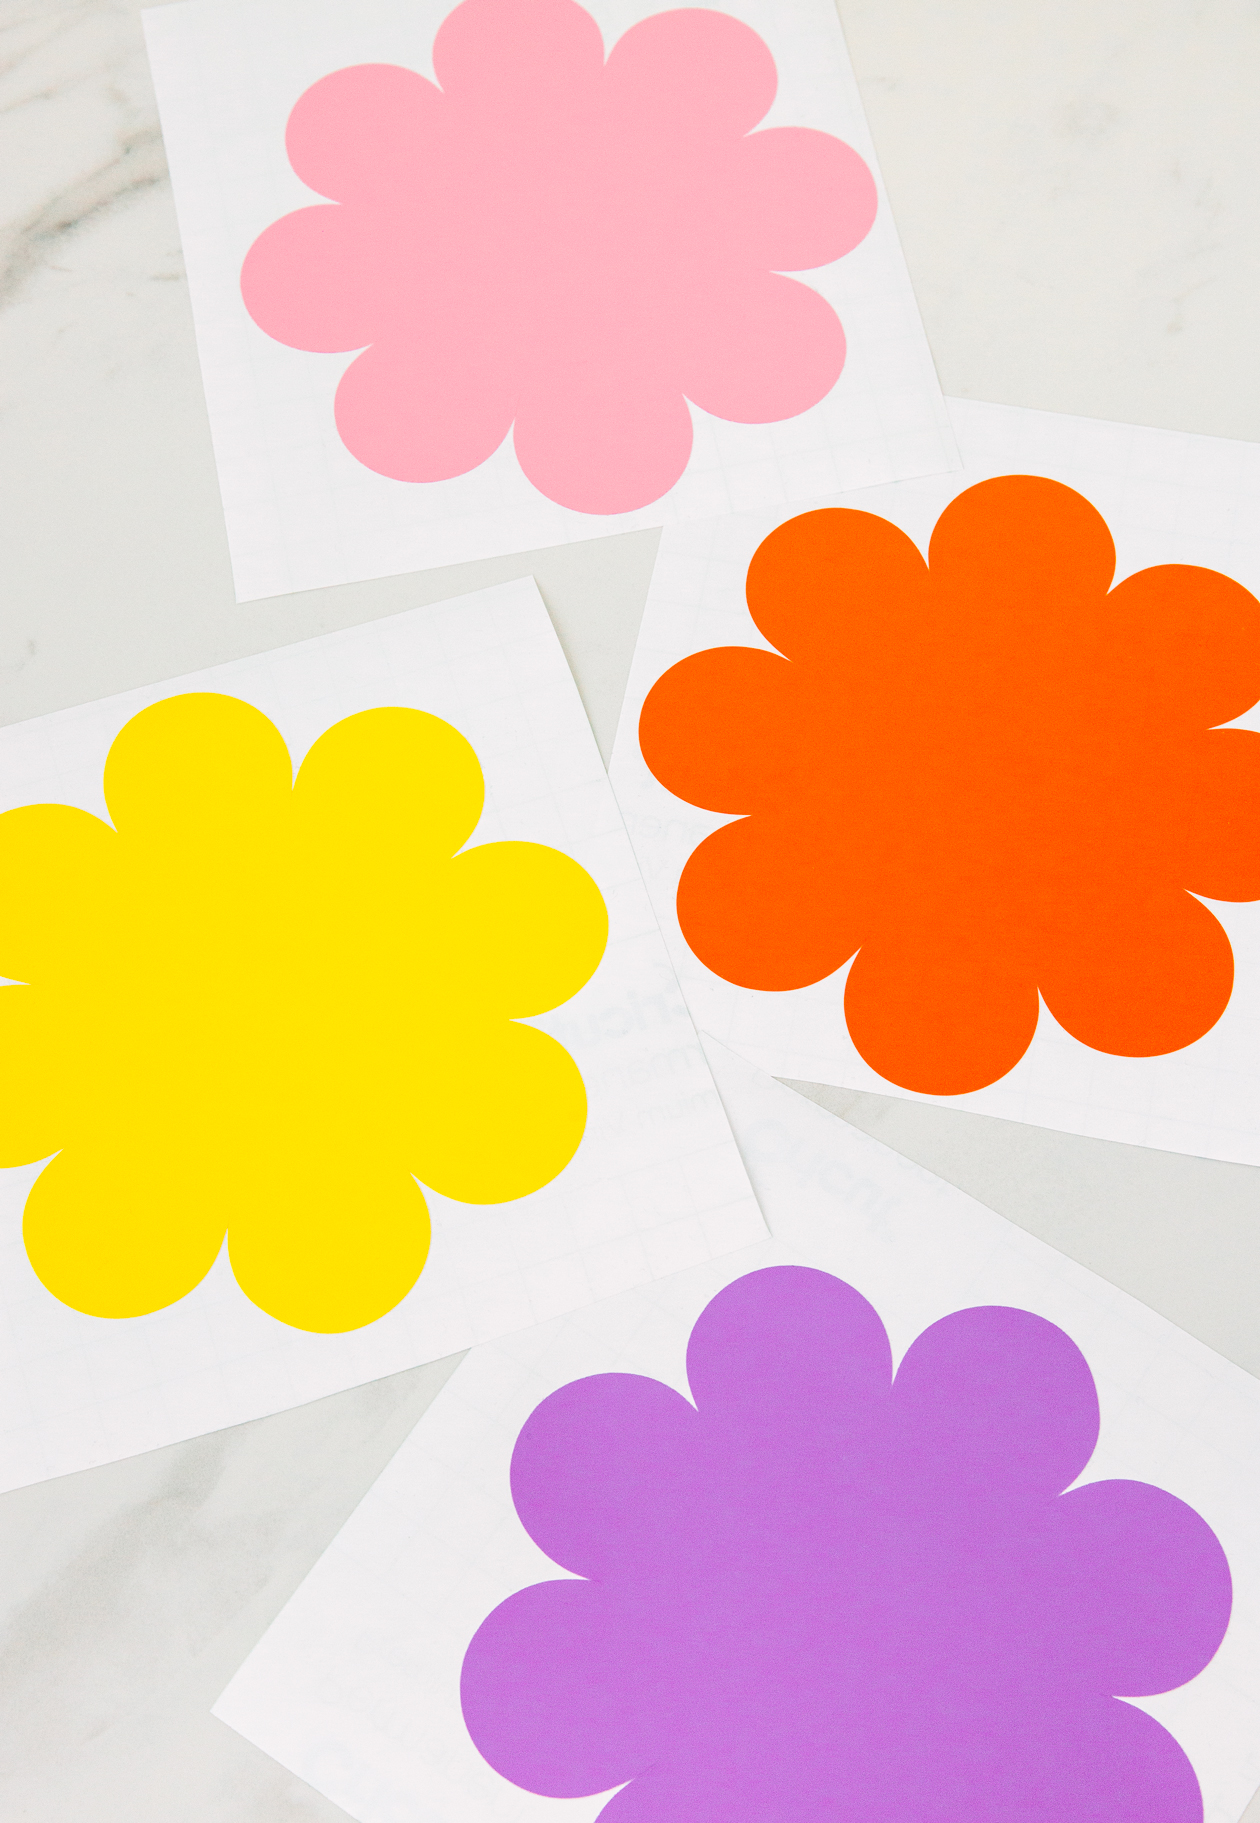 How to Make Baby Monthly Milestone Numbers
Before you start making your milestone numbers, here are some quick tips to consider:
When it comes to selecting your colors, it helps to pick contrasting ones for the best visibility. I used this variety pack of vinyl so that I would have plenty of color options to choose from.
I think adding the flower to the back can be a bit tricky, so be sure to take your time. You’ll need to line the cut vinyl up with the flower disc (and you really get one shot at this).
Again, if you want this to be a bit more stress free, you might just want to paint the color on the back or order the discs in the color of your choice.
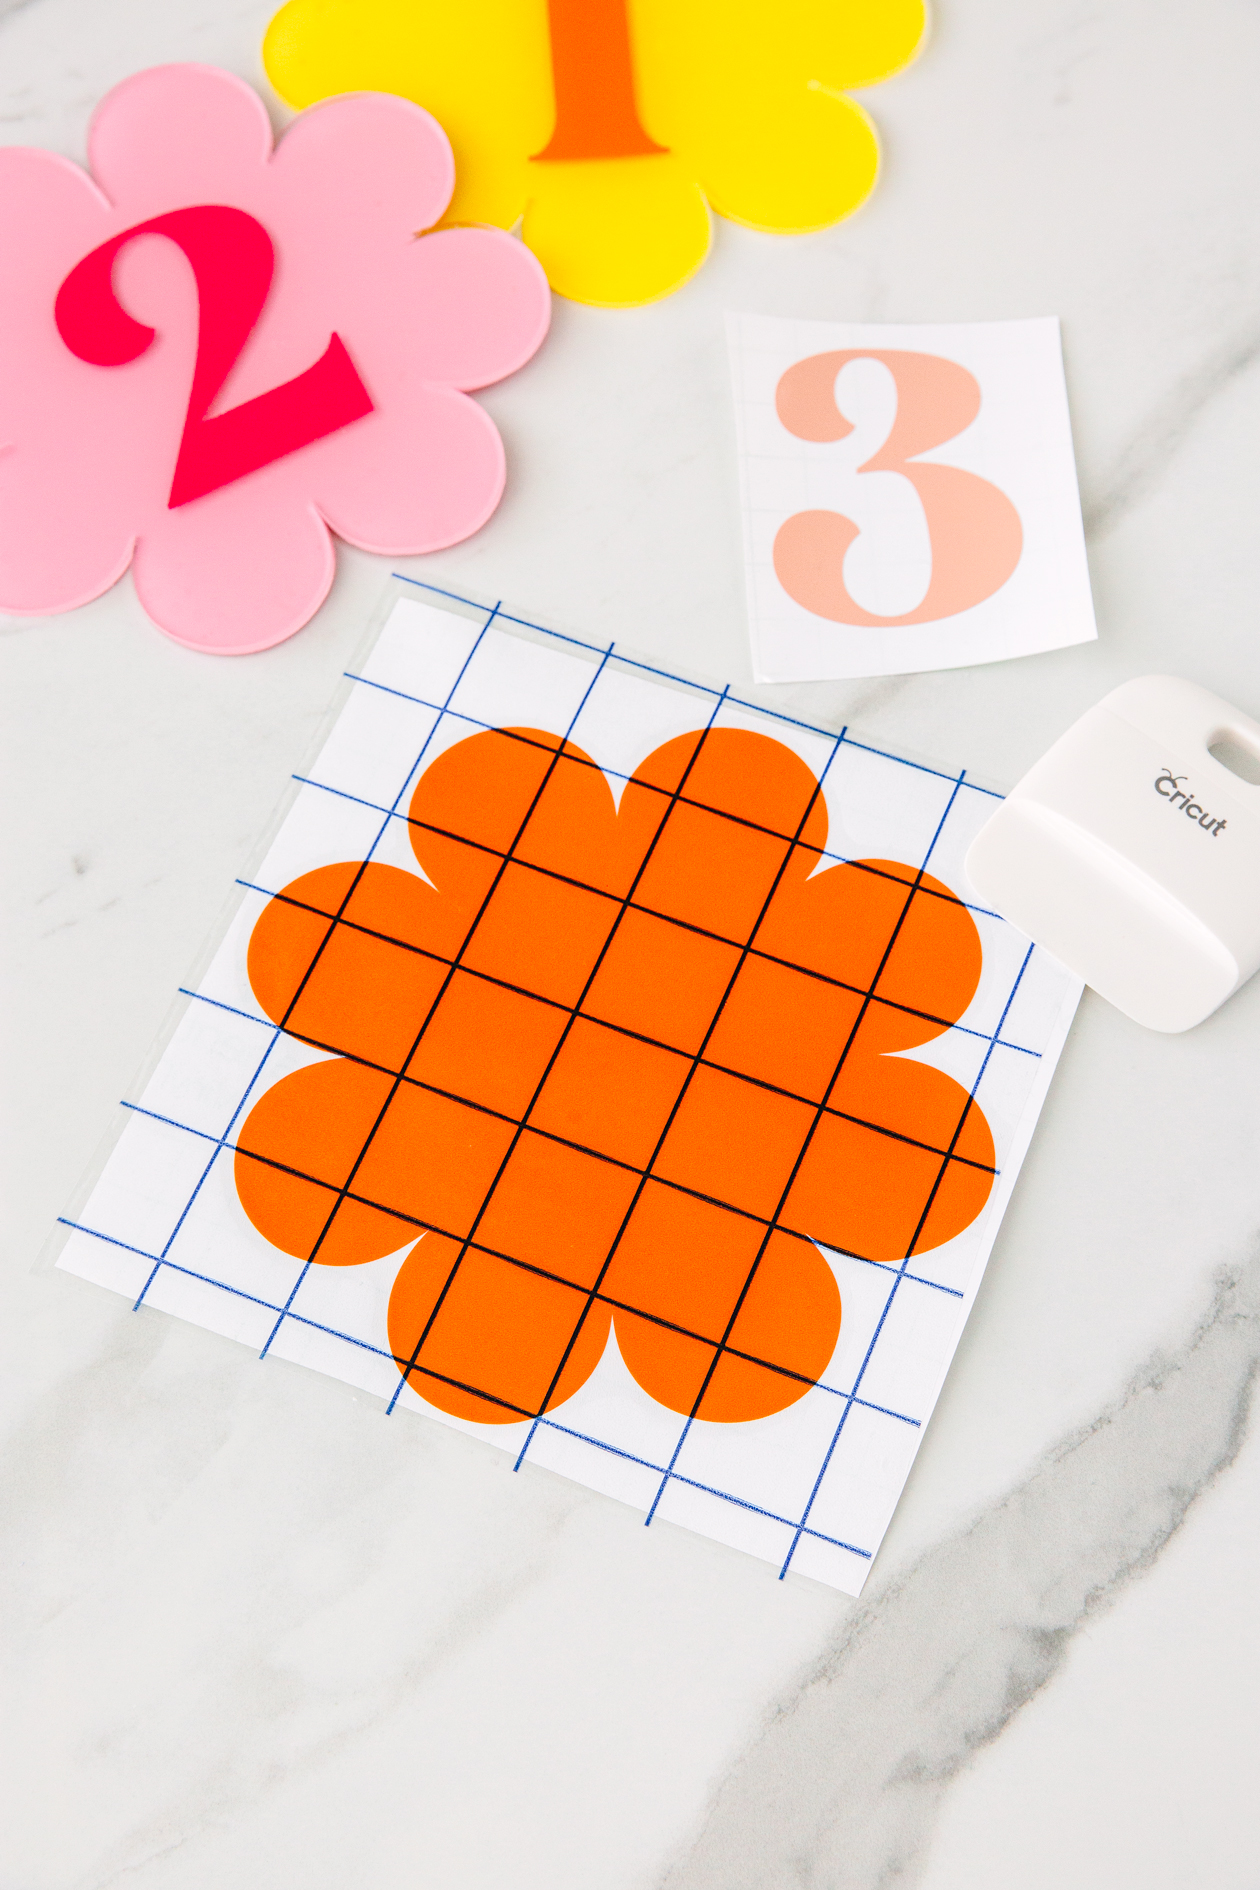 For those who want to do the project exactly how I did, here’s what you do:
1. Use your cutting machine of choice to cut the flower shape and the number.
2. Weed (aka remove) any excess vinyl to reveal your design.
3. Apply transfer tape to the top of your design, remove from the sheet, and apply to your shape. I applied the flower shape on one side and the number on the other.
4. Smooth out any air bubbles and that’s the project! It really it pretty straight forward, it just takes a bit of time.
But now onto the main reason for this post…Meet my daughter Evelyn Mae!
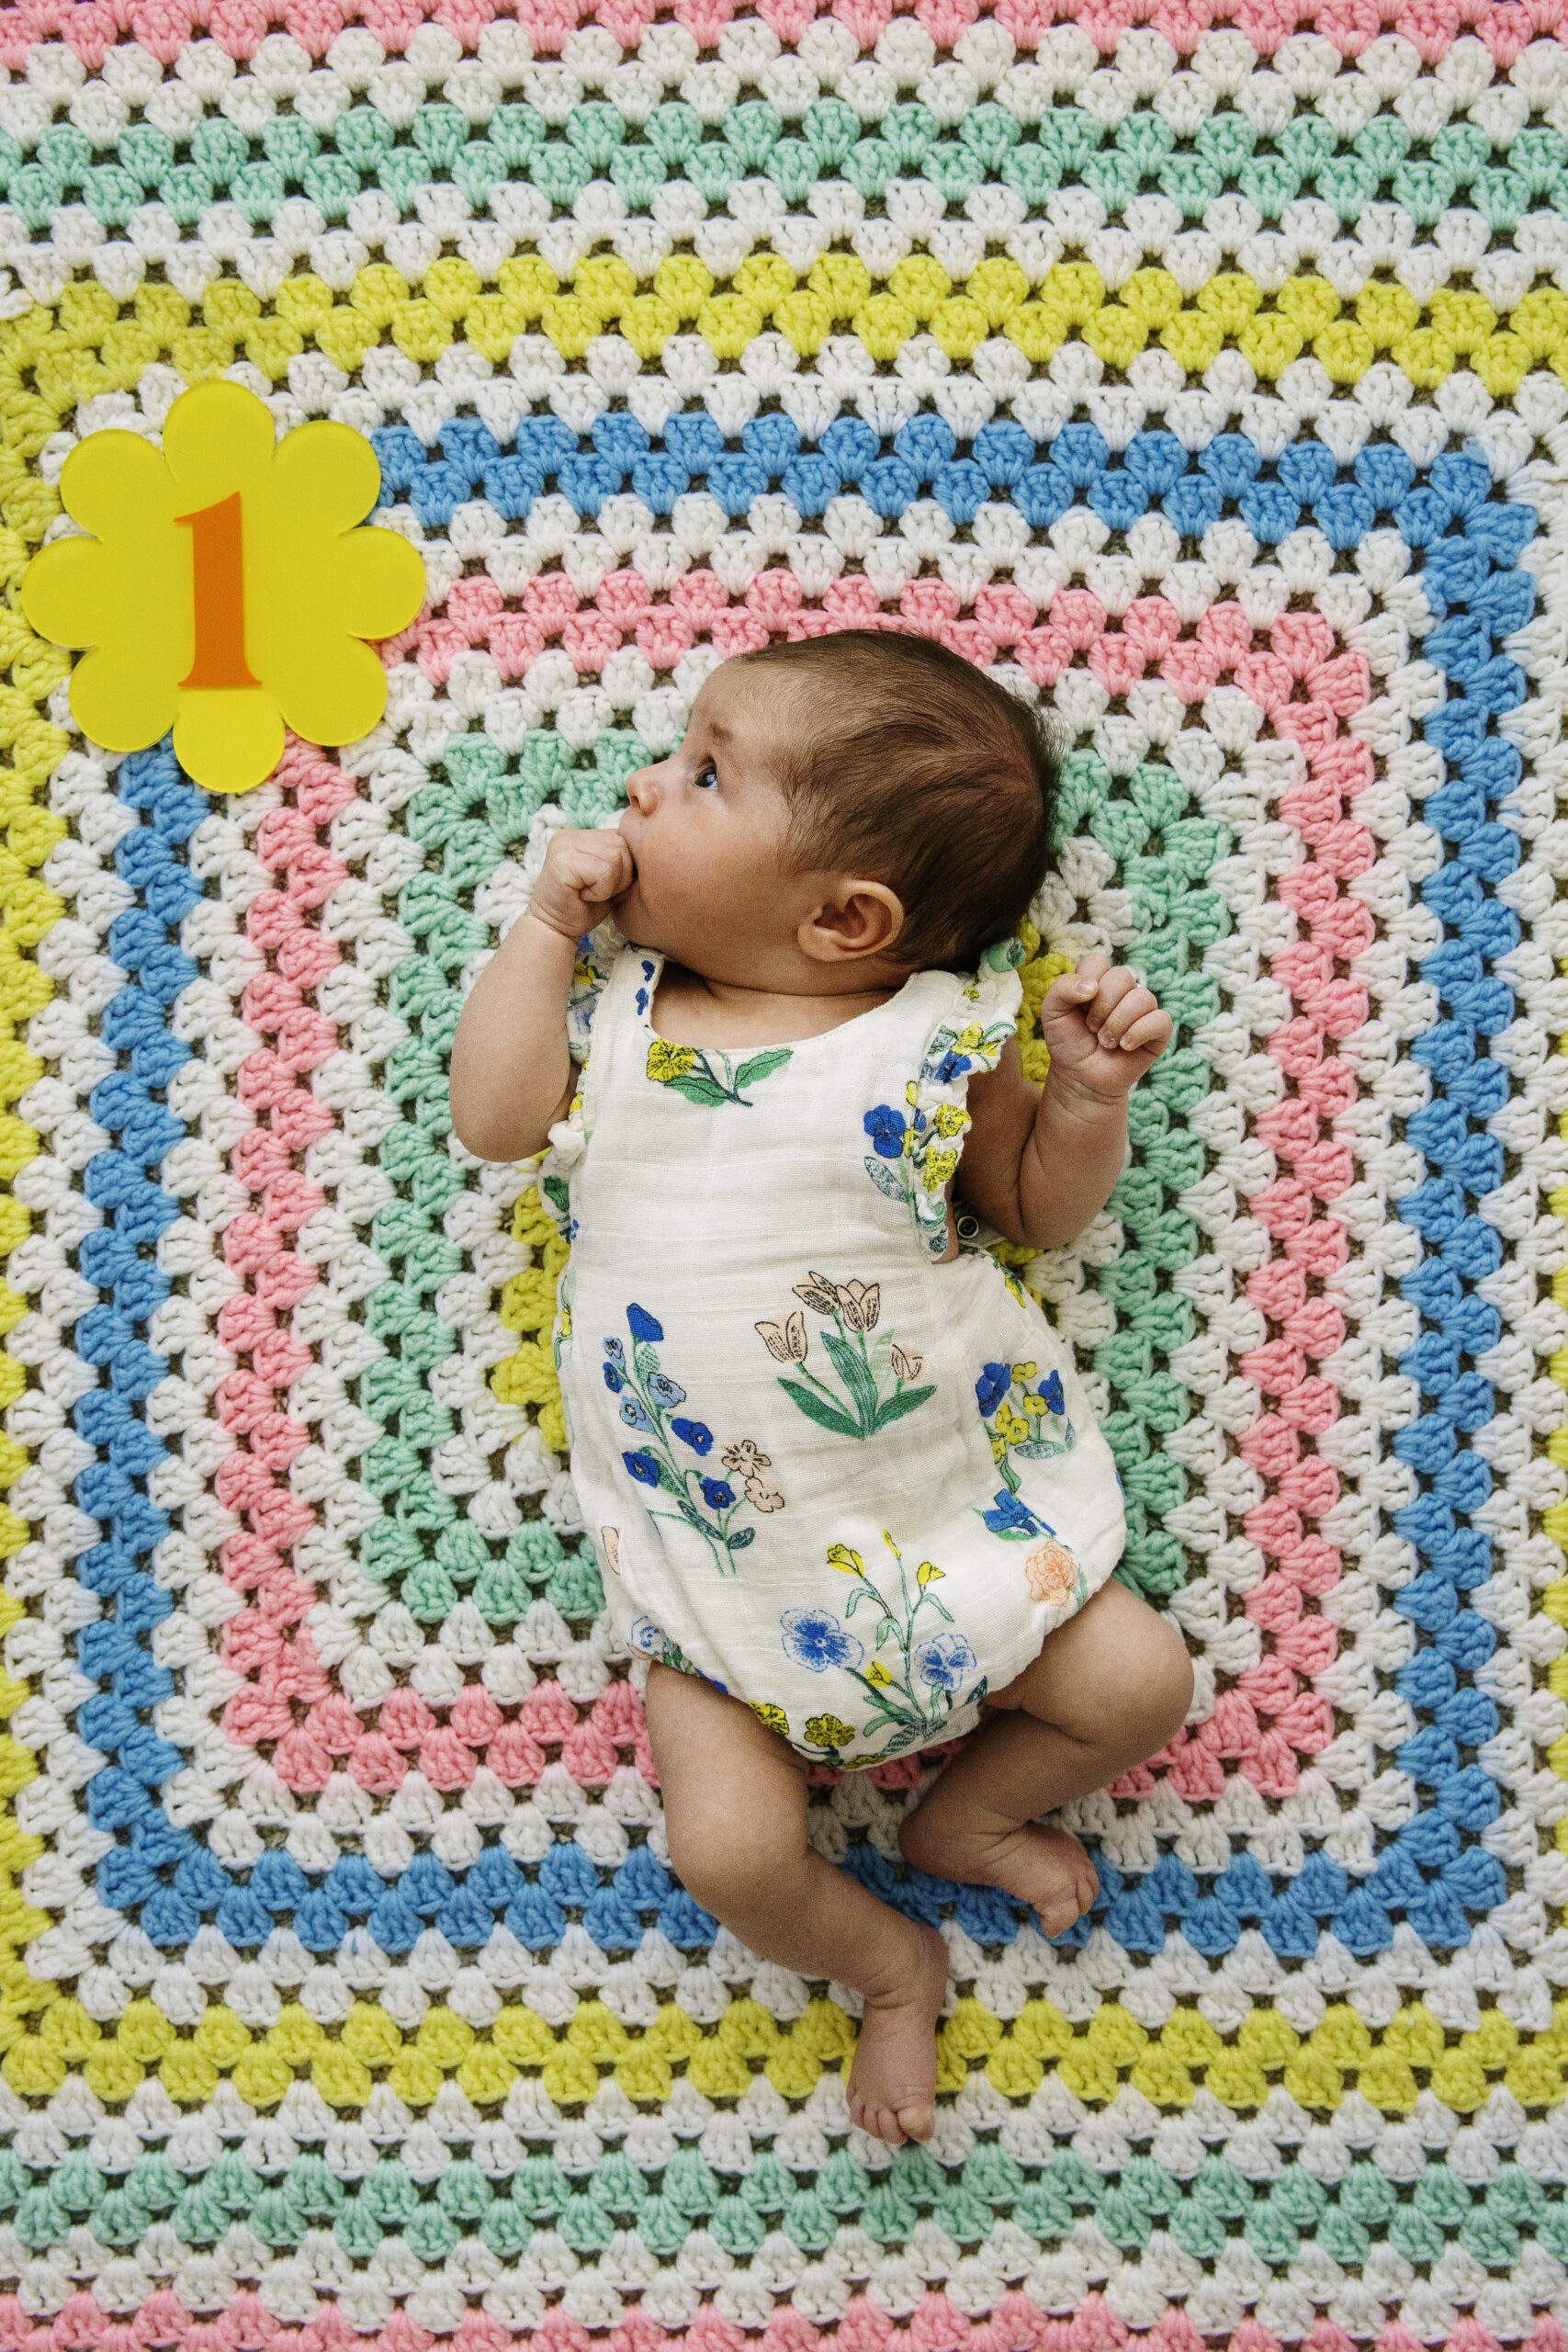 Evelyn was born at the end of July and just hit her 1 month! Actually at this point we’re getting ready to take our second month photo. Everything feels surreal and like it’s going too fast at the same time. If you’re also a new parent, I just want to send love your way. Nothing about this is physically or emotionally easy and you’re doing great.
We’re beyond happy (and tired) over here and I can’t wait to share more projects that I make for her in the future.
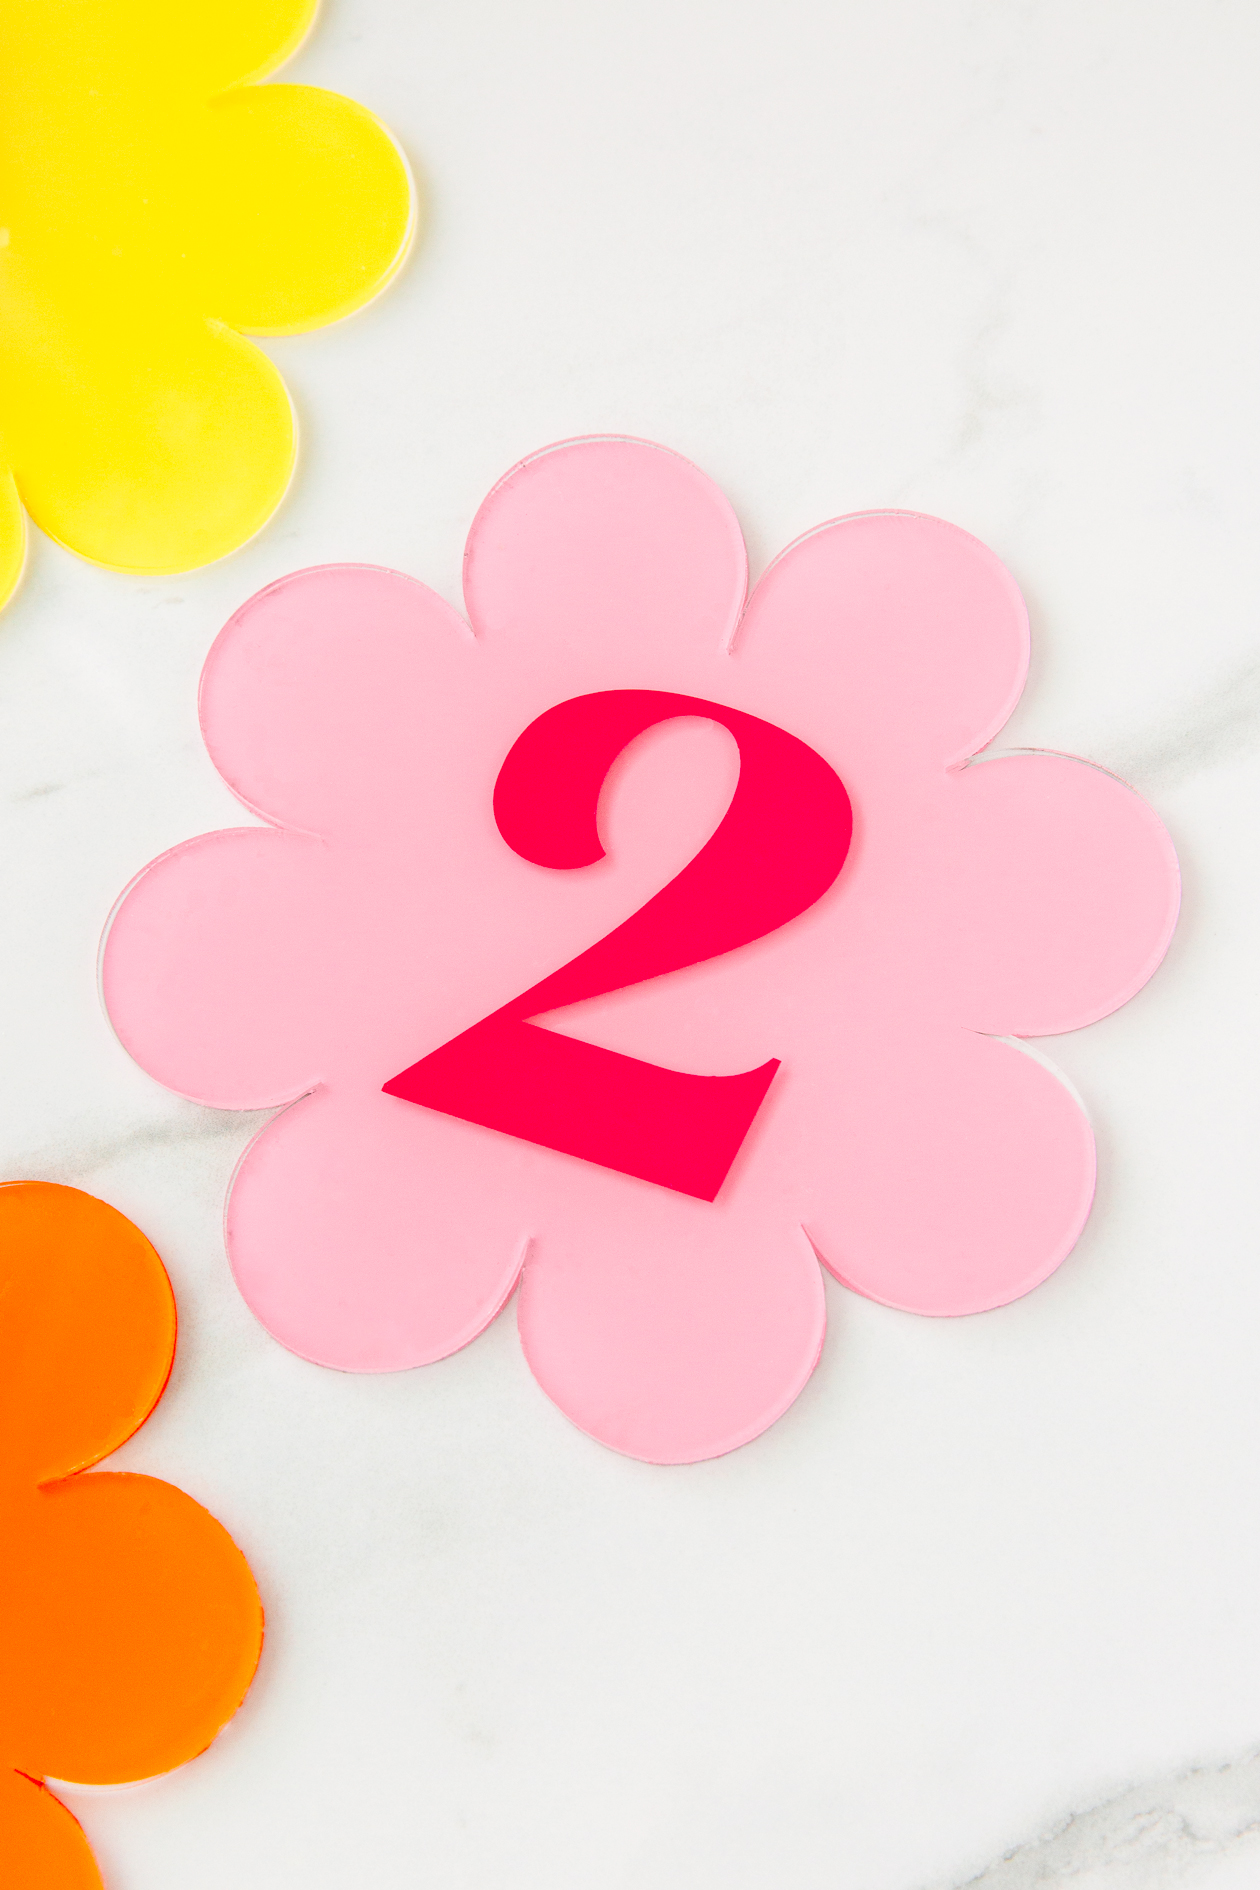 Okay back to the project at hand–
I kept my design simple so that I can use these in a variety of ways. I love these so much that my plan is to use these for other milestone too. Birthdays, school grades, and more! Just something to keep in mind in case you were debating whether or not to add the text “month(s)” to your design or not.
Let me know if you have any questions about how to make these DIY Baby Monthly Milestone Numbers! Happy crafting!

