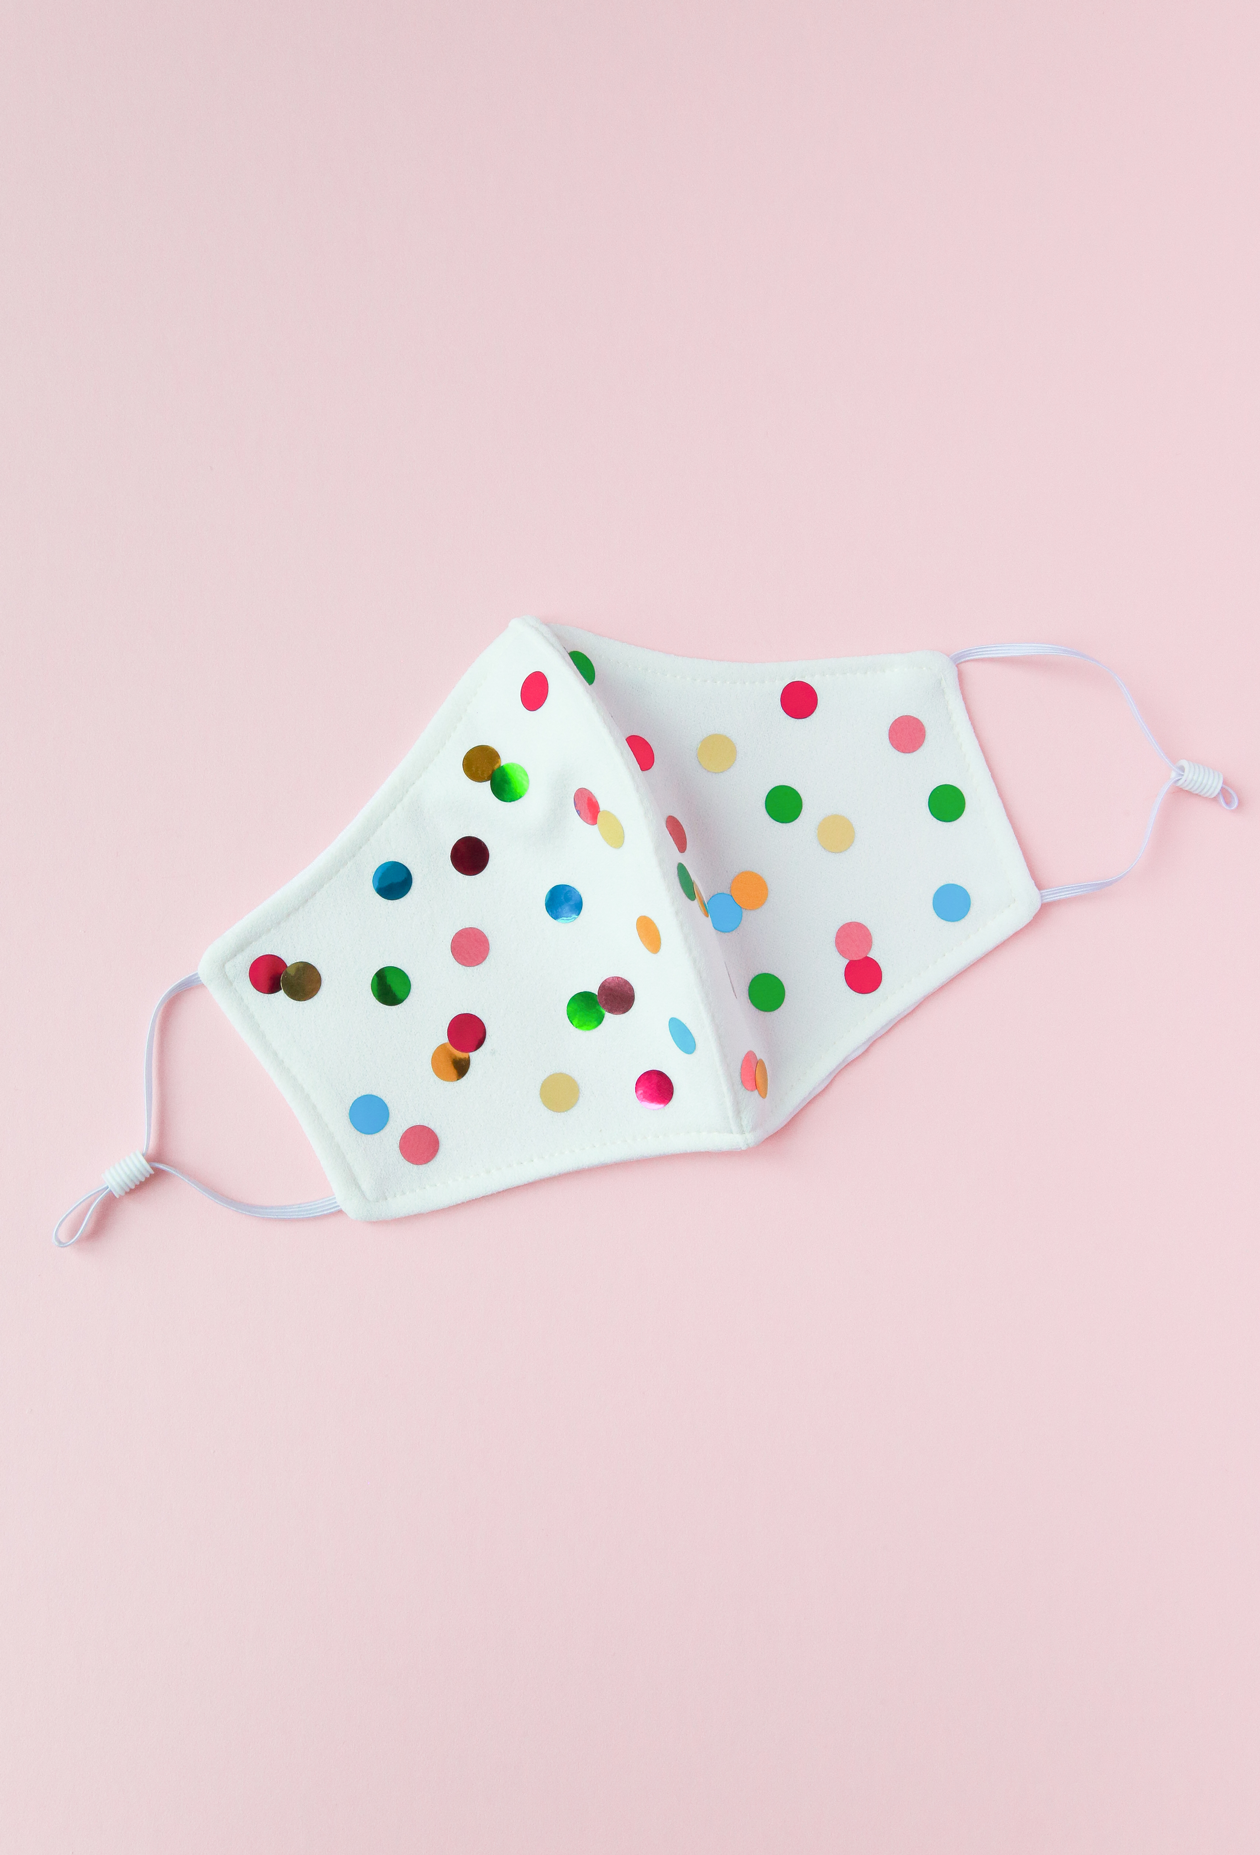
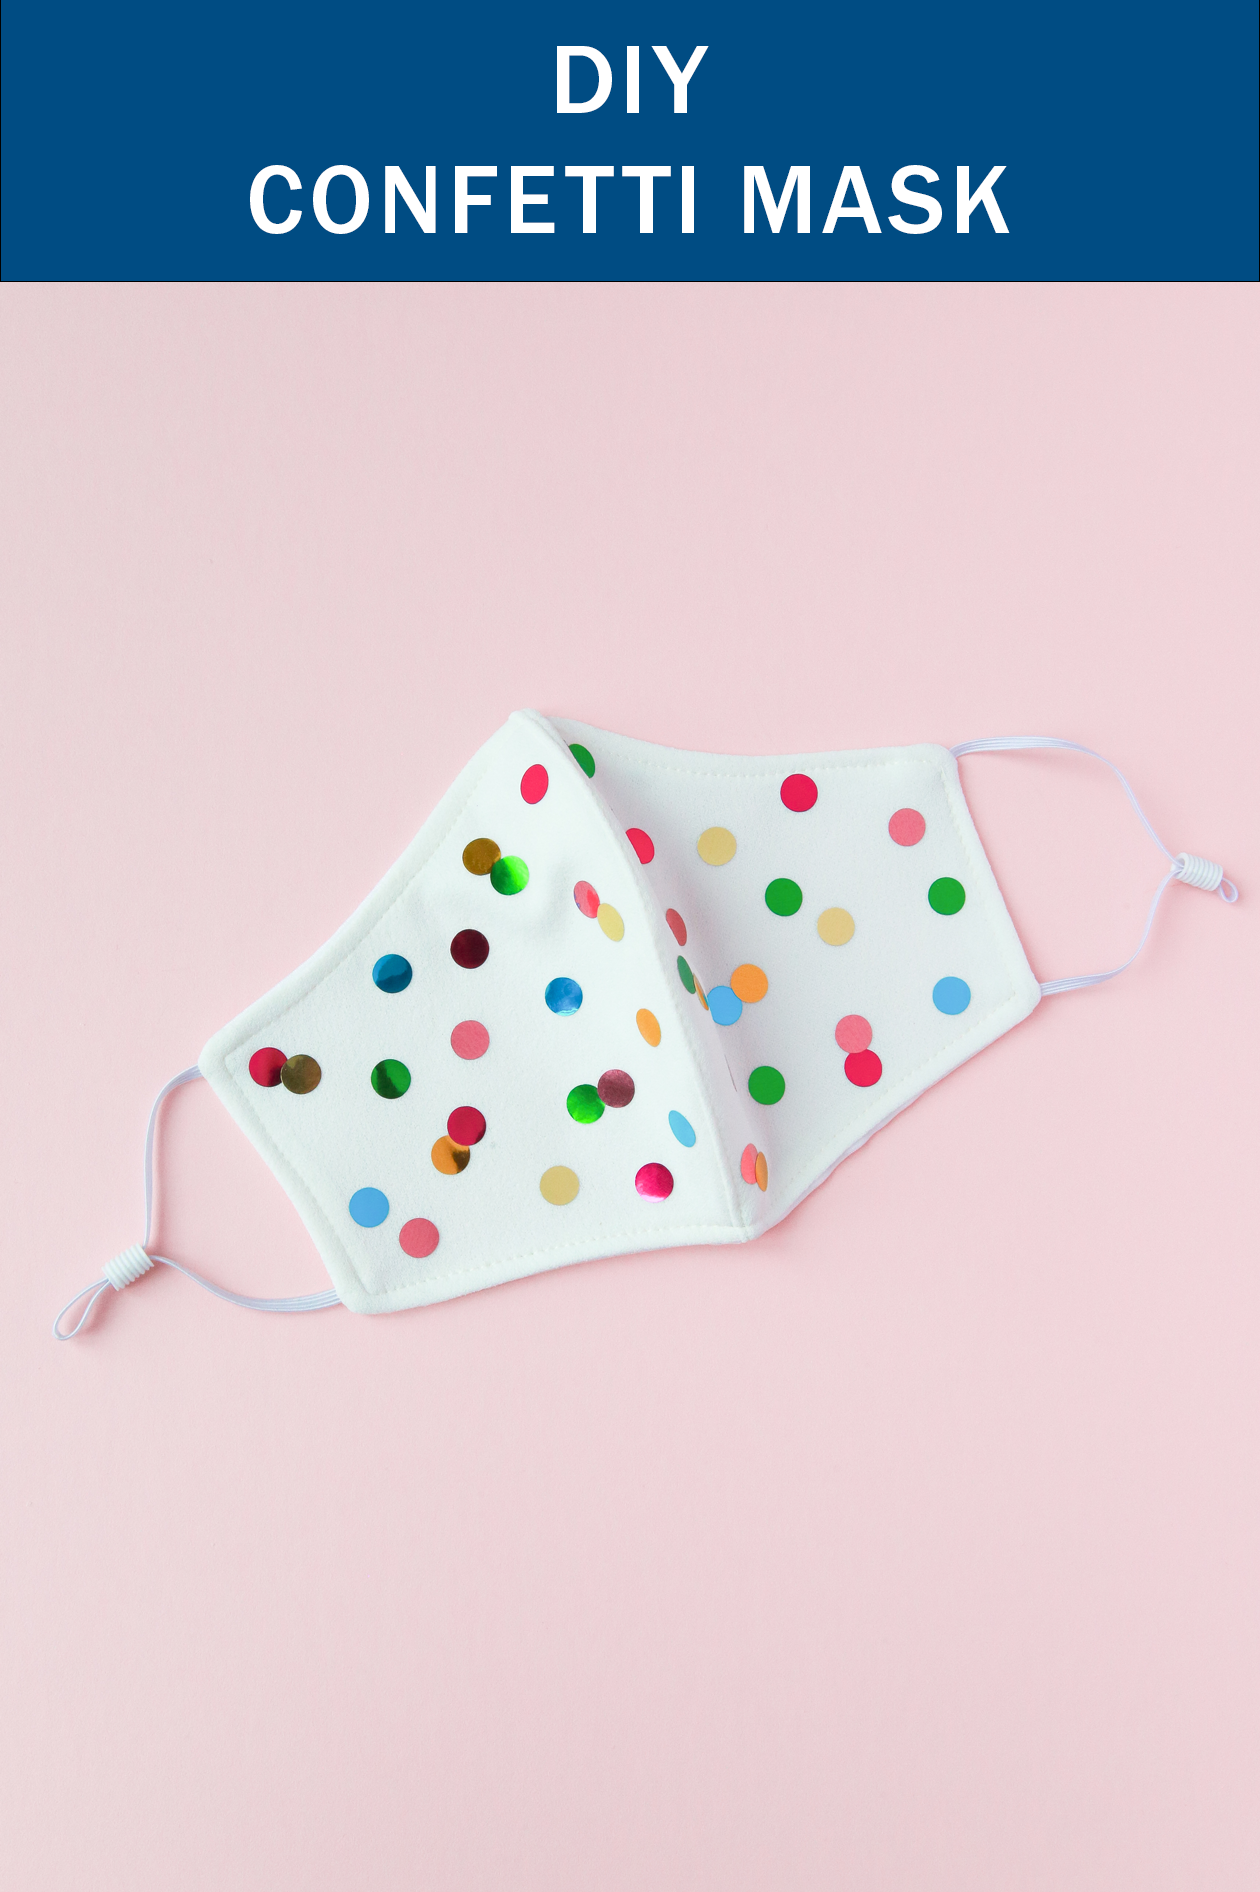
 It’s only taken me a year to customize my face mask, but I guess it’s better late than never, right?! While I do have a collection of everyday masks by this point, it never hurts to have a fancy version. You know, for when we finally start dressing up and reentering the world again. Here’s how to make a DIY confetti mask:
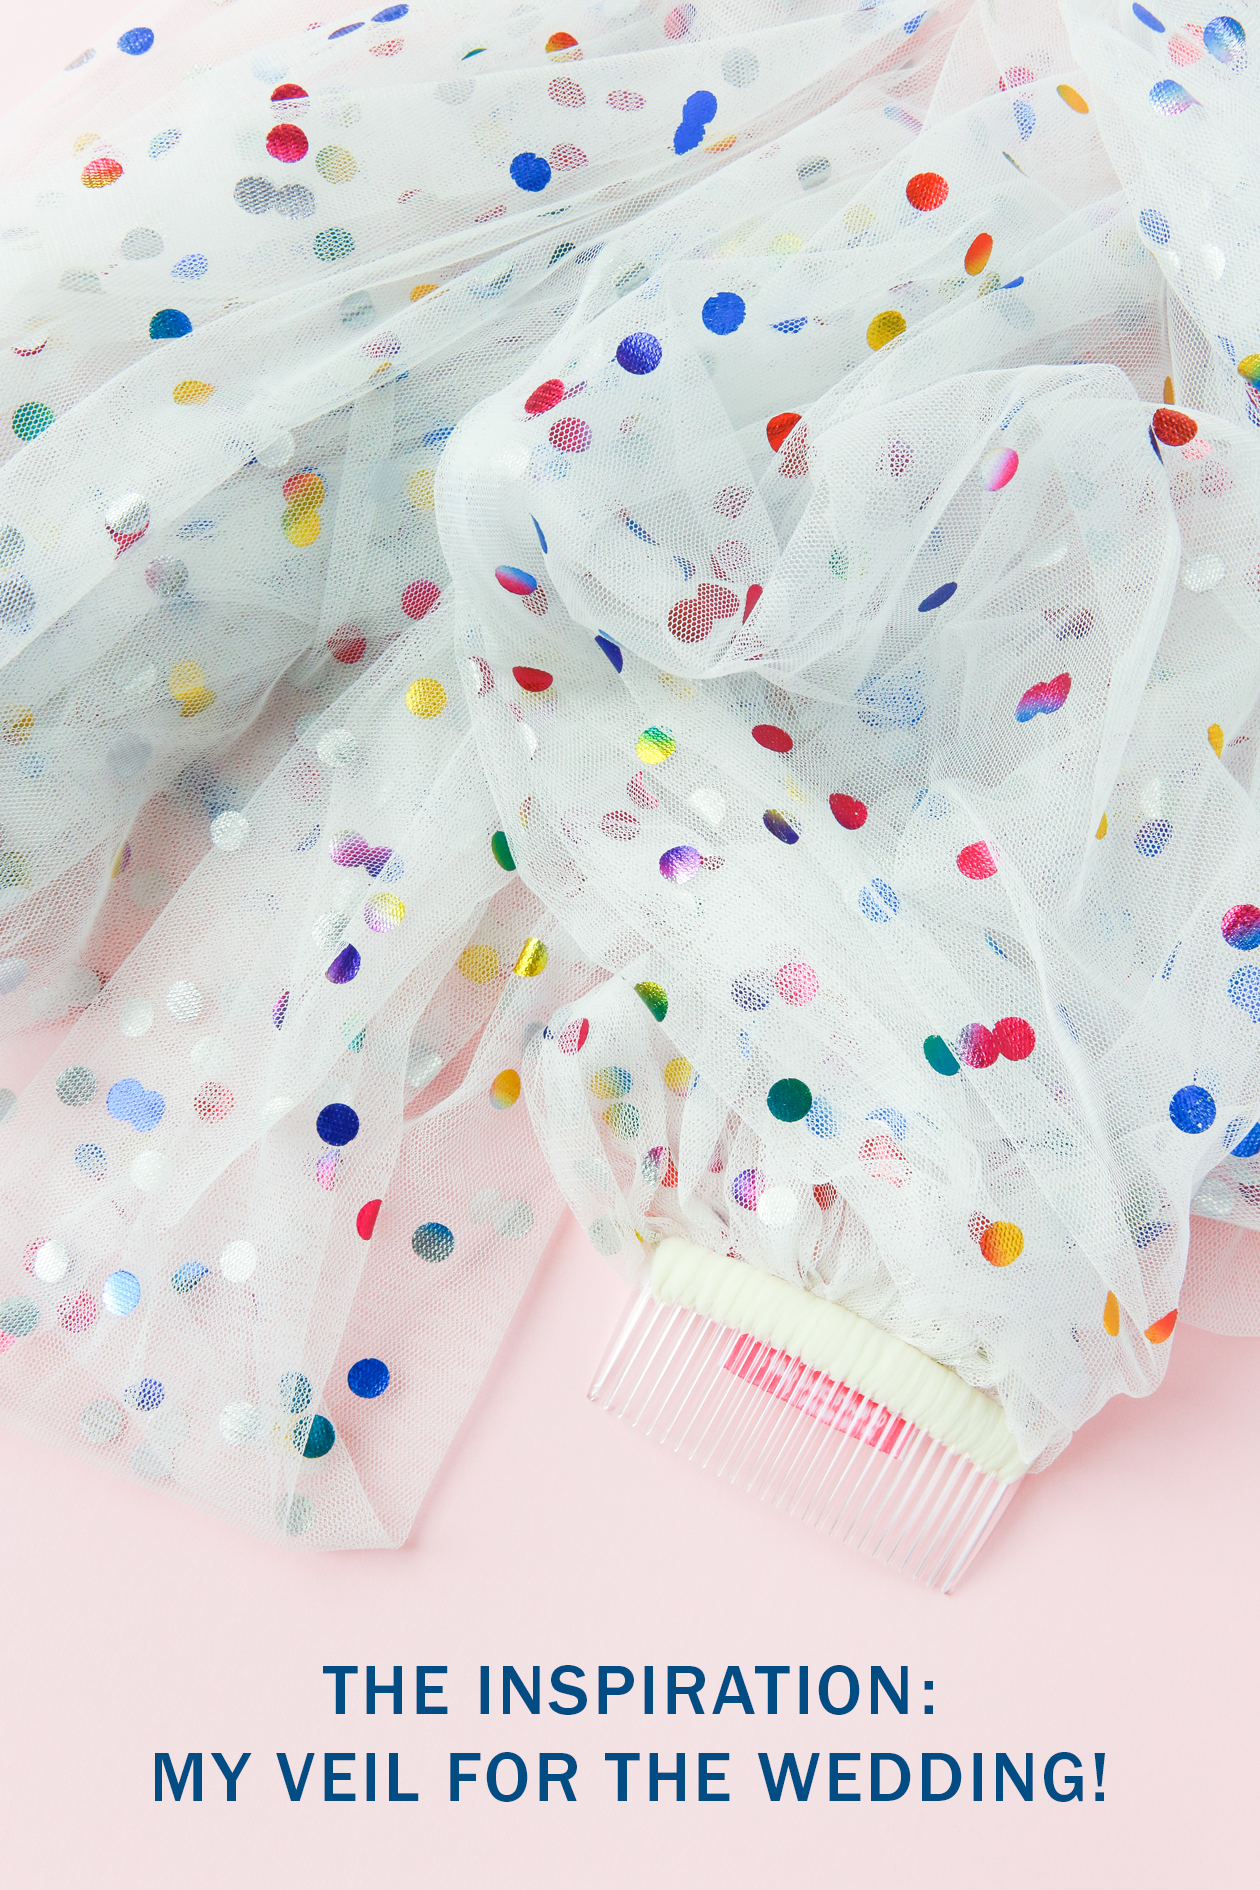 **Wedding sneak peek**– this project is actually based off of my veil! I wanted to make a mask for our wedding and so I decided to match it to my veil. Here are the materials you’ll need:
Materials
– Cotton mask
– Iron on metallic vinyl (this is similar to what I used)
– Mini iron
For that extra DIY and customized touch, you can also sew your own mask! My friend Sarah has a great tutorial for that.
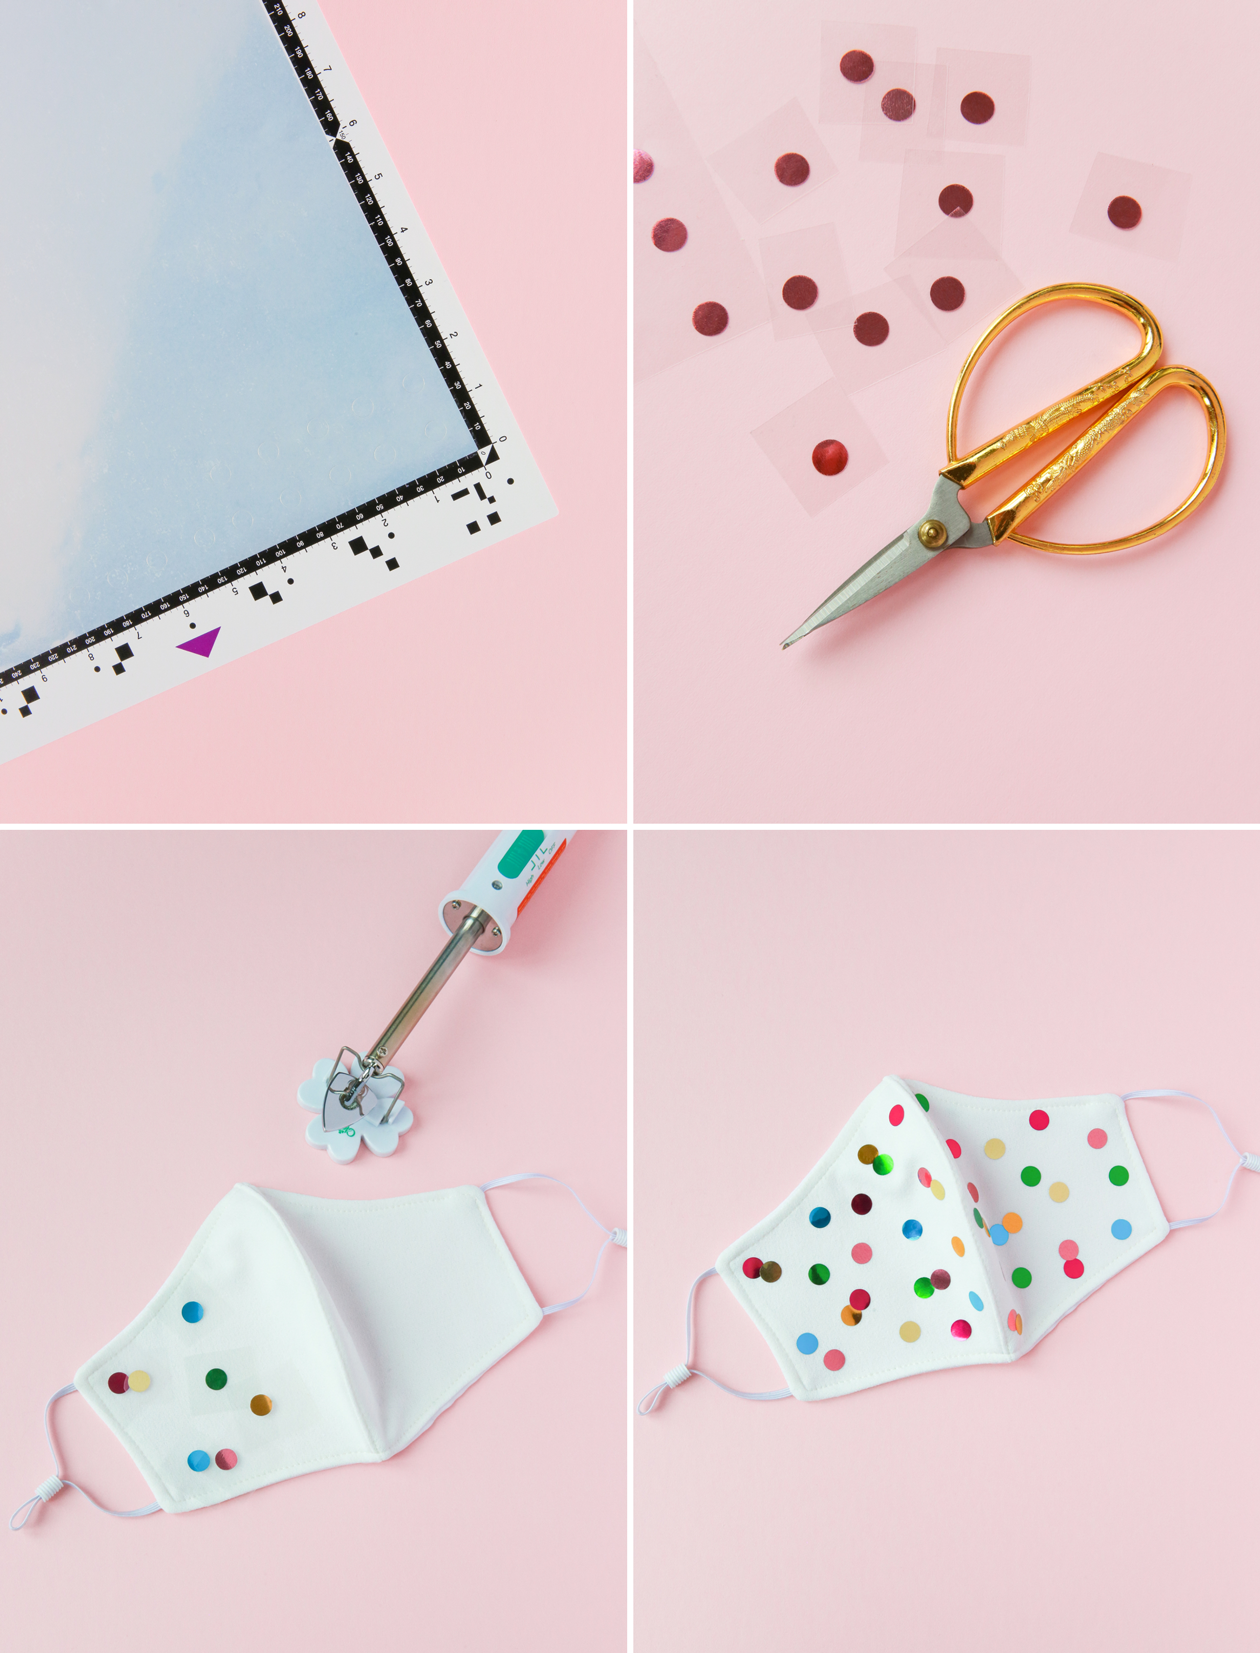 1. Cut out circles from your vinyl. I used my cutting machine to ensure they were all the same size (make sure the colored side is face down on your mat). If you don’t have one, you can cut them by hand for a more organic feel. A circle punch might also work!
2. Remove the backing from the sheet so that you just have the circle and the protective clear film on the front. While you’re doing this step, preheat your mini iron.
3. Position the circles on your mask. Instead of doing the entire mask at once, I went in circle by circle so that I could layer and control the colors a bit more.
4. Iron on the vinyl according the heat set instructions (take note if it’s a hot or cold peel). Let rest until completely cool then you’re all set!
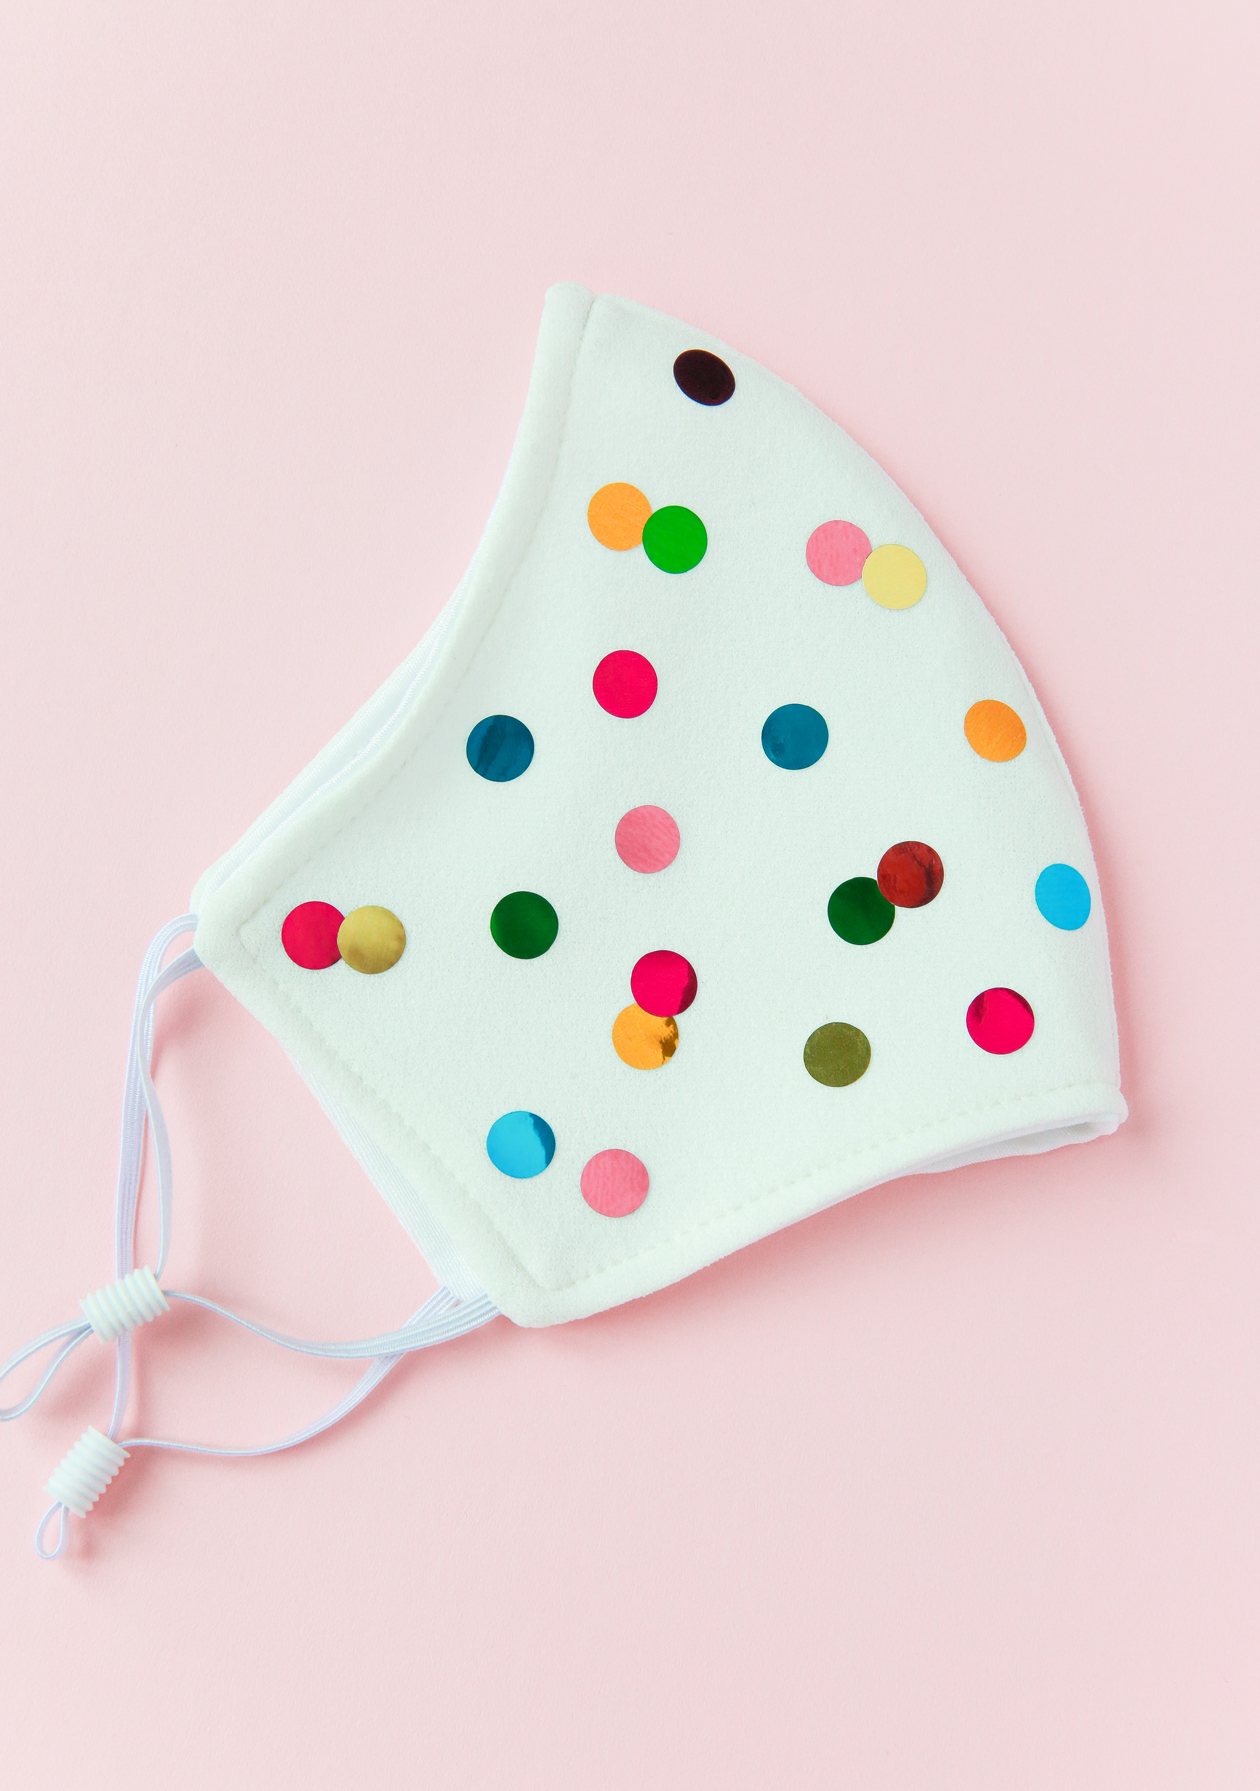 I love how this turned out and how much it actually looks like my veil! And for Ryan’s mask for the wedding, I dyed it to match his shirt. Can’t wait for you to see them both together!
It might be a special mask I keep for after the wedding to break out for rare occasions or for when I decide to actually get dressed when I leave the house. You know… a rare occasion! Let me know in the comments if you have any questions about the project!