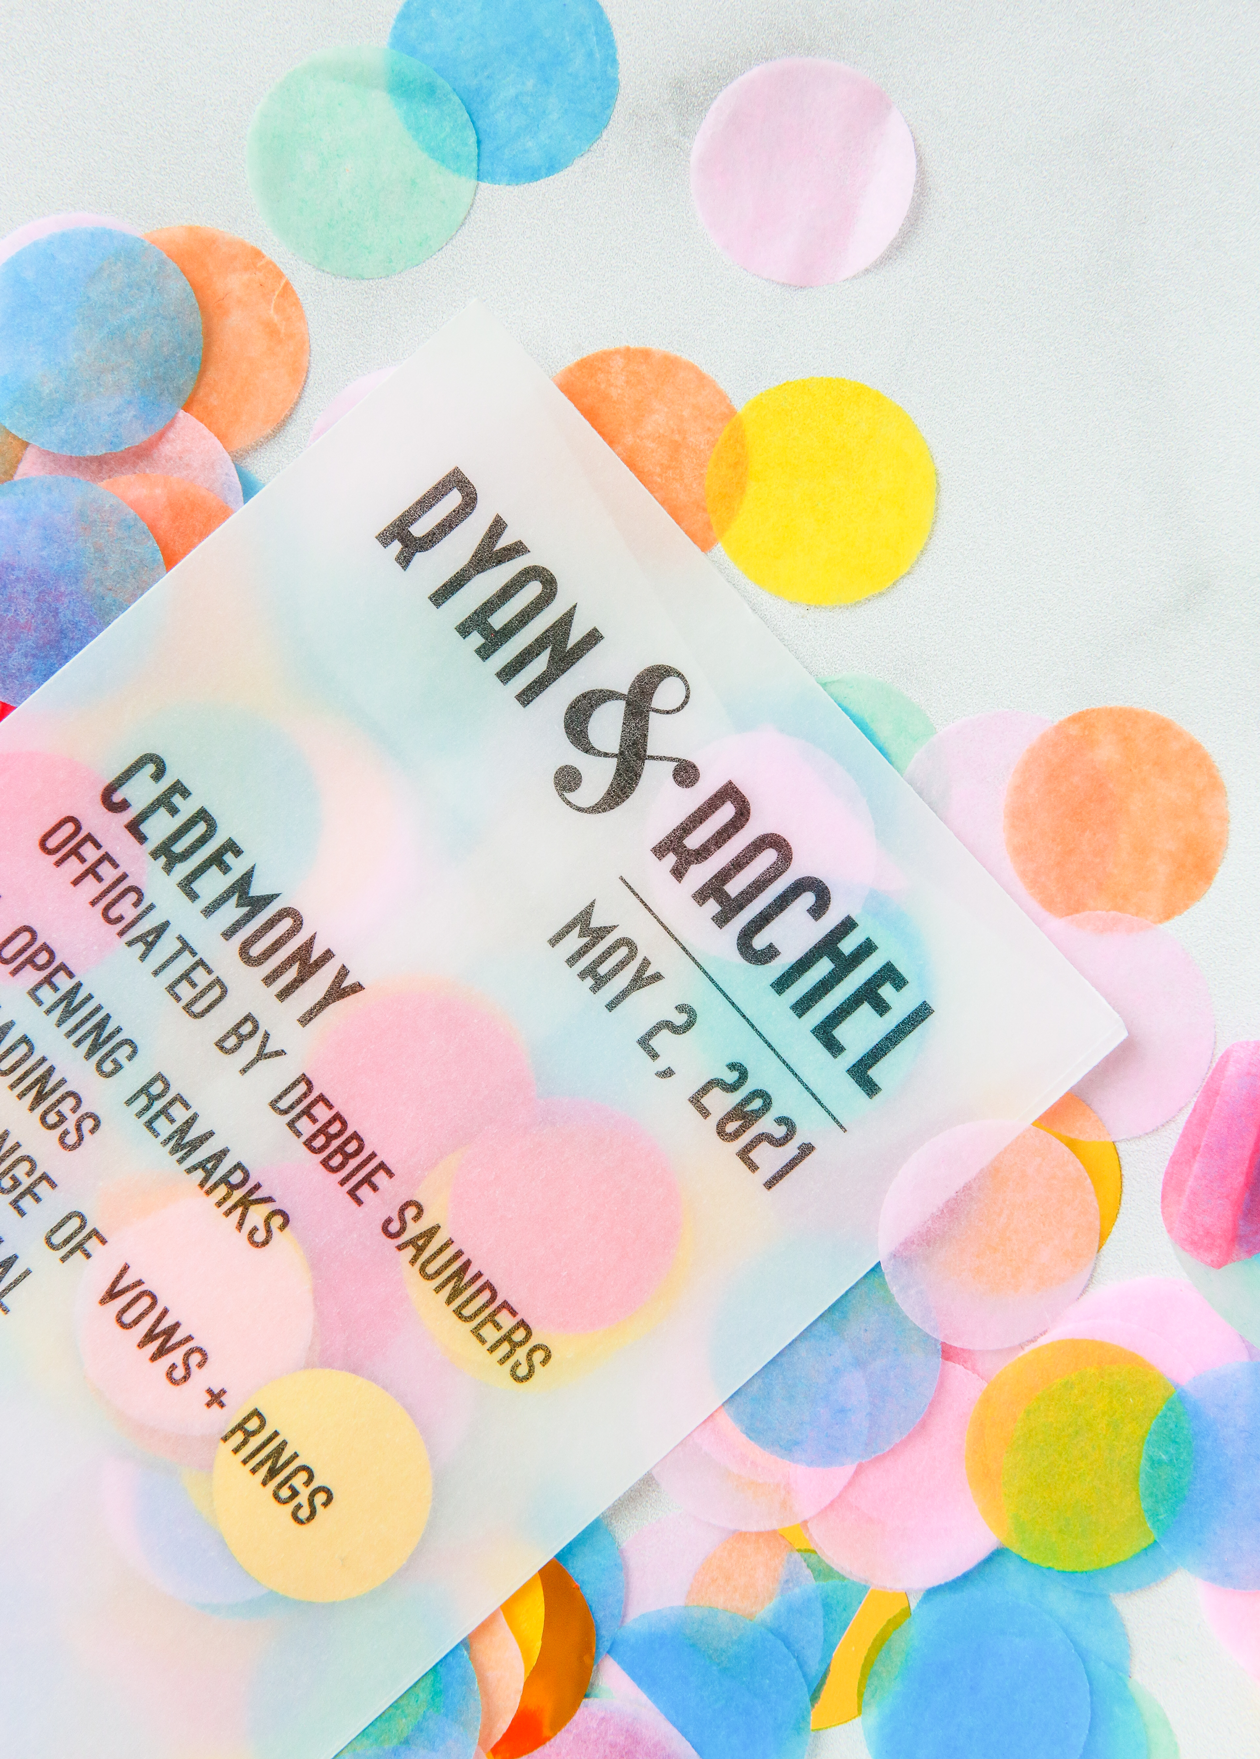
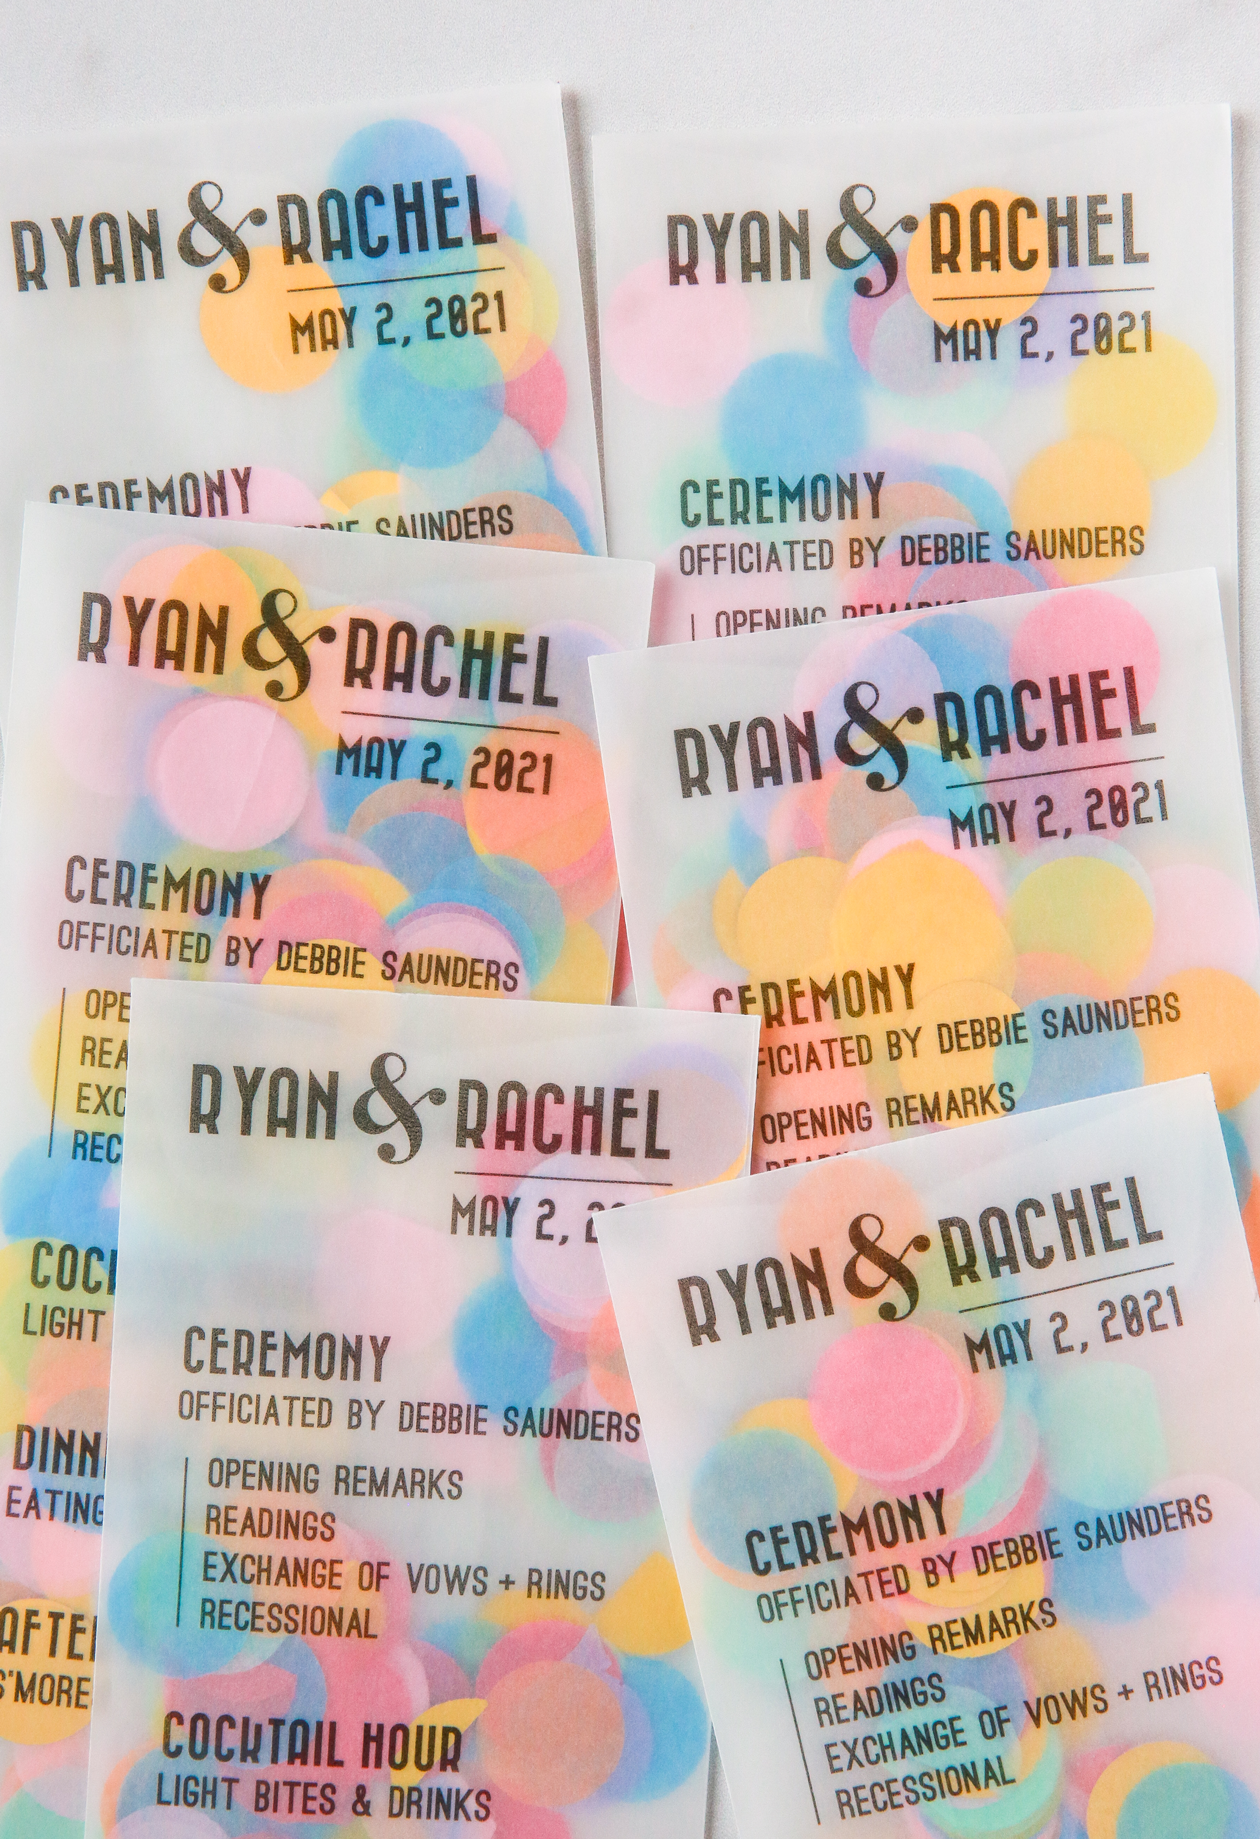
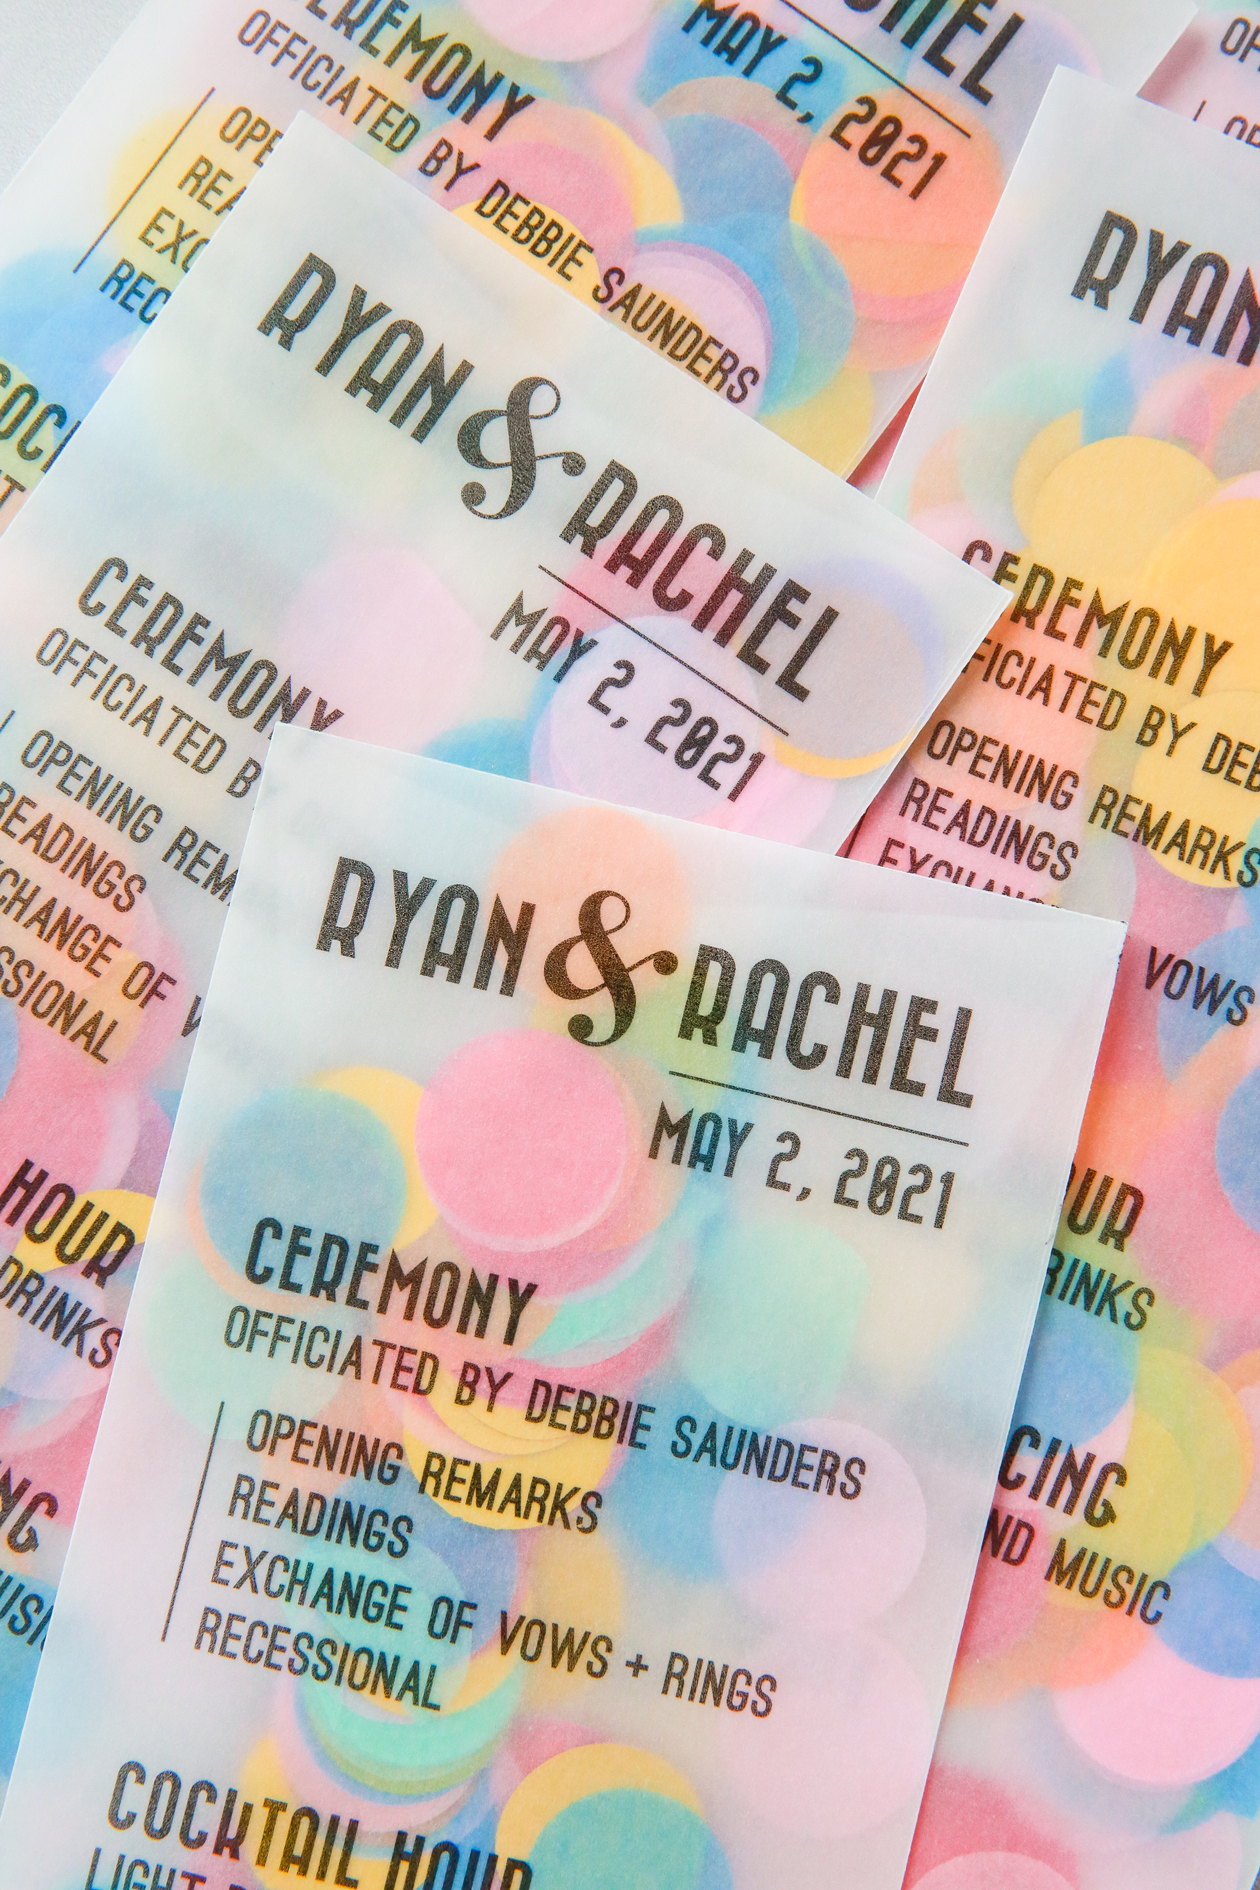
 I am SO excited to share these DIY confetti wedding programs with you today because it’s one my favorite projects that I made for our wedding! From my veil, to our menus, and more, confetti really was the central theme of the day. What I love most about this project though, is that once you learn this technique, you can use it for any event that you might be having in the future. Seriously, how cute would this be as a dinner menu?! Here’s how you can make them yourself:
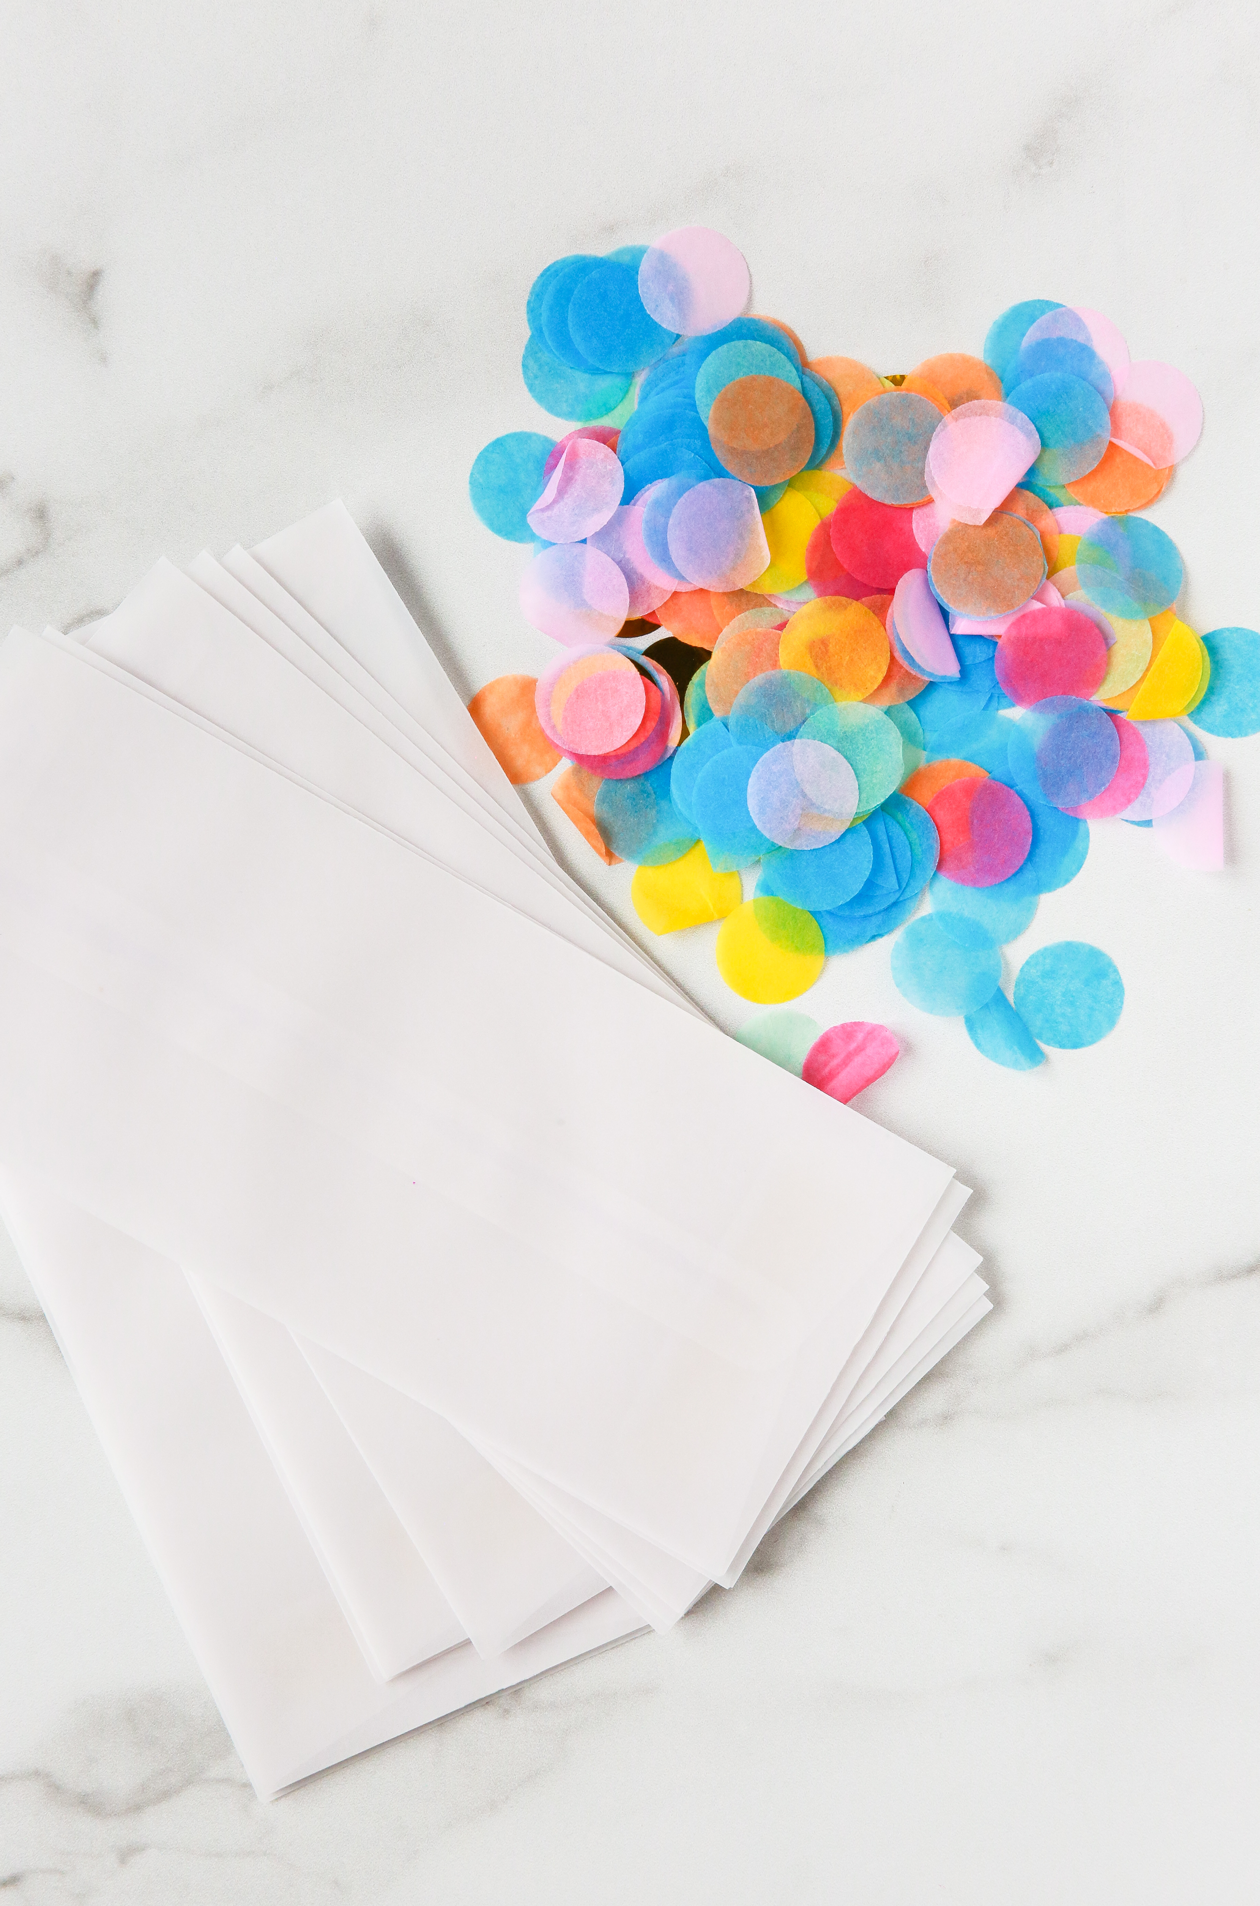
– #10 Business Vellum Envelopes
– Confetti (this is enough for at least 50 envelopes)
– Printer (read on for specifics– there’s a lot to say!)
Start by designing the text you want on your envelopes. A big shoutout to Sarah Hearts for designing this one for me! To keep things consistent with my stationery and other signage, we used the same fonts. Make sure your formatting for the design is for the #10 size. You can also do a test print on white paper and lay the envelope on top to see if everything will fit the way you want.
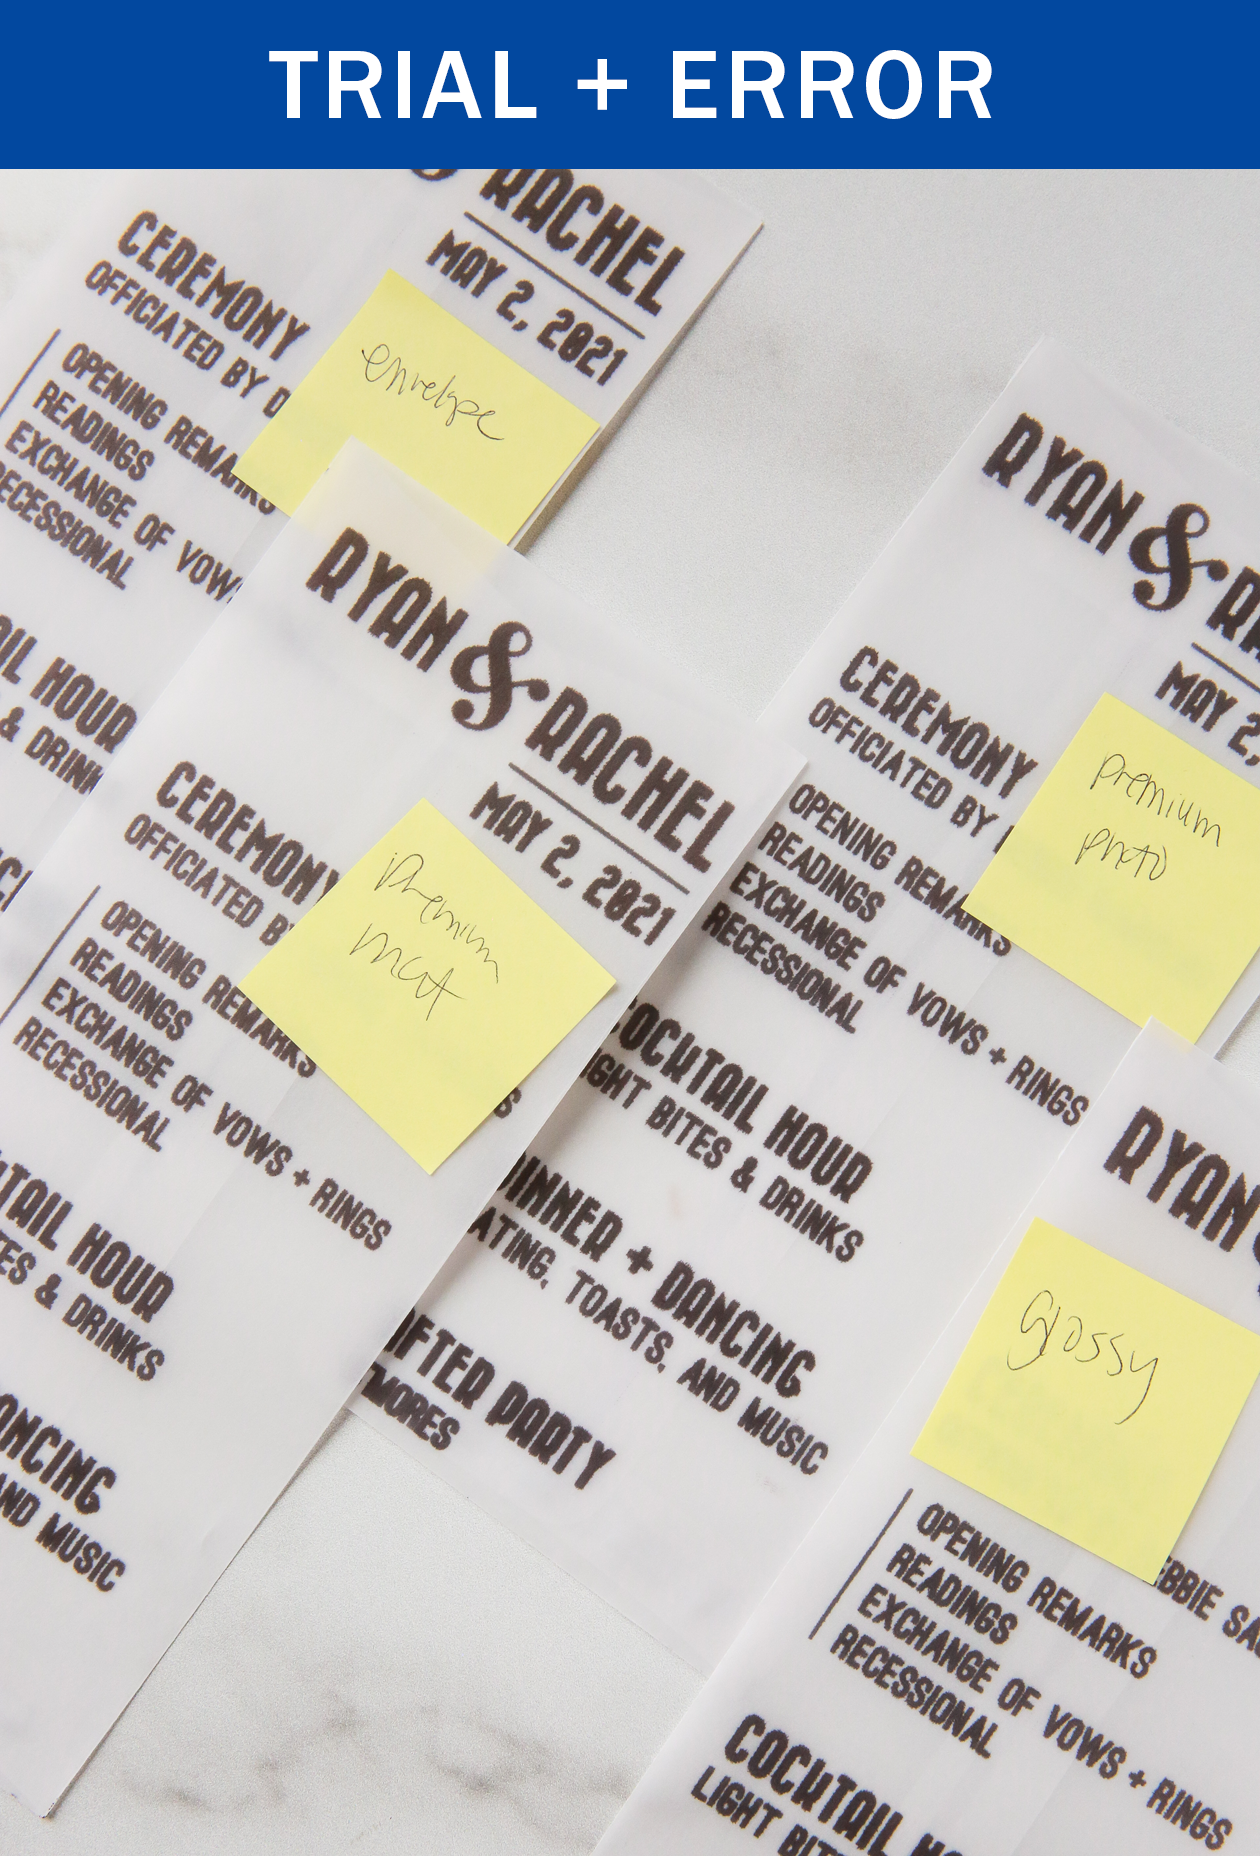 Let’s just say this project took a lot of trial and error. So many printers, so many settings, but eventually it came out perfectly. Because of vellum’s finish, not all inks are compatible and there’s a chance you might run into issues depending on your printer. In hopes of saving you time and envelopes, here are a few settings that I tried first that didn’t work:
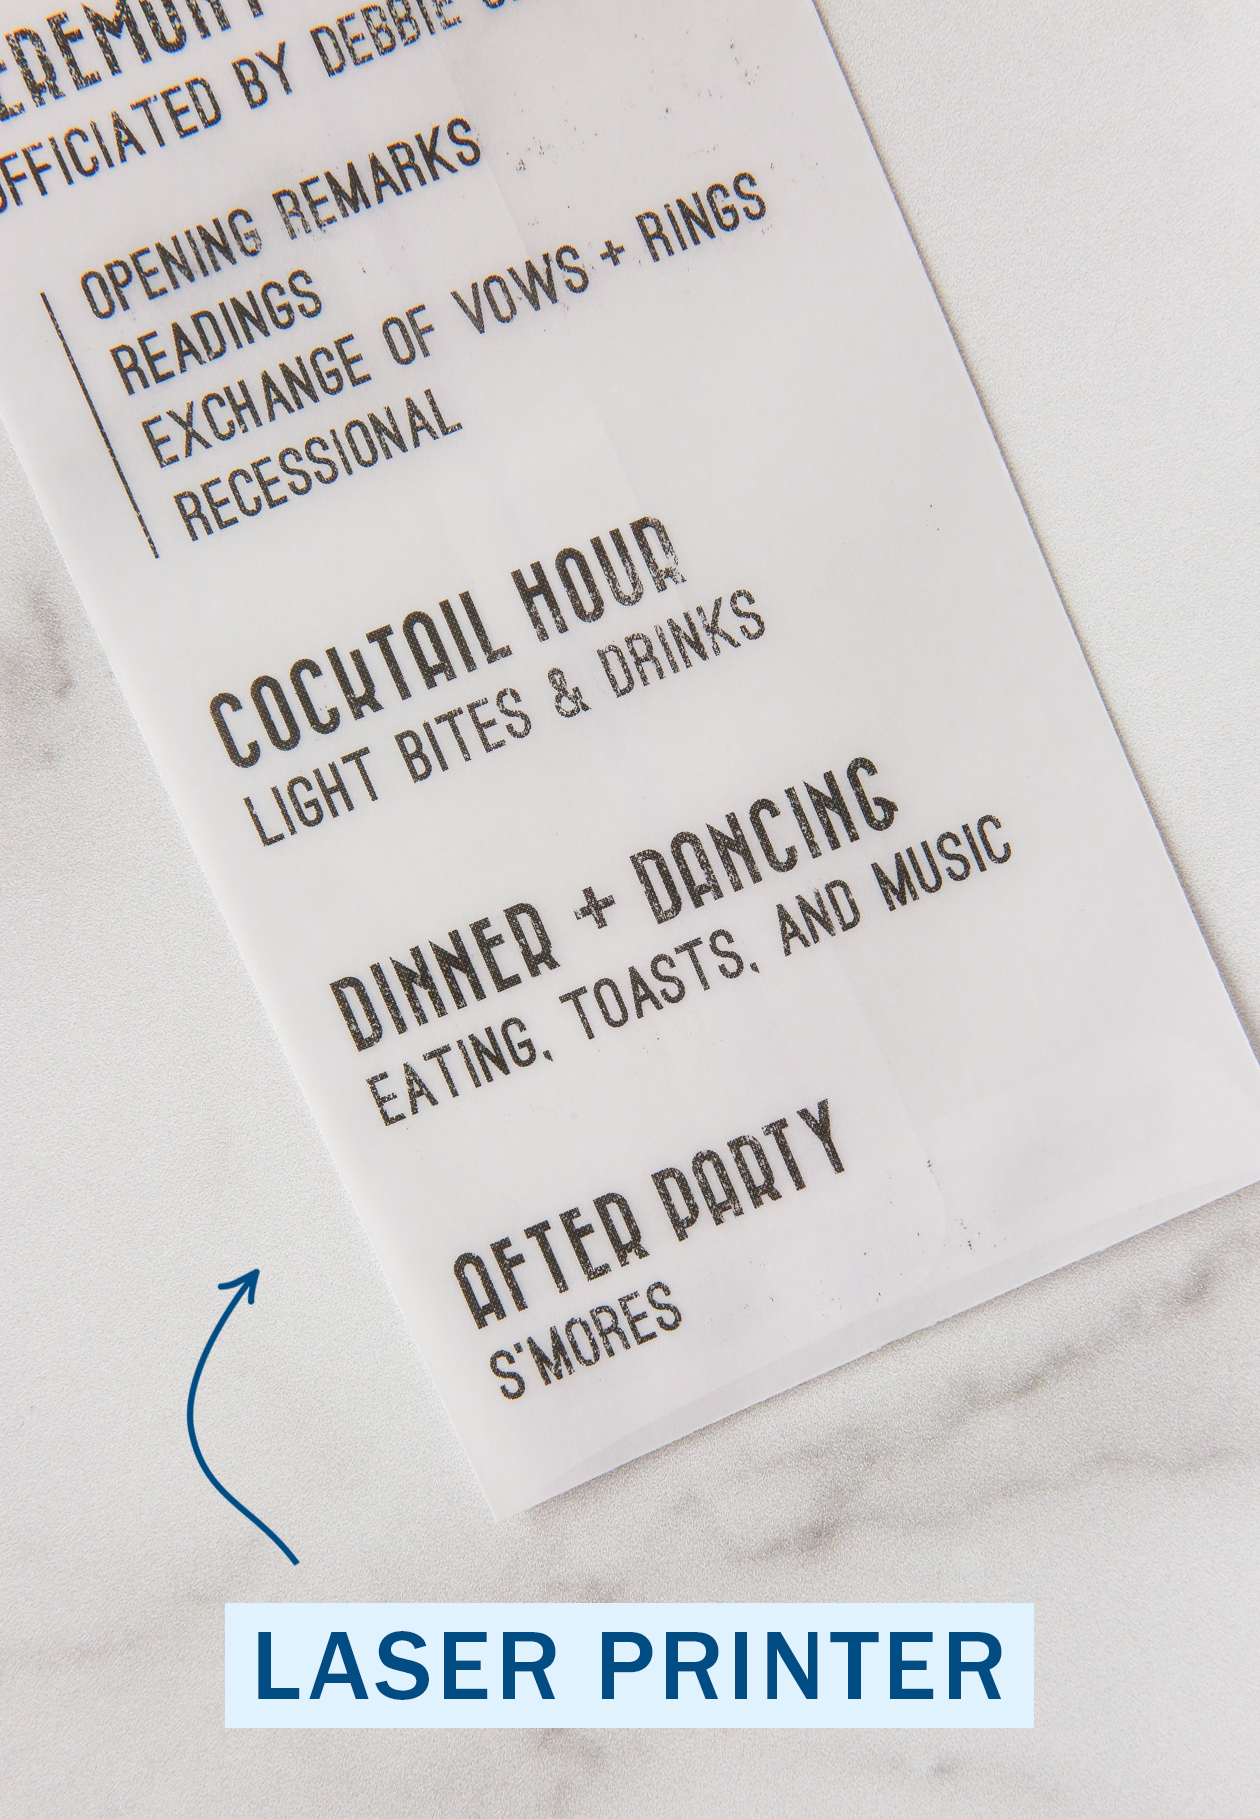 The first printer I used was my black ink laser printer. To give you context, I use this printer for printing out your orders from the shop (it’s a good basic black ink printer). The text came out crisp and how I wanted BUT the biggest drawback was that the ink never dried. Not after 24 hours, not at all. And as a result, it did smear and come off to the touch. So then it was off to the next printer.
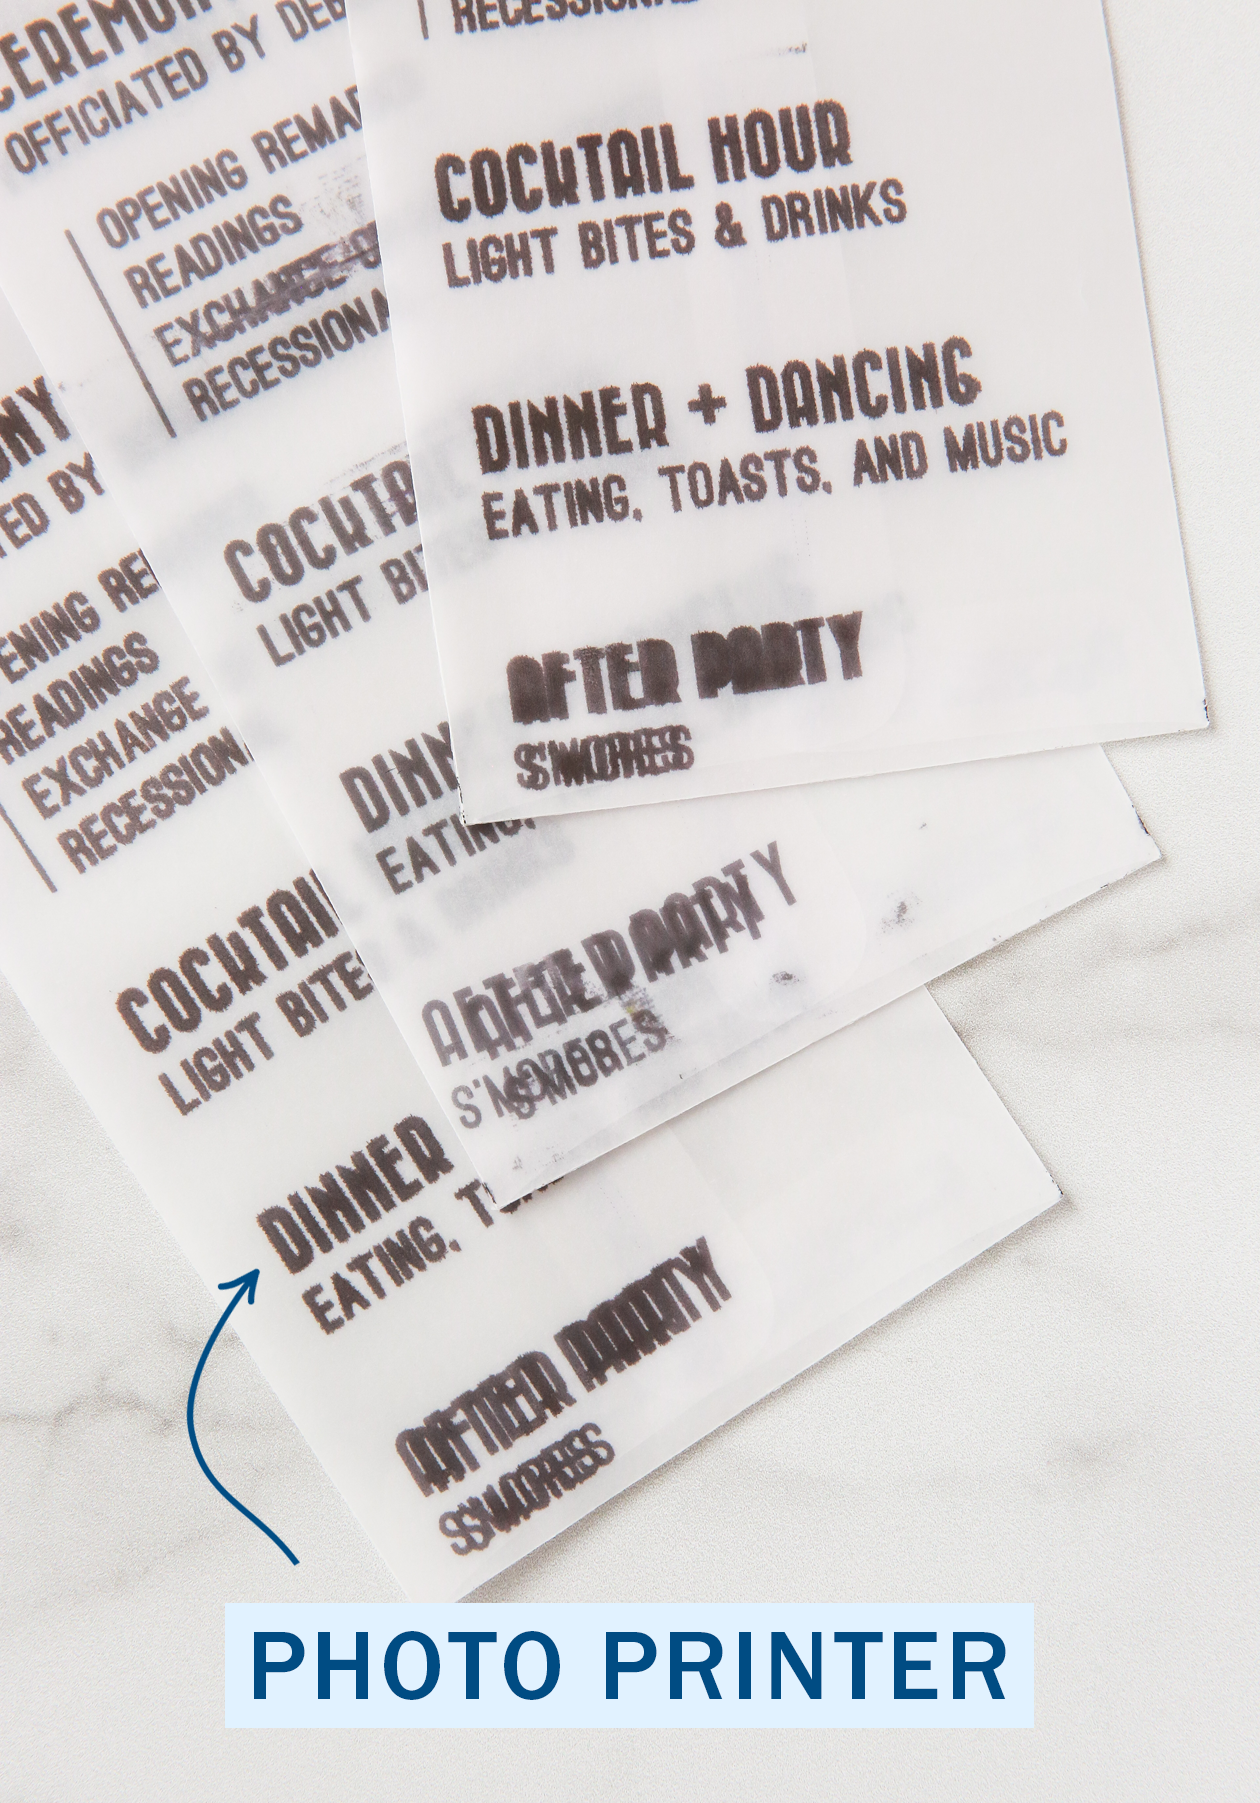 Next I tried my photo printer. I really spent the most time here because it’s one of those printers with a lot of different settings that you can change. The ink dried on the envelopes okay, but the drawback was that it deposited too much ink, making it harder to read. There were settings that I tried that also caused the ink to bleed and smear. Of course I checked to see if the printer I had was compatible with vellum after I tested a few, and shocker… it wasn’t. Note** look this up ahead of time!
Since I only have the two printers, I sent the envelopes to Sarah Hearts who came in and saved the day with her printer! She used an inkjet printer that did the trick! Seriously, Sarah is a beautiful and talented MVP. If none of your printers are working correctly, call all the friends and family in your phonebook before splurging on a new printer for just one project.
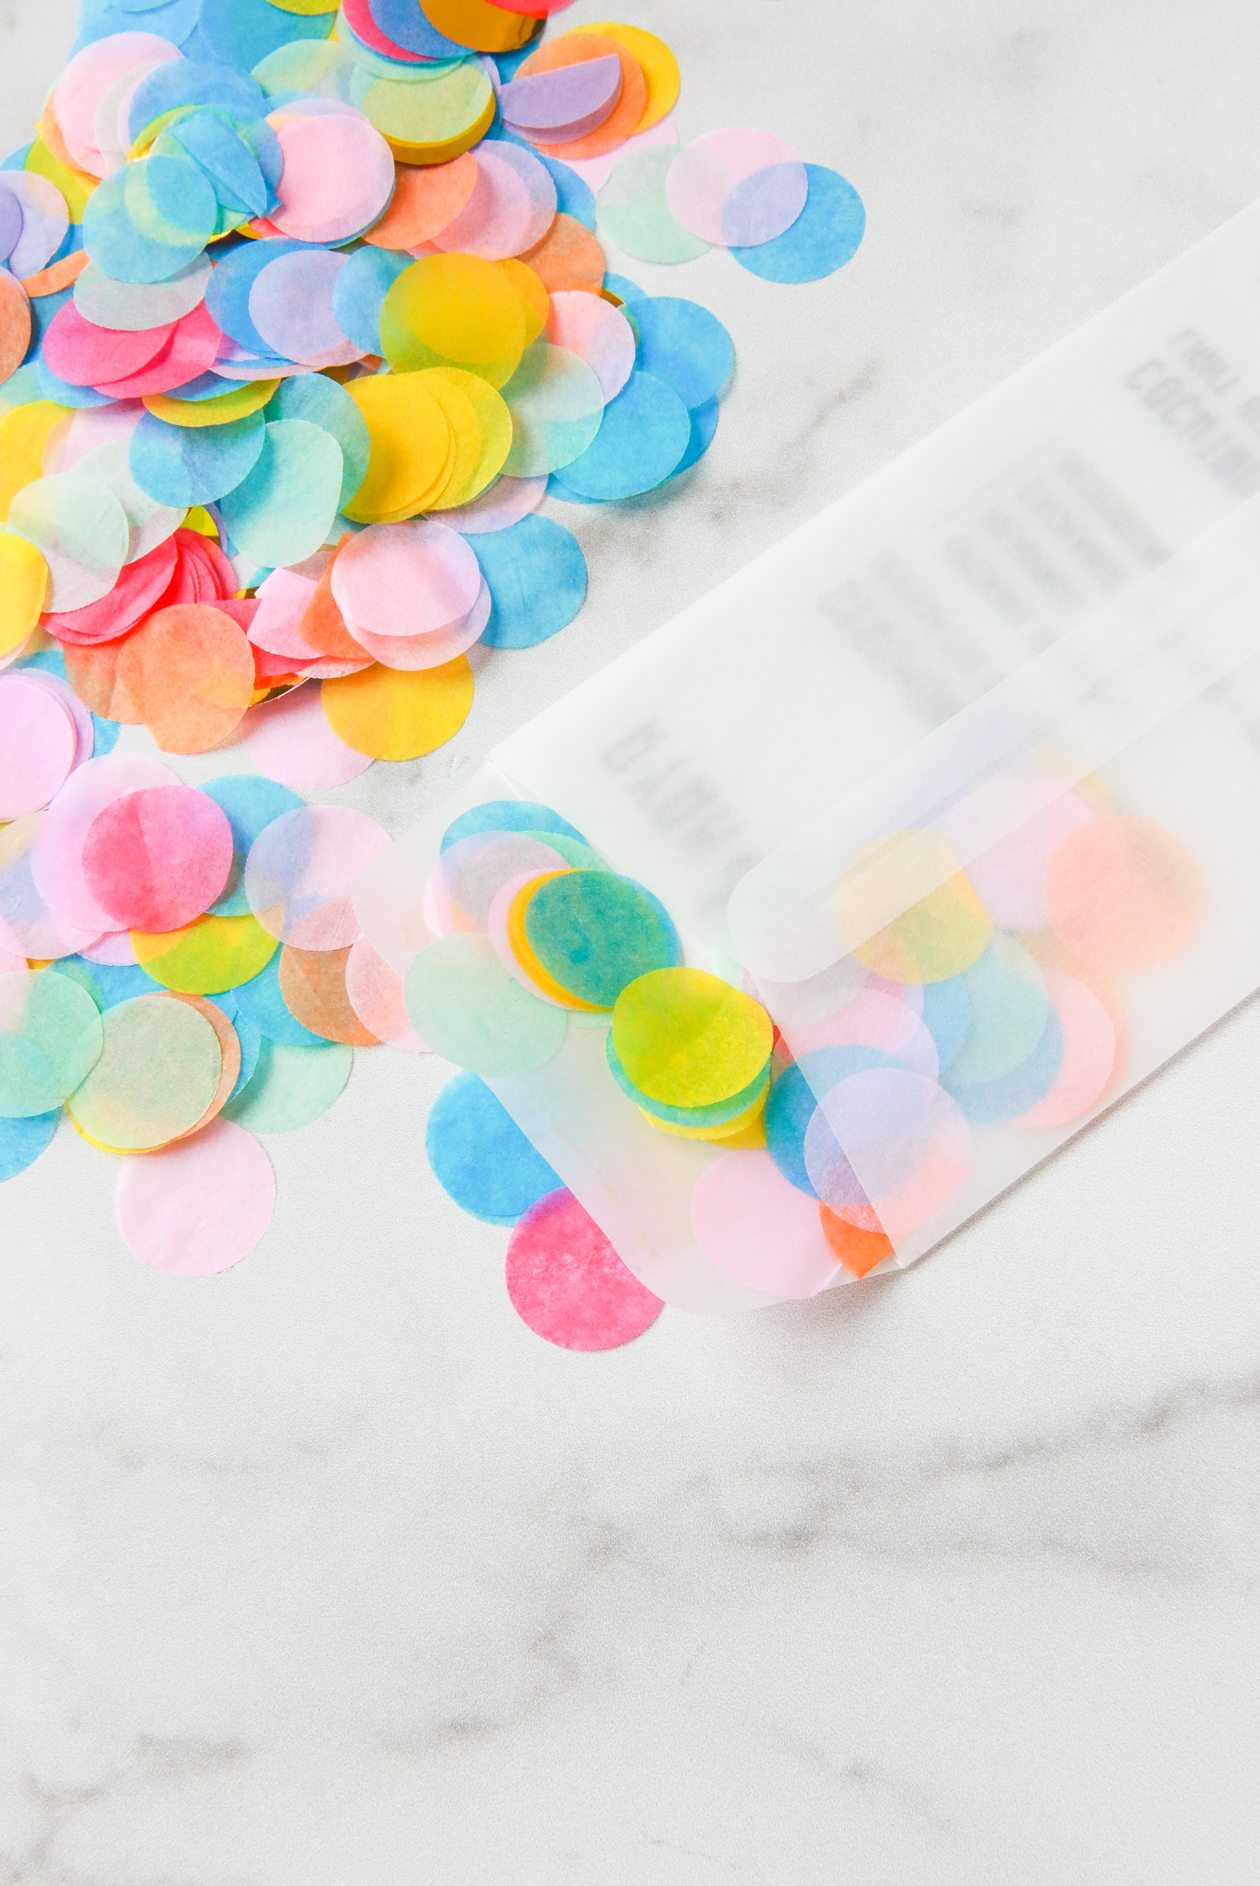 Printing is the hardest part about this project. And when I say hardest, I only mean the one aspect that might be a pain in the ass. After they’re all printed, you’ll be good to go! Just let the ink dry flat for 24 hours before filling with confetti.
It helps to sprinkle the confetti in a little at a time when filling to avoid any clumping. Add as much or as little as you’d like and then seal.
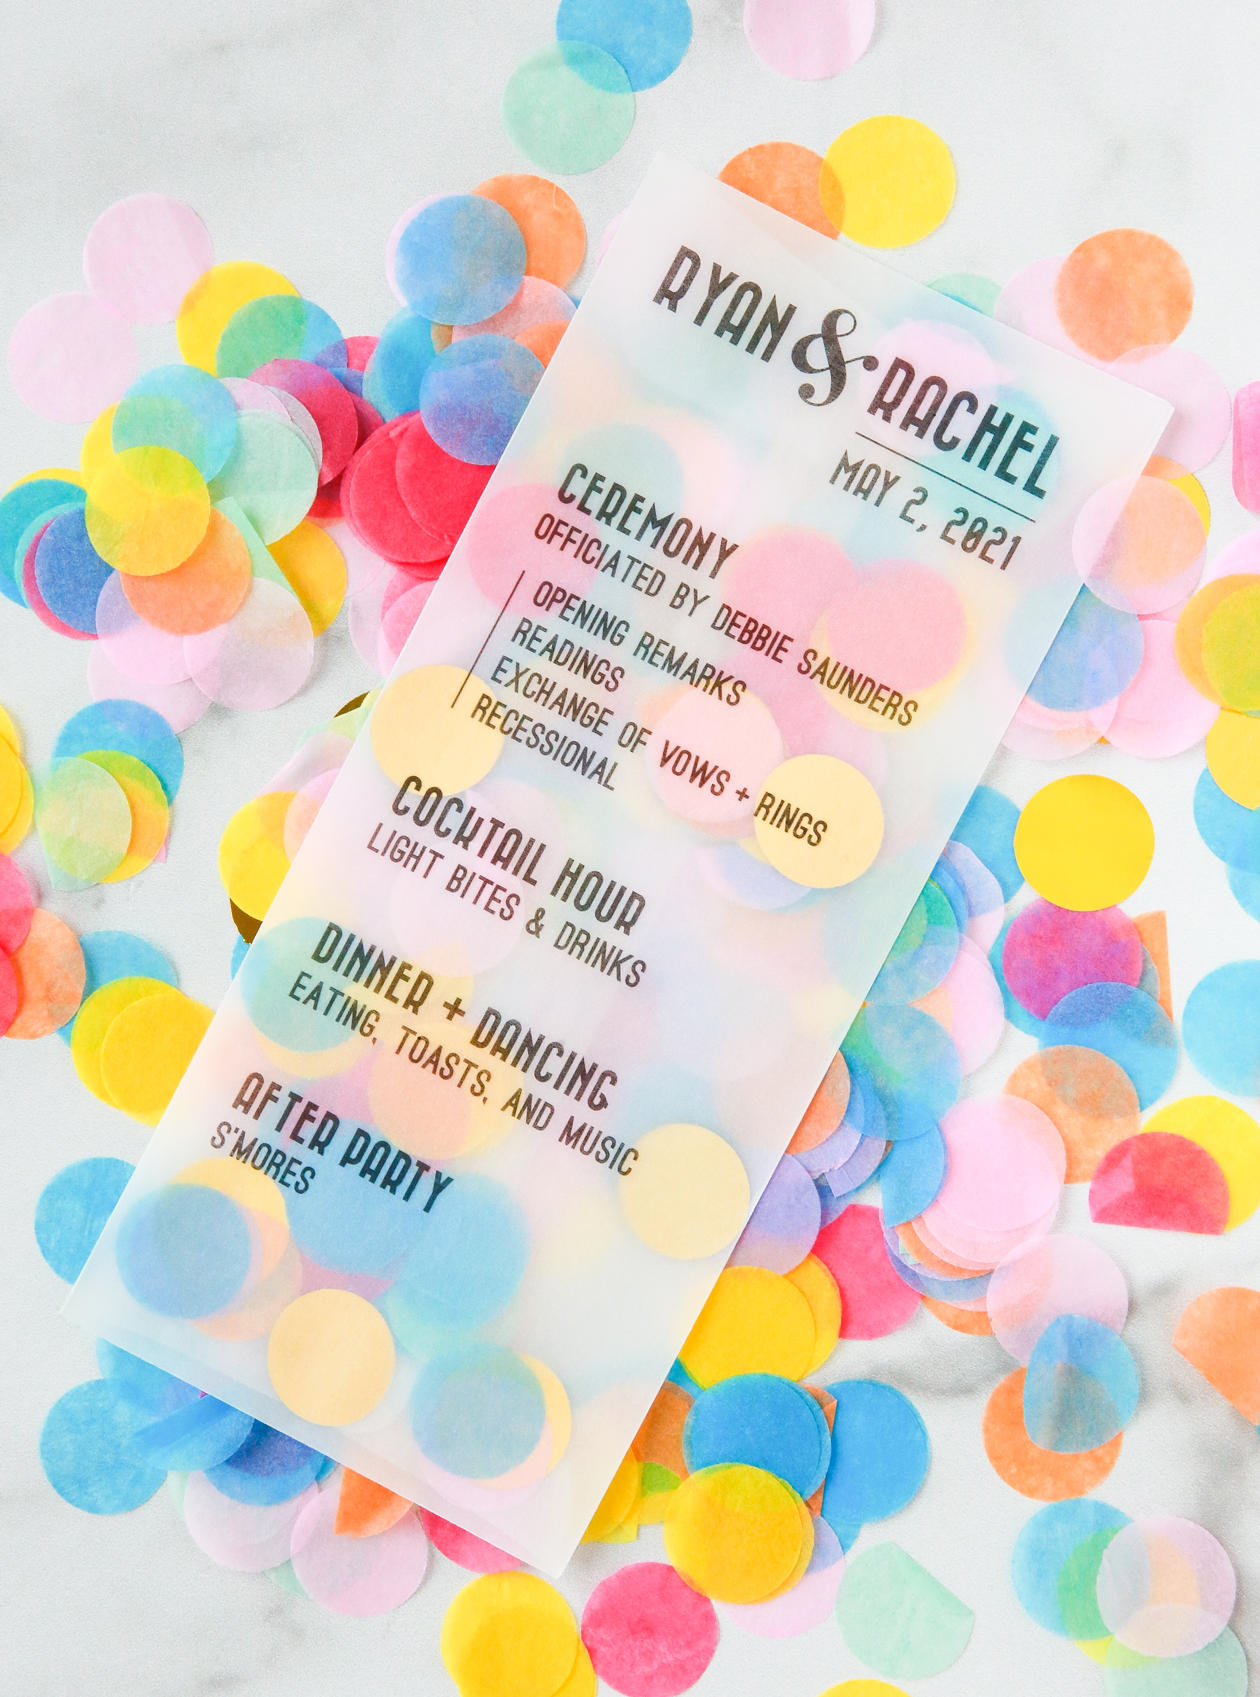 I love, love, LOVE how these came out and even saved a few for the scrapbook. Let me know if you have any questions or run into any issues.
Here’s to many celebrations in the future!

