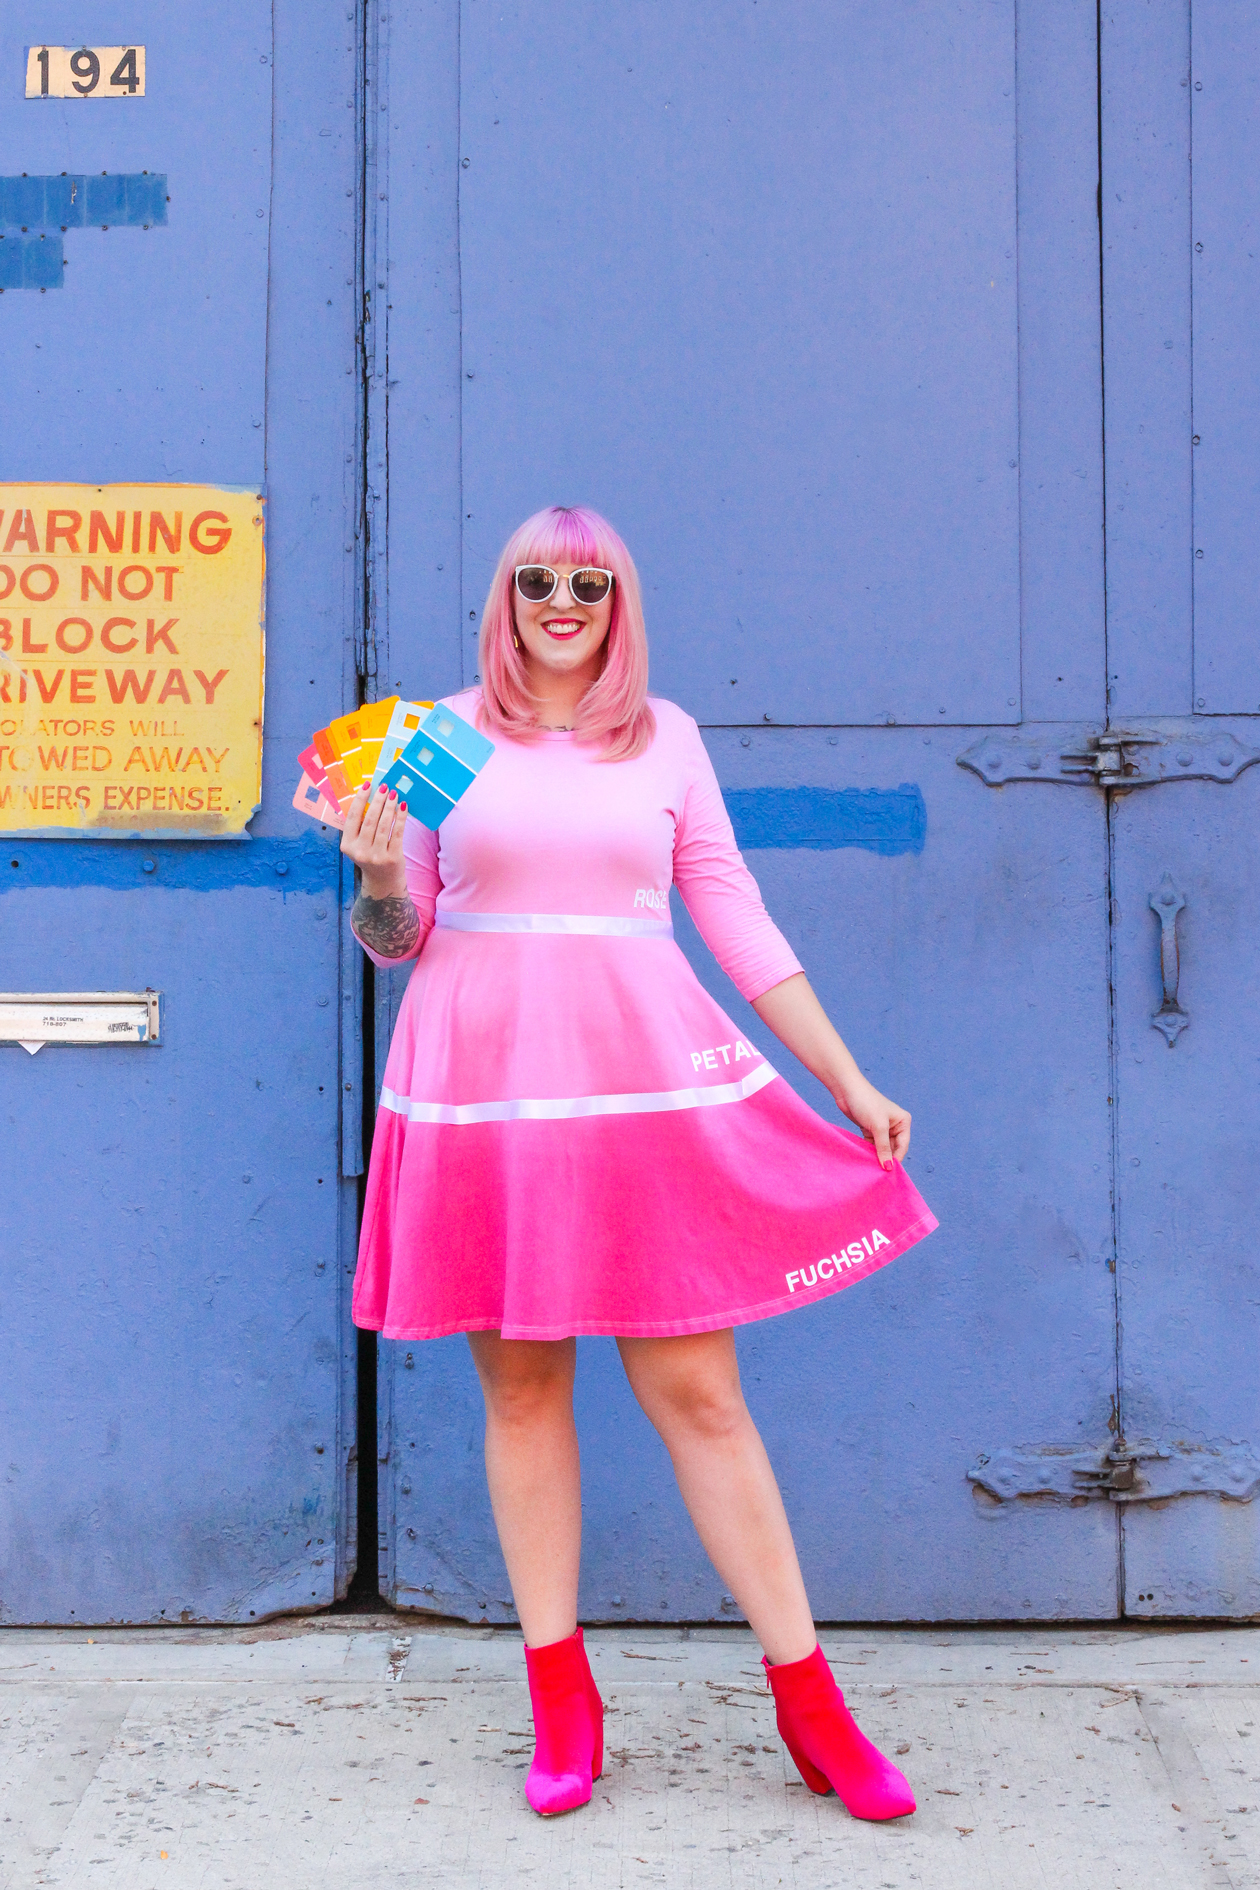
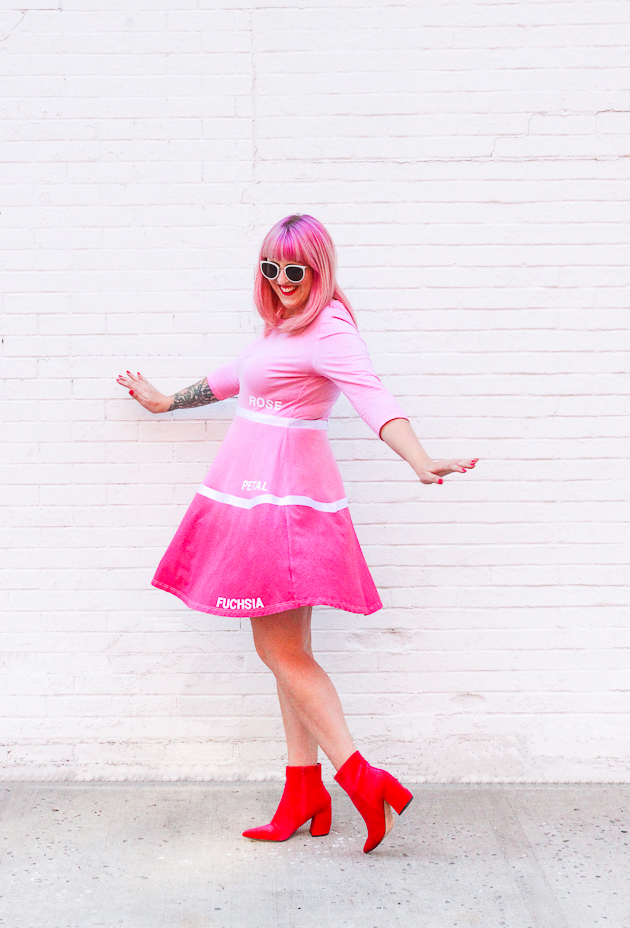
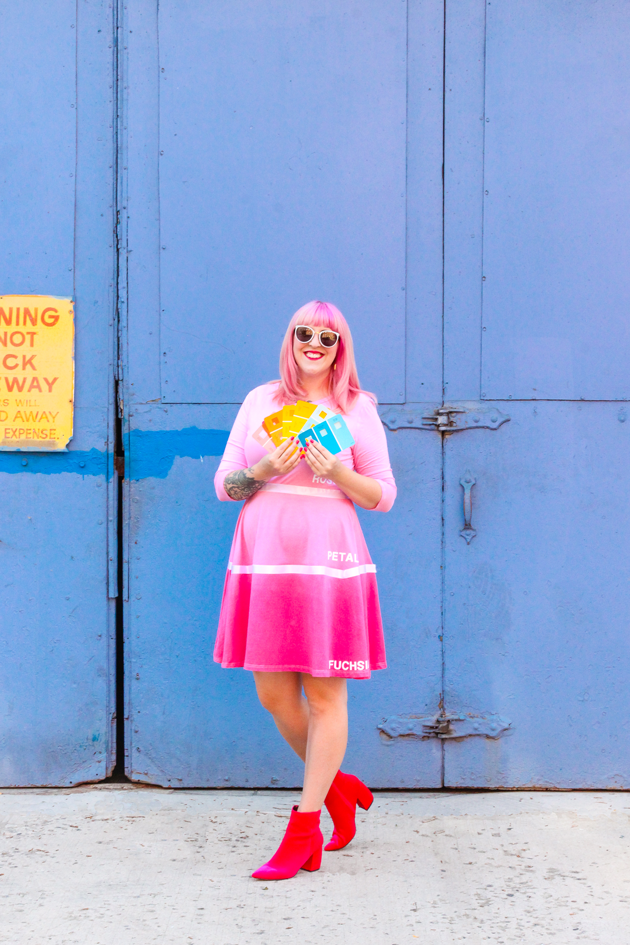
This post is sponsored by Rit. All opinions expressed are my own. Thanks for supporting the brands that keep The Crafted Life making!
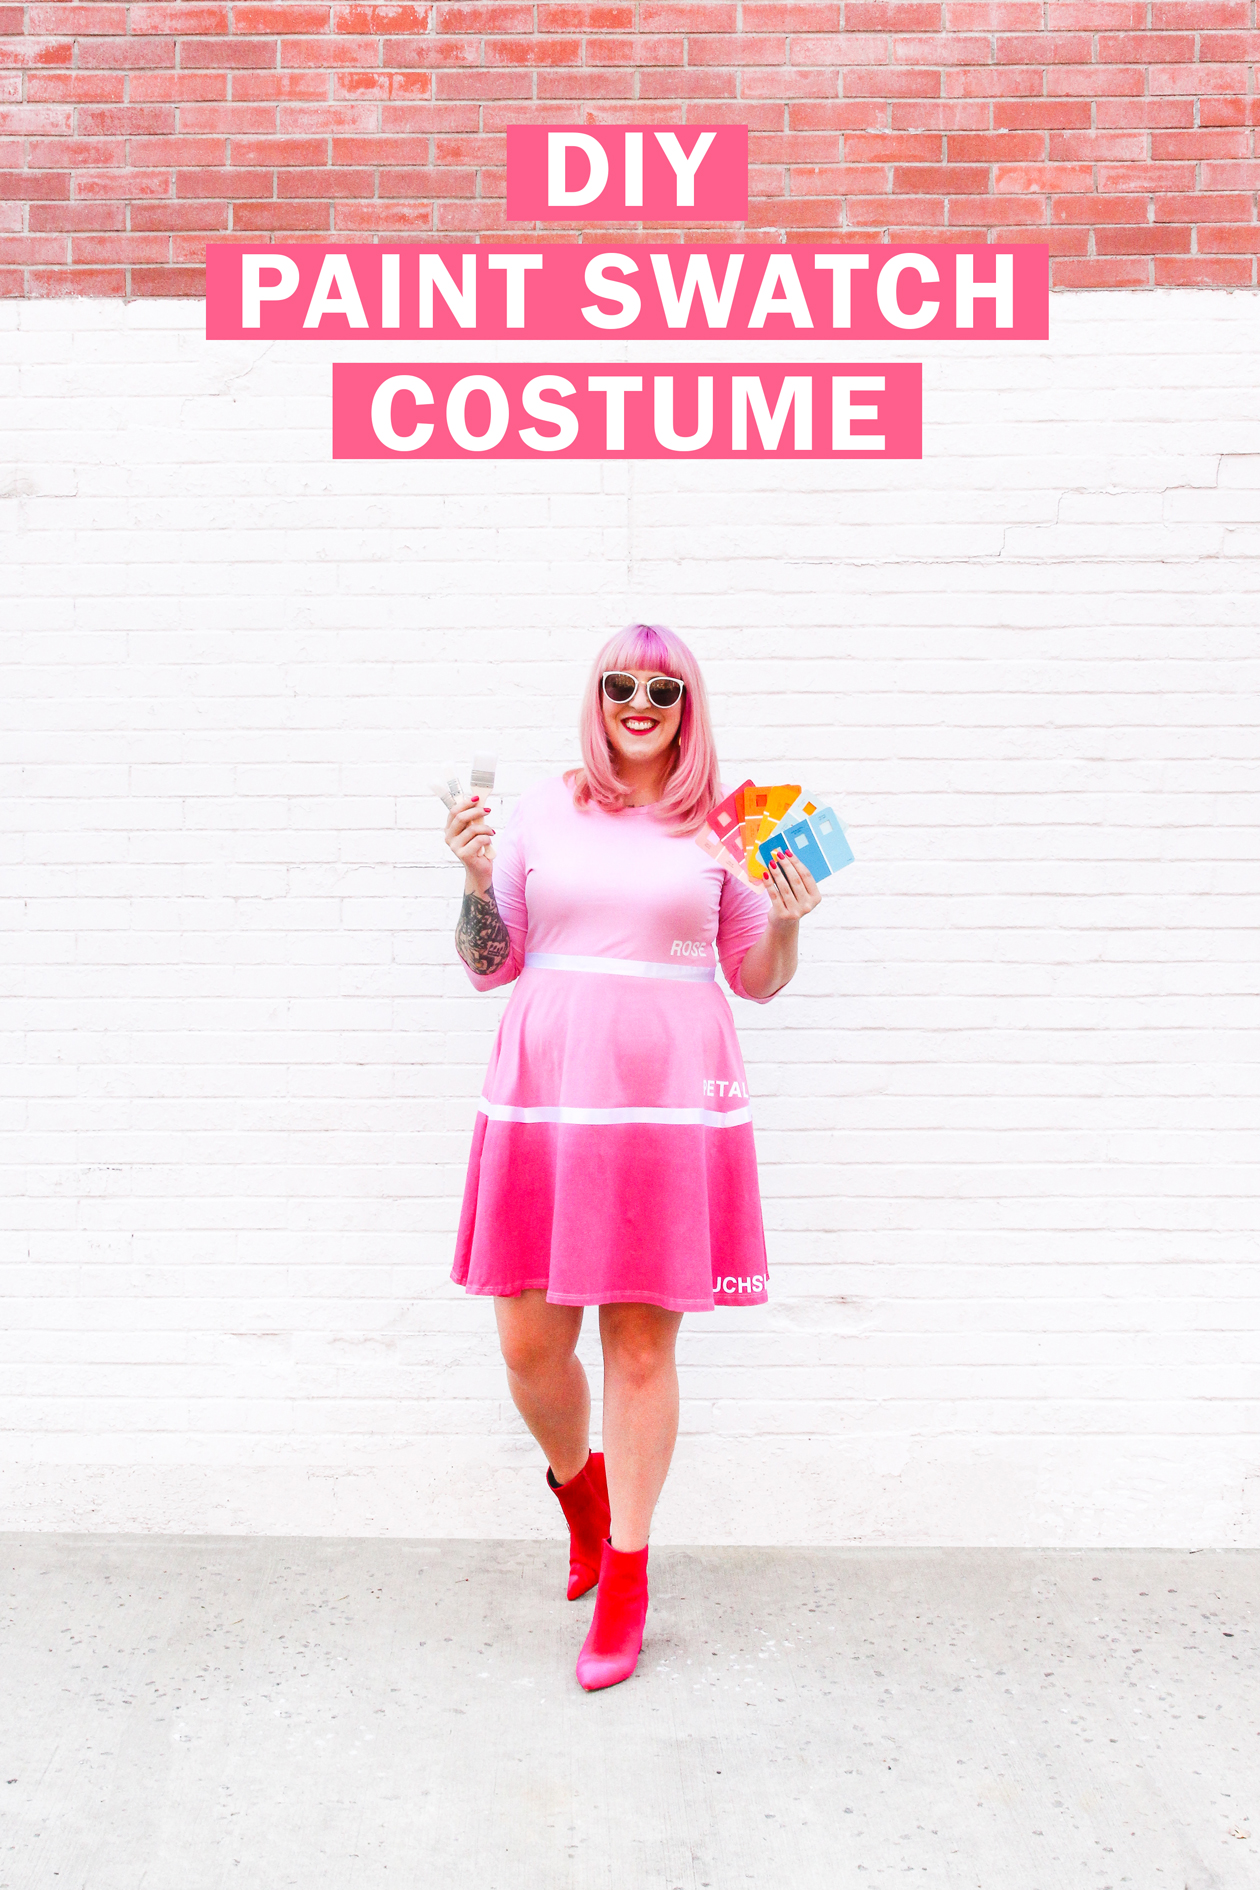 Guys I am so excited about this project because I’ve finally come up with a costume to match my pink hair! And to think it only took me three years!
Between my book launch and moving this year, I’ve spent a lot of time around color and paint swatches, so naturally I decided to dress like one for Halloween. If you’re looking to add a little craft and a lot of color into your costume this year, then this DIY paint swatch Halloween costume is for you! Here’s how:
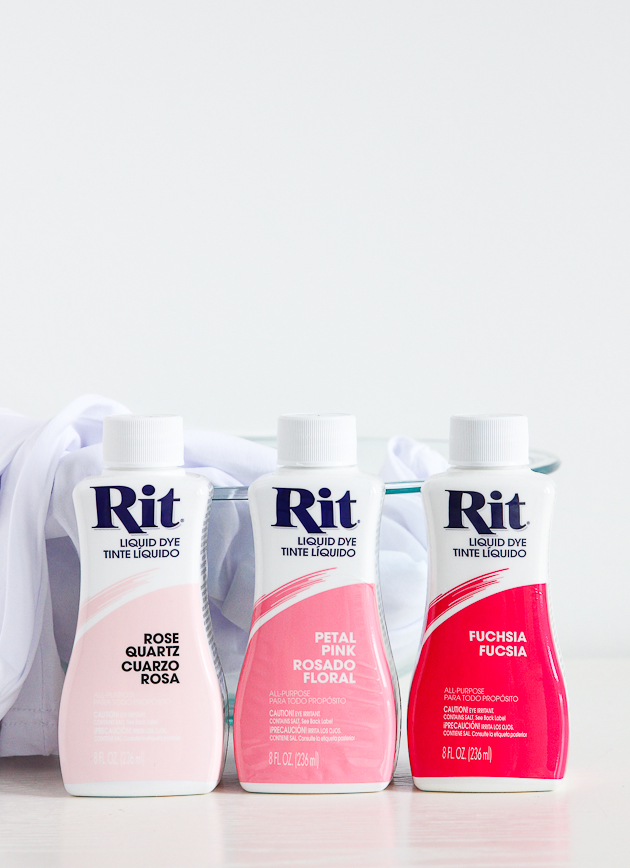 What You’ll Need
– Rit All-Purpose dye in variety of colors
– White cotton dress (the one I used)
– White ribbon, 1-1.5″
– Fusing Tape, 1/2″
– Iron on letters
– Iron
– Soft bristle brush
– Stainless steel sink or large plastic container (better to be longer and shallow than deep)
– Gloves
– Paper towels
I found my dress on Amazon, but you can use any white dress you may have hanging in your closet right now. Just be sure to wash the dress to remove any stains or finishes before starting.
 How to Test Dye Color
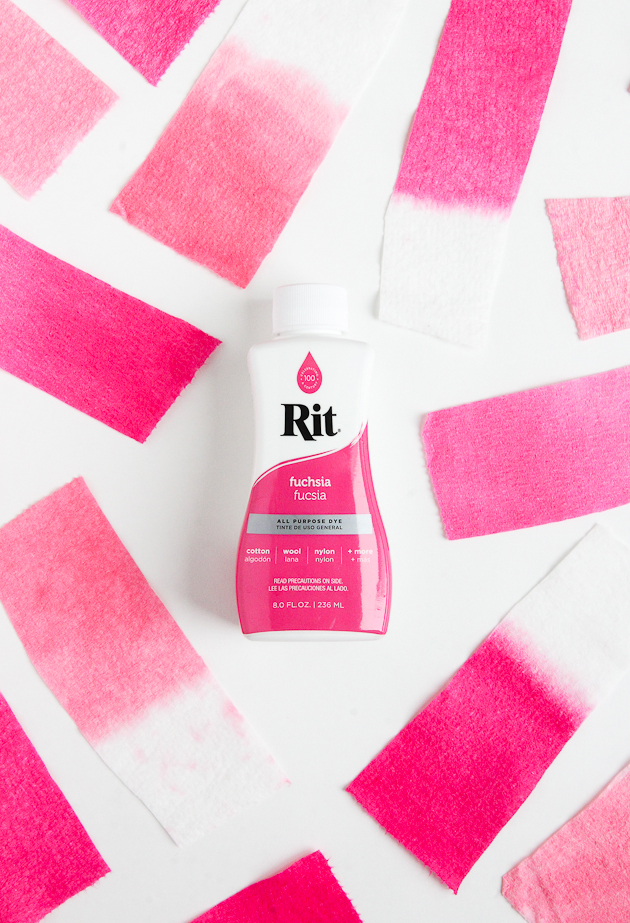
The key to this project is making sure your dyes are exactly the right color so that you get a nice gradient on your dress. I suggest mixing all three shades to start so you know what each section of the dress will look like.
When you’re mixing up your dye baths, test the color to get a sense of how it will appear on your dress and make adjustments accordingly. Dip a white paper towel into the dye bath to get an accurate view of how the dye will take to the fabric.
Because this project requires you to mix colors, it’s much easier if you stay in the same color range. I went with all pinks (because duh), and divided my dress into three equal-ish parts: dark, middle, lightest to mimic the design of a paint swatch.
 How to Make a Paint Swatch Halloween Costume
1. Cover your work area with a plastic tablecloth as this can get a bit messy. You’ll want to work in sections, dyeing from the darkest color to the lightest.
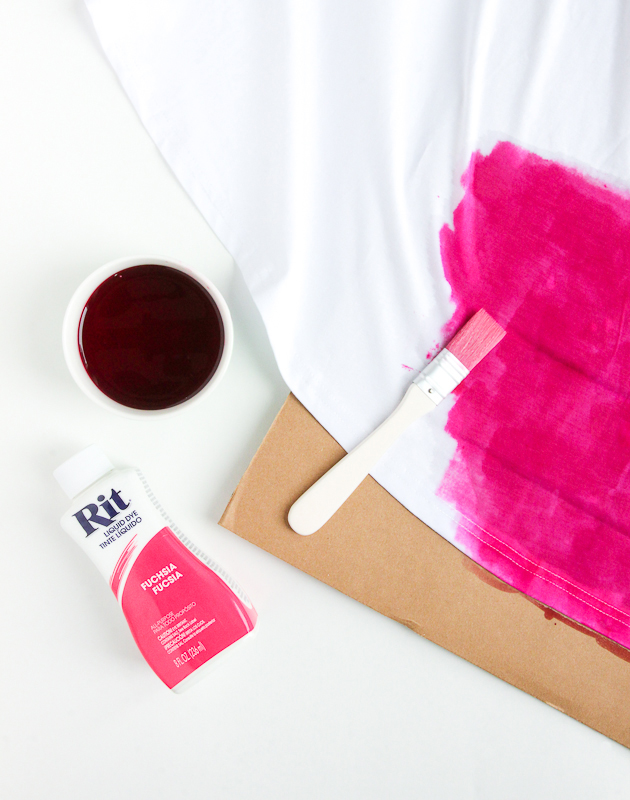
2. Start by getting the bottom of your dress wet for the first color (only wet the part you’re dyeing). To keep the sections as neat at possible, I used the dye like paint and brushed on the color to get a sense of where I wanted the color to be. From there, fill a sink or bucket with a dye bath and dip your dress. Be sure to hold the dry part out of the water and only dip the section you’re working on. Let sit for 5-10 minutes, stirring occasionally.
3. Drain the sink and then rinse the dress until the water runs clear. Set the dress to the side and then fill again with the second color’s dye bath. Dip the dress again up to the second section. Because the base color was darker than the second color, it’s okay to leave it in the solution for 3-4 minutes; just be sure the top section is still white and dry. Rinse the dress bottom until the water is clear and dry.
4. Repeat the process for the top/lightest part of the dress, only focusing on the top section so you don’t have to rewet the bottom.
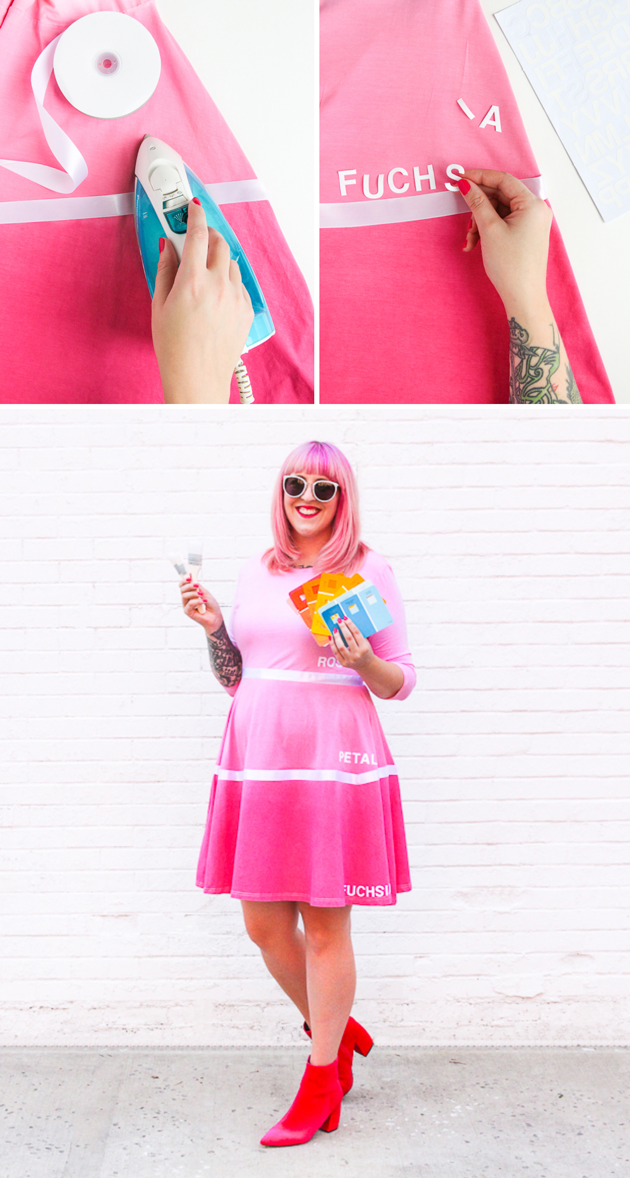 Once your dress is good and dry, it’s time to divide the color sections. If you don’t want to/know how to sew, you can use fusing tape to make your ribbon iron-on. Just place it underneath the ribbon and iron for about 6-10 seconds. Work your way around the dress until complete.
All that’s left to do is add the letters for the names of the paint. I used the colors associated with the dye, but you can name them whatever you want.
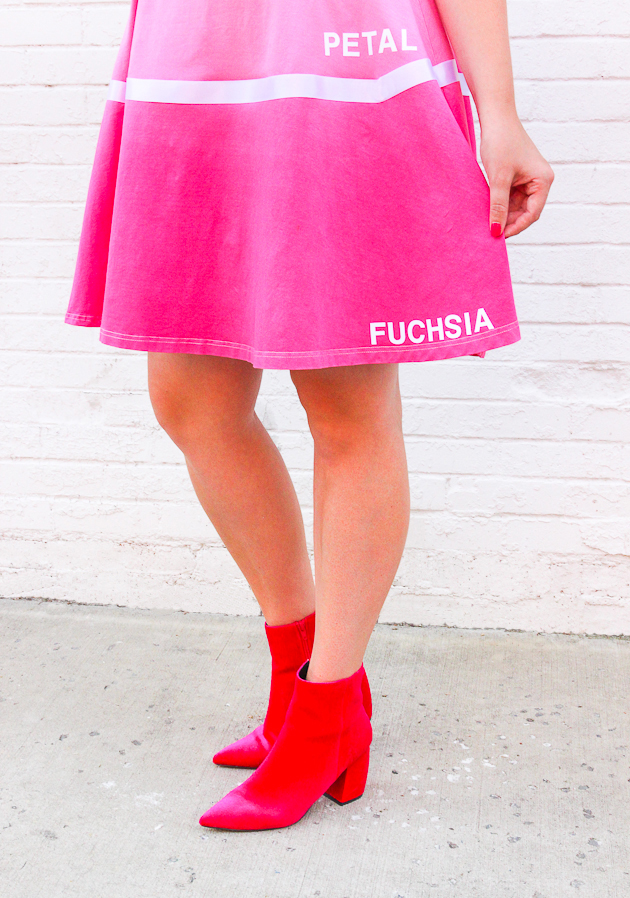 And that’s it! If you’re looking to make this a couples costume, have your partner be a painter or paint brush! If it’s chilly out on Halloween, you could take this one step further and wear pink tights as well.
I can’t wait to see what color you pick for yours!

