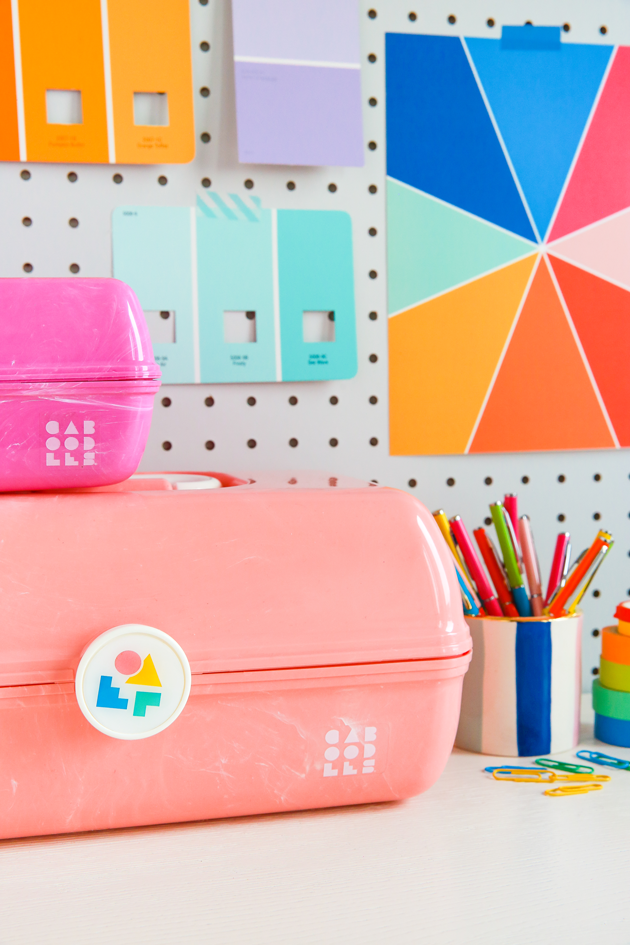
This post is sponsored by Caboodles. All opinions expressed are my own. Thank you for supporting the brands that keep The Crafted Life Making!
 Now more than ever is the perfect time to get organized! Because what better way to start the new year off fresh than with a beautiful and tidy craft space? Because our Brooklyn apartment is small (we’ve got a one bedroom), I’ve definitely had to develop a system for my craft supplies. And today I’ll share some of my go-to advice with you! Here are my 5 tips for how to organize your craft supplies:
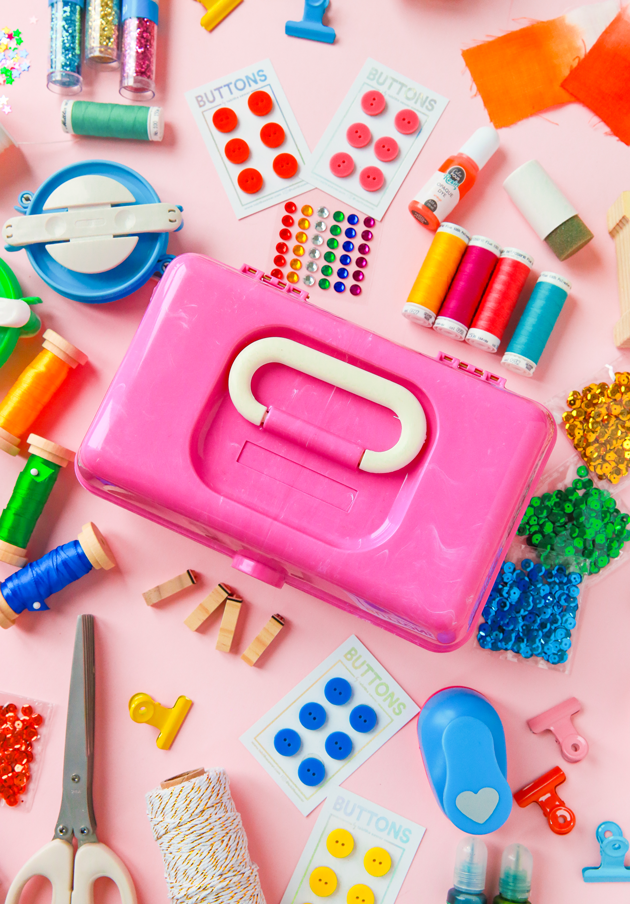 1. Pull everything out. I mean everything. It’s going to feel a little overwhelming at first, but this is the best way to get a sense of what you have. You’ll want to clear some space, either on your floors or counters, before you start and make sure that you have the time to really go through everything. And yes, every piece you have– right down to that one stamp that bounces from container to container because you’re not sure where else it should go.
If you have a half hour and think you can get it done… you can’t. I really do think this process will take about 1-3 hours depending on your collection. As you’re going through everything, have a notebook handy so you can write down any project ideas that come to mind.
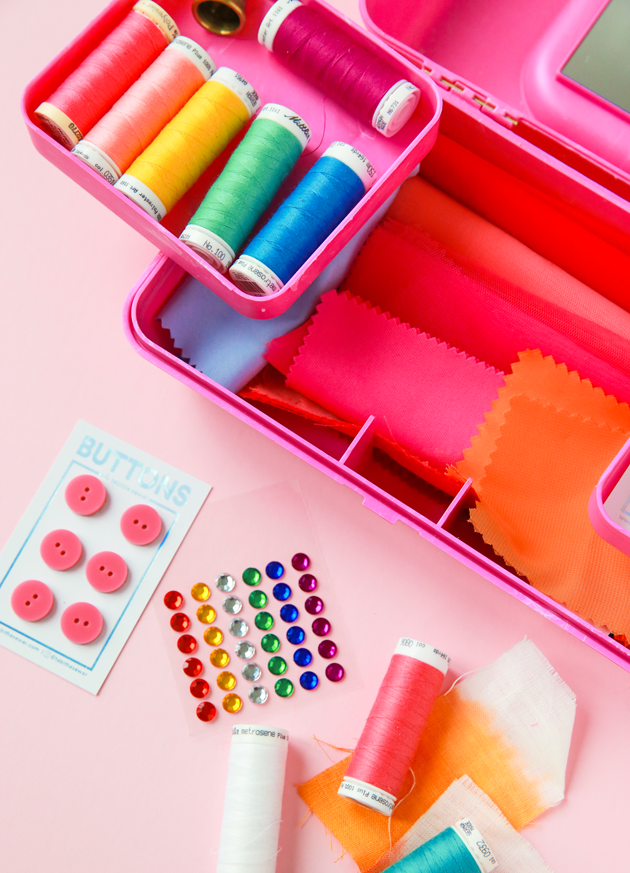 2. Start grouping items by category of use. A lot of your items will be obvious (paints, brushes etc), but it’s really the miscellaneous that will need the most attention.
For those, instead of trying to make them fit into specific categories like pens, tape, etc, break it down into type of application. For example, one of my Caboodles might have everything I need for fabric projects. Another would have things I need for paper and so on. That way when you go to reach for your supplies for a project, you’ll find that one miscellaneous item that would be perfect for it (that you most likely forgot about).
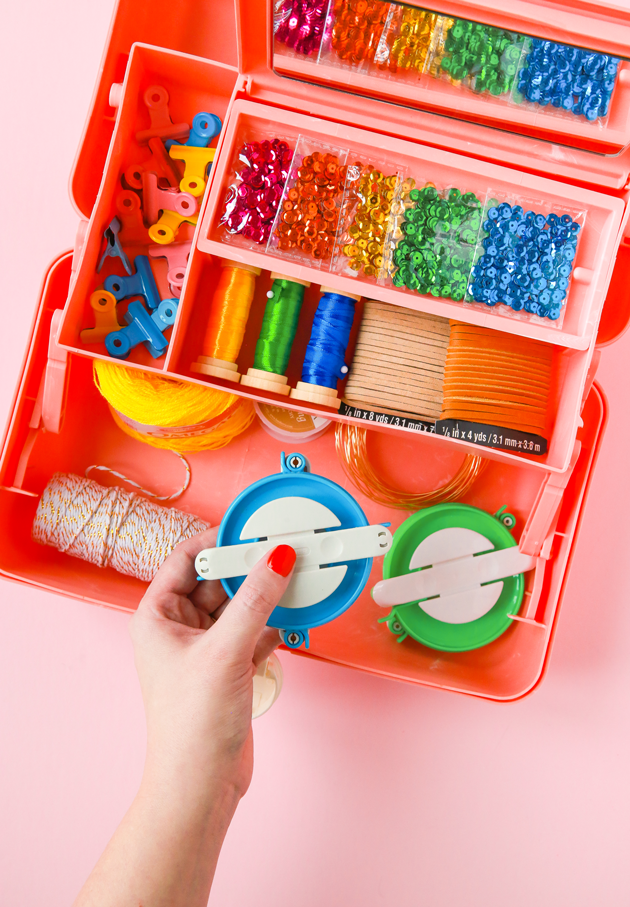 3. Can we just admit that we all keep scraps of things just in case we’ll use it one day? It’s just the nature of being a crafter! If you are keeping items, like leftovers, just be sure to keep them tidy. For example, I keep pieces of extra ribbon around spools so that they don’t tangle up everything else I have. You can keep paper and cardboard in scrapbook/paper filing storage. But the one thing you’ll definitely need to do…
4. …And you’re not going to like this one: edit. I KNOW IT’S THE WORST. But you have to. If we kept every single piece of cardboard for that potential project, there will be no room for anything else. And then all you’d have to craft with is scrap cardboard. So as you’re going through your items, take a look at things and determine if you’ve used them within the last year. If it’s a pricey item or a tool, keep it. If not, and you have no plans to use it anytime soon, make a donation pile.
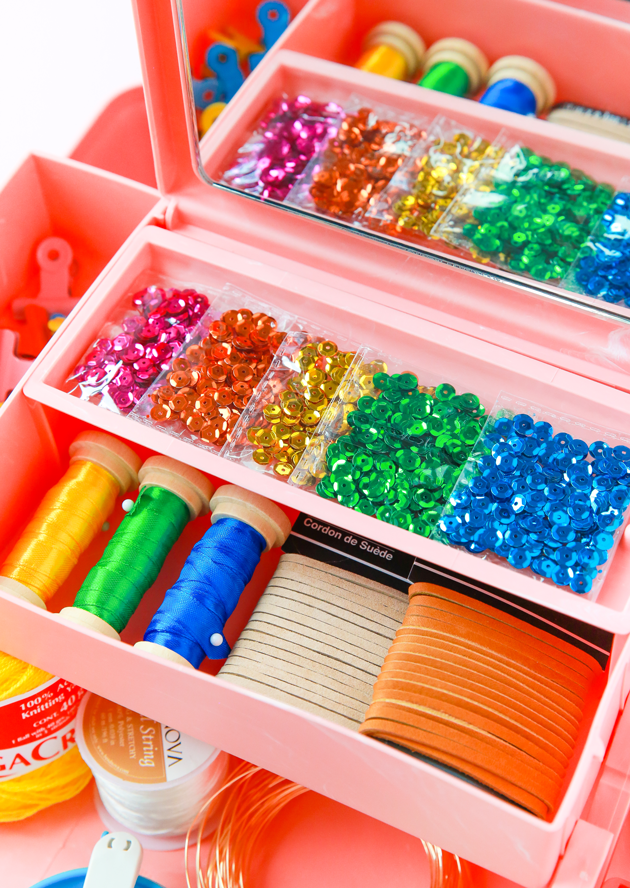 5. Lastly, get a storage system that works for you! Now that it’s time to put everything back, you’ll want to be sure you have a system in place and a home for each item. This will help you clean up after every project once you know exactly where it needs to go.
I keep my miscellaneous items in Caboodles for a couple of different reasons:
1. Not only are the colors pretty (seriously they look so fun on a shelf), but they help me color coordinate. I know that certain items are in certain boxes and can tell by the color alone.
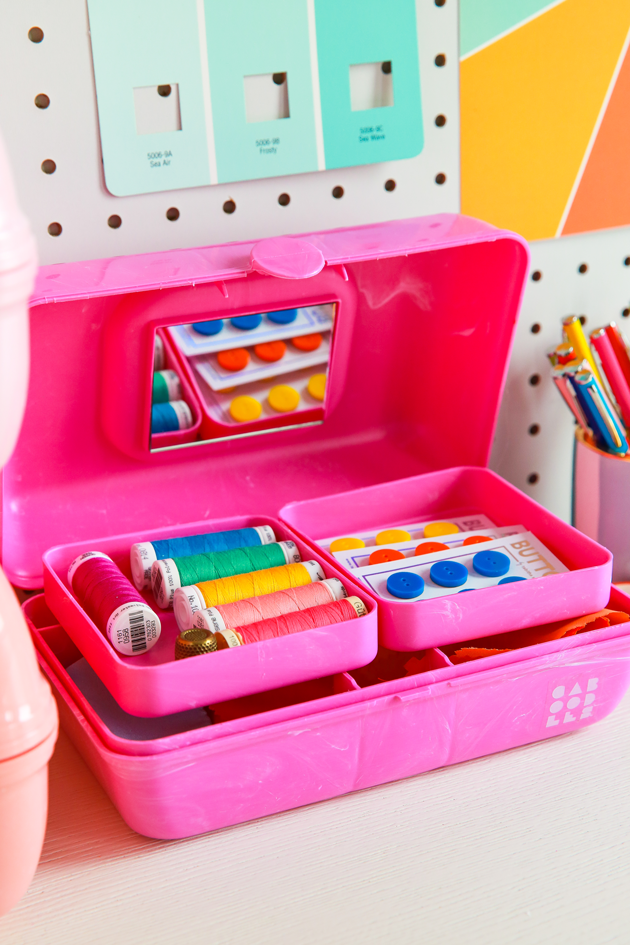
2. The sizing is great for storing different collections. It really depends on what type of crafter you are for which size to get. For example, I rarely sew, so the Caboodle I use for all my sewing items is smaller. You’ll know what size of container to get after you group your items together.
 And that’s really it! Once your items have a specific place to live, it should be easier to clean up your space in between projects. Happy to give any more tips if you need– just let me know in the comments if I can help!

