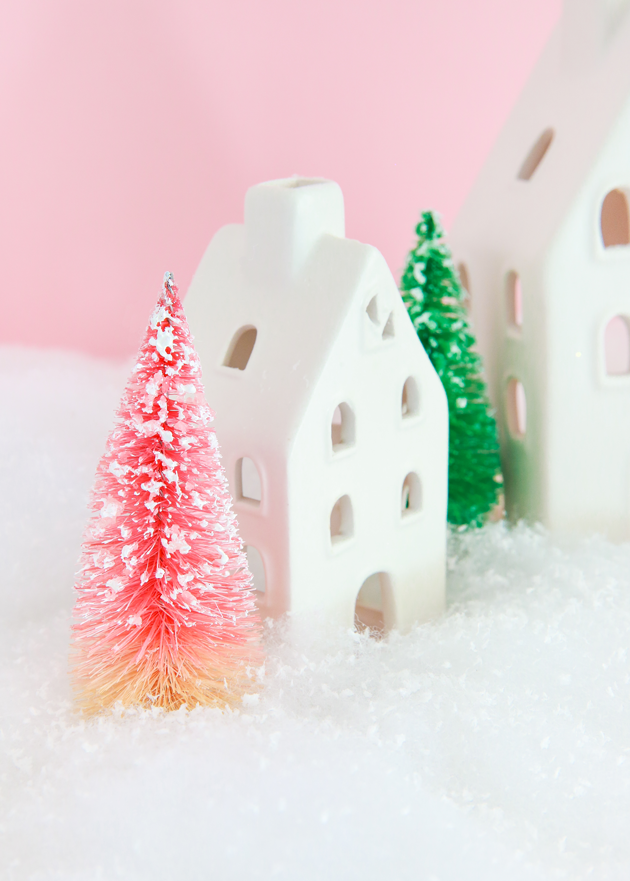
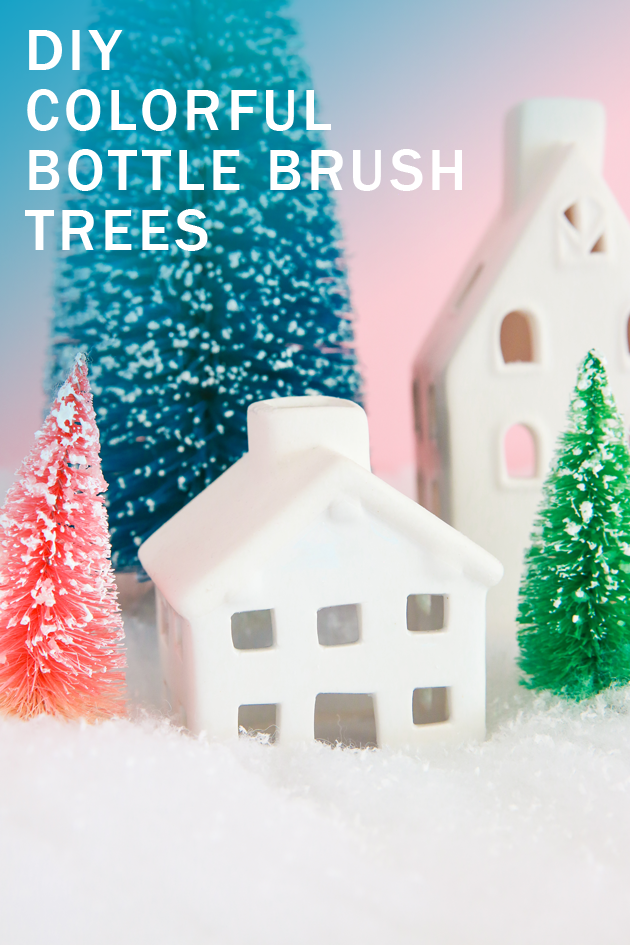
 What are Christmas decorations without a little color?! One way to really stick to your color scheme would be to make your own colorful bottle brush trees! With endless color possibilities, this DIY is perfect for any style and aesthetic. Plus it really only takes a few basic steps to do aka feel free to pour yourself some spiked egg nog before starting! Here’s how:
See how I dyed the trees over on YouTube!
 Materials
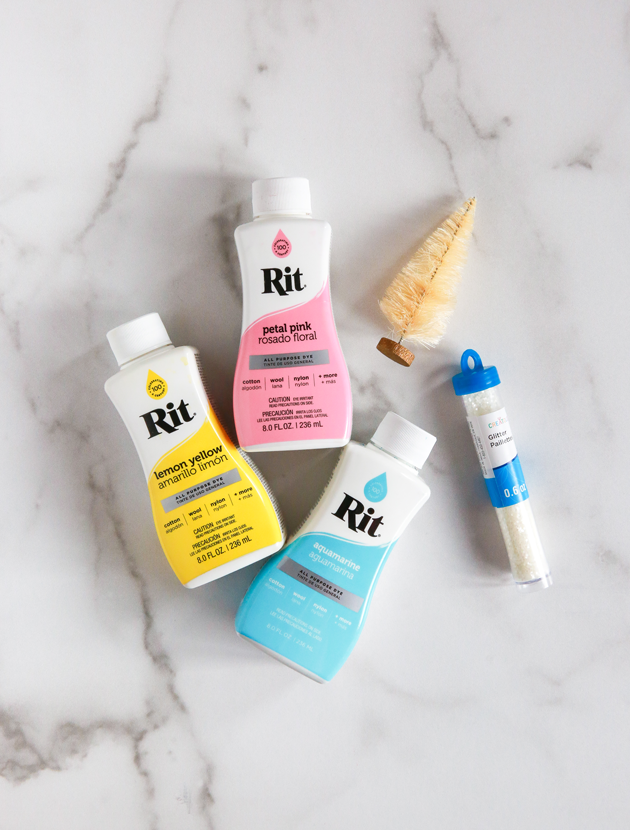
– Natural bottle brush trees
– Dye
– Mod Podge
– Glitter
– Paint brush
– White acrylic paint
– Container for dye
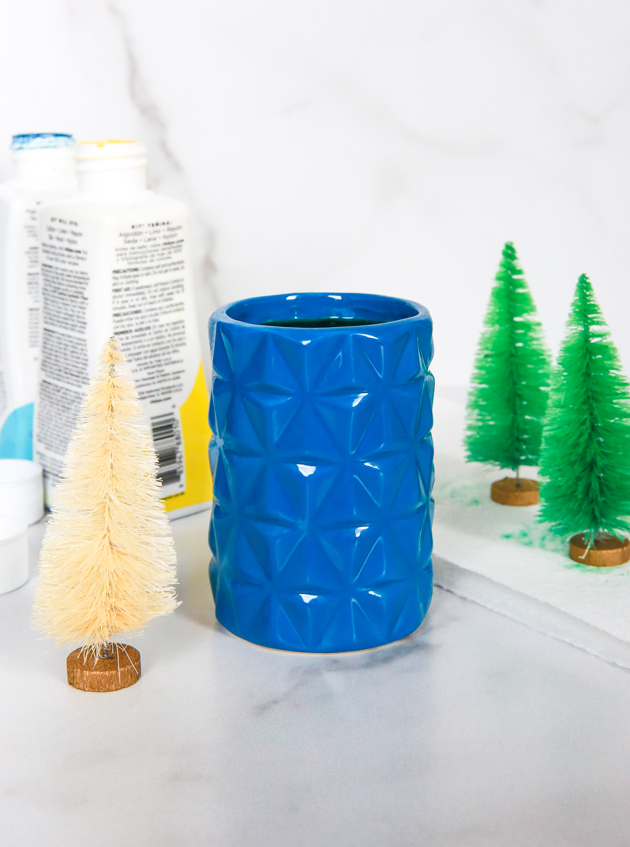
You really don’t need a ton of dye for this project, as long as you have the right container. Any thin container that’s the hight of the tree will do just fine (a cup or small vase is perfect)! I also made a video for this project!
 How to Dye Bottle Brush Trees
Fill container with hot water and then add your dye according to the instructions. To test to make sure you have the right color before adding your tree, test a swatch on a paper towel.
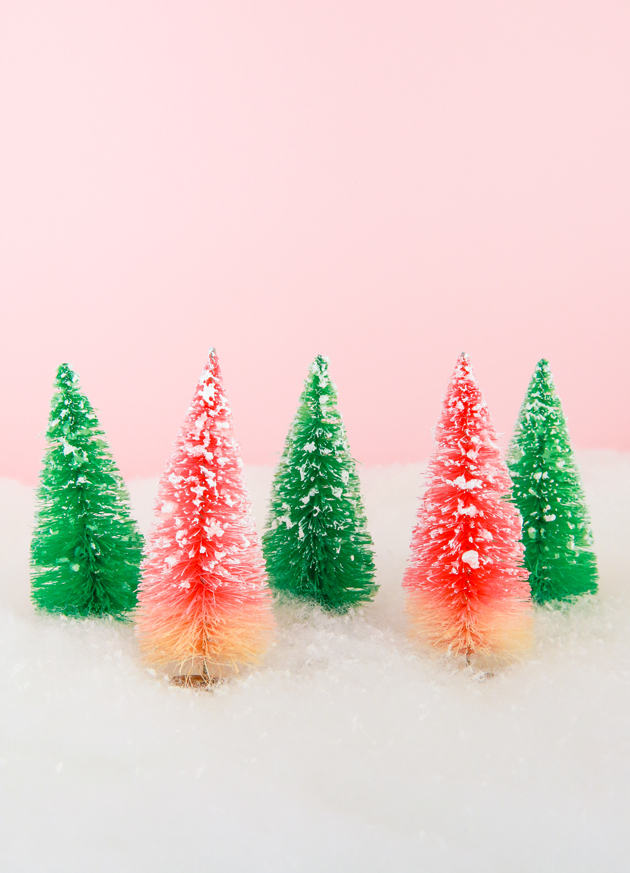
Holding on to the base, dip your tree in the dye bath. Move in a circular fashion, gently, for a few minutes. Once your ideal color is achieved, remove from the dye bath, shake out the extra dye in the sink, and let dry. Dye will drip off the tree a bit, so just make sure you have something down to protect your surface. You can also pat the tree dry a bit with a paper towel.
 Next up is to give your trees a snow covered look! Mix your glitter into a small amount of Mod Podge. Dab mixture on your trees and let dry. To really make sure the trees look snow covered, once the glitter is dry, repeat the same process with white paint. It’s best to start small and add more paint as you go.
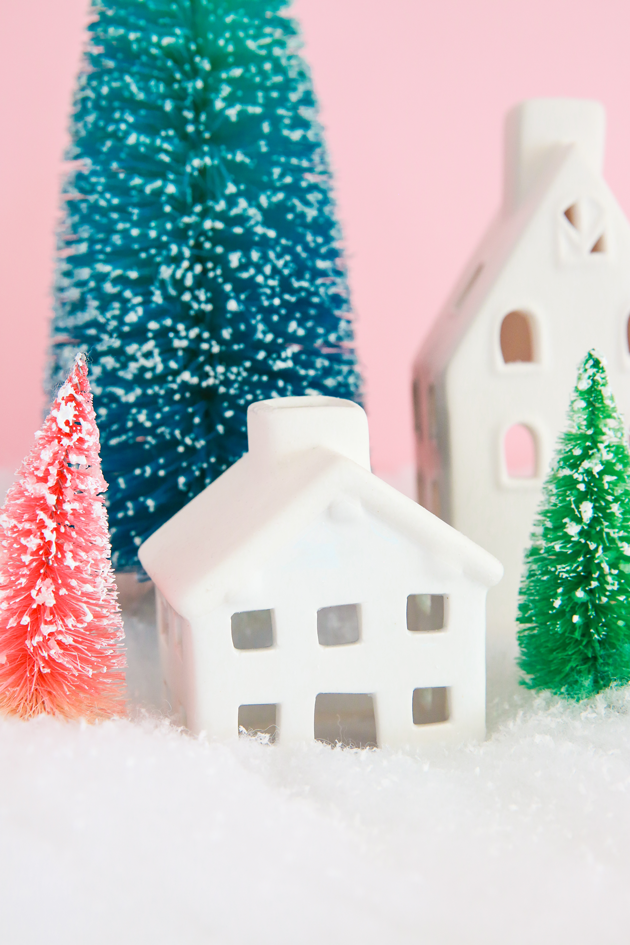
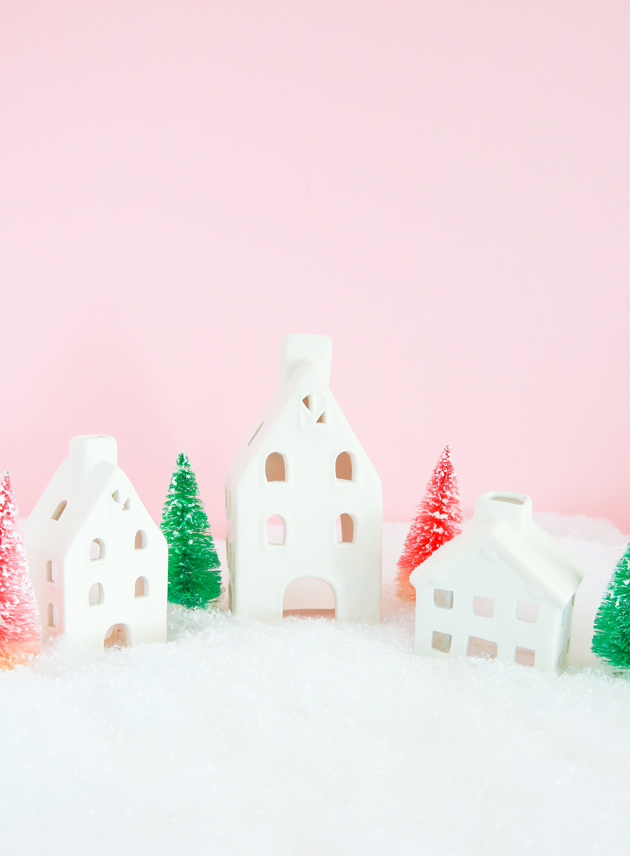 Once trees are fully dry, add to any Christmas display and enjoy! I love the idea of adding to this holiday decor collection year after year with new colors and sizes. Can’t wait to see what combos you come up with!