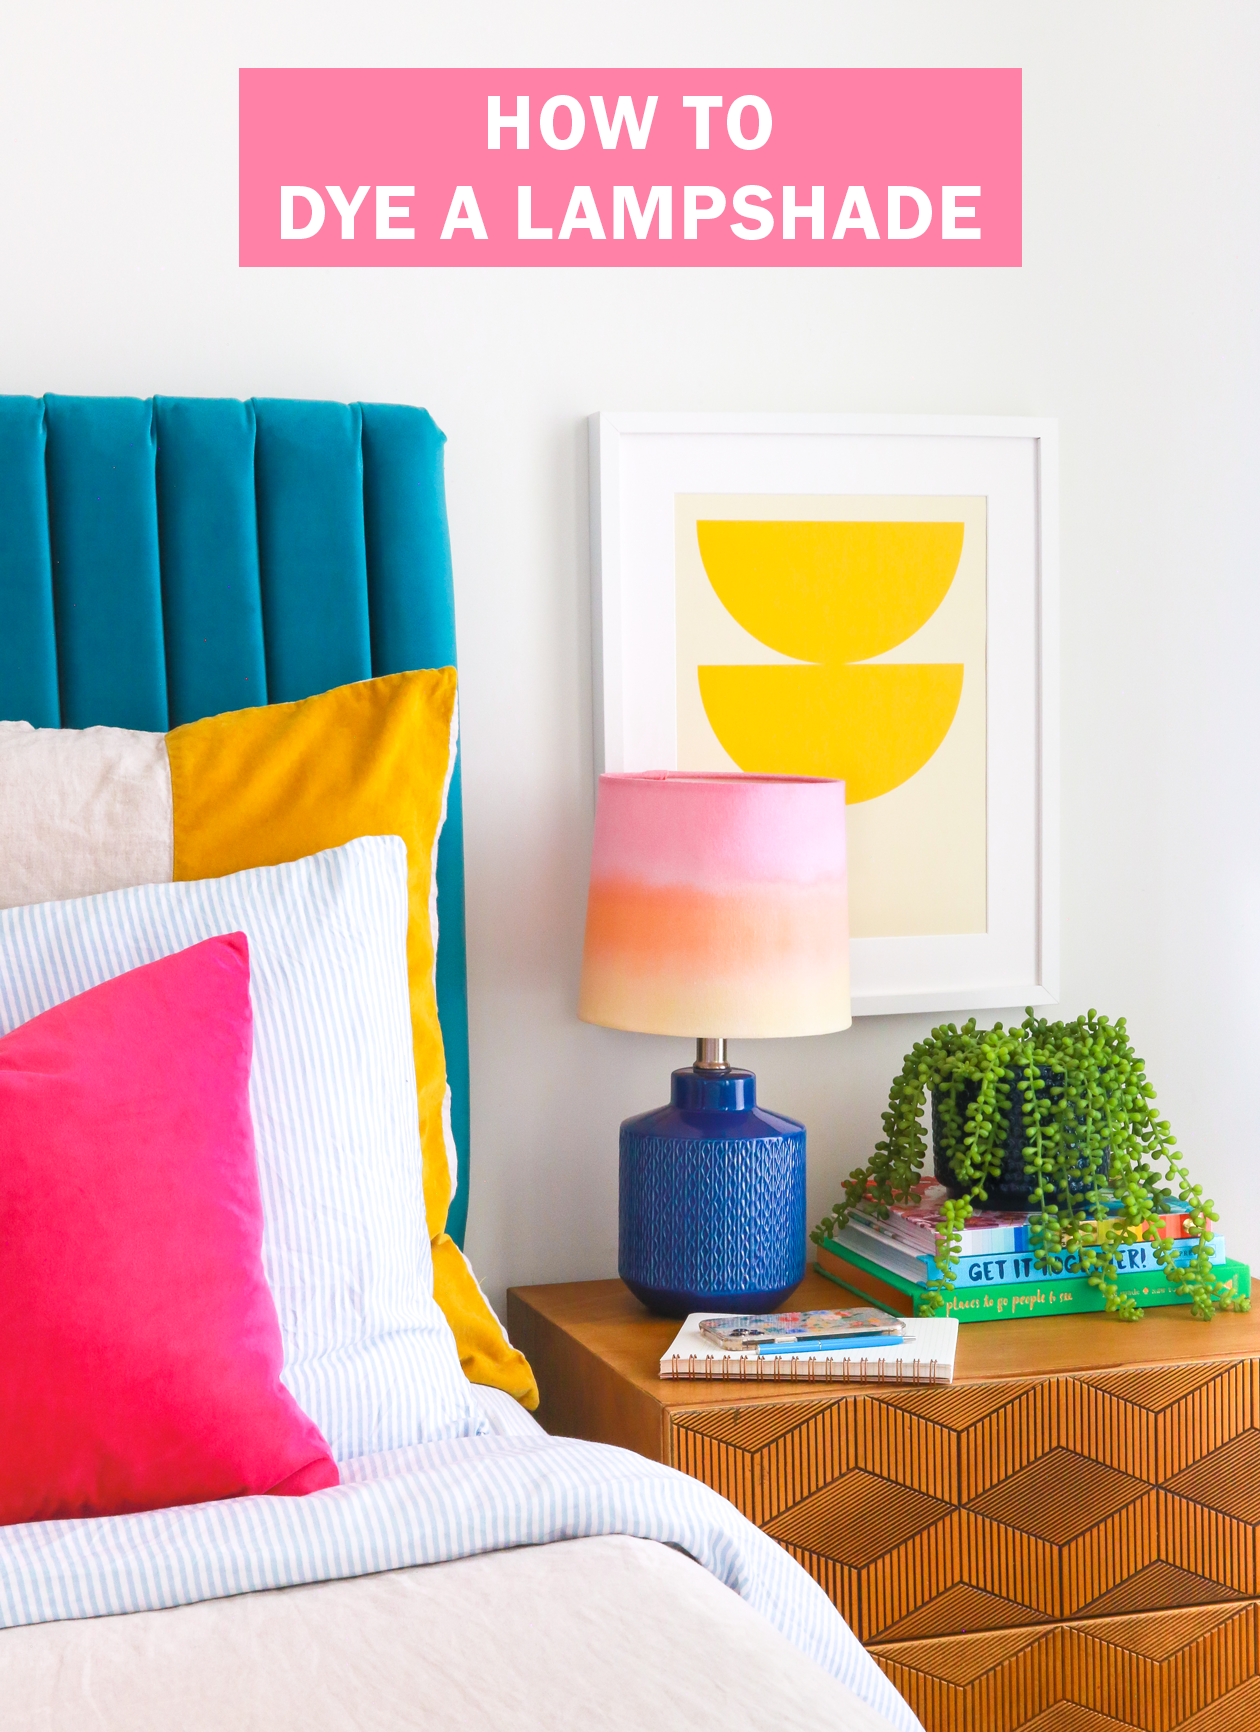
 Spring is right around the corner and I am itching to add more color to our home! I was experimenting with dye and created this project that I’m so excited about. Originally I shared this project over on Instagram last week and since getting questions on it, thought I would go more in depth here! Here’s how I made this DIY dyed lampshade:
– Cotton lampshade
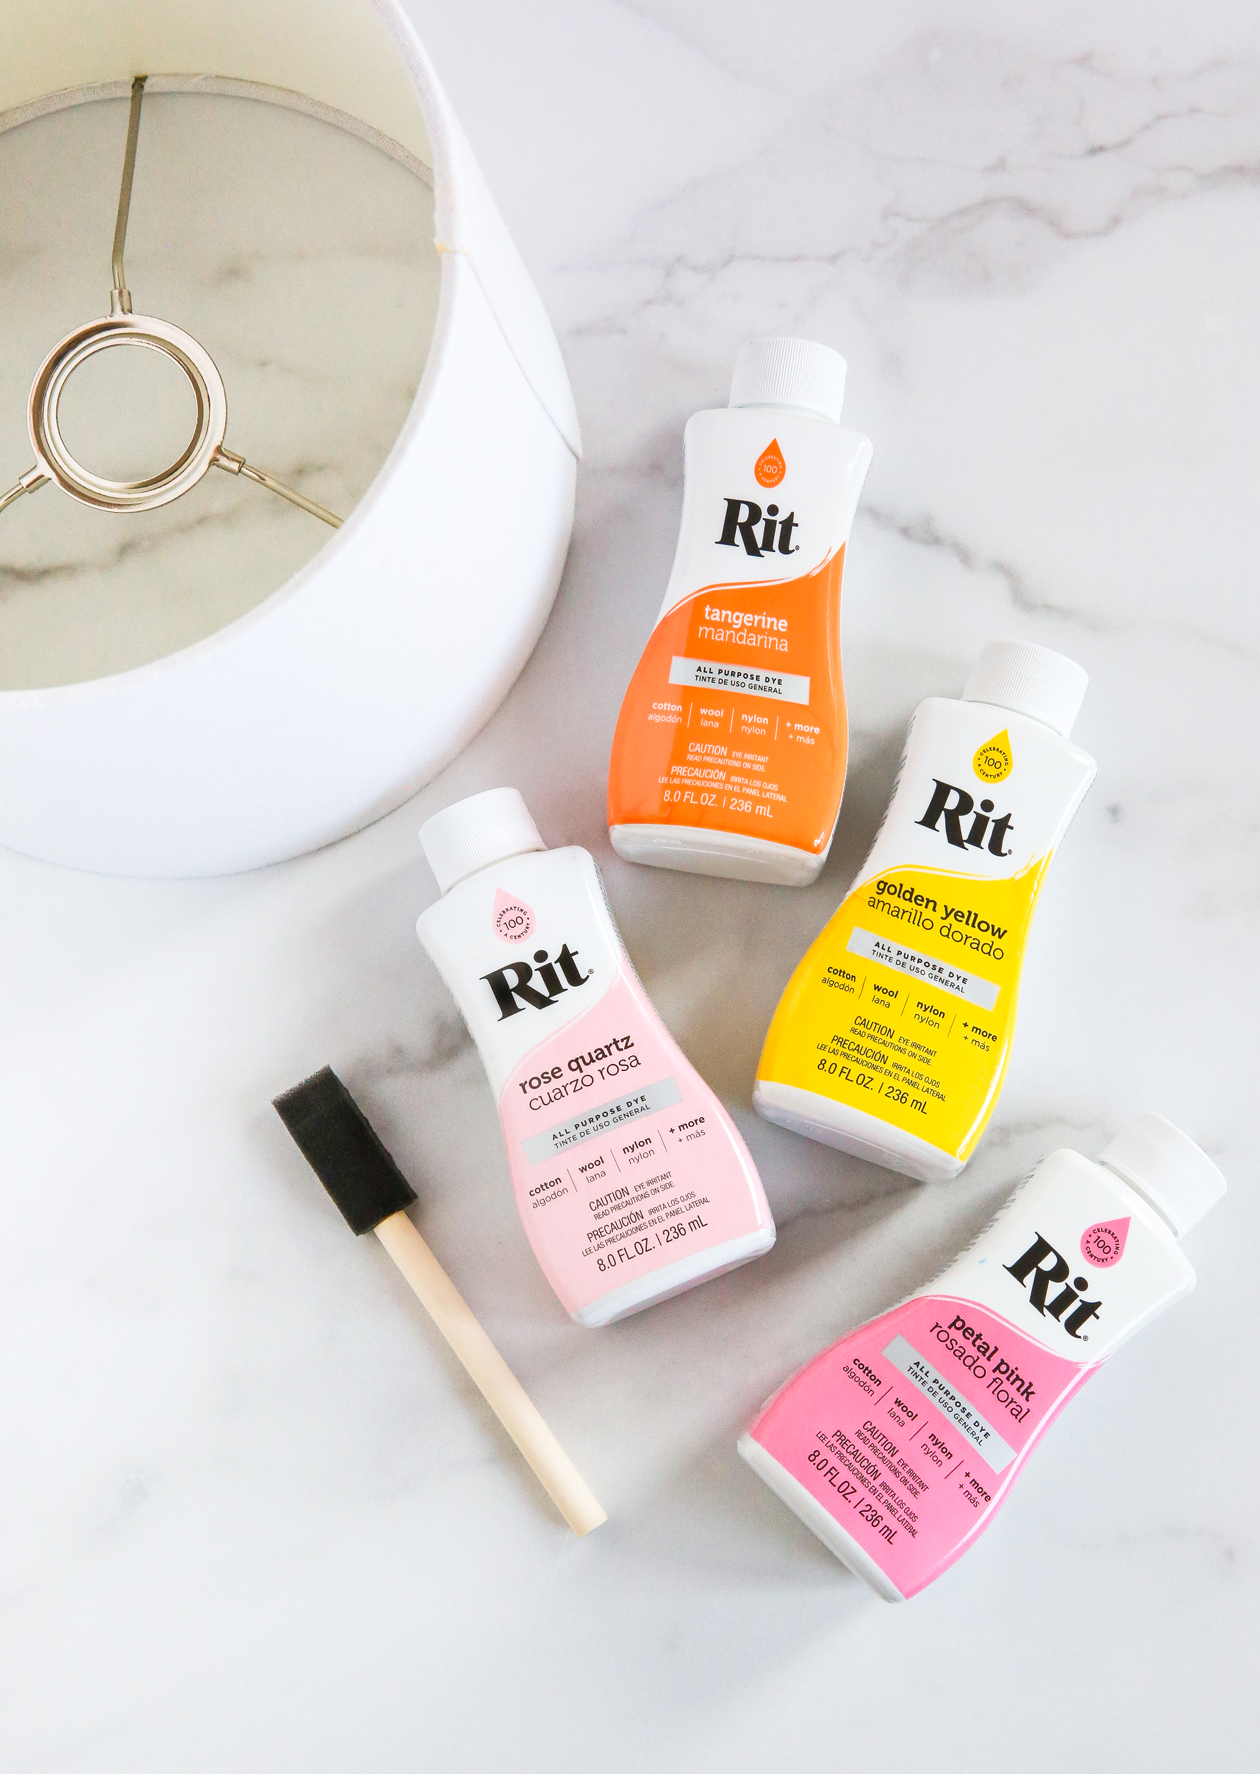
– Liquid dye (I used Rit in petal pink, rose quartz, golden yellow, and tangerine)
– Sponge brush
– Stainless steel sink or plastic bucket
– Small containers + foam brush
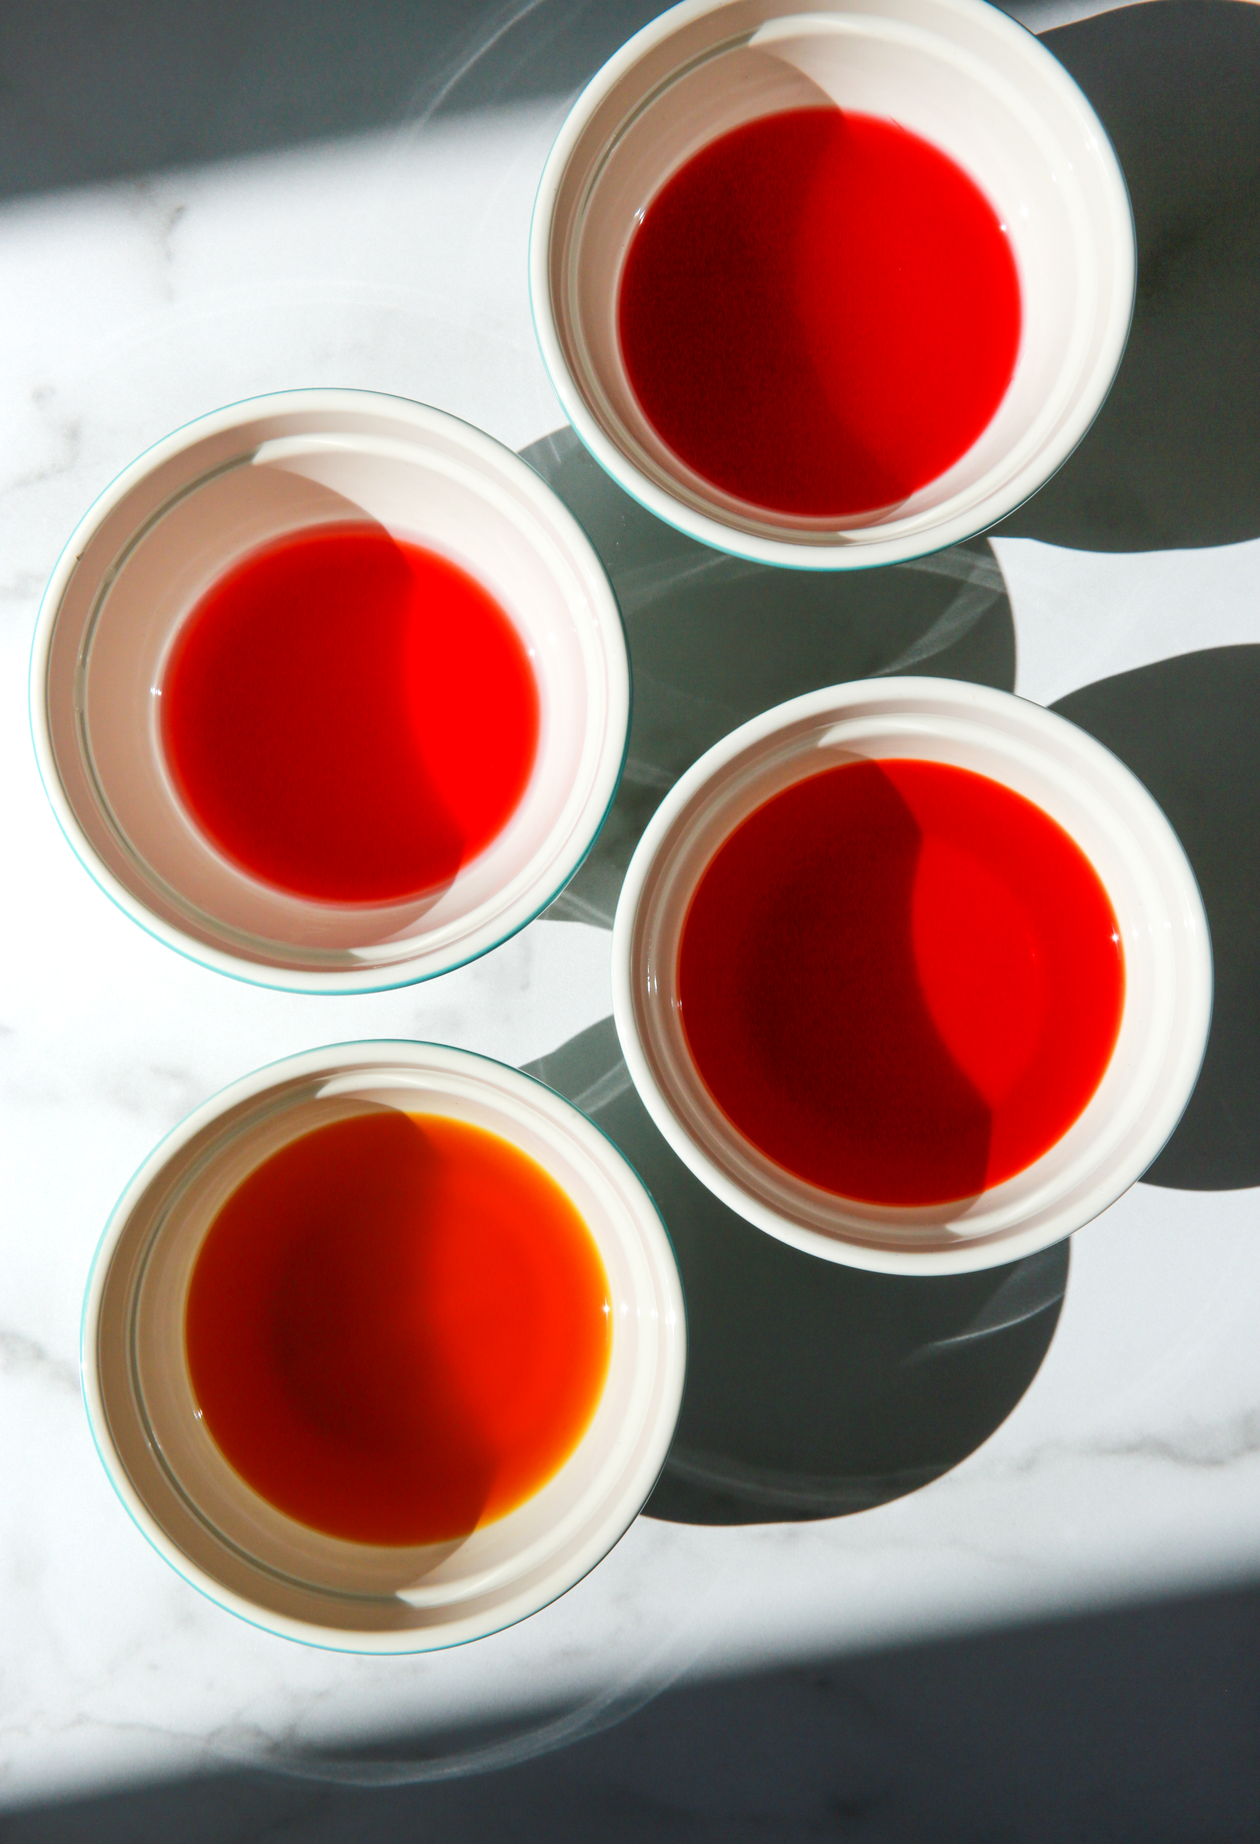 Because you’ll be painting on the dye, you can mix your liquid dye and water in smaller containers. Just be sure to test the color with a paper towel first to make sure it’s the shade you want.
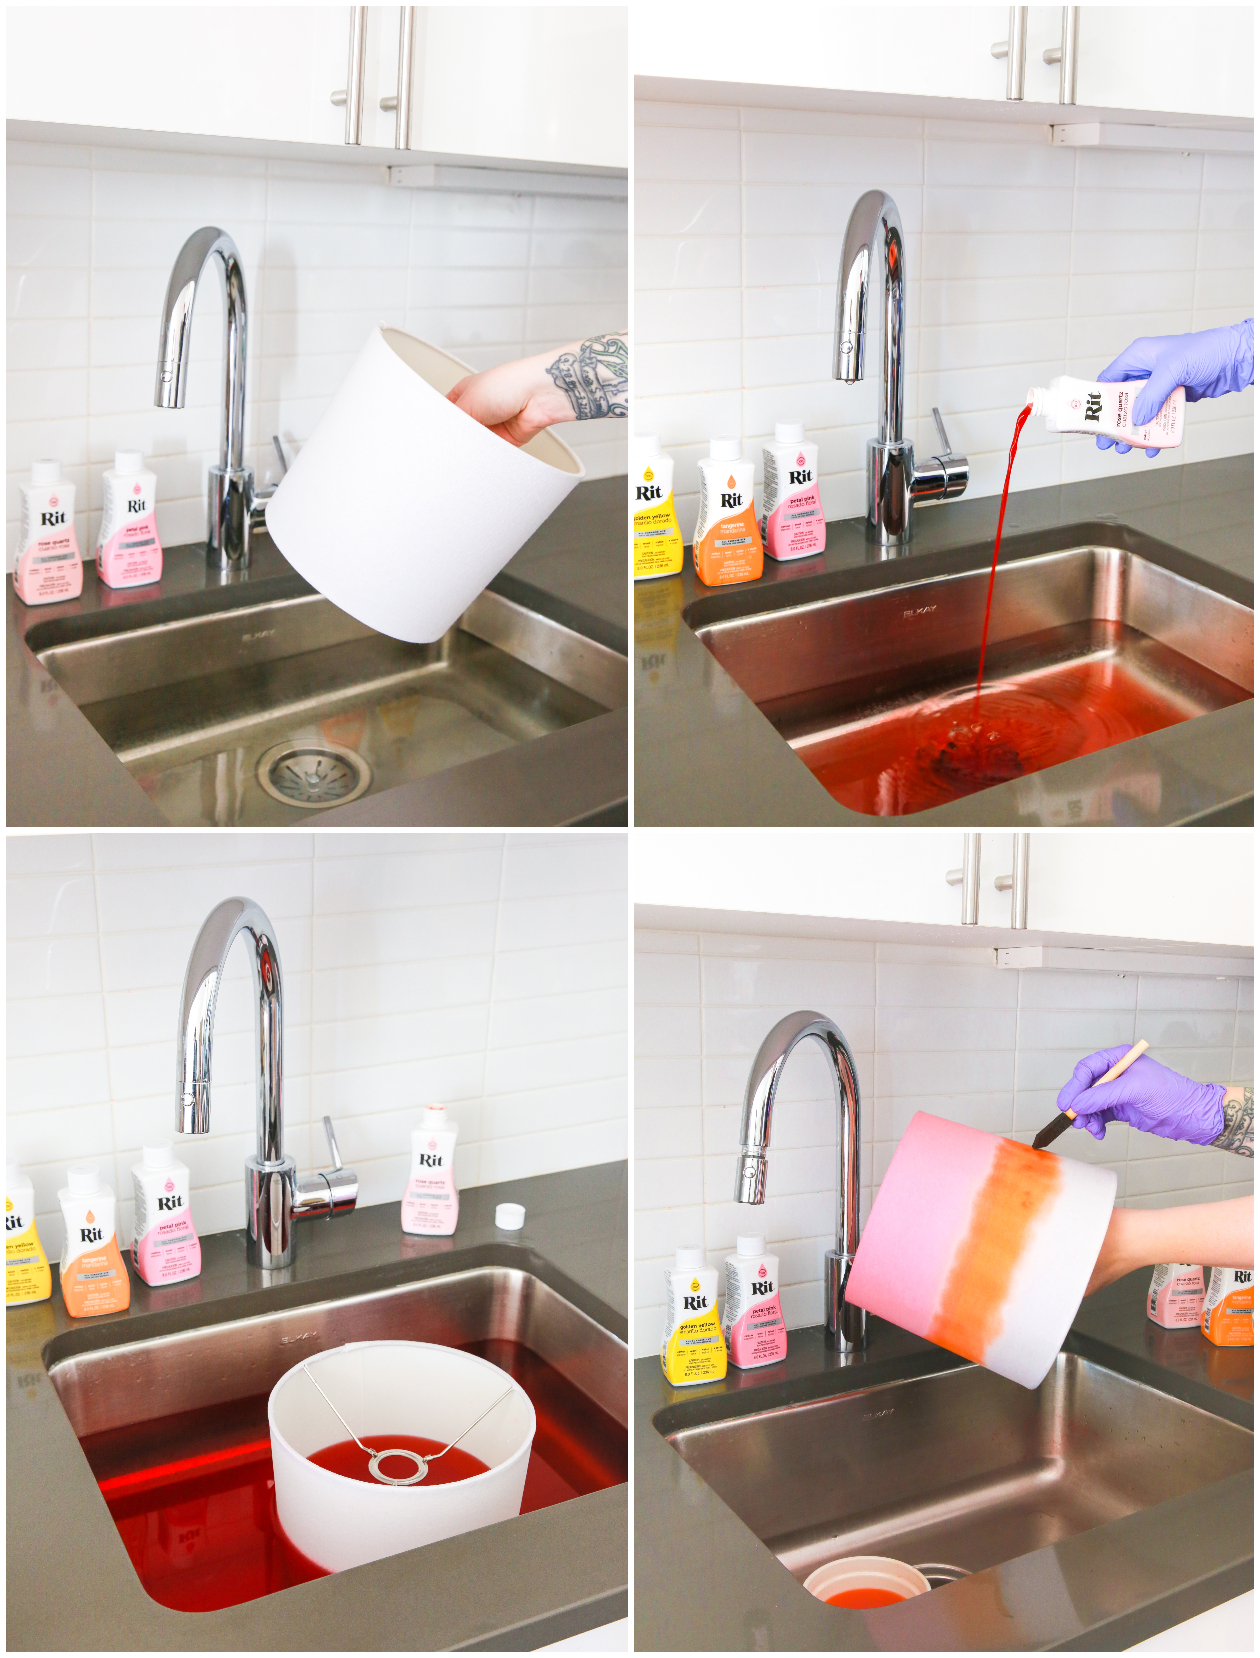 Start by wetting your lampshade with warm water. I dunked mine in the water bath before adding my dye. You can paint all of the colors on if you’d like. I wanted my initial line to be even all the way across which is why I dyed the pink section in the sink.
With a foam brush, add your remaining colors. For a smooth transition between colors, overlap the dye a bit. Let sit for about 10 minutes (add more time if you want your lampshade to be a bolder color). Rinse with cool water until the water runs clear.
Let dry then put back on your lamp!
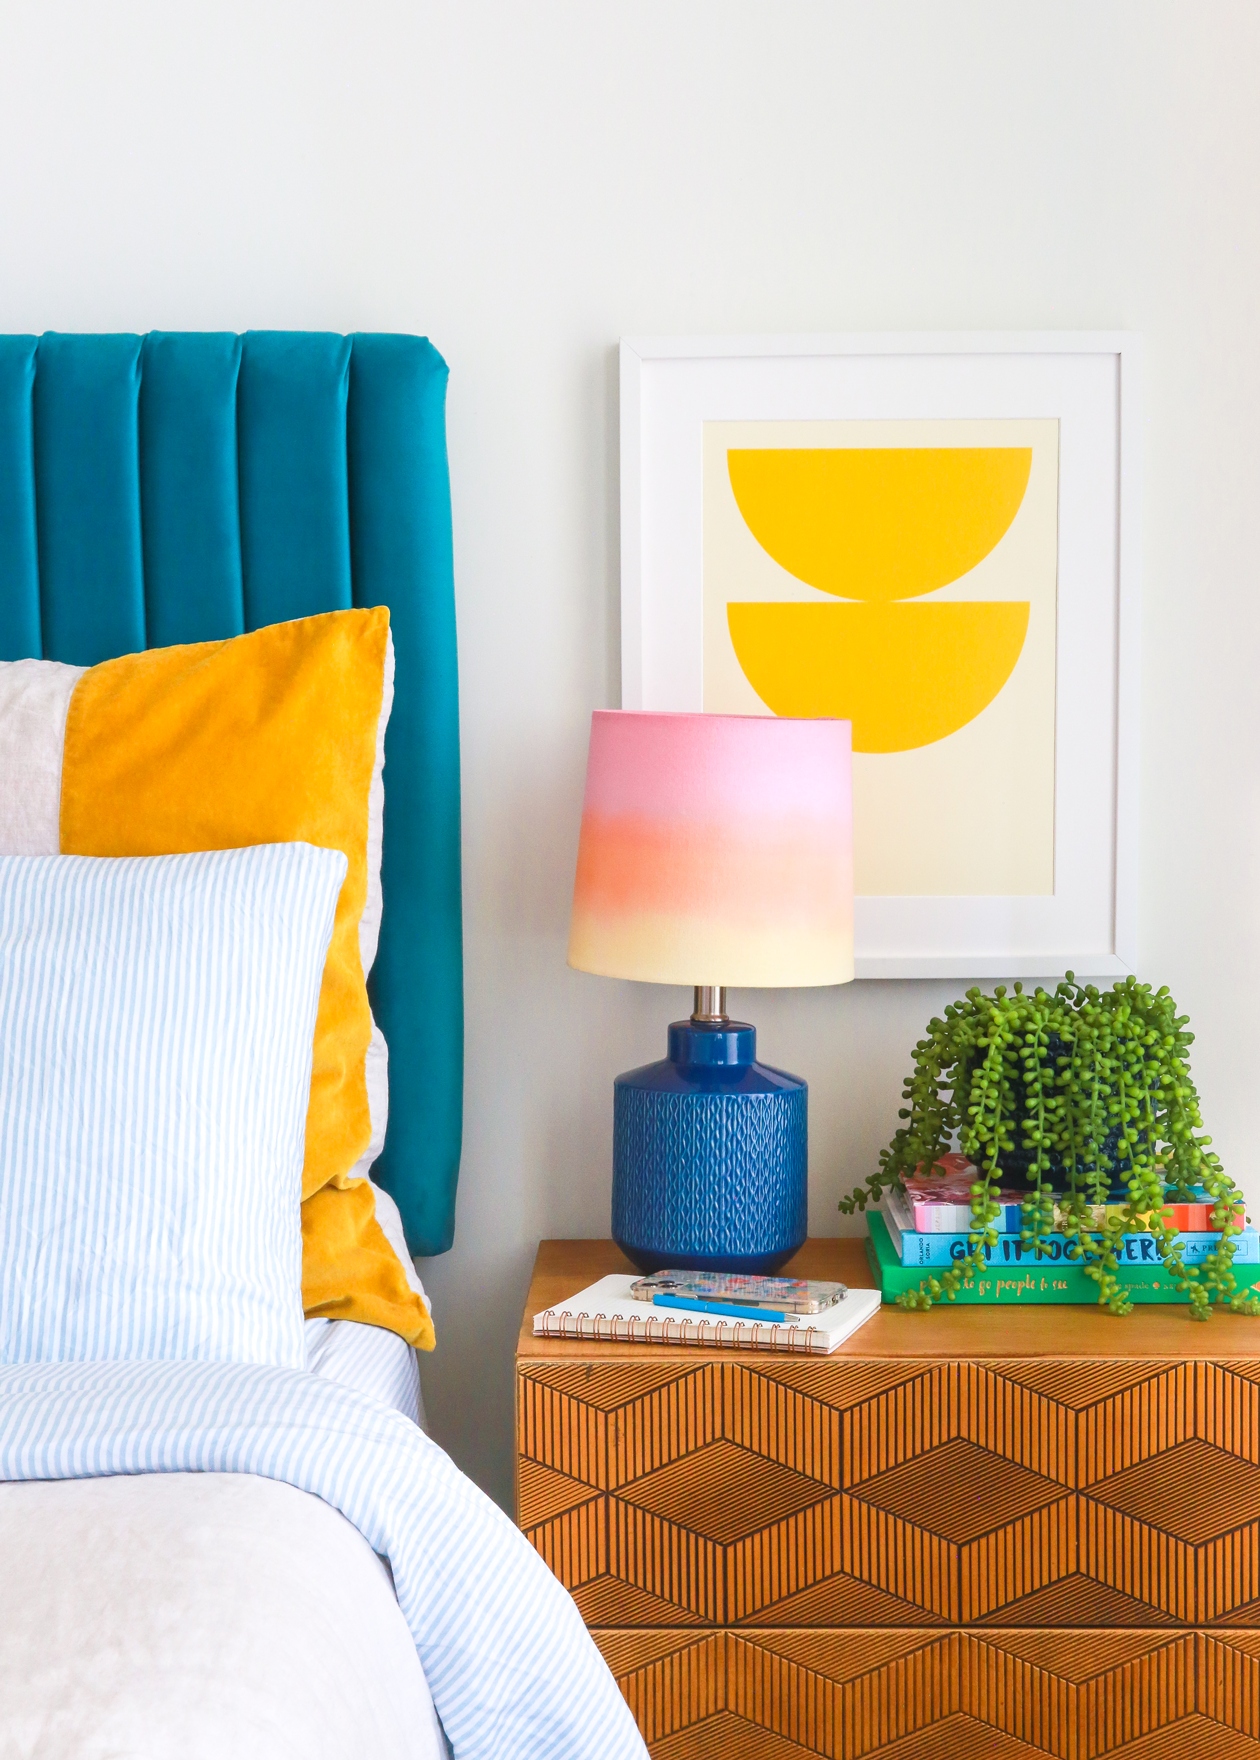 I love how this looks like a soft sunset! And at night the lamp looks so fun– it’s perfect for a nightstand.
Let me know if you have any questions. I can’t wait to see how your DIY dyed lampshade turn out!

