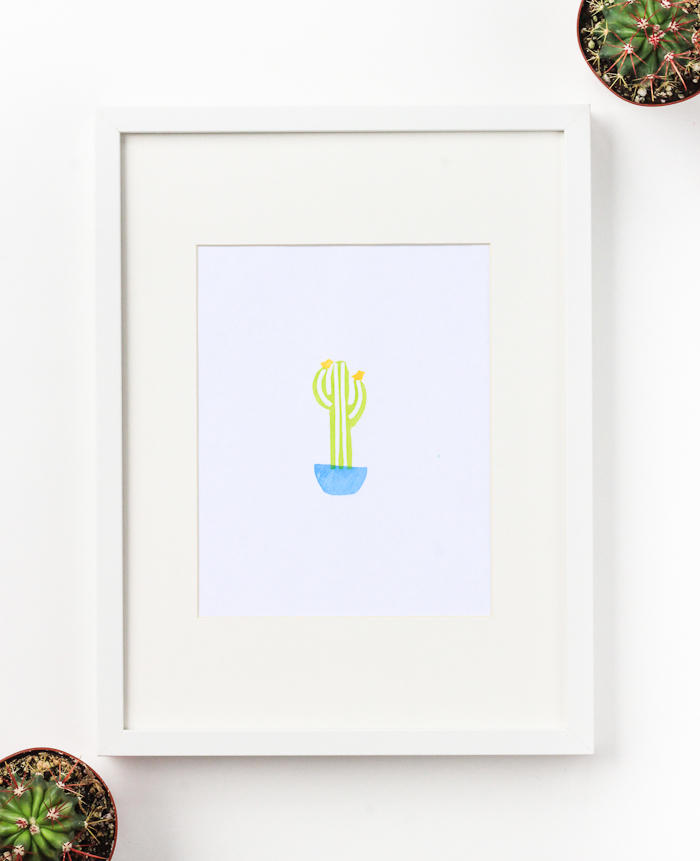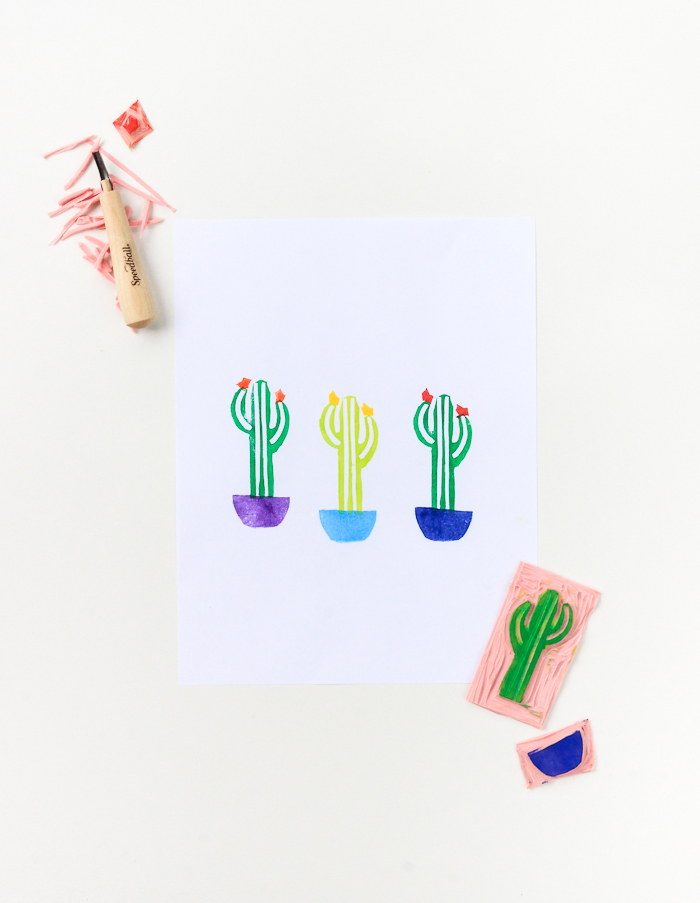
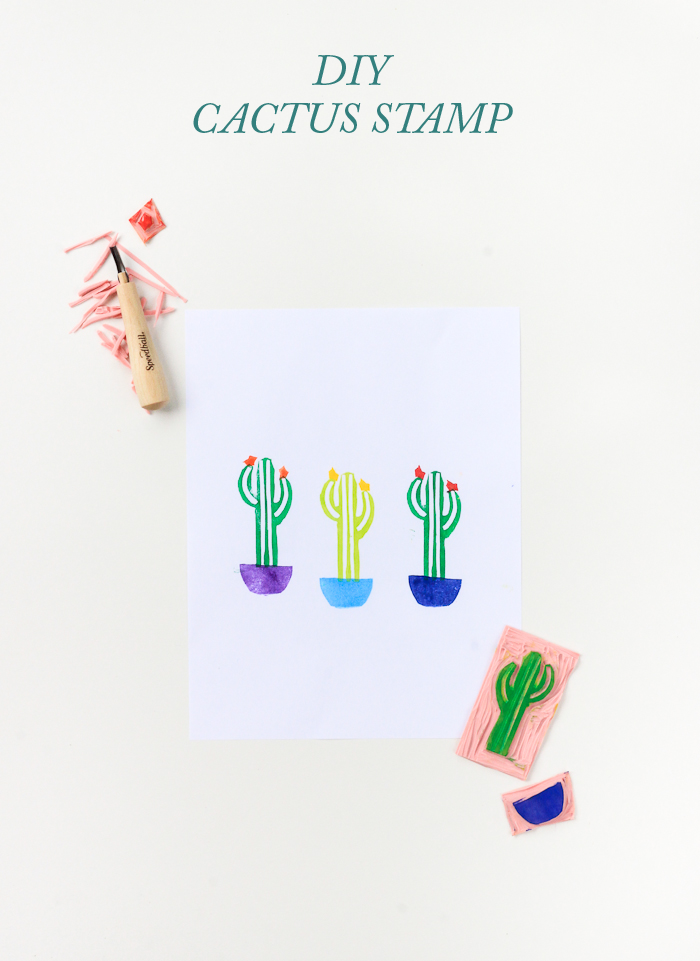
 By now I’m sure you’ve seen how to make your own stamp in a number of ways. I still remember it was one of the first craft projects I even did (you can see that project here). What I haven’t done, however, is make a stamp into multiple different parts. It’s totally fun and a great way to create custom patters or art for your home. Here’s how:
Time: 40 minutes
Materials: stamp carving kit, ink, paper
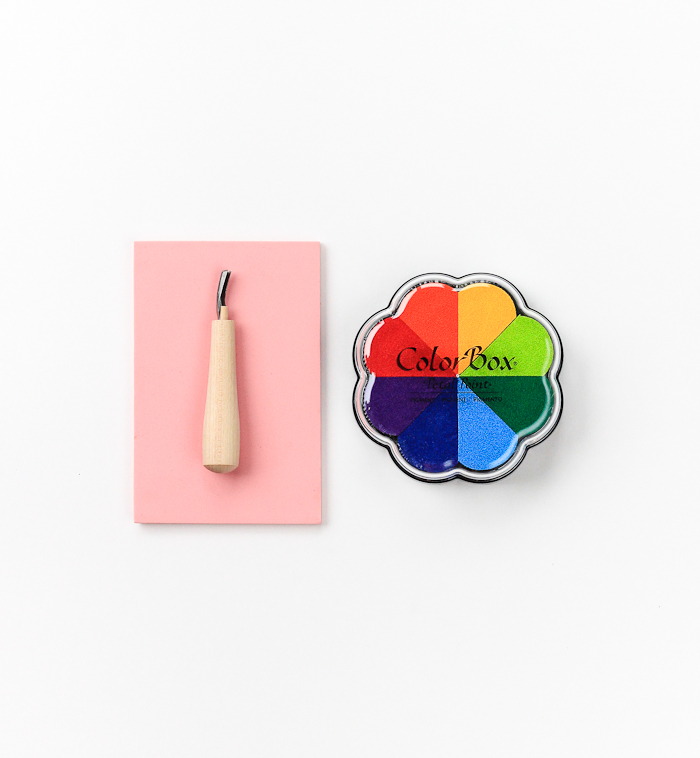 I recommend using a color wheel for ink so that you don’t have to spend a ton of money on individual pads. Plus it’ll give you the freedom to experiment with colors. Also make sure you stamp is rubber so that it’s easier to carve.
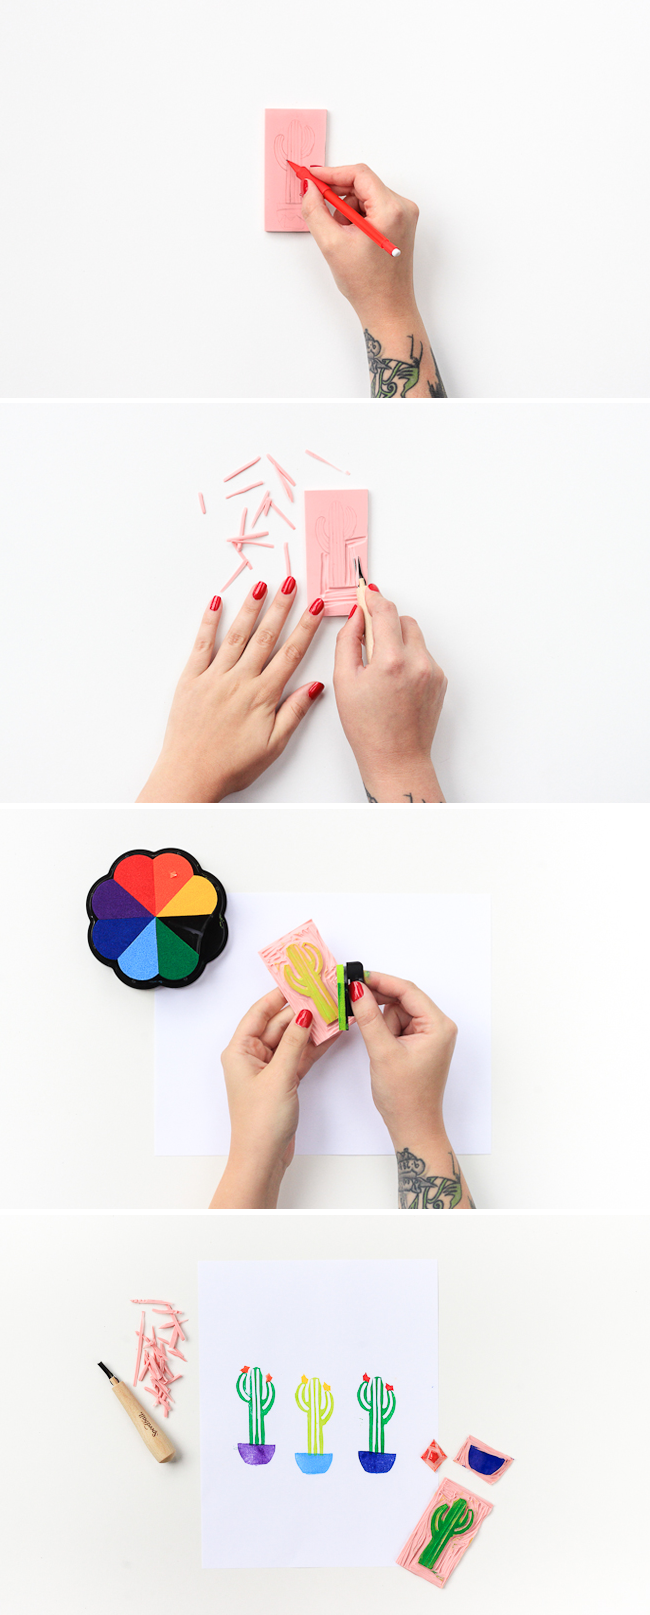 Lightly sketch out your design to the rubber. You won’t really be able to erase, so take your time. Carve out all the spaces you don’t want to be show on paper, leaving you with your stamp design.
Ink up your multiple parts and layer/stamp on paper! You can do anything with these stamps, from diy greeting cards, to custom pillow cases and more. So many possibilities, don’t you think?!