 One of my favorite parts about the end of the year is looking back at all my photos and memories. Plus as you know, Christmas is in my top five of my favorite things about life, so this year, I decided to put the two activities together and make photo ornaments! Here’s how you can whip up a batch to add a personal and colorful touch to your tree in about a half hour:
Time: 30 minutes
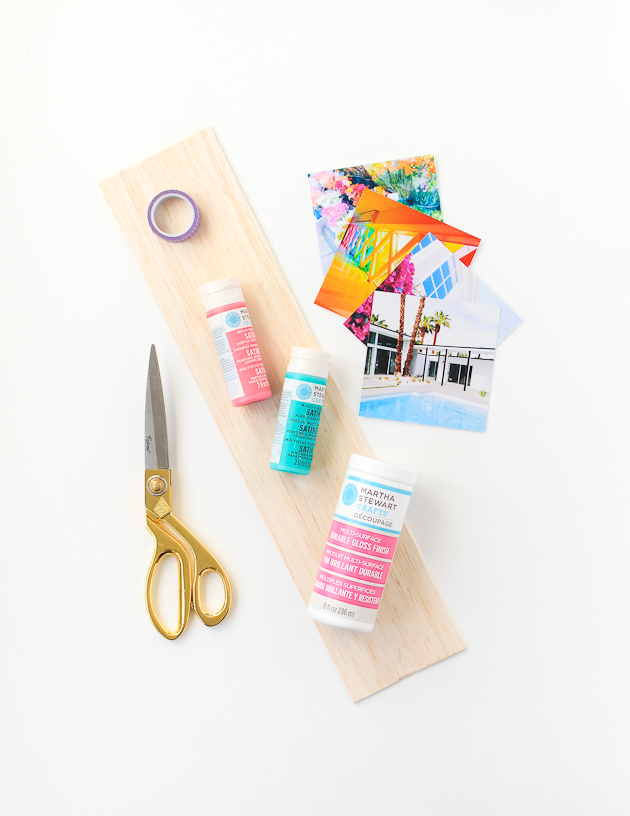
Materials: photos, paint, decoupage, paint brush, balsa wood sheet, scissors, ribbon, hot glue gun
You can find the sheet of balsa wood in the wood craft aisle of the craft store. You want it to be 4″ wide and as thin as possible so cuts are easier. Your scissors should be extra sharp or I suggest using a saw.
I had my 4×4 photos printed through Mpix and just love how the colors came out. You can sync up your Instagram/Facebook pages so that selecting photos is super easy!
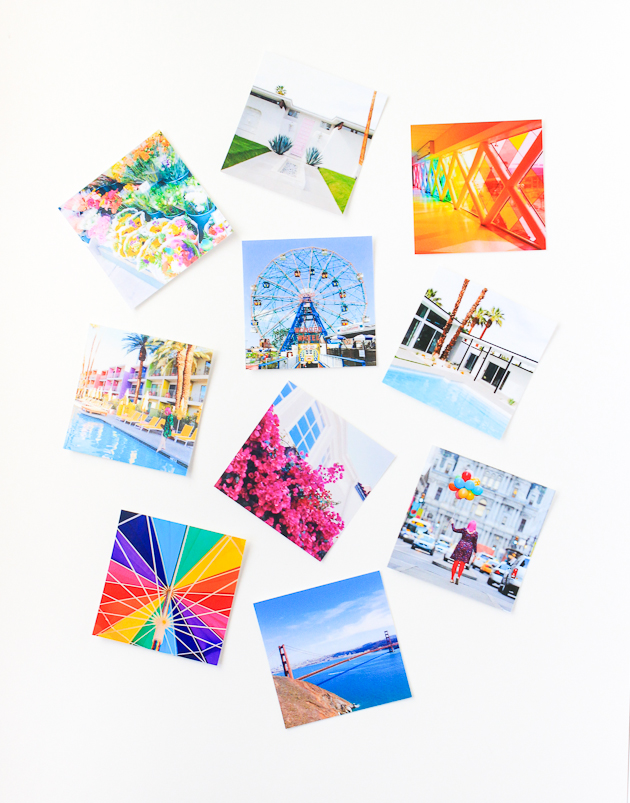
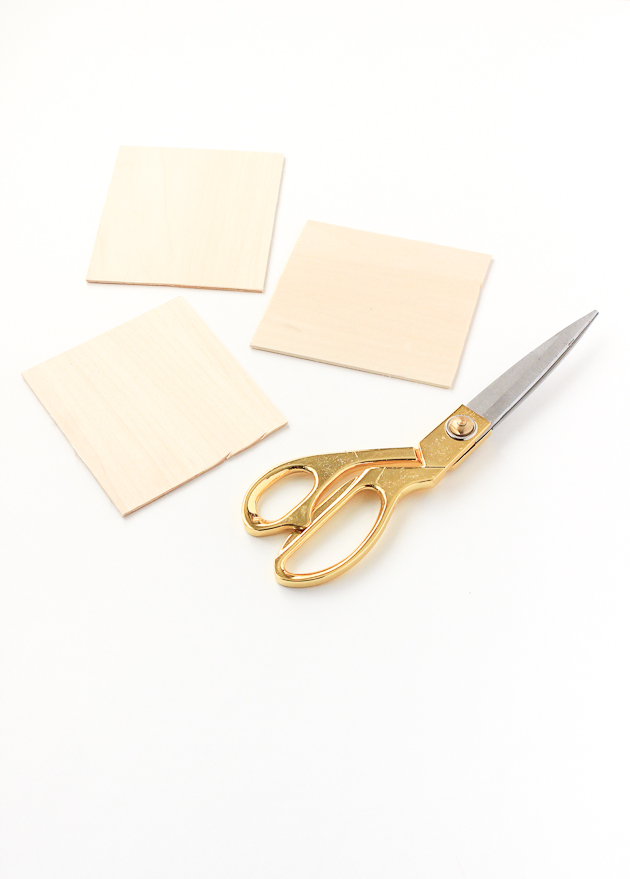 Cut your wood into 4″x 4.5″. If you’re worried about getting perfectly straight lines, have sandpaper on hand so you can smooth out any unevenness.
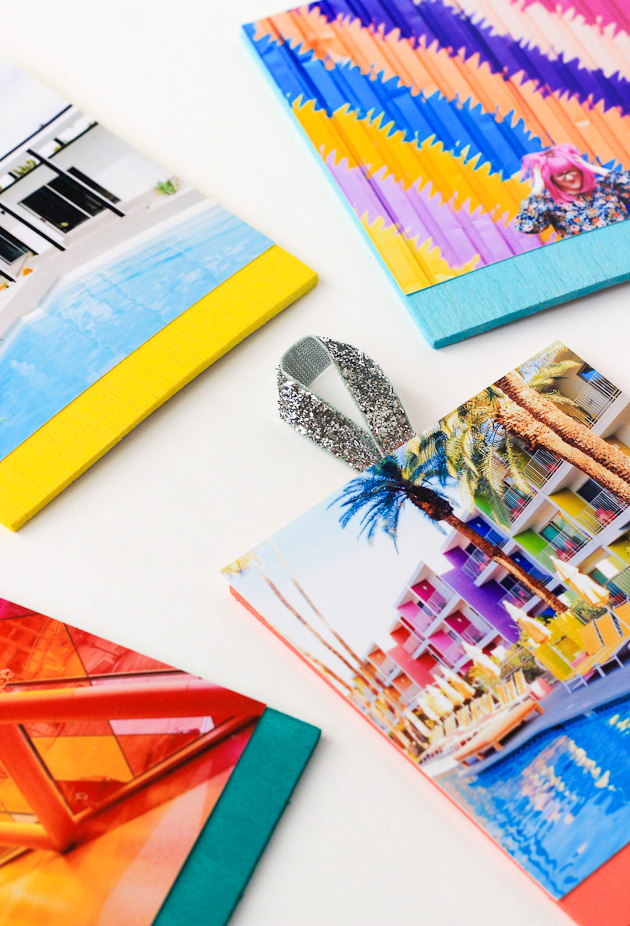
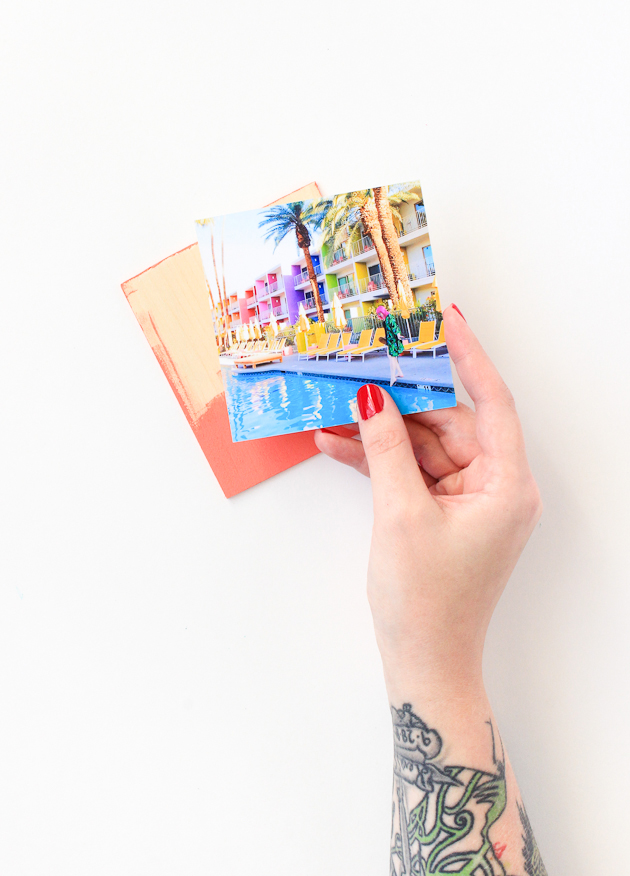 Paint the bottom of your squares as well as the sides. You may also want to paint the back. Apply a thin layer of decoupage all over and place your photo. Set aside.
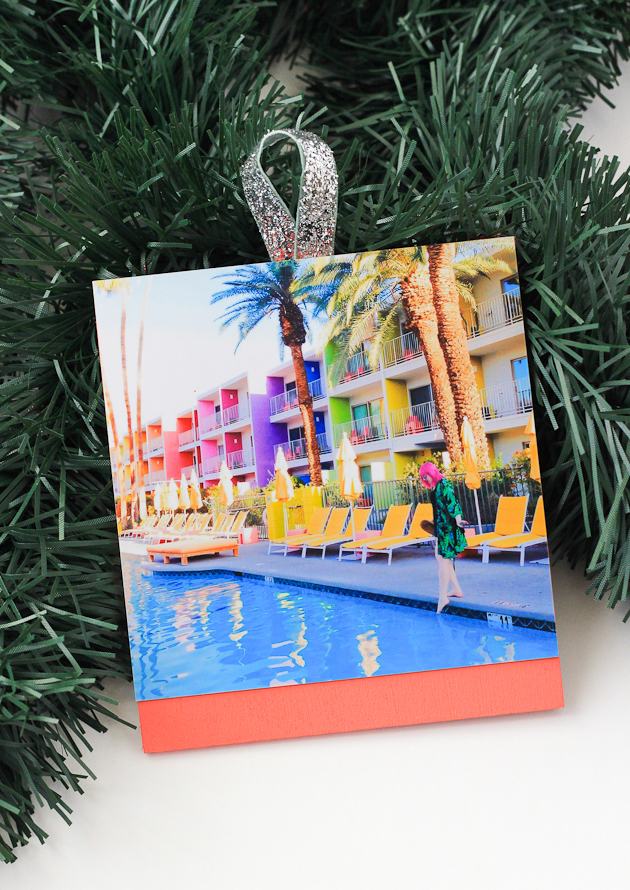
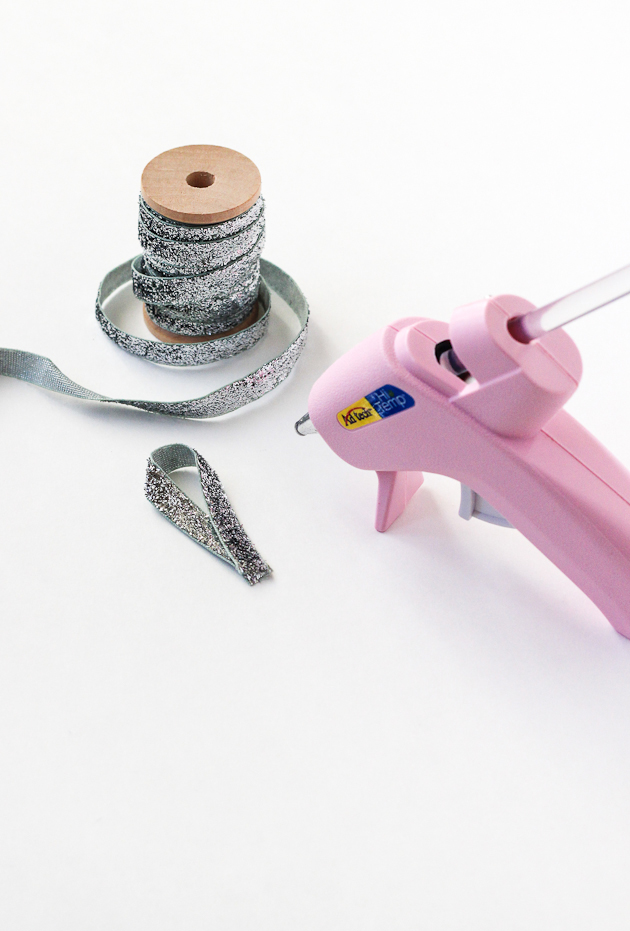 While your squares are drying, make your hanging by folding ribbon and hot glueing into place. Turn your square over and glue in the top-center.
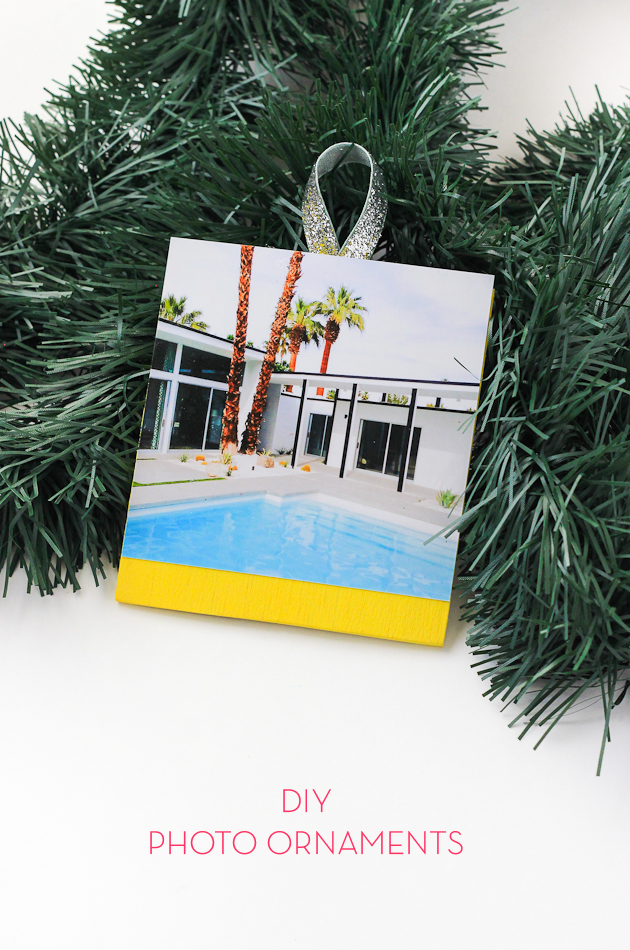
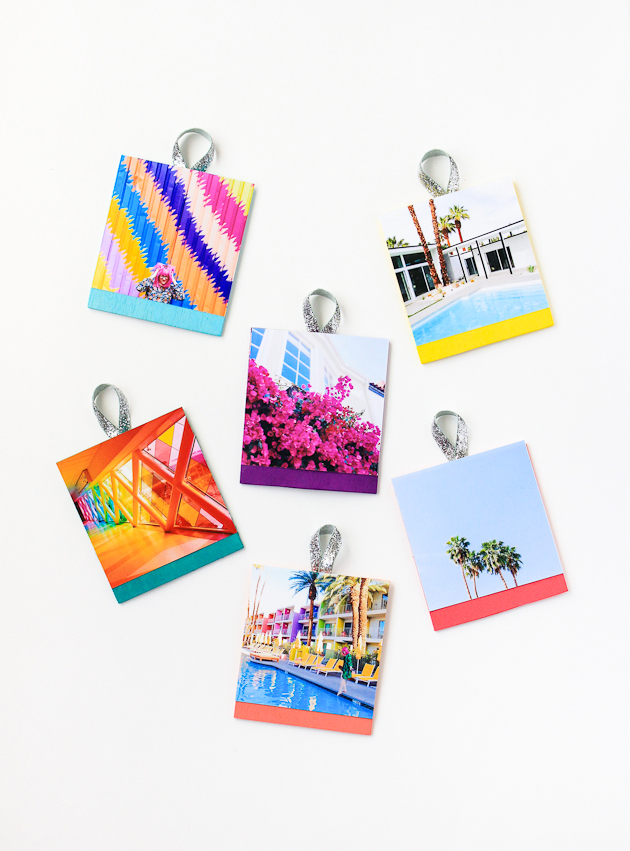 And that’s all there is to it! When Christmas is over you can either store with the rest of your ornaments or remove the ribbon on the back and hang on your wall!
If you’re in a hurry this year, but still want photo ornaments, you can also make your own online here!
This post was sponsored by Mpix. All opinions are 100% my own. Thanks for supporting the brands that keep The Crafted Life making!

