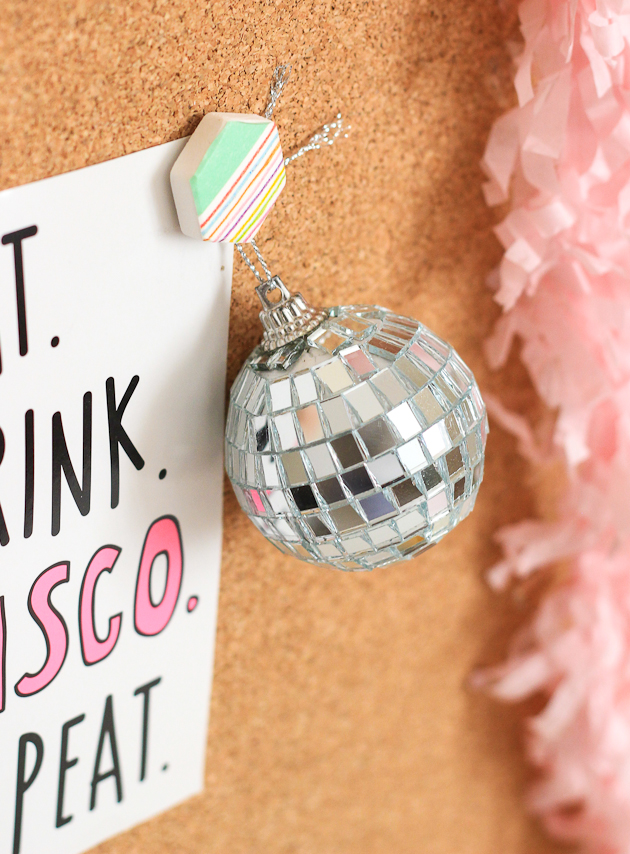
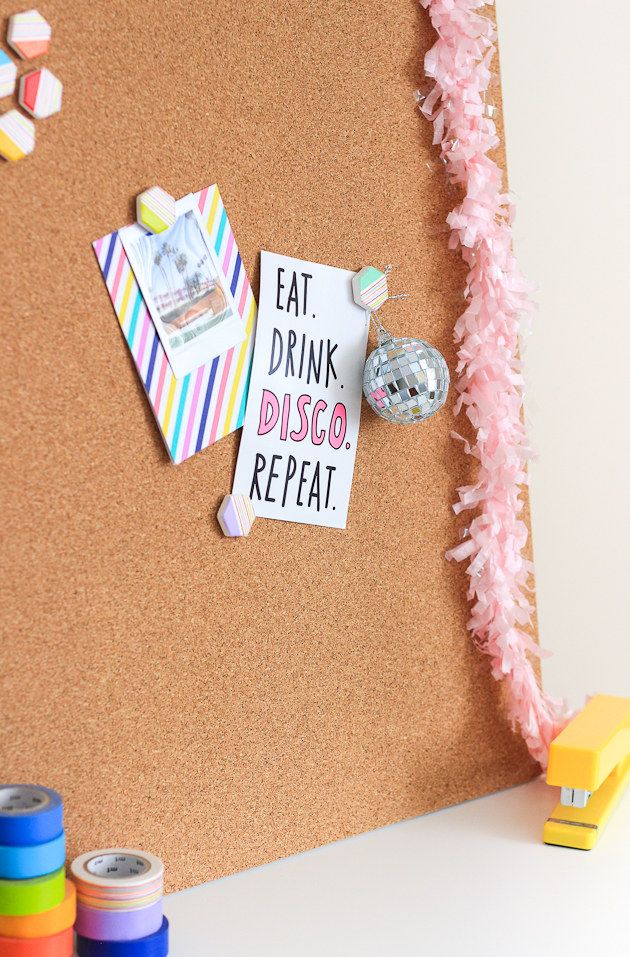
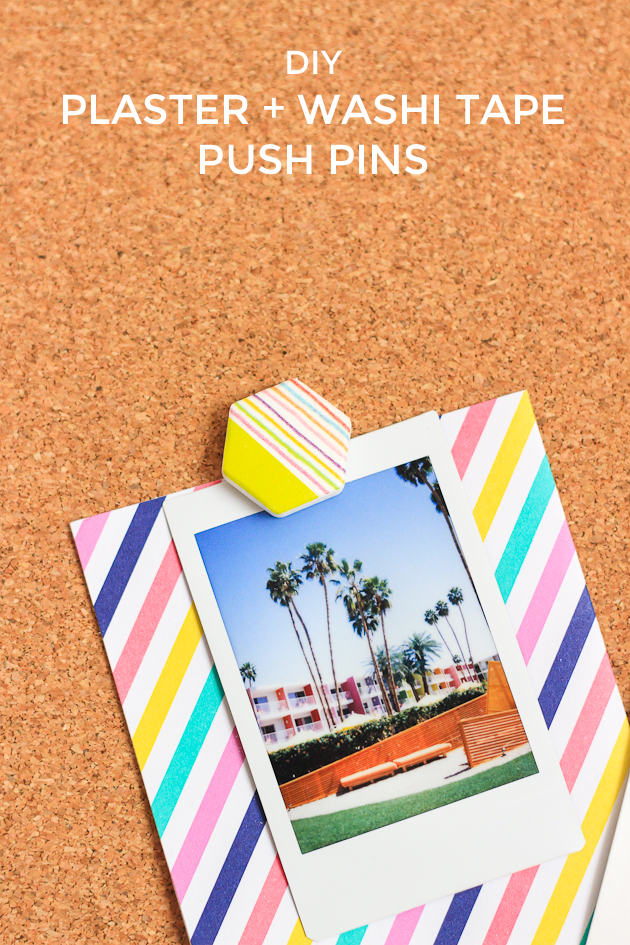
 When it comes to work, I write everything down. Ideas, to do list, doodles of ice cream cones, everything. Basically every now and then my desk turns into a massive pile of post-its and scribbled notes. To get my act together, I decided to get a cork board, but I couldn’t find any push pins that I was head over heels in love with which lead me to make my own! Here’s how:
Time: 30 minutes + dry and set time
Materials: silicon mold, plaster, washi tape, E-6000, thumbtacks, decoupage
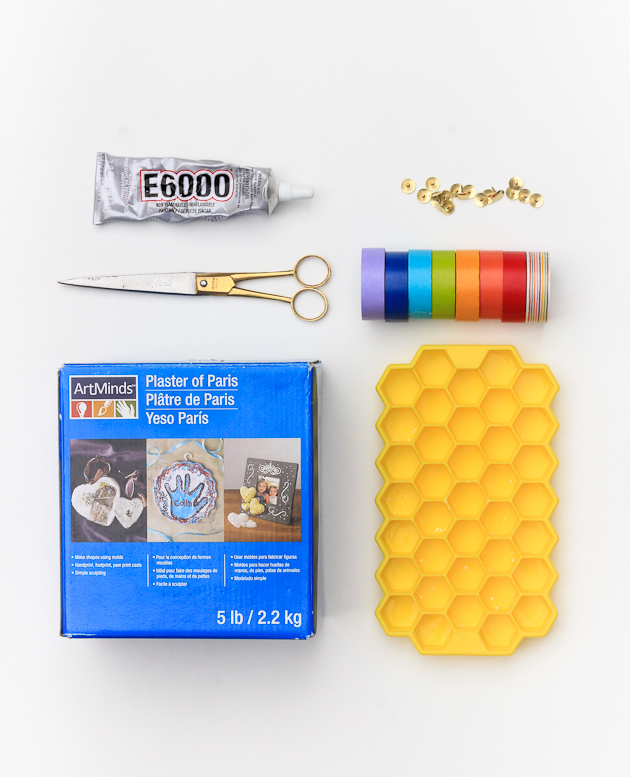 I used a honeycomb shape tray, but you could use any that you wanted. There are SO many options on Amazon, just make sure it’s made of silicon and you’ll be good to go.
 (*BIG UPDATE*– For this project I recommend pushing your tack into the plaster before it hardens rather than gluing on the back later. It’s secure your tack much more!)
Mix your plaster with water (according to the ratio suggested on the box) and pour into the mold. I only poured a little into each because I didn’t want my pins to be thick. Once set, pop out of the mold and let cure. Again, this could vary based on the plaster you buy, so just be sure to follow the instructions for hardening and setting.
Decorate your plaster shapes with washi tape and trim the excess tape. If you don’t want the washi to ever come up, secure with a coat of decoupage.
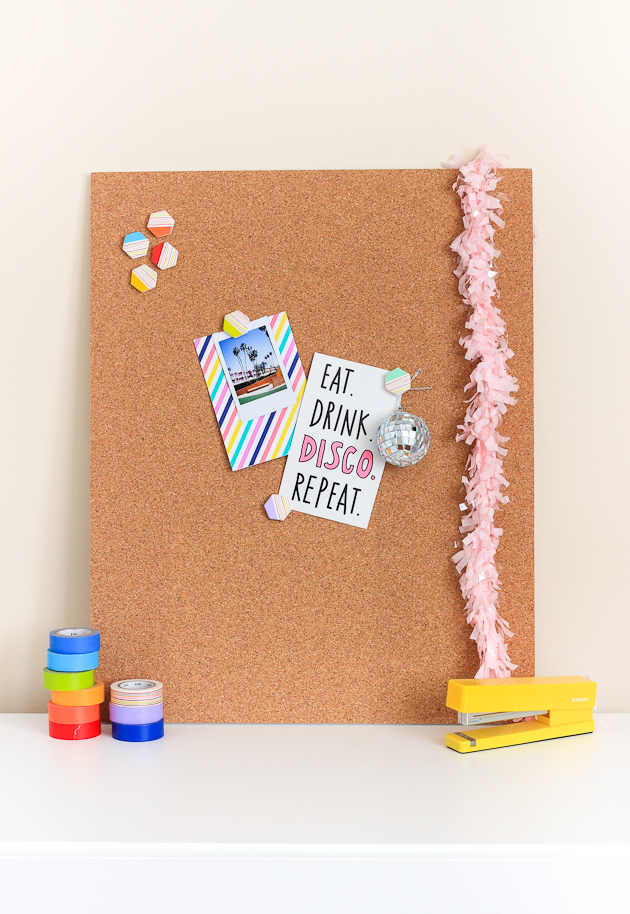 These are much more fun than your basic push pins, don’t you think?! I think of the next batch I might paint the edges too, just to bring in a bit more color.

