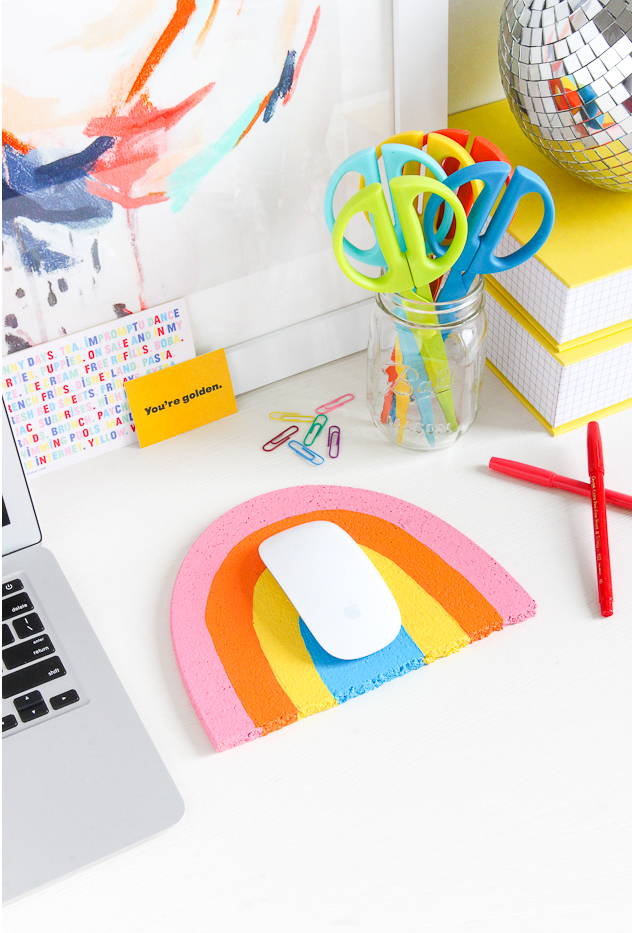
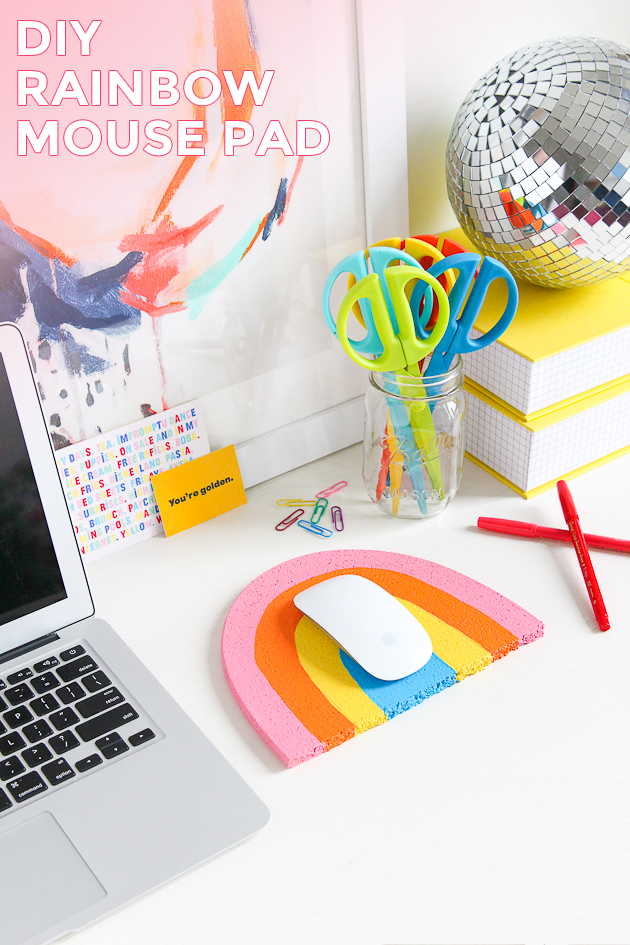
 Writing blog posts just got a little happier over here because my desk is now home to this DIY Rainbow Mouse pad! Up until recently I’ve been using this fabric mouse pad I made it a few years ago, so I figured it was about time to mix things up. In just two easy steps you can add a little rainbow to your day, which isn’t a bad way to start a week if you ask me! Here’s how:
Time: ~1 hour
Materials:
– Martha Stewart multi-surface acrylic paint
– Brush
– Knife
– Tape measurer or ruler
(**Update– I’ve turned this DIY into product! Grab the leather version of it in my shop!)
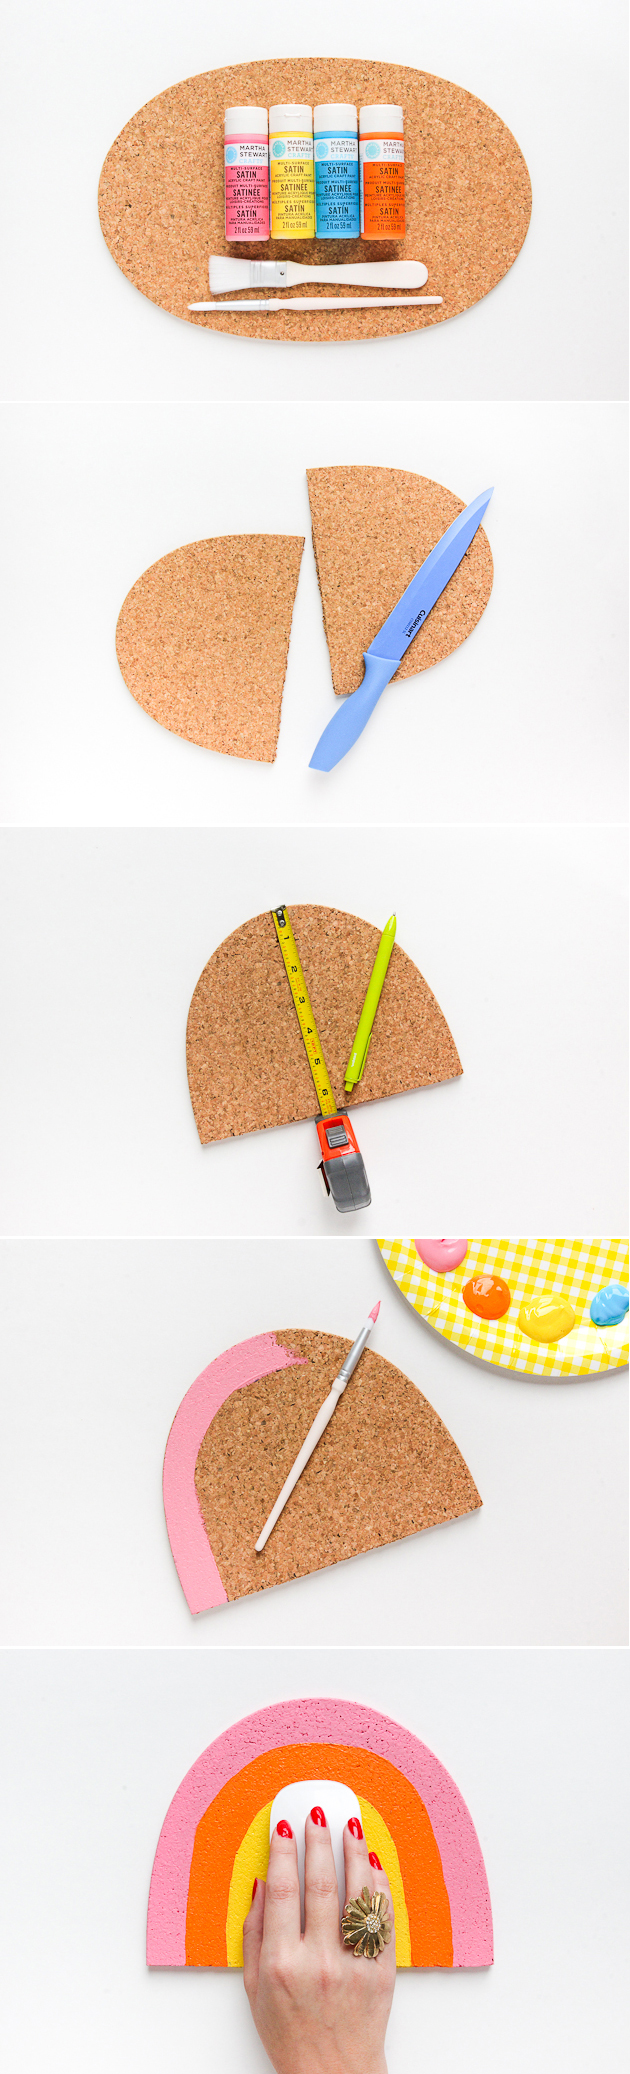 Using your ruler, mark the half way point on the cork board. Cut in half. You may be temped to use scissors for this step, but because of the nature and thickness of the cork, it’s better to use a knife. if you aren’t comfortable using a knife, ask a friend! The good news is that one cork mat makes two rainbows so you could really do this project with another person.
Once you have your mat in rainbow shape you’ll want to mark off where the colors will be. In the photo I used a pen, but let me stress… DON’T! It will come through the paint after everything dries, so try using a light pencil or even tape to mark of the sections. Find the center and then measuring equal parts from there in both directions (a little more than ~1″ a section). If you want a more handmade feel, just start painting! You may want to let the paint dry a bit in between each color so that the paint doesn’t blend. Don’t forget to paint the sides as well since they’ll be visible!
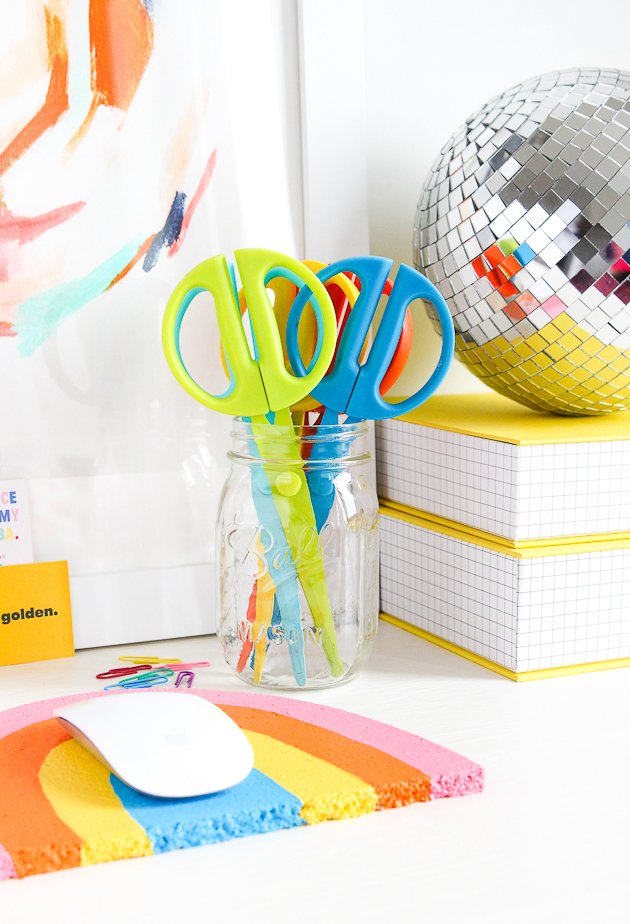
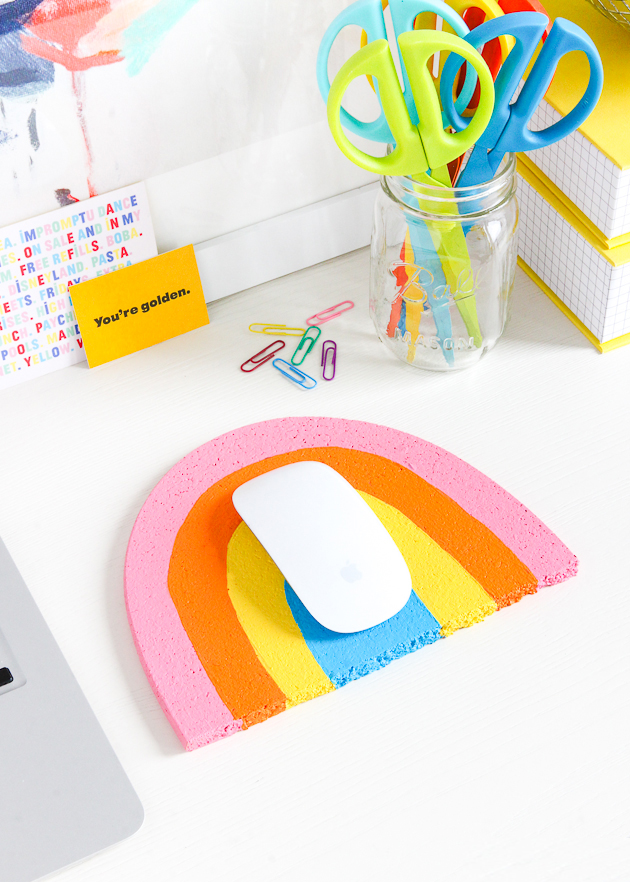 There’s really no wrong colors to pick for your rainbow. When in doubt, I tend to swap red for pink and leave purple out of it all together (sorry purple). But you can add more or even less colors if you feel. This project is totally flexible and such a fun one– can’t wait to see your versions!
 And if you don’t need a mouse pad, try hanging these on the wall for pin boards!