This post is sponsored by Brother USA. All opinions expressed are my own. Thank you for supporting the brands that keep The Crafted Life Making!
 It’s March 1st which means it’s officially National Craft Month! And what better way to kick off one of my favorite months than with a fun DIY project?!
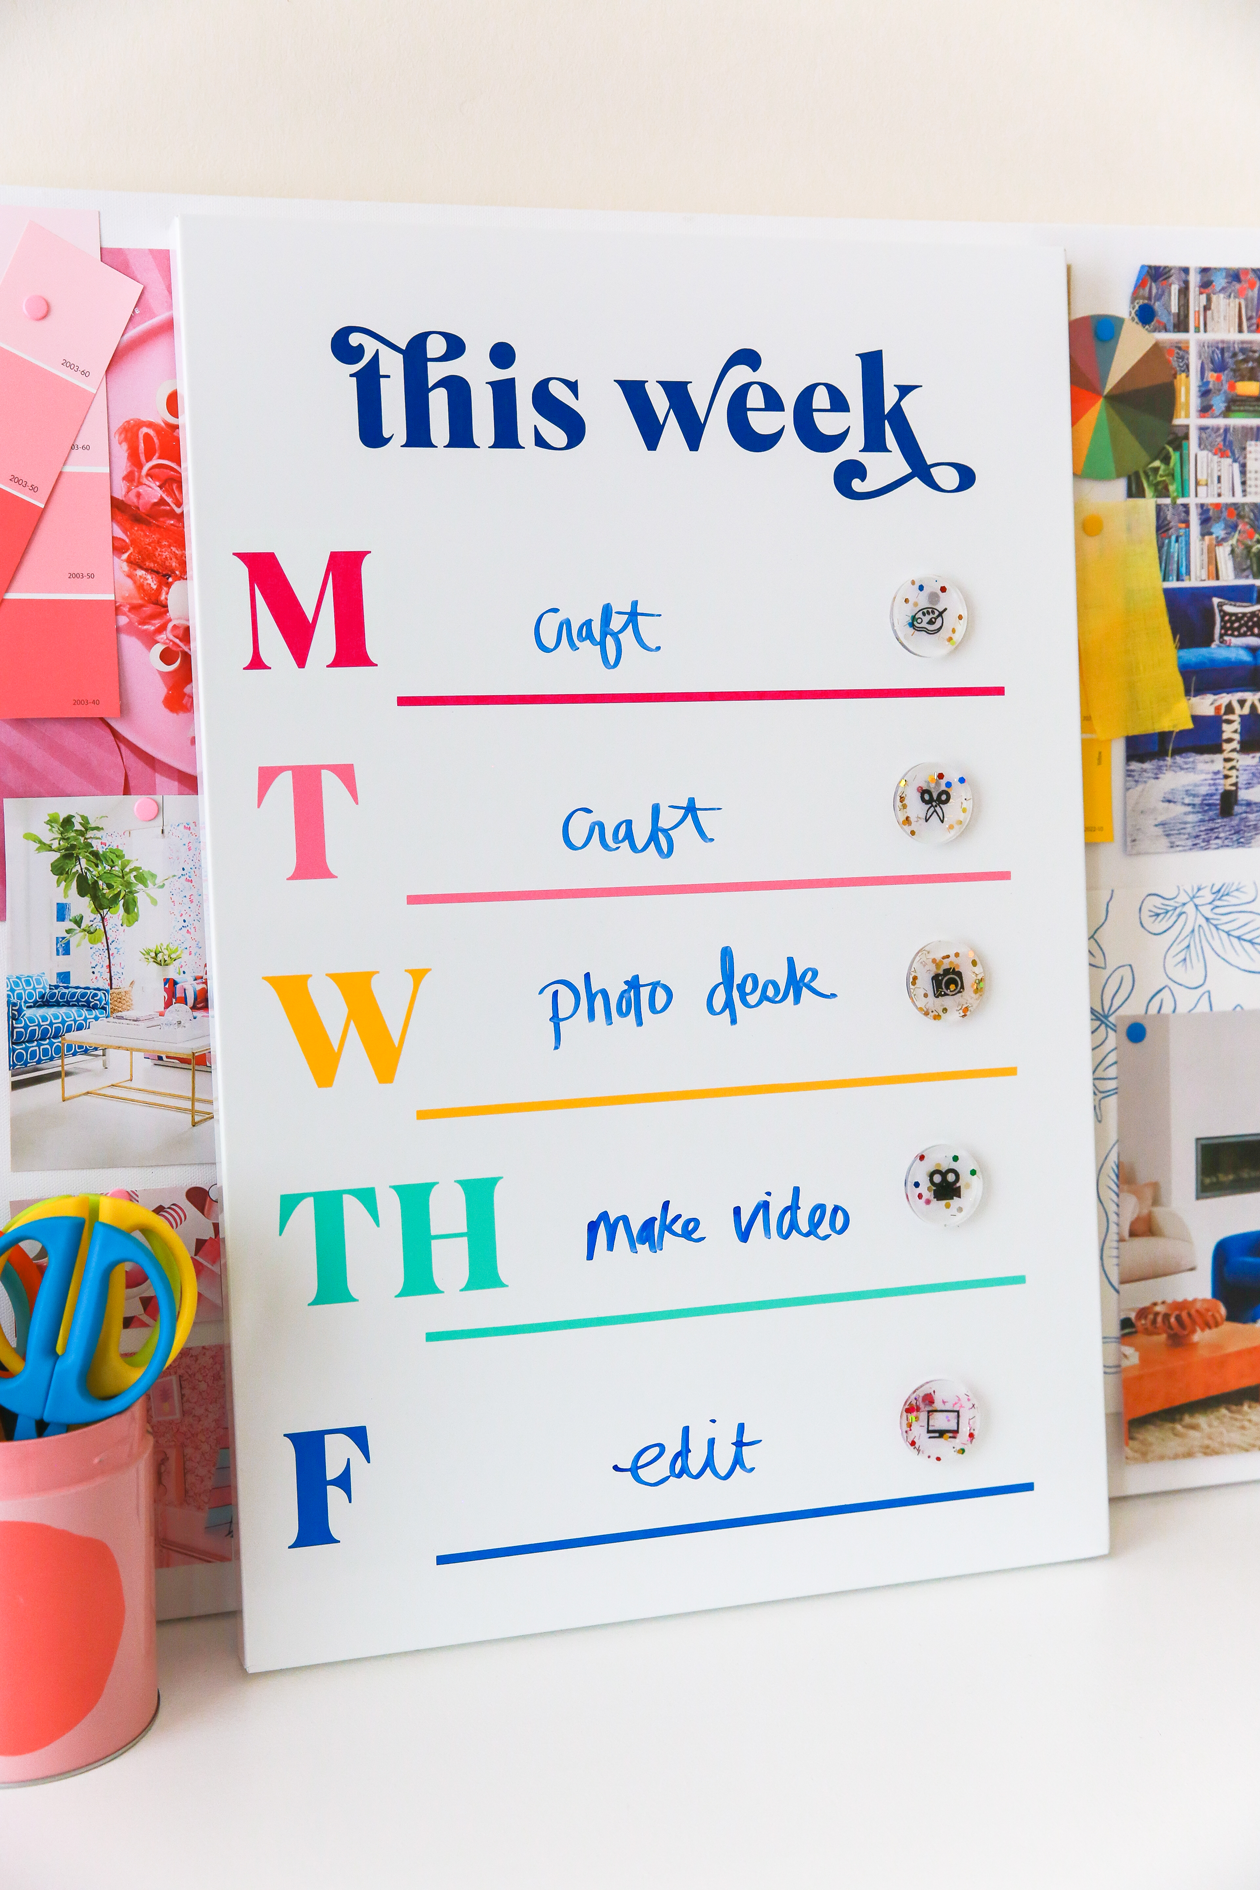
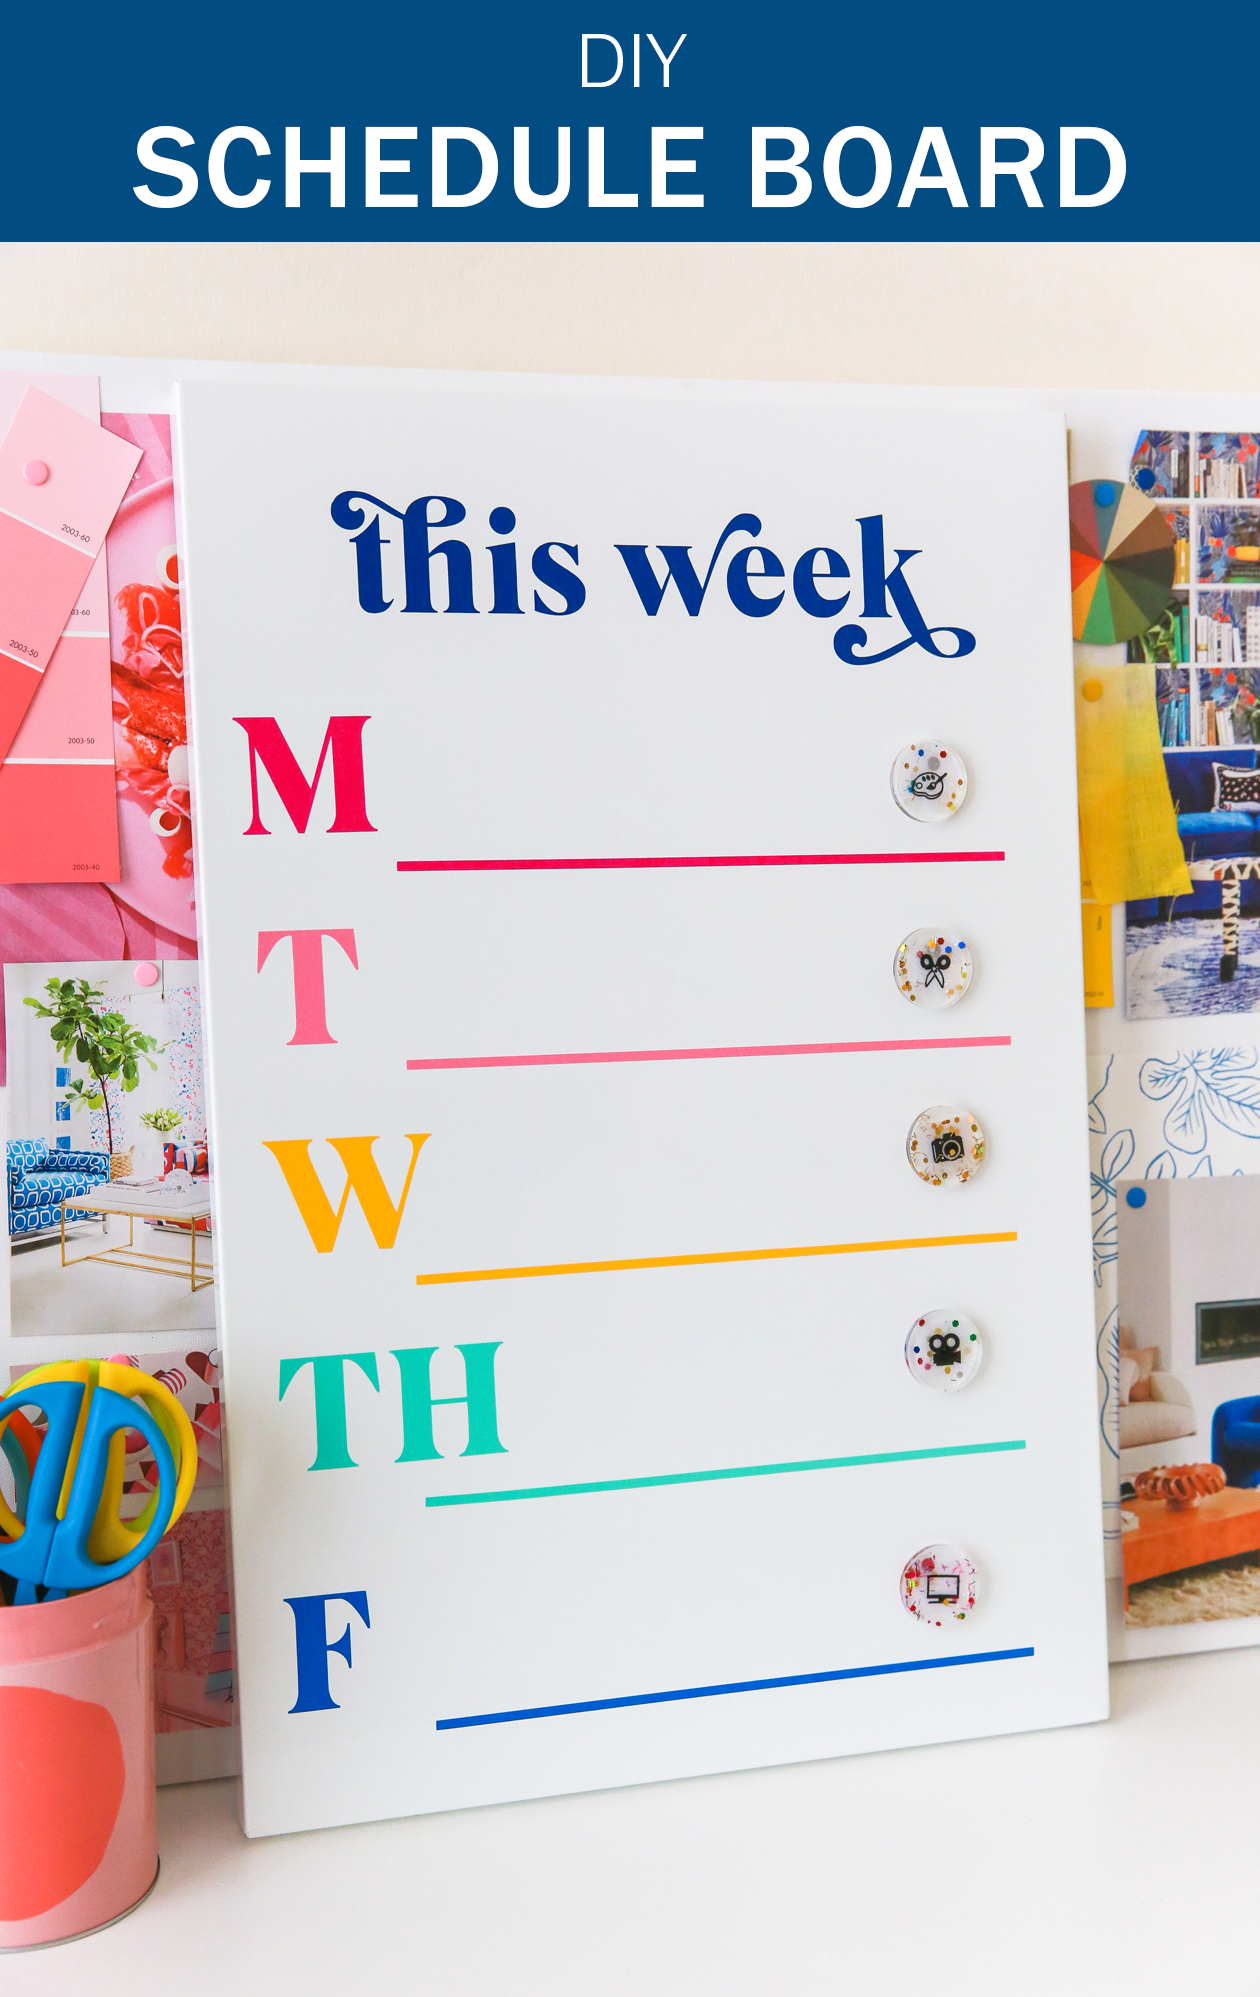
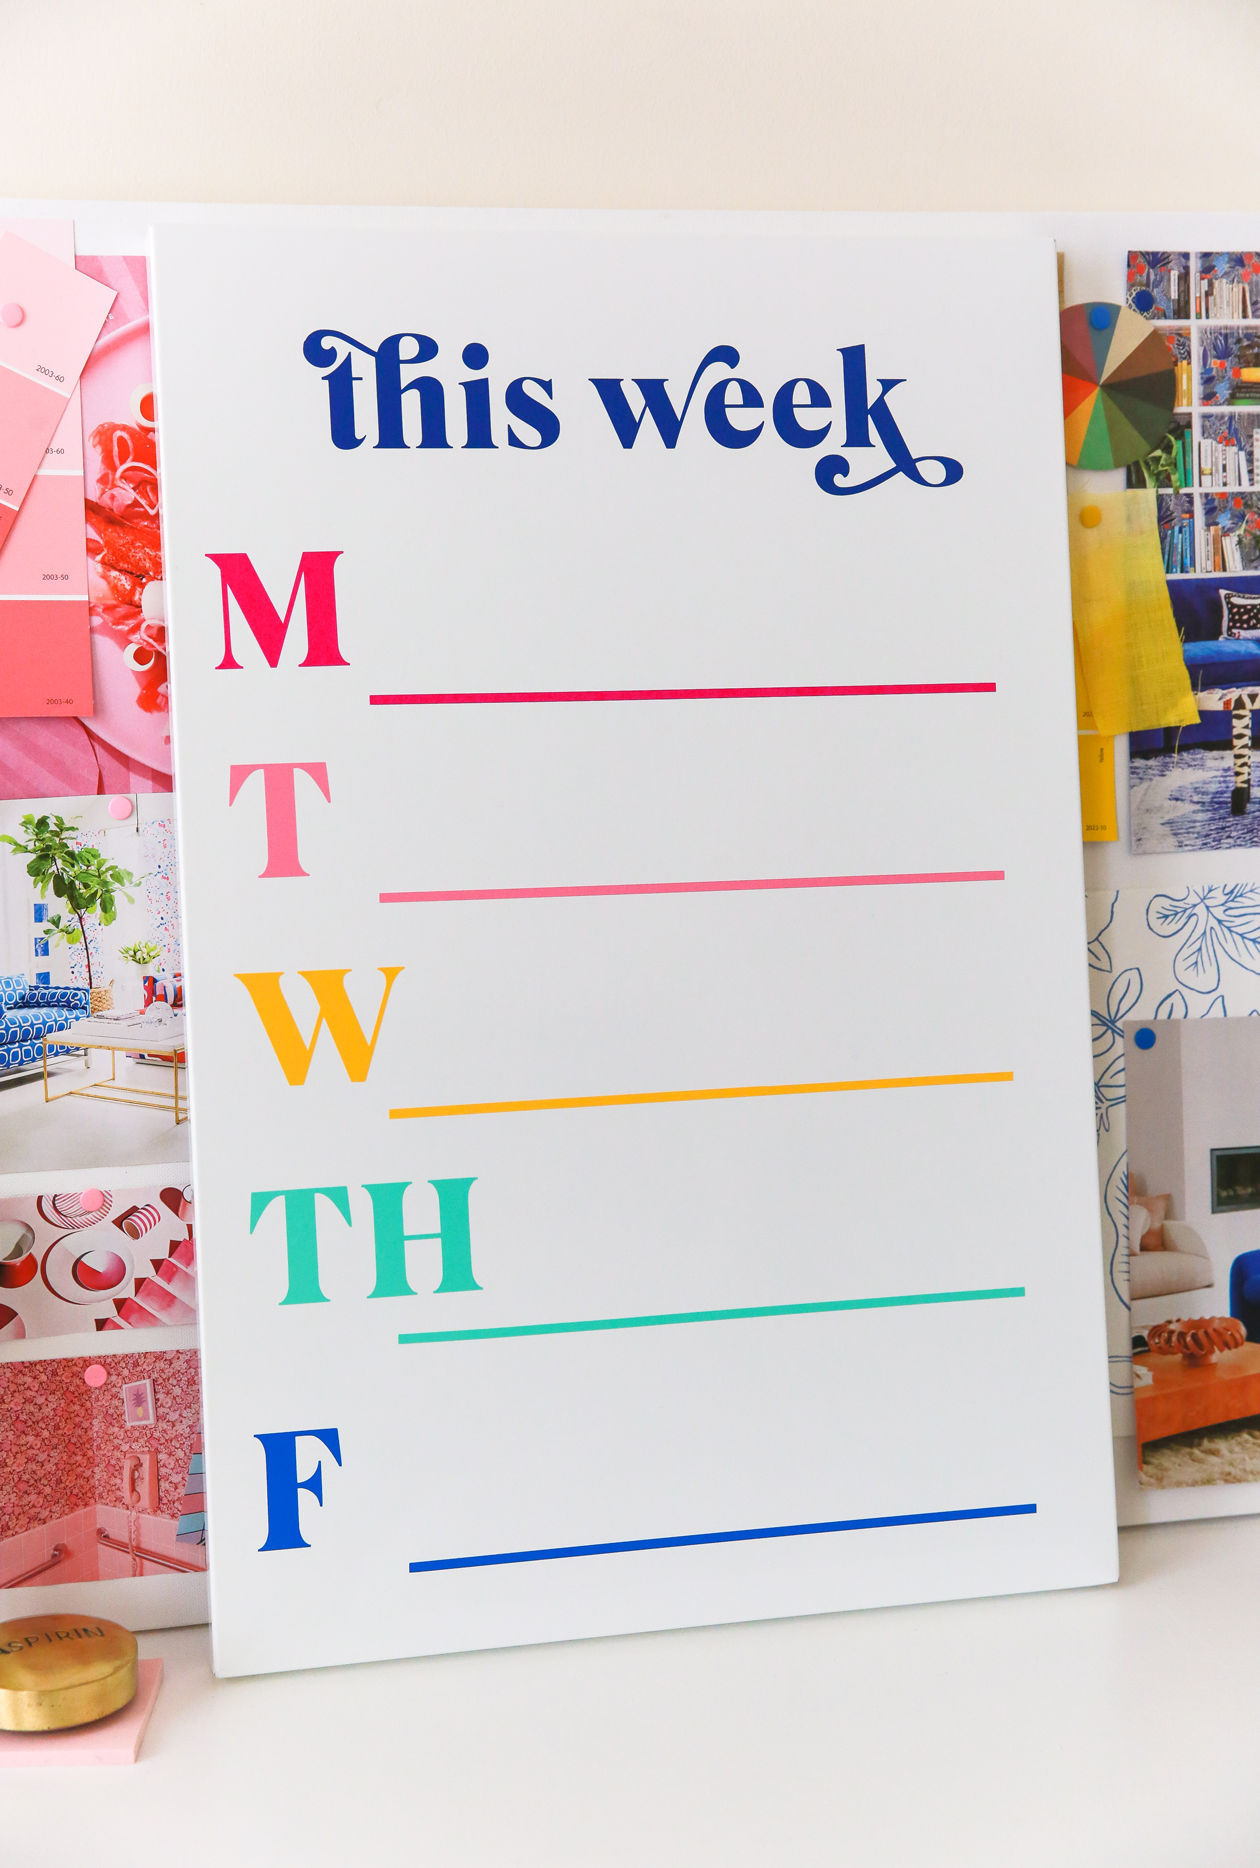
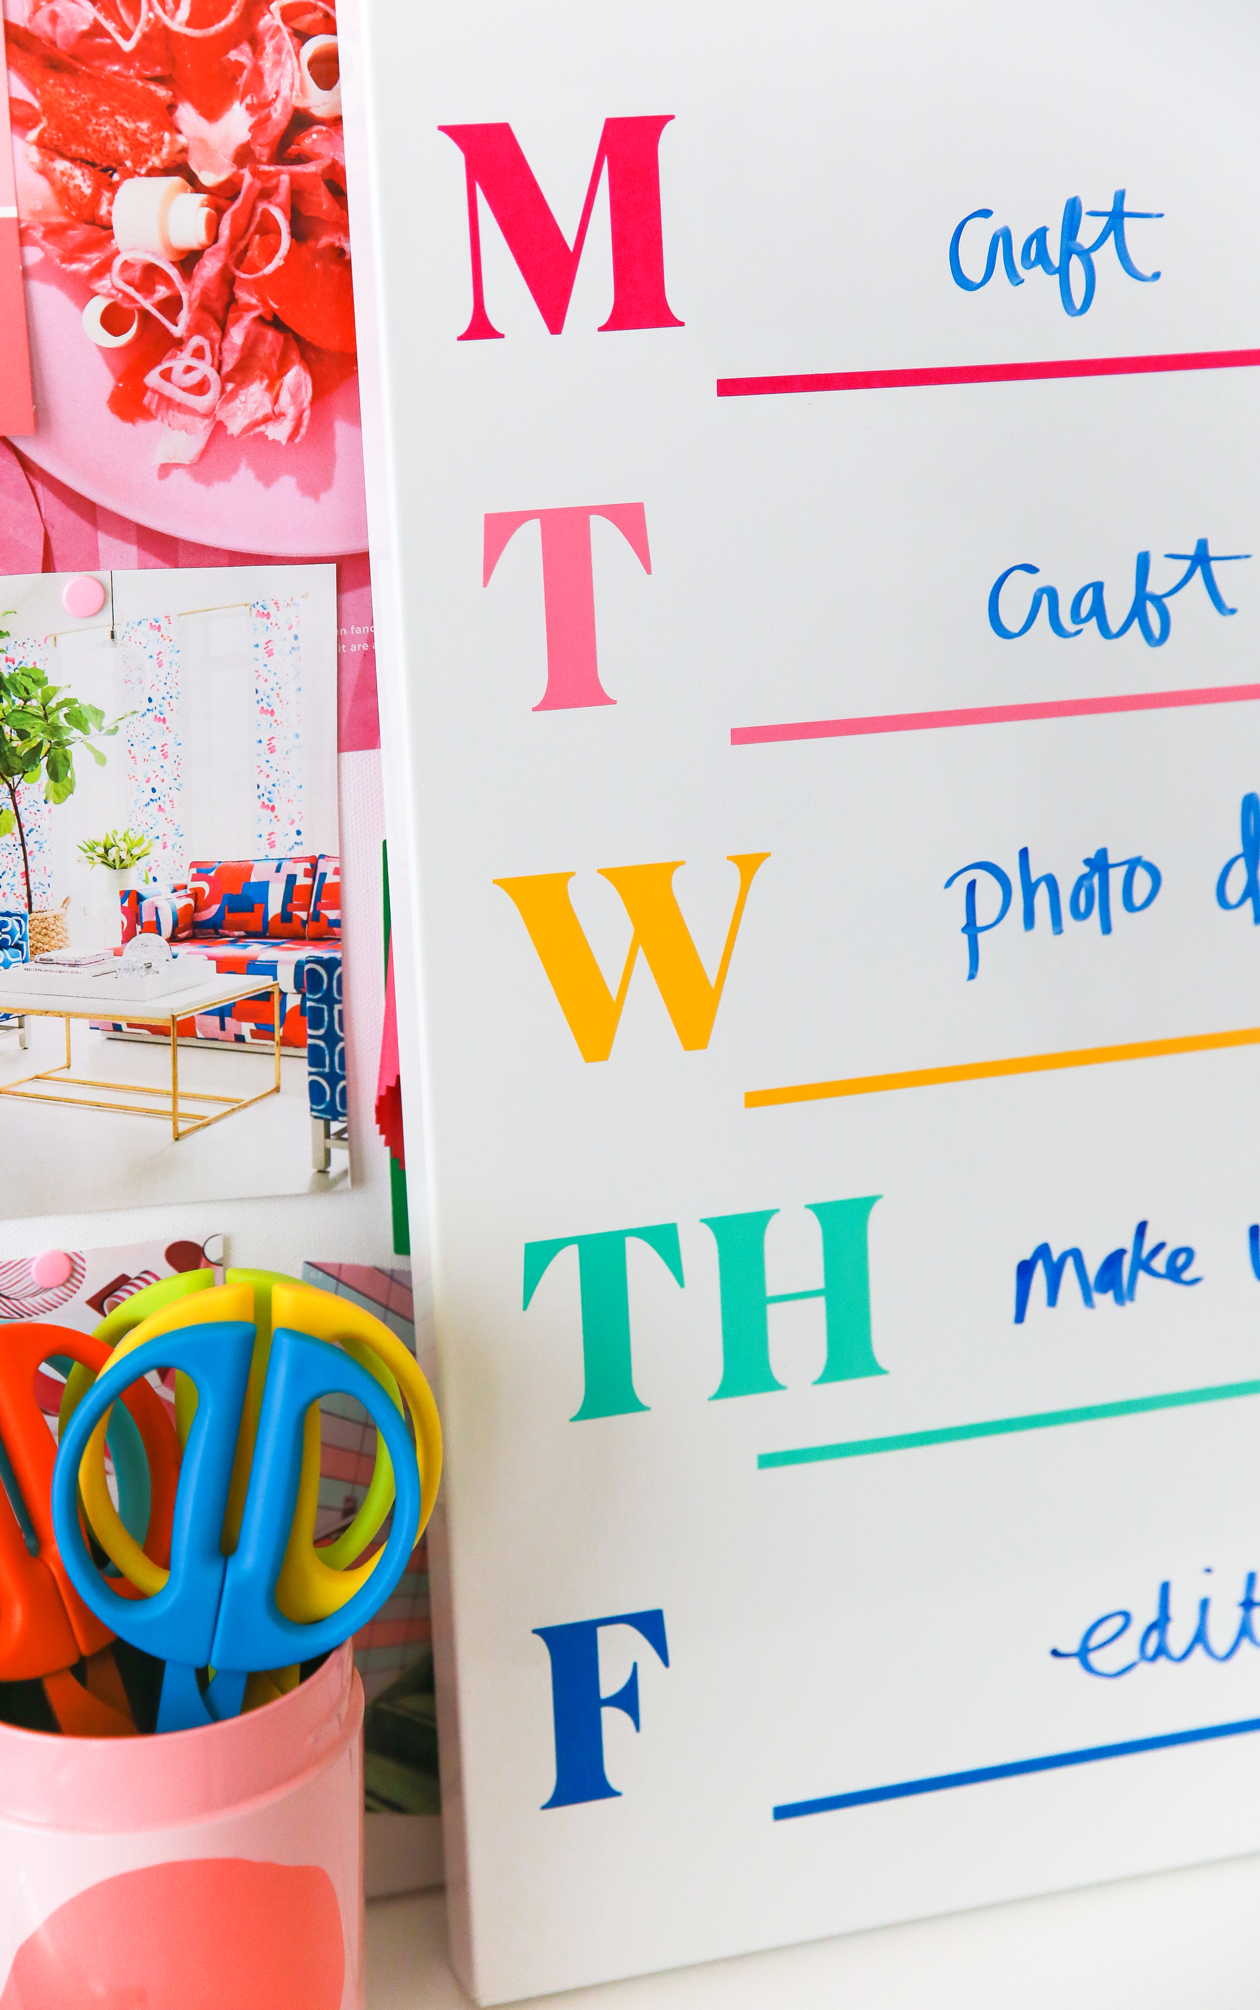
When it comes to my to-do list, there’s something so helpful about seeing all of my tasks at once. And while I love pen and paper, I wanted to make something that would keep me organized and also double as colorful decor for my office. Here’s how I made my DIY schedule board and how you can too:
 What You’ll Need
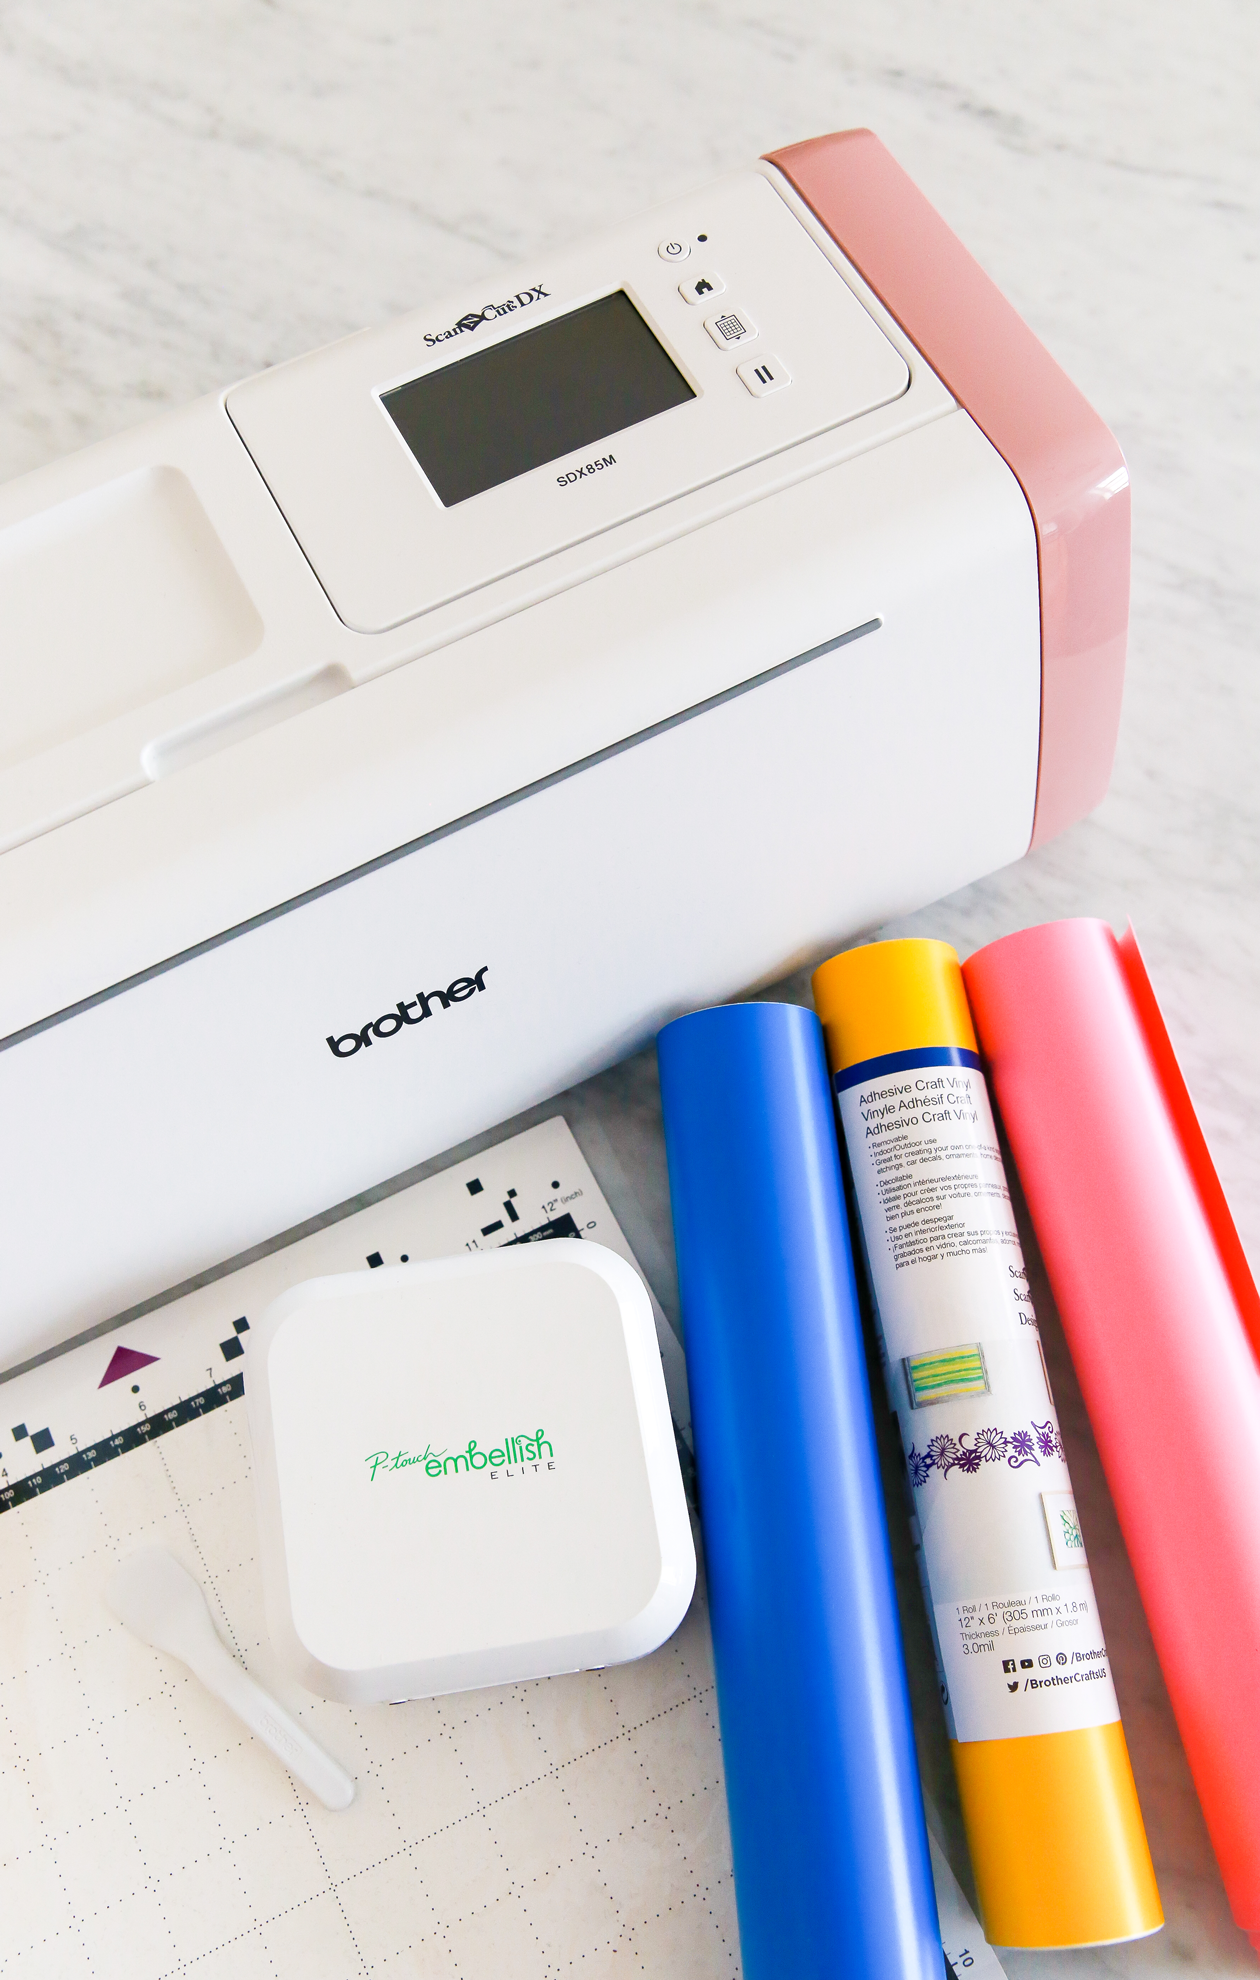
– Brother ScanNCut DX Electronic Cutting Machine
– Adhesive vinyl
– Transfer tape
– T-Square
– Whiteboard
If you don’t have a Brother ScanNCut DX Electronic Cutting Machine, be sure to stay tuned to BrotherCraftsUSA all month long for a chance to win product! They’ll also be sharing other craft ideas that you’re not going to want to miss.
 How to Make a Schedule Board
1. Create your design files in CanvasWorkspace. You’ll need a header (this week), letters for the days of the week, and a line for writing. I resized my letters to 2″ tall and my lines are 11″ long.
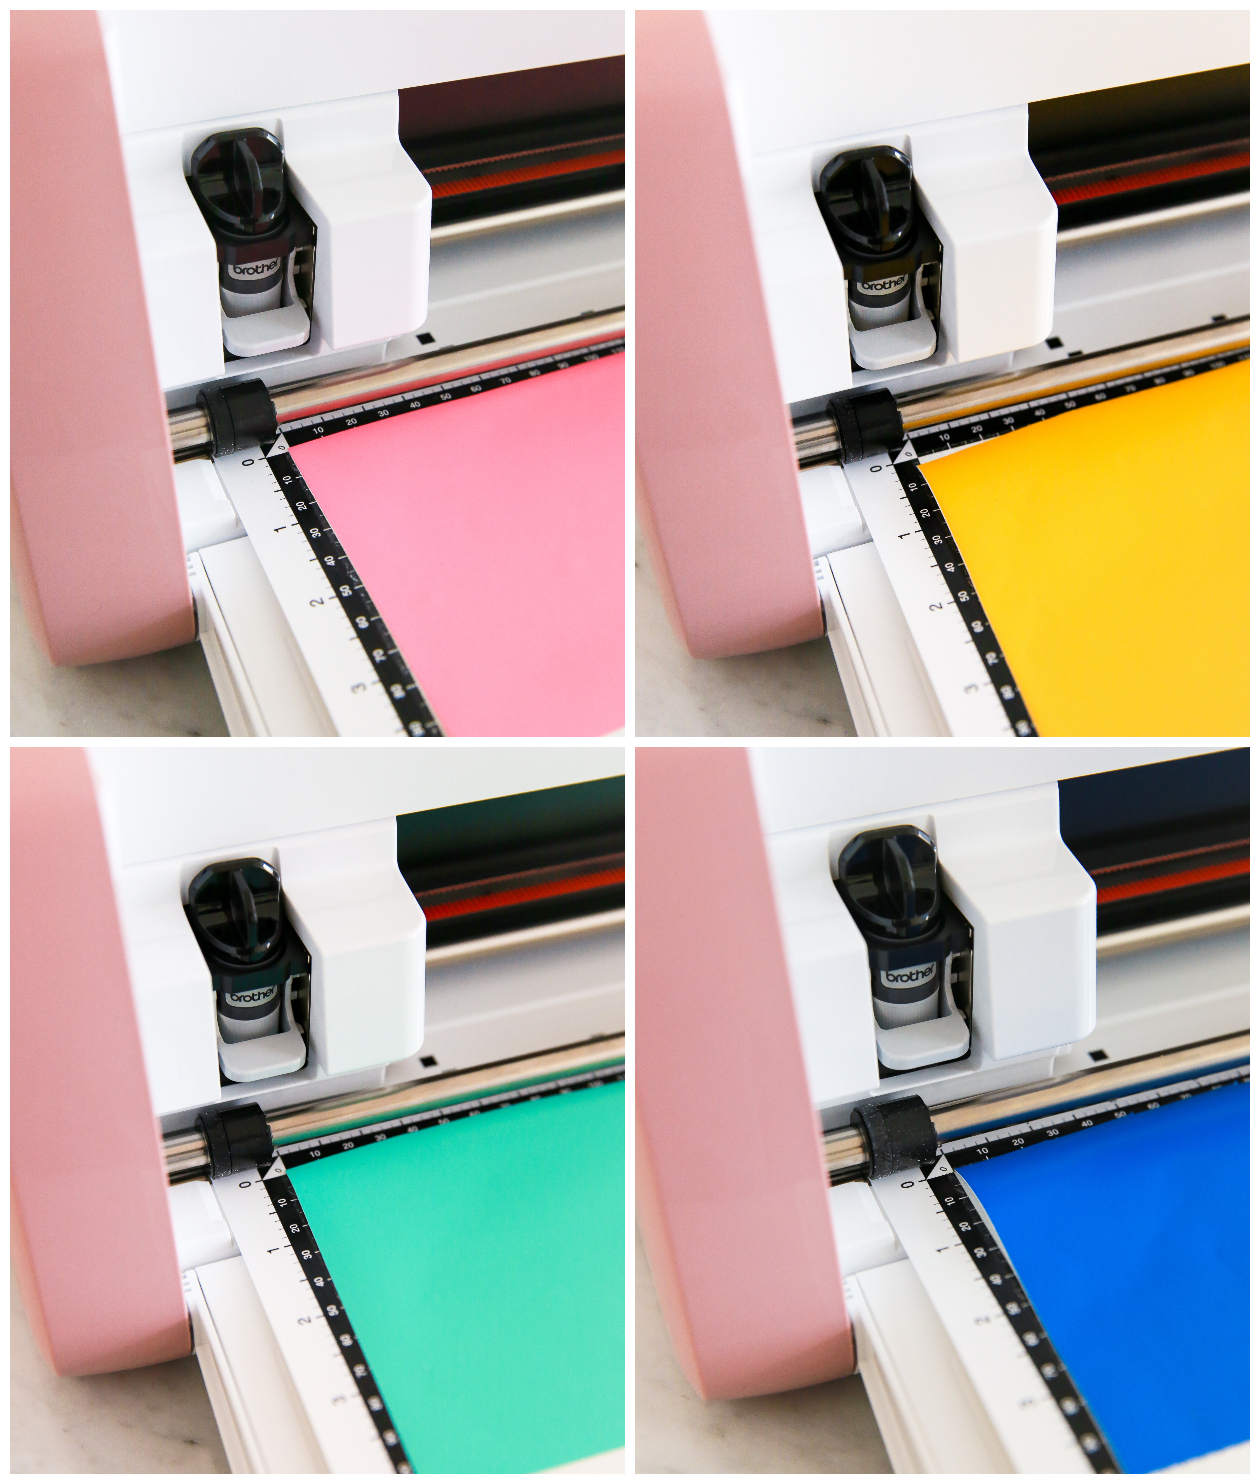
2. Cut out your designs using your Brother ScanNCut DX Electronic Cutting Machine.
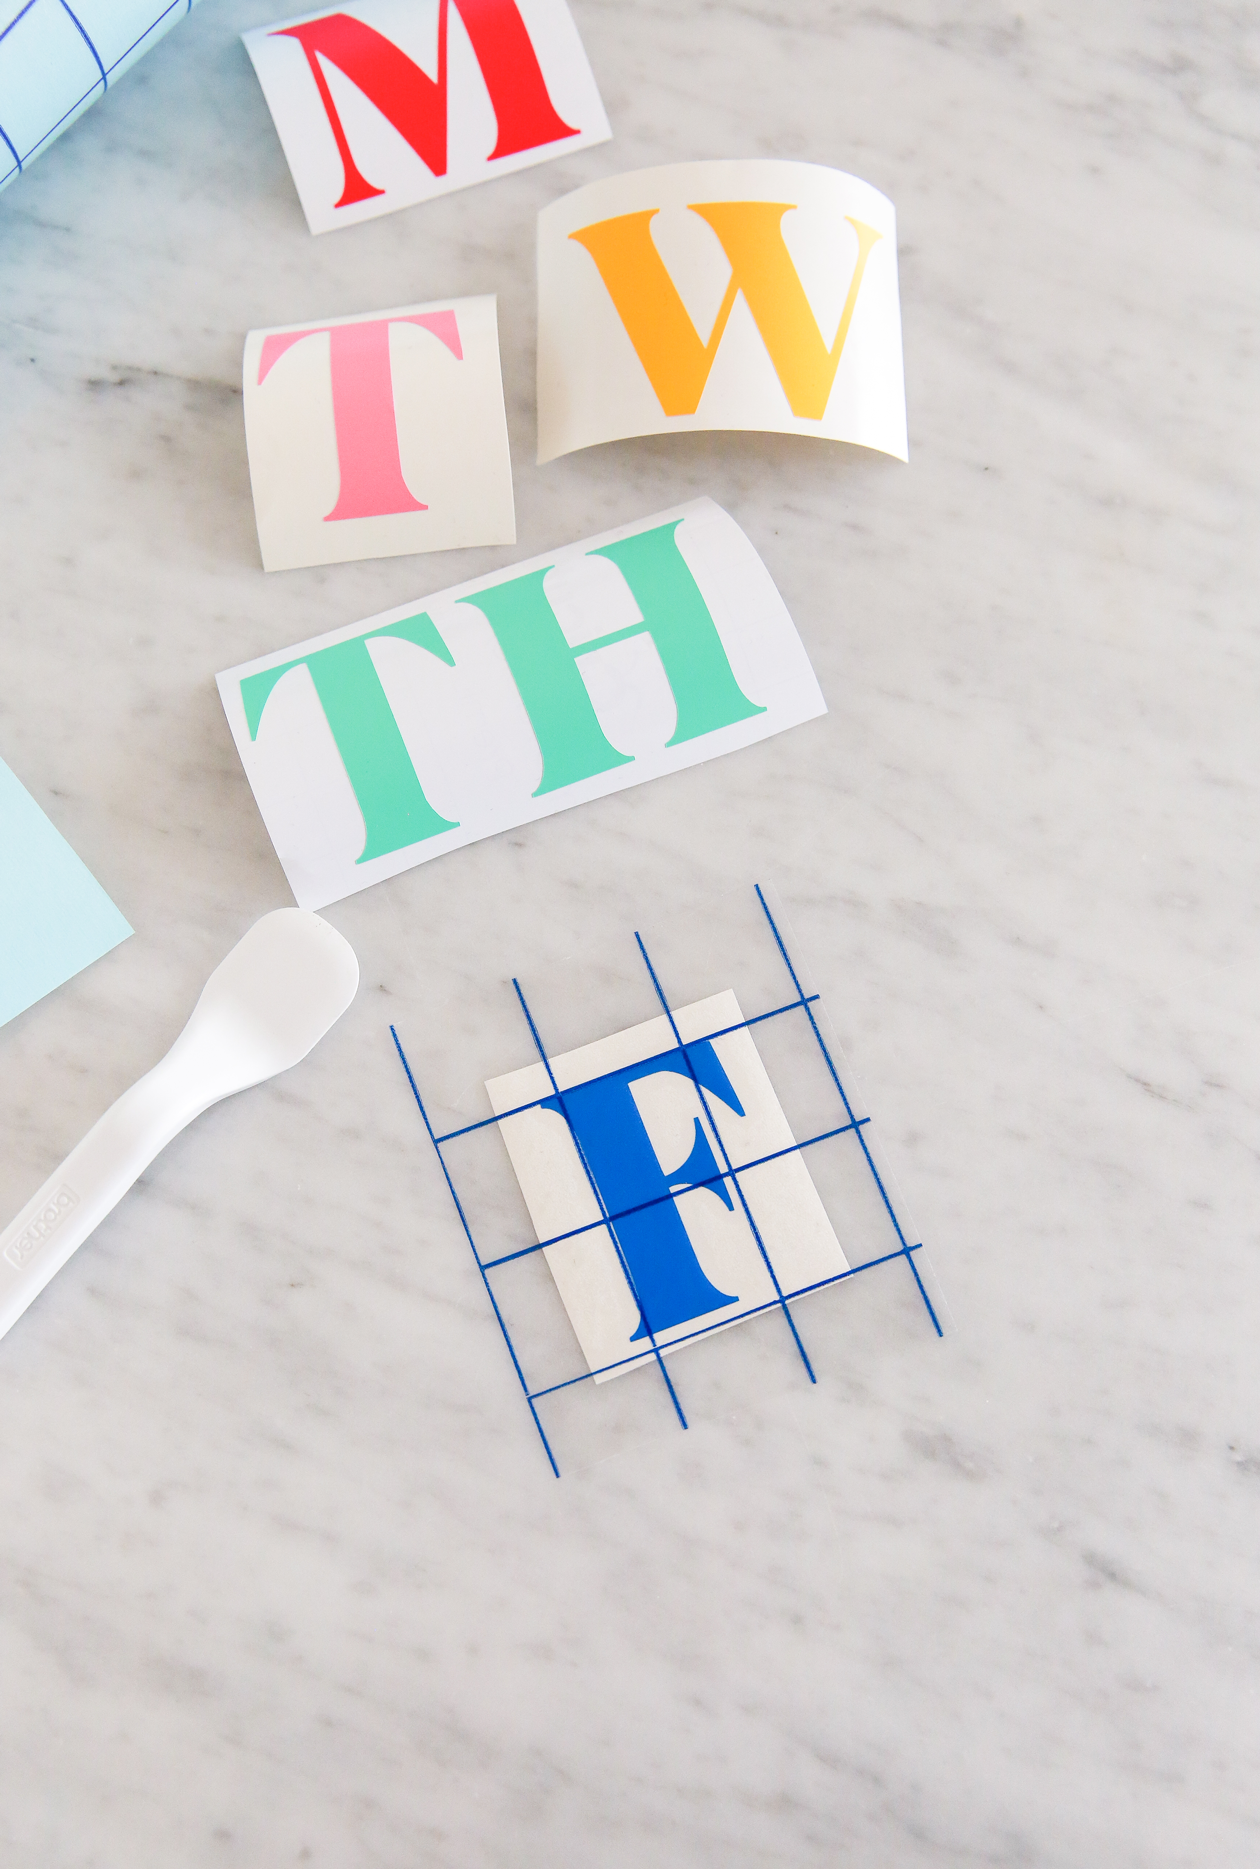
 3. Weed away any excess vinyl.
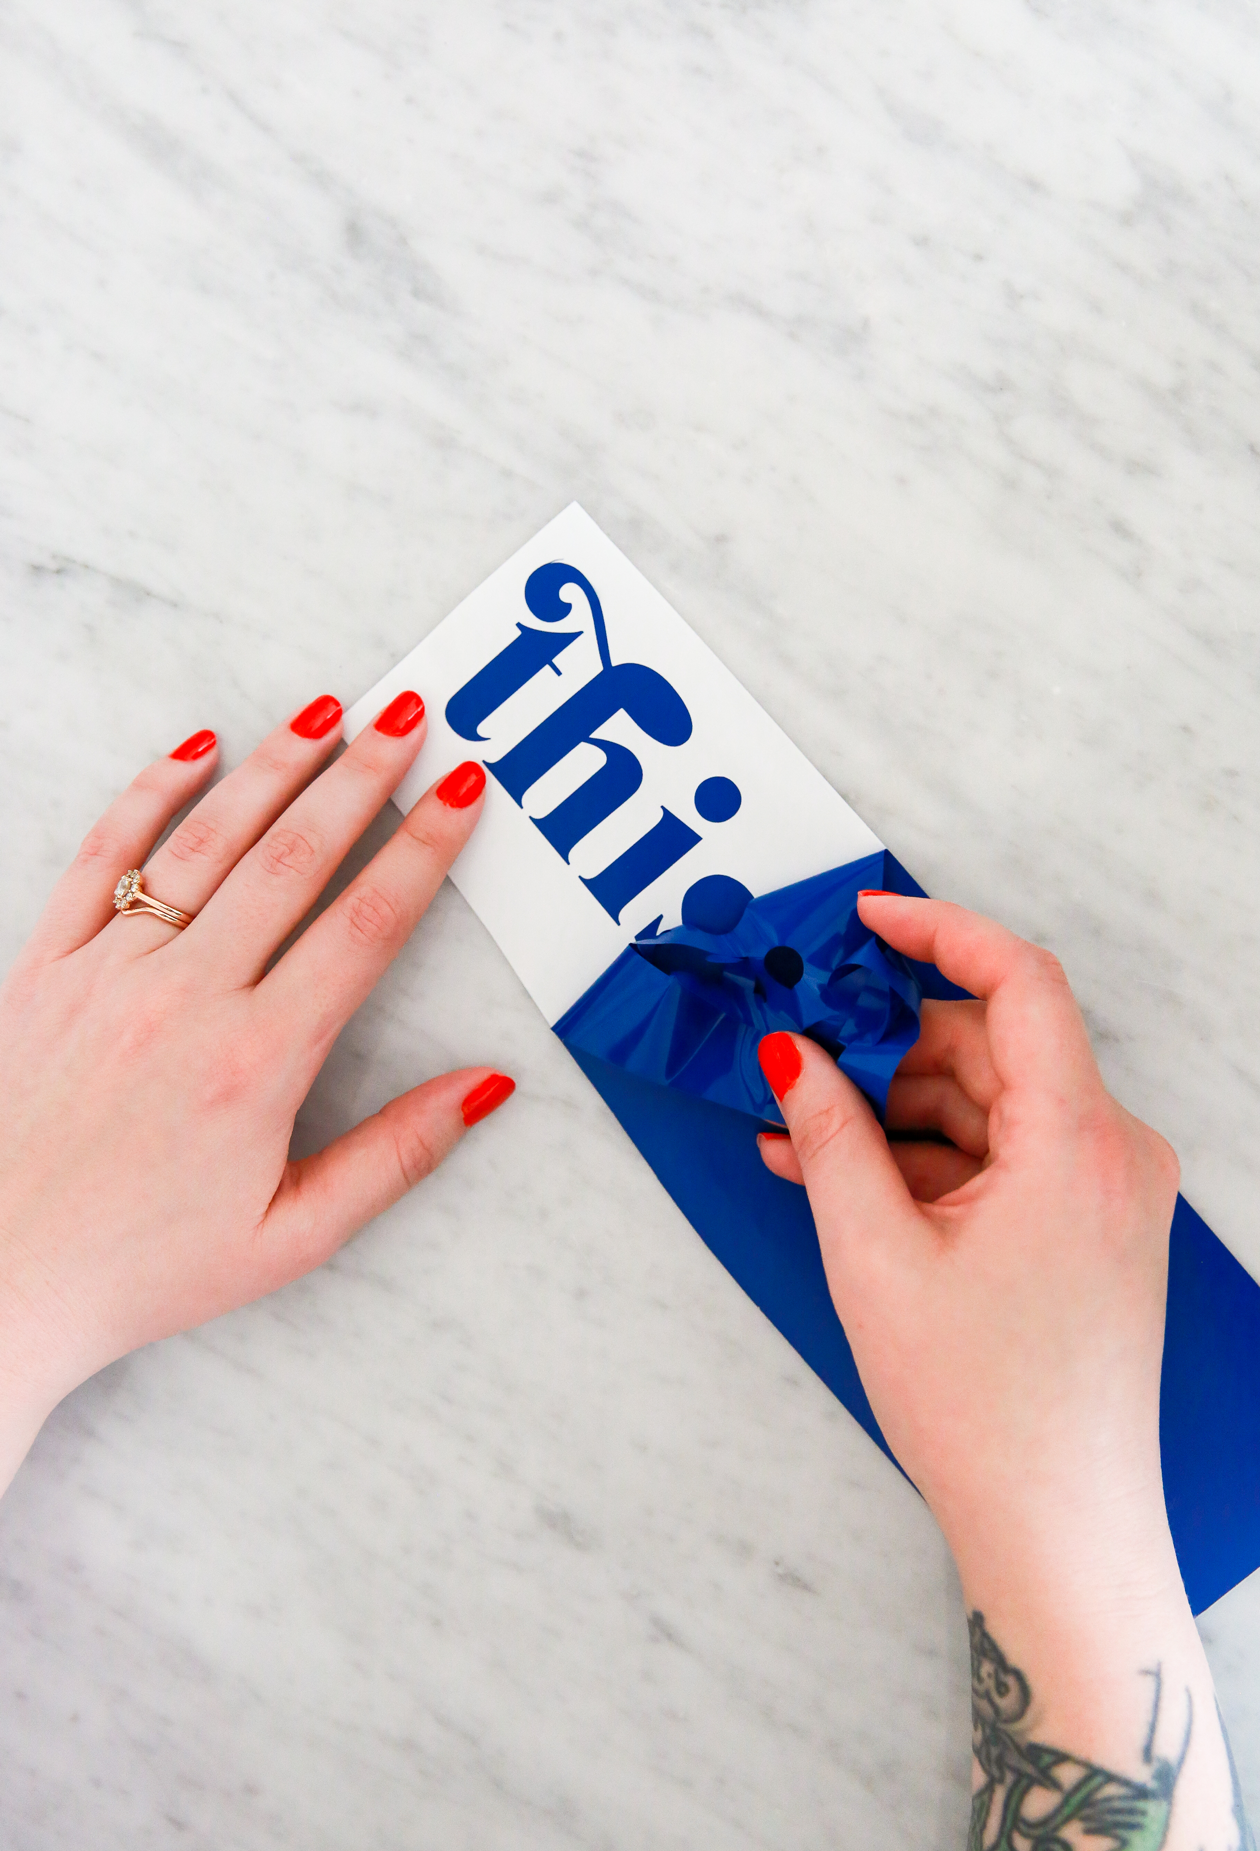
 4. Apply a piece of transfer tape over your letters. Keep your guidelines as straight as possible with your letter to help with easy placement later on.
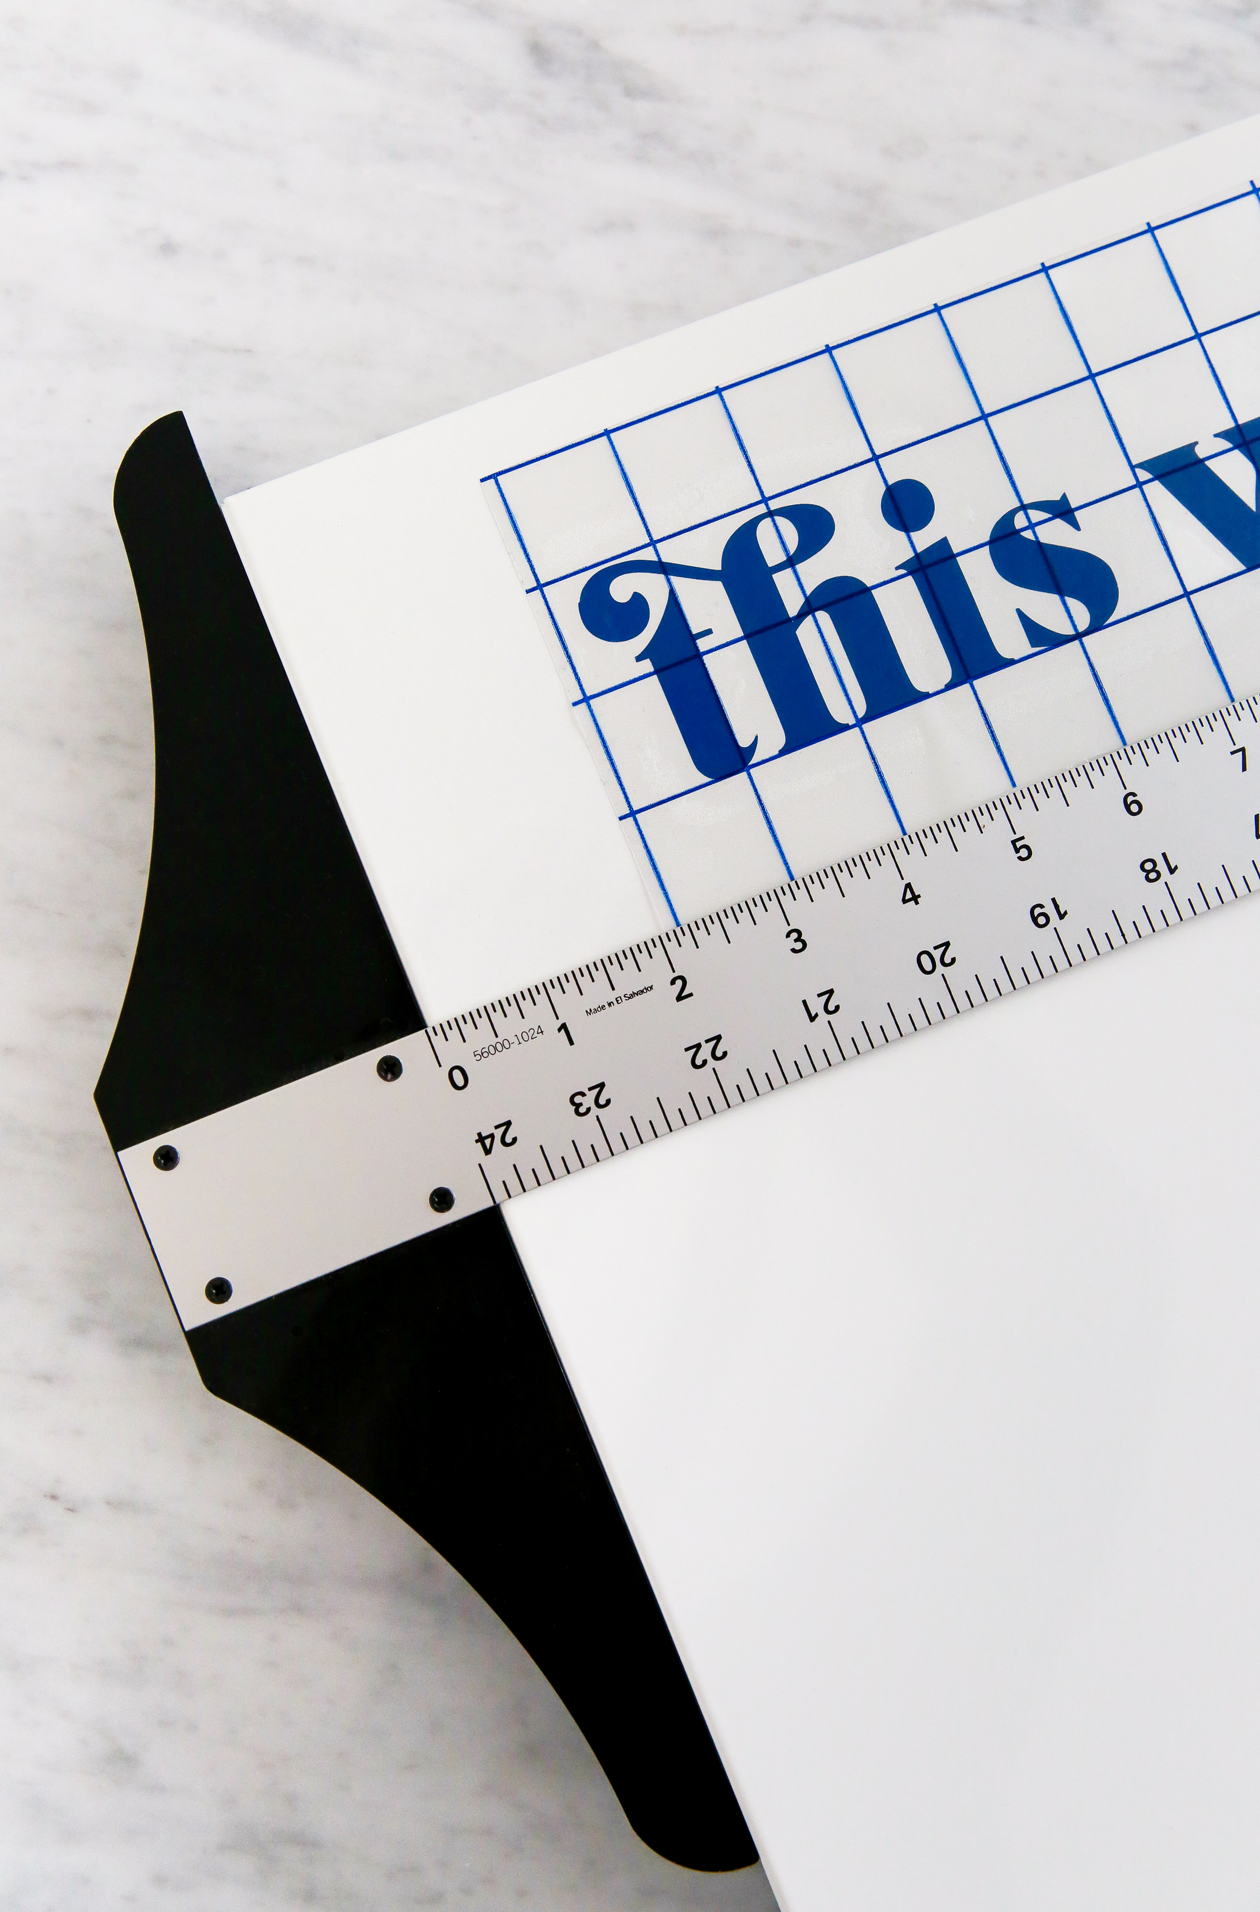 5. To help place your vinyl as evenly as possible, align your letters with a t-square. This project really requires a lot of patience and leveling, so take your time when figuring out placement. I suggest laying out all of your vinyl on top before placing with transfer tape, just to make sure everything fits.
For a cohesive look, try your best to keep the same spacing between the lines/letters. You’ll also want your lines to match up all the way down. Once your letters are in place, remove the transfer tape. Repeat until finished.
 How to Make Resin Magnets
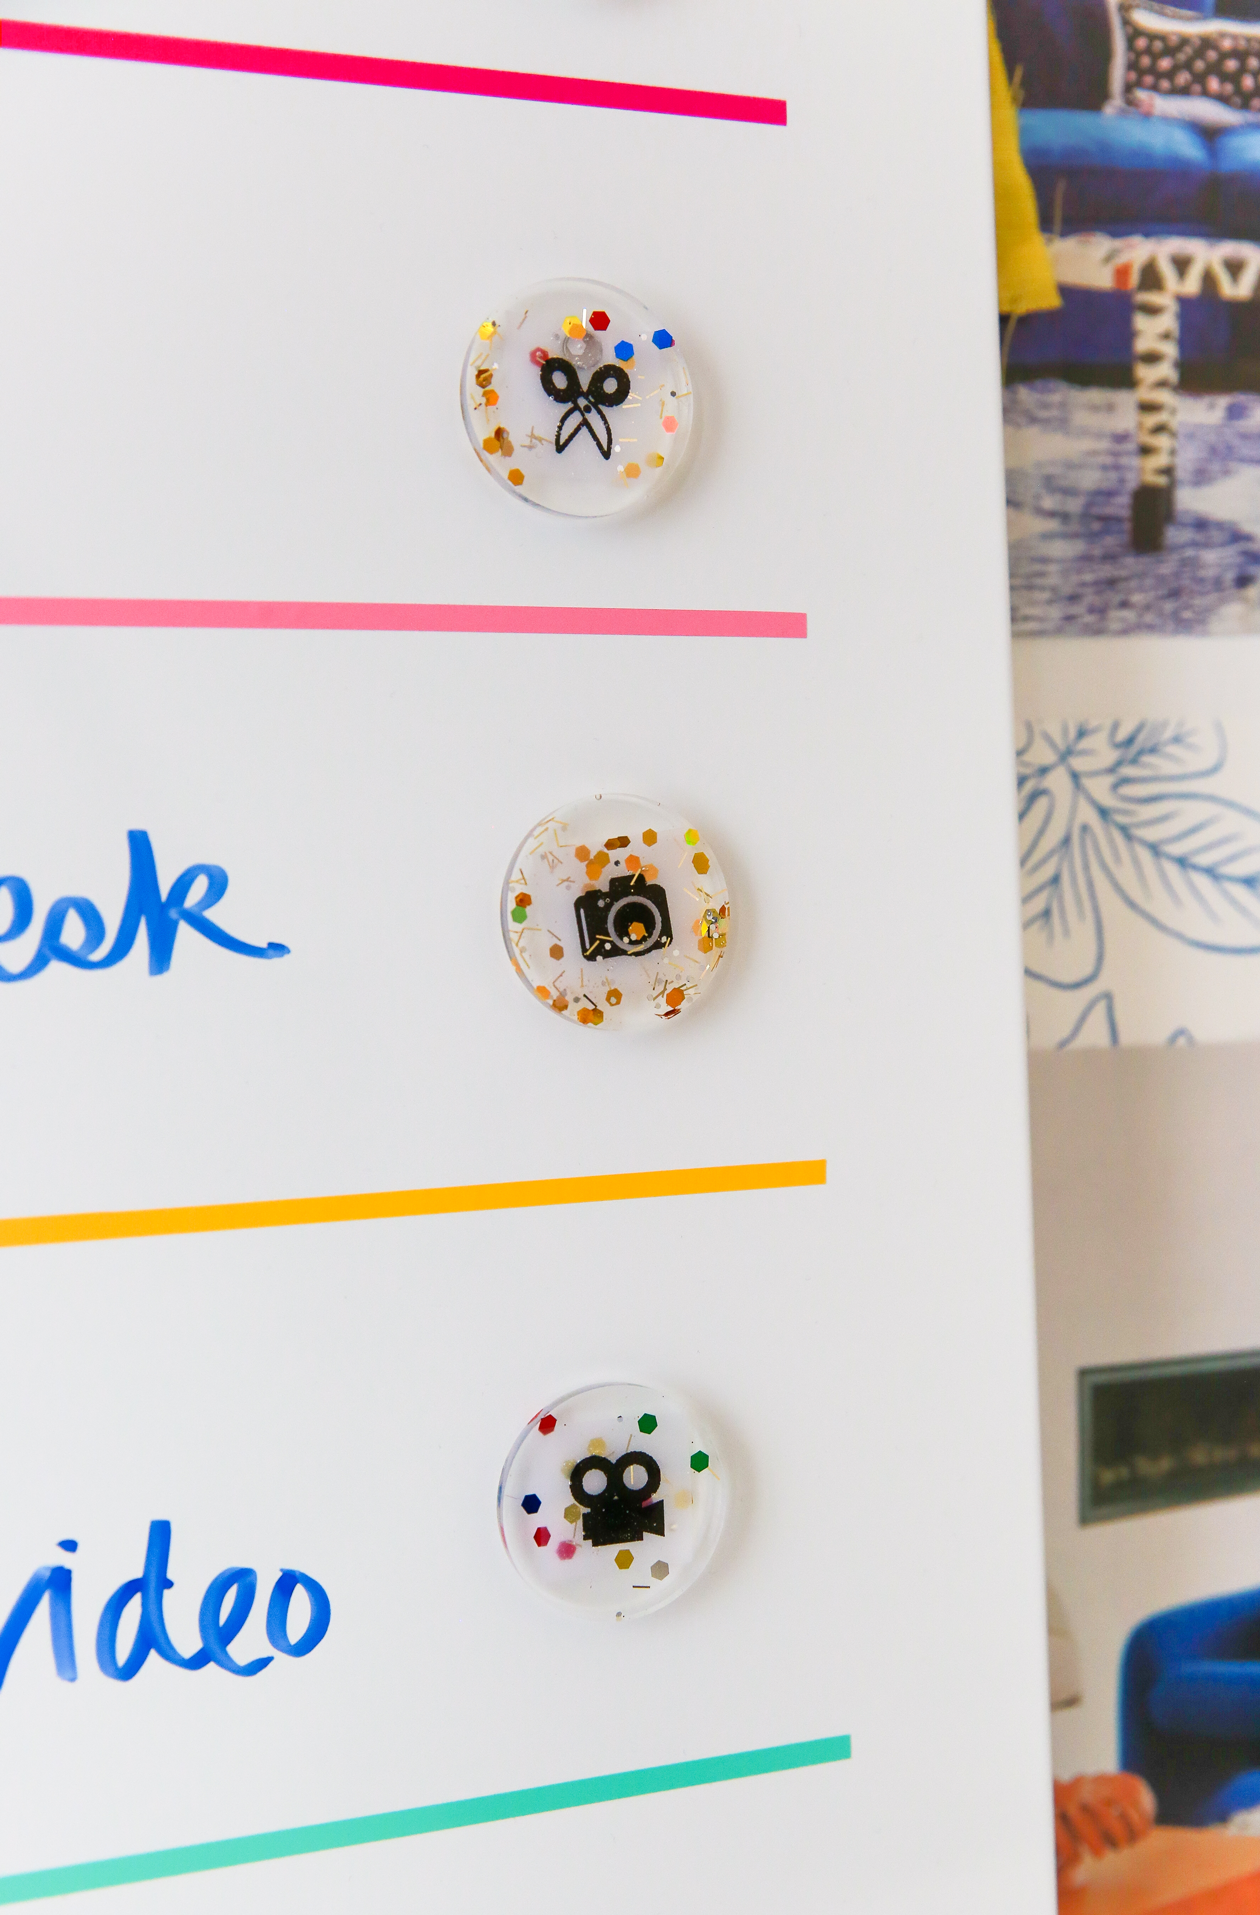
To take your DIY schedule board to the next level, make your own custom resin magnets!
What you’ll Need
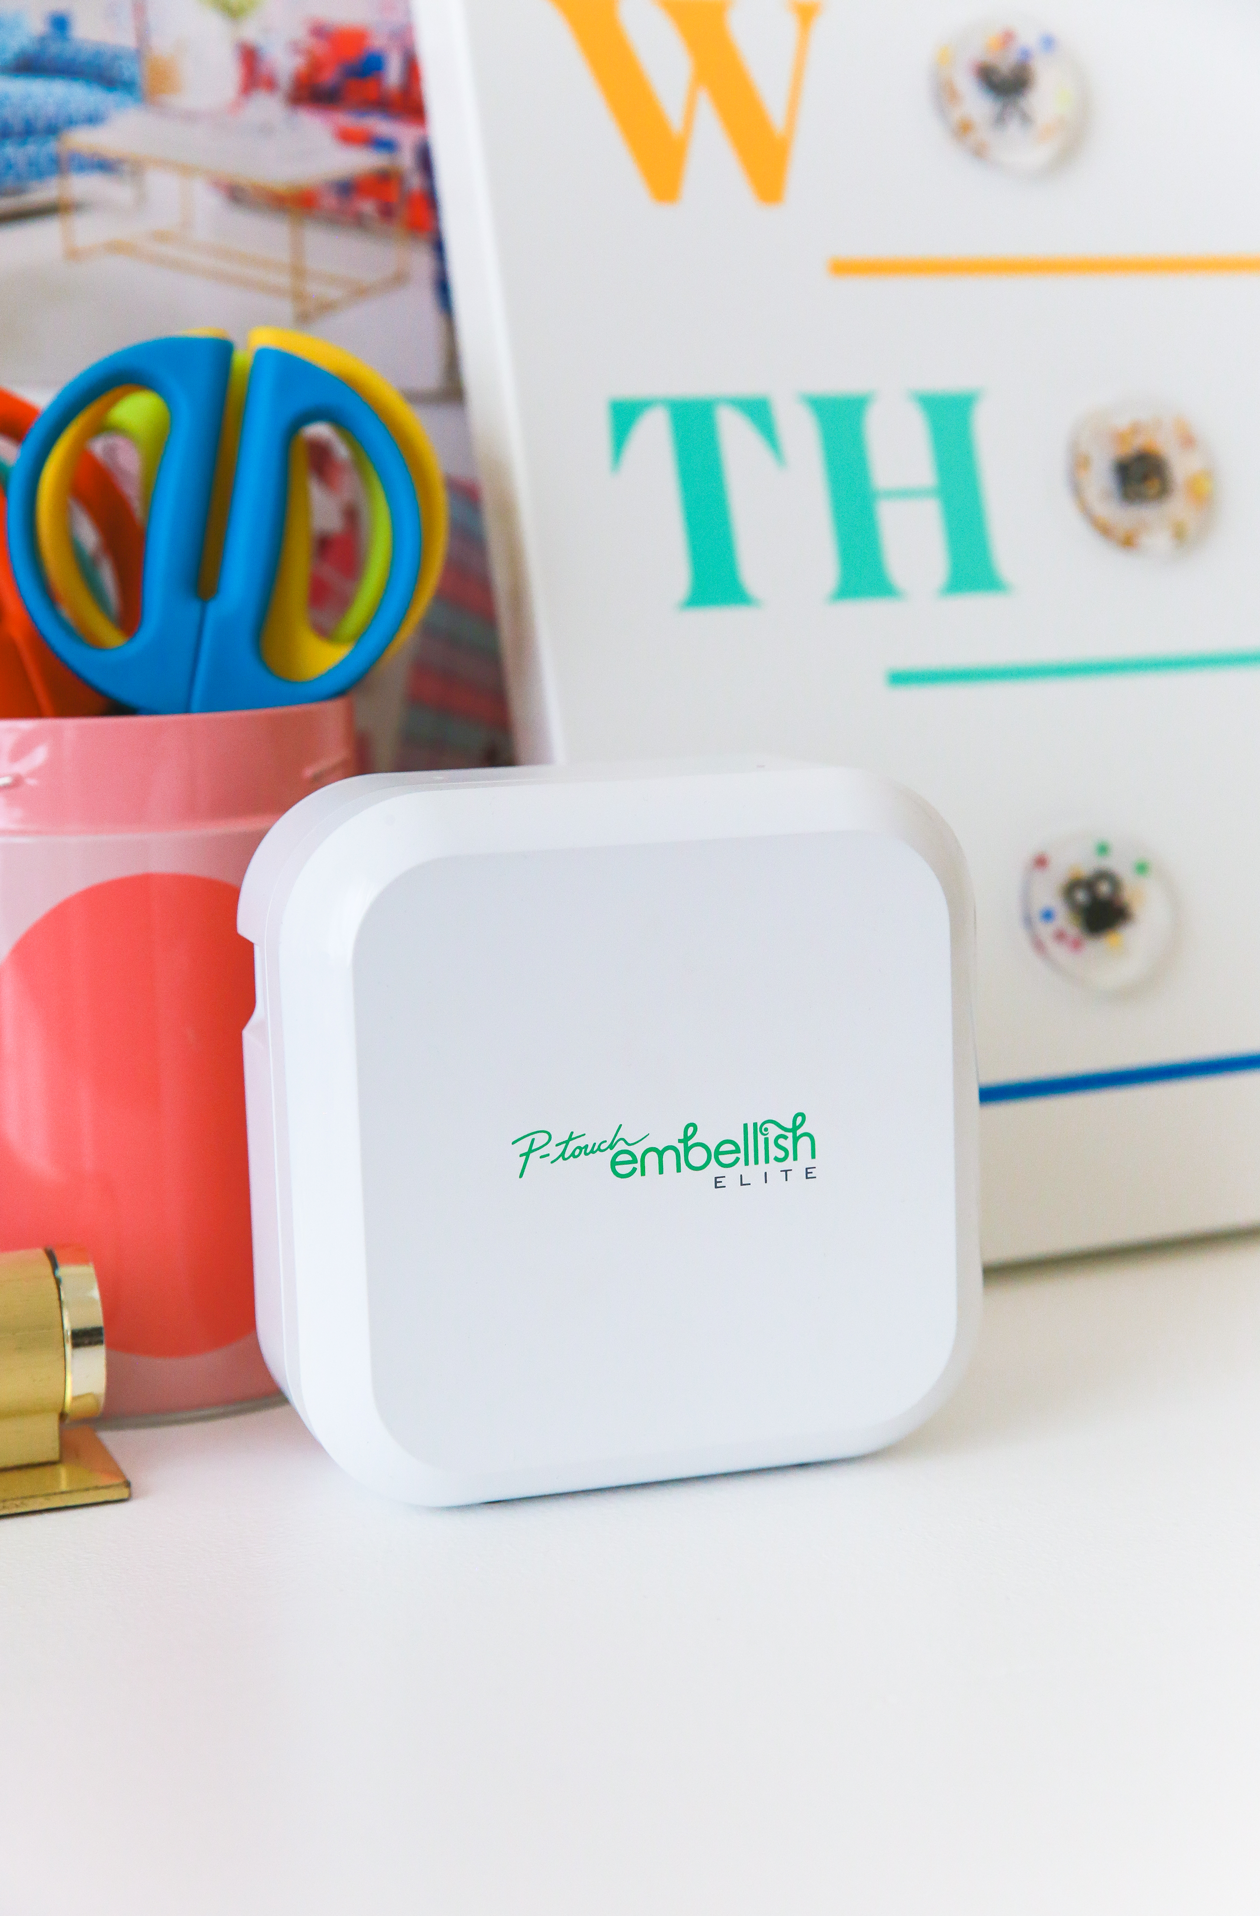
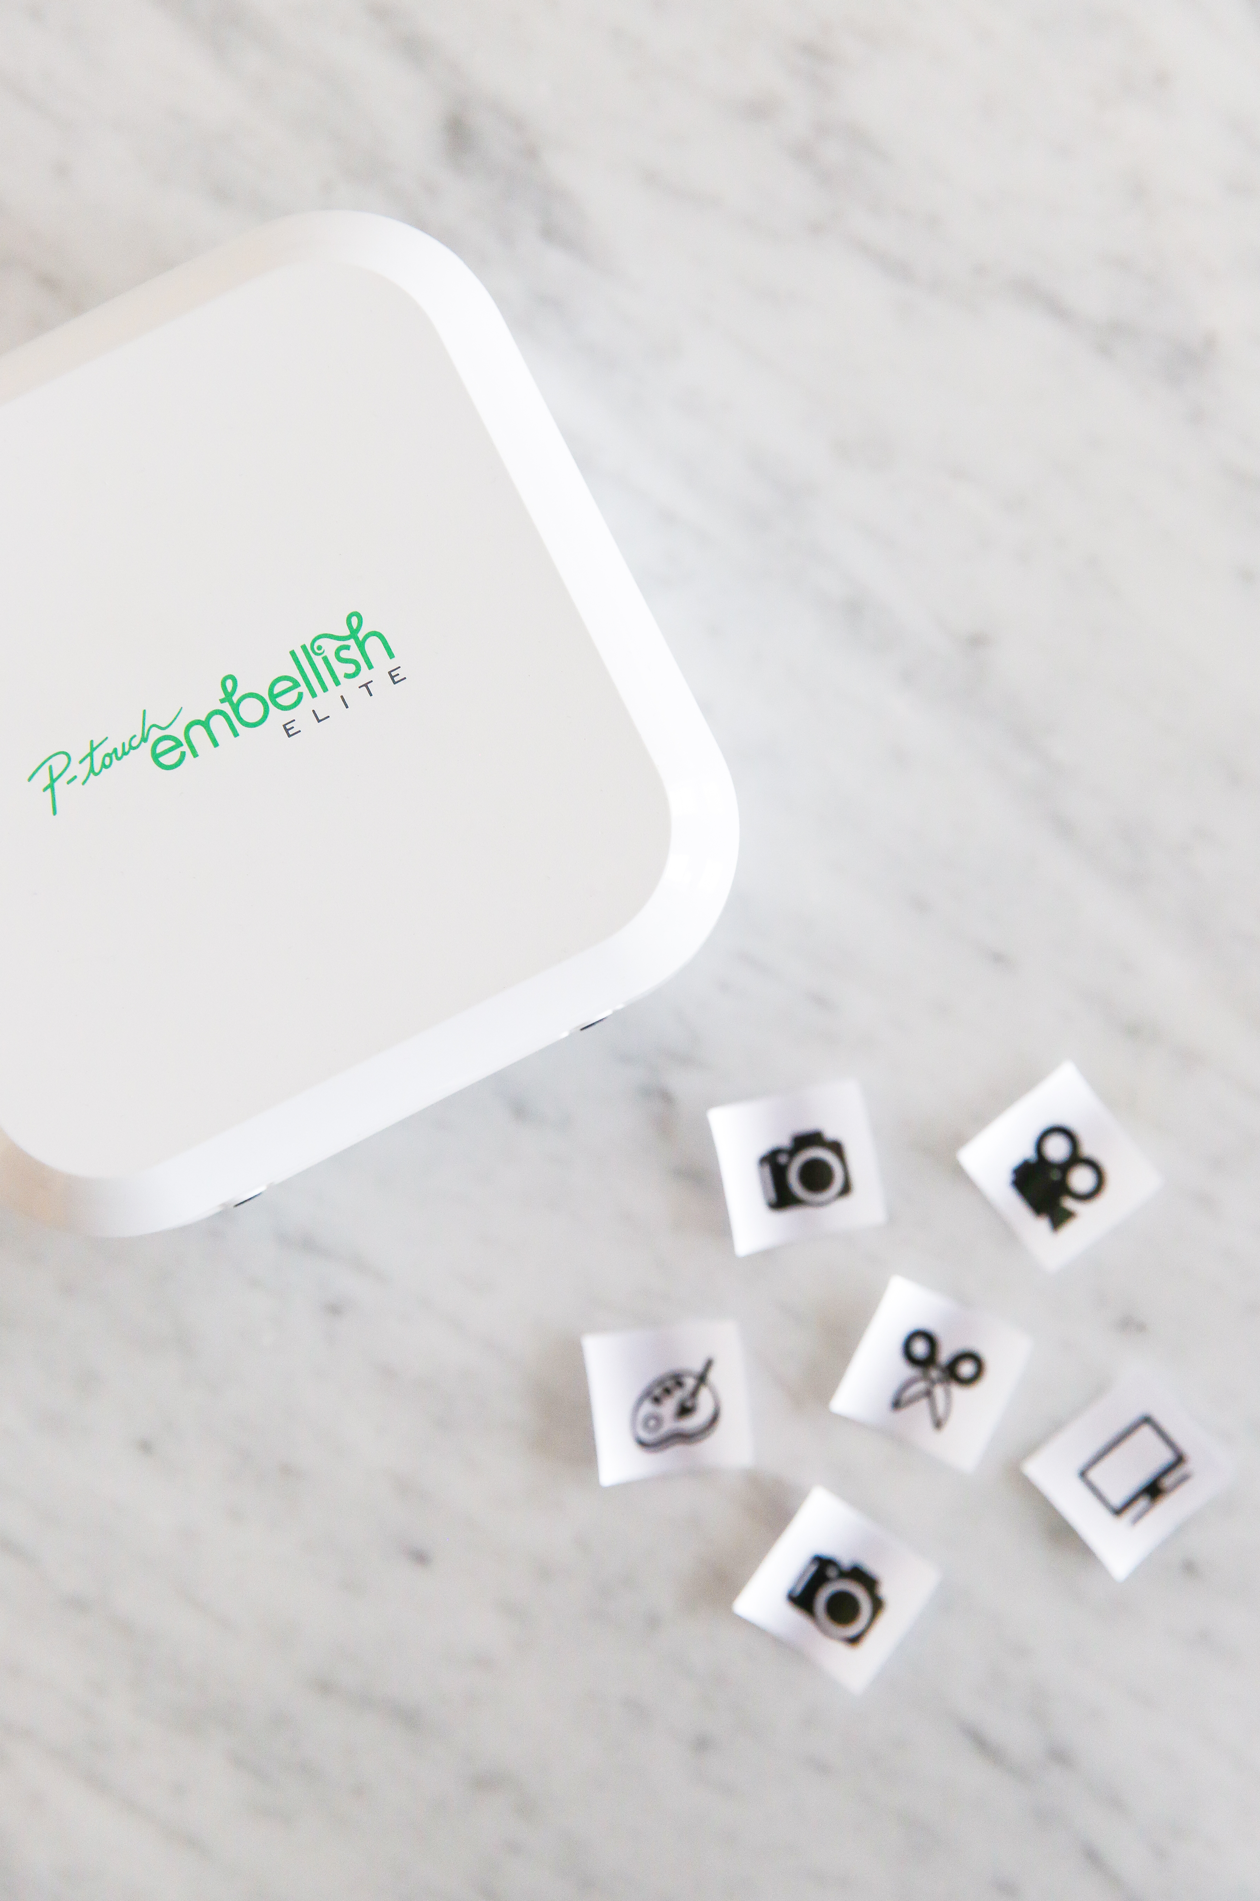
– Brother P-touch Embellish ELITE
– Ribbon for P-touch Embellish
– Resin + silicon mold
– Magnets + glue (if not self adhesive)
1. Print your icons on ribbon using the Brother P-touch Embellish ELITE. There are so many categories on the design and print app that you’ll be able to find anything from holidays to the kitchen and more. I chose the icons that matched the work I need to do: photoshoots, video work, crafting, etc.
2. Place your ribbon face down in the mold and cover with resin. Add any glitter or coloring that you’d like. Just be sure not to cover the icon with any additives.
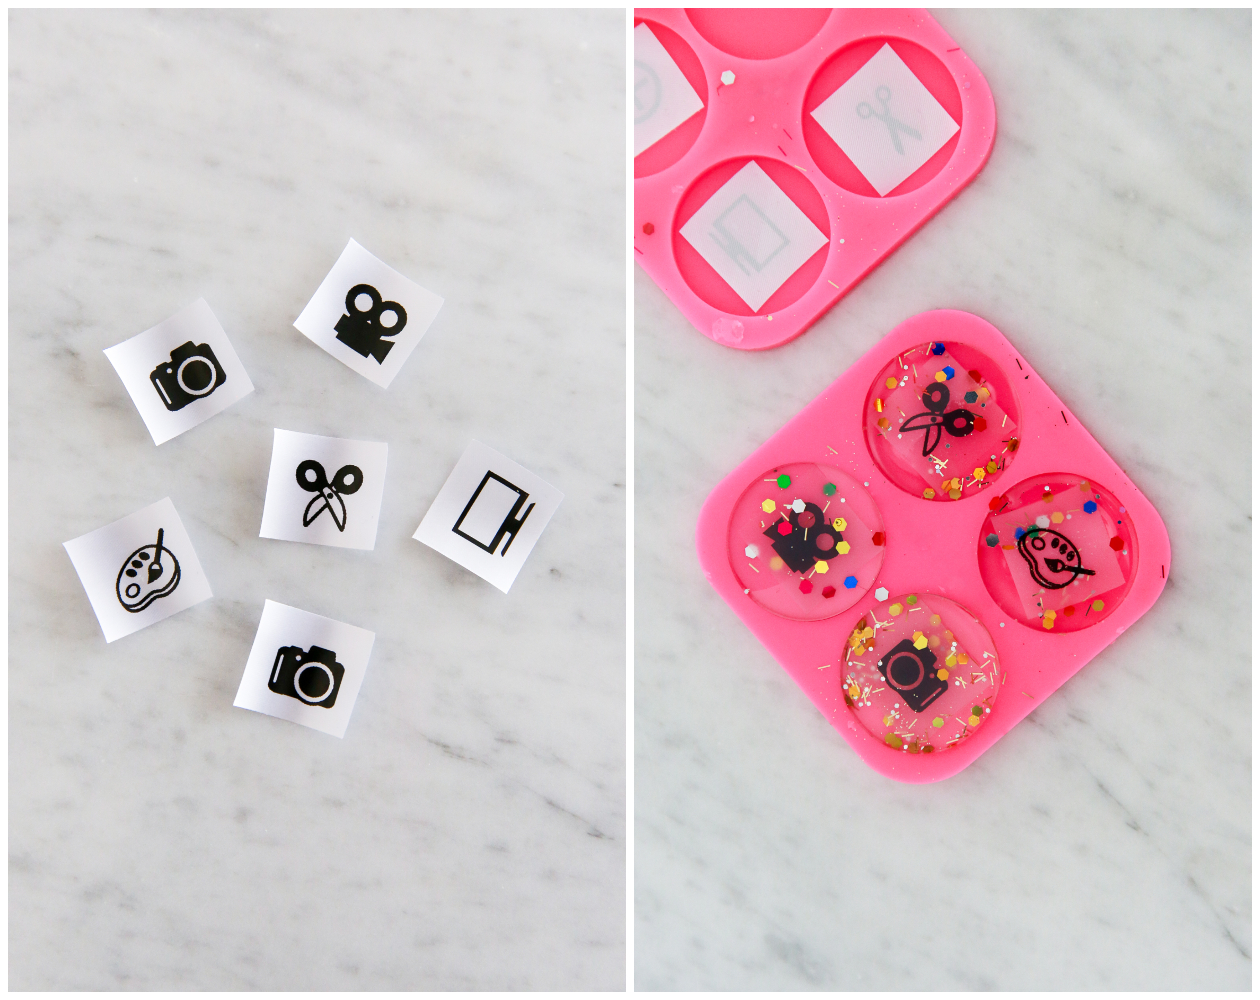 3. Let resin cure overnight then remove from the mold. Apply a magnet to the back and let dry fully.
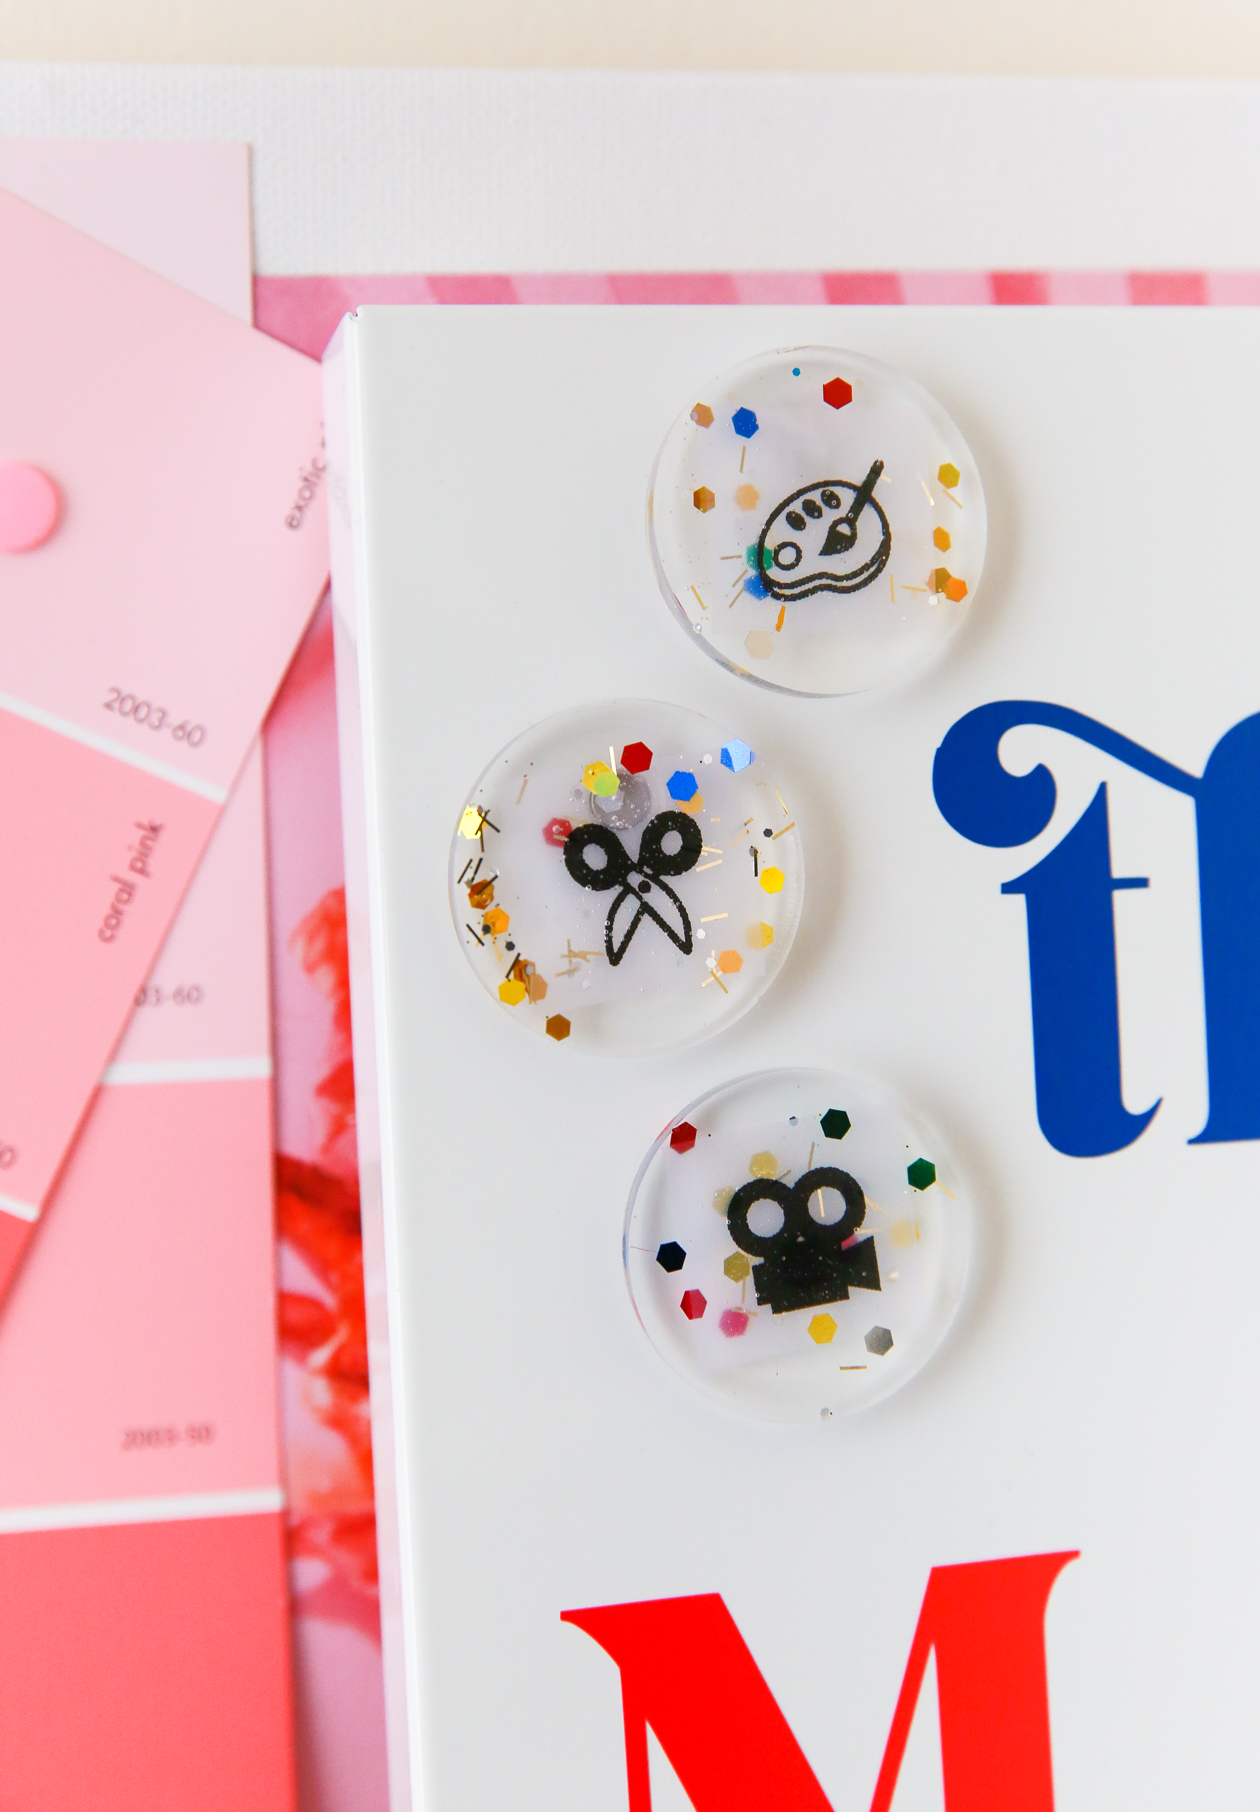 Combine your magnets with your schedule board and you’re ready to get organized! You can write your to-dos with the dry erase marker, or even just use a magnet for a faster approach.
 While I use this board for work, it would also be great to have for meal planning in your kitchen. You could also use it as a cleaning chart or for after school activities. The list of uses is endless, so you might as well make one now!
Let me know if you have any questions on the project. I’m also so curious, how will you be celebrating National Craft Month? Any projects you’re hoping to take off your to-do list?