 As much as I love crafting, I don’t consider myself a fine artist/painter/etc by any means. But of course I don’t let that stop me from trying to get better, and neither should you! Knowing that no work of mine will be in a museum anytime soon, it’s much easier to relax and remove stress from the creation process. This project is the perfect way to get out of a creative funk all while making colorful and fun DIY wall art for your home. Trust me, if I can do it, so can you! Here’s how:
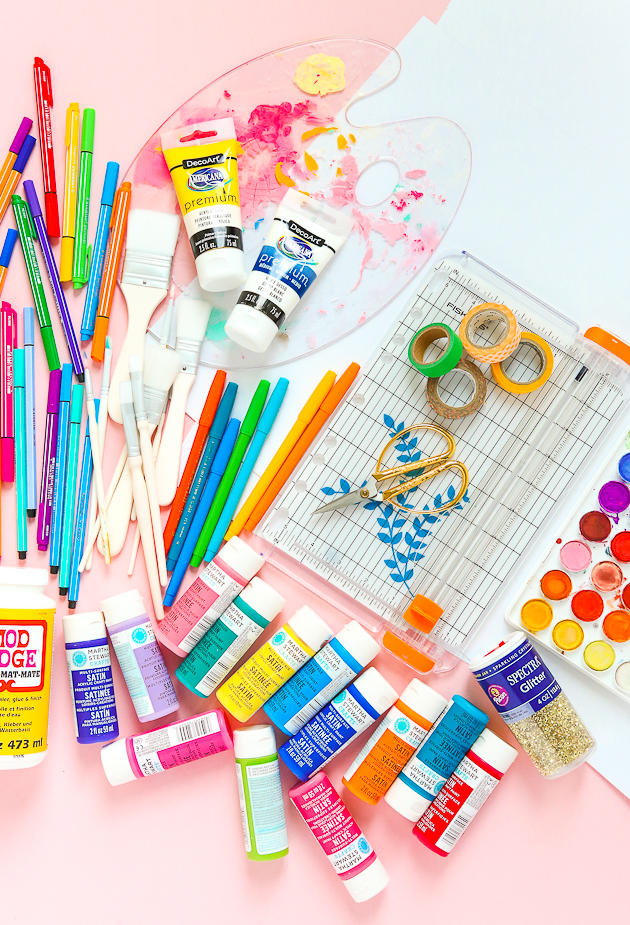
– Paper (I got 22 x 28″ sheet from Blick for under $1)
– Paper trimmer
– Paint, markers, glitter, etc
– Tape + Ruler for framing
It helps to pull any and everything out of your craft closet for this one. Play around will all types of mediums and combos until you settle on a favorite. I settled on acrylic paint with a little bit of glitter.
 So this project is equal parts a creative exercise and DIY Wall Art.
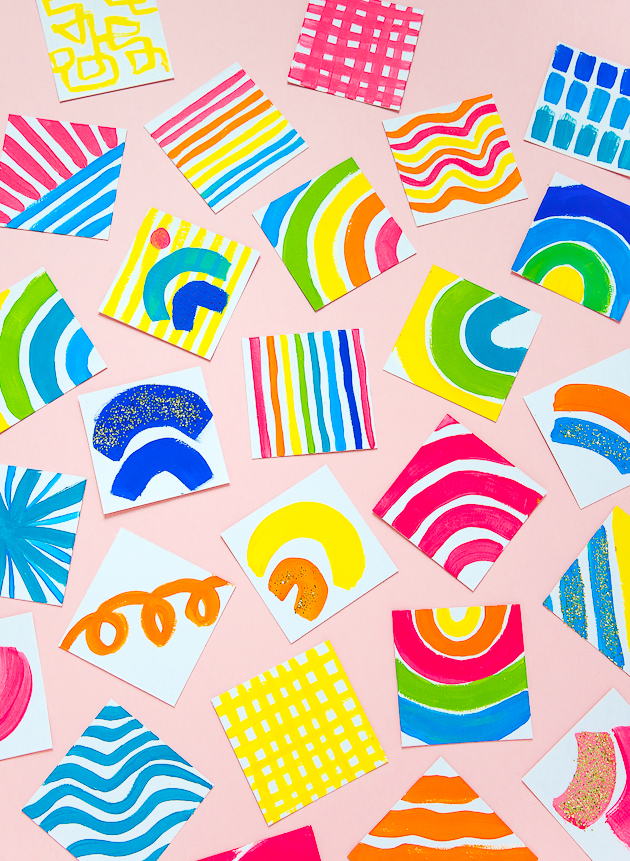
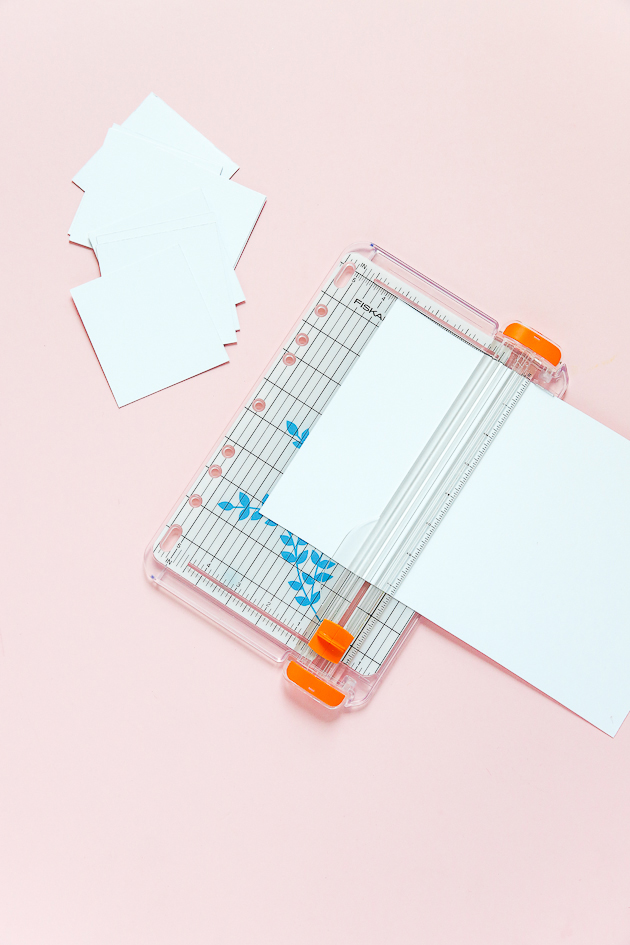
One thing that always holds me back from creating art is how intimidating the canvas size can be. So instead of painting one large piece, I decided to trim my paper to 3.5″ squares to make mini works of art. You can use scissors, but a paper trimmer will ensure clean, straight lines and that all your pieces will be equal for framing. If you aren’t planning on hanging your art at the end, feel free to cut the paper up however you see fit.
I ended up cutting about 100 squares total. I know it’s a lot, but there’s a good reason for it. Having more squares than you’d ever need to frame gives you permission to mess up, make mistakes, and take risks which is essential for creating! When you don’t put so much pressure on each square being perfect, you can try new techniques or colors that you might not otherwise. For all the final squares you see here, there were a handful of ones that I just didn’t like.
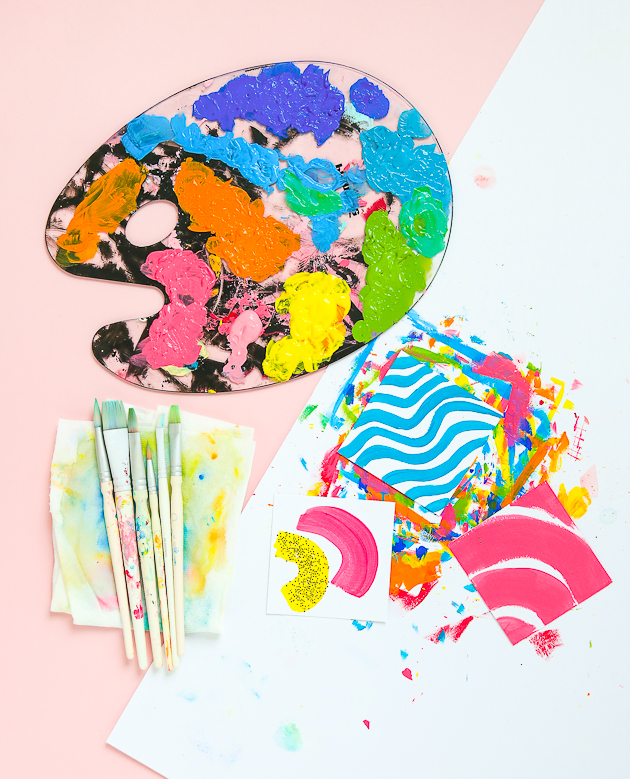 It does help, once you find what medium you want to work in, to narrow your colors down to a specific palette (learn more about building a color palette in my book Hello Color). I was overwhelmed with color options at first that this really helped me. It will also means your pieces will match for framing, almost as a mini collection!
Step away from the screen, put on your favorite music and just paint. This took me a few hours to get through the stack of squares and I LOVED IT. No news alerts, no emails, nothing. Just tune in to the colors and your surface and let your brain take your brush where it wants to go!
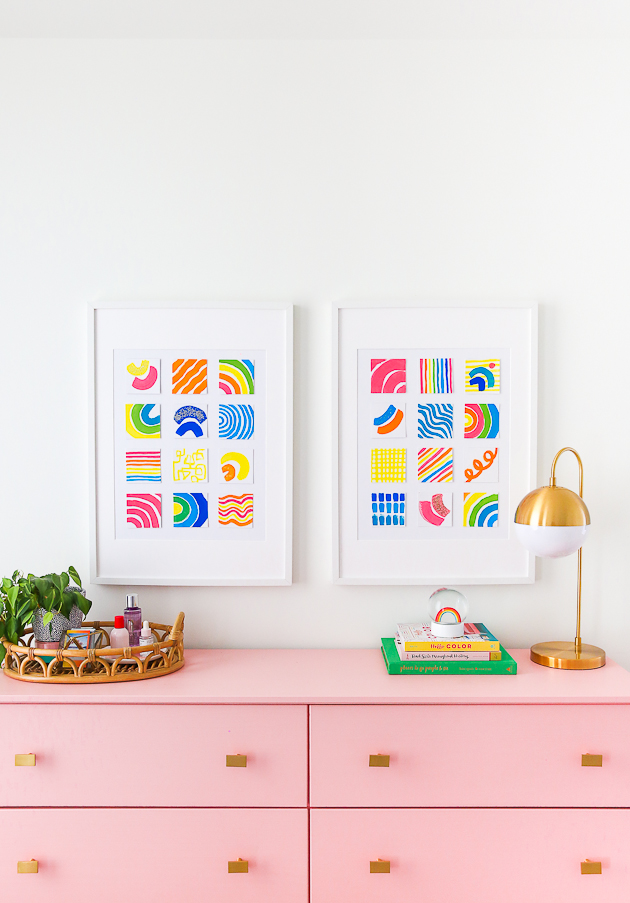
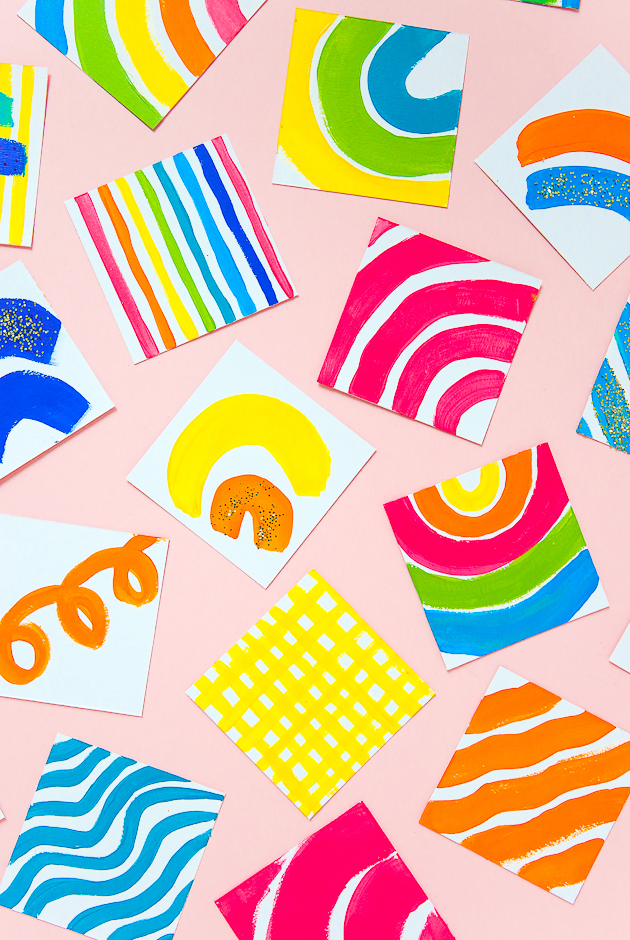 One your squares are all set and dry, start grouping them in rows to see how they’d looked framed together. It takes a lot of patience to get the squares and rows even and is actually the hardest part of this entire project.
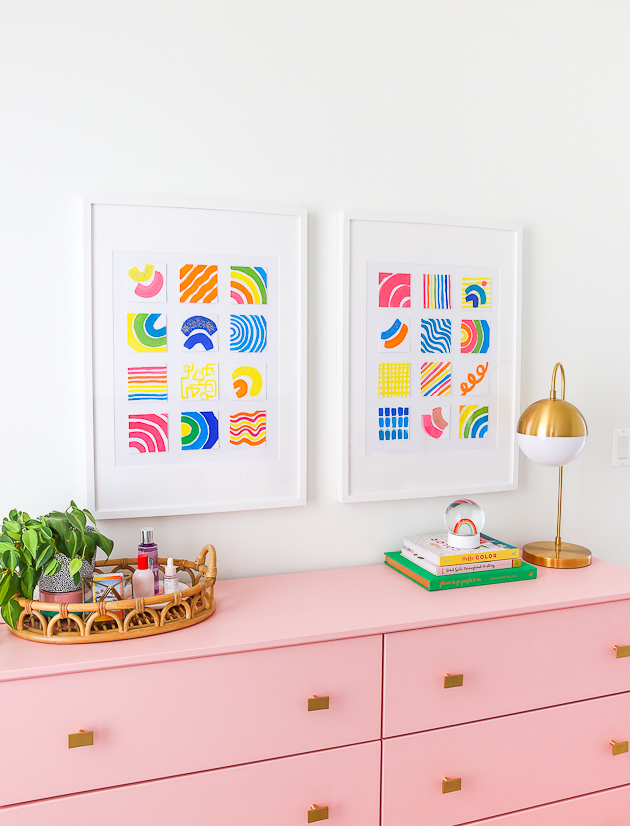 The frames are from Ikea, meaning this total project for two pieces was just about $30! THIRTY BUCKS! So even if you tire of the art, or want to swap it out later down the road, you can do it and not feel guilty for spending the money.
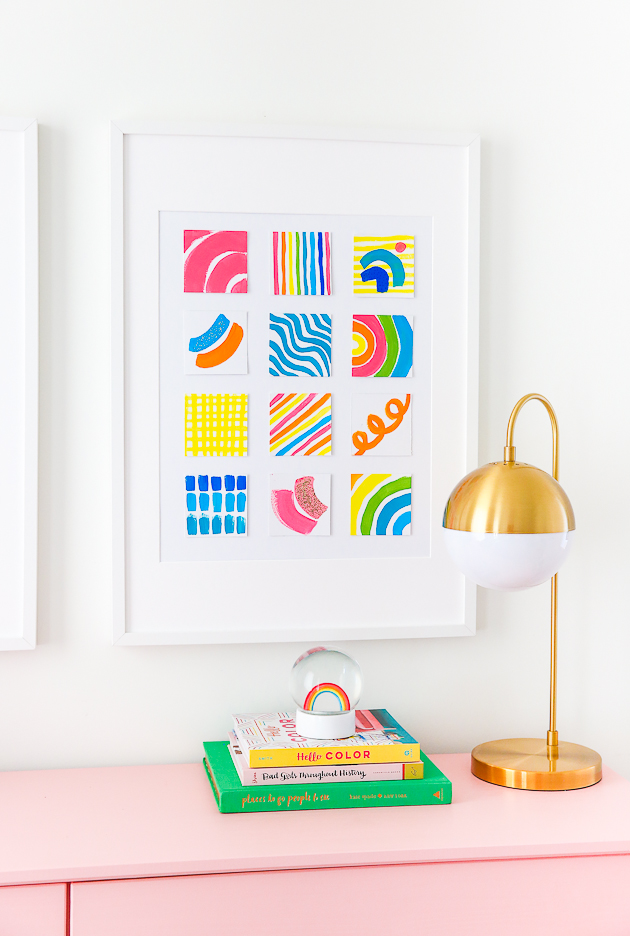 As much as I love this for our bedroom, I also think this project would be fun to do with kids, or even at a happy hour with friends. There are endless possibilities when you take something large and break it down into more digestible pieces and I can’t wait to see how yours turns out!

